Home>Storage Ideas>Kitchen Storage>Can Kitchen Tile Be Painted? The Rules Of Tile Painting

Kitchen Storage
Can Kitchen Tile Be Painted? The Rules Of Tile Painting
Modified: October 29, 2024
Discover the rules of tile painting and find out if kitchen tiles can be painted. Explore creative kitchen storage ideas and transform your space today!
(Many of the links in this article redirect to a specific reviewed product. Your purchase of these products through affiliate links helps to generate commission for Storables.com, at no extra cost. Learn more)
Introduction
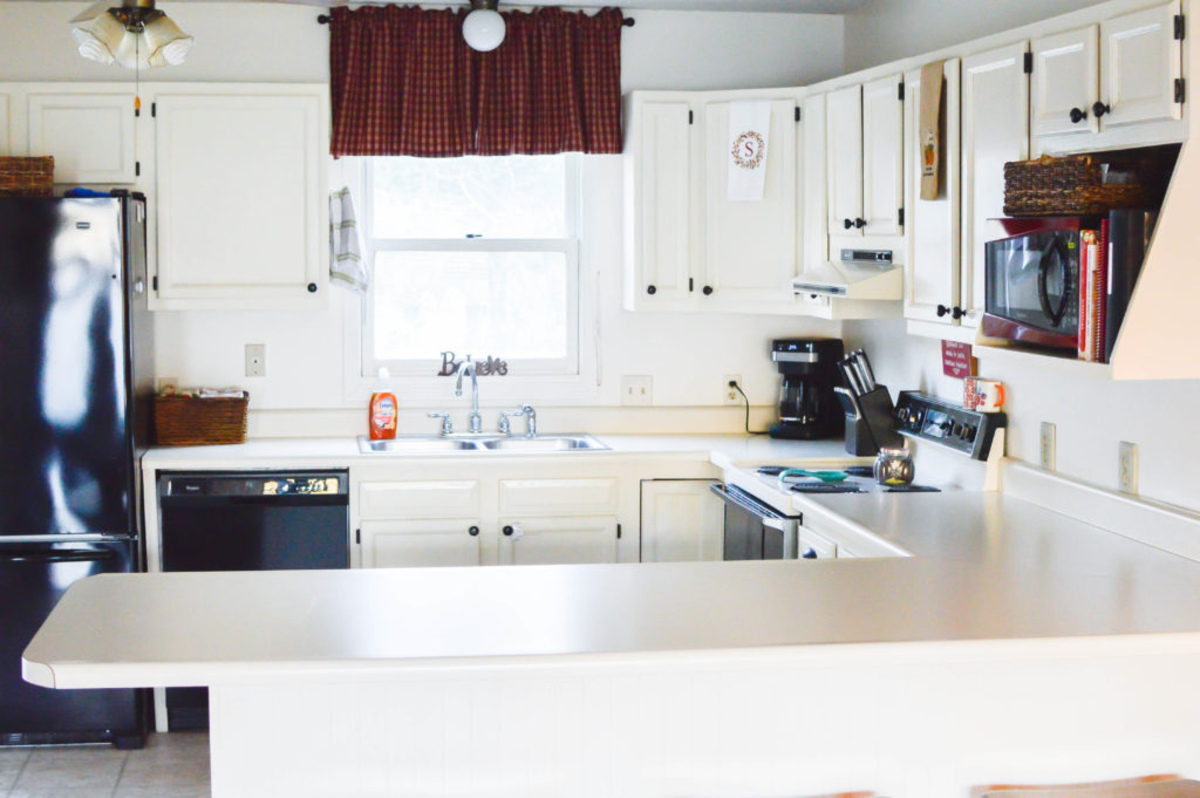
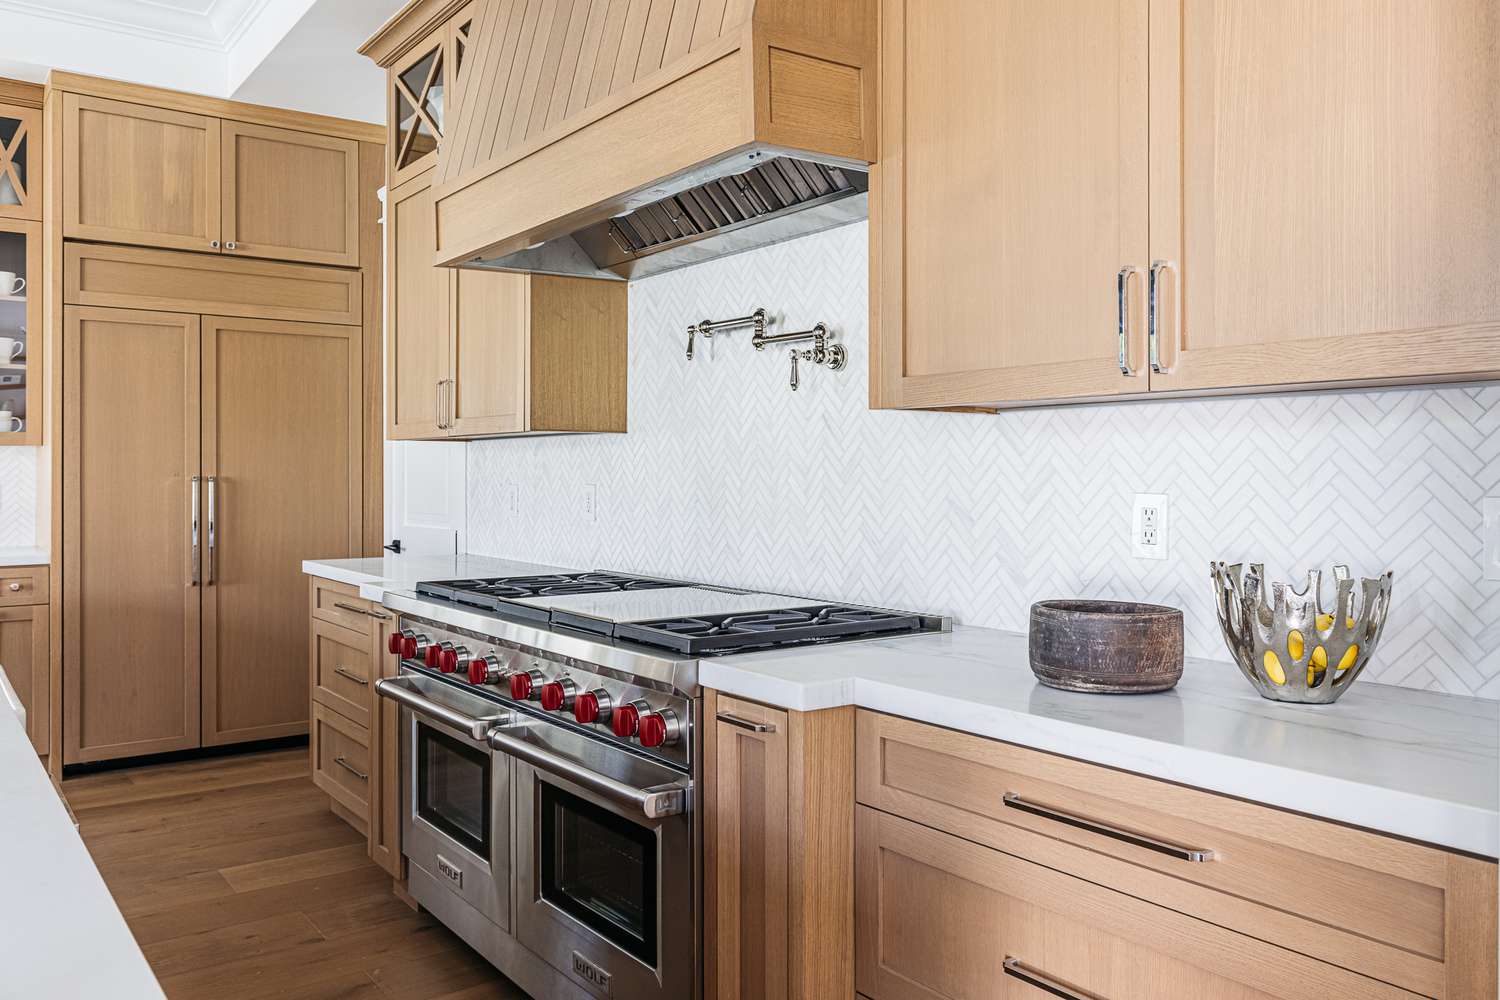
Welcome to the world of kitchen storage ideas! In today’s fast-paced and busy lifestyles, having an organized and efficient kitchen is essential. One of the key aspects of kitchen organization is proper storage solutions. From clever cabinet designs to innovative shelving ideas, there are countless ways to maximize the space in your kitchen and keep everything neatly arranged.
When it comes to kitchen storage, we often overlook the potential of the humble cabinet. It’s not just a place to stash your pots and pans, but a canvas for creativity and functionality. By utilizing smart storage solutions and optimizing the available space, you can transform your kitchen into a clutter-free and efficient cooking zone.
In this article, we will explore a wide range of kitchen storage ideas that will help you make the most of your kitchen space. From utilizing the corners to implementing vertical storage solutions, we will delve into practical and innovative ideas that will revolutionize your kitchen storage.
So, whether you have a small galley kitchen or a spacious open-concept layout, there’s a storage idea here for you. Get ready to embark on a journey of kitchen organization and discover the endless possibilities of maximizing your storage potential.
But before we dive into the kitchen storage ideas, let’s take a moment to understand the importance of kitchen organization and how it can make a significant impact on your daily cooking routine.
Having an organized kitchen not only saves you time and energy but also enhances your overall cooking experience. Imagine being able to find your cooking utensils, spices, and ingredients at a glance, without rummaging through a messy cabinet or drawer. With a well-organized kitchen, you can streamline your meal preparation and enjoy a stress-free cooking process.
Furthermore, an organized kitchen promotes better hygiene and cleanliness. By ensuring that everything has its designated place, you can easily wipe down countertops and surfaces, reducing the risk of cross-contamination and foodborne illnesses.
Lastly, a well-organized kitchen allows for efficient use of space. With smart storage solutions, you can make the most of even the tiniest corners and niches, unlocking hidden storage potential. This not only helps you declutter your kitchen but also creates a visually appealing and inviting space.
Now that we understand why kitchen organization is crucial, let’s dive into the exciting world of kitchen storage ideas. Get ready to transform your kitchen into an organized and efficient haven!
Key Takeaways:
- Transform your kitchen with painted tiles for a fresh and modern look. Proper surface preparation, the right paint, and sealing are key for a successful and durable finish.
- Embrace kitchen storage ideas to optimize space and keep everything neatly arranged. From clever cabinet designs to innovative shelving solutions, there’s a solution for every kitchen.
Read more: Kitchen Space Distance Rules
Understanding the Basics of Painting Kitchen Tiles
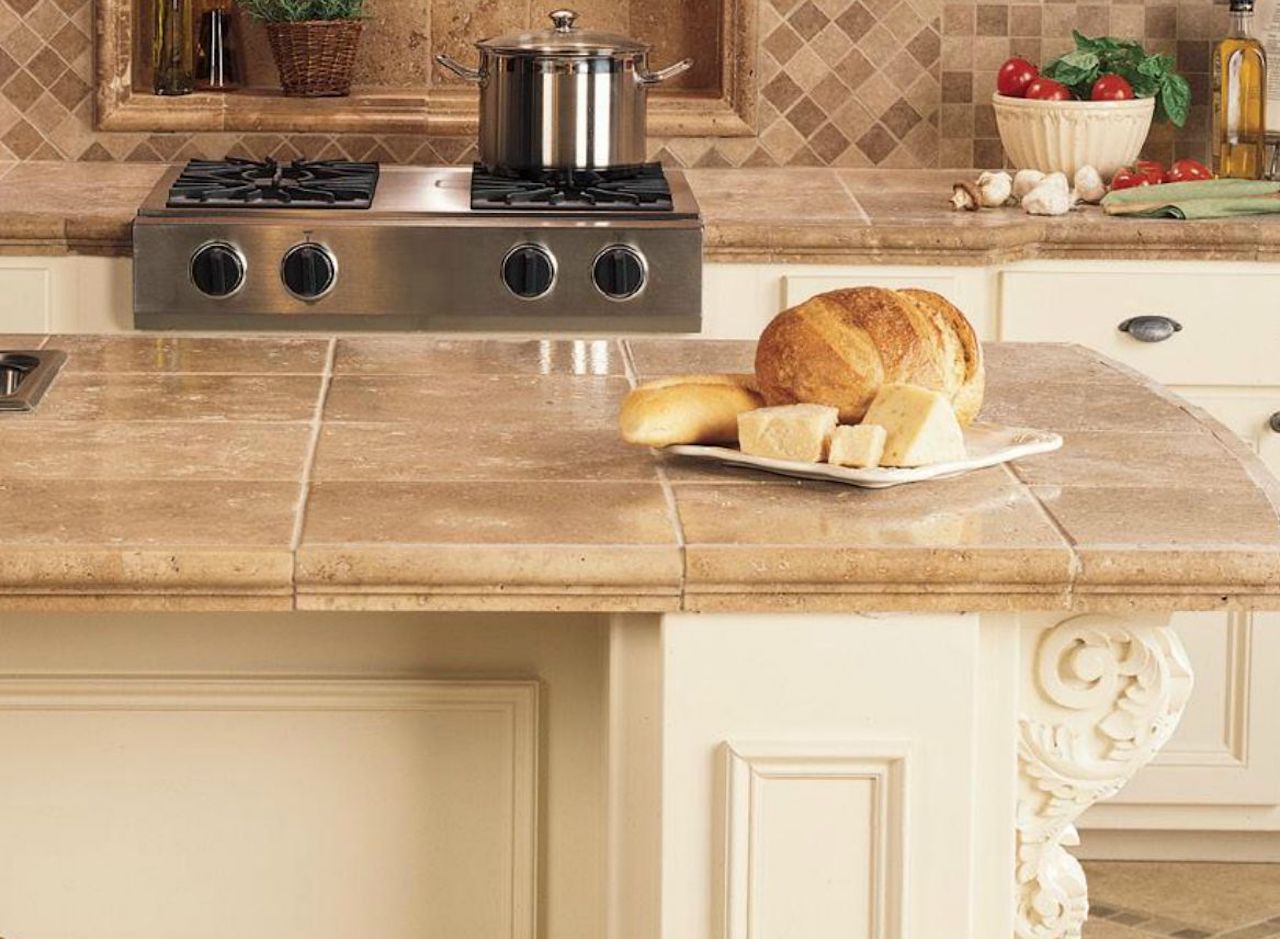
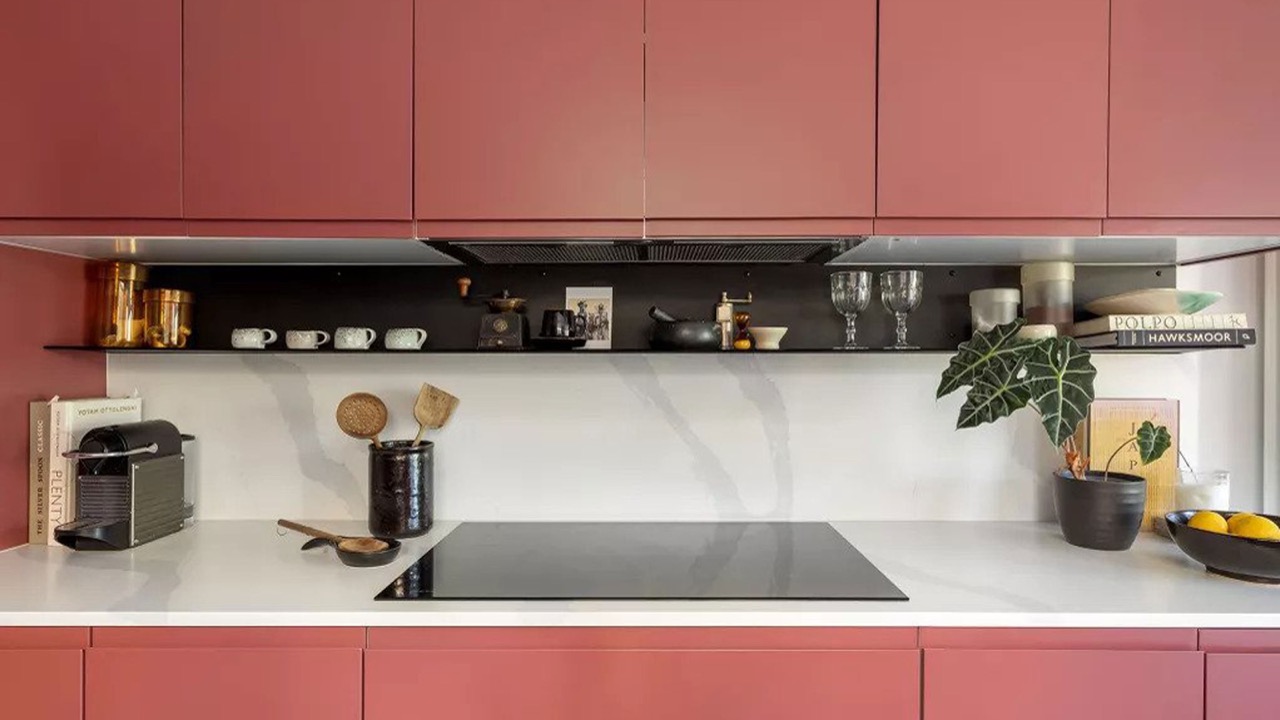
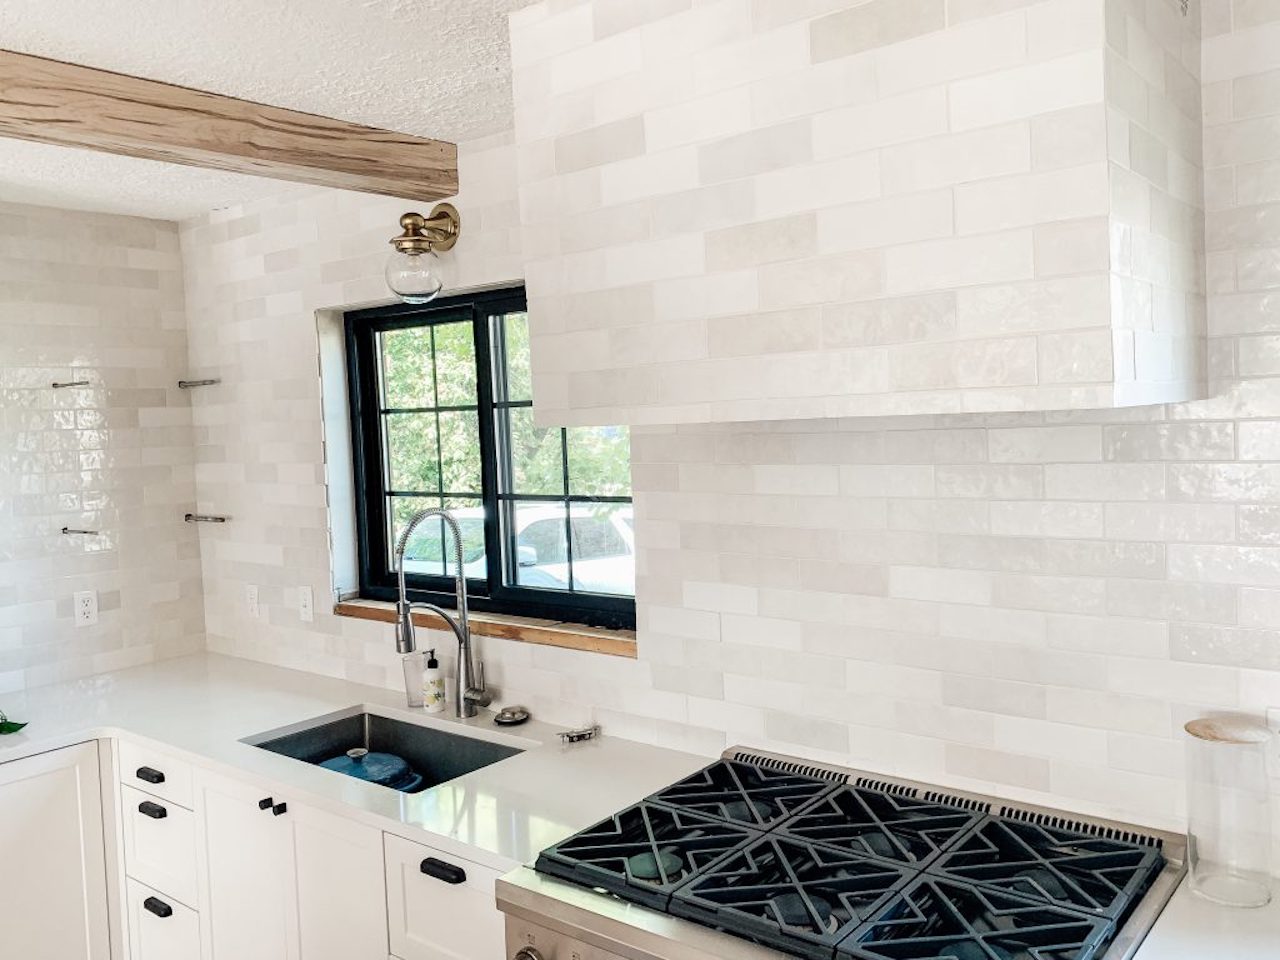
Kitchen tiles are a popular choice for backsplashes, countertops, and floors due to their durability and aesthetic appeal. However, if you’re looking to update the look of your kitchen without the expense and hassle of replacing the tiles, painting them can be a great solution. Painting kitchen tiles allows you to achieve a fresh and modern look while saving time and money.
Before you embark on the task of painting kitchen tiles, it’s important to understand the basics of the process. Here are a few key points to keep in mind:
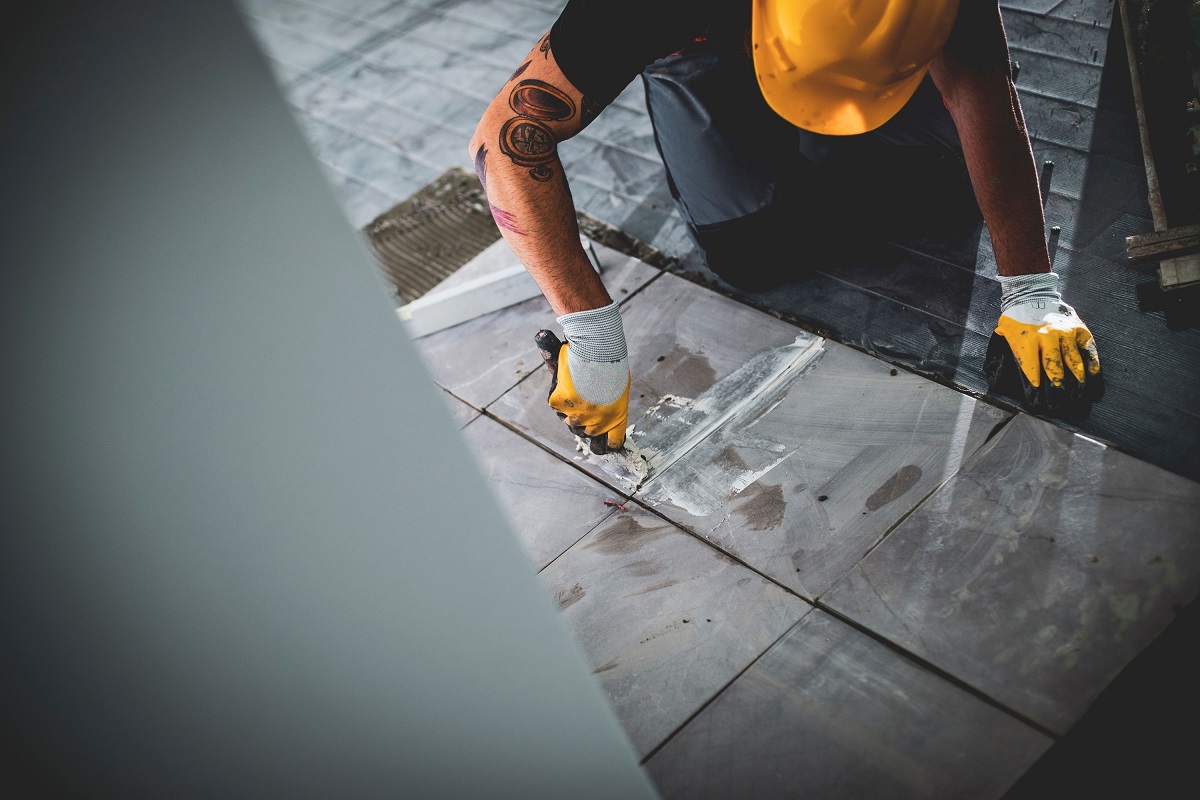
1. Surface Preparation: Proper preparation is crucial for a successful tile painting project. Start by thoroughly cleaning the tiles to remove any dirt, grease, or grime. Use a mild detergent and scrub the tiles with a scrub brush or sponge. Rinse them well and allow them to dry completely before proceeding.
2. Tile Condition: Evaluate the condition of the tiles before painting them. If they are cracked, chipped, or loose, it’s best to repair or replace them before painting. Painting over damaged tiles may not provide satisfactory results and can lead to further deterioration.
3. Tile Material: The type of tile material can determine the approach to painting. Ceramic and porcelain tiles are the most common in kitchens and can be painted relatively easily. However, if you have natural stone tiles, such as marble or granite, painting may not be the best option as it can interfere with the natural beauty and texture of the stone.
4. Paint Selection: Choosing the right paint is essential for a long-lasting and visually appealing result. Look for a high-quality paint specifically formulated for use on tiles. These paints are designed to adhere to the smooth surface of tiles and withstand moisture and heat. Opt for paint colors that complement your kitchen’s color scheme and style.
5. Priming: Applying a primer before painting is essential for promoting adhesion and ensuring a smooth finish. Select a primer that is compatible with both the paint and the tile material. Apply it evenly across the entire surface and allow it to dry thoroughly before proceeding with the paint.
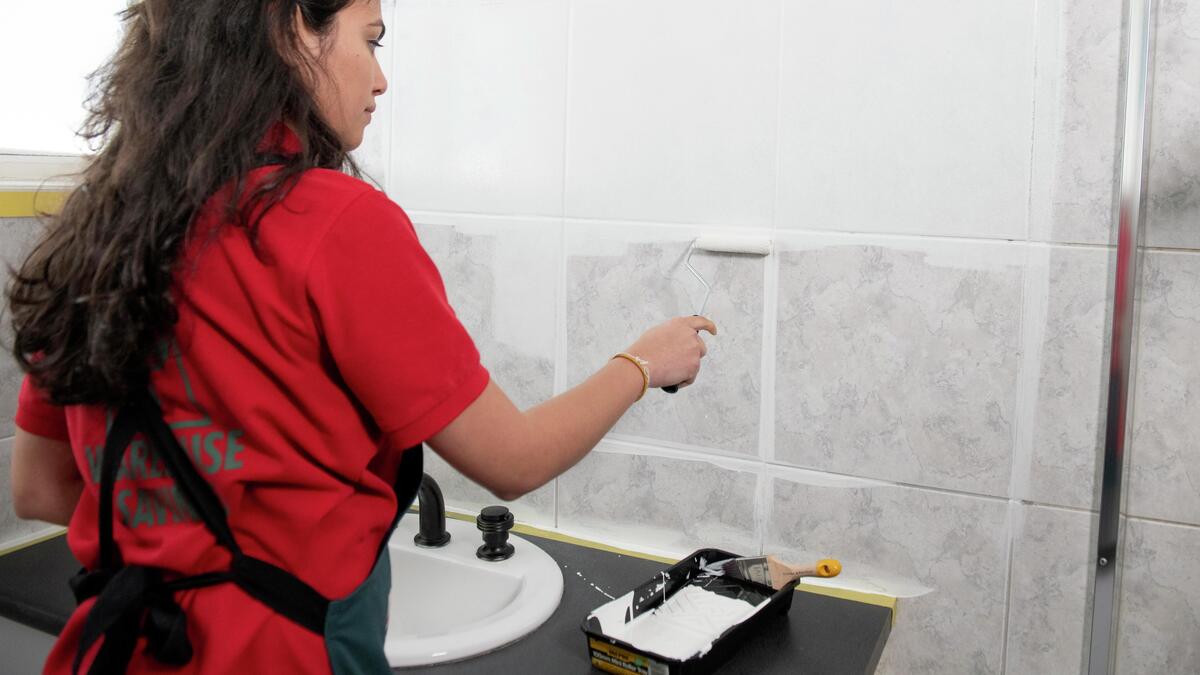
6. Paint Application: When it comes to painting kitchen tiles, there are various techniques you can use. You can opt for traditional brush application, roll the paint on using a foam roller, or even use spray paint for a more even and precise finish. Choose the technique that suits your skills and preferences.
7. Sealing: Once the paint has fully dried, it’s important to seal the painted tiles to protect them from moisture, stains, and daily wear and tear. Select a high-quality tile sealer that is compatible with the paint and follow the manufacturer’s instructions for application.
By understanding these key aspects of painting kitchen tiles, you can ensure that your project is a success. With proper surface preparation, the right paint selection, and appropriate application techniques, you can transform your kitchen tiles and give your kitchen a fresh and rejuvenated look.
Preparing the Tiles for Painting
Before you start painting kitchen tiles, it’s crucial to properly prepare the surface to ensure a smooth and long-lasting finish. Proper preparation will help the paint adhere better to the tiles and prevent peeling and chipping in the future. Follow these steps to prepare the tiles for painting:
1. Clean the Tiles: Start by cleaning the tiles thoroughly to remove any grease, grime, or dirt that may be on the surface. Use a mild detergent or tile cleaner and scrub the tiles with a sponge or soft brush. Rinse them well with water and allow them to dry completely.
2. Remove Existing Sealant: If there is any existing sealant on the tiles, such as silicone caulk, it’s important to remove it before painting. Use a suitable sealant remover and carefully scrape off the old sealant with a scraper or utility knife. Clean the area again to remove any residue.
3. Repair Cracks or Chips: Inspect the tiles for any cracks, chips, or damage. If you come across any, it’s best to repair them before painting. Fill in the cracks or chips with a suitable tile filler or epoxy adhesive and smooth it out using a putty knife or spatula. Allow the filler to dry and sand it gently to create a smooth surface.
4. Sand the Tiles: Lightly sanding the tiles will help create a rougher surface for better paint adhesion. Use fine-grit sandpaper and gently sand the tiles in a circular motion. This will help remove any gloss or shine on the surface and create a slightly textured surface to promote paint adherence. Clean the tiles again to remove any sanding dust.
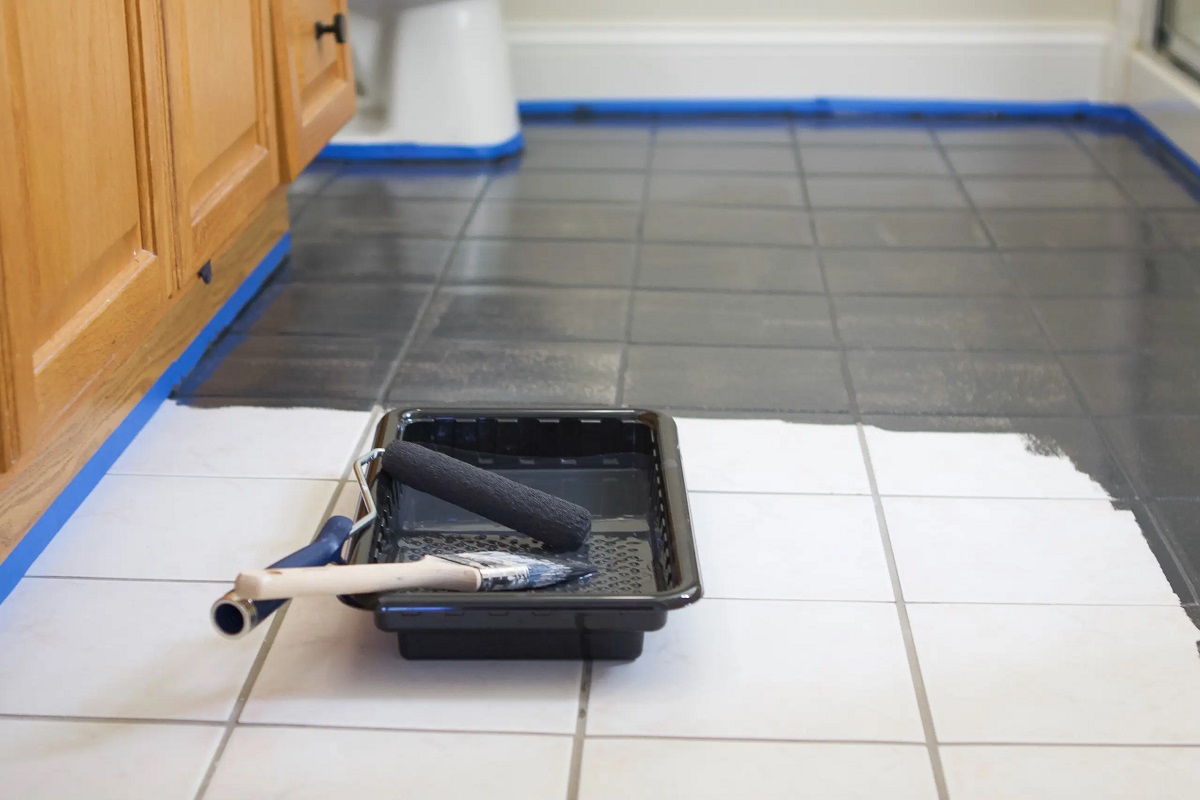
5. Tape Off Surrounding Areas: Use painter’s tape to carefully mask off any surrounding areas, such as countertops, cabinets, or appliances, that you don’t want to get paint on. This will ensure clean and precise edges and make the painting process easier.
6. Apply a Tile Primer: Applying a tile primer is essential for promoting adhesion and ensuring a smooth and durable finish. Select a primer that is specifically designed for use on tiles and is compatible with the paint you will be using. Apply the primer evenly across the entire tile surface using a brush or roller and allow it to dry completely as per the manufacturer’s instructions.
7. Smooth and Clean the Surface: After the primer has dried, lightly sand the surface again to remove any imperfections and create a smooth surface for the paint. Clean the tiles once again to remove any sanding dust or debris.
By following these steps to prepare the tiles for painting, you will create an optimal surface for paint adhesion and ensure a professional-looking finish. Taking the time to properly prepare the tiles will greatly contribute to the success and longevity of your tile painting project.
Choosing the Right Paint for Kitchen Tiles
Choosing the right paint for kitchen tiles is crucial for achieving a successful and long-lasting result. Not all paints are suitable for tile surfaces, as they need to withstand moisture, heat, and daily wear and tear. Here are some key considerations when selecting paint for your kitchen tiles:
1. Tile Material: Consider the material of your kitchen tiles when choosing paint. Ceramic and porcelain tiles are commonly found in kitchens and are the most suitable for painting. These types of tiles have smooth and non-porous surfaces that allow paint to adhere well. However, it’s important to note that natural stone tiles, such as marble or granite, may not be suitable for painting as it can interfere with the natural beauty and texture of the stone.
2. Paint Type: Look for a paint specifically formulated for use on tiles. There are several options to choose from, including epoxy paint, enamel paint, and latex paint. Epoxy paint is a durable option that provides high resistance to moisture, stains, and chemicals. Enamel paint is also a popular choice for its durability and glossy finish. Latex paint is more budget-friendly and easy to work with, but may not provide the same level of durability as epoxy or enamel paints.
3. Finish: Consider the finish you want to achieve on your kitchen tiles. Glossy finishes offer a sleek and smooth look, while matte or satin finishes provide a more subtle and muted appearance. The choice of finish depends on your personal preference and the overall style of your kitchen.
4. Color: When it comes to color, the possibilities are endless. Choose a paint color that complements the overall color scheme and style of your kitchen. Neutral colors like white, gray, or beige are timeless options that can easily blend with any decor. Alternatively, you can opt for bold and vibrant colors to make a statement and add a pop of personality to your kitchen.
5. Durability: Look for a paint that is highly durable and resistant to moisture, heat, and grease. Kitchen tiles are exposed to various elements and need to withstand daily cooking activities. Ensure that the paint you choose is specifically designed to withstand these conditions and provide long-lasting results.
6. Application method: Consider the application method that suits your skills and preferences. Some paints are designed for brush application, while others can be sprayed or rolled on. Choose a paint that you feel comfortable working with and that will allow you to achieve the desired finish.
7. Testing: Before applying the paint to the entire tile surface, it’s essential to do a small test area to ensure compatibility and adherence. Apply the paint to a small, inconspicuous area and let it dry. Assess the finish and durability before proceeding with painting the rest of the tiles.
By considering these factors and choosing the right paint for your kitchen tiles, you can achieve a beautiful and durable finish that will transform the look of your kitchen. Take the time to research and select a high-quality paint that suits your needs and budget, and enjoy the process of creating a fresh and rejuvenated kitchen space.
Painting Techniques for Kitchen Tiles
When it comes to painting kitchen tiles, there are various techniques you can use to achieve a smooth and professional-looking finish. The technique you choose will depend on your skills, the type of paint you’re using, and your desired outcome. Here are some popular painting techniques for kitchen tiles:
1. Brush Application: Brush application is the most traditional and commonly used technique for painting tiles. It involves using a paintbrush to apply the paint directly onto the tile surface. Use a high-quality brush with fine bristles to ensure smooth and even application. Apply the paint in thin and even coats, using light strokes to prevent brush marks. Allow each coat to dry completely before applying the next layer.
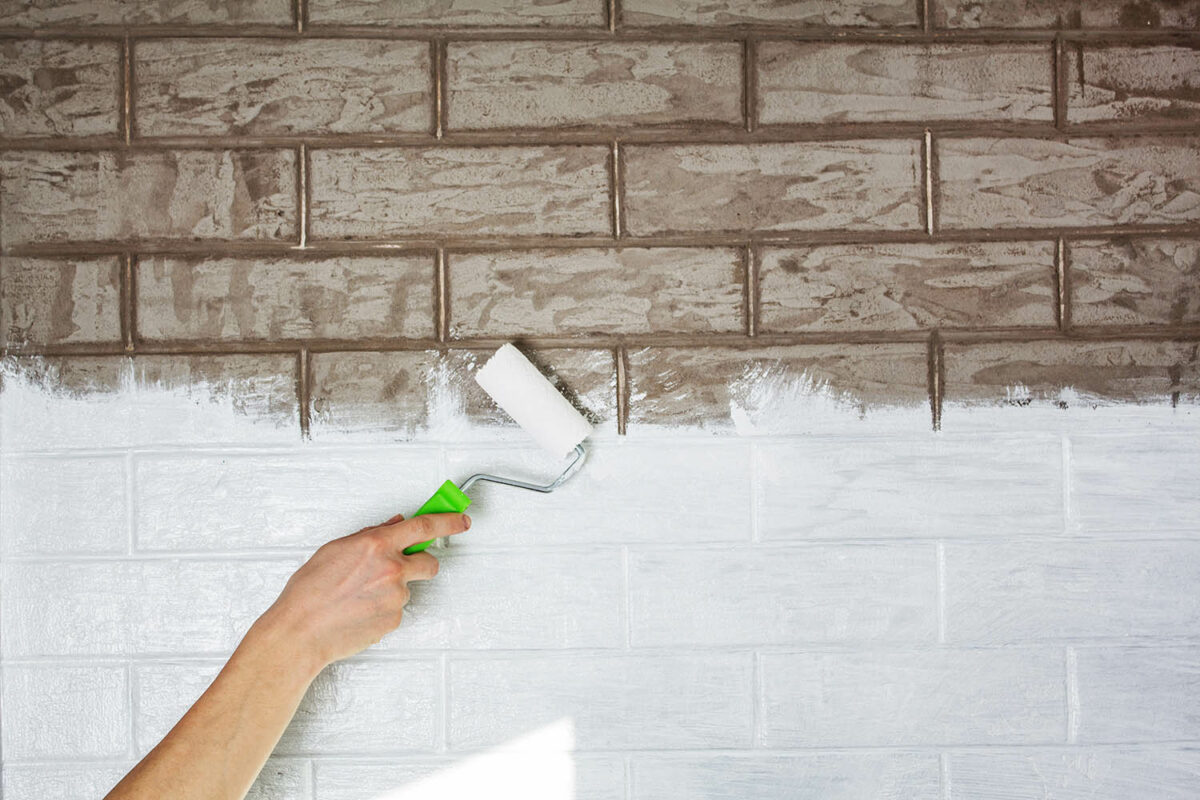
2. Foam Roller: Using a foam roller is another effective technique for painting kitchen tiles. It provides a quick and even coverage, making it ideal for large tile surfaces. Start by pouring the paint into a paint tray and loading the foam roller with paint. Roll the paint onto the tiles in one direction, making sure to cover the entire surface evenly. Avoid excessive pressure that may cause paint streaks or bubbles. If necessary, use a brush to touch up corners and edges that the roller may miss.
3. Spray Painting: Spray painting is a technique that offers excellent coverage and a smooth finish. It is especially useful for intricate tile designs and hard-to-reach areas. Use a high-quality spray paint specifically designed for tile surfaces. Cover the surrounding areas with drop cloths or newspaper to protect them from overspray. Hold the spray can at a distance and apply the paint in even, sweeping motions, overlapping the strokes to ensure uniform coverage. Allow the paint to dry between coats and apply multiple thin layers for a durable finish.
4. Stenciling: Stenciling is a creative technique to add patterns and designs to your painted kitchen tiles. Start by selecting a stencil design that complements your kitchen decor. Secure the stencil onto the tile surface using painter’s tape to prevent it from shifting. Dip a sponge or stencil brush into the paint and dab off any excess. Gently paint over the stencil, applying light pressure to avoid paint bleed. Carefully remove the stencil before the paint dries to reveal the design. Repeat the process with different stencils to create a unique and personalized tile pattern.
5. Faux Finish: If you’re looking to mimic the look of a different material, such as stone or marble, you can use a faux finish technique. Start by applying a base coat in a neutral color that matches the desired material. Once the base coat is dry, use a sponge or rag to dab on different shades of paint in a random pattern. Blend the colors together to create depth and texture. You can also use a feather or a ragging brush to create additional effects. Experiment with different techniques and colors to achieve the desired faux finish.
Remember, regardless of the technique you choose, it’s important to apply the paint in thin and even coats to prevent drips and clumps. Allow each coat to dry completely before applying additional layers. Take your time, be patient, and enjoy the process of transforming your kitchen tiles into a work of art.
Applying Primer to Kitchen Tiles
Before painting kitchen tiles, applying a primer is essential for ensuring proper adhesion and achieving a smooth and long-lasting finish. The primer creates a bonding surface between the tile and the paint, allowing the paint to adhere better and preventing peeling or chipping. Here are the steps to apply primer to kitchen tiles:
1. Choose the Right Primer: Select a primer that is specifically formulated for use on tiles. Look for a high-quality primer that is compatible with the type of paint you will be using. Consider factors such as moisture resistance, durability, and adhesion properties when choosing the primer.
2. Clean the Tiles: Clean the tiles thoroughly to remove any dirt, grease, or grime that may be on the surface. Use a mild detergent or tile cleaner and scrub the tiles with a sponge or brush. Rinse them well with water and allow them to dry completely before applying the primer.
3. Prepare the Primer: Follow the manufacturer’s instructions for preparing the primer. Some primers may require mixing or stirring before use. Make sure to use a clean container and stir the primer thoroughly to achieve a consistent and smooth texture.
4. Apply the Primer: Start by cutting in the edges of the tile surface with a brush. Use a small, angled brush to apply the primer carefully along the edges and corners. Then, use a roller or brush to apply the primer to the rest of the tile surface. Work in small sections, applying the primer evenly with smooth and even strokes. Avoid applying the primer too thickly as it may lead to drips or uneven coverage.
5. Allow the Primer to Dry: Follow the manufacturer’s instructions for the drying time of the primer. Typically, it takes around 2-4 hours for the primer to dry, but this may vary depending on the product. Make sure the primer is completely dry before proceeding to the next step. Avoid touching or applying pressure on the primed tiles during this drying period.
6. Inspect and Continue: After the primer has dried, inspect the tiles to ensure that the primer has been applied evenly and there are no areas with thin coverage. If needed, apply a second coat of primer for better coverage and adhesion. Allow the second coat to dry completely before moving on to the painting process.
By applying a primer to your kitchen tiles, you are creating the perfect base for the paint to adhere to. The primer enhances the durability and longevity of the painted surface, ensuring that the color stays vibrant and the finish remains smooth over time. Take your time during the priming process to achieve the best results, and you’ll be on your way to beautifully painted kitchen tiles.
Paint Application on Kitchen Tiles
After preparing the tiles and applying a primer, it’s time to apply the paint to your kitchen tiles. Proper paint application is crucial for achieving a smooth and professional finish that will stand the test of time. Here are the steps to follow when applying paint to your kitchen tiles:
1. Select the Right Paint: Choose a high-quality paint specifically formulated for kitchen tiles. Look for a paint that is durable, moisture-resistant, and designed for the surface you are painting. Options such as epoxy paint or enamel paint are suitable for kitchen tiles and can withstand the daily wear and tear.
2. Stir the Paint: Before starting, stir the paint thoroughly to ensure an even distribution of pigments and consistency. Use a stirring stick or a paint mixer attachment for a drill to achieve a smooth and consistent texture.
3. Cut in the Edges: Start by cutting in the edges of the tile surface with a brush. Use a small, angled brush to carefully paint around corners and edges, ensuring even coverage. This will provide a clean and precise finish.
4. Apply the Paint: Use a roller or brush to apply the paint to the rest of the tile surface. Work in small sections, applying the paint evenly with smooth and even strokes. If using a roller, roll in one direction to ensure uniform coverage. If using a brush, use long, even strokes in the same direction. Avoid applying the paint too thickly as it may lead to drips or uneven coverage.
5. Allow the Paint to Dry: Follow the manufacturer’s instructions for the drying time of the paint. It typically takes several hours for the paint to dry completely. Make sure to allow adequate drying time before applying additional coats or touching the painted surface. Avoid placing any objects on the freshly painted tiles or exposing them to excessive moisture during the drying process.
6. Apply Additional Coats: Depending on the desired finish and coverage, you may need to apply multiple coats of paint. Allow each coat to dry completely before applying the next one. Apply the additional coats in the same manner as the first coat, ensuring even coverage and a smooth finish.
7. Touch-Ups: After the paint has dried, inspect the tiles for any areas that may require touch-ups. Use a small brush to carefully touch up any missed spots or areas with uneven coverage. This will help achieve a seamless and professional-looking finish.
8. Allow for Curing Time: Once all coats of paint have been applied, allow the painted tiles to cure for the recommended time. Curing time helps the paint fully bond and harden, ensuring maximum durability and longevity. Follow the manufacturer’s instructions for the specific curing time of the paint you used.
By following these steps, you can achieve a beautifully painted surface on your kitchen tiles. Proper paint application is crucial for a long-lasting and visually appealing result. Take your time, ensure even coverage, and allow adequate drying and curing time to enjoy the transformed and refreshed look of your kitchen tiles.
Yes, kitchen tile can be painted. Make sure to clean and prime the tiles before painting to ensure proper adhesion. Use a high-quality, durable paint specifically designed for tile surfaces. Apply multiple thin coats for best results.
Sealing and Protecting Painted Kitchen Tiles
After painting your kitchen tiles, it’s essential to seal and protect the painted surface to ensure its longevity and durability. Sealing the tiles will add an extra layer of protection, making them more resistant to moisture, stains, and daily wear and tear. Here are the steps to seal and protect your painted kitchen tiles:
1. Allow Sufficient Drying Time: Before applying any sealant, make sure that the paint on the tiles has fully dried. Follow the manufacturer’s instructions for the recommended drying time, as it can vary depending on the type of paint used. It’s important not to rush this step as premature sealing can lead to trapped moisture and a compromised finish.
2. Choose the Right Sealant: Select a high-quality sealant that is specifically formulated for use on painted tiles. Look for a sealant that provides strong protection against moisture, stains, and daily wear. There are various types of sealants available, including water-based and solvent-based options. Consider factors such as ease of application, durability, and compatibility with the paint used.
3. Prepare the Surface: Clean the painted tiles thoroughly to remove any dust, debris, or residues that may have accumulated during the painting process. Use a mild detergent and water to wipe down the surface, and allow it to dry completely before proceeding with the sealing. Ensure that the tiles are completely clean and free from any contaminants.
4. Apply the Sealant: Follow the manufacturer’s instructions for applying the sealant. Use a brush or roller to apply a thin, even coat of the sealant onto the painted tiles. Work in small sections to ensure thorough coverage. Avoid applying the sealant too thickly, as it may lead to an uneven finish. Pay special attention to the grout lines, as they are prone to moisture penetration.
5. Allow Sufficient Drying and Curing Time: After applying the sealant, allow it to dry and cure according to the manufacturer’s instructions. This may typically take a few hours to a few days, depending on the product used. Avoid touching or placing any objects on the sealed tiles during this period to allow for proper bonding and hardening of the sealant.
6. Apply Multiple Coats (optional): Depending on the desired level of protection, you may choose to apply multiple coats of sealant. Allow each coat to dry completely before applying the next one. Multiple coats will provide added protection and enhance the durability of the painted tiles.
7. Maintain the Sealed Surface: After sealing the painted tiles, it’s important to maintain the sealed surface properly. Use gentle, non-abrasive cleaning agents to clean the tiles, avoiding harsh chemicals that may damage the sealant. Wipe up spills immediately and avoid dragging heavy or sharp objects across the tiles to prevent scratching or chipping of the sealant.
By following these steps to seal and protect your painted kitchen tiles, you can ensure their longevity and maintain their beautiful appearance for years to come. The sealant will provide an extra layer of defense against stains, moisture, and daily wear, giving you peace of mind and a durable finish.
Maintenance Tips for Painted Kitchen Tiles
After painting and sealing your kitchen tiles, proper maintenance is essential to preserve their appearance and increase their longevity. With regular care and attention, you can keep your painted tiles looking beautiful and fresh for years to come. Here are some maintenance tips for painted kitchen tiles:
- Regular Cleaning: Clean your painted tiles regularly to remove dirt, grime, and food spills. Use a gentle, non-abrasive cleaner and a soft sponge or cloth to wipe down the surface. Avoid harsh chemicals or abrasive scrubbers, as they can damage the paint or sealant.
- Immediate Spill Cleanup: Accidental spills should be cleaned up promptly to prevent staining or damage to the painted surface. Wipe spills away with a clean cloth or sponge, and avoid using harsh cleansers that can strip away the paint or sealant.
- Avoid Scratching: Prevent scratching or abrasive damage to your painted tiles by using gentle cleaning tools and avoiding the use of rough scrub brushes or abrasive sponges. Be mindful when placing or moving heavy objects on the tiles to prevent any scratching or chipping.
- Protect the Surface: Use placemats, coasters, and trivets to protect the painted tile surface from hot pots, pans, and dishes. This will prevent any heat-related damage or potential staining due to direct contact with hot items.
- Regular Inspections: Periodically inspect the painted tiles for any signs of wear or damage. Look for areas where the paint or sealant may have chipped or peeled, as well as any potential water intrusion or discoloration. Promptly address any issues to prevent further damage and maintain the appearance of the tiles.
- Reapply Sealant (if needed): Over time, the sealant on your painted tiles may wear off or become less effective. If you notice any areas where the sealant has worn away, consider reapplying a fresh coat of sealant to ensure continued protection and longevity.
- Avoid Harsh Chemicals: Harsh chemicals, such as bleach or strong acids, can damage the painted surface and strip away the sealant. Stick to mild, pH-neutral cleaners and avoid using any abrasive or harsh chemicals on the painted tiles.
- Regular Dusting: Dust the painted tiles regularly to prevent the buildup of dirt and debris. Use a soft, microfiber cloth or a feather duster to gently remove any dust or loose particles from the surface.
- Touch Up as Needed: If you notice any small chips or scratches on the painted surface, consider touching up those areas with a small brush and matching paint. This will help maintain the uniform appearance of the painted tiles.
By following these maintenance tips, you can prolong the lifespan of your painted kitchen tiles and keep them looking vibrant and beautiful. With proper care and regular attention, your painted tiles will continue to enhance the aesthetics of your kitchen for years to come.
Pros and Cons of Painting Kitchen Tiles
Painting kitchen tiles can be a cost-effective and convenient way to update the look of your kitchen without the need for a full tile replacement. However, like any home improvement project, there are pros and cons to consider. Understanding these advantages and disadvantages will help you make an informed decision. Here are the pros and cons of painting kitchen tiles:
Pros:
- Cost-effective: Painting kitchen tiles is a more affordable option compared to replacing them completely. It can save you a significant amount of money, especially if you have a large area of tiles to cover.
- Time-saving: Painting tiles is a quicker process compared to removing old tiles and installing new ones. It allows you to transform the look of your kitchen in a relatively short amount of time, making it an ideal option for those looking for a quick update.
- Design flexibility: When you paint your kitchen tiles, you have the freedom to choose from a wide range of colors and finishes to match your desired design aesthetic. It gives you the opportunity to customize your kitchen and create a unique look.
- Easy maintenance: Painted tiles can be easier to maintain compared to traditional tiles. They typically require regular cleaning with mild detergents and gentle scrubbing, rather than specialized tile cleaning products.
- Temporary solution: Painting kitchen tiles can be a temporary solution for those who plan to renovate or sell their home in the future. It offers a fresh look without the commitment of a long-term tile installation.
Cons:
- Durability concerns: While painted tiles can be durable, they may not have the same level of durability as natural tiles or professionally installed alternatives. They can be prone to chipping, peeling, or scratching over time, especially in high-traffic areas or with improper maintenance.
- Surface preparation: Proper surface preparation is crucial for a successful paint job. It involves thorough cleaning, repairing any damaged tiles, and applying a primer. Failing to prepare the surface adequately can lead to poor paint adhesion and unsatisfactory results.
- Maintenance and touch-ups: Painted tiles may require more maintenance and regular touch-ups compared to traditional tiles. Over time, the painted surface may wear off or become damaged, necessitating touch-ups to maintain the appearance. Additionally, certain cleaning agents or abrasive tools should be avoided to prevent damage to the painted surface.
- Limited to certain tile materials: Painting tiles works best with ceramic and porcelain tiles, which have smooth and non-porous surfaces. Natural stone tiles, such as marble or granite, may not be suitable for painting as it can interfere with their natural beauty and texture.
Considering the pros and cons of painting kitchen tiles will help you decide whether this option is right for you. It offers affordability, design flexibility, and a timely transformation, but it may not provide the same durability and longevity as traditional tiles. Be sure to weigh these factors and make an informed decision based on your specific needs and preferences.
Conclusion
Maximizing kitchen storage and keeping it organized is essential for a functional and efficient cooking space. With the wide range of kitchen storage ideas available, you can transform your kitchen into a clutter-free and organized haven. From clever cabinet designs to innovative shelving solutions, there are countless options to make the most of your kitchen space.
Throughout this article, we explored the basics of painting kitchen tiles and the importance of proper surface preparation. Choosing the right paint and applying it using the appropriate techniques can result in a fresh and modern look for your kitchen tiles. Sealing and protecting the painted tiles is essential, as it adds an extra layer of durability and maintains their appearance for years to come.
While painting kitchen tiles has its advantages, it’s important to consider the limitations and potential drawbacks. Proper maintenance is crucial to ensure the longevity of the painted tiles, and regular inspections, cleaning, and touch-ups may be required over time.
Ultimately, the decision to paint your kitchen tiles and explore various storage ideas depends on your personal preferences, budget, and the overall aesthetic you want to achieve. By taking the time to plan, prepare, and execute these projects, you can create a kitchen space that is both functional and visually appealing.
Remember, organization is key to an efficient kitchen, and the storage ideas presented in this article can help you optimize space and keep everything neatly arranged. Whether you have a small kitchen or a spacious one, there are solutions to suit your needs and enhance your daily cooking experience.
So, put your creativity to work and start implementing these kitchen storage ideas. With a well-organized and efficiently designed kitchen, you’ll not only enjoy cooking but also create a welcoming and inviting space for family and friends.
Now it’s time to turn your kitchen into a storage paradise – happy organizing!
Frequently Asked Questions about Can Kitchen Tile Be Painted? The Rules Of Tile Painting
Was this page helpful?
At Storables.com, we guarantee accurate and reliable information. Our content, validated by Expert Board Contributors, is crafted following stringent Editorial Policies. We're committed to providing you with well-researched, expert-backed insights for all your informational needs.


0 thoughts on “Can Kitchen Tile Be Painted? The Rules Of Tile Painting”