Home>Furniture & Design>Bathroom Accessories>How To Cover Rust In Bathtub
Bathroom Accessories
How To Cover Rust In Bathtub
Modified: February 18, 2024
Learn how to effectively cover rust in your bathtub with the right bathroom accessories. Keep your bathroom looking clean and fresh. Discover the best solutions for rust in your bathtub today!
(Many of the links in this article redirect to a specific reviewed product. Your purchase of these products through affiliate links helps to generate commission for Storables.com, at no extra cost. Learn more)
Introduction
Rust in a bathtub can be a frustrating and unsightly issue for many homeowners. Whether it's a result of aging plumbing, water with high iron content, or simply wear and tear, dealing with rust in a bathtub is a common challenge. However, with the right approach and a bit of elbow grease, you can effectively cover and prevent further rusting, restoring your bathtub to its former glory.
In this comprehensive guide, we will walk you through the step-by-step process of covering rust in your bathtub. From assessing the extent of the rust damage to applying a durable coating, we'll provide you with the knowledge and techniques needed to tackle this common household problem. By following these instructions, you can not only eliminate the unsightly rust but also protect your bathtub from future corrosion.
So, if you're tired of staring at that unsightly rust in your bathtub and are ready to take action, read on to discover how to effectively cover and restore your bathtub to its original luster. With the right tools, materials, and a little bit of know-how, you can transform your rusty bathtub into a clean, smooth, and visually appealing fixture in your bathroom. Let's dive in and get started on the journey to a rust-free bathtub!
Key Takeaways:
- Say goodbye to bathtub rust by assessing, cleaning, applying a rust converter, sanding, priming, and painting. Regular maintenance ensures a rust-free, visually appealing bathtub for a beautiful bathroom space.
- Transform your rusty bathtub into a pristine fixture by following a step-by-step process: assess, clean, apply a rust converter, sand, prime, and paint. Regular maintenance preserves the coating for a long-lasting, rust-free bathtub.
Read more: How To Cover A Bathtub
Assessing the Rust Damage
When dealing with rust in a bathtub, the first crucial step is to assess the extent of the damage. This initial evaluation will provide valuable insights into the severity of the rust and help determine the appropriate course of action to effectively cover and restore the affected area.
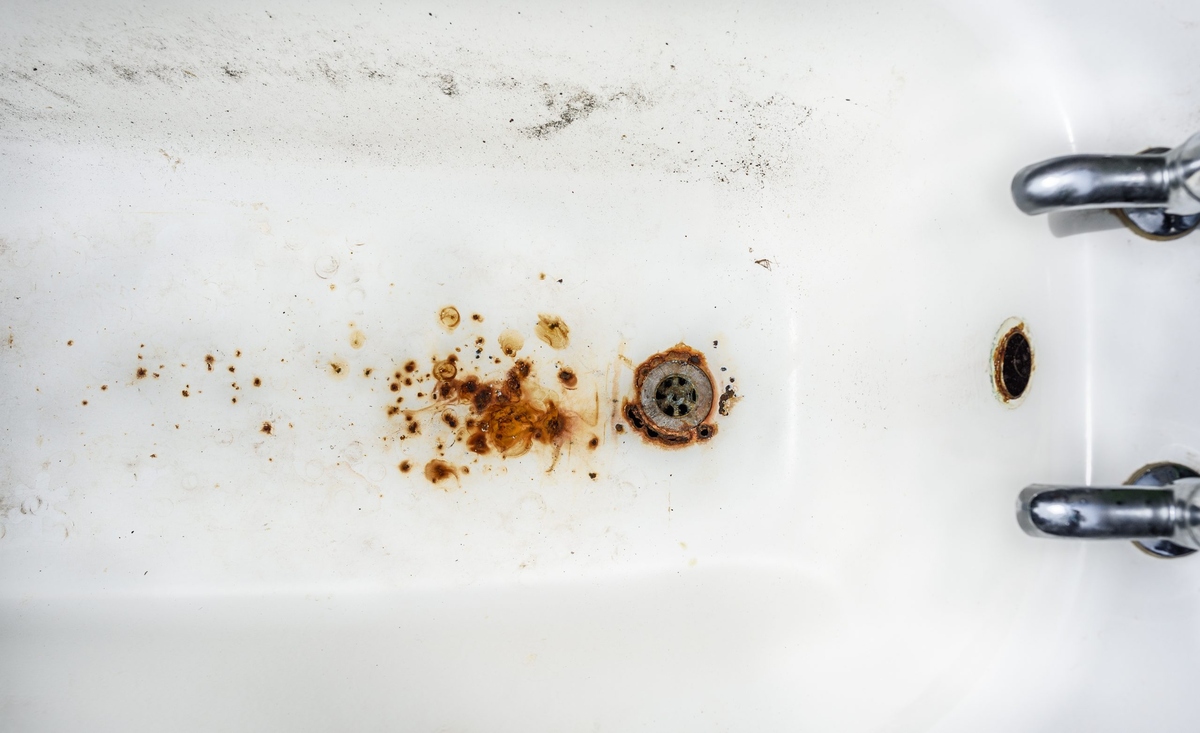
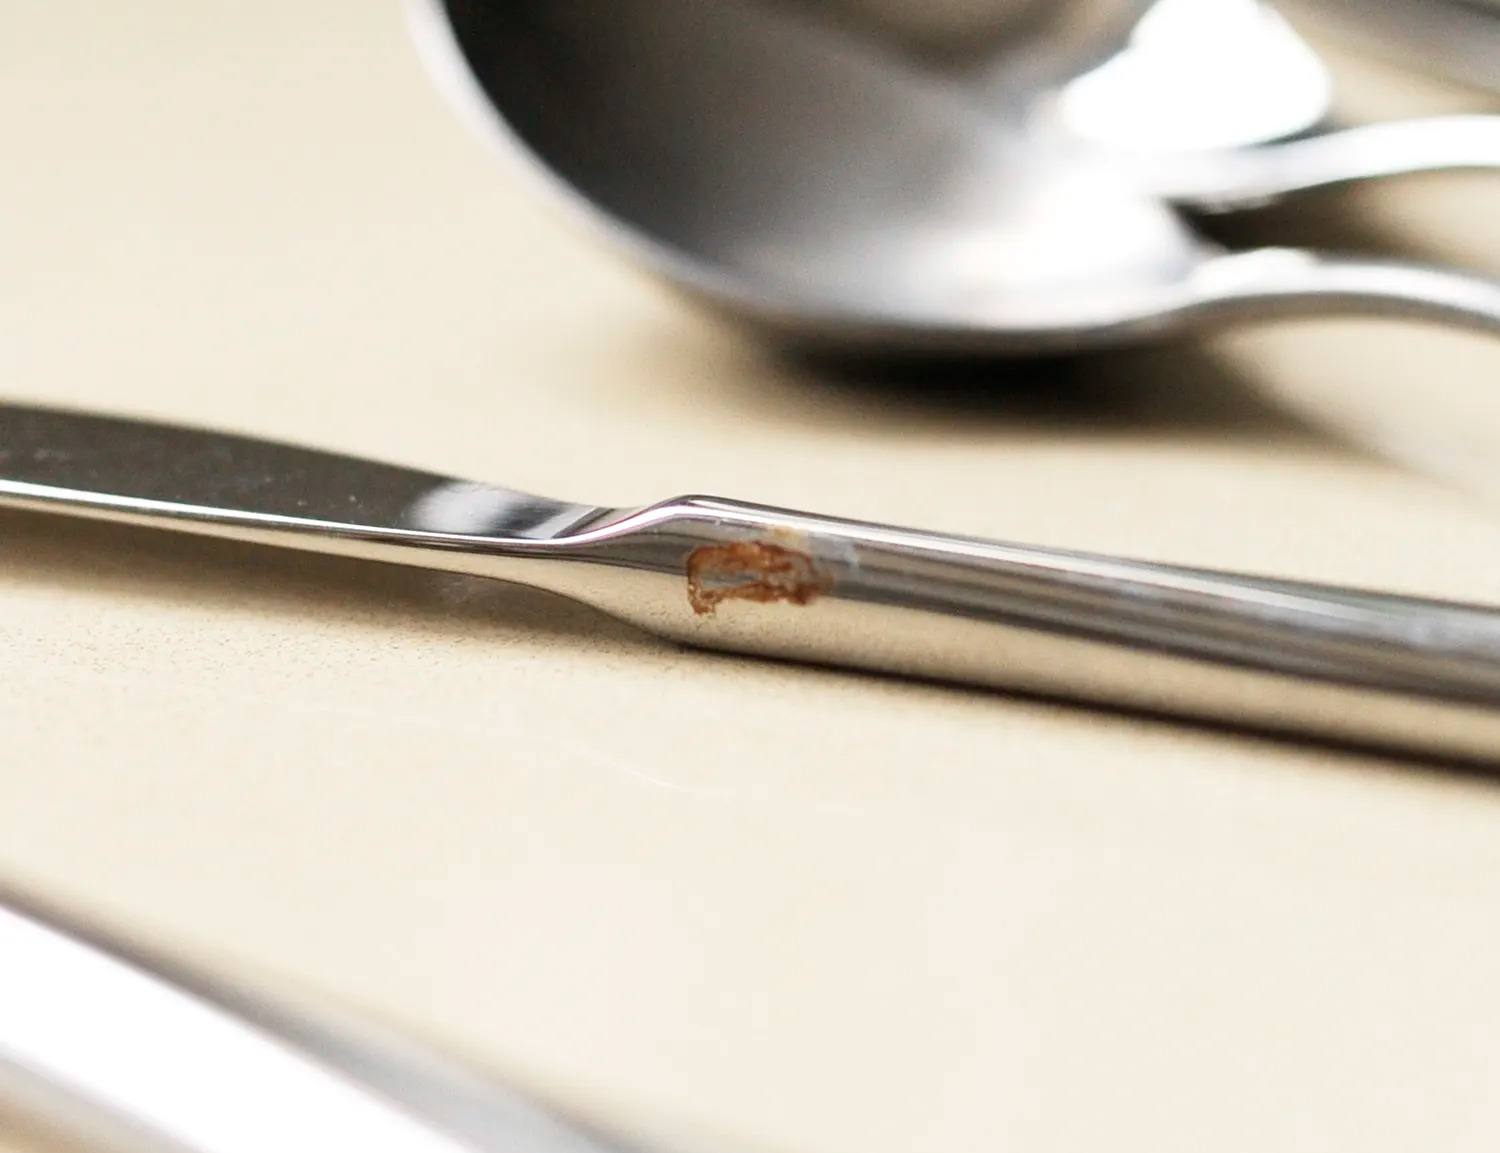
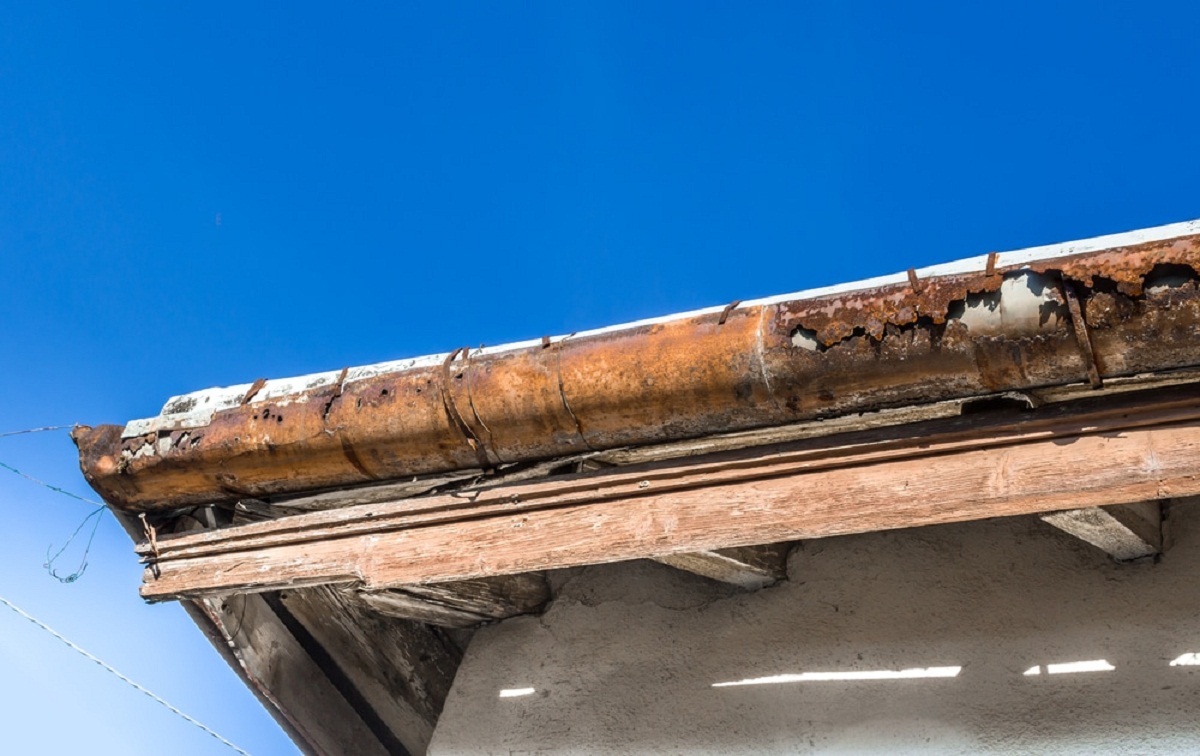
Begin by closely examining the rusty areas in your bathtub. Look for signs of discoloration, pitting, or flaking of the surface. Rust often appears as reddish-brown stains or rough patches on the metal surface, indicating the presence of iron oxide, a common result of prolonged exposure to moisture and oxygen.
Next, use a gentle abrasive, such as a fine-grit sandpaper or a soft-bristled brush, to lightly scrub the rusty areas. This will help reveal the true extent of the damage by removing any loose rust particles and exposing the underlying metal surface. Pay close attention to any areas where the rust has penetrated deeply or where the metal has become significantly corroded.
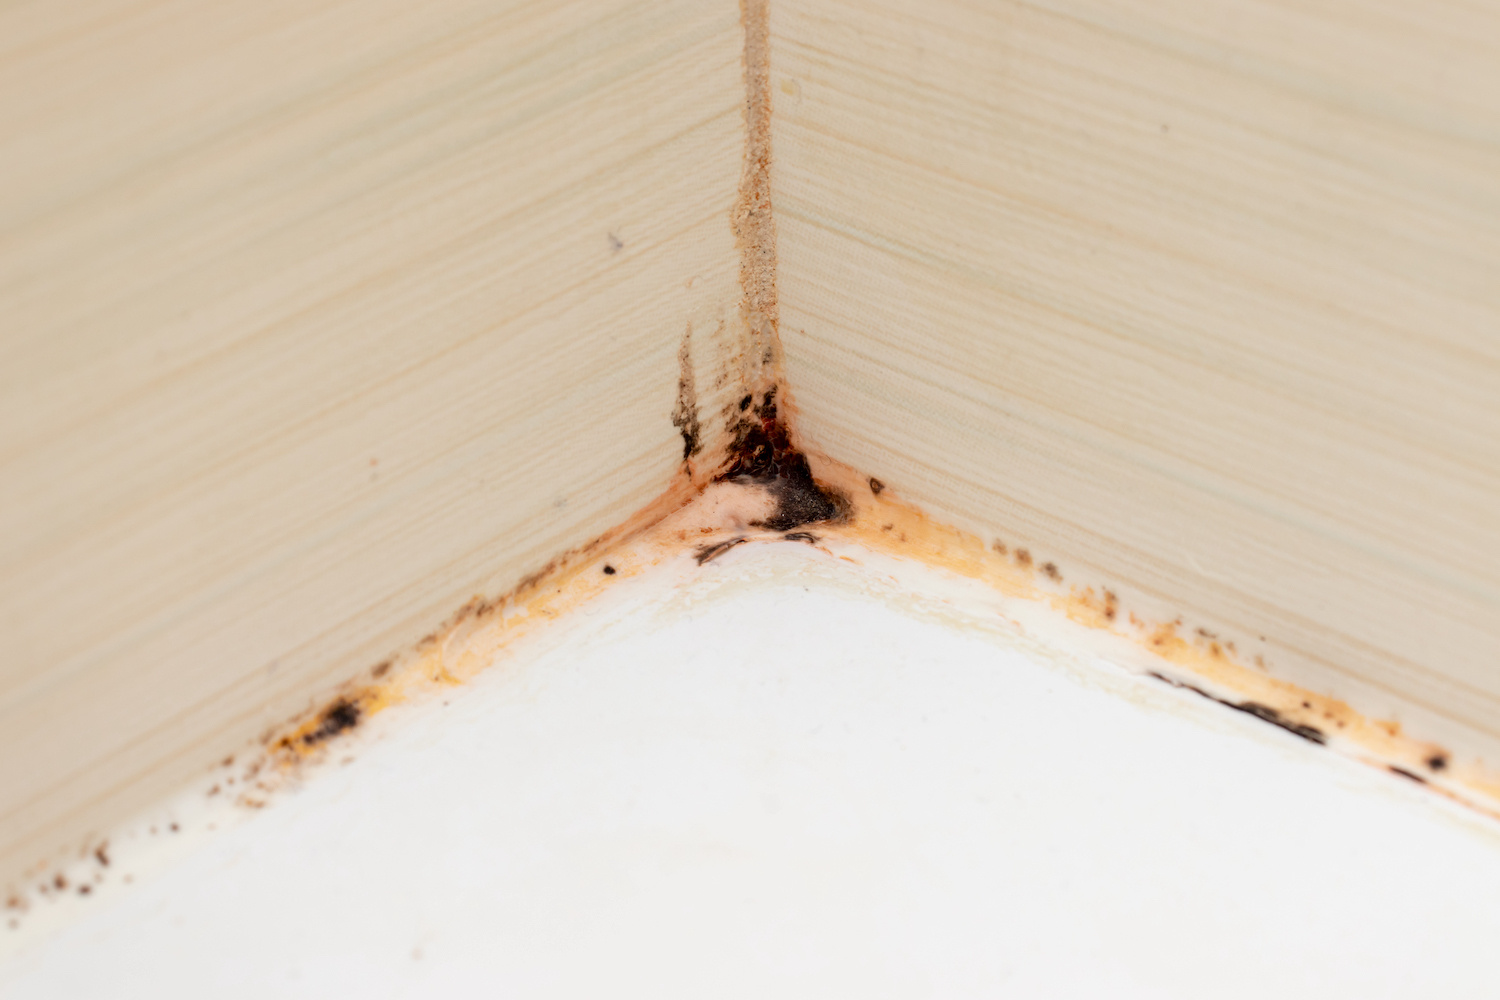
Additionally, inspect the surrounding areas for any signs of water damage, such as peeling paint, discolored caulking, or dampness. This will help identify any underlying issues contributing to the rust formation, such as leaks or inadequate ventilation, which should be addressed to prevent future rusting.
As you assess the rust damage, take note of the affected areas' size, location, and severity. This information will be essential in determining the amount of cleaning, treatment, and coating materials needed to effectively cover the rust and restore the bathtub's surface.
By thoroughly assessing the rust damage, you'll gain a clear understanding of the scope of the problem and be better equipped to proceed with the subsequent steps in the rust-covering process. With this knowledge in hand, you can confidently move forward in addressing the rust in your bathtub, ultimately restoring it to a pristine and rust-free condition.
Cleaning the Rusty Area
Cleaning the rusty area is a crucial step in the process of covering rust in a bathtub. By thoroughly removing surface contaminants and loose rust particles, you can create a clean and stable foundation for the subsequent treatment and coating steps. Here's a detailed guide on how to effectively clean the rusty area of your bathtub:
-
Gather the Necessary Supplies: Before starting the cleaning process, gather the essential supplies, including rubber gloves, a mild abrasive cleaner, such as baking soda or a commercial rust remover, a soft-bristled brush or sponge, and clean water for rinsing.
-
Protect Yourself: Put on rubber gloves to protect your hands from the cleaning agents and rust particles. Safety should always be a priority when dealing with cleaning solutions and rust removal.
-
Apply the Cleaner: Depending on the severity of the rust, apply the mild abrasive cleaner or rust remover to the affected areas. If using baking soda, create a paste by mixing it with a small amount of water. For commercial rust removers, follow the manufacturer's instructions for application.
-
Scrub the Surface: Use a soft-bristled brush or sponge to gently scrub the rusty areas. Work in small, circular motions to loosen and remove the surface rust. Take care not to scrub too aggressively, especially if the bathtub surface is enamel or acrylic, to avoid causing damage.
-
Rinse Thoroughly: After scrubbing, thoroughly rinse the cleaned areas with clean water. This will help remove any residual cleaner or rust particles, ensuring a clean and residue-free surface.
-
Inspect the Results: Once the cleaning process is complete, inspect the cleaned areas to assess the effectiveness of the cleaning. Look for any remaining rust or stubborn stains that may require additional attention.
-
Repeat if Necessary: For stubborn rust stains, you may need to repeat the cleaning process or use a more potent rust remover. Be patient and thorough in this step to ensure that the surface is free from loose rust and contaminants.
By following these detailed steps, you can effectively clean the rusty areas of your bathtub, preparing it for the subsequent treatment and coating processes. A clean and properly prepared surface is essential for the successful application of rust converters, primers, and coatings, ultimately leading to a durable and visually appealing finish.
Applying a Rust Converter
After thoroughly cleaning the rusty areas of the bathtub, the next critical step in the rust-covering process is applying a rust converter. A rust converter is a specialized chemical solution designed to transform iron oxide (rust) into a stable and inert compound, effectively halting the corrosion process and preparing the surface for further treatment and coating.
Here's a detailed guide on how to effectively apply a rust converter to the rusty areas of your bathtub:
-
Prepare the Rust Converter: Begin by carefully reading and following the manufacturer's instructions for the rust converter product you have selected. Ensure that you are working in a well-ventilated area and wear appropriate protective gear, such as gloves and a mask, as recommended by the product instructions.
-
Apply the Rust Converter: Using a brush, roller, or spray applicator, apply the rust converter evenly to the cleaned and dried rusty areas of the bathtub. Ensure complete coverage of the affected surfaces, allowing the converter to penetrate and react with the remaining rust.
-
Allow for Chemical Reaction: Once applied, allow the rust converter to undergo a chemical reaction with the rust. This process typically involves the formation of a stable compound, often with a dark or black appearance, indicating the conversion of rust into a more stable form.
-
Observe the Transformation: As the rust converter reacts with the rust, observe the transformation of the affected areas. You may notice a visible change in the appearance of the rust, signaling the conversion process taking place. This step is crucial in ensuring that the rust is effectively neutralized and stabilized.
-
Follow Product Guidelines: Adhere to the recommended curing time specified by the rust converter product. This allows sufficient time for the chemical reaction to occur and for the converted rust to form a protective layer on the bathtub surface.
-
Inspect the Treated Areas: After the designated curing period, carefully inspect the treated areas to ensure that the rust has been effectively converted. Look for signs of stabilized rust and a uniform appearance across the treated surfaces.
By following these detailed steps, you can effectively apply a rust converter to the rusty areas of your bathtub, halting the corrosion process and preparing the surface for the subsequent steps in the rust-covering process. A properly applied rust converter forms a stable foundation for the application of primers and coatings, ensuring long-lasting protection against future rust formation.
Use a rust-inhibiting primer to cover the rust in your bathtub. Make sure to sand the area first, then apply the primer and let it dry completely before applying a waterproof paint.
Sanding and Smoothing the Surface
Once the rust converter has effectively neutralized and stabilized the rusty areas of the bathtub, the next crucial step in the rust-covering process is sanding and smoothing the surface. This essential step is aimed at preparing the treated areas for the application of a primer and subsequent coating, ensuring a smooth and uniform finish that effectively covers the rust and restores the bathtub's surface to its original luster.
Here's a detailed guide on how to effectively sand and smooth the surface of the bathtub after applying the rust converter:
-
Gather the Necessary Supplies: Before beginning the sanding process, gather the essential supplies, including fine-grit sandpaper (such as 220-grit), a sanding block or sponge, clean water for rinsing, and a soft cloth for drying. Additionally, ensure that the work area is well-ventilated to minimize dust and debris accumulation.
-
Prepare the Treated Areas: Ensure that the treated areas of the bathtub are clean and free from any residual rust converter or contaminants. Use a soft cloth dampened with clean water to gently wipe the surfaces, removing any remaining debris or particles.
-
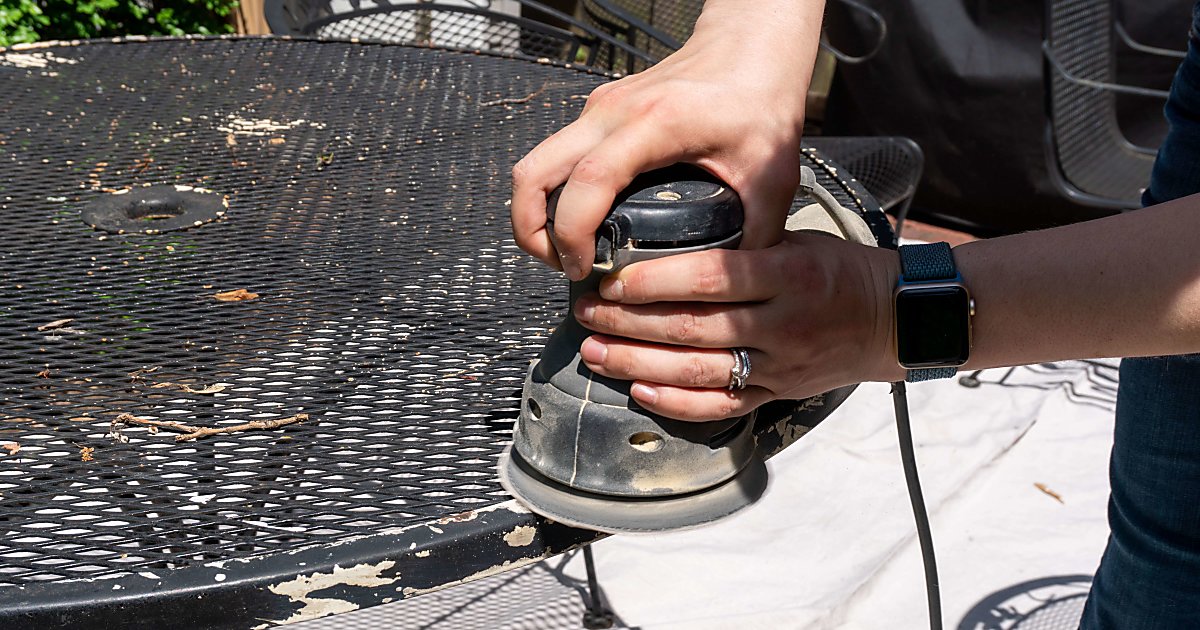
Begin Sanding: Using the fine-grit sandpaper, carefully sand the treated areas in smooth, even strokes. The goal is to gently smooth the surface, removing any rough or uneven areas while promoting adhesion for the subsequent primer and coating.
-
Inspect the Surface: Periodically stop and inspect the sanded areas to ensure that the surface is becoming smooth and uniform. Look for any remaining rough patches or imperfections that may require additional attention.
-
Use a Sanding Block or Sponge: To maintain a consistent and level surface, consider using a sanding block or sponge to evenly distribute the pressure and achieve a uniform finish. This can help prevent over-sanding in specific areas, ensuring a balanced result.
-
Rinse and Dry the Surface: Once the sanding process is complete, thoroughly rinse the sanded areas with clean water to remove any sanding residue and debris. Use a soft cloth to dry the surface, ensuring that it is clean and ready for the next steps in the rust-covering process.
By following these detailed steps, you can effectively sand and smooth the surface of the bathtub after applying the rust converter, preparing it for the application of a primer and coating. This critical step ensures that the treated areas are smooth, uniform, and optimally primed for the subsequent coating, ultimately leading to a durable and visually appealing finish that effectively covers the rust and restores the bathtub to its original condition.
Read more: How To Remove Rust From The Bathtub
Applying a Primer
After effectively neutralizing the rust and smoothing the surface of the bathtub, the next pivotal step in the rust-covering process is applying a high-quality primer. The primer serves as a crucial intermediary layer between the treated surface and the final coating, providing adhesion, corrosion resistance, and a smooth base for the topcoat. Here's a comprehensive guide on how to effectively apply a primer to the treated areas of your bathtub:
-
Select the Right Primer: Choose a primer specifically formulated for metal surfaces and rust inhibition. Look for a high-quality, rust-inhibitive primer designed to provide long-term protection against corrosion. Consider factors such as compatibility with the subsequent coating and the ability to adhere to treated metal surfaces.
-
Prepare the Work Area: Ensure that the work area is well-ventilated and free from dust or debris that could compromise the primer application. Protect surrounding surfaces and fixtures to prevent accidental primer overspray or spills.
-
Shake and Stir the Primer: Thoroughly mix the primer according to the manufacturer's instructions. Properly mixing the primer ensures uniform consistency and optimal performance during application.
-
Apply the Primer: Using a brush, roller, or spray applicator, apply the primer evenly to the treated areas of the bathtub. Ensure complete coverage, working in smooth and overlapping strokes to achieve a consistent layer of primer. Pay particular attention to any intricate or hard-to-reach areas, ensuring that the primer reaches all exposed metal surfaces.
-
Allow for Drying Time: Follow the manufacturer's recommended drying time for the primer. This allows the primer to form a strong bond with the treated surface, promoting adhesion and corrosion resistance.
-
Inspect the Primed Surface: After the primer has dried, carefully inspect the primed areas to ensure uniform coverage and adhesion. Look for any missed spots or uneven application that may require additional touch-ups.
-
Apply Additional Coats if Necessary: Depending on the primer's instructions and the condition of the treated surface, you may need to apply multiple coats of primer to achieve the desired level of corrosion protection and adhesion. Follow the recommended recoat intervals to ensure optimal primer performance.
By following these detailed steps, you can effectively apply a primer to the treated areas of your bathtub, creating a durable and corrosion-resistant foundation for the final coating. A properly applied primer provides essential protection against rust recurrence and ensures a long-lasting, visually appealing finish that restores your bathtub to its original luster.
Painting the Bathtub
After completing the crucial steps of rust assessment, cleaning, applying a rust converter, and priming the bathtub, the final transformative phase involves painting the bathtub. This step not only serves as the aesthetic finish but also provides a protective barrier against moisture and further rust formation. Here's a detailed guide on how to effectively paint the bathtub, ensuring a durable and visually appealing result:
-
Select the Right Paint: Choose a high-quality, rust-inhibitive enamel paint specifically designed for use on bathtubs and metal surfaces. Look for a paint product that offers excellent adhesion, durability, and resistance to moisture and chemicals. Consider the color options available and select a shade that complements your bathroom decor.
-
Prepare the Work Area: Ensure that the surrounding area is adequately protected from paint overspray or spills. Cover nearby fixtures, walls, and flooring with drop cloths or plastic sheeting to prevent accidental paint damage. Proper ventilation is essential to minimize fumes and ensure a well-ventilated workspace.
-
Mix and Prepare the Paint: Thoroughly mix the enamel paint according to the manufacturer's instructions. Properly mixing the paint ensures uniform consistency and optimal performance during application. If necessary, use a paint thinner or conditioner as recommended by the product instructions.
-
Apply the Paint: Using a high-quality brush, roller, or spray applicator, apply the enamel paint evenly to the primed surface of the bathtub. Work in smooth, overlapping strokes to achieve a consistent and uniform layer of paint. Pay attention to detail, ensuring that all areas, including corners and edges, receive adequate paint coverage.
-
Allow for Drying Time: Follow the manufacturer's recommended drying time for the paint. This allows the enamel paint to cure and form a durable, protective finish on the bathtub surface. Avoid using the bathtub until the paint has fully dried to prevent any smudges or imperfections.
-
Inspect the Painted Surface: After the paint has dried, carefully inspect the painted bathtub surface to ensure a smooth and even finish. Look for any missed spots, drips, or uneven application that may require touch-ups. Address any imperfections promptly to achieve a flawless result.
-
Apply Additional Coats if Necessary: Depending on the paint's coverage and the desired finish, you may need to apply multiple coats of enamel paint. Follow the recommended recoat intervals and techniques to achieve a durable and visually appealing finish.
By following these detailed steps, you can effectively paint the bathtub, transforming it into a visually appealing and protected fixture in your bathroom. A properly painted bathtub not only covers the rust effectively but also enhances the overall aesthetic appeal of your bathroom, providing long-lasting protection and durability.
Maintaining the Coating
Maintaining the newly applied coating on your bathtub is essential to ensure its longevity and continued protection against rust and corrosion. By implementing regular maintenance practices, you can preserve the pristine appearance of your bathtub and prevent the recurrence of rust. Here's a comprehensive guide on how to effectively maintain the coating on your bathtub:
-
Regular Cleaning: Establish a routine for cleaning your bathtub to remove soap scum, mineral deposits, and other residues that can compromise the coating. Use a mild, non-abrasive cleaner and a soft cloth or sponge to gently clean the surface. Avoid harsh chemicals or abrasive cleaning tools that can damage the coating.
-
Avoid Abrasive Materials: When cleaning or performing maintenance on the bathtub, refrain from using abrasive materials such as steel wool or harsh scrubbing pads. These can scratch the coating and diminish its protective properties. Opt for soft cleaning tools and gentle cleaning solutions to maintain the coating's integrity.
-
Prompt Repairs: Keep an eye out for any signs of wear, chipping, or damage to the coating. Promptly address any issues by performing touch-up repairs using the appropriate coating materials. This proactive approach can prevent rust from developing in exposed areas and maintain the overall effectiveness of the coating.
-
Monitor Caulking and Seals: Inspect the caulking and seals around the bathtub regularly to ensure they remain intact and watertight. Damaged or deteriorating caulking can lead to water intrusion, potentially compromising the coating and promoting rust formation. Replace any worn or damaged caulking promptly to maintain a secure seal.
-
Prevent Standing Water: After each use, wipe down the bathtub surface to remove any standing water. Standing water can contribute to the breakdown of the coating and create an environment conducive to rust formation. By keeping the surface dry, you can prolong the lifespan of the coating and minimize the risk of corrosion.
-
Address Plumbing Issues: Address any plumbing issues that may lead to water leakage or excessive moisture around the bathtub. Persistent moisture can compromise the coating and create conditions favorable for rust. Ensure that plumbing fixtures and connections are in good condition to prevent potential water-related damage.
By incorporating these maintenance practices into your regular household routine, you can effectively preserve the coating on your bathtub and extend its durability. Consistent care and attention to the condition of the coating will contribute to a rust-free and visually appealing bathtub, enhancing the overall aesthetics and functionality of your bathroom space.
Frequently Asked Questions about How To Cover Rust In Bathtub
Was this page helpful?
At Storables.com, we guarantee accurate and reliable information. Our content, validated by Expert Board Contributors, is crafted following stringent Editorial Policies. We're committed to providing you with well-researched, expert-backed insights for all your informational needs.


0 thoughts on “How To Cover Rust In Bathtub”