
Articles
How To Make Pizza Dough In Bread Machine
Modified: February 28, 2024
Learn how to effortlessly make homemade pizza dough in your bread machine with this easy-to-follow recipe. Enjoy delicious, freshly baked crusts with this step-by-step guide.
(Many of the links in this article redirect to a specific reviewed product. Your purchase of these products through affiliate links helps to generate commission for Storables.com, at no extra cost. Learn more)
Introduction
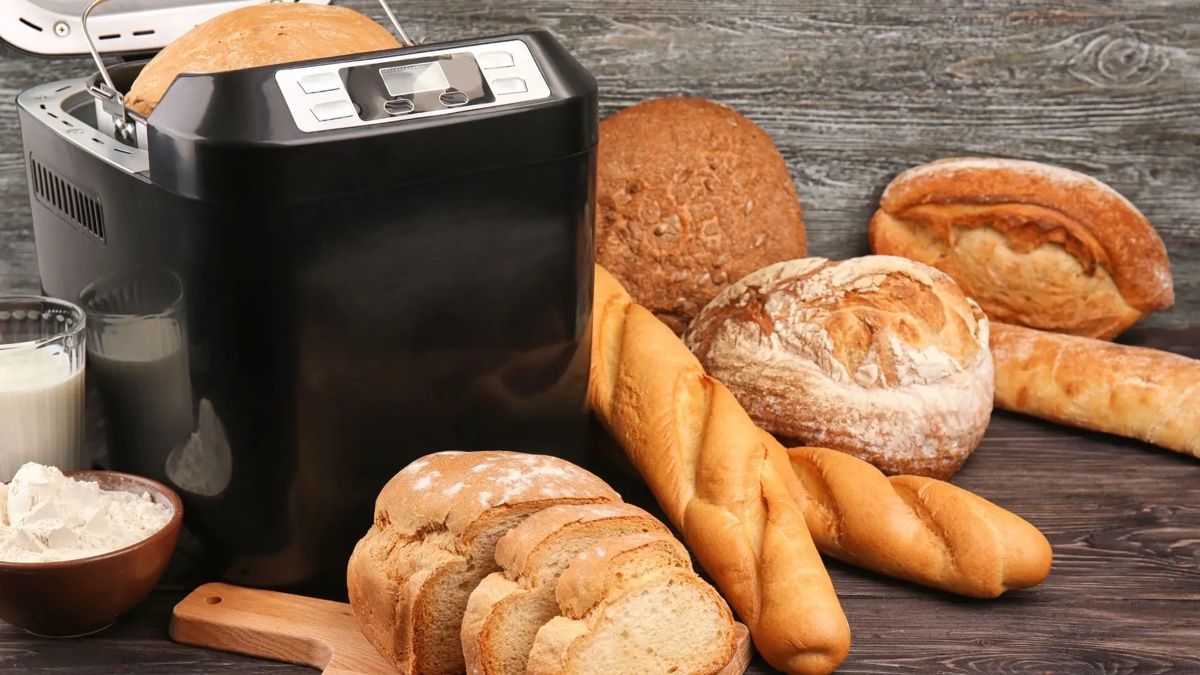
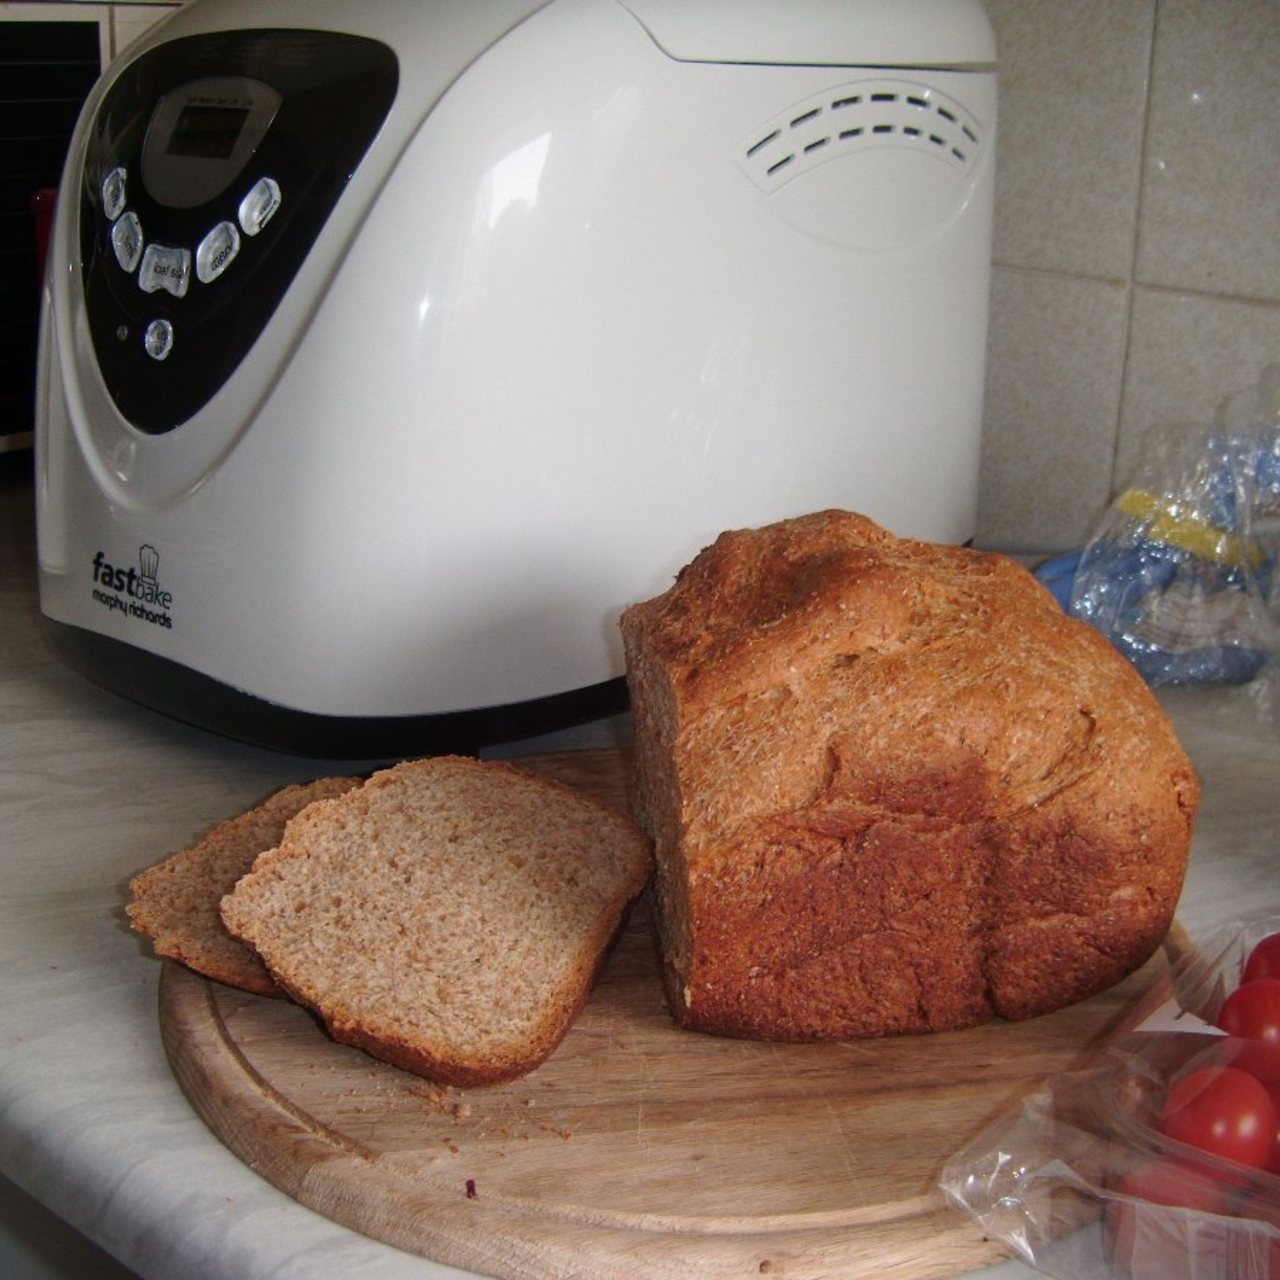
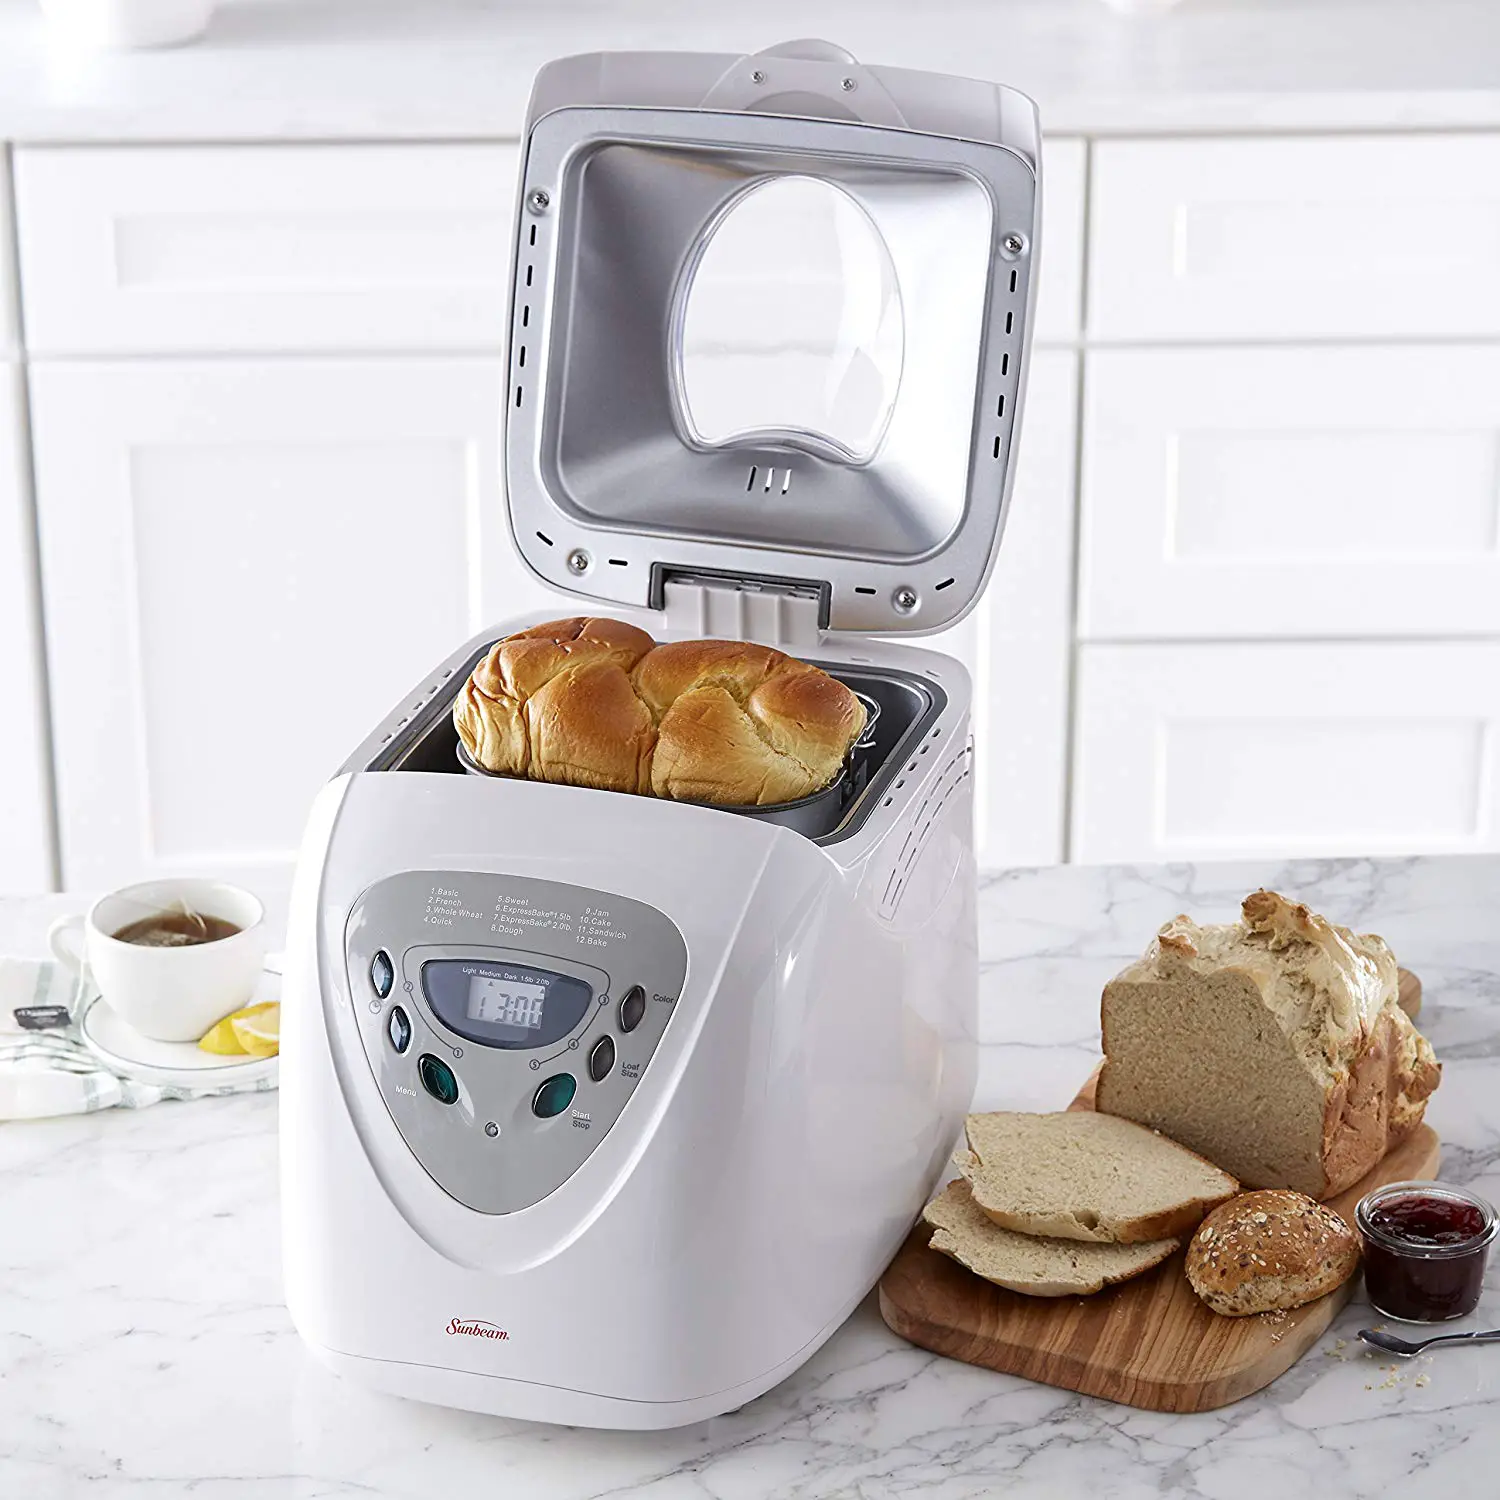
Making homemade pizza can be a fun and delicious way to spend an evening with family or friends. And what better way to start than by learning how to make pizza dough in a bread machine? This handy kitchen appliance takes all the hard work out of kneading and rising the dough, allowing you to focus on choosing the perfect toppings and enjoying the pizza-making process.
Whether you’re a seasoned baker or a novice in the kitchen, using a bread machine to make pizza dough is a convenient and foolproof method. The bread machine handles the mixing, kneading, and rising, ensuring that your dough comes out perfect every time. Plus, it saves you time and effort compared to making the dough by hand.
In this article, we will guide you through the step-by-step process of making pizza dough in a bread machine. We’ll cover everything from assembling the ingredients to shaping the dough and adding your favorite toppings. So, put on your apron and get ready to create a delicious pizza crust that will rival your favorite pizzeria!
Key Takeaways:
- Making pizza dough in a bread machine is a convenient and foolproof method, saving time and effort compared to making the dough by hand. It’s a fun and delicious way to create a homemade pizza that rivals your favorite pizzeria!
- By using a bread machine, you can easily assemble the ingredients, select the dough setting, and let the machine do the hard work of mixing, kneading, and rising the dough. This streamlined process allows you to focus on shaping the dough, adding your favorite toppings, and baking a perfect homemade pizza.
Read more: How To Make Dough In Bread Machine
Ingredients
Before you get started, make sure you have all the necessary ingredients on hand to make your homemade pizza dough. Here’s what you’ll need:
- 2 and ¼ cups of all-purpose flour
- 1 teaspoon of sugar
- 1 teaspoon of salt
- 2 tablespoons of olive oil
- 1 cup of warm water (around 110°F/43°C)
- 2 and ¼ teaspoons of active dry yeast
These simple ingredients are the foundation of a classic pizza dough recipe. Feel free to experiment and add your own personal touch by incorporating herbs, spices, or other flavorings into the dough.
Now that you have all the necessary ingredients, it’s time to dive into the step-by-step process of making pizza dough in a bread machine. Follow along closely, and soon you’ll be enjoying a homemade pizza that will impress your taste buds!
Step 1: Assemble the ingredients
Before you start making the pizza dough in your bread machine, make sure to gather all the ingredients and have them measured and ready to go. This will make the process much smoother and more efficient.
Start by measuring out 2 and ¼ cups of all-purpose flour. It’s essential to use the right type of flour for pizza dough, as it provides the perfect balance of texture and structure. You can also use a combination of all-purpose flour and whole wheat flour for a healthier twist.
Next, add 1 teaspoon of sugar and 1 teaspoon of salt to the flour. The sugar helps activate the yeast, while the salt enhances the flavor of the dough. Sprinkle them evenly over the flour and give it a quick stir to distribute the ingredients.
Now, it’s time to add the wet ingredients. Measure out 2 tablespoons of olive oil and add it to the bowl of your bread machine. The oil not only adds moisture to the dough but also contributes to its overall flavor. It helps create a golden brown crust and adds a hint of richness.
Last but not least, you’ll need 1 cup of warm water (around 110°F/43°C) and 2 and ¼ teaspoons of active dry yeast. The warm water helps activate the yeast, allowing it to feed on the sugars and create those airy bubbles that give pizza dough its light and chewy texture.
Now that you have all the ingredients assembled, you’re ready to move on to the next step: adding them to the bread machine. Get ready to watch the magic happen as your bread machine takes over and transforms these simple ingredients into a perfect pizza dough.
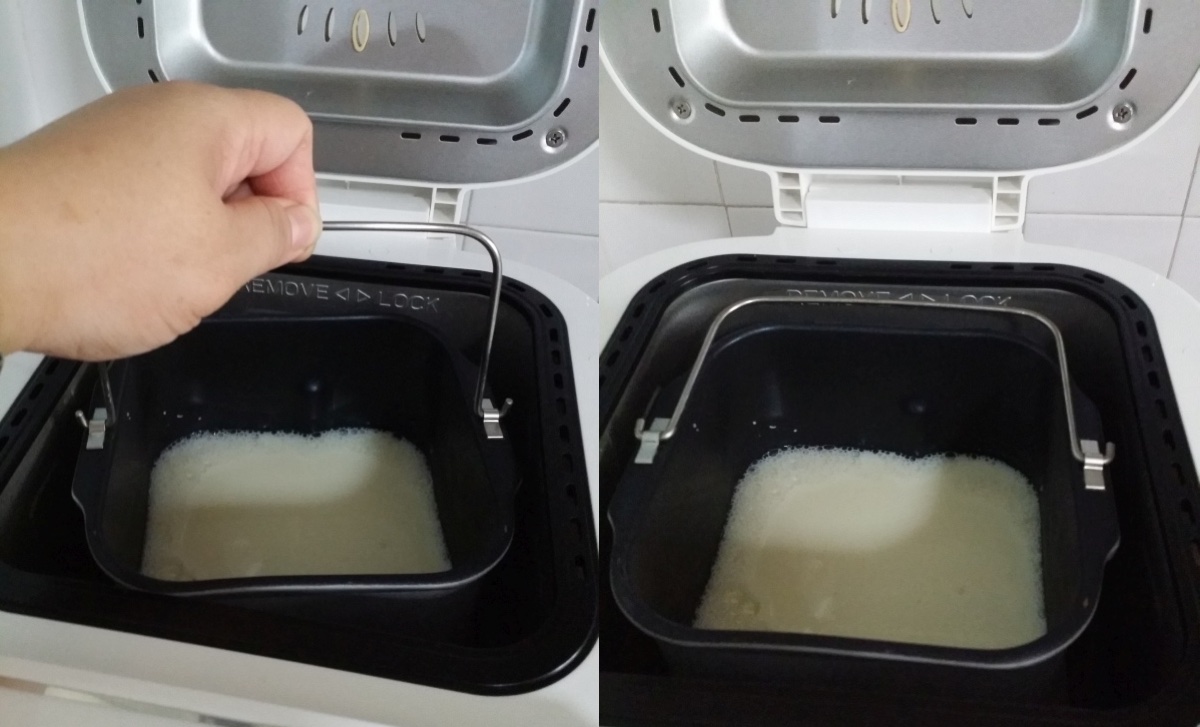
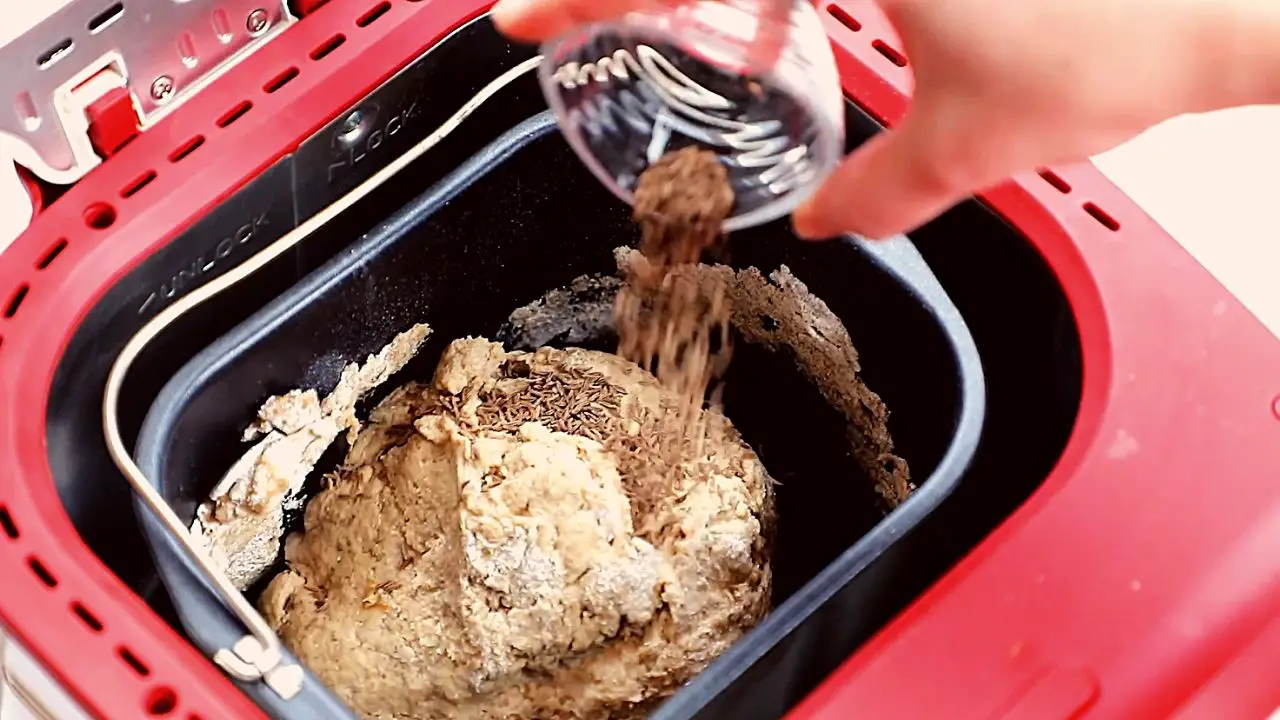
Step 2: Add ingredients to the bread machine
With all your ingredients assembled, it’s time to add them to the bread machine and let it work its magic. Here’s how:
- Open the lid of your bread machine and make sure the bread pan is securely in place.
- Add the dry ingredients, which include the flour, sugar, and salt, into the bread pan. Spread them evenly so that they are well-distributed.
- Next, pour the olive oil into the bread pan. The oil will ensure that the dough is moist and flavorful.
- Measure and add the warm water to the bread pan. The warm water will activate the yeast and help the dough rise.
- Finally, carefully measure out the active dry yeast and sprinkle it evenly over the water in the bread pan. Make sure the yeast does not come into direct contact with the salt, as it may affect its ability to rise properly.
Once you have added all the ingredients to the bread pan, it’s time to move on to the next step: selecting the dough setting on your bread machine. This setting will ensure that the dough is mixed, kneaded, and allowed to rise to the perfect consistency for your homemade pizza crust.
Step 3: Select the dough setting
Now that you have added all the ingredients to the bread machine, it’s time to select the appropriate dough setting. This setting will determine the length of time the dough will be mixed, kneaded, and allowed to rise.
Most bread machines have a specific setting for making dough, which is usually denoted by a symbol that looks like a ball of dough or a pizza crust. Consult your bread machine’s instruction manual to locate the dough setting.
Once you have found the dough setting, select it on your bread machine’s control panel. Depending on the model, you may need to use arrow keys or select specific buttons to navigate to the desired setting.
After selecting the dough setting, double-check that the time and crust color settings are appropriate for your preferences. For pizza dough, it’s recommended to use the default settings for medium crust color and regular dough cycle duration.
Now that you have selected the dough setting, it’s time to start the bread machine and let it do its work. Get ready to witness the transformation of the ingredients into a smooth and elastic pizza dough that is ready to be shaped and baked.
Read more: How To Make Pizza Dough For A Pizza Oven
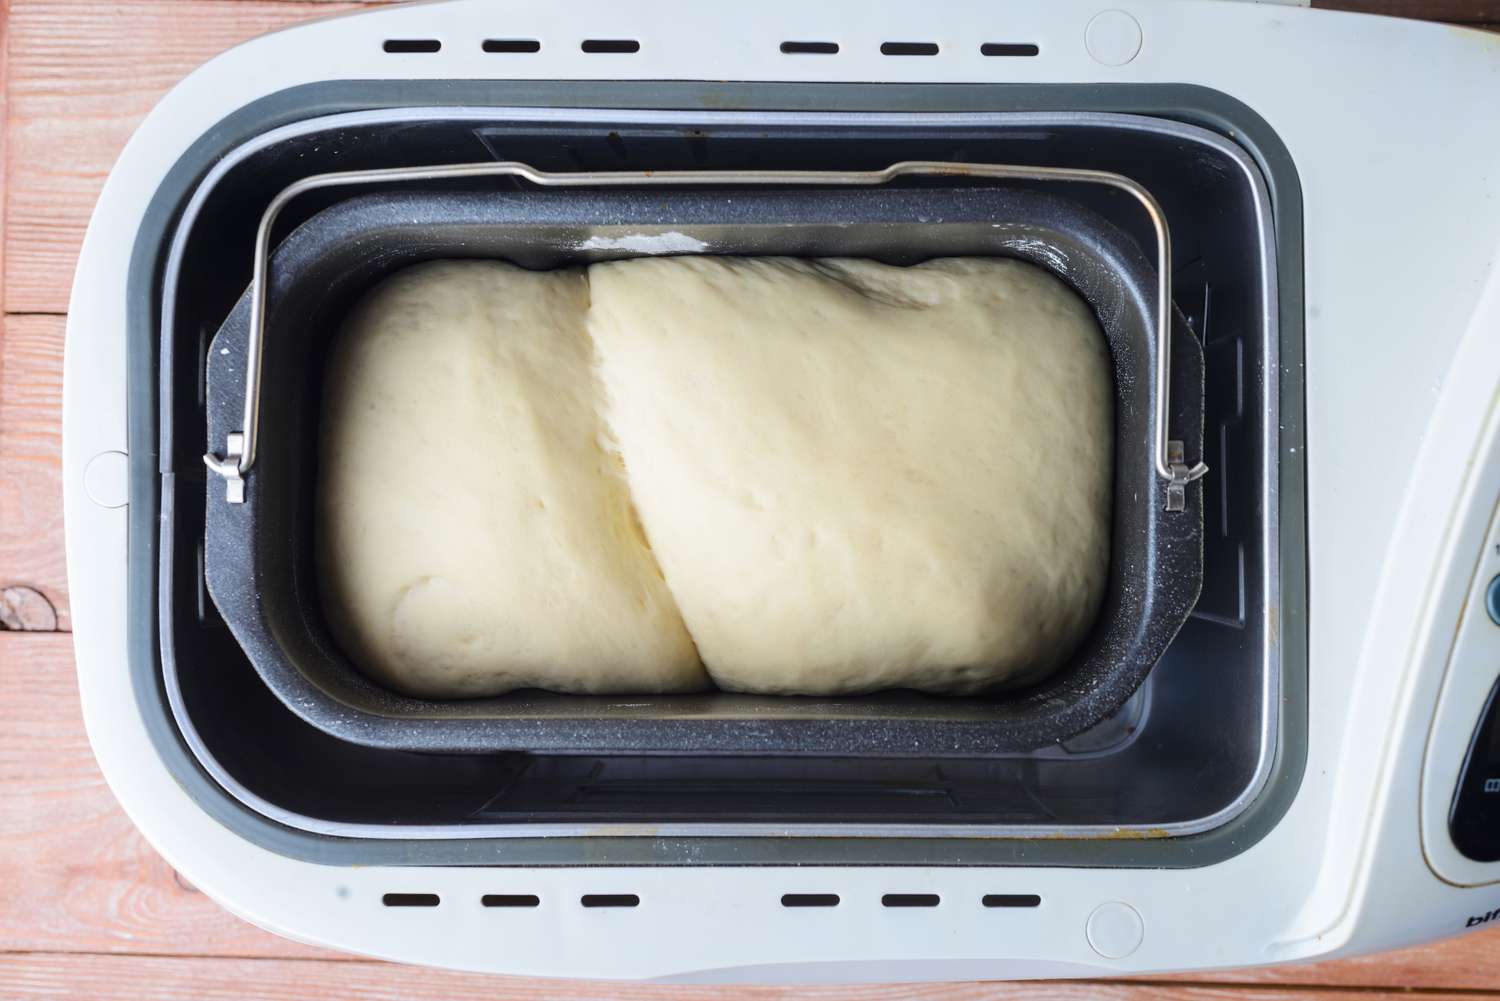
Step 4: Start the bread machine
With the dough setting selected and your desired crust color and cycle duration chosen, it’s time to start the bread machine and let it begin the process of making your pizza dough.
Find the “Start” or “On” button on your bread machine’s control panel and press it to initiate the dough cycle. The machine will begin mixing and kneading the ingredients, allowing them to come together to form a smooth and elastic dough.
As the bread machine starts, you’ll hear the sound of the mixing paddle rotating and the motor working to knead the dough. This process ensures that all the ingredients are well combined and the gluten in the flour is properly developed.
Once the bread machine is started, it will do all the hard work for you. You can sit back and relax, knowing that the machine will take care of the mixing, kneading, and rising of the pizza dough. You can use this time to prepare your pizza toppings or clean up the kitchen.
Depending on your bread machine model, the dough cycle typically takes around 1 to 1.5 hours to complete. During this time, the yeast will activate and the dough will rise, resulting in a soft and airy texture.
Now that the bread machine is running, it’s time to move on to the next step: monitoring the dough cycle to ensure that everything is going as planned. Grab a cup of coffee or tea and keep an eye on the machine as it works its magic!
Step 5: Monitor the dough cycle
While the bread machine is doing its work, it’s important to keep an eye on the dough cycle to ensure that everything is progressing as expected. Here are a few things to monitor:
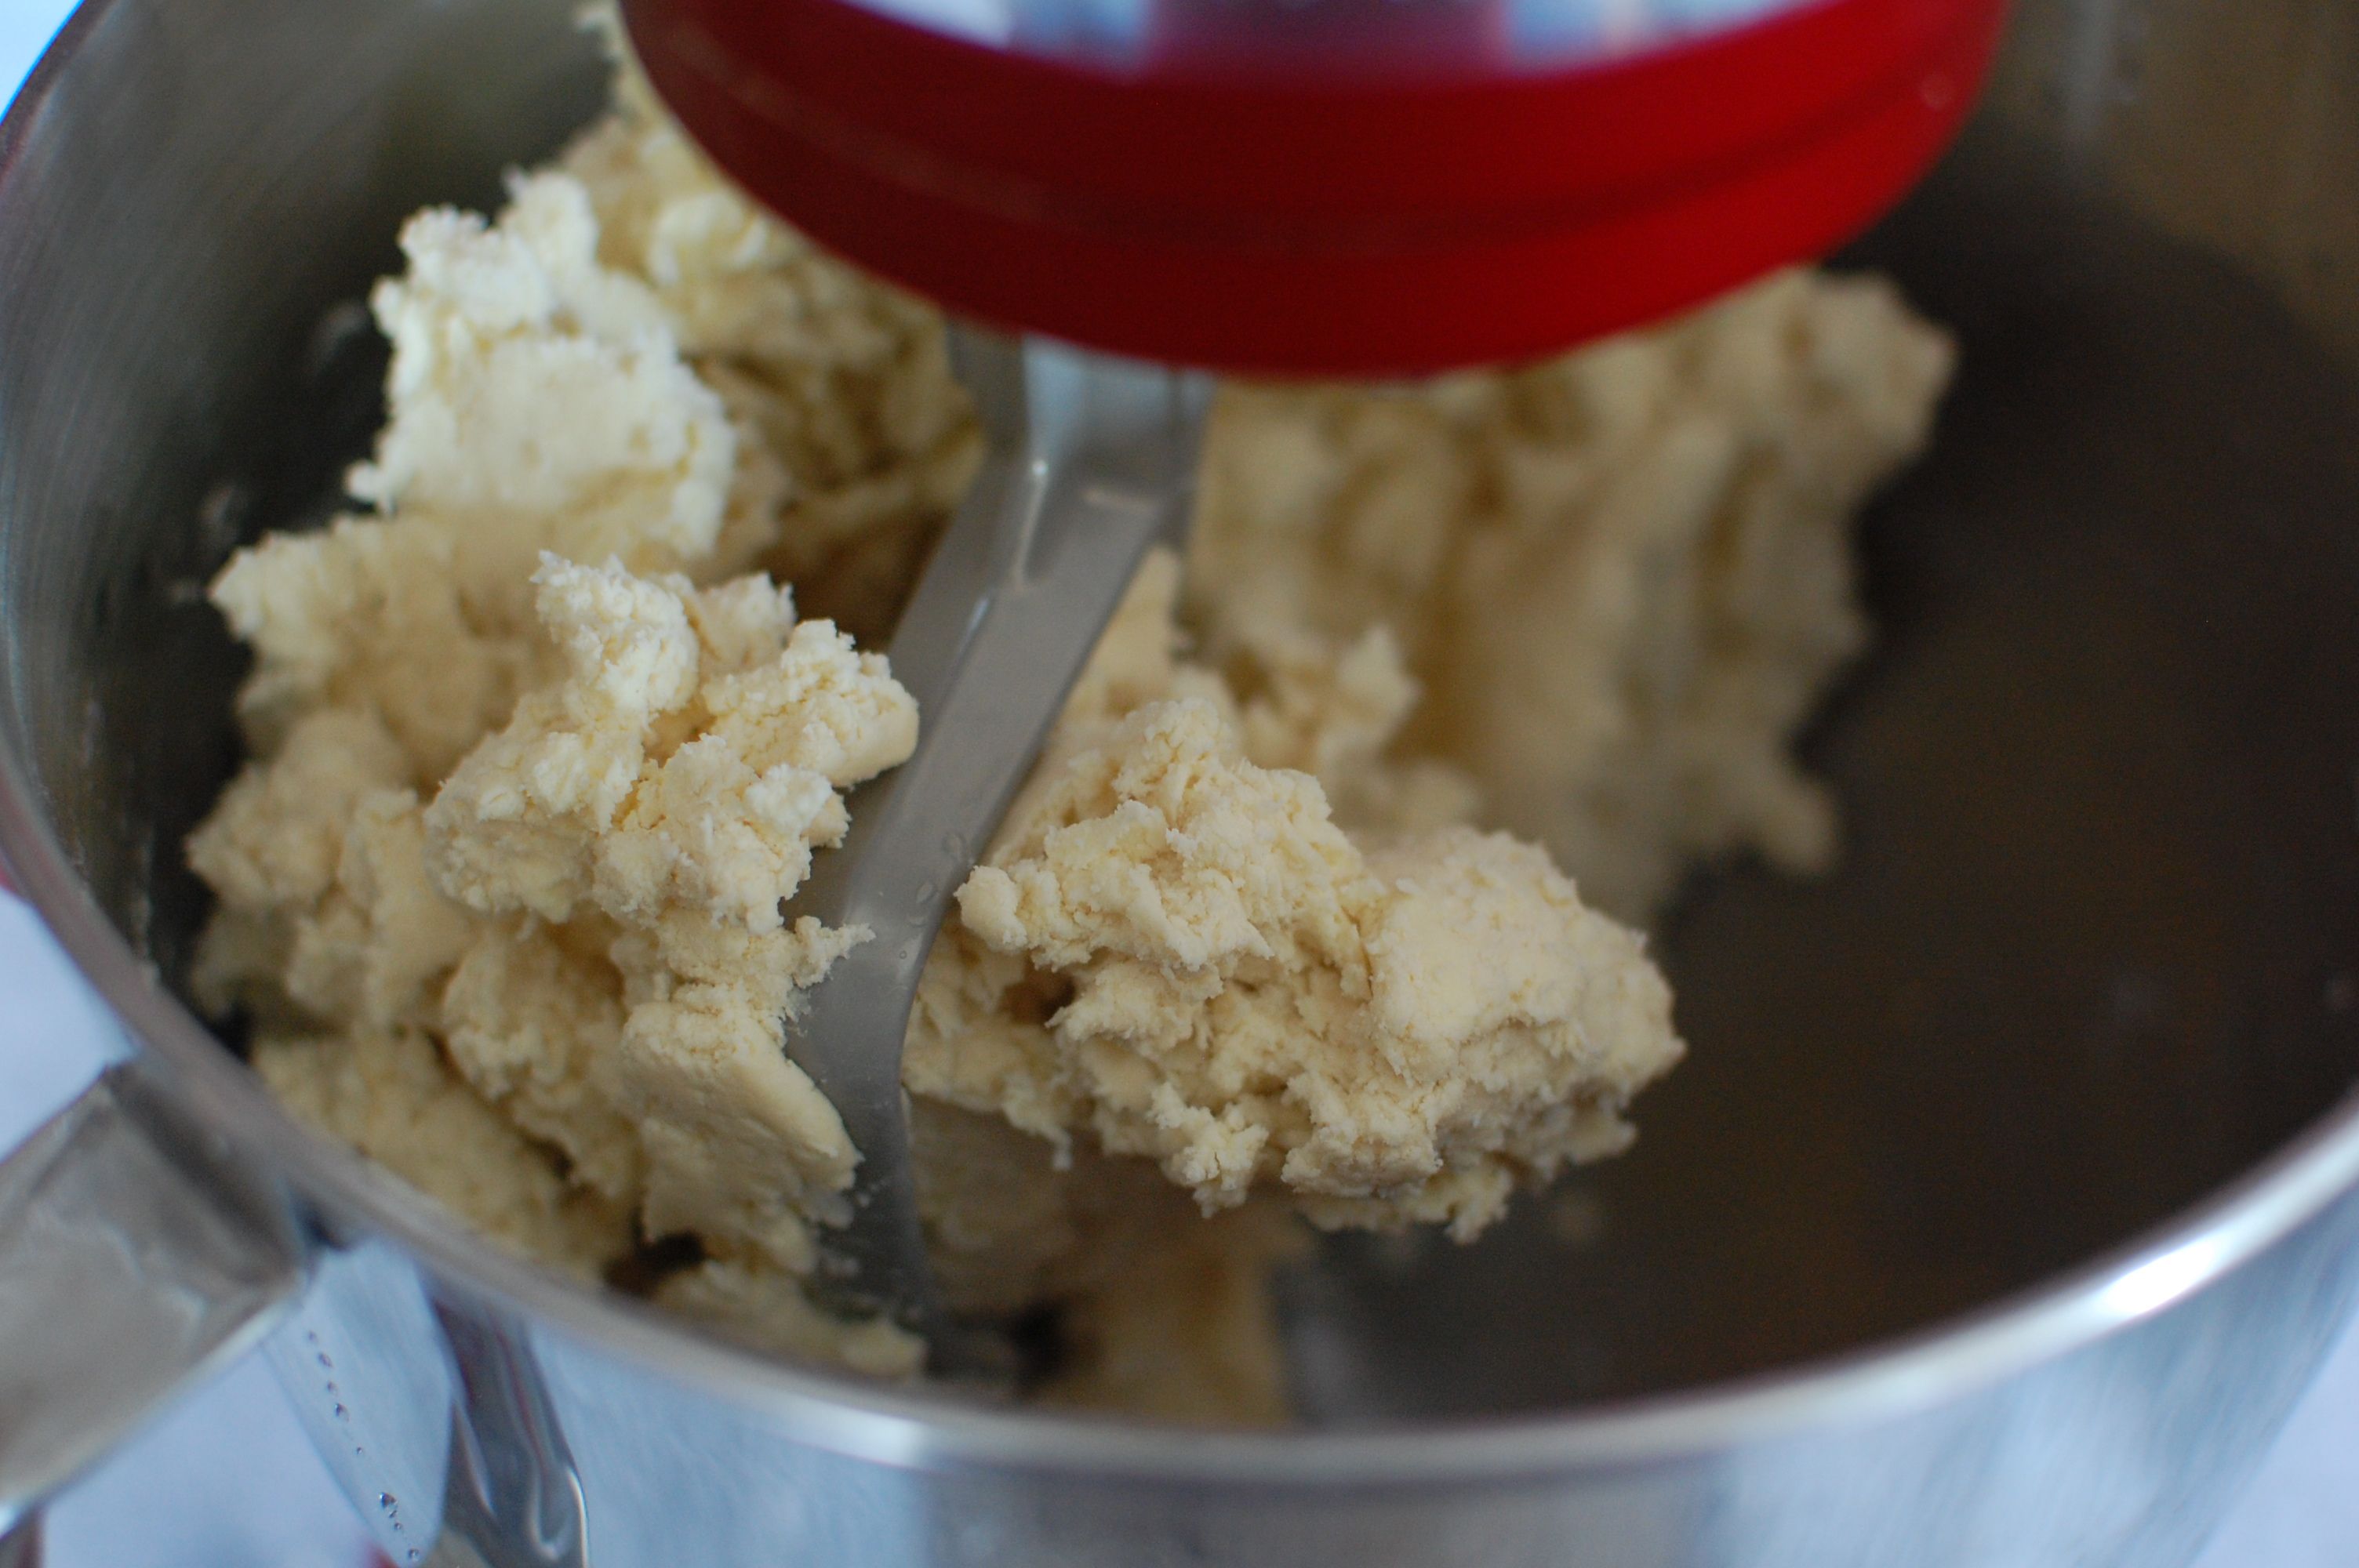
1. Mixing and kneading: Watch as the bread machine mixes and kneads the dough. You should see the ingredients coming together to form a cohesive mass. The dough should be slightly sticky but not overly wet. If the dough looks dry and crumbly, you can add a tablespoon of water at a time to achieve the right consistency. On the other hand, if the dough appears too wet and sticky, you can sprinkle a little flour to balance it out.
2. Rising: As the dough cycle progresses, the yeast in the dough will start to do its magic, causing the dough to rise. Keep an eye on the size of the dough and its height in the bread pan. It should roughly double in size during the rising phase. If the dough doesn’t seem to be rising adequately, there may be an issue with the yeast or the temperature. Check the yeast’s expiration date and ensure the water temperature is correct.
3. Time remaining: Throughout the dough cycle, your bread machine will display the remaining time on the control panel. Pay attention to this so that you know when the dough is ready. Once the cycle is complete, the machine will beep or display a notification to signify that your dough is done.
During the monitoring process, resist the temptation to open the lid of the bread machine too frequently. Opening it too often can disrupt the rising process and create temperature fluctuations, affecting the overall quality of the dough. Only open the lid if absolutely necessary or when the machine signals that the dough is ready.
Now that you’re keeping a close eye on the dough cycle, it’s time to prepare for the next steps: removing the dough from the bread machine and kneading it further by hand. Get ready to get your hands sticky and transform the dough into the perfect pizza crust!
Add the wet ingredients first, followed by the dry ingredients, and then make a small well in the flour for the yeast. This will help the yeast activate properly and ensure a successful dough.
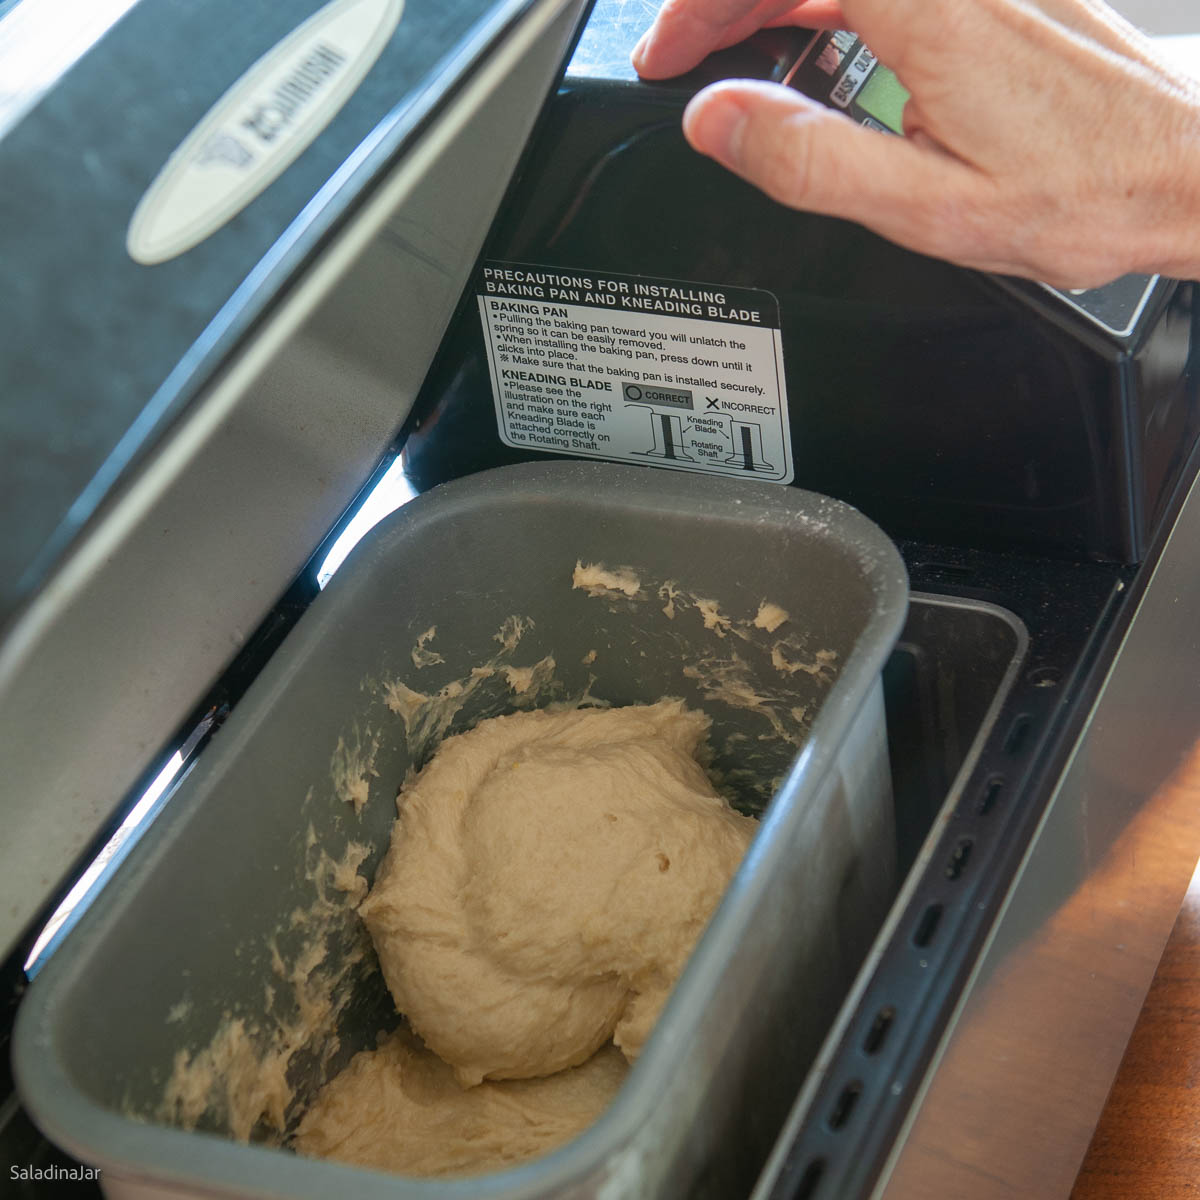
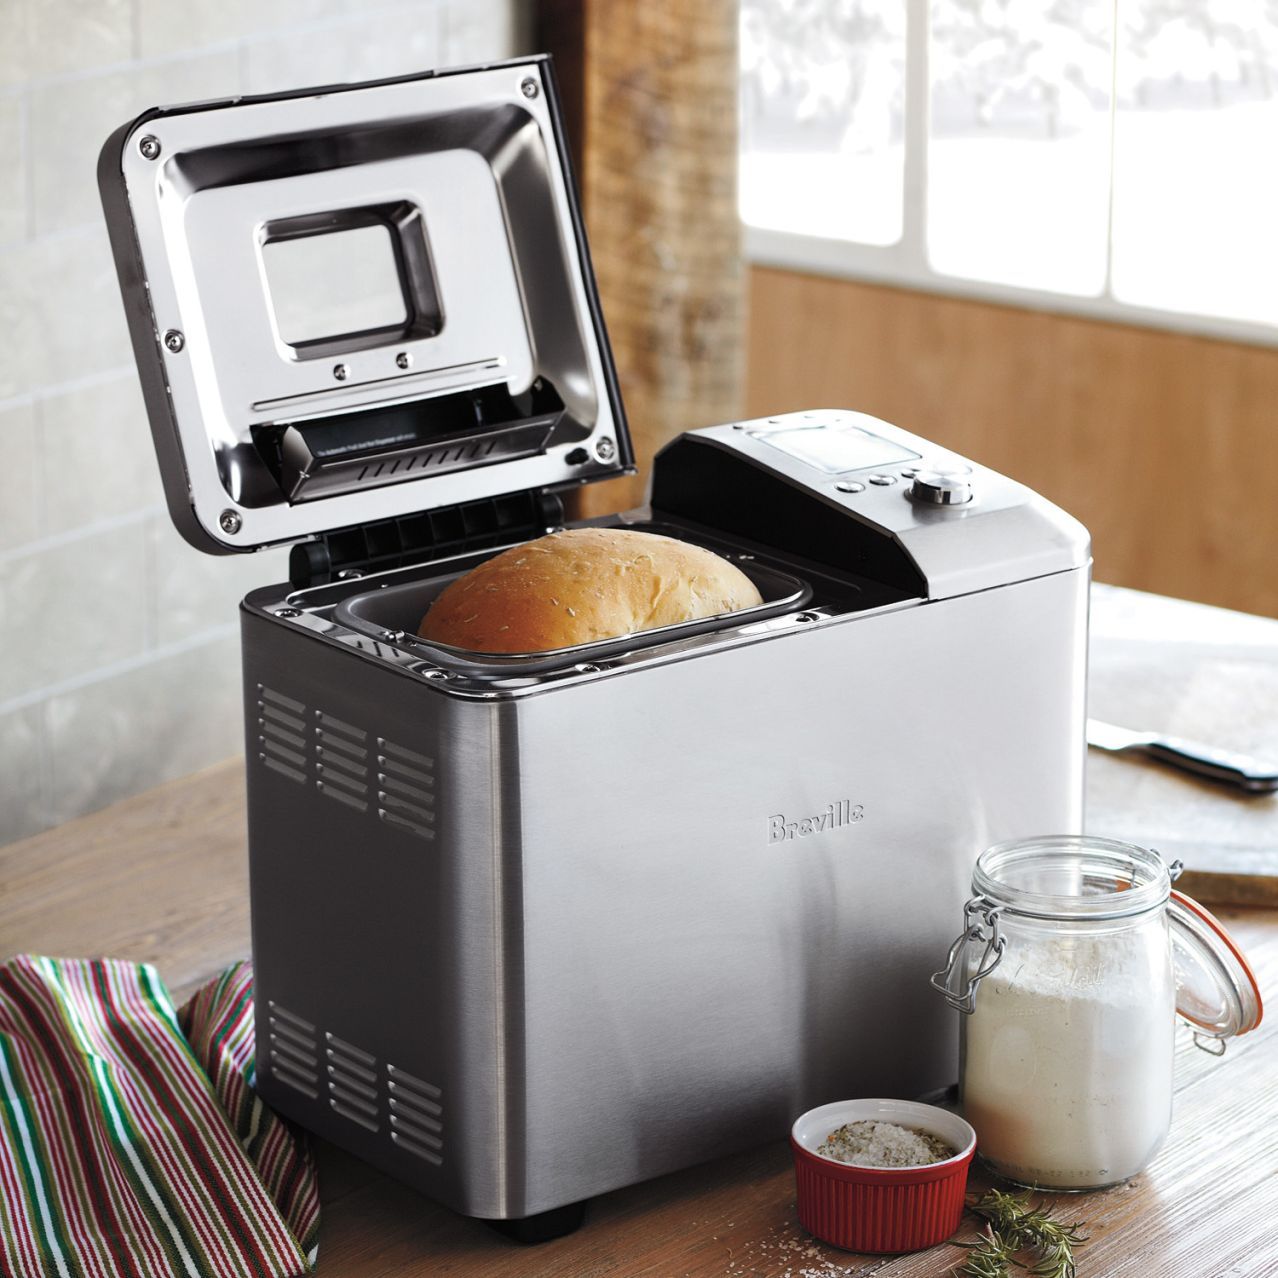
Step 6: Remove the dough from the bread machine
Once the dough cycle is complete, it’s time to remove the dough from the bread machine and transfer it to a clean surface for further kneading and shaping. Follow these steps to safely remove the dough:
- Before removing the dough, make sure to unplug the bread machine for safety.
- Open the lid of the bread machine and carefully lift out the bread pan using oven mitts or kitchen towels. Place the pan on a heat-resistant surface.
- Using a silicone spatula or your hands, gently loosen the sides of the dough from the edges of the bread pan. You want to make sure the entire dough comes out in one piece.
- Once the dough is released from the bread pan, transfer it to a clean and lightly floured surface. You can use a large cutting board, a clean countertop, or a silicone mat for this purpose.
- As the dough may be slightly sticky, lightly dust it with flour to make it easier to handle. You can sprinkle some flour on your hands as well to minimize sticking.
- Place the bread pan aside for now and focus on the dough. It should feel soft, elastic, and slightly springy to the touch.
Now that you have successfully removed the dough from the bread machine, it’s time to move on to the next step: kneading the dough. This will further develop the gluten and ensure a smooth, even texture for your pizza crust. Get ready to put your hands to work and bring out the best in your dough!
Step 7: Knead the dough
Kneading the dough is an essential step in developing its structure and texture. This process helps to distribute the yeast evenly, improve gluten formation, and create a smooth and elastic dough. Follow these steps to knead your pizza dough:
- Start by lightly flouring your hands and the work surface to prevent sticking.
- Gently press the dough down and then fold it in half towards you.
- Using the heels of your hands, push the dough away from you to stretch it.
- Rotate the dough a quarter turn and repeat the folding and stretching process.
- Continue kneading for 8-10 minutes, adding more flour as needed to keep the dough from sticking excessively. The dough should become smooth, elastic, and slightly springy.
During the kneading process, you may notice that the dough becomes less sticky and more manageable. However, be careful not to add too much flour, as it can result in a dry and dense crust. The goal is to find the right balance between a workable dough and a moist, tender crust.
Remember to knead the dough with patience and care. The process should be rhythmic and somewhat meditative. If you’re new to kneading, it may take a little practice to get the hang of it, but don’t worry – with time, you’ll develop your own technique.
Once you’ve finished kneading the dough, it’s time to move on to the next step: letting the dough rise. This time will allow the yeast to further ferment and develop flavor, resulting in a light and airy pizza crust. Get ready to give your dough the time it needs to reach its full potential!
Read more: How To Store Pizza Dough In Fridge
Step 8: Let the dough rise
Allowing the dough to rise is an essential step in the pizza-making process. This period of rest and fermentation allows the yeast to work its magic, creating bubbles of carbon dioxide that make the dough light and airy. Here’s how to let your dough rise:
- Lightly oil a large bowl to prevent the dough from sticking.
- Shape the kneaded dough into a ball and place it in the oiled bowl.
- Cover the bowl with a clean kitchen towel or plastic wrap. This will create a warm and humid environment that promotes yeast activity.
- Set the bowl in a warm, draft-free location, such as on the countertop or in a turned-off oven.
- Allow the dough to rise for about 1 to 1.5 hours, or until it has doubled in size.
During the rising period, the yeast in the dough will consume the sugars, producing carbon dioxide gas. This gas gets trapped within the gluten network, causing the dough to rise and become airy.
While it’s important to allow the dough to rise, be mindful not to overproof it. Overproofing can result in a flimsy and deflated crust. Keep an eye on the dough during the rising process and avoid letting it rise for too long.
Once the dough has doubled in size, it’s time to move on to the exciting part: shaping the dough into a pizza crust and adding your favorite toppings. Get ready for the next step, where you’ll transform the risen dough into a canvas for delicious flavors!
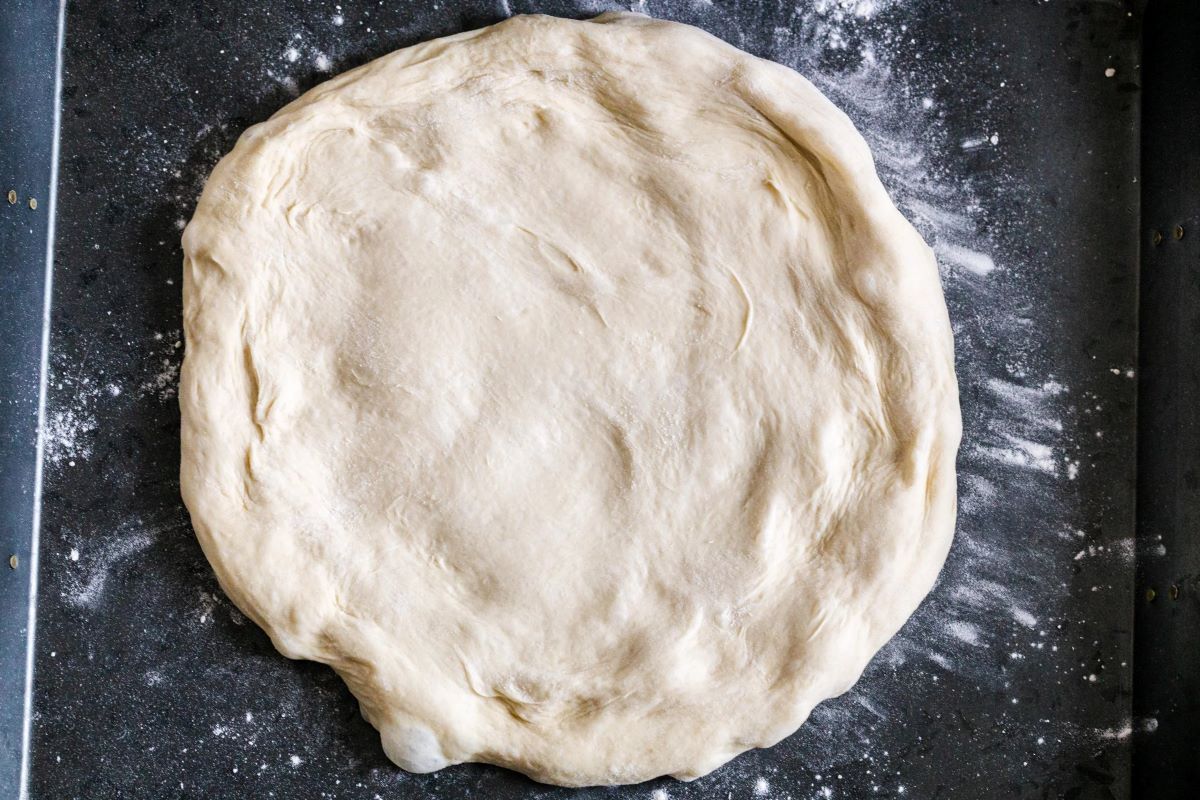
Step 9: Shape the dough into pizza crust
Now that your dough has risen and doubled in size, it’s time to shape it into a perfect pizza crust. Follow these steps to achieve a round and even pizza base:
- Begin by lightly flouring a clean work surface to prevent sticking.
- Gently transfer the risen dough from the bowl to the floured surface.
- Punch down the dough using your fist to release any air bubbles that may have formed during the rising process.
- Using your hands, shape the dough into a round ball by folding the edges inward, rotating it, and tucking any seams underneath.
- Next, press the dough flat with your fingertips, starting from the center and moving outwards. Work your way around the dough, gradually stretching it into a circular shape.
- Continue stretching the dough until it reaches your desired size and thickness. For a thinner crust, stretch it more, and for a thicker crust, leave it slightly thicker.
- Transfer the shaped pizza dough to a lightly greased baking sheet or pizza peel, sprinkled with cornmeal or flour to prevent sticking.
When shaping the dough, it’s important to handle it gently to maintain the airiness and prevent the dough from becoming tough. If the dough resists stretching or springs back, let it rest for a few minutes and then continue shaping.
Remember, your homemade pizza crust doesn’t have to be perfectly round or uniform. It’s the imperfections that give it character and a homemade charm. Embrace the unique shape and enjoy the process!
Now that your dough is perfectly shaped, it’s time to move on to the final step: adding delicious toppings and baking your homemade pizza to golden perfection. Get ready to create a masterpiece that will delight your taste buds!
Step 10: Add toppings and bake
You’ve made it to the final step! Now it’s time to get creative and add your favorite toppings to your pizza crust. Whether you prefer a classic Margherita or a loaded meat lover’s pizza, here’s how to finish off your homemade creation:
- Preheat your oven to a high temperature, typically 450°F (230°C), or according to your pizza recipe’s instructions.
- If desired, lightly brush the pizza crust with olive oil to create a barrier that prevents the toppings from making the crust soggy.
- Spread a layer of your preferred pizza sauce or any other sauce, such as pesto or barbecue sauce, over the crust. Use the back of a spoon to evenly distribute the sauce.
- Add your favorite toppings, such as shredded mozzarella cheese, sliced vegetables, cooked meats, or fresh herbs. Feel free to experiment and combine different flavors and textures.
- Finish off with a sprinkle of grated Parmesan cheese and a drizzle of olive oil for added flavor.
- Carefully transfer the topped pizza to the preheated oven, using a pizza peel or the back of a baking sheet.
- Bake the pizza for approximately 12-15 minutes or until the crust is golden brown and the cheese is bubbly and melted to your liking.
- Remove the pizza from the oven and let it cool for a few minutes before slicing.
Remember that the baking time may vary depending on the thickness and toppings of your pizza. Keep an eye on it and adjust the baking time if needed.
Once your homemade pizza is baked to perfection, slice it into wedges or squares and serve it hot. The combination of your freshly made crust and flavorful toppings will surely impress your family and friends.
Now that you’ve completed all the steps, enjoy the fruits of your labor and savor each delicious bite of your homemade pizza. Bon appétit!
Conclusion
Congratulations! You have successfully learned how to make pizza dough in a bread machine and create a delectable homemade pizza from scratch. Using a bread machine streamlines the process of making dough, making it convenient and accessible for everyone.
By following the step-by-step instructions, you were able to assemble the ingredients, add them to the bread machine, and select the appropriate dough setting. The bread machine did the hard work of mixing, kneading, and rising the dough, resulting in a perfect pizza dough ready for shaping and baking.
You learned how to remove the dough from the bread machine, knead it by hand, and let it rise to develop its flavor and texture. The final step involved shaping the dough into a pizza crust, adding your favorite toppings, and baking it to golden perfection in the oven.
Through this process, you honed your skills as a pizza maker, creating a homemade masterpiece that can rival any pizzeria. The possibilities are endless as you can customize your pizza with a variety of delicious sauces, cheeses, meats, and vegetables.
Remember, making pizza dough in a bread machine is just the beginning. Feel free to experiment with flavors, try different types of crusts, and get creative with your toppings. Let your imagination run wild and enjoy the journey of pizza-making.
So, gather your loved ones, invite friends over, or simply indulge in a solo pizza night. With your newfound knowledge and confidence, you can now create exquisite homemade pizzas that will surely impress and satisfy any pizza lover.
Now, go ahead and put your skills to the test. Enjoy the satisfying process of making your own pizza dough in a bread machine and revel in the pleasure of savoring a slice of your delicious homemade pizza.
Frequently Asked Questions about How To Make Pizza Dough In Bread Machine
Was this page helpful?
At Storables.com, we guarantee accurate and reliable information. Our content, validated by Expert Board Contributors, is crafted following stringent Editorial Policies. We're committed to providing you with well-researched, expert-backed insights for all your informational needs.
0 thoughts on “How To Make Pizza Dough In Bread Machine”