Articles
How To Make Pizza Dough In A Kitchenaid Mixer
Modified: April 22, 2024
Learn how to make delicious pizza dough in your Kitchenaid mixer with this easy-to-follow step-by-step guide. Discover valuable tips and tricks in this informative article on Articles today!
(Many of the links in this article redirect to a specific reviewed product. Your purchase of these products through affiliate links helps to generate commission for Storables.com, at no extra cost. Learn more)
Introduction
Are you tired of ordering pizza from your local delivery joint? Why not try making your own delicious pizza at home? With the help of a Kitchenaid mixer, you can easily whip up a batch of homemade pizza dough. Not only is it a fun and rewarding experience, but it also allows you to customize the toppings and flavors to suit your taste.
In this article, we will guide you through the step-by-step process of making pizza dough in a Kitchenaid mixer. No need to worry if you’re a beginner in the kitchen – we’ll break it down into simple and easy-to-follow instructions. So, let’s get started and learn how to create the perfect dough for your homemade pizza masterpiece!
Key Takeaways:
- Making pizza dough in a Kitchenaid mixer is a fun and rewarding experience that allows for customization of toppings and flavors. With simple ingredients and essential tools, anyone can create a delicious homemade pizza masterpiece.
- From activating the yeast to adding toppings and baking, the step-by-step process of making pizza dough is made easy with a Kitchenaid mixer. Enjoy the satisfaction and joy of creating your very own homemade pizza!
Read more: How To Make Dough In A Kitchenaid Mixer
Ingredients
Before you embark on your pizza dough-making journey, make sure you have the following ingredients on hand:
- 3 1/2 cups of all-purpose flour
- 2 teaspoons of instant yeast
- 2 teaspoons of sugar
- 1 teaspoon of salt
- 1 1/4 cups of warm water (around 110°F/43°C)
- 2 tablespoons of olive oil
These simple ingredients are the building blocks of a tasty pizza dough. Remember to use good quality flour and yeast for the best results. Now, let’s move on to the next section to learn about the equipment you’ll need.
Equipment Needed
To make pizza dough in a Kitchenaid mixer, you’ll need the following equipment:
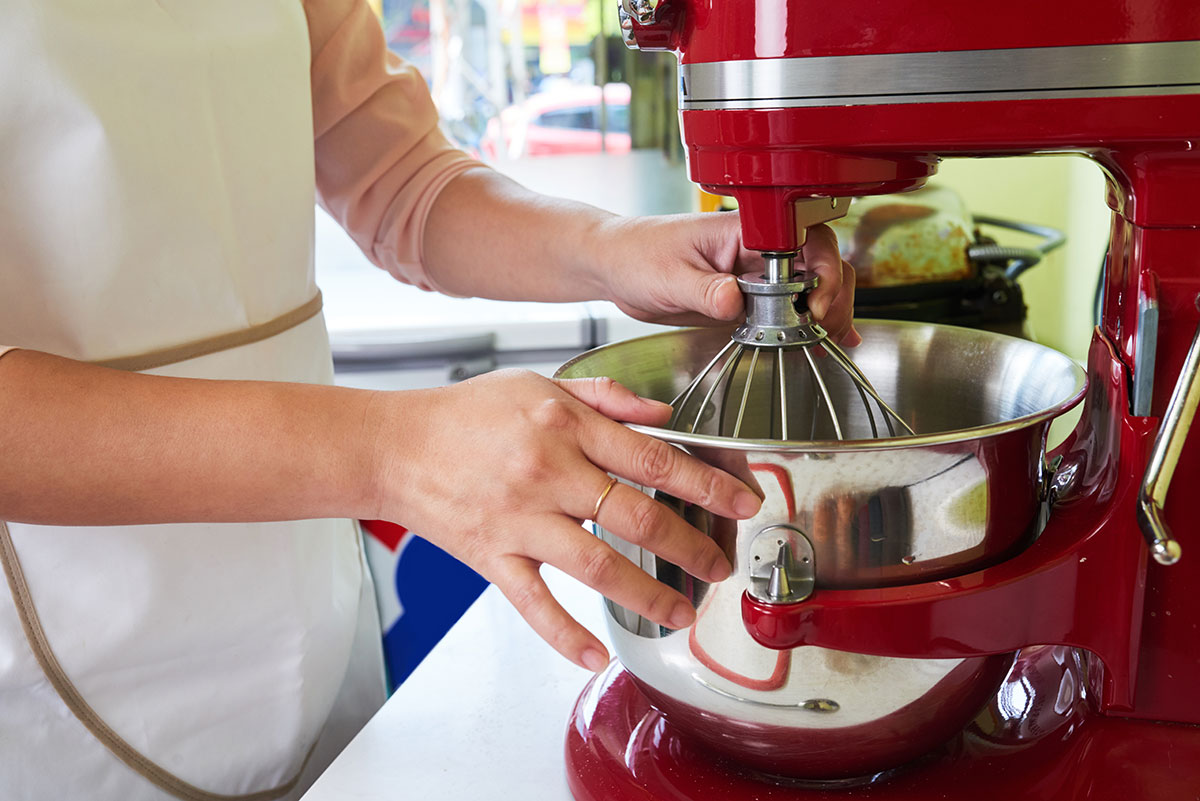
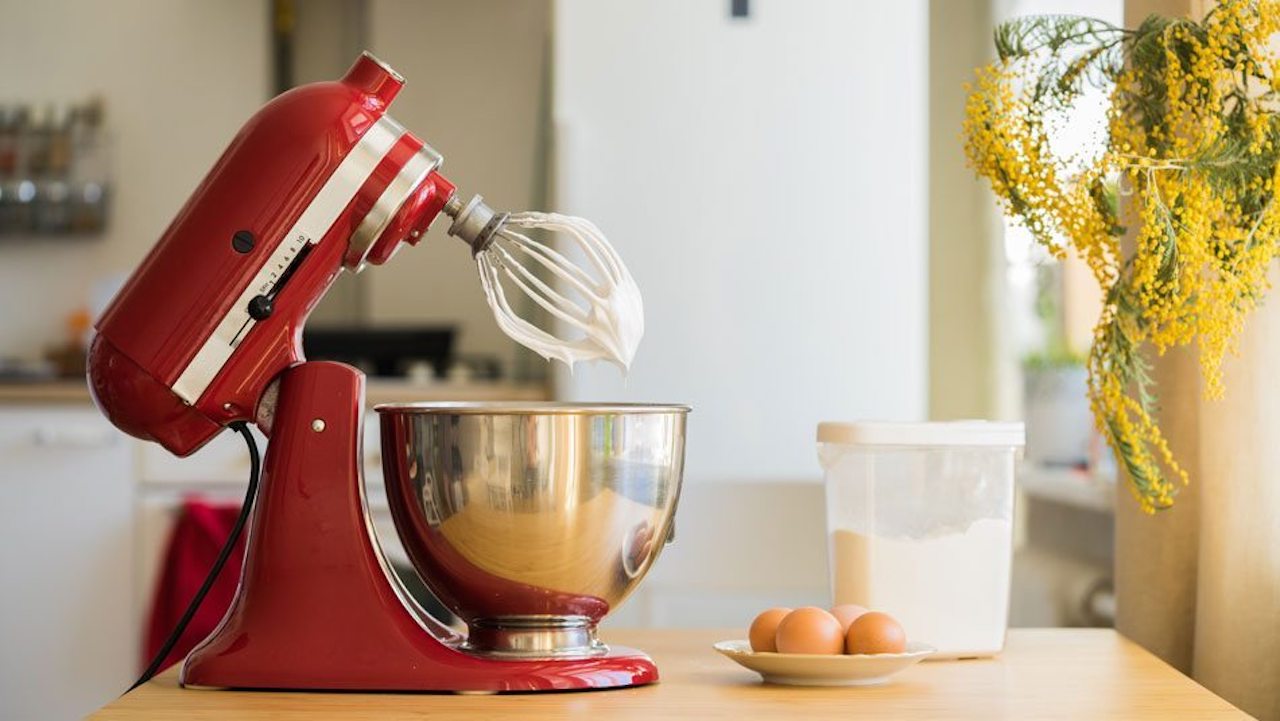
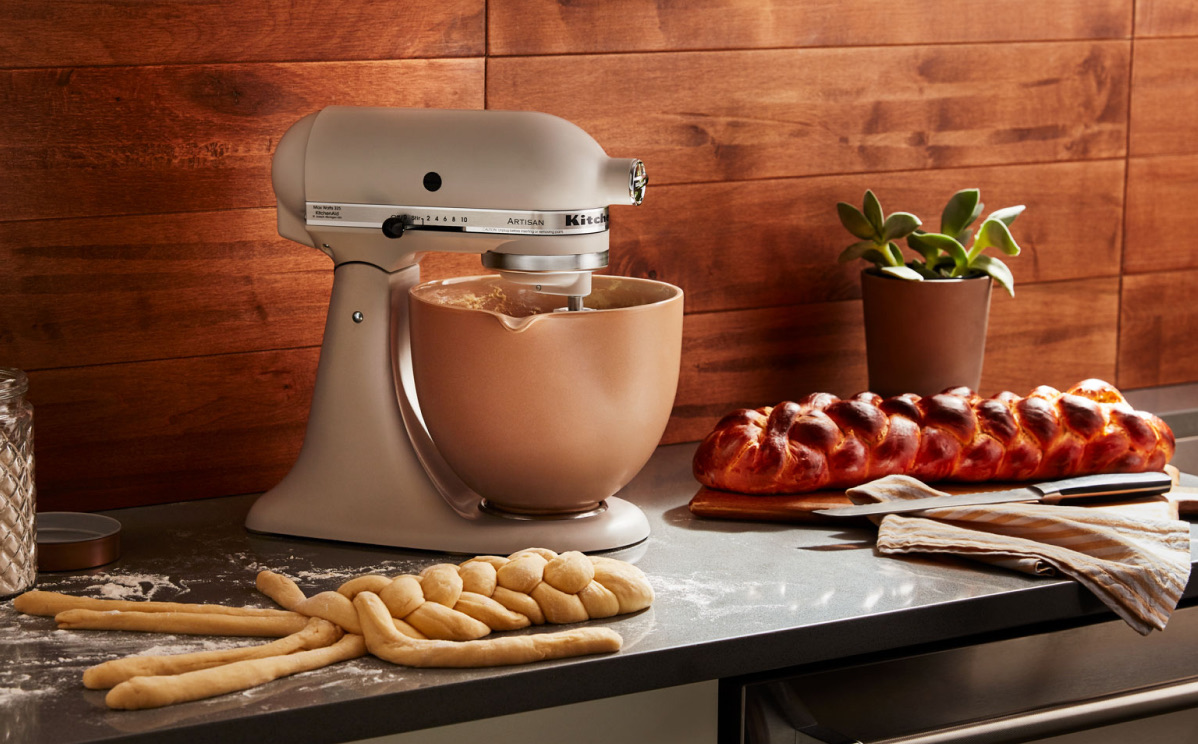
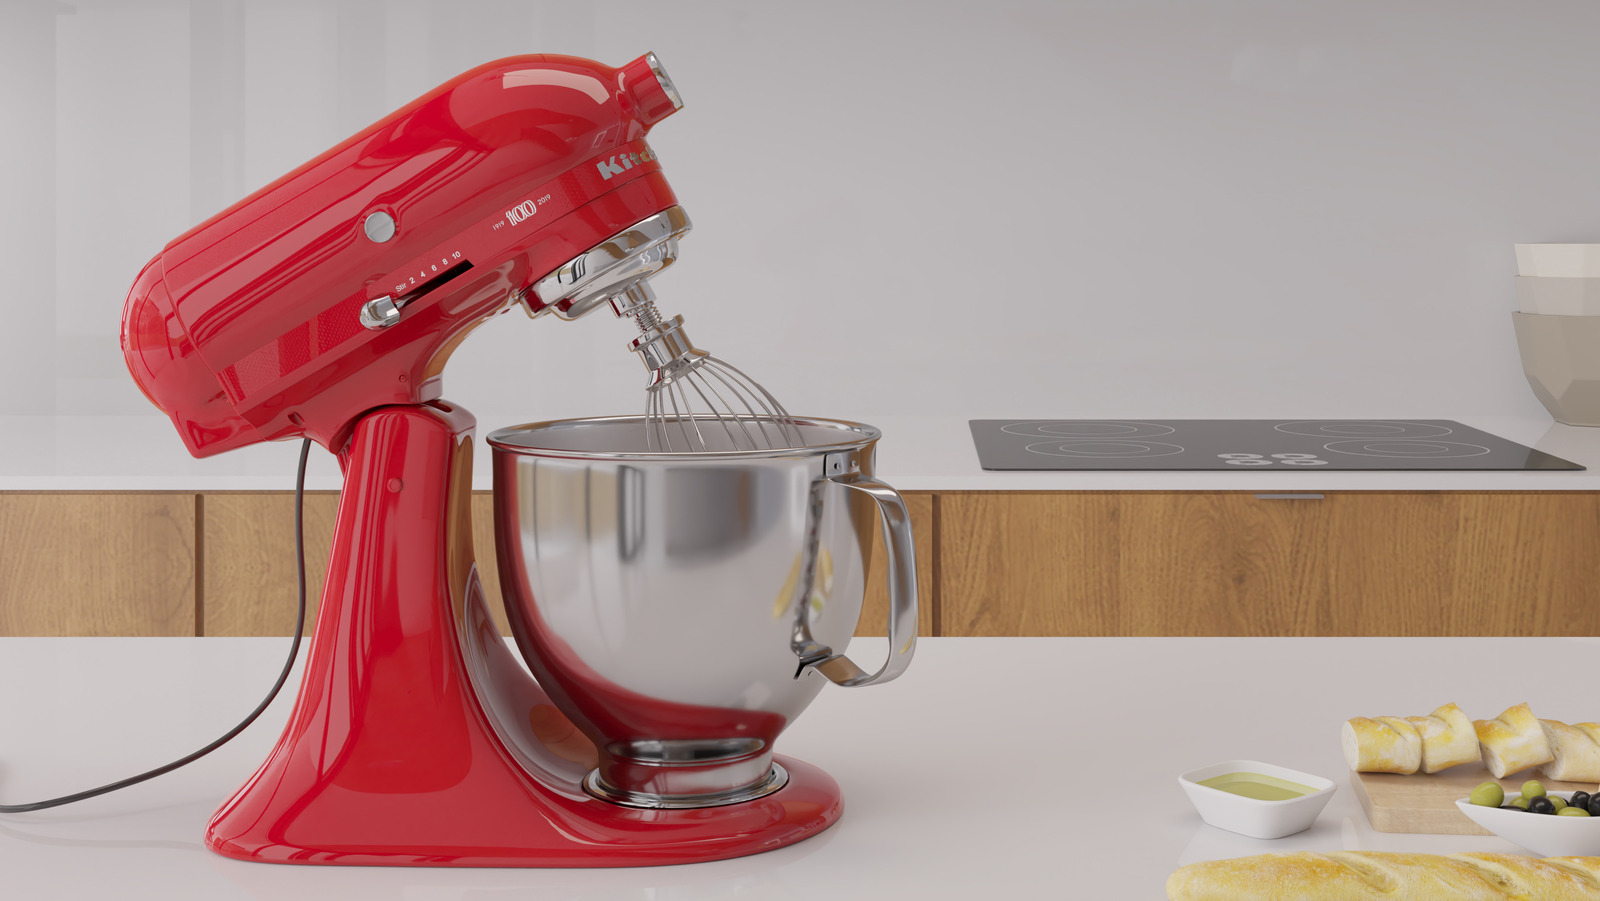
- Kitchenaid mixer: A stand mixer with a dough hook attachment will make the dough mixing process much easier and more efficient.
- Large mixing bowl: You’ll need a bowl to activate the yeast and mix the ingredients.
- Measuring cups and spoons: Accurate measurements are essential for the success of your dough.
- Plastic wrap or a clean kitchen towel: These will be used to cover the dough while it rises.
- Baking sheet or pizza stone: You’ll need a flat surface to bake your pizza on.
- Pizza peel or large spatula: This will help you transfer the pizza from the baking sheet or stone to a serving plate.
Having these essential tools ready before you start will ensure a smooth and hassle-free pizza dough-making process. And once you’re done, you’ll be able to enjoy the satisfaction of creating your very own homemade pizza!
Step 1: Activate the Yeast
The first step in making pizza dough is to activate the yeast. Yeast is a living organism that helps the dough rise and gives it that light and airy texture. Follow these simple steps to activate the yeast:
- Dissolve the sugar: In a small bowl, dissolve the sugar in warm water. Stir until the sugar is completely dissolved.
- Add the yeast: Sprinkle the instant yeast over the sugar water mixture. Give it a gentle stir to combine.
- Let it sit: Allow the yeast to bloom and activate for about 5-10 minutes. During this time, it should start to foam and form a creamy layer.
Activating the yeast ensures that it’s alive and active before adding it to the dough. If the yeast doesn’t foam and show signs of activity, it may be old or expired, and you’ll need to start with fresh yeast.
Now that the yeast is activated, let’s move on to the next step – mixing the dough in your Kitchenaid mixer.
Step 2: Mix the Dough
Once the yeast is activated, it’s time to mix the dough in your Kitchenaid mixer. Follow these simple steps:
- Attach the dough hook: Fit the dough hook attachment onto your Kitchenaid mixer.
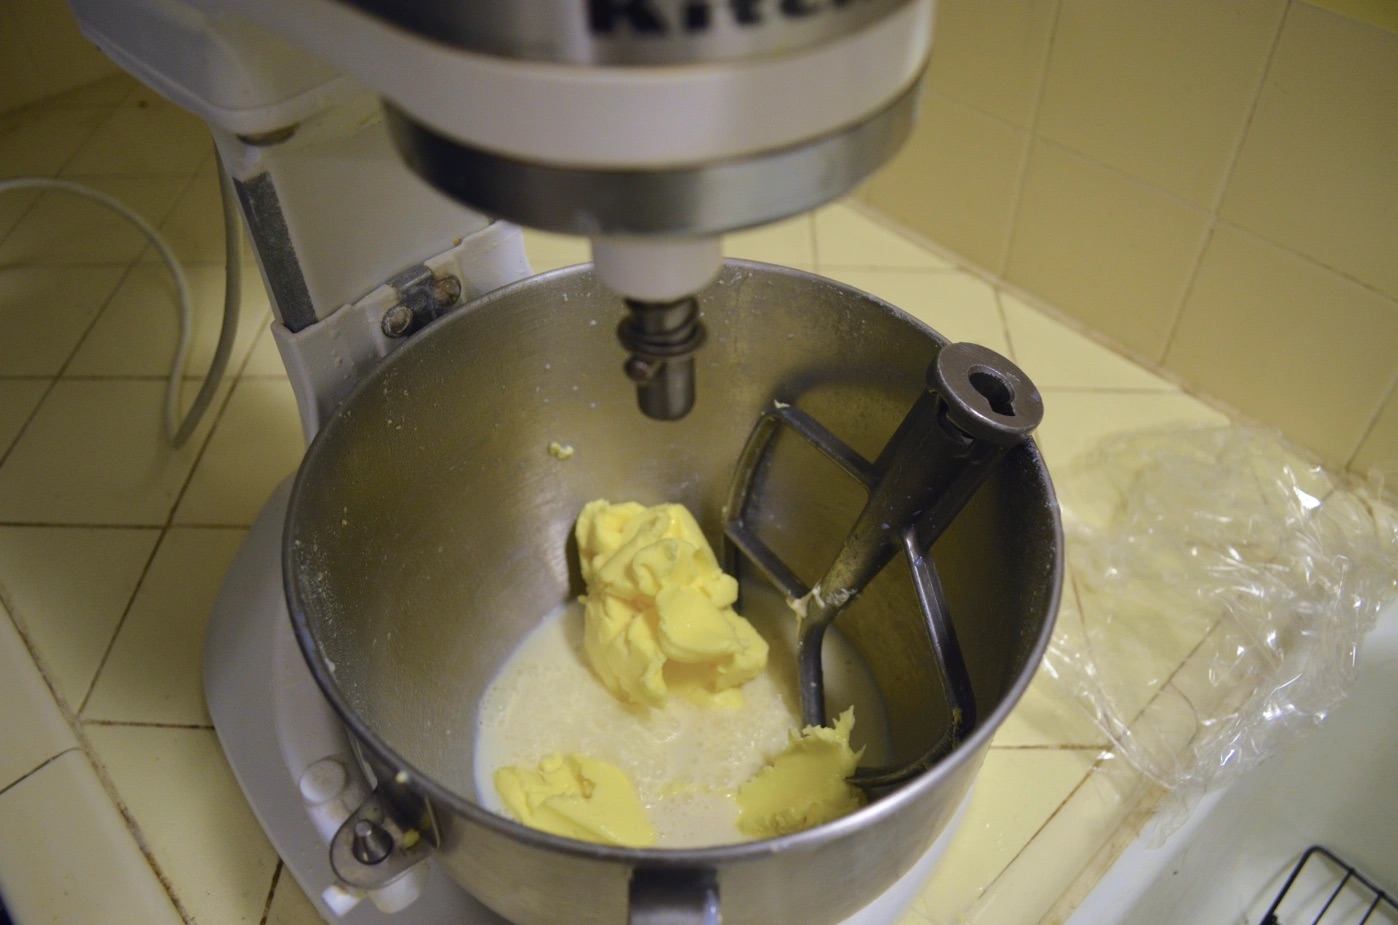
- Combine the dry ingredients: In the mixing bowl of the Kitchenaid mixer, combine the all-purpose flour and salt.
- Add the wet ingredients: Pour in the activated yeast mixture and olive oil into the mixing bowl.
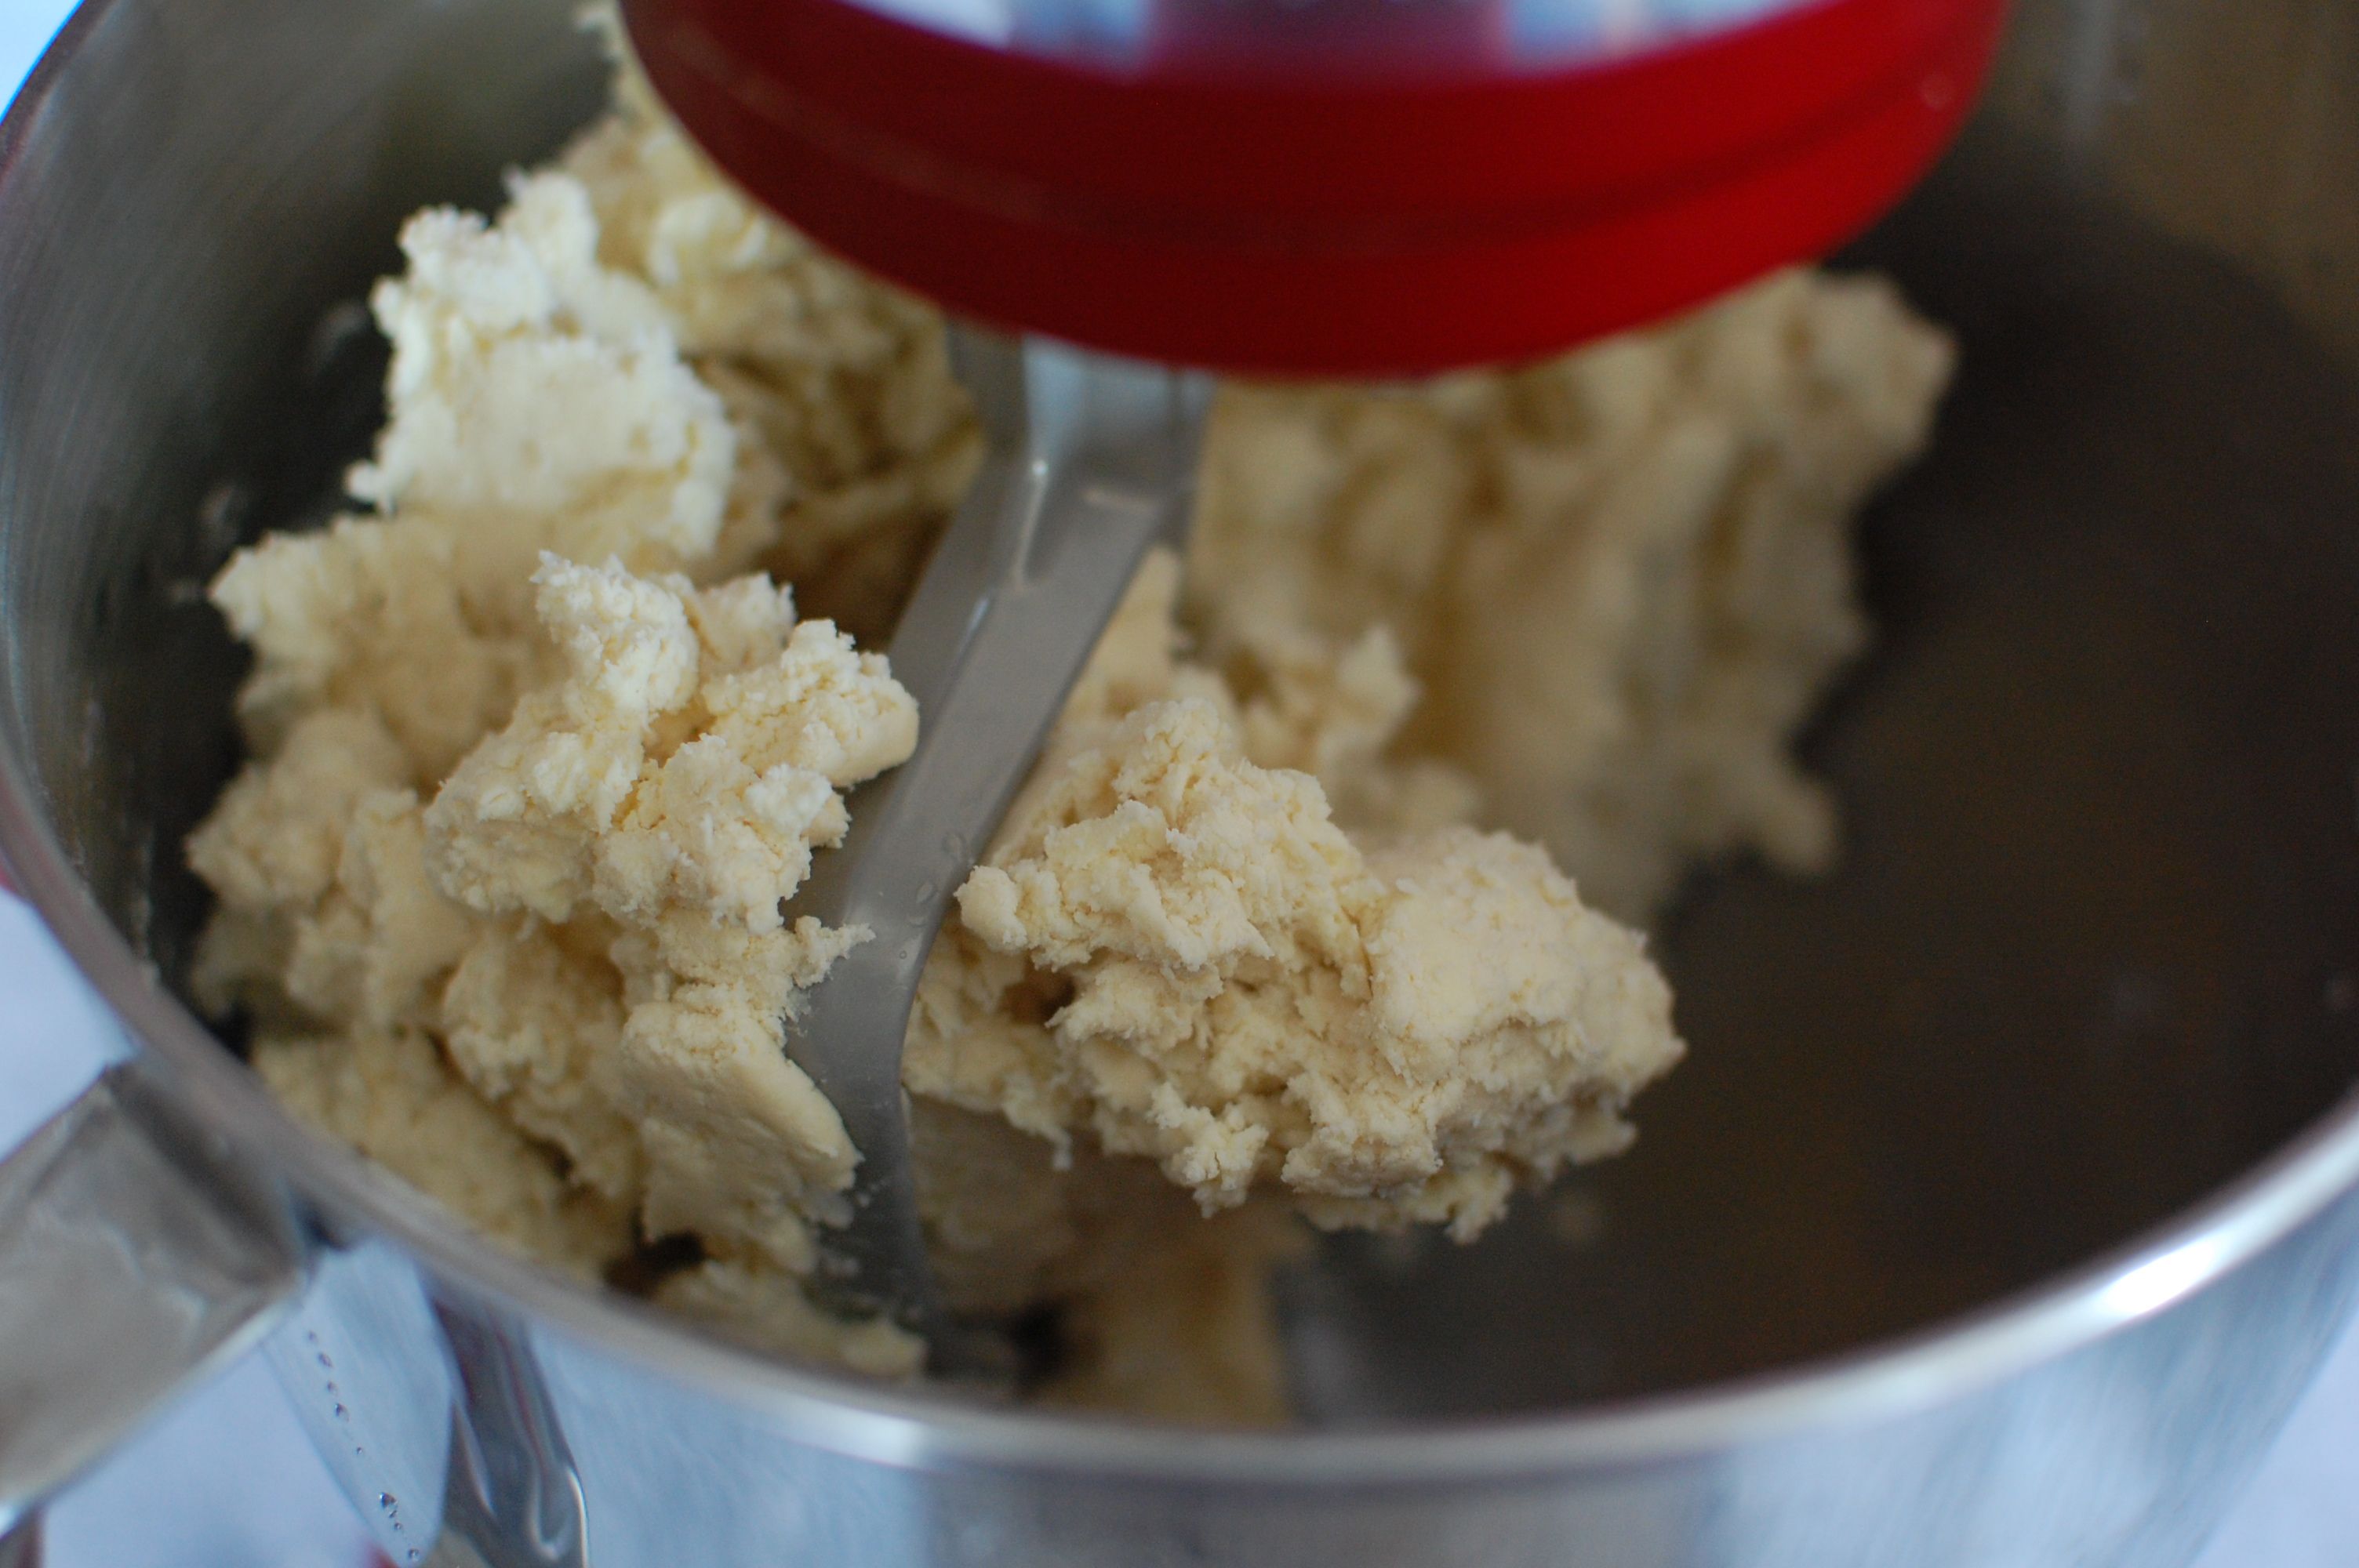
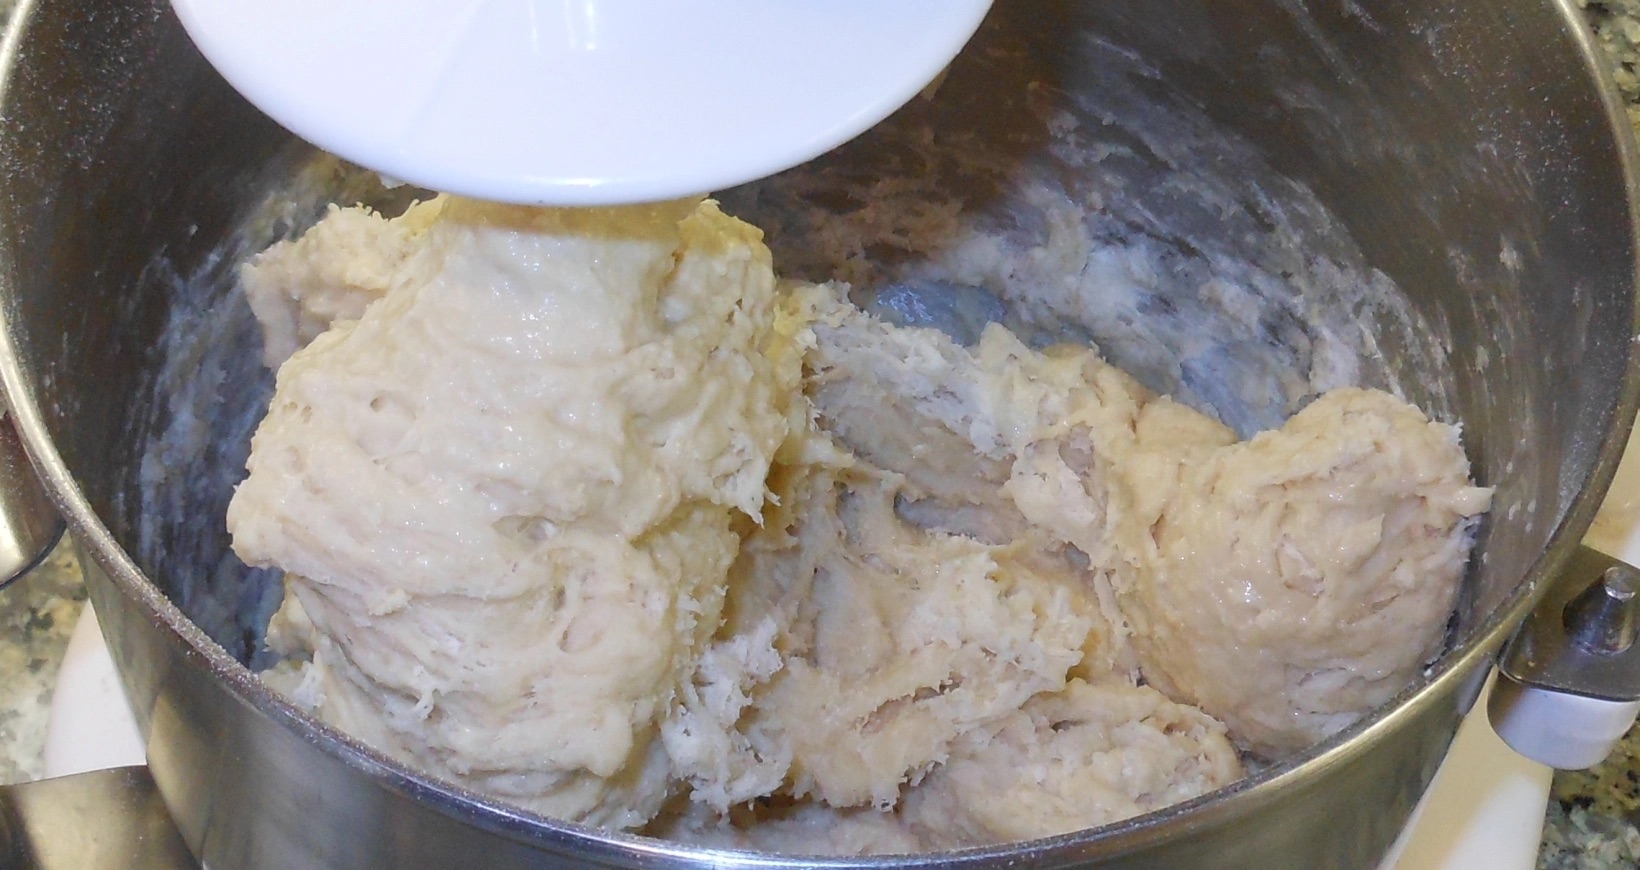
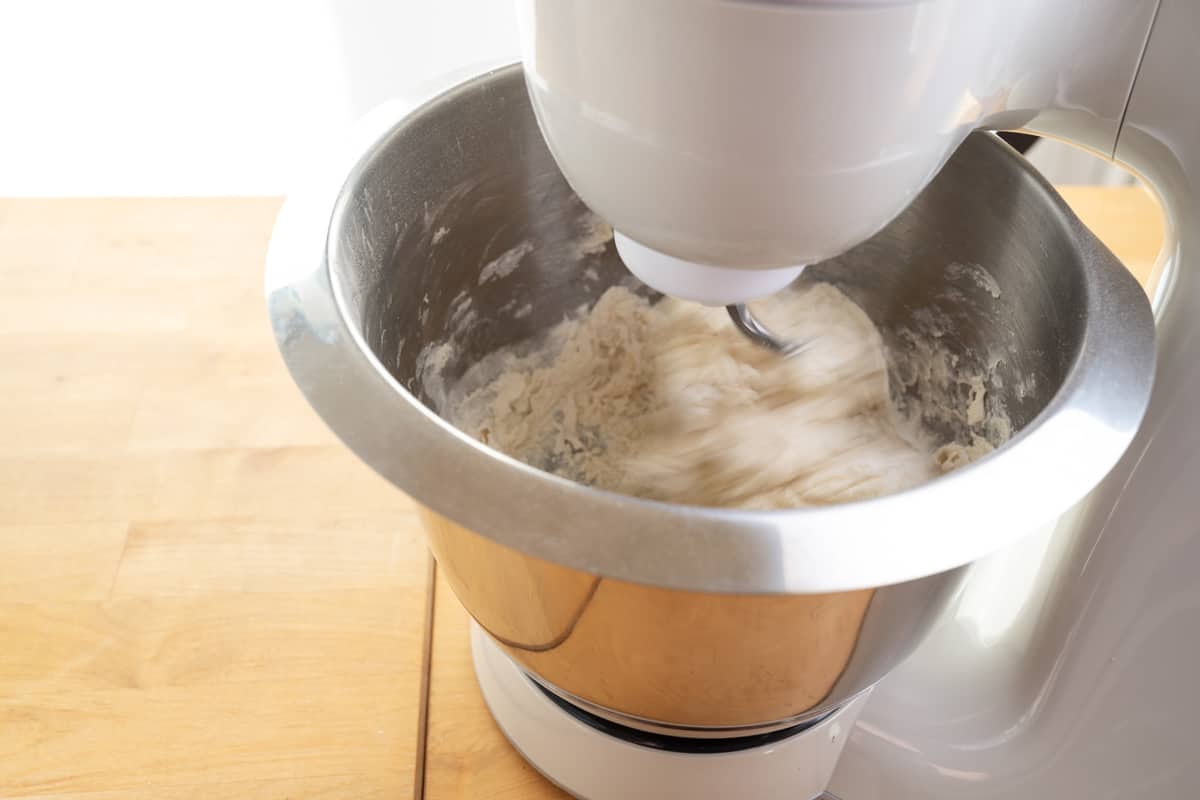
- Mix the dough: Start the mixer on a low speed to gradually incorporate the ingredients. Once the dough starts to come together, increase the speed to medium and let the Kitchenaid mixer knead the dough for about 5-7 minutes. The dough should be smooth and slightly sticky.
As the dough mixes, the gluten in the flour will develop, giving the dough its elasticity and structure. The Kitchenaid mixer makes this process effortless, allowing you to achieve a consistent and well-mixed dough.
Now that the dough is mixed, it’s time to move on to the next step – kneading the dough to perfection.
Step 3: Knead the Dough
After mixing the dough in your Kitchenaid mixer, it’s time to knead it to develop its texture and elasticity. Follow these steps to knead the dough:
- Prep your work surface: Lightly flour a clean countertop or work surface. This will prevent the dough from sticking and make the kneading process easier.
- Transfer the dough: Remove the dough from the mixing bowl and transfer it to the floured surface.
- Knead the dough: Using the heel of your hands, firmly push the dough away from you and then fold it back over itself. Rotate the dough slightly and repeat the process. Continue kneading for about 5-10 minutes, or until the dough becomes smooth, elastic, and springs back when lightly pressed with your finger.
Kneading the dough helps develop the gluten strands, which gives the dough its structure and chewy texture. It also ensures that the ingredients are evenly distributed throughout the dough.
Once the dough is properly kneaded, it’s time to let it rise. Move on to the next step to learn how to achieve a perfectly risen dough.
When making pizza dough in a Kitchenaid mixer, start by combining the dry ingredients, then slowly add the wet ingredients while mixing on low speed. Gradually increase the speed until the dough forms a smooth ball.
Step 4: Let the Dough Rise
Now that you’ve kneaded the dough, it’s time to let it rise and double in size. Follow these steps to achieve a light and airy dough:
- Prepare the bowl: Lightly grease a large bowl with olive oil or cooking spray. This will prevent the dough from sticking to the sides as it rises.
- Place the dough in the bowl: Shape the kneaded dough into a ball and place it in the greased bowl. Turn the dough around to coat it with the oil.
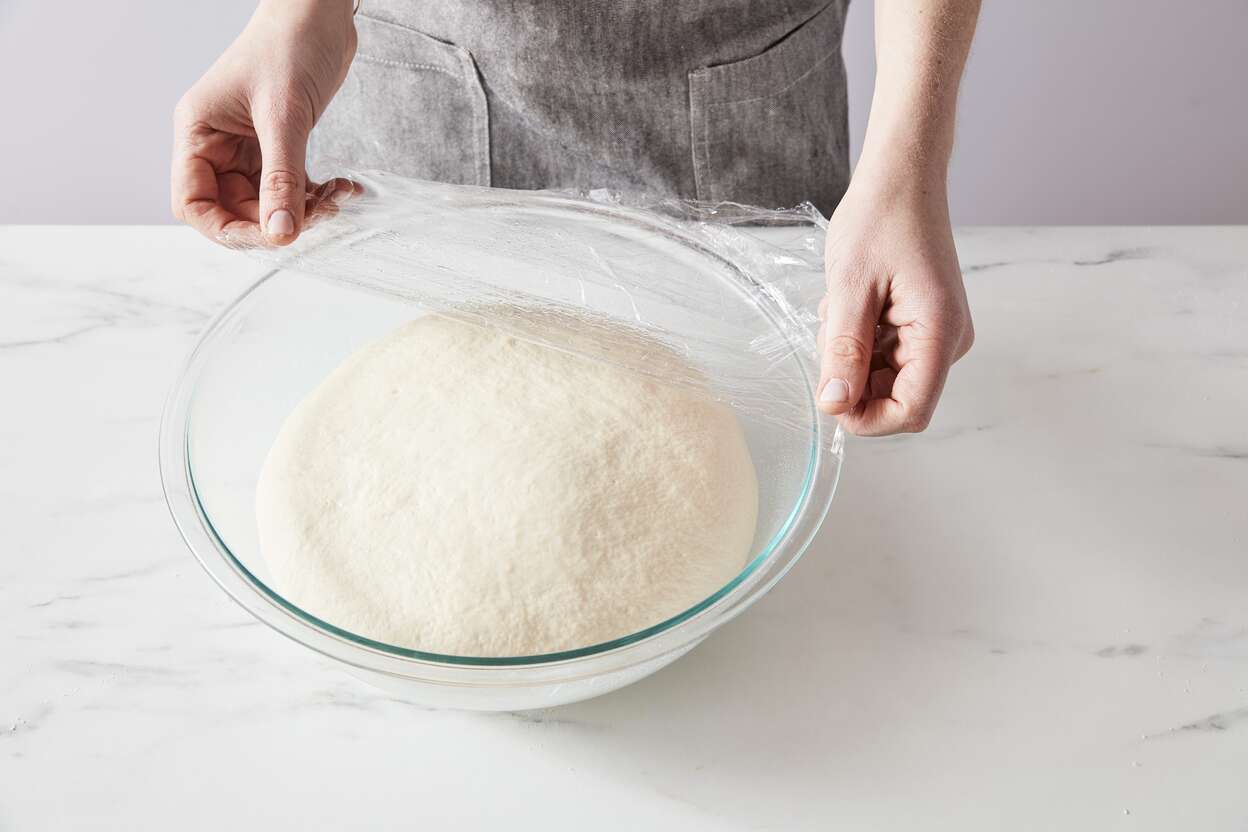
- Cover the dough: Cover the bowl with plastic wrap or a clean kitchen towel. This will create a warm and moist environment for the dough to rise.
- Let it rise: Place the bowl in a warm and draft-free area, such as an oven with the light turned on or on the countertop. Allow the dough to rise for about 1 to 1.5 hours, or until it has doubled in size.
During the rising process, the yeast ferments the sugars in the dough, producing carbon dioxide gas. This gas gets trapped in the gluten strands, causing the dough to expand and become light and fluffy.
Once the dough has doubled in size, it’s ready to be divided and shaped. Let’s move on to the next step to learn how to prepare your pizza dough for baking.
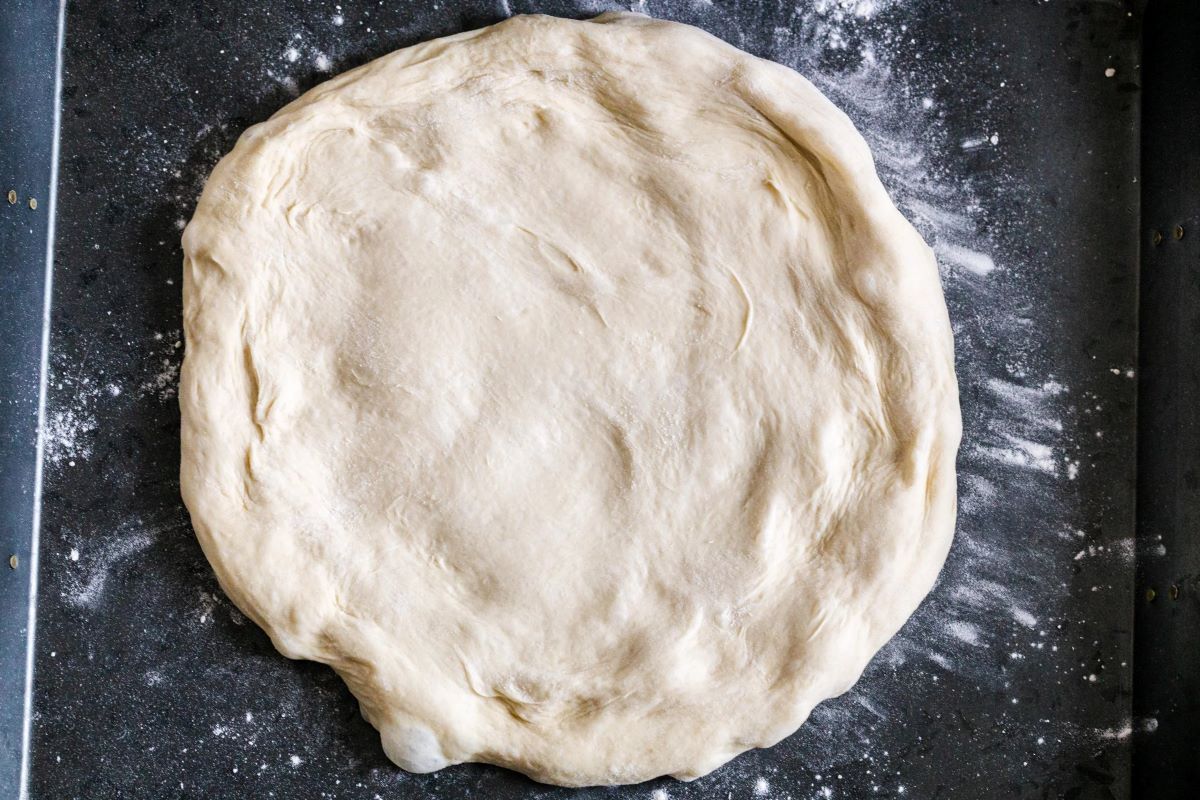
Step 5: Divide and Shape the Dough
After the dough has risen, it’s time to divide it and shape it into individual pizza bases. Follow these steps for the perfect pizza dough:
- Prepare your work surface: Lightly flour a clean countertop or work surface to prevent the dough from sticking.
- Divide the dough: Gently deflate the risen dough by pressing it down with your hands. Divide the dough into equal portions based on the number of pizzas you want to make. Typically, this recipe yields two large or four individual-sized pizzas.
- Shape the dough: Take one portion of the dough and shape it into a round ball. Press your fingertips into the center of the dough, then stretch and pull the edges towards the center, rotating as you go. Repeat this process until you have a thin, evenly shaped pizza base. If desired, you can also use a rolling pin to help shape the dough.
- Repeat with the remaining dough portions: Repeat the shaping process with the rest of the dough portions until you have shaped all the pizza bases.
Shaping the dough allows it to retain its structure and form while baking. The thin center and slightly thicker edges create that classic pizza shape. Now that you’ve shaped the dough, it’s time to preheat the oven for baking. Continue to the next step to find out how.
Step 6: Preheat the Oven
Before you can bake your homemade pizzas, it’s crucial to preheat your oven to ensure the perfect cooking temperature. Follow these steps to preheat the oven:
- Adjust the oven rack: Position one oven rack in the middle position to allow for even baking.
- Set the temperature: Preheat your oven to 475°F (245°C) or as directed by your recipe.
- Allow ample preheating time: It’s important to give your oven enough time to reach the desired temperature. This typically takes around 15-20 minutes, but it could vary depending on your oven.
Preheating the oven ensures that the pizza base cooks evenly and gives it a nice crispy texture. It’s important not to rush this step, as the optimal temperature is crucial for achieving a delicious pizza crust.
With the oven preheated and ready, it’s time to move on to the next step – adding your favorite toppings and baking the pizza to perfection.
Read more: How To Make Pizza Dough For A Pizza Oven
Step 7: Add Toppings and Bake
Now comes the fun part – adding your favorite toppings to your pizza dough and baking it to cheesy, gooey perfection! Follow these steps to complete your homemade pizza:
- Prepare your toppings: Gather your desired toppings, such as tomato sauce, cheese, vegetables, meats, and herbs. Prepare them by chopping, grating, or pre-cooking as necessary.
- Assemble your pizza: Take one of your shaped pizza bases and place it on a baking sheet or a pizza stone. Spread a layer of tomato sauce evenly over the dough, leaving a small border around the edges. Sprinkle a generous amount of cheese as the base for your toppings.
- Add your chosen toppings: Customize your pizza with your favorite toppings. Be creative and add a variety of flavors and textures to suit your preferences. Spread them evenly over the cheese layer.
- Bake the pizza: Carefully transfer the topped pizza to the preheated oven. Bake for about 12-15 minutes, or until the crust is golden brown, the cheese is melted and bubbly, and the toppings are cooked to your liking.
Keep a close eye on the pizza while it’s baking to avoid overcooking or burning. The cooking time may vary based on your oven and the thickness of your pizza.
Once the pizza is perfectly baked, remove it from the oven and let it cool for a few minutes before slicing and serving. Enjoy your delicious homemade pizza creation!
Step 8: Enjoy Your Homemade Pizza
Congratulations! You’ve successfully made your own homemade pizza using your Kitchenaid mixer. Now it’s time to indulge in the delightful creation you’ve prepared. Follow these final steps to enjoy your homemade pizza:
- Cut and serve: Once the pizza has cooled slightly, use a sharp knife or pizza cutter to slice it into desired portions. Transfer the slices to a serving plate or individual plates.
- Garnish and season: Sprinkle some fresh herbs, grated cheese, or a drizzle of olive oil over the hot pizza to enhance its flavor and presentation.
- Serve and savor: Gather your family and friends and serve the homemade pizza while it’s still warm. Enjoy the crispy crust, melty cheese, and the explosion of flavors from your chosen toppings.
Remember to have fun and get creative with your pizza-making experience. Experiment with different combinations of toppings, sauces, and cheeses to suit your taste preferences.
Homemade pizza is a crowd-pleaser, perfect for casual family meals, gatherings with friends, or even a cozy night in. The satisfaction and joy that come from making your own pizza from scratch are truly rewarding.
So, grab a slice, savor every bite, and pat yourself on the back for mastering the art of homemade pizza dough in your Kitchenaid mixer. Enjoy your culinary creation, and bon appétit!
Frequently Asked Questions about How To Make Pizza Dough In A Kitchenaid Mixer
Was this page helpful?
At Storables.com, we guarantee accurate and reliable information. Our content, validated by Expert Board Contributors, is crafted following stringent Editorial Policies. We're committed to providing you with well-researched, expert-backed insights for all your informational needs.


0 thoughts on “How To Make Pizza Dough In A Kitchenaid Mixer”