Articles
How To Store Ribbon Not On Spools
Modified: February 23, 2024
Learn how to store ribbon without using spools with our helpful articles. Find creative and organized solutions for keeping your ribbon collection tidy.
(Many of the links in this article redirect to a specific reviewed product. Your purchase of these products through affiliate links helps to generate commission for Storables.com, at no extra cost. Learn more)
Introduction
When it comes to crafting or gift wrapping, ribbons are an essential element that adds an elegant touch to any project. However, storing ribbons on spools can quickly become a hassle. Spools take up a lot of space, and the ribbons can become tangled or creased over time. If you’re tired of dealing with these issues, there’s a solution – storing ribbon not on spools.
In this article, we’ll explore the benefits of storing ribbon without spools and provide you with some creative storage solutions. We’ll also share tips on how to organize and maintain the quality of your ribbon collection. So, let’s dive in!
Key Takeaways:
- Storing ribbons without spools offers space-saving, tangle-free storage, and customization flexibility. Choose the right storage solution, organize effectively, and maintain your ribbons for hassle-free crafting and gift wrapping.
- To store ribbons without spools, consider ribbon cards, ziplock bags, clear plastic containers, hanging solutions, or wall-mounted racks. Protect your ribbons from sunlight, moisture, and pests to maintain their quality for future projects.
Read more: How To Store Ribbon Spools
Why Store Ribbon Not On Spools?
You may be wondering why it’s necessary to store ribbon without using spools. Here are a few reasons:
- Space-saving: Storing ribbons on spools can consume a significant amount of space. By eliminating spools, you can free up valuable storage space for other crafting supplies.
- Tangle-free storage: When ribbons are wound around spools, they can become tangled, making it frustrating and time-consuming to find the specific ribbon you need. Storing ribbons without spools reduces the risk of tangling, allowing for easy access and saving you from the hassle of untangling.
- Preventing creases: Spools can leave creases or indentations on the ribbon, especially when tightly wound. Storing ribbons without spools minimizes the risk of creasing, ensuring that your ribbons remain in perfect condition.
- Flexibility and customization: Storing ribbon without spools gives you the flexibility to cut the ribbon to your desired length, rather than being limited to the length of the spool. It also allows you to organize your ribbons based on your preferred system, such as color, occasion, or width.
With these benefits in mind, let’s explore how you can store ribbon without spools and find the perfect storage solution that suits your needs.
Materials Needed
Before you begin storing your ribbon without spools, gather the following materials:
- Ribbons: Collect all the ribbons you want to store. Group them based on color, occasion, or material to make the organization process easier later on.
- Ribbon cards: These are flat, sturdy cards that are designed to hold ribbon and keep it neatly wrapped. Ribbon cards come in various sizes, so choose ones that suit the width of your ribbons.
- Ziplock bags: If you prefer a more affordable option, ziplock bags can be used to store and organize your ribbons. Opt for clear bags so that you can easily see the ribbons inside.
- Clear plastic containers: Clear plastic containers with lids are another storage option. They allow you to store and stack multiple ribbons while keeping them protected from dust and moisture.
- Ribbon boxes or drawers: If you have a large ribbon collection, consider investing in a ribbon box or drawer. These specialized storage solutions often have compartments or dividers to keep your ribbons organized.
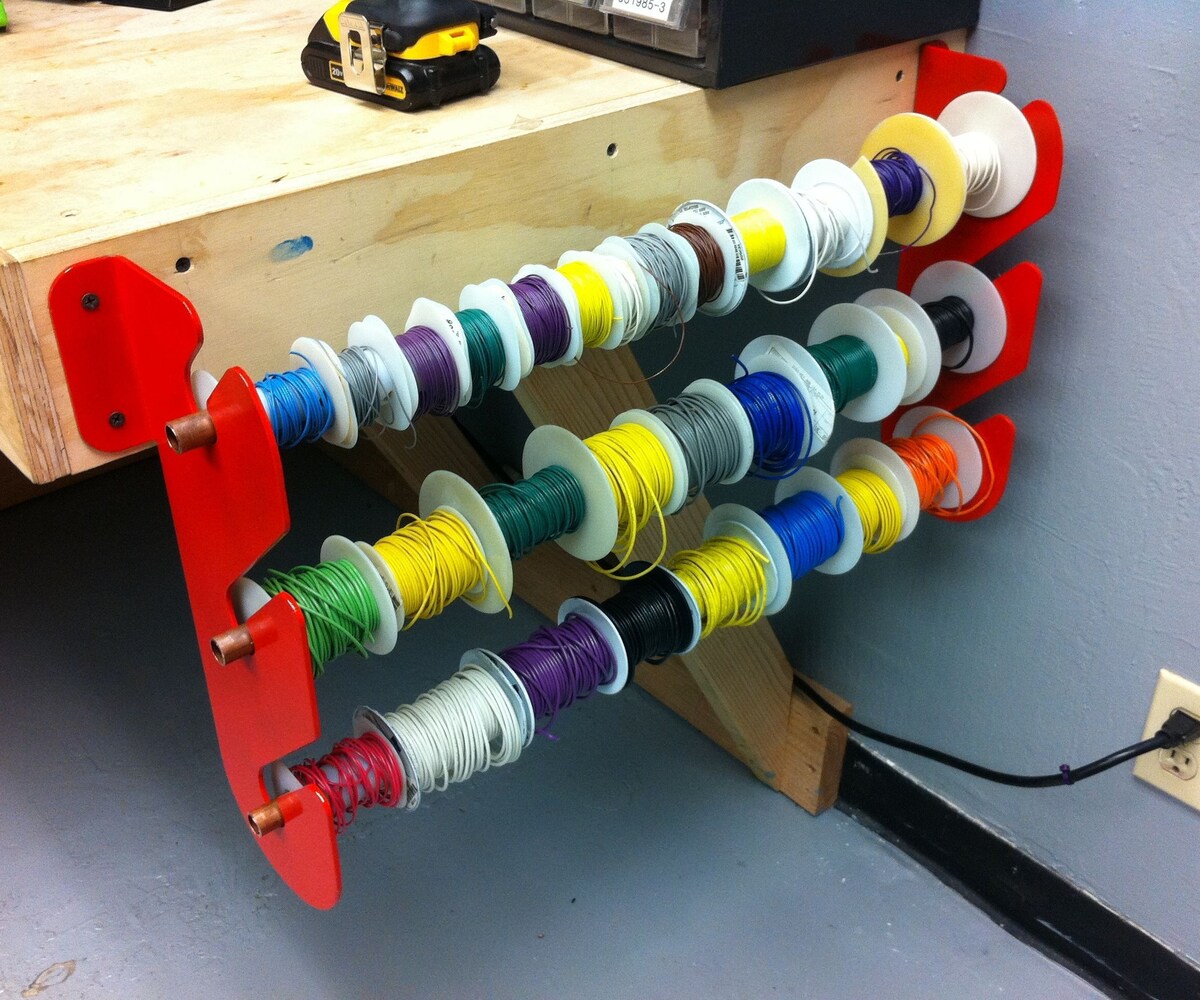
- Hanging storage solution: If you prefer to display your ribbons for easy access, you can hang them using a rod, hanger, or curtain rod. Make sure the ribbons are secured to prevent them from falling or tangling.
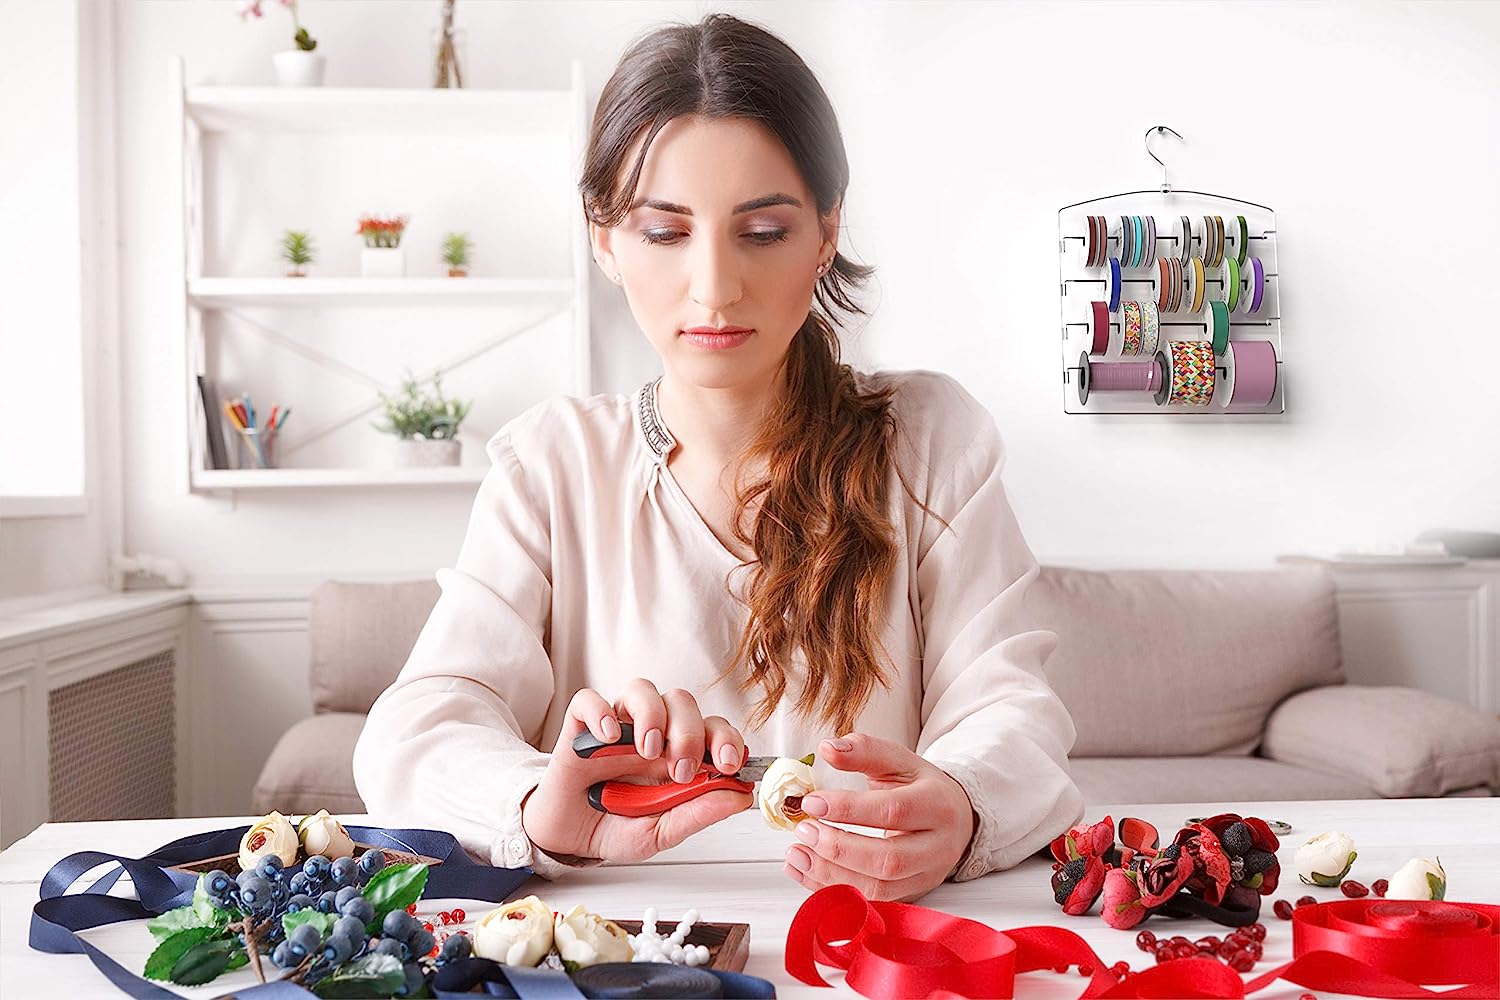
- Wall-mounted ribbon rack: A wall-mounted ribbon rack offers a creative and space-saving storage solution. You can easily access your ribbons while adding a decorative element to your craft room or workspace.
Now that you have your materials ready, let’s move on to the step-by-step process of storing your ribbon without spools.
Step 1: Preparing Your Ribbon
Before you can store your ribbons without spools, it’s essential to prepare them properly. Follow these steps:
- Untangle any tangled ribbons: If you have any ribbons that are tangled, carefully untangle them to prevent further damage or knots.
- Straighten out creased ribbons: If you notice any ribbons with creases or indentations from being stored on spools, gently straighten them out by running your fingers along the length of the ribbon.
- Cut the ribbons to desired lengths: If your ribbons are longer than necessary, cut them to your desired lengths. This step is especially helpful if you want to customize your ribbons for specific projects without being limited by spool lengths.
- Consider heat-sealing the ribbon ends: If you want to prevent fraying, you can use a heat-sealing tool or a lighter to lightly melt the ends of the ribbons. However, exercise caution and perform this step in a well-ventilated area.
Once your ribbons are prepared and ready, you can move on to selecting the storage solution that works best for your needs. Let’s explore the different options available.
Step 2: Choosing the Storage Solution
Now that your ribbons are prepared, it’s time to choose the storage solution that suits your preferences and space. Here are three popular options for storing ribbon without spools:
- Option 1: Ribbon Cards
- Option 2: Ziplock Bags
- Option 3: Clear Plastic Containers
Ribbon cards are an excellent choice for keeping your ribbons neatly wrapped and organized. Simply wrap the ribbon around the card, securing it with a clip or tape at the end to prevent unraveling. Ribbon cards are easy to store in boxes or drawers, making them ideal for compact spaces.
For a more affordable option, you can store your ribbons in ziplock bags. Place each ribbon in a separate bag and seal it securely. Clear bags are recommended, as they allow you to easily see the ribbons inside. Store the bags in a box or basket to keep them organized.
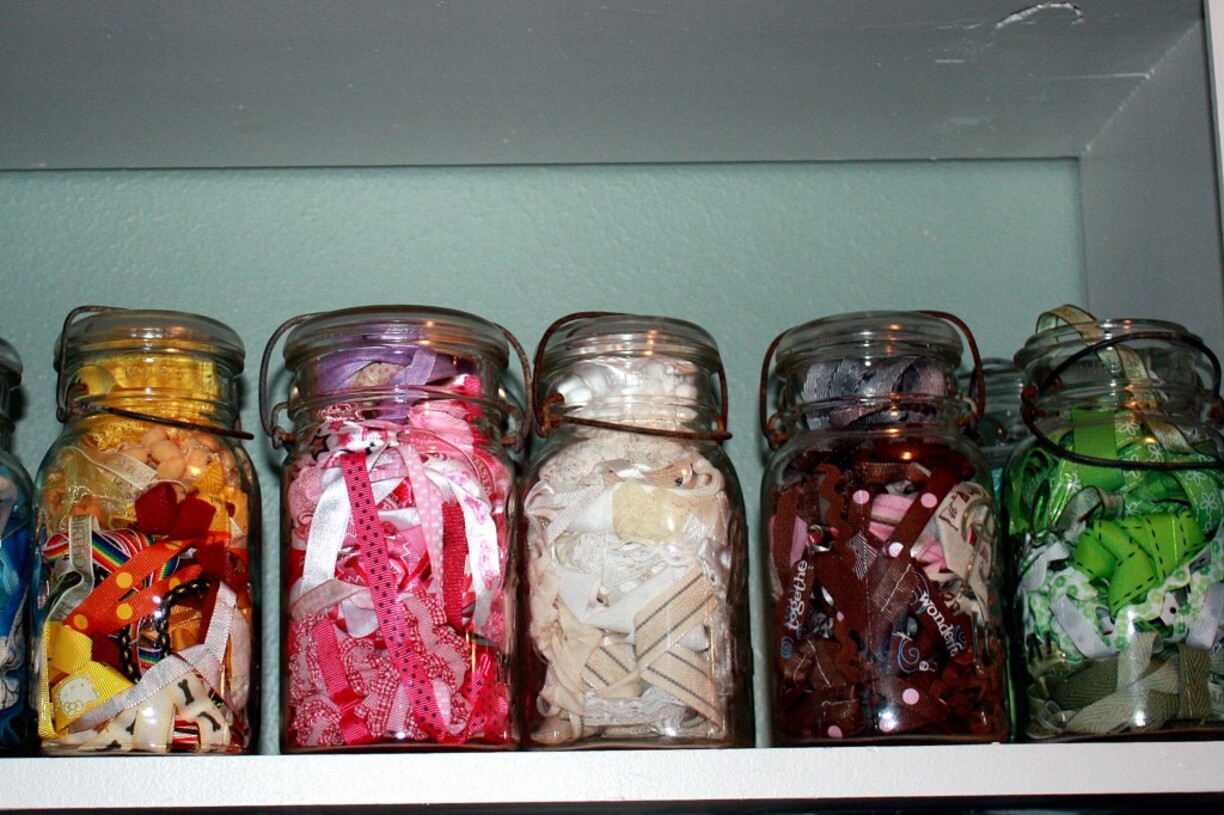
If you prefer a more durable storage option, consider using clear plastic containers. These containers come in various sizes and can accommodate multiple ribbons. They provide protection from dust and moisture while allowing you to easily see and access your ribbons.
Consider factors such as the quantity of your ribbons, available space, and personal organizational preferences when choosing your storage solution. Now that you’ve chosen your storage solution, let’s move on to the next step – organizing your ribbon collection.
Read more: How To Store Ribbon
Option 1: Ribbon Cards
Ribbon cards are a popular and efficient storage solution for keeping your ribbons neatly wrapped and organized. Here’s how you can use ribbon cards to store your ribbons without spools:
- Choose the right size: Select ribbon cards that are suitable for the width of your ribbons. Ribbon cards come in various sizes, so make sure to choose ones that can accommodate your ribbons without them being too loose or tight.
- Wrap the ribbon around the card: Starting at one end, gently wrap the ribbon around the ribbon card in a neat and even manner. Be careful not to wrap it too tightly to avoid creasing or damaging the ribbon.
- Clip or tape the end: Once you have wrapped the ribbon around the card, secure the end by using a small clip or a piece of tape. This will prevent the ribbon from unraveling and keep it in place.
- Label the ribbon card: To make it easier to identify your ribbons later on, consider labeling the ribbon card with relevant information such as the color, occasion, or material. You can use adhesive labels or write directly on the card with a marker.
- Store the ribbon cards: Once you have wrapped and labeled your ribbon cards, you can store them in a ribbon box, drawer, or any container that fits your storage needs. Organize the cards based on your preferred system, such as by color, occasion, or material.
Using ribbon cards provides a compact and organized solution for storing your ribbons. It allows you to easily access and view your ribbons, making it convenient when selecting the perfect ribbon for your crafting or gift wrapping projects.
Now that you know how to use ribbon cards, let’s explore other storage options for storing ribbon without spools.
Option 2: Ziplock Bags
Ziplock bags offer a cost-effective and practical storage solution for your ribbon collection. Here’s how you can use ziplock bags to store your ribbons without spools:
- Gather your ribbons: Collect the ribbons you want to store and group them based on color, occasion, or material to make organization easier.
- Choose the right size: Select clear ziplock bags that are large enough to comfortably fit each ribbon. It’s best to use individual bags for each ribbon to keep them separate and prevent tangling.
- Place one ribbon in each bag: Take one ribbon at a time and insert it into a ziplock bag. Make sure the ribbon is fully enclosed and the bag is securely sealed.
- Label the bags (optional): If you want to easily identify the ribbons later, consider labeling the ziplock bags with relevant information such as the ribbon’s color, occasion, or material. You can write directly on the bags or use adhesive labels.
- Store the bags: Once you have placed each ribbon in a ziplock bag, organize and store the bags in a box, basket, or any container of your choice. This will keep them tidy and easily accessible for future use.
Using ziplock bags as a storage solution has the advantage of allowing you to see the ribbons inside and easily grab the one you need. It’s a versatile option that works well for ribbons of various sizes and styles.
Now that you know how to use ziplock bags, let’s explore another storage option for your ribbons without spools.
Option 3: Clear Plastic Containers
Clear plastic containers provide a durable and protective storage solution for your ribbon collection. Here’s how you can use clear plastic containers to store your ribbons without spools:
- Select the right containers: Choose clear plastic containers with lids that are suitable for the quantity and size of your ribbons. You can opt for containers with dividers or compartments to keep your ribbons organized.
- Prepare your ribbons: Ensure that your ribbons are untangled and neatly folded or rolled before placing them in the containers. Straightening out any creases or wrinkles will help maintain the quality of the ribbons.
- Arrange your ribbons: Place each ribbon in a separate section or compartment of the container, arranging them based on your preferred organization method. You can organize them by color, occasion, or material.
- Close the container lids: Once you have arranged the ribbons, securely close the lids of the clear plastic containers. This will protect your ribbons from dust, moisture, and potential damage.
- Label the containers (optional): To easily identify the contents of each container, consider labeling them with relevant information such as color categories or ribbon types. You can use adhesive labels or attach small tags to the containers.
- Store the containers: Find a suitable spot to store the clear plastic containers, ensuring they are easily accessible when you need to retrieve a specific ribbon. You can stack the containers or place them on shelves or in drawers.
Using clear plastic containers allows you to easily see and access your ribbons while keeping them well-protected from dust and damage. It also helps maintain the organization of your ribbon collection.
Now that you know how to use clear plastic containers, you have several options for storing your ribbons without spools. Choose the option that works best for you based on your available space, ribbon collection size, and personal preferences.
Step 3: Organizing Your Ribbon
After choosing your preferred storage solution, it’s time to organize your ribbon collection. Here are a few options for organizing your ribbons:
- Option 1: By Color
- Option 2: By Occasion or Theme
- Option 3: By Width or Material
Organizing your ribbons by color is a popular method that allows for easy color selection when crafting or wrapping gifts. You can group similar shades together or organize them in a rainbow spectrum for a visually appealing display.
If you often use ribbons for specific occasions or themes, consider organizing them accordingly. For example, you can group ribbons for birthdays, weddings, or holidays in separate sections for quick and convenient access.
An alternative approach is to organize your ribbons based on their width or material. Grouping ribbons of similar widths or materials together makes it easier to find the specific type of ribbon you need for a particular project.
Choose the organization method that suits your needs and preferences. You can even combine different methods to create a customized organization system.
As you organize your ribbons, consider labeling or tagging each section or container to make it easier to locate specific ribbons in the future.
Now that your ribbons are organized, let’s move on to the next step – storing your ribbon collection.
To store ribbon not on spools, consider using a ribbon organizer with multiple compartments or a clear plastic container with dividers to keep the ribbon neatly organized and easily accessible.
Read more: How To Store Spools Of Thread
Option 1: By Color
Organizing your ribbons by color is a popular and visually pleasing method. Here’s how you can organize your ribbons by color:
- Gather your ribbons: Collect all your ribbons and sort them by color. Separate them into piles or groups, grouping similar colors together.
- Prepare your storage space: Clear a space where you’ll be storing your ribbons and have your chosen storage solution ready, whether it’s ribbon cards, ziplock bags, or clear plastic containers.
- Assign each color to a section: Allocate a section or compartment for each color in your storage solution. For example, if you’re using ribbon cards, designate a separate card for each color.
- Wrap the ribbons: Carefully wrap each ribbon of a specific color around the corresponding card, or place it in its designated bag or container compartment. Make sure the ribbons are neatly wrapped to prevent tangling.
- Label or tag each section (optional): To easily identify the color of each section, consider labeling or tagging them. You can use adhesive labels, colored stickers, or attach small tags with the name or color code.
- Arrange the sections: Place the color sections in a logical order that makes it easy for you to find the desired colors. You can arrange them in a rainbow spectrum or any other order that you prefer.
Organizing your ribbons by color not only makes it convenient to find the desired color quickly but also allows for a visually appealing display. Whether you’re working on a specific color-themed project or looking for inspiration, this method gives you a clear overview of your ribbon collection.
Now that you know how to organize your ribbons by color, let’s explore the next organization option – organizing by occasion or theme.
Option 2: By Occasion or Theme
An alternative method for organizing your ribbons is by grouping them based on occasion or theme. Here’s how you can organize your ribbons by occasion or theme:
- Identify the occasions or themes: Determine the different occasions or themes for which you frequently use ribbons. This could include birthdays, weddings, holidays, baby showers, or any other specific events or themes that are relevant to your ribbon collection.
- Gather the ribbons for each occasion or theme: Sort through your ribbons and gather the ones that are suitable for each occasion or theme. Separate them into piles or groups.
- Allocate storage sections: Assign a separate section, compartment, or container for each occasion or theme in your chosen storage solution. This could be a ribbon card, ziplock bag, or dedicated space in a clear plastic container.
- Wrap the ribbons: Wrap each ribbon belonging to a specific occasion or theme around the designated storage item. Ensure that they are neatly wrapped to prevent tangling or damage.
- Label or tag each section (optional): To easily identify the ribbons for each occasion or theme, consider labeling or tagging the sections. You can use adhesive labels, stickers, or small tags with the occasion or theme name.
- Arrange the sections: Place the sections in a logical order that reflects the importance or frequency of the occasions or themes. This will make it easier to locate the appropriate ribbons when working on specific projects.
Organizing your ribbons by occasion or theme allows for quick and efficient selection when you’re working on projects for specific events or when you want to add a touch of thematic flair to your creations.
Now that you know how to organize your ribbons by occasion or theme, let’s move on to the next organization option – organizing by width or material.
Option 3: By Width or Material
Another method for organizing your ribbons is by grouping them based on width or material. This allows for easy access to ribbons of a specific width or material when crafting or gift wrapping. Here’s how you can organize your ribbons by width or material:
- Differentiate by width or material: Determine whether you want to organize your ribbons by width, material, or both. Consider whether you frequently use ribbons of different widths or if you have a variety of materials such as satin, grosgrain, or lace.
- Gather ribbons of similar width or material: Sort through your ribbons and gather those that share the same width or material. Separate them into piles or groups.
- Allocate storage sections: Assign a separate section, compartment, or container for each width or material in your chosen storage solution. This could be a ribbon card, ziplock bag, or dedicated space in a clear plastic container.
- Wrap the ribbons: Wrap each ribbon of the same width or material around the designated storage item. Keep them neatly wrapped to prevent tangling or damage.
- Label or tag each section (optional): To easily identify the ribbons by width or material, consider labeling or tagging each section. You can use adhesive labels, stickers, or small tags with the width or material information.
- Arrange the sections: Place the sections in a sequence that reflects the width or material hierarchy based on your preference. This will make it convenient to find and select the appropriate ribbons for your projects.
Organizing your ribbons by width or material allows you to quickly locate the right ribbon for different crafting or gift wrapping needs. It helps maintain a structured collection and makes it easier to work with ribbons that have specific characteristics or purposes.
Now that you’re familiar with organizing your ribbons by width or material, you have a variety of options to choose from. Select the organization method that suits your needs and preferences best.
Step 4: Storing Your Ribbon Collection
Once you have organized your ribbons, it’s time to store them in a way that keeps them easily accessible and protected. Here are a few options for storing your ribbon collection:
- Option 1: Ribbon Box or Drawer
- Option 2: Hanging Storage Solution
- Option 3: Wall-Mounted Ribbon Rack
A ribbon box or drawer is a dedicated storage solution designed specifically for ribbons. It usually has compartments or dividers to keep your ribbons separated and organized. Place your neatly wrapped ribbon cards, ziplock bags, or clear plastic containers in the box or drawer to keep them protected from dust and damage. This option is great if you have a large ribbon collection and want to have them all in one place.
If you prefer to showcase your ribbons and have easy access to them, consider a hanging storage solution. You can use a rod, hanger, or curtain rod to hang your ribbons, ensuring they are secured to prevent them from falling or tangling. This option is especially useful if you work with ribbons frequently and need to quickly grab the desired length.
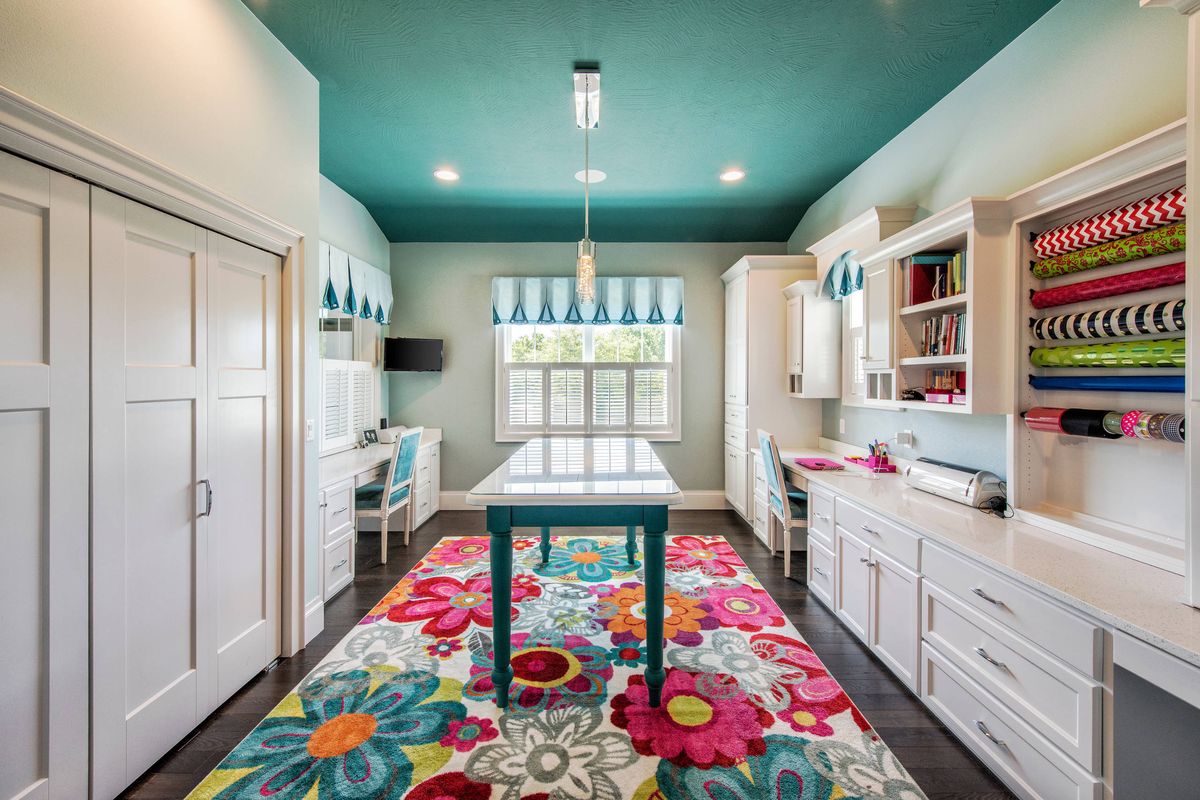
For a creative and decorative storage solution, a wall-mounted ribbon rack can be an excellent choice. A ribbon rack allows you to hang your ribbons neatly against a wall, creating an eye-catching display while keeping them readily available. This option works well if you have limited table or shelf space but still want to have your ribbons easily accessible.
When deciding on the storage option, consider factors such as the amount of space you have, the size of your ribbon collection, and your personal preferences. Remember to store your ribbons in a cool, dry place away from direct sunlight to preserve their quality.
Now that you have chosen how to store your ribbon collection, let’s move on to the final step – tips for maintaining the quality of your ribbons.
Read more: What Is A Printer Ribbon
Option 1: Ribbon Box or Drawer
Storing your ribbon collection in a dedicated ribbon box or drawer is a practical and organized solution. Here’s how you can utilize a ribbon box or drawer to store your ribbons:
- Select the right ribbon box or drawer: Choose a ribbon box or drawer that suits the size of your ribbon collection. Look for one with compartments or dividers to keep your ribbons separate and prevent tangling.
- Prepare your ribbons: Ensure that your ribbons are neatly wrapped and organized, whether you’ve used ribbon cards, ziplock bags, or clear plastic containers. This will make it easier to store them in the ribbon box or drawer.
- Arrange the ribbons: Place your ribbon cards, ziplock bags, or clear plastic containers in the compartments or dividers of the ribbon box or drawer. Organize them based on your preferred organization method, such as by color, occasion, or width.
- Utilize additional storage: If your ribbon collection outgrows the ribbon box or drawer, consider using additional storage solutions like small bins or baskets within the box or drawer to keep everything organized.
- Label the sections (optional): To easily locate specific ribbons, you can label each section or use color-coded stickers or tags to indicate the organization system you’ve implemented.
- Store the ribbon box or drawer: Find a suitable place to store your ribbon box or drawer, ensuring it’s easily accessible when you need to retrieve or add ribbons. Consider keeping it in a craft room, closet, or on a shelf dedicated to your crafting supplies.
A ribbon box or drawer provides a dedicated space for your ribbons, keeping them protected from dust and damage. It also allows for efficient organization and easy access, making it a convenient storage solution for your ribbon collection.
Now that you know how to use a ribbon box or drawer, you can confidently store your ribbons and keep them in excellent condition. Let’s move on to the next step – tips for maintaining the quality of your ribbons.
Option 2: Hanging Storage Solution
If you prefer a more accessible and visually appealing way to store your ribbons, a hanging storage solution might be the perfect choice. Here’s how you can utilize a hanging storage solution to store your ribbons:
- Select a rod or hanger: Choose a sturdy rod or hanger that can support the weight of your ribbons. It could be a tension rod, a clothing hanger, or a purpose-built ribbon holder.
- Prepare your ribbons: Ensure that your ribbons are neatly wrapped and organized using ribbon cards, ziplock bags, or other storage options.
- Attach the ribbons: Depending on the storage solution you’ve chosen, attach your ribbons by hanging them individually or by clipping them to the rod or hanger. Ensure that they are secured to prevent them from falling or becoming tangled.
- Arrange the ribbons: Organize the ribbons in a logical order based on your preferred method, such as by color, occasion, or width. This will make it convenient to find the specific ribbon you need when working on projects.
- Label the ribbons (optional): If desired, you can attach small tags or labels to the ribbons indicating their color, occasion, or other relevant information. This will help you quickly identify and select the right ribbon.
- Hang the storage solution: Find a suitable spot to hang your ribbons, such as a wall, a door, or inside a closet. Ensure that the hanging storage solution is easily accessible and does not obstruct your workspace.
A hanging storage solution not only keeps your ribbons organized and easily accessible but also adds an aesthetic touch to your craft space. It allows you to view your ribbons at a glance, making it convenient when selecting the perfect ribbon for your projects.
Now that you know how to use a hanging storage solution, you can showcase your ribbons while keeping them well-organized. Let’s move on to the next step – tips for maintaining the quality of your ribbons.
Option 3: Wall-Mounted Ribbon Rack
If you’re looking for a creative and space-saving storage solution for your ribbons, a wall-mounted ribbon rack is an ideal choice. Here’s how you can utilize a wall-mounted ribbon rack to store your ribbons:
- Select a wall-mounted ribbon rack: Choose a ribbon rack that fits your available space and suits the size of your ribbon collection. There are various designs available, including racks with dowels or rods to hold the ribbons.
- Prepare your ribbons: Ensure that your ribbons are neatly wrapped and organized using ribbon cards, ziplock bags, or clear plastic containers.
- Attach the ribbons: Take each ribbon and thread it through the dowels or rods of the ribbon rack. Ensure that the ribbons are securely in place and won’t easily unravel or fall off.
- Organize the ribbons: Arrange the ribbons on the ribbon rack based on your preferred organization method, such as by color, occasion, or width. You can create a visually pleasing display by alternating colors or organizing them in a pattern.
- Label the ribbons (optional): If desired, you can attach small tags or labels to the ribbons indicating their color, occasion, or any relevant details. This will make it easier to identify and select the right ribbon for your projects.
- Mount the ribbon rack on the wall: Using screws, hooks, or adhesive strips, mount the ribbon rack securely on the wall of your craft room or workspace. Ensure that it is at a height that is convenient for accessing and viewing the ribbons.
A wall-mounted ribbon rack not only provides storage for your ribbons but also adds a decorative element to your space. It keeps your ribbons easily accessible and allows for a visually appealing display that can inspire your creativity.
Now that you know how to use a wall-mounted ribbon rack, you can showcase your ribbons while keeping them well-organized. Let’s move on to the final step – tips for maintaining the quality of your ribbons.
Step 5: Tips for Maintaining Ribbon Quality
Once you have stored your ribbon collection, it’s important to take steps to maintain the quality of your ribbons over time. Here are some tips to help you keep your ribbons in great condition:
- Keep them away from direct sunlight: Exposure to direct sunlight can cause fading and damage to your ribbons. Store them in a cool, dry place away from windows or invest in UV-protective storage containers.
- Protect them from moisture: Moisture can ruin the color and texture of ribbons. Avoid storing them in areas of high humidity, and consider using moisture-absorbing packets in your storage containers.
- Avoid excessive heat: Extreme heat can cause ribbons to warp or melt. Keep them away from heaters, stovetops, or any other sources of heat that could damage them.
- Handle with clean hands: Before handling your ribbons, make sure your hands are clean to avoid leaving oils or dirt on the fabric. This will help maintain the vibrancy and cleanliness of the ribbons.
- Rotate your ribbons: Periodically rotate your ribbons, especially if they are stored in containers or boxes, to prevent sagging or creasing in one area. This will help ensure that the ribbons stay in good shape.
- Store them neatly: Take care to store your ribbons wrinkle-free and in an organized manner. Avoid tightly packing them, as this can lead to creases or kinks. Proper storage will help preserve the appearance and quality of your ribbons.
- Inspect for pests: Regularly check your ribbons for any signs of pests, such as moths or insects. If you notice any infestation, take immediate action to prevent further damage to your ribbon collection.
- Replace damaged ribbons: Over time, some ribbons may become worn, frayed, or damaged. It’s essential to regularly assess the condition of your ribbons and replace any that are no longer usable. This will help maintain the overall quality of your ribbon collection.
By following these tips, you can prolong the lifespan of your ribbons and ensure that they remain in excellent condition for future crafting or gift wrapping projects.
With these storage and maintenance tips in mind, you’re now equipped to store your ribbon collection without spools and maintain the quality of your ribbons. Happy crafting!
Read more: What Does Printer Spooling Mean
Conclusion
Storing your ribbons without spools offers a more efficient, space-saving, and organized way to keep your collection accessible and in good condition. Whether you choose ribbon cards, ziplock bags, clear plastic containers, hanging storage solutions, or wall-mounted ribbon racks, finding the right storage option depends on your needs and preferences.
Organizing your ribbons by color, occasion/theme, or width/material allows for easy identification and quick selection. Labeling or tagging each section or container further enhances organization and streamlines the creative process.
When storing your ribbons, consider factors such as protection from direct sunlight, moisture, excessive heat, and pests. Handle your ribbons with clean hands, store them neatly, and inspect them regularly for signs of damage. By following these tips, you can maintain the quality and longevity of your ribbons.
In conclusion, storing ribbon not on spools offers benefits such as space-saving, tangle-free storage, prevention of creases, flexibility in customization, and easy access to your ribbons. By selecting the right storage solution, organizing your ribbons effectively, and implementing proper maintenance techniques, you can ensure that your ribbon collection remains in top-notch condition for all your crafting and gift wrapping needs.
So, unleash your creativity, dive into your ribbon collection, and enjoy the convenience and beauty of storing your ribbons without spools!
Frequently Asked Questions about How To Store Ribbon Not On Spools
Was this page helpful?
At Storables.com, we guarantee accurate and reliable information. Our content, validated by Expert Board Contributors, is crafted following stringent Editorial Policies. We're committed to providing you with well-researched, expert-backed insights for all your informational needs.


0 thoughts on “How To Store Ribbon Not On Spools”