Home>Garden Essentials>How To Decorate Mesh Ribbon On A Wreath With Greenery

Garden Essentials
How To Decorate Mesh Ribbon On A Wreath With Greenery
Modified: March 7, 2024
Learn how to beautifully decorate a wreath with mesh ribbon and greenery to create a stunning garden-inspired display. Enhance your outdoor space with this easy DIY project.
(Many of the links in this article redirect to a specific reviewed product. Your purchase of these products through affiliate links helps to generate commission for Storables.com, at no extra cost. Learn more)
Introduction
Welcome to our comprehensive guide on how to decorate a wreath with mesh ribbon and greenery. Wreaths are a beautiful and versatile way to add a touch of nature and seasonal charm to your home. By incorporating mesh ribbon and greenery, you can create a stunning decoration that will stand out and impress your guests.
Mesh ribbon is a popular choice for wreath decorations due to its flexibility and vibrant colors. It can be easily shaped and manipulated, allowing for endless possibilities in design. Greenery, on the other hand, adds a natural and organic element to the wreath, creating a cohesive and visually appealing look.
In this guide, we will take you through the step-by-step process of decorating a wreath with mesh ribbon and greenery. Whether you are a seasoned DIY enthusiast or a beginner, this guide will provide you with all the necessary insights and techniques to create a wreath that will be the envy of your neighborhood.
Before we get started, let’s gather all the materials you will need:
- A wreath base (either foam or wire)
- Mesh ribbon in your desired color(s)
- Various greenery and foliage (e.g., pine branches, eucalyptus, holly leaves)
- Floral wire or pipe cleaners
- Decorations such as ornaments, pinecones, or berries
- Scissors
- Hot glue gun (optional)
Now that we have our materials ready, let’s dive into the exciting process of creating a beautiful wreath with mesh ribbon and greenery!
Key Takeaways:
- Decorating a wreath with mesh ribbon and greenery is a fun and rewarding DIY project that adds natural beauty to your home. With the right materials and techniques, you can create a stunning and personalized decoration that will impress your guests.
- By carefully preparing the wreath base, securely attaching the mesh ribbon, adding greenery and foliage, and finishing with personalized decorations, you can create a unique and visually appealing wreath that reflects your creativity and style.
Read more: How To Add Accent Ribbon To Greenery Wreath
Gather the materials
Before you begin decorating your wreath with mesh ribbon and greenery, it’s essential to gather all the necessary materials. Having everything within reach will ensure a smooth and enjoyable crafting experience. Here’s a checklist of the materials you’ll need:
- A wreath base: Choose either a foam or wire wreath base depending on your preference. Foam wreaths provide a solid foundation and are great for attaching heavier decorations, while wire wreaths offer flexibility and allow for a variety of styling options.
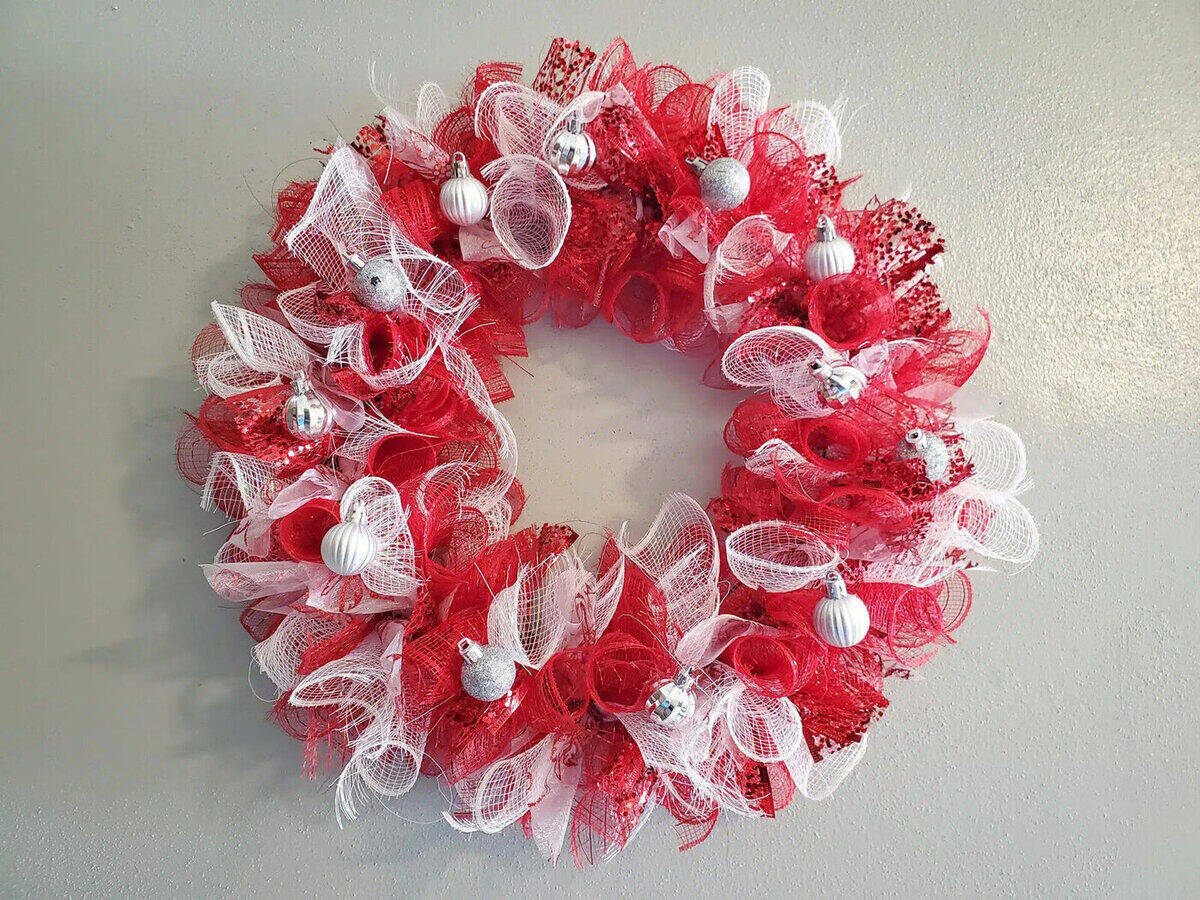
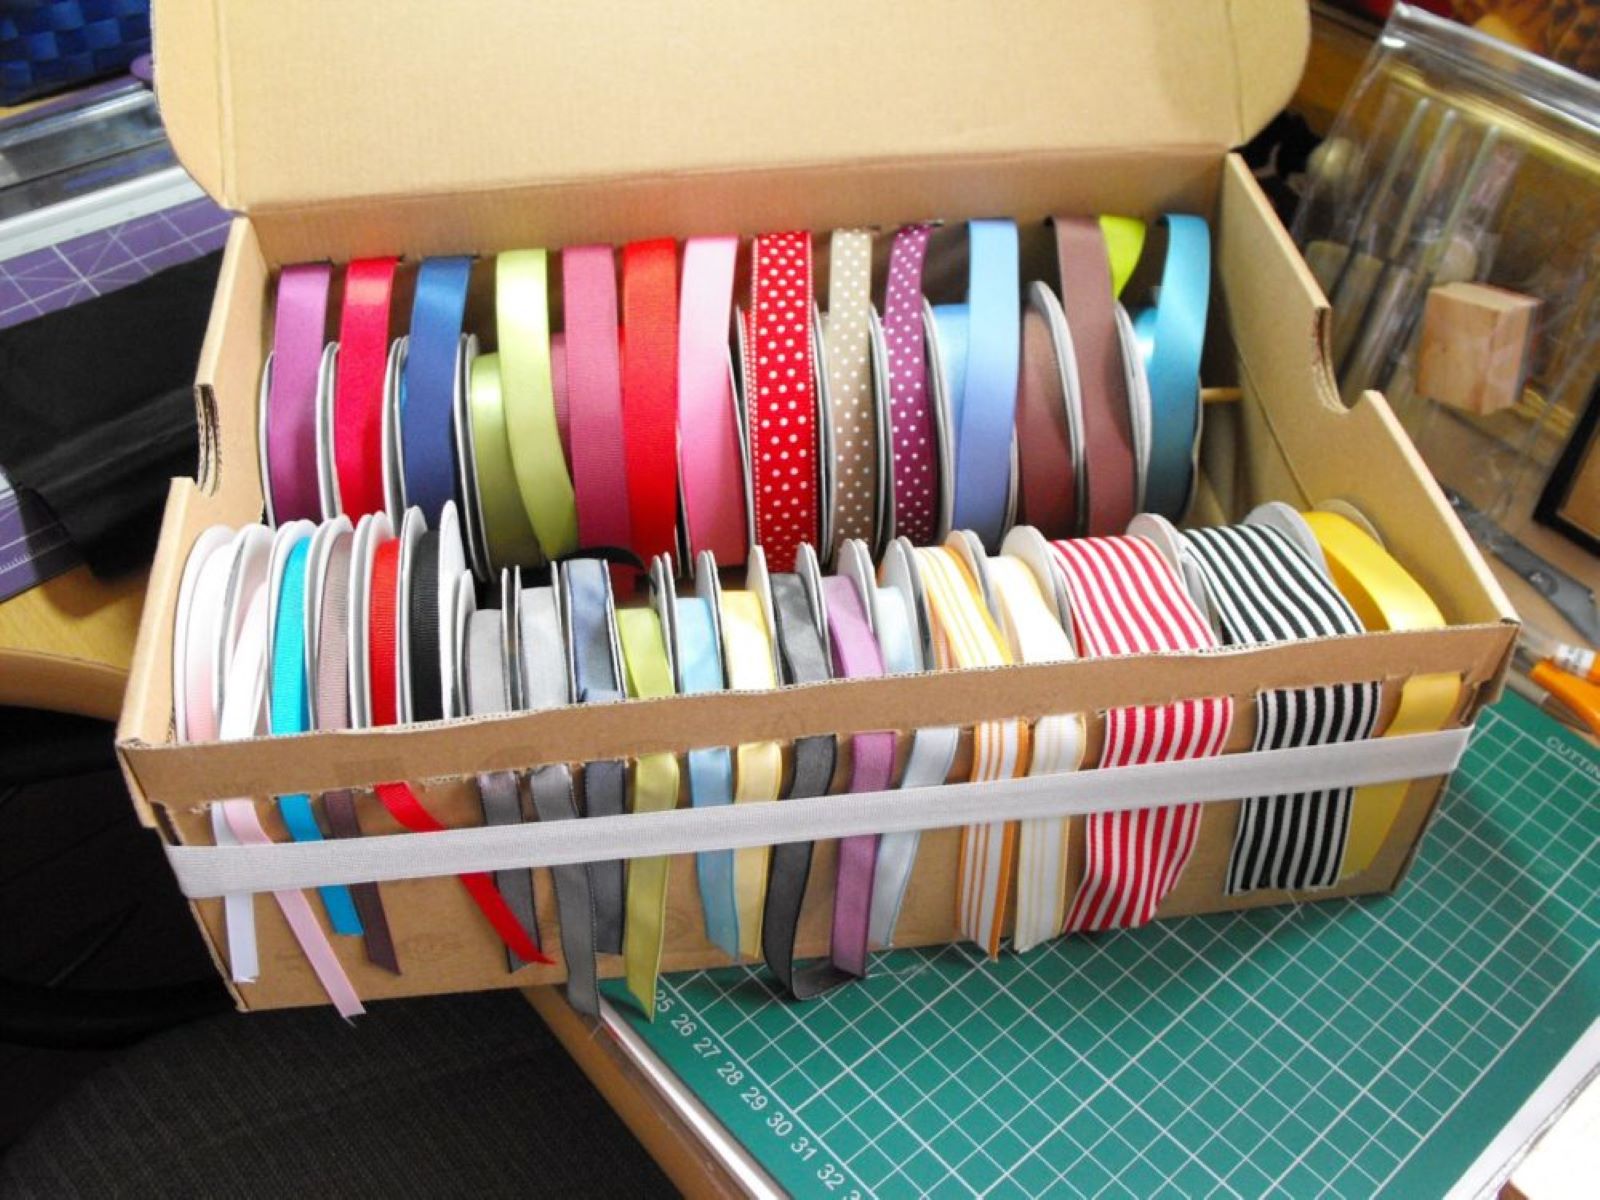
- Mesh ribbon: Select mesh ribbon in your desired color(s) to match the theme or season you have in mind. Mesh ribbon is available in a wide range of colors and patterns, so feel free to get creative and mix and match.
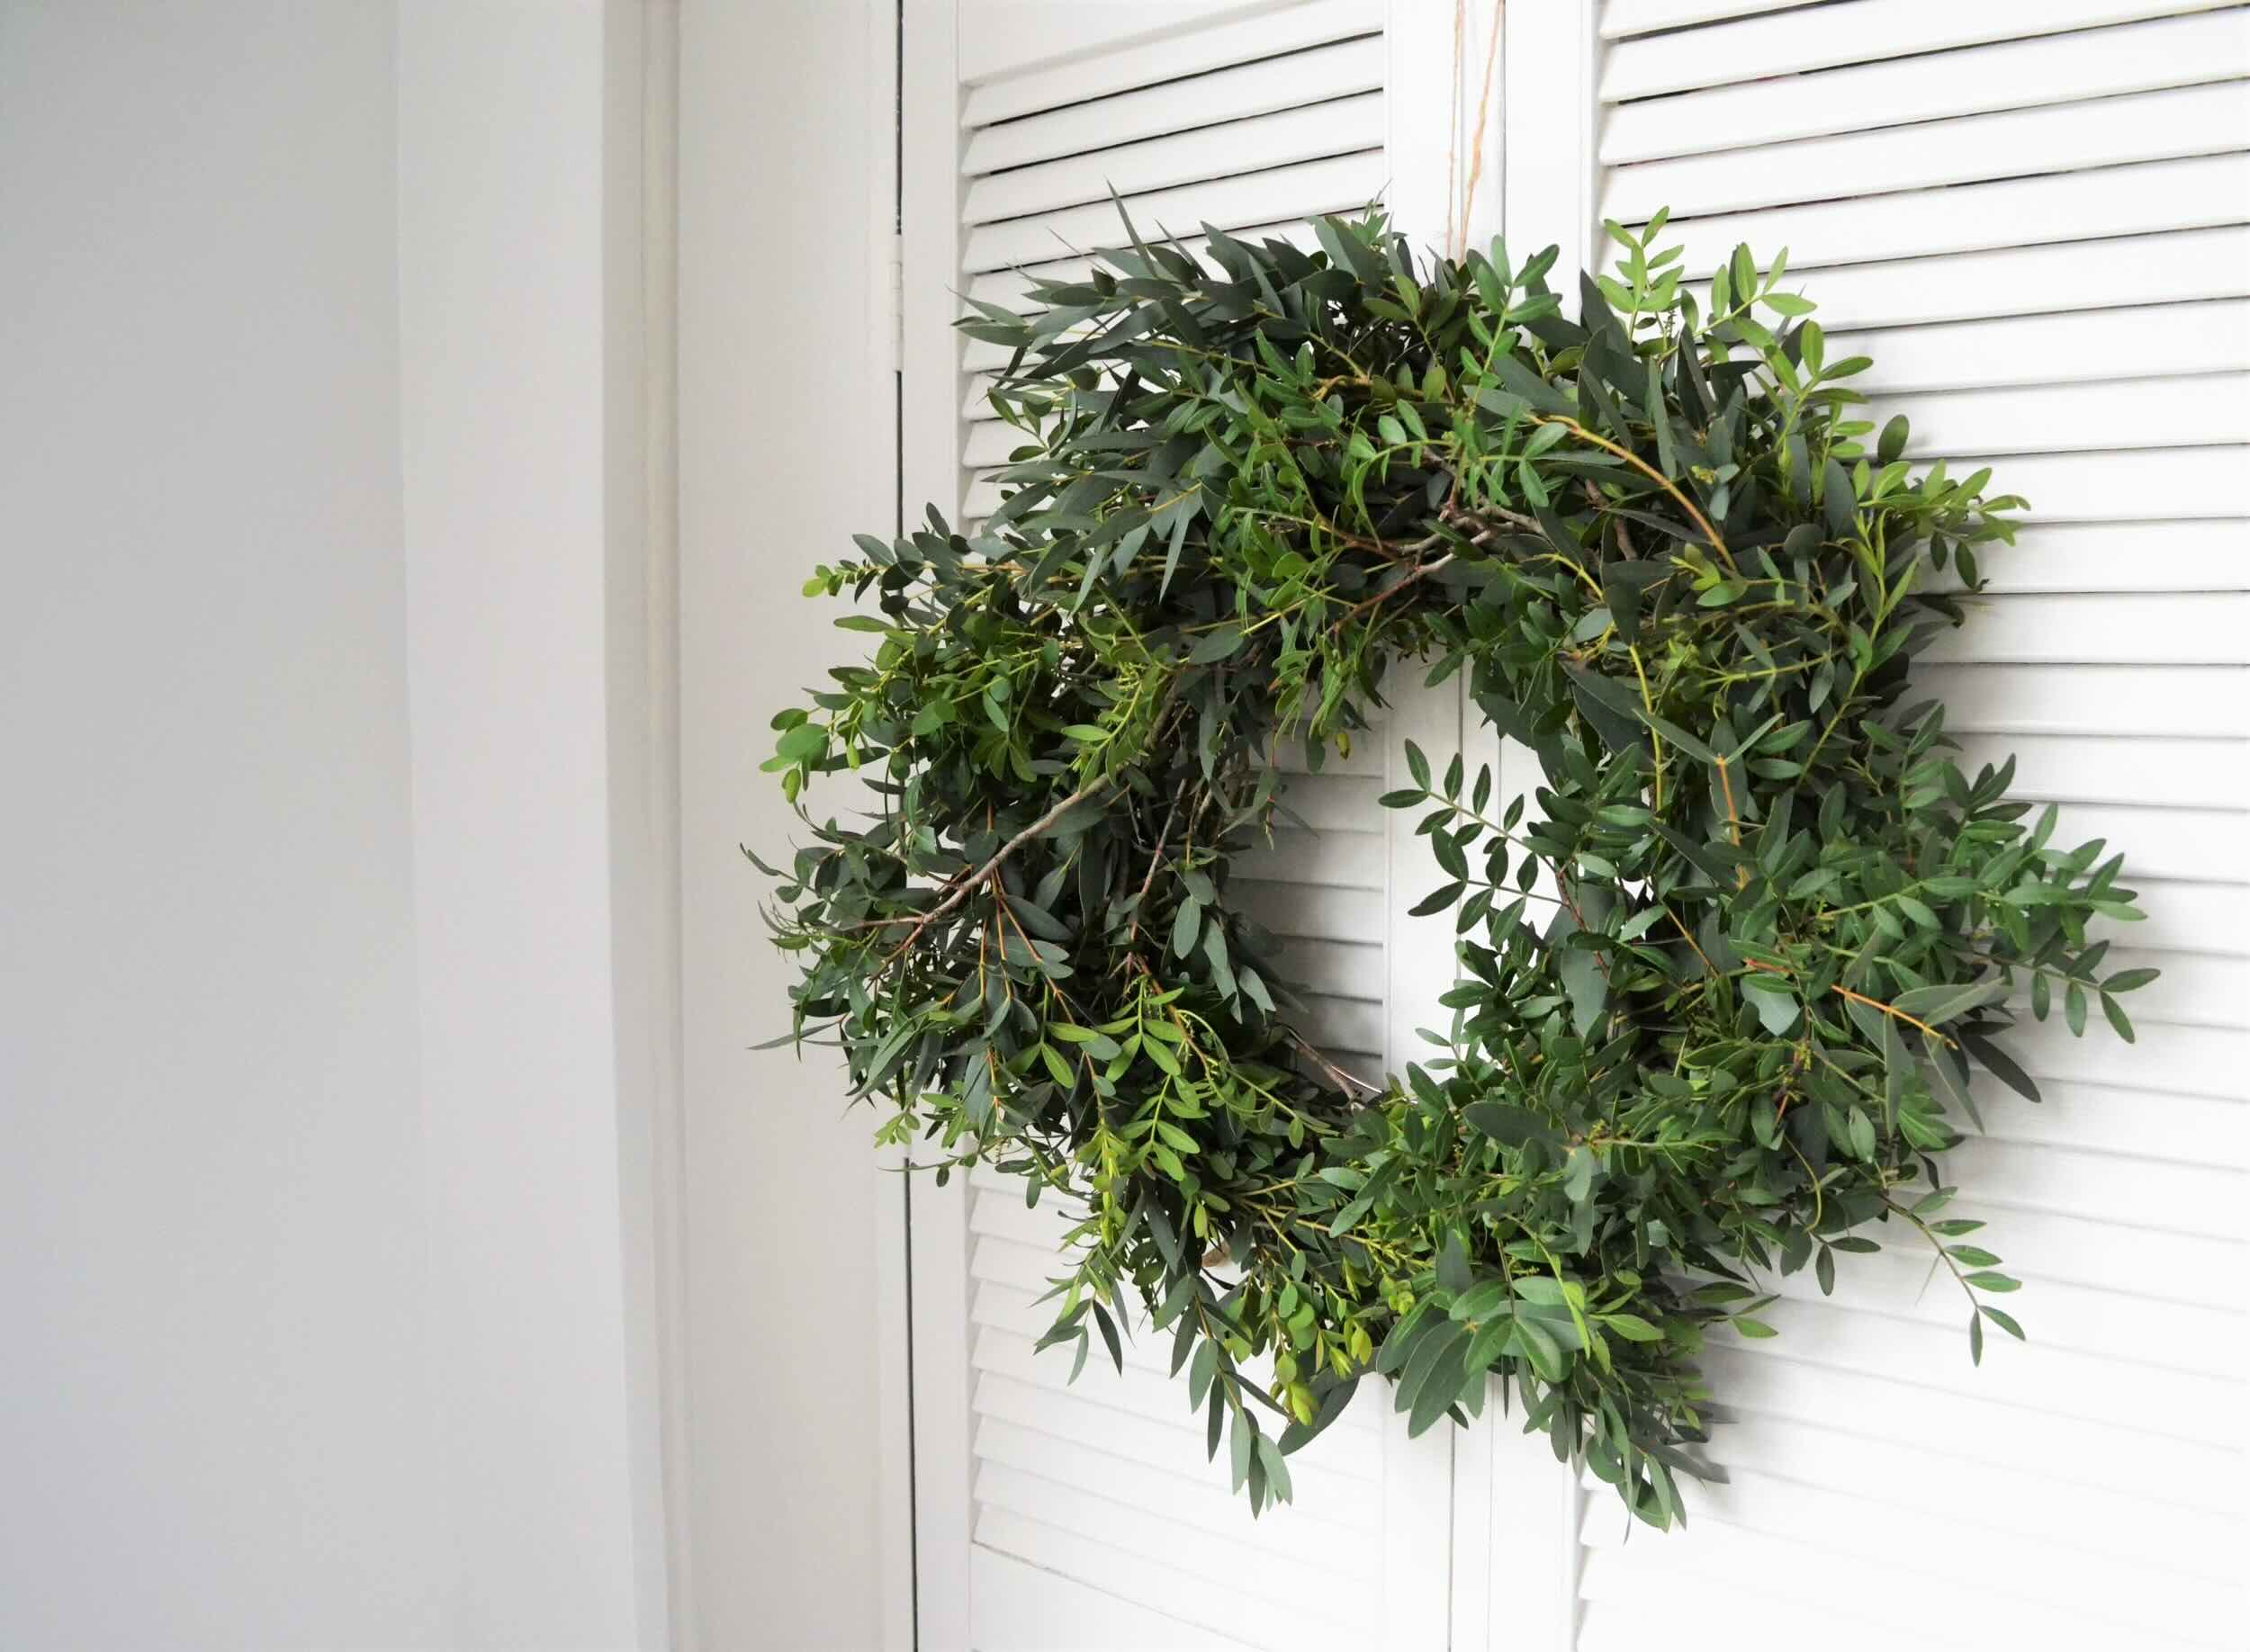
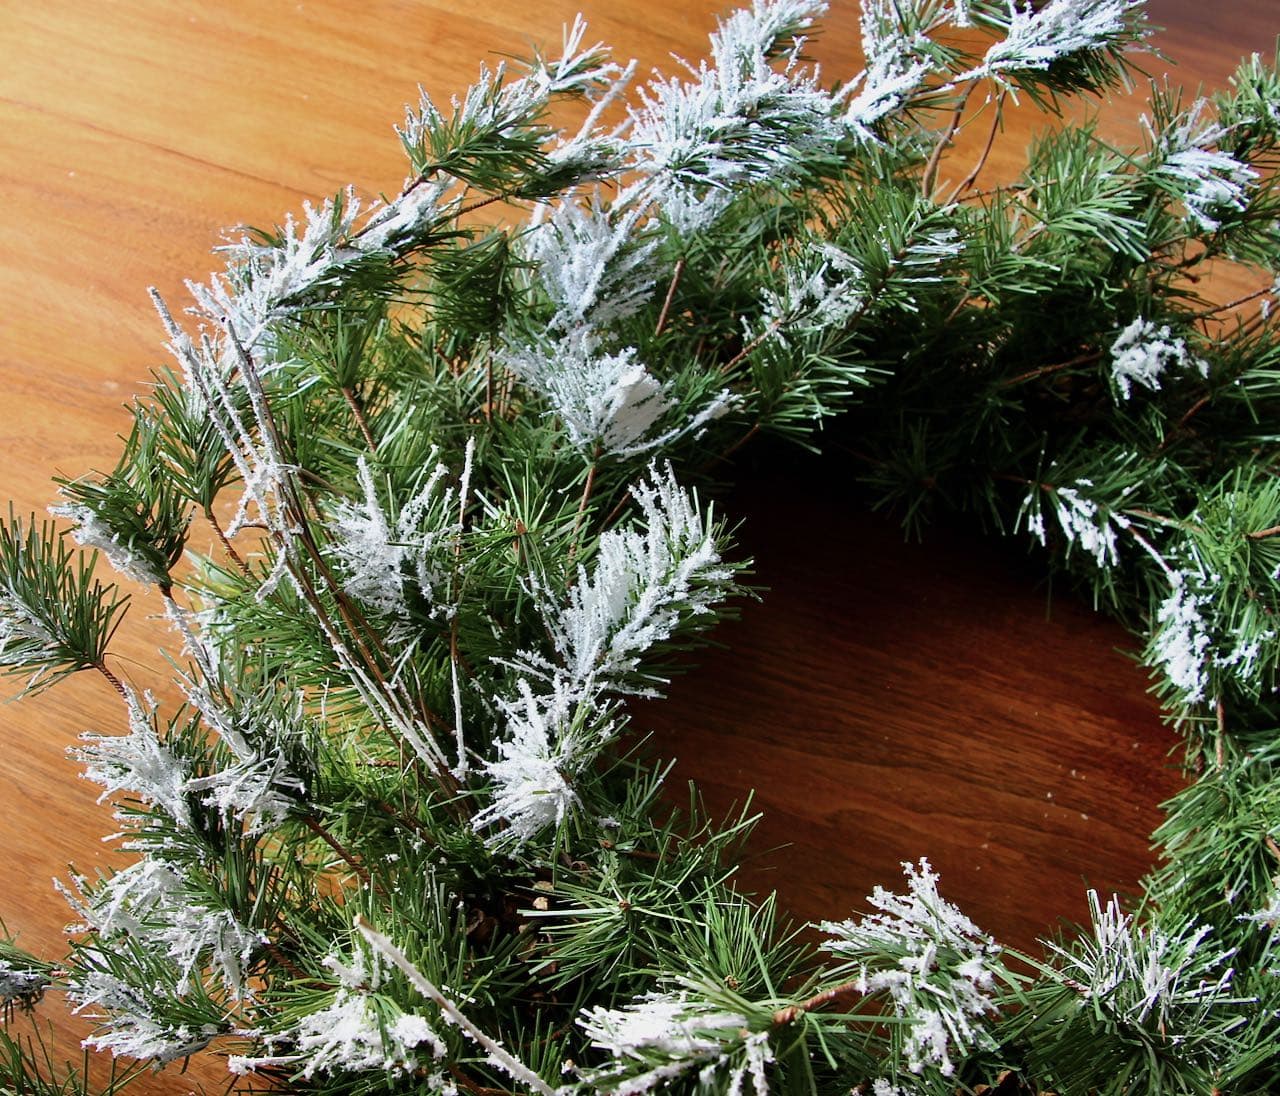
- Greenery and foliage: Gather an assortment of greenery and foliage to add a natural touch to your wreath. Consider using pine branches, eucalyptus, holly leaves, or any other foliage that complements your chosen color scheme.
- Floral wire or pipe cleaners: These will be used to attach the mesh ribbon and greenery securely to the wreath base. Floral wire is versatile and provides a sturdy hold, while pipe cleaners are more flexible and easy to manipulate.
- Decorations: Enhance your wreath by incorporating decorations such as ornaments, pinecones, berries, or any other embellishments that suit your style. These add a personalized touch and can be selected based on the theme or occasion.
- Scissors: A pair of sharp scissors will come in handy for cutting the mesh ribbon and trimming any excess greenery.
- Hot glue gun (optional): If you prefer a more secure attachment, you can use a hot glue gun to adhere the decorations and foliage to the wreath base. However, this is optional and can be skipped if you prefer a more temporary arrangement.
Once you have gathered all the necessary materials, ensure you have a clean and well-lit workspace to begin your wreath decorating project. Now that you’re fully prepared, let’s move on to preparing the wreath base.
Prepare the wreath
Now that you have gathered all the materials, it’s time to prepare the wreath base. Whether you’re using a foam or wire base, this step will ensure a sturdy foundation for your mesh ribbon and greenery.
If you’re using a foam wreath base, start by removing any coverings or packaging that may come with it. This will give you a clean and blank canvas to work with. Check for any uneven areas or protruding edges on the foam and use a sharp pair of scissors to trim them, creating a smooth surface.
For wire wreath bases, you don’t need to make any adjustments. However, inspect the frame to ensure it’s intact and free from any sharp or jagged edges that may snag the materials during the decorating process.
Regardless of the type of wreath base you’re using, you may want to consider covering it with a layer of green tissue paper or floral mesh. This will create a cohesive background, making the wreath appear fuller and hiding any gaps that may occur between the mesh ribbon and greenery.
Secure the tissue paper or floral mesh to the wreath base using small pins or hot glue, ensuring it is evenly distributed around the entire circumference. This step will provide a soft and pleasing backdrop for your wreath’s design.
Once the wreath base is prepared and covered (if desired), it’s time to move on to attaching the mesh ribbon.
[Continue with step 3: Attach the mesh ribbon]
Attach the mesh ribbon
Now that the wreath base is prepared, it’s time to add the vibrant and versatile element of mesh ribbon. This step will set the foundation for the overall design of the wreath and provide a stunning backdrop for the greenery and decorations.
Start by cutting the mesh ribbon into manageable lengths, around 12-18 inches each, depending on the size of your wreath. This will make it easier to work with and prevent tangling or overwhelming the wreath with excess ribbon.
Take one end of the mesh ribbon and secure it to the backside of the wreath base using floral wire or pipe cleaners. Twist the wire or pipe cleaner tightly to ensure a secure attachment.
Now, begin to weave the mesh ribbon in and out of the wreath base, creating loops or twists as you go. The goal is to evenly distribute the ribbon around the circumference of the wreath, leaving no gaps or spaces.
Continue weaving the ribbon, alternating between looping over the wreath and underneath it. This will create a full and layered appearance. Be mindful of not pulling the ribbon too tight or too loose, as it can affect the overall shape and look of the wreath.
If you’re using multiple colors of mesh ribbon, you can alternate them to create a visually appealing and vibrant design. Experiment with different patterns, such as using one color for the outer loops and another for the inner loops, or creating a crisscrossing pattern for added texture.
As you work your way around the wreath, periodically secure the ribbon to the wreath base with floral wire or pipe cleaners to keep it in place. This ensures that the ribbon stays secure and doesn’t shift or unravel over time.
Once you have gone all the way around the wreath, secure the end of the ribbon to the backside of the wreath base, just as you did at the beginning. Trim any excess ribbon, leaving a small tail for a clean and seamless finish.
Your wreath is now adorned with the vibrant mesh ribbon, creating a visually striking foundation for the next step: adding greenery and foliage.
[Continue with step 4: Add greenery and foliage]
When decorating a wreath with mesh ribbon and greenery, start by securing the greenery to the wreath first. Then, use the mesh ribbon to create loops and twists throughout the wreath, securing it in place with floral wire. This will give your wreath a full and festive look.
Add greenery and foliage
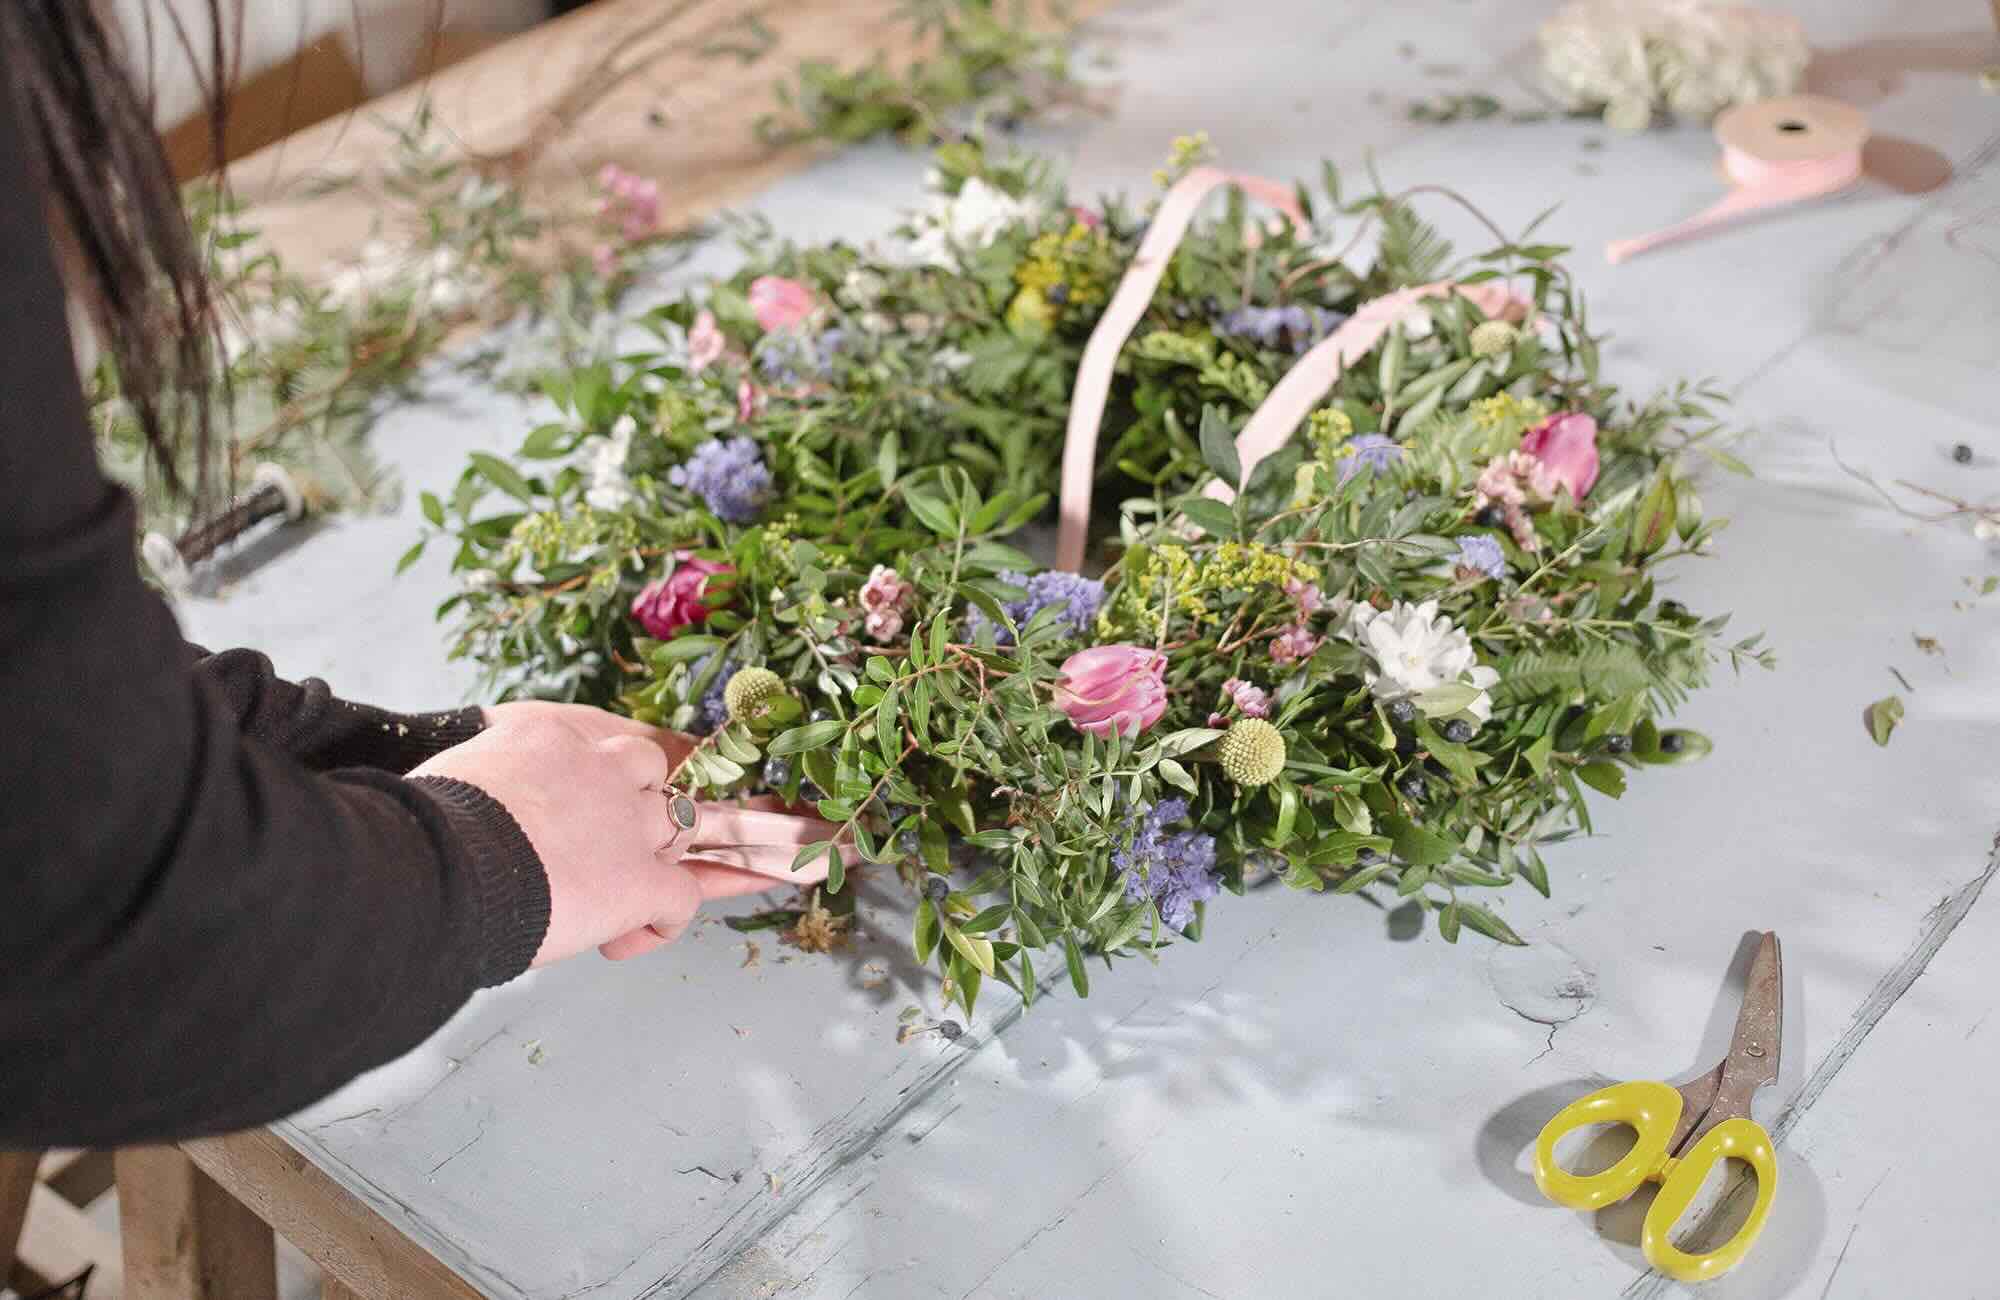
With the mesh ribbon securely attached to the wreath, it’s time to enhance its natural appeal by incorporating greenery and foliage. This step will add texture, depth, and a touch of freshness to your wreath’s design.
Start by gathering an assortment of greenery and foliage. Consider using pine branches, eucalyptus leaves, holly leaves, or any other types of foliage that align with your desired aesthetic. Trim the stems of the greenery to manageable lengths, leaving enough to securely attach them to the wreath base.
Place the first sprig of greenery on the wreath, positioning it in a way that complements the flow and shape of the mesh ribbon. Secure it to the wreath base using floral wire or pipe cleaners, twisting them tightly for a secure hold. Repeat this process with the remaining greenery, adding each piece strategically to create a balanced and visually pleasing arrangement.
As you add the greenery, vary the direction and angle of the stems to create a natural and organic look. Place some sprigs facing outward, while others can be nestled inward or upward for added dimension.
Take a step back occasionally to assess the overall composition of the wreath. Make adjustments as necessary, ensuring that the greenery is evenly distributed and that the wreath retains a balanced appearance.
If desired, you can weave the stems of the greenery through the mesh ribbon to further secure them and create a seamless integration between the two elements. This will provide added stability, especially if you plan to hang the wreath outdoors or in an area prone to wind or movement.
Don’t be afraid to experiment with different types of foliage and mix different shades of green. Consider adding pops of color with seasonal elements like berries, flowers, or dried seed pods. This customization will make your wreath unique and tailored to your personal taste and style.
Once you are satisfied with the placement of the greenery and foliage, step back and admire your wreath’s transformation. It’s now ready for the final touches: securely fastening the decorations.
[Continue with step 5: Securely fasten the decorations]
Read more: How To Make A Greenery Wreath
Securely fasten the decorations
Now that the mesh ribbon and greenery are in place, it’s time to add the finishing touches to your wreath by incorporating decorations. Whether you choose ornaments, pinecones, berries, or any other embellishments, securely fastening them will ensure they stay in position and withstand the test of time.
Before attaching the decorations, take a moment to plan out their placement. This will help you achieve a balanced and visually appealing arrangement. Consider the size, shape, and color of each decoration to create a harmonious composition.
Start by attaching larger decorations, such as ornaments or pinecones, to the wreath base using floral wire or hot glue. If using floral wire, thread it through the ornament’s hook or wrap it around the pinecone, and then twist it securely to the wreath base. If using hot glue, be cautious not to use too much, as it can weigh down the wreath and potentially damage the materials.
For smaller decorations, like berries or smaller ornaments, you can either attach them directly to the wreath base or tuck them into the greenery for a more integrated look. Use floral wire or hot glue to secure them, ensuring they are firmly in place.
As you position the decorations, step back periodically to assess the overall appearance and make any necessary adjustments. Create visual interest by clustering decorations in groups of odd numbers and varying their placement throughout the wreath.
If you want to add a bow or ribbon as a focal point, attach it securely to the top or bottom of the wreath using floral wire. Consider using a contrasting color or pattern to add visual interest and draw attention to the center of the wreath.
Take time to inspect the wreath from different angles to ensure all the decorations are securely fastened and nothing appears loose or unstable. Make any necessary adjustments or reinforcements as needed.
Once all the decorations are securely attached, stand back and admire your beautifully adorned wreath. It’s almost complete, but there’s one final step to ensure perfection: the final touches and adjustments.
[Continue with step 6: Final touches and adjustments]
Final touches and adjustments
Now that your wreath is nearly complete, it’s time to add those final touches that will take it to the next level. These small details will elevate the overall look and ensure that every aspect of your wreath is visually appealing and cohesive.
Begin by stepping back and assessing the wreath from different angles. Take note of any areas that may appear sparse or uneven. This is the time to make any necessary adjustments to achieve a balanced and symmetrical design.
Using your scissors, trim any stray or overgrown greenery that may be obstructing the overall shape of the wreath. Be careful not to cut too much, as you want to maintain the lushness and fullness of the wreath.
Next, inspect the mesh ribbon for any loose or drooping sections. Use your floral wire or pipe cleaners to secure these areas, tightening them gently to restore the ribbon’s shape and structure.
If you notice any gaps between the mesh ribbon or greenery, you can strategically tuck in additional sprigs of greenery or foliage to fill these spaces. This will create a seamless and abundant look.
If desired, you can add extra embellishments or accents to further enhance the wreath’s charm. Consider adding small bows, faux flowers, or even twinkling fairy lights for a touch of whimsy and sparkle.
Once you are satisfied with the look and feel of the wreath, give it a final inspection to ensure that all the decorations and foliage are securely fastened. Gently shake the wreath to check for any loose elements or weak attachments. Make any necessary adjustments or reinforcements to ensure the longevity of your wreath.
As a final step, step back and admire your stunning creation. Hang it on your front door, above the fireplace, or wherever you desire to showcase its beauty. Your wreath is now complete, and it will delight both you and your visitors with its vibrant colors, natural elements, and unique design.
Congratulations on successfully decorating a wreath with mesh ribbon and greenery! Enjoy the fruits of your labor and the beauty that your wreath brings to your home.
Happy crafting!
[End of article]
Conclusion
Decorating a wreath with mesh ribbon and greenery is a rewarding and enjoyable way to add a touch of beauty and nature to your home. With the step-by-step guide provided in this article, you have learned how to create a stunning wreath that will impress your guests and bring joy to your everyday life.
Starting with gathering the necessary materials, you carefully prepared the wreath base and securely attached the vibrant mesh ribbon. By weaving the ribbon and adding various types of greenery and foliage, you created a textured and visually striking foundation for your wreath. Then, with the final step of securely fastening the decorations, you brought your wreath to life with personalized touches and added charm.
Throughout the process, it was important to step back, assess, and make necessary adjustments to achieve a balanced and visually appealing wreath. By taking the time to add those final touches and adjustments, you ensured that every detail was in place and that your wreath was a work of art.
Now, it’s time to proudly display your wreath in your home. Hang it on your front door, above your fireplace, or anywhere else that brings a smile to your face. Every time you admire your wreath, you’ll be reminded of your creativity and the joy that crafting brings.
Remember, this guide serves as a foundation for your creativity, and you can always customize your wreath to reflect your individual style and preferences. Experiment with different colors, textures, and decorations to create a wreath that is uniquely yours.
We hope this comprehensive guide has inspired and empowered you to embark on the journey of decorating a wreath with mesh ribbon and greenery. Enjoy the process, embrace your creativity, and let nature’s beauty shine through in your stunning wreath.
Happy wreath decorating!
[End of article]
Frequently Asked Questions about How To Decorate Mesh Ribbon On A Wreath With Greenery
Was this page helpful?
At Storables.com, we guarantee accurate and reliable information. Our content, validated by Expert Board Contributors, is crafted following stringent Editorial Policies. We're committed to providing you with well-researched, expert-backed insights for all your informational needs.


0 thoughts on “How To Decorate Mesh Ribbon On A Wreath With Greenery”