Articles
How To Store Spools Of Thread
Modified: October 28, 2024
Discover the best methods for organizing and storing your spools of thread with our informative articles. Keep your sewing supplies neat and easily accessible.
(Many of the links in this article redirect to a specific reviewed product. Your purchase of these products through affiliate links helps to generate commission for Storables.com, at no extra cost. Learn more)
Introduction
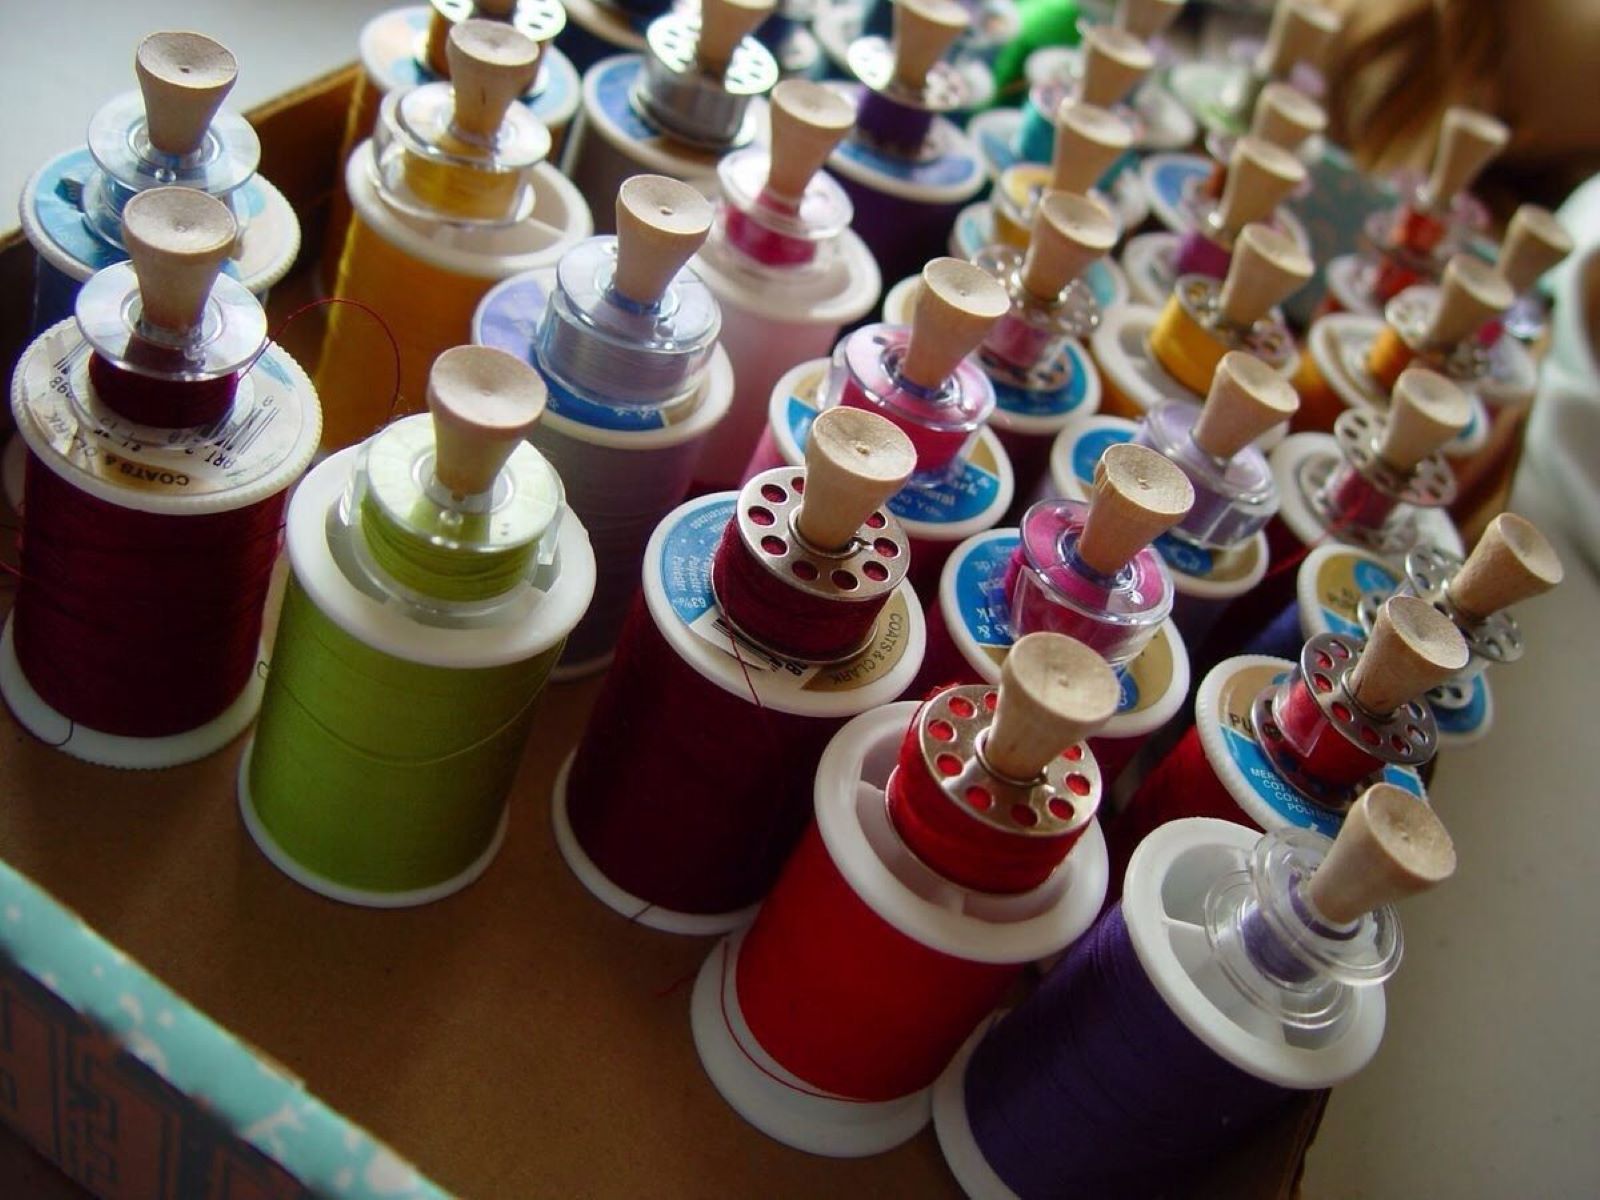
When it comes to sewing or embroidery projects, having a well-organized and easily accessible collection of spools of thread is essential. Whether you are a professional seamstress or just enjoy sewing as a hobby, storing your thread properly helps maintain its quality and prolongs its lifespan.
In this article, we will explore various storage solutions and organization tips that will help you keep your thread spools tidy and easy to find. By implementing these strategies, you will be able to optimize your workflow, save time, and enjoy a hassle-free sewing experience.
So let’s dive in and learn how to store spools of thread effectively!
Key Takeaways:
- Organize your thread spools by color or type to save time and create a visually appealing storage system that reflects your creative style.
- Utilize spool holders, clear containers, and portable cases to keep your thread tidy, protected, and easily accessible, whether at home or on the go.
Read more: How To Store Ribbon Not On Spools
Choosing the Right Storage Solution
The first step in effectively storing your spools of thread is to choose the right storage solution. There are several options available, each with its own advantages and considerations. Consider factors such as the size of your thread collection, the available space in your sewing area, and your personal preferences.
One popular storage option is a thread cabinet or thread storage box. These are specifically designed to hold spools of thread and often come with compartments or trays for easy organization. Thread cabinets are especially useful if you have a large collection of thread and want to keep it all in one place. They also provide protection from dust and sunlight, which can cause thread to fade or weaken over time.
If you prefer a more customizable solution, you can opt for stackable storage containers. These containers allow you to stack multiple boxes on top of each other, making efficient use of vertical space. Look for containers with adjustable dividers or compartments so you can tailor the storage space to accommodate different sizes and types of thread.
Another option is a thread organizer bag. These bags are usually made of durable fabric and feature multiple pockets or slots to hold individual spools. They are portable, making them ideal for sewists who often attend workshops or sew on the go. Look for a bag with transparent pockets so you can easily see and access your thread collection.
Ultimately, the right storage solution for you will depend on factors such as your personal preference, space limitations, and the size of your thread collection. Whichever option you choose, make sure it provides protection for your thread and allows for easy accessibility and organization.
Organizing by Color or Type
Once you have chosen the storage solution that suits your needs, the next step is to organize your thread spools. One effective method is to organize them by color or type. This allows for easy identification and selection of the thread you need for a particular project.
If you frequently work on projects that require specific thread colors, organizing by color can be a practical option. Group similar colored threads together in the storage container or cabinet. You can further subdivide them into shades or hues to make it even easier to find the exact color you need.
Organizing by type is another useful approach, especially if you work with a variety of thread materials or weights. Separate your threads based on their characteristics, such as cotton, polyester, silk, or metallic threads. You can also organize by thread weight, grouping together lightweight threads, medium-weight threads, and heavyweight threads.
Consider using dividers or trays within your storage solution to create dedicated sections for each color or type. This will prevent the threads from getting tangled and make it simpler to maintain an organized system.
To take your organization to the next level, you can also create a color or type chart. This can be a physical chart where you attach small snippets of the actual thread or a digital chart where you take photos and label them. This reference tool will not only make it easier to select the right thread, but it will also serve as a visual inspiration when planning future projects.
By organizing your thread spools by color or type, you will save time searching for the right thread and create a visually appealing storage system that reflects your creative style.
Utilizing Spool Holders
When it comes to organizing and storing thread spools, spool holders are a practical and efficient solution. These holders are designed to keep your spools upright and prevent them from unraveling or tangling.
One popular type of spool holder is the spool pin. Spool pins are small rods typically found on sewing machines. They are designed to hold the thread spool while you sew, but they can also be utilized for storage purposes. Simply place the spool on the pin, and it will stay in place, ready to be used whenever you need it. Some sewing machines have multiple spool pins, allowing you to store and organize different thread colors or types.
If you have a large collection of thread, consider investing in a standalone spool holder. These holders usually have multiple rods or pegs at varying heights, allowing you to store and display multiple spools. They come in various sizes, so you can choose one that fits the number of spools you have.
Another option is a thread spool rack. These racks have horizontal rods where you can slide your spools onto. This allows for easy access and organization. Some racks also come with additional storage compartments for accessories like bobbins and needles.
If you prefer a more portable solution, you can use a travel thread spool holder. These holders are compact and designed to hold a limited number of spools, making them perfect for taking your thread collection on the go. They often have elastic loops or pockets to secure each spool, ensuring they stay in place even during transport.
By utilizing spool holders, you can keep your thread spools neatly organized and easily accessible. Whether you opt for spool pins, standalone holders, or racks, these storage solutions will help prevent your threads from tangling and make it easier to find the color or type you need for your sewing projects.
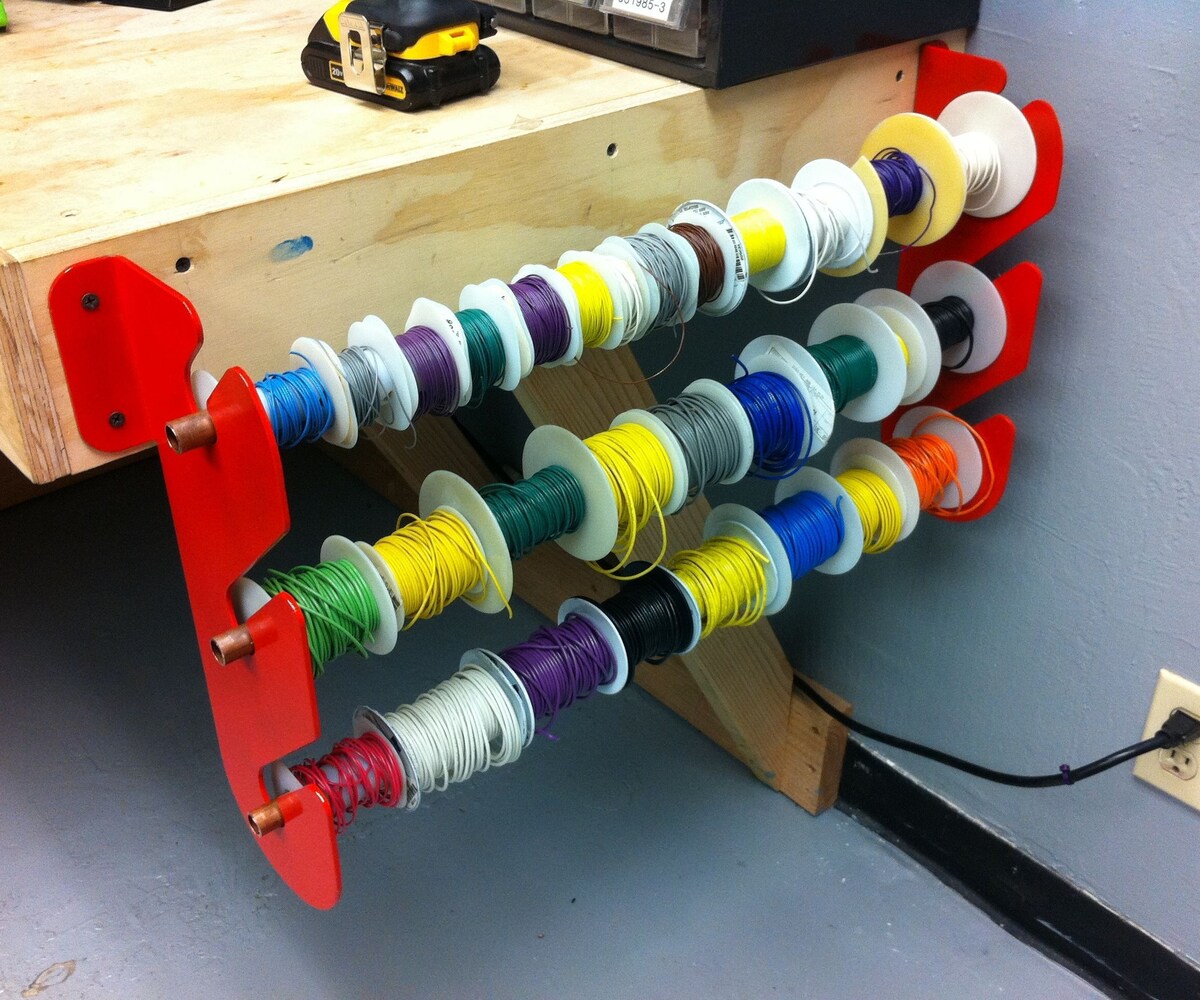
Using Thread Racks
If you have a sizable collection of thread spools, using thread racks can be a convenient and efficient way to store and organize them. Thread racks are specially designed to hold and display spools of thread, making it easier to locate the color or type you need for your sewing projects.
Thread racks come in different sizes and configurations to accommodate various thread collections. They are typically made of wood or plastic and feature multiple horizontal rods or pegs where you can slide your spools onto. Some racks also have additional compartments or drawers where you can store accessories such as bobbins or needles.
When using thread racks, it’s important to consider the size and weight of your thread spools. Make sure the rods or pegs on the rack are sturdy enough to support the weight of the spools without bending or breaking. If you have particularly large or heavy spools, look for a rack with reinforced or adjustable rods to ensure proper support.
One advantage of using thread racks is that they provide a visual display of your thread collection. This makes it easy to quickly scan and locate the desired color or type of thread. It also allows you to organize the spools in a visually pleasing manner, creating a colorful and inspiring backdrop in your sewing space.
Thread racks can be wall-mounted or freestanding, depending on your preference and available space. Wall-mounted racks are a great option if you have limited horizontal surface area but ample wall space. They can be easily installed using screws or adhesive hooks. Freestanding racks, on the other hand, can be placed on a table, desk, or shelf, providing a convenient and portable storage solution.
Using thread racks not only helps you keep your thread spools organized and easily accessible, but it also adds a decorative element to your sewing area. It allows you to showcase your thread collection while ensuring everything is neatly arranged and within reach.
Read more: How To Store Ribbon Spools
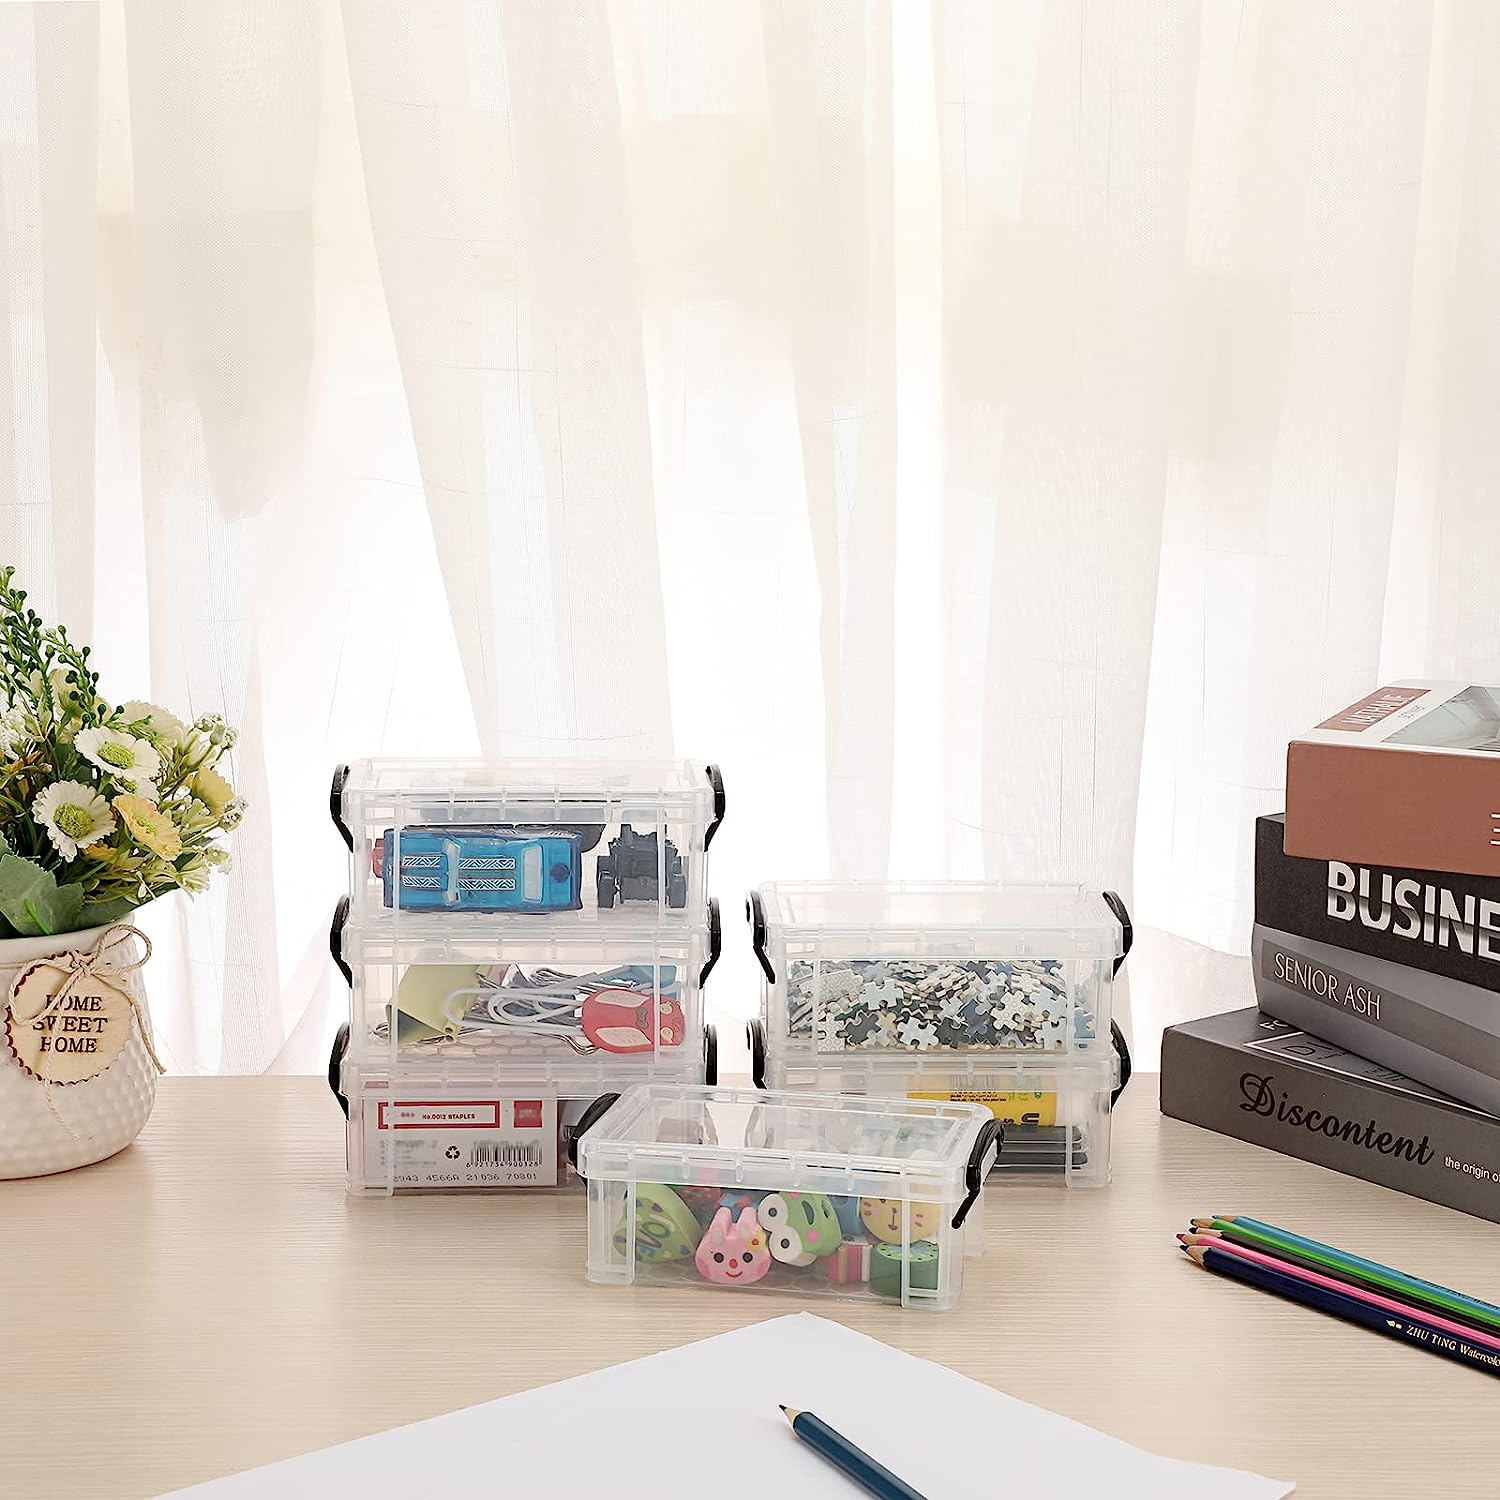
Keeping Thread in Clear Containers
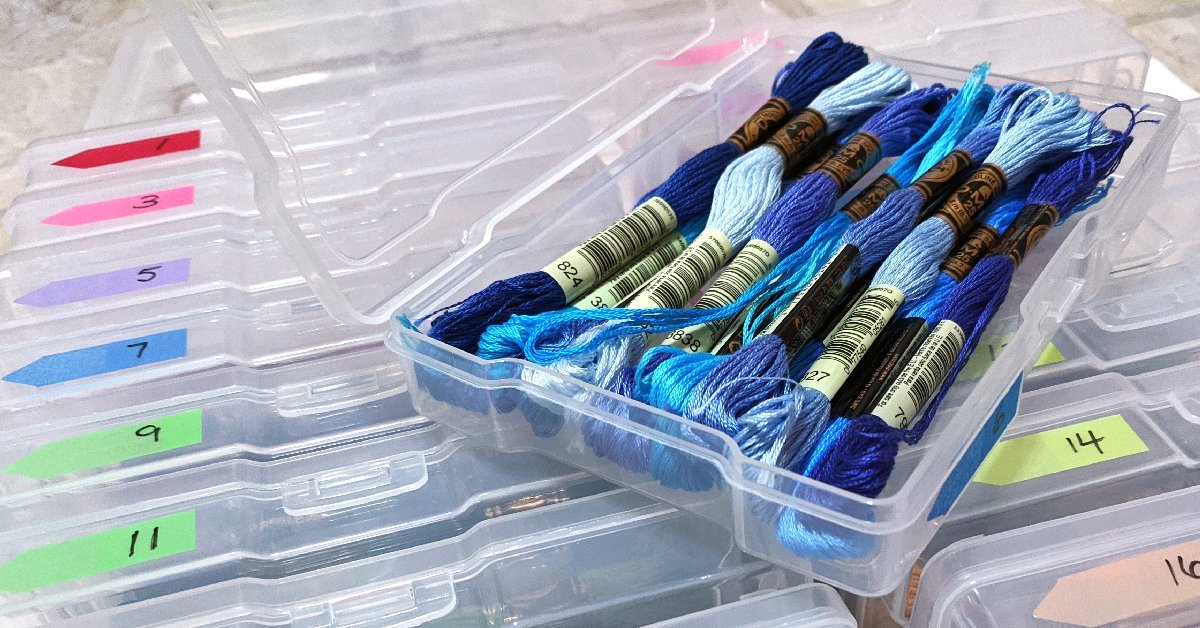
Keeping your thread spools in clear containers is not only a practical storage solution but also a visual treat for any sewing enthusiast. Clear containers allow for easy visibility and accessibility, making it simple to locate and select the thread you need for your projects.
Clear plastic containers with lids are an excellent choice for storing thread. These containers come in various sizes and shapes, allowing you to customize your storage solution based on the number of spools you have. You can opt for small containers that hold a few spools or larger ones that can accommodate a more extensive thread collection.
When choosing clear containers, prioritize those with dividers or compartments. These dividers help separate the spools, preventing them from rubbing against each other and becoming tangled. Divided containers also make it easier to sort your threads by color or type, maintaining an organized and visually appealing system.
Clear containers are not only useful for storing your thread at home but also for travel. Portable thread storage containers with clear compartments and secure lids are available, allowing you to take your thread collection wherever you go. These containers are typically compact and lightweight, making them convenient for workshops, classes, or sewing retreats.
Another advantage of clear containers is their ability to protect your thread from dust, dirt, and moisture. These containers with tight-fitting lids create a barrier that helps prevent external elements from affecting the quality of your thread. By keeping your thread in clear containers, you can ensure that it remains clean and in pristine condition.
Labeling the containers can be a helpful way to quickly identify various colors or types of thread. You can use small adhesive labels or print out labels that indicate the color, type, or other relevant information. This labeling system will further enhance the organization of your thread storage.
By keeping your thread spools in clear containers, you can create an organized and visually appealing storage system. Not only will you be able to find the thread you need with ease, but you’ll also be able to protect and showcase your thread collection in style.
Store spools of thread in a clear plastic container with dividers to keep them organized and prevent tangling. Keep the container in a cool, dry place to protect the thread from dust and humidity.
Storing Thread in Drawers or Bins
If you prefer a more concealed storage option for your thread spools, storing them in drawers or bins is a practical and space-saving solution. This method keeps your thread neatly tucked away while still providing easy access and organization.
Drawers are a common storage choice for many sewists. Whether you have a dedicated sewing table with built-in drawers or a separate storage unit, drawers provide a clean and organized way to store thread. Consider using shallow drawers or adding dividers to keep your spools upright and prevent them from rolling around or getting tangled.
If you don’t have access to drawers, plastic bins or containers with lids can serve as an alternative. These bins can be stacked or stored on shelves, saving space in your sewing area. Look for bins with removable dividers or adjustable compartments to customize the storage space based on the size and number of your thread spools.
When storing thread in drawers or bins, consider sorting them by color, type, or size. This will make it easier to locate specific threads for your projects. You can use small plastic bags or clear pouches to group similar threads together within the drawers or bins. Labeling the bags or pouches can provide an extra level of organization.
Another advantage of storing thread in drawers or bins is the ability to keep them in a dark and moisture-free environment. This helps protect the thread from exposure to sunlight, which can cause fading or weakening over time. It also keeps the thread safe from dust and other contaminants that can affect its quality.
For easy identification, consider placing color swatches or samples on the outside of the drawers or bins. This allows you to quickly assess the available thread colors without having to open each container.
Storing thread in drawers or bins is a practical and efficient way to keep your spools organized and out of sight when not in use. This method is particularly beneficial if you have limited space in your sewing area or prefer a clutter-free and streamlined aesthetic.
Hanging Thread on Pegboards or Wall Hooks
If you’re looking for a creative and visually appealing way to store and display your thread spools, consider hanging them on pegboards or wall hooks. This method not only keeps your thread organized but also adds a decorative touch to your sewing space.
Pegboards are versatile and customizable storage solutions. They consist of a flat board with evenly spaced holes where you can insert pegs or hooks. By hanging your thread spools on these pegs or hooks, you can create a colorful and eye-catching display.
One advantage of using pegboards is their flexibility. You can arrange the pegs in any configuration that suits your thread collection and available wall space. This allows you to easily add or remove pegs as your collection evolves.
When setting up a pegboard for thread storage, it’s important to consider the spacing between the pegs. Make sure there is enough room for your largest spools and allow for some extra space to prevent the threads from tangling. You can also use pegboard accessories such as baskets or trays to store small accessories like bobbins or needles.
Wall hooks are another option for hanging thread spools. These hooks are typically attached to a wall or pegboard and provide individual spaces for each spool. Using wall hooks allows you to easily see and access your thread collection. You can arrange the hooks in a pattern or design that complements your sewing area.
When hanging thread on pegboards or wall hooks, consider organizing them by color, type, or size. This will make it easier to locate the thread you need for your projects. You can also use labels or tags on each spool to provide additional information such as color code or thread weight.
This method of storage not only keeps your thread easily accessible but also doubles as a decorative element in your sewing space. It creates a vibrant and inspiring backdrop, showcasing the array of colors and textures available in your thread collection.
By hanging your thread spools on pegboards or wall hooks, you can transform the storage of your thread into a visually appealing and functional display. It not only makes it easier to find the thread you need but also adds a touch of creativity and style to your sewing area.
Labeling and Indexing Thread Spools
Labeling and indexing your thread spools is an essential part of creating an organized and efficient storage system. It helps you quickly identify the color, type, and other relevant information about each thread, making it easier to locate the spools you need for your sewing projects.
One way to label your thread spools is by using small adhesive labels. Write or print the necessary information, such as the color name or code, thread type, and any other details you find useful, and attach the labels to the spools. This method allows for easy readability and ensures that the labels stay securely attached to the spools.
Alternatively, you can use a label maker to create professional-looking labels for your thread spools. Label makers allow you to customize the font, size, and style of the labels, making them consistent and visually pleasing. This method is especially useful if you have a large thread collection and want a uniform labeling system.
In addition to labeling the thread spools themselves, consider creating an index or inventory list. This can be a physical notebook or a digital spreadsheet where you record all the thread colors, types, and corresponding locations in your storage system. Include any additional information you find helpful, such as the thread brand or weight. Having an index allows for quick reference and helps prevent duplicate purchases of thread.
When organizing the index or inventory list, you can use alphabetical order or sort the thread colors by hue. This makes it easier to locate specific thread colors or types when you need them. Update the index regularly as you add new threads to your collection or deplete existing ones.
To enhance the organization of your thread storage, consider using color-coded labels or tags. Assign a specific color to each thread type or material, or use color labels to indicate different thread weights. This visual coding makes it even quicker to locate the desired thread and adds an extra level of organization to your storage system.
By labeling and indexing your thread spools, you can create an efficient and easily searchable storage system. It ensures that you can quickly find the thread you need for your sewing projects and minimizes confusion or duplication in your thread collection.
Read more: How To Store Embroidery Thread
Protecting Thread from Dust and Moisture
Protecting your thread spools from dust and moisture is crucial to maintaining their quality and lifespan. Exposure to these elements can cause the thread to weaken, fade, or become brittle over time. Fortunately, there are several measures you can take to safeguard your thread from these potential hazards.
One effective way to protect your thread is by storing it in airtight containers or bags. Clear plastic containers with tight-fitting lids create a barrier that keeps dust and moisture out. Make sure to choose containers that are specifically designed for thread storage and have a seal that blocks humidity.
If you prefer using bags, opt for resealable plastic bags or specialized thread storage bags that provide airtight protection. These bags are transparent, allowing you to easily see the thread colors inside while keeping them free from dust and moisture.
In addition to using protective storage containers or bags, consider adding moisture-absorbing agents to your thread storage area. Silica gel packets or moisture-absorbing crystals can help reduce humidity and prevent mold or mildew growth. Place these agents inside the containers or bags along with the thread to create a dry environment.
Another way to protect your thread spools from dust is by covering them with spool caps. Spool caps are small plastic or rubber caps that fit over the ends of the spools, sealing them and preventing dust from settling on the thread. They are especially useful for preventing lint build-up during storage.
Regular cleaning of your thread storage area is also important. Dust can accumulate over time, so wipe down your storage containers or shelves periodically to remove any dust particles. This will help maintain a clean and dust-free environment for storing your thread.
Additionally, consider storing your thread away from direct sunlight. Exposure to sunlight can cause the thread colors to fade over time. Find a cool and dark area in your sewing space or use opaque storage containers to shield your thread from harmful UV rays.
By taking these precautions to protect your thread from dust and moisture, you can ensure that your thread remains in optimal condition for longer periods. This will contribute to the quality of your sewing projects and save you from the frustration of using weakened or damaged thread.
Storing Thread in Portable Cases or Boxes
If you often find yourself taking your thread collection with you to sewing classes, workshops, or on the go, storing your thread in portable cases or boxes is a practical solution. These storage options provide convenience, organization, and protection for your threads while allowing for easy transportation.
One popular option for portable thread storage is a dedicated thread case or box. These cases are usually made of durable materials like plastic or metal and feature compartments or trays specifically designed to hold thread spools securely. Some thread cases have adjustable dividers, allowing you to customize the space according to your spool sizes.
Thread cases often have a handle or a latch for easy carrying. This makes them ideal for sewists who frequently travel with their thread collection. With a thread case, you can keep your threads organized, easily accessible, and protected from damage during transportation.
Another portable storage option is a craft organizer with removable compartments. These organizers typically have a main container with multiple removable trays or compartments. You can store your thread spools in the compartments and carry only the trays you need for your projects.
For sewists who prefer a more compact and lightweight storage option, consider using thread storage boxes with built-in thread spool holders. These boxes often have a foam insert or a silicone grid that securely holds each spool in place. The box can be closed and carried easily, ensuring that your threads stay organized and protected while on the move.
When choosing a portable storage case or box, look for options that offer protection from dust, moisture, and sunlight. Opt for cases with tight-fitting lids or closures to keep your threads secure and free from external elements.
Additionally, consider labeling or color coding your portable storage cases to enhance organization and quick identification of thread colors. You can use adhesive labels, color dots, or attach small swatches of thread to the outside of each container to easily identify the contents.
By storing your threads in portable cases or boxes, you can easily transport your thread collection wherever you go while keeping it organized and protected. These storage solutions ensure that your threads remain in good condition and readily available for your sewing projects, no matter where you are.
Conclusion
Having a well-organized and properly stored collection of thread spools is essential for any sewing enthusiast. By implementing the various storage solutions and organization tips discussed in this article, you can create a functional and visually appealing system for storing your threads.
Choosing the right storage solution based on your needs and space allows for efficient organization. Whether it’s a thread cabinet, stackable containers, or a thread organizer bag, the key is to find a storage option that keeps your spools protected and easily accessible.
Organizing your thread by color or type enhances ease of use and saves time when searching for specific threads. Whether you opt for color coding or organizing by material, this method ensures that you can quickly locate the perfect thread for your sewing projects.
Utilizing spool holders, such as spool pins or standalone holders, prevents your thread from tangling and keeps them upright and easily accessible. Thread racks provide a visually appealing display of your thread collection, while clear containers offer visibility and protection from dust and moisture.
By labeling and indexing your thread spools, you create an efficient reference system that allows for quick identification and selection of threads. Protecting your threads from dust and moisture, whether by using airtight containers, spool caps, or moisture-absorbing agents, helps maintain their quality over time.
Finally, storing thread in portable cases or boxes is ideal for sewists on the go, ensuring convenient transportation and protection for your thread collection.
In conclusion, proper thread storage and organization not only help keep your sewing area tidy, but also enhance your sewing experience. By implementing these tips, you can maintain the quality and longevity of your thread, save time searching for specific colors or types, and create an inspiring and efficient workspace for your sewing projects.
So, take the time to evaluate your storage needs, choose the appropriate solutions, and enjoy the benefits of an organized and accessible thread collection.
Frequently Asked Questions about How To Store Spools Of Thread
Was this page helpful?
At Storables.com, we guarantee accurate and reliable information. Our content, validated by Expert Board Contributors, is crafted following stringent Editorial Policies. We're committed to providing you with well-researched, expert-backed insights for all your informational needs.


0 thoughts on “How To Store Spools Of Thread”