Home>Others>Specialized Home Improvement Topics>How To Organize An Embroidery Thread
Specialized Home Improvement Topics
How To Organize An Embroidery Thread
Modified: October 31, 2024
Learn how to efficiently organize your embroidery thread with our expert tips and techniques. Find everything you need for this specialized home improvement topic.
(Many of the links in this article redirect to a specific reviewed product. Your purchase of these products through affiliate links helps to generate commission for Storables.com, at no extra cost. Learn more)
Choosing the Right Storage Solution
When it comes to organizing your embroidery thread, the first step is to choose the right storage solution. There are various options available, so it's essential to consider your specific needs and preferences. Here are some popular storage solutions to consider:
-
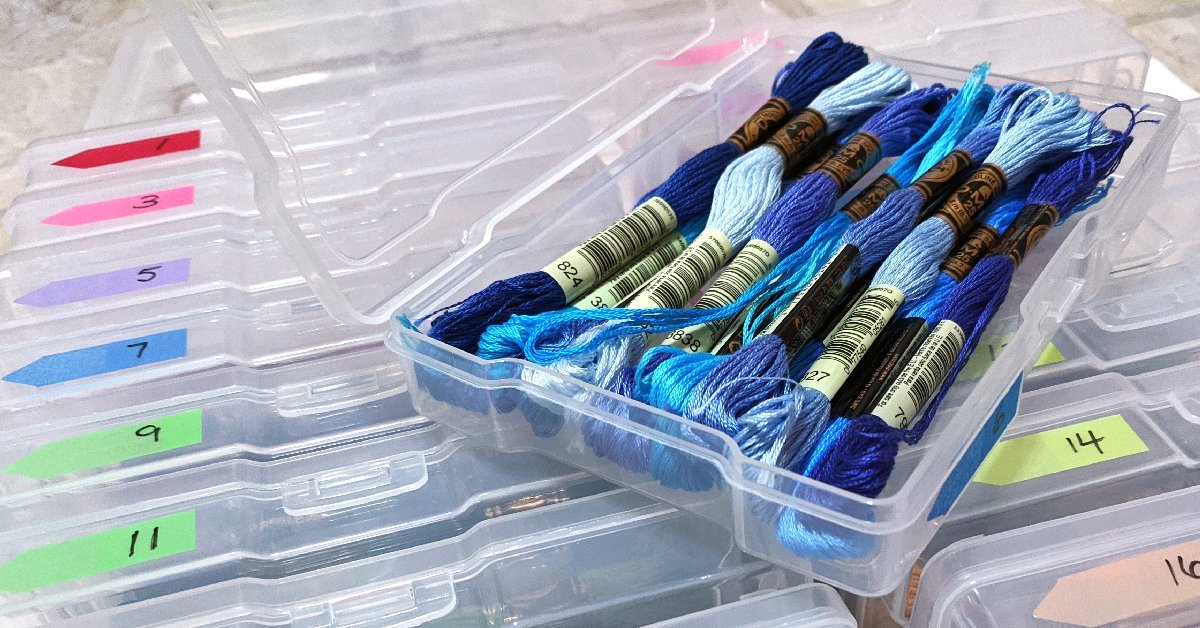
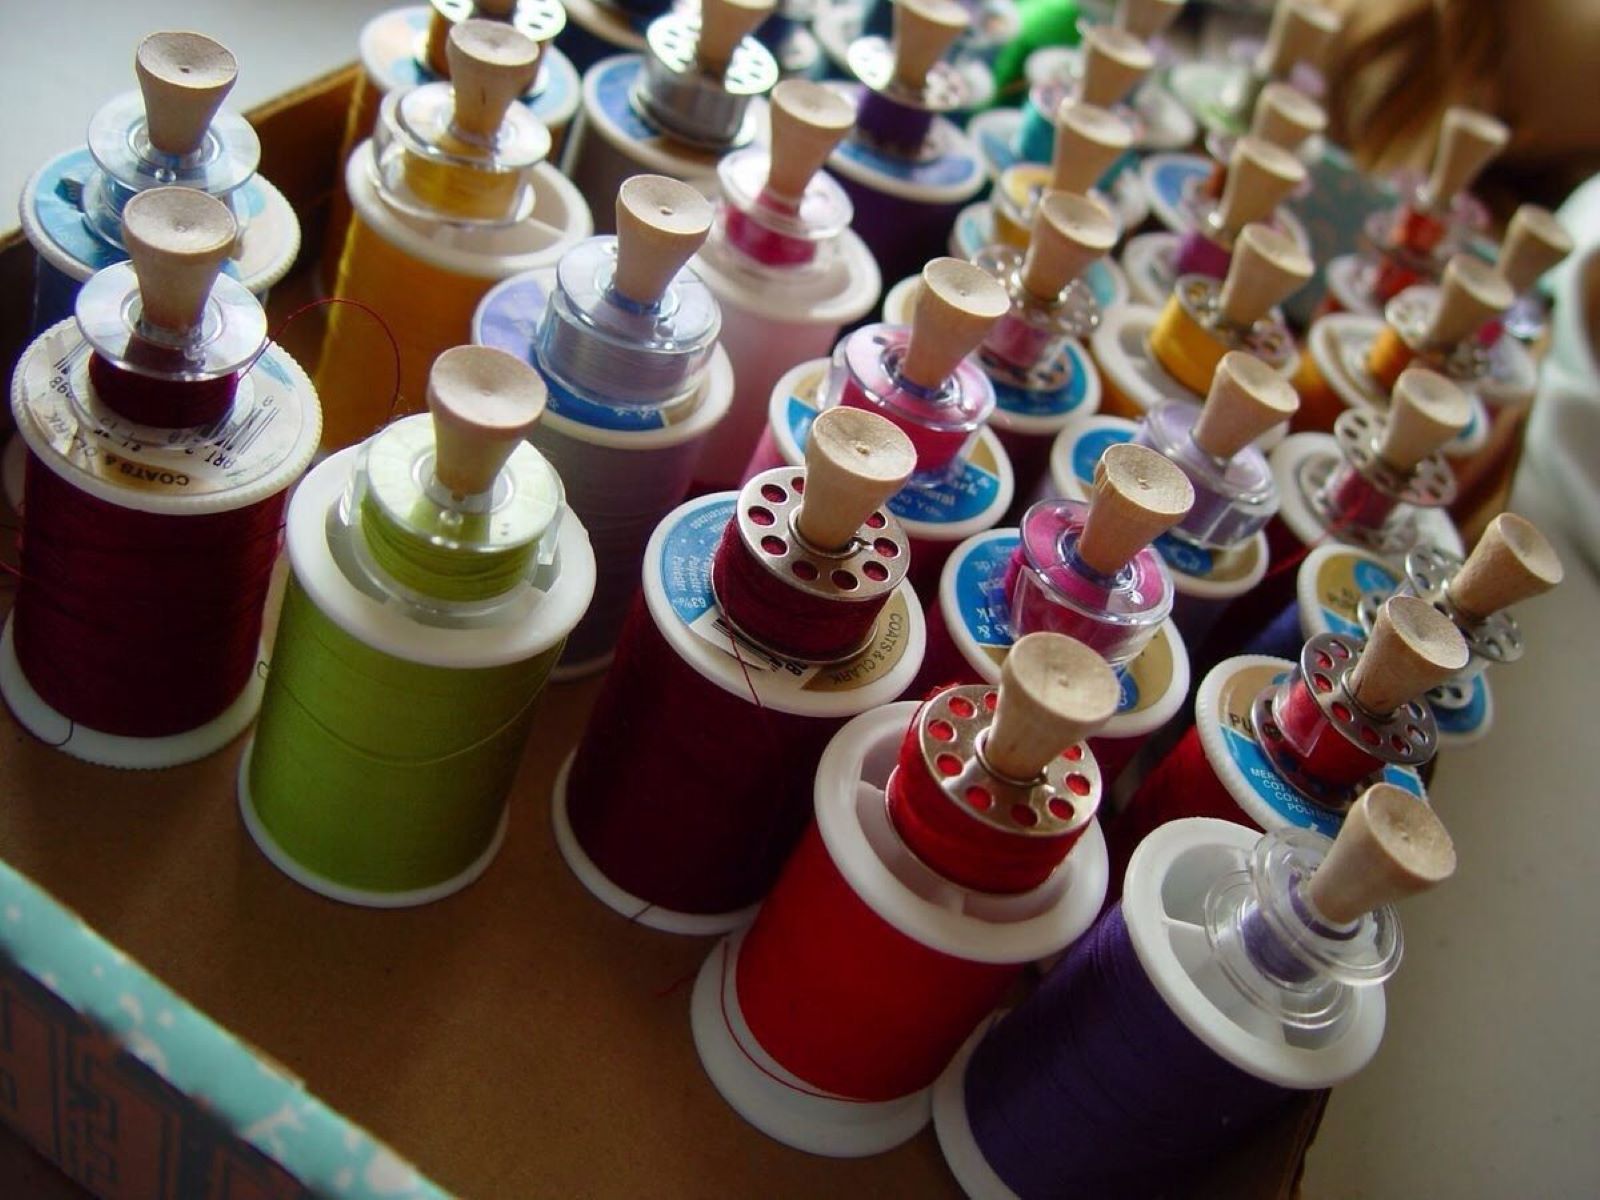
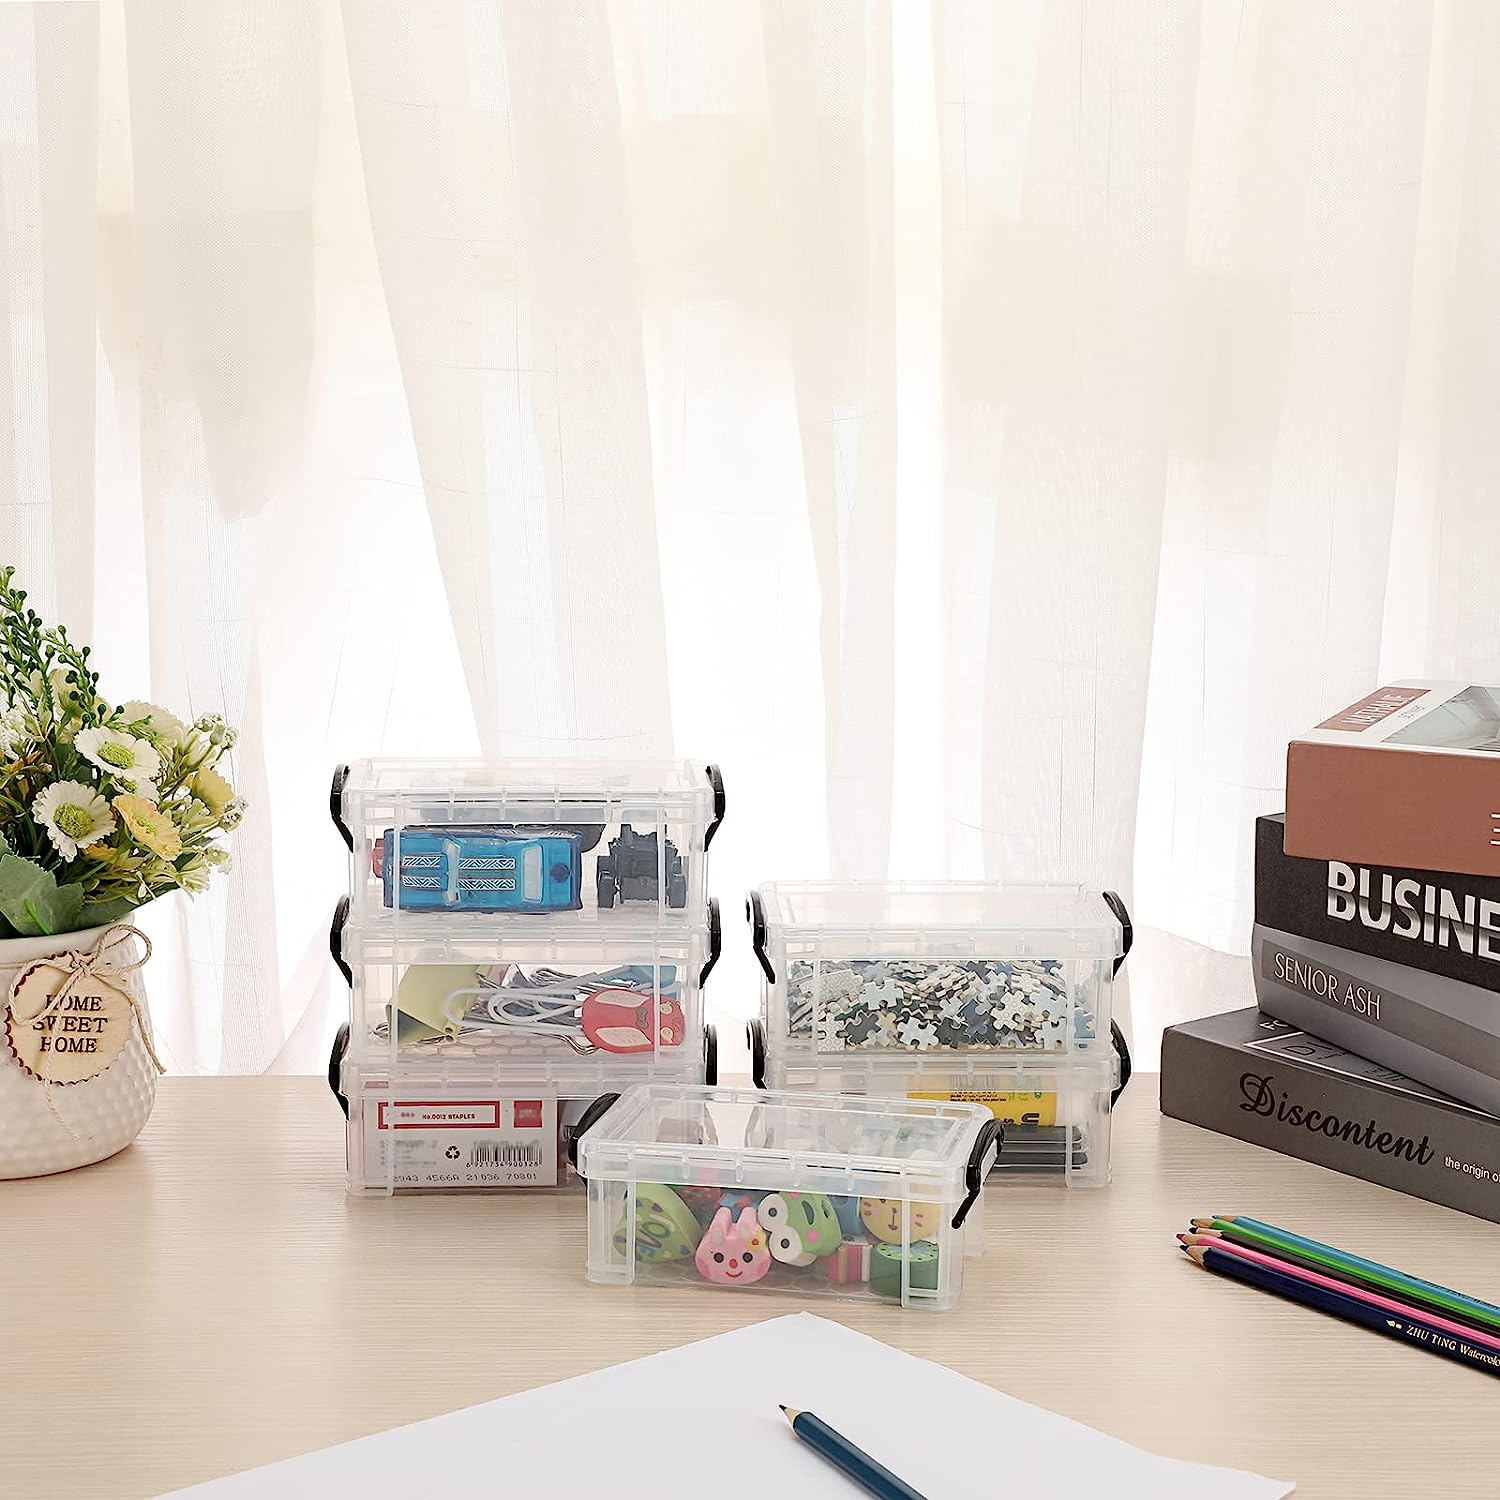
Thread Organizer Box: A thread organizer box is a convenient option for keeping your embroidery threads neatly organized. These boxes typically have individual compartments for each thread spool, allowing you to sort and store them by color or number.
-
Thread Rack: If you have a large collection of embroidery threads, a thread rack can be an excellent choice. Thread racks come in various sizes and can be mounted on the wall or placed on a tabletop. They provide easy access to your threads and can also serve as a decorative display in your crafting space.
-
Ziplock Bags or Plastic Containers: For a budget-friendly option, you can use ziplock bags or plastic containers to store your embroidery threads. Simply sort the threads by color and place them in labeled bags or containers for easy access.
-
Floss Bobbins: Floss bobbins are small, plastic cards that are designed to wrap embroidery floss around. These can be stored in a plastic box or a binder, making it easy to flip through and find the colors you need.
-
Drawer or Cabinet Storage: If you prefer to keep your crafting supplies out of sight, you can opt for drawer or cabinet storage. Use small plastic bins or dividers to keep your threads organized within the drawers or cabinets.
When choosing the right storage solution for your embroidery threads, consider factors such as the size of your thread collection, the available space in your crafting area, and your personal preference for organization. By selecting the most suitable storage solution, you can ensure that your embroidery threads are easily accessible and well-organized for your next stitching project.
Key Takeaways:
- Choose the right storage solution for your embroidery threads based on your collection size and space. Options include thread organizer boxes, racks, ziplock bags, floss bobbins, or drawer storage with dividers.
- Keep your embroidery threads organized by sorting them by color, using a color spectrum, color-coded system, separate compartments, labeling, and regular maintenance. This will streamline your stitching process and add creativity to your projects.
Read more: How To Store Embroidery Thread
Sorting Your Threads by Color
Sorting your embroidery threads by color is a crucial step in keeping them organized and easily accessible for your stitching projects. Here's how you can effectively sort your threads by color:
-
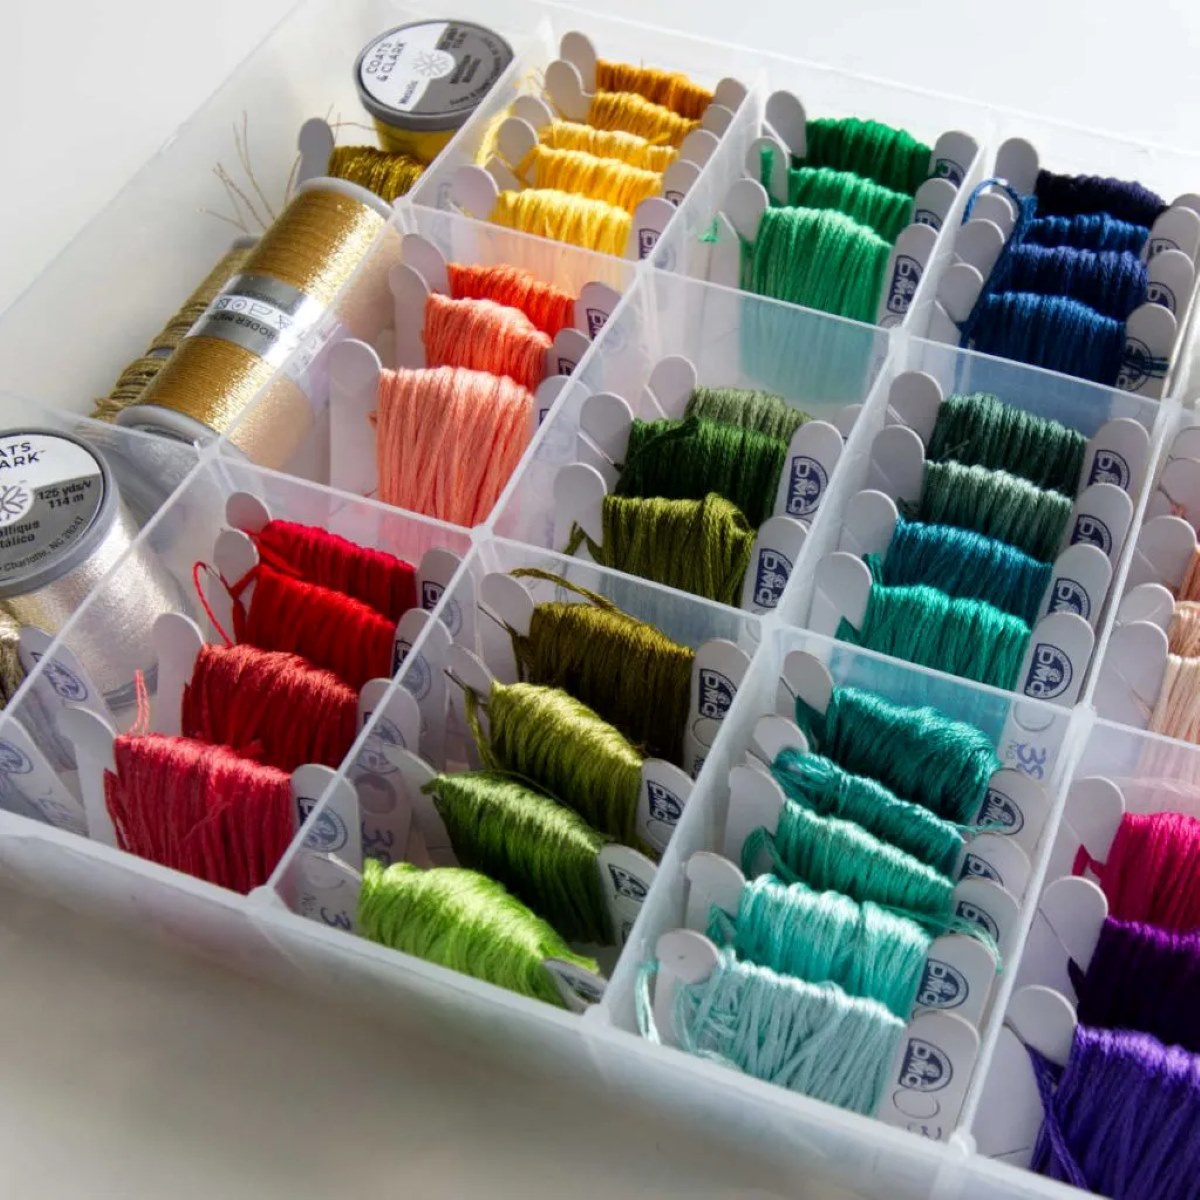
Color Spectrum: Start by arranging your threads in a color spectrum order. You can begin with red, then move on to orange, yellow, green, blue, purple, and so on. This arrangement will not only make it easier to find the specific color you need but also create a visually appealing display of your thread collection.
-
Color-Coded System: Consider implementing a color-coded system for your threads. You can assign a specific color to each category, such as warm colors for reds, oranges, and yellows, cool colors for blues and greens, and neutral colors for whites, blacks, and grays. This system can streamline the process of locating the right thread for your embroidery project.
-
Separate Compartments: If you're using a thread organizer box or rack, make sure to allocate separate compartments for each color group. This will prevent the threads from getting mixed up and make it easier to maintain the organized arrangement.
-
Labeling: To enhance the sorting process, consider labeling the compartments or sections with the corresponding color names or codes. This labeling system will save you time and effort when retrieving specific thread colors, especially if you have a large collection.
-
Regular Maintenance: Once you've sorted your threads by color, it's essential to maintain the organization regularly. After completing a stitching project, take the time to return the threads to their designated color groups. This practice will help you sustain the organized system and prevent the threads from becoming tangled or misplaced.
By sorting your embroidery threads by color using these methods, you can streamline your stitching process and create a visually appealing and well-organized thread collection. This approach will not only save you time when searching for specific colors but also add a touch of efficiency and creativity to your embroidery projects.
Use a thread organizer or bobbins to keep your embroidery thread neat and tangle-free. Label each bobbin with the thread color for easy identification.
Labeling Your Thread Spools
Labeling your thread spools is a crucial step in maintaining an organized embroidery thread collection. By implementing a clear and effective labeling system, you can easily identify and retrieve the specific threads you need for your stitching projects. Here's how you can label your thread spools for optimal organization:
-
Color-Coded Labels: Utilize color-coded labels to correspond with the color of each thread spool. You can either purchase pre-printed color-coded labels or create your own using adhesive labels and colored markers. Apply the labels to the top or base of the spools for quick visual recognition.
-
Numbering System: If your thread collection consists of a wide range of colors, consider implementing a numbering system. Assign a unique number to each thread color and create a reference chart that lists the numbers alongside the corresponding color names. Apply the numbers to the spools using small adhesive labels or a permanent marker.
-
Label Maker: Invest in a label maker to create professional and uniform labels for your thread spools. A label maker allows you to print clear and legible text, making it easy to identify each thread color. You can include the color name, number, or any other relevant information on the labels.
-
Storage Container Labels: If you're using storage containers or boxes to organize your thread spools, don't forget to label the containers as well. Clearly label each container with the color range or category of threads it contains. This will streamline the process of locating specific colors and maintaining the overall organization of your thread collection.
-
Additional Information: In addition to color or number labels, you can include additional information on the spools, such as the brand, thread type, or any specific details relevant to your stitching projects. This extra information can be particularly useful when working on intricate embroidery designs that require specific thread characteristics.
By labeling your thread spools using these methods, you can establish a systematic and efficient organization for your embroidery threads. Whether you opt for color-coded labels, a numbering system, or a combination of both, the key is to ensure that the labeling system is clear, consistent, and tailored to your specific preferences. With well-labeled thread spools, you can navigate your thread collection with ease and focus on bringing your creative embroidery ideas to life.
Storing Your Threads in a Tangle-Free Manner
Keeping your embroidery threads tangle-free is essential for maintaining their quality and usability. Here are some effective methods for storing your threads in a tangle-free manner:
-
Thread Bobbins: Wind each thread onto a separate thread bobbin to prevent tangling. You can use plastic or cardboard bobbins designed specifically for embroidery threads. Ensure that the threads are wound neatly and secured with a small notch or clip on the bobbin.
-
Thread Bags: Consider using individual thread bags or pouches to store each thread spool. These bags are designed to keep the threads separate and prevent them from intertwining. Opt for transparent bags to easily identify the colors without having to open each pouch.
-
Thread Keepers: Thread keepers are plastic or wooden devices with evenly spaced holes for securing thread ends. They are particularly useful for preventing tangling when working on multiple colors within the same project. Simply wrap the thread around the thread keeper and secure the ends in the designated holes.
-
Thread Storage Boxes: Invest in a thread storage box with individual compartments for each thread spool. These boxes often come with built-in mechanisms to secure the threads in place, such as foam pads or silicone inserts. This prevents the threads from shifting and tangling during storage.
-
Thread Organizers with Snap Closure: Look for thread organizers that feature a snap closure mechanism. These organizers allow you to secure the threads in place by snapping the closure shut, minimizing the risk of tangling when the organizer is moved or transported.
-
Thread Rack with Spool Caps: If you prefer to display your thread collection on a rack, consider using spool caps to cover the thread ends. Spool caps prevent the threads from unwinding and tangling while also protecting them from dust and debris.
-
Thread Drawer Inserts: For drawer storage, use custom thread drawer inserts with individual slots for each thread spool. These inserts keep the threads neatly separated and prevent them from becoming entangled when the drawer is opened or closed.
By implementing these tangle-free storage methods, you can ensure that your embroidery threads remain in optimal condition and are ready for use whenever inspiration strikes. Whether you choose to use thread bobbins, bags, keepers, storage boxes, organizers, rack caps, or drawer inserts, the key is to prioritize organization and protection to preserve the quality of your thread collection.
Frequently Asked Questions about How To Organize An Embroidery Thread
Was this page helpful?
At Storables.com, we guarantee accurate and reliable information. Our content, validated by Expert Board Contributors, is crafted following stringent Editorial Policies. We're committed to providing you with well-researched, expert-backed insights for all your informational needs.

0 thoughts on “How To Organize An Embroidery Thread”