Articles
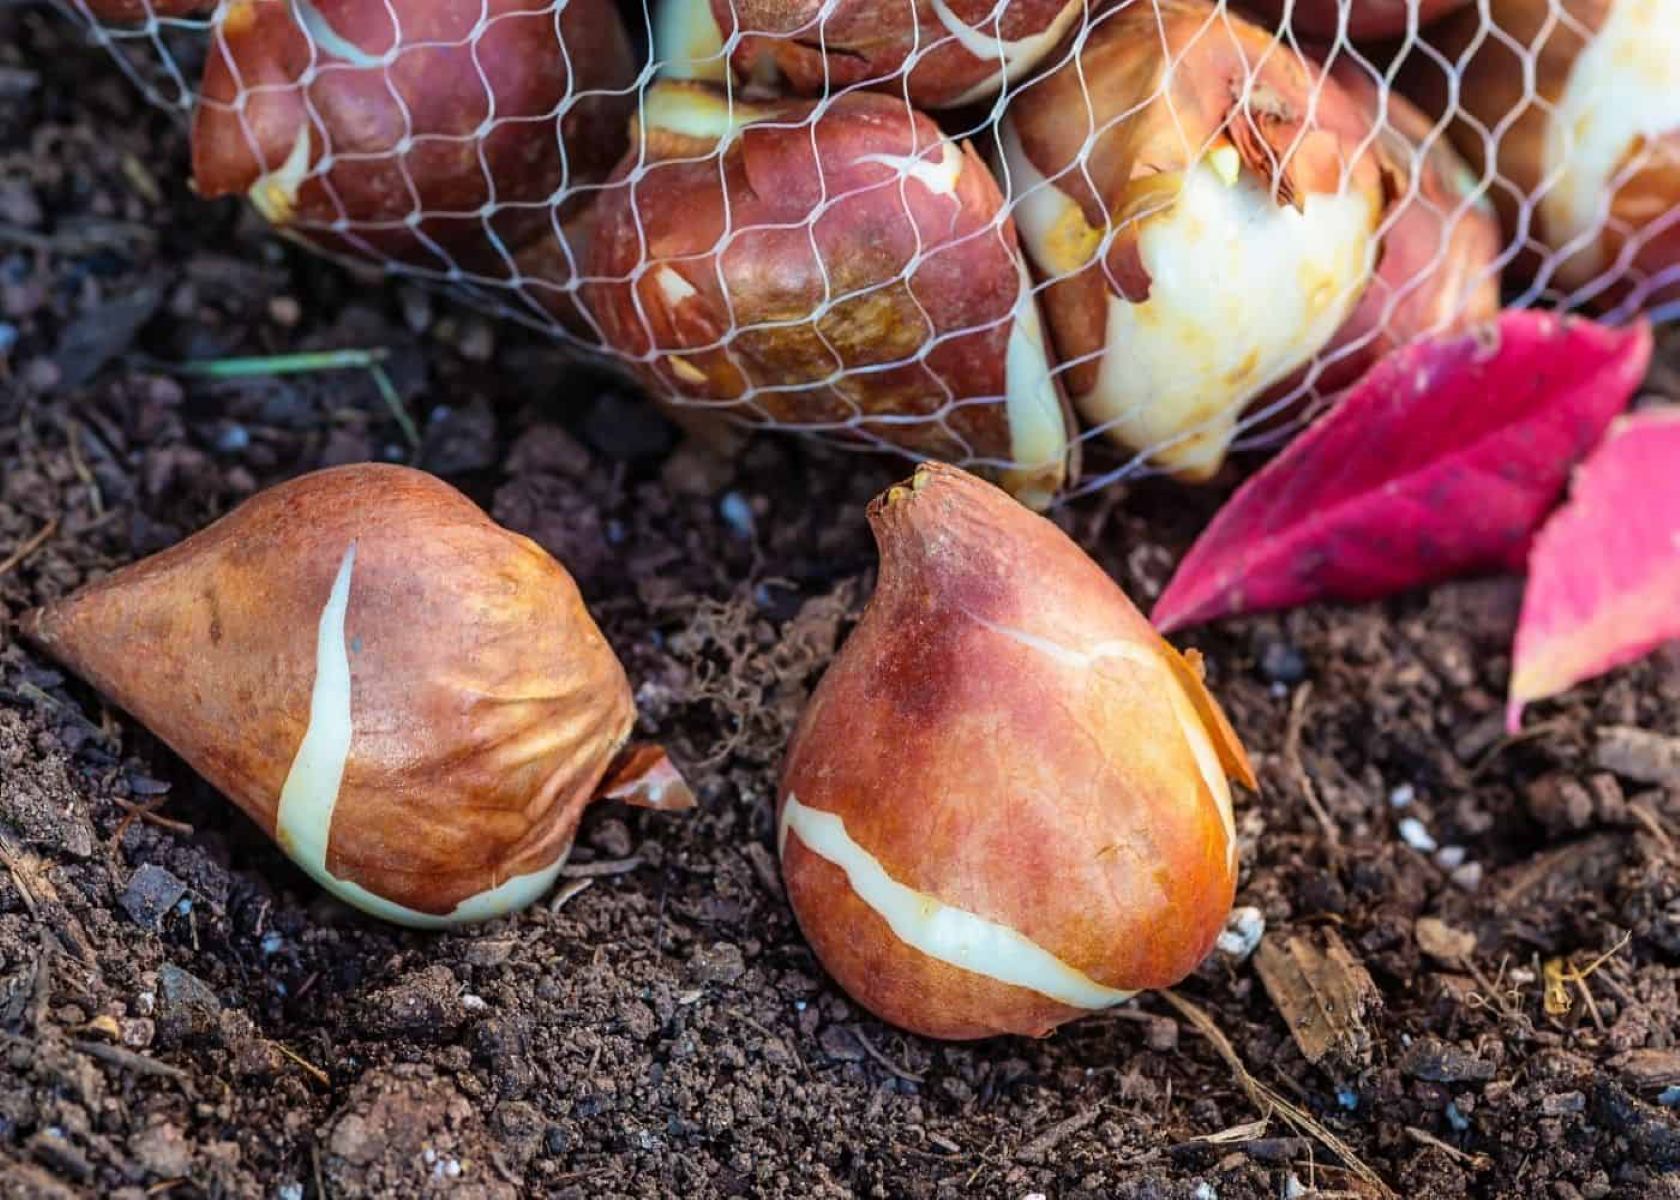
How To Store Tulip Bulbs Over Winter
Modified: January 6, 2024
Learn the best techniques for storing tulip bulbs over the winter in this informative article. Discover how to keep your bulbs safe and healthy until the next springtime bloom.
(Many of the links in this article redirect to a specific reviewed product. Your purchase of these products through affiliate links helps to generate commission for Storables.com, at no extra cost. Learn more)
Introduction
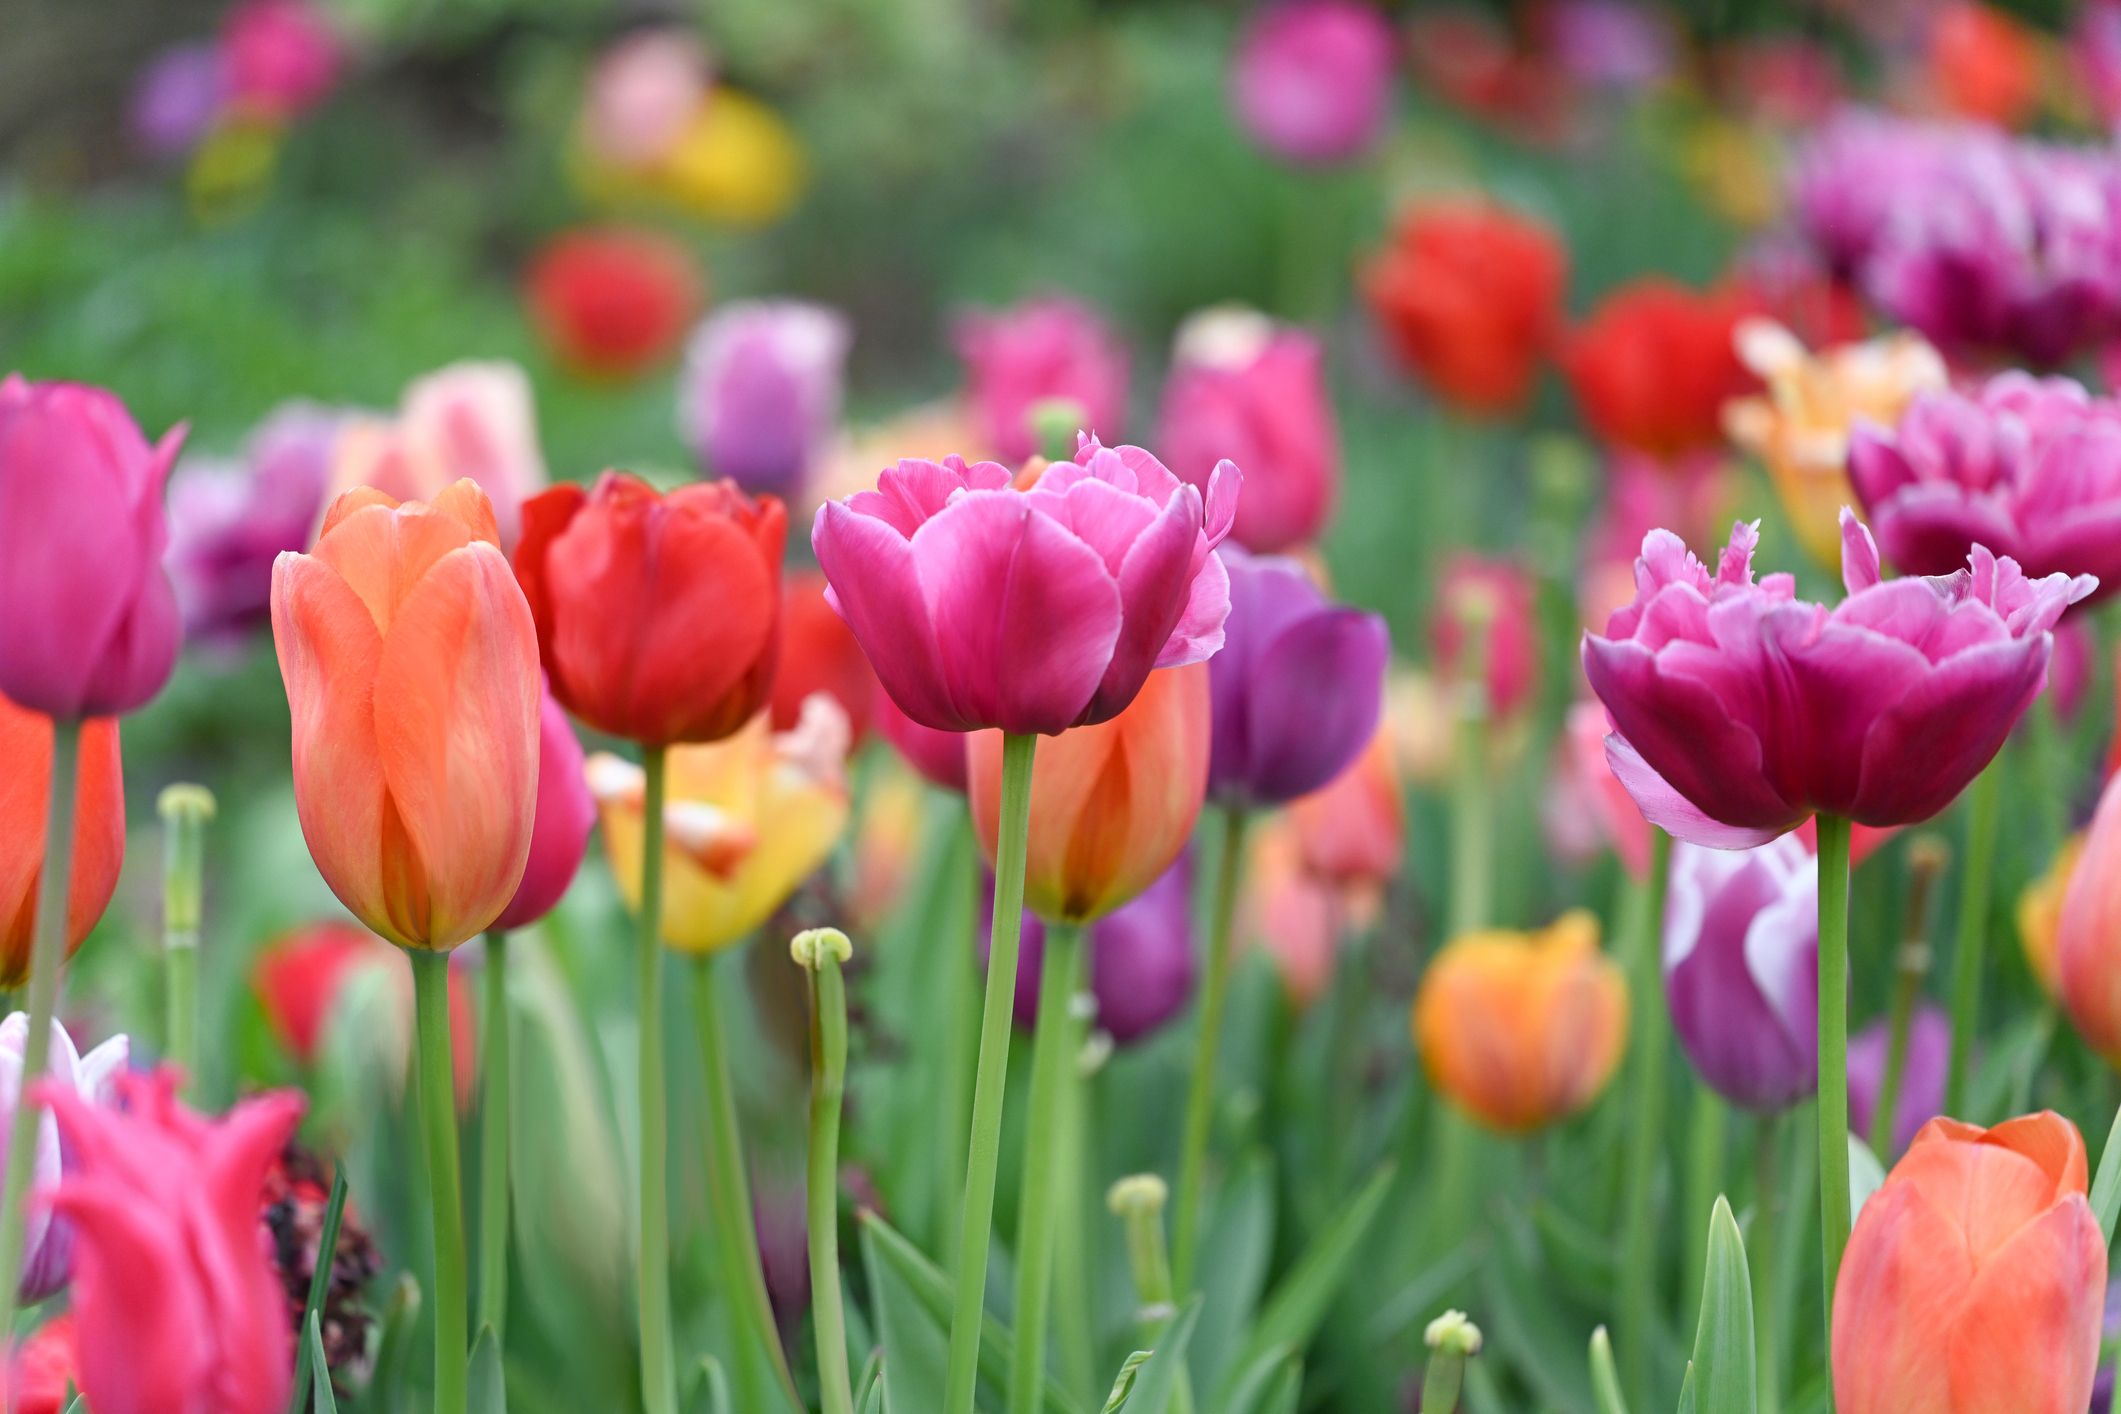
When it comes to gardening, tulips are a popular and exquisite choice for many garden enthusiasts. These vibrant and delicate flowers can bring a burst of color and beauty to any outdoor space. However, as the seasons change and winter approaches, it is crucial to take proper care of your tulip bulbs to ensure their survival and flourishing in the next growing season.
Storing tulip bulbs over winter is essential in regions with cold climates, as it protects them from freezing temperatures and other adverse conditions that can cause damage or rot. By following the right techniques and guidelines, you can keep your tulip bulbs safe and healthy during the winter months, ready to be planted and enjoyed once spring arrives.
In this article, we will guide you through the process of storing tulip bulbs over winter, from choosing the right bulbs to inspecting and preparing them for planting. By understanding how to properly store tulip bulbs, you can help ensure their longevity and maximize their potential for future growth.
So, let’s dive in and explore the steps involved in storing tulip bulbs over winter.
Key Takeaways:
- Properly storing tulip bulbs over winter involves choosing high-quality bulbs, cleaning and drying them, and selecting the right storage method. Monitoring and maintaining the bulbs throughout winter is crucial for their health and viability.
- Inspecting and preparing tulip bulbs for planting in the spring is essential for successful growth and beautiful blooms. Follow specific planting instructions for each tulip variety and provide proper care and maintenance throughout the growing season.
Read more: How To Store Tulip Bulbs Over Summer
Choosing the Right Bulbs
When it comes to storing tulip bulbs over winter, it’s crucial to start with high-quality bulbs. Choosing the right bulbs from the beginning will set the foundation for successful long-term storage and future growth.
Here are some factors to consider when selecting tulip bulbs:
- Variety: Tulips come in various shapes, sizes, and colors. Consider the specific variety you want to grow and choose bulbs accordingly. Look for reputable suppliers who offer a wide selection of tulip varieties.
- Size: Larger bulbs generally produce bigger and stronger plants. Look for bulbs that are firm and plump, indicating health and vitality.
- Condition: Inspect the bulbs carefully to ensure they are free from any signs of disease, bruising, or damage. Avoid bulbs that have mold or soft spots.
- Origin: Tulip bulbs that have been grown in your local region or a climate similar to yours tend to be better acclimated to your specific conditions. Look for bulbs labeled as “locally grown” for the best results.
It’s important to purchase tulip bulbs for storage well before the planting season begins. This gives you ample time to properly prepare and store the bulbs, ensuring their good health throughout the winter months.
Once you have carefully selected your tulip bulbs, you are ready to move on to the next step: preparing them for storage.
Preparing the Bulbs for Storage
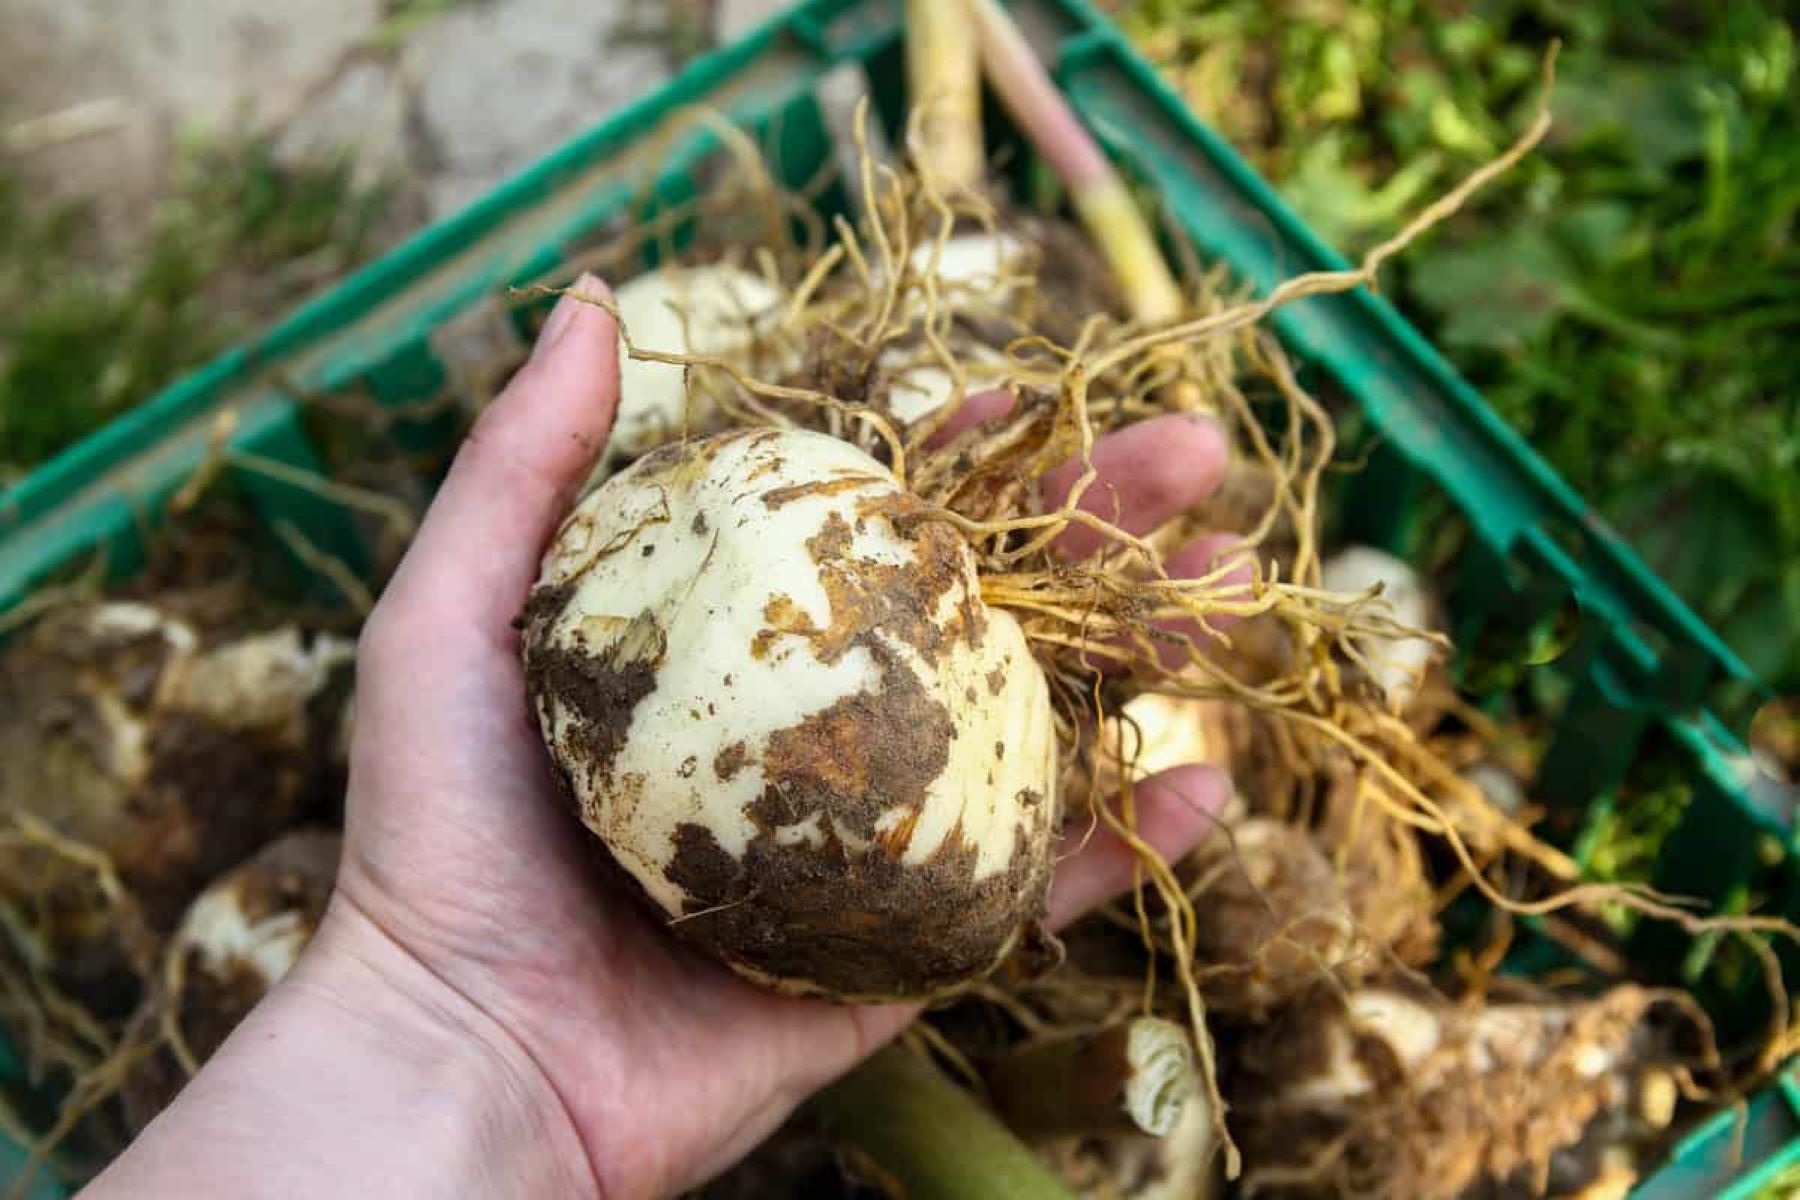
Before storing tulip bulbs over winter, it is essential to prepare them properly to ensure their longevity. This involves cleaning and drying the bulbs to prevent the growth of mold or rot during storage. Here’s how to prepare your bulbs:
- Gently remove any soil: Carefully brush off any excess soil clinging to the bulbs. Avoid using water to clean them, as moisture can promote rot.
- Inspect for damage or disease: Examine each bulb for any signs of damage, disease, or pest infestation. Discard any bulbs that appear unhealthy or compromised.
- Trim foliage and roots: Trim any long roots or foliage from the bulbs, leaving only about an inch of stem attached. This helps reduce moisture loss and potential rot during storage.
- Allow bulbs to dry: Place the bulbs in a well-ventilated area with good air circulation, such as a wire mesh tray or cardboard box. Let them dry for a week or two, allowing any remaining moisture to evaporate.
Properly preparing your tulip bulbs for storage sets the stage for successful long-term storage. Once your bulbs are clean and dry, it’s time to select the ideal storage location.
Cleaning and Drying the Bulbs
Cleaning and drying tulip bulbs is an essential step in preparing them for storage over the winter. This process helps remove any dirt, debris, or potential sources of disease from the bulbs, ensuring their health and vitality during the storage period.
To clean and dry your tulip bulbs, follow these steps:
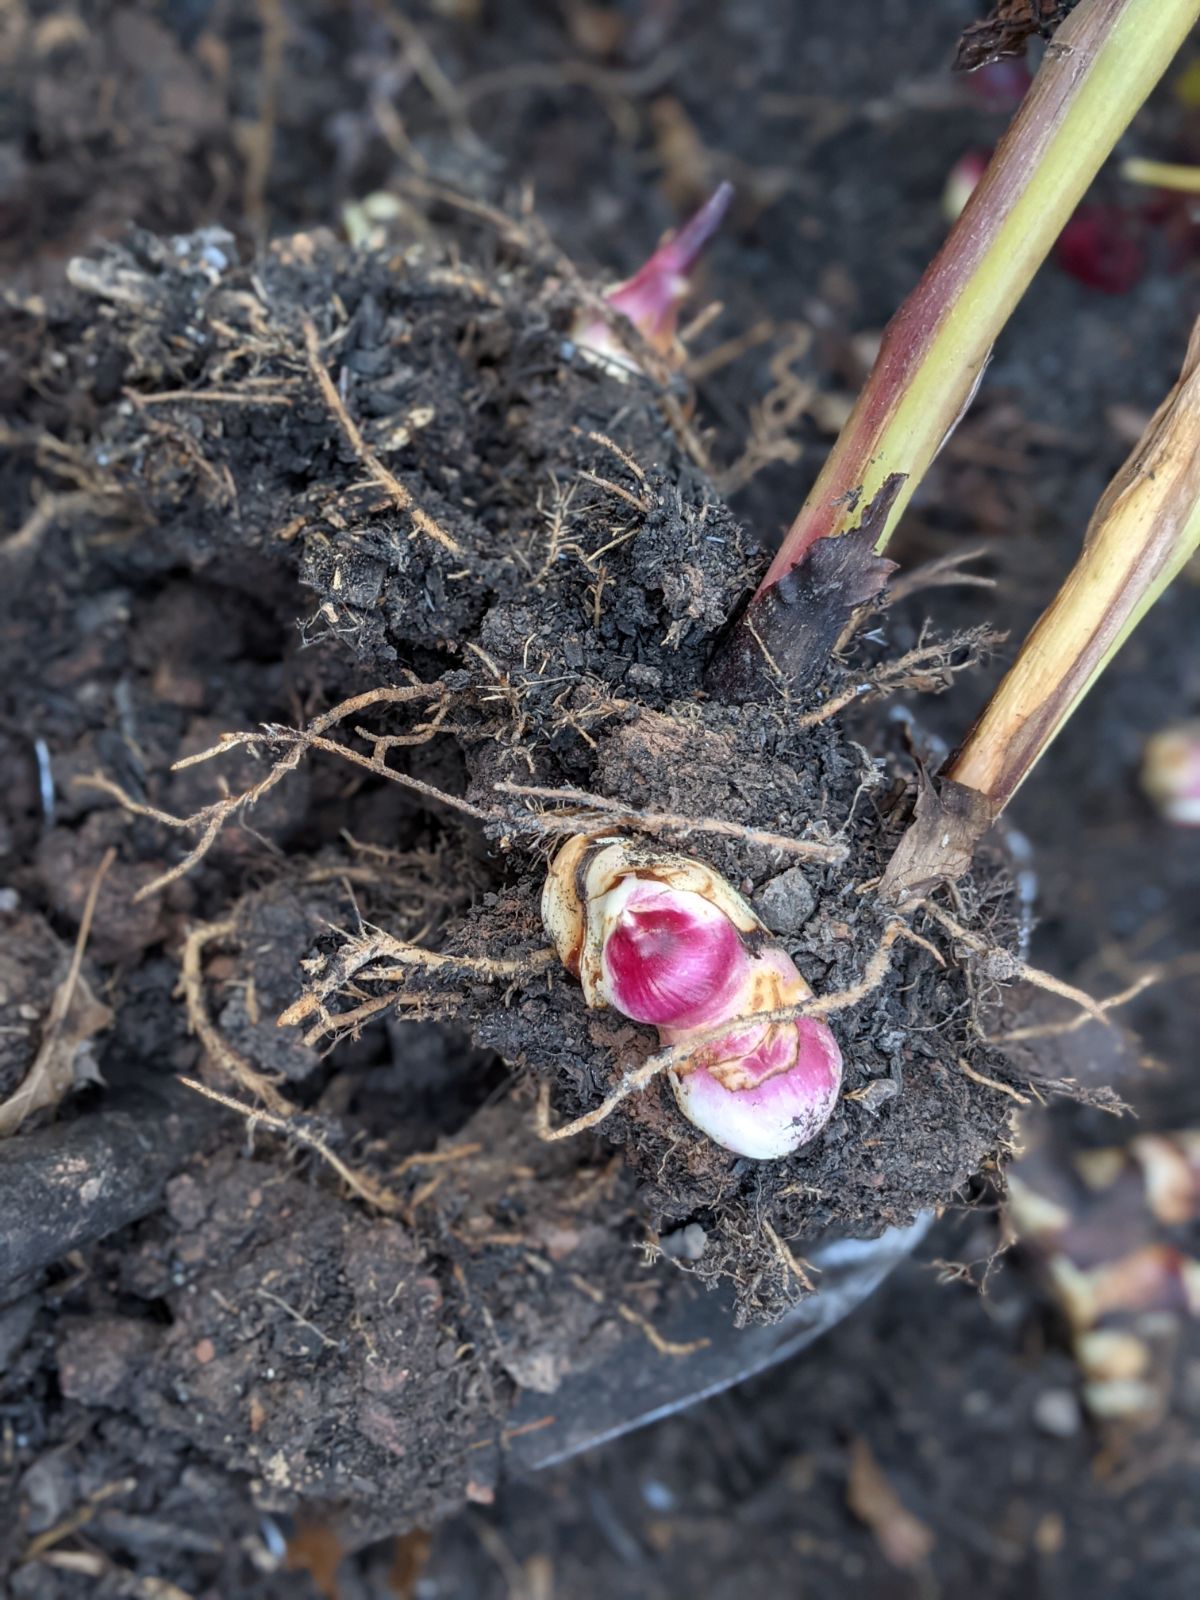
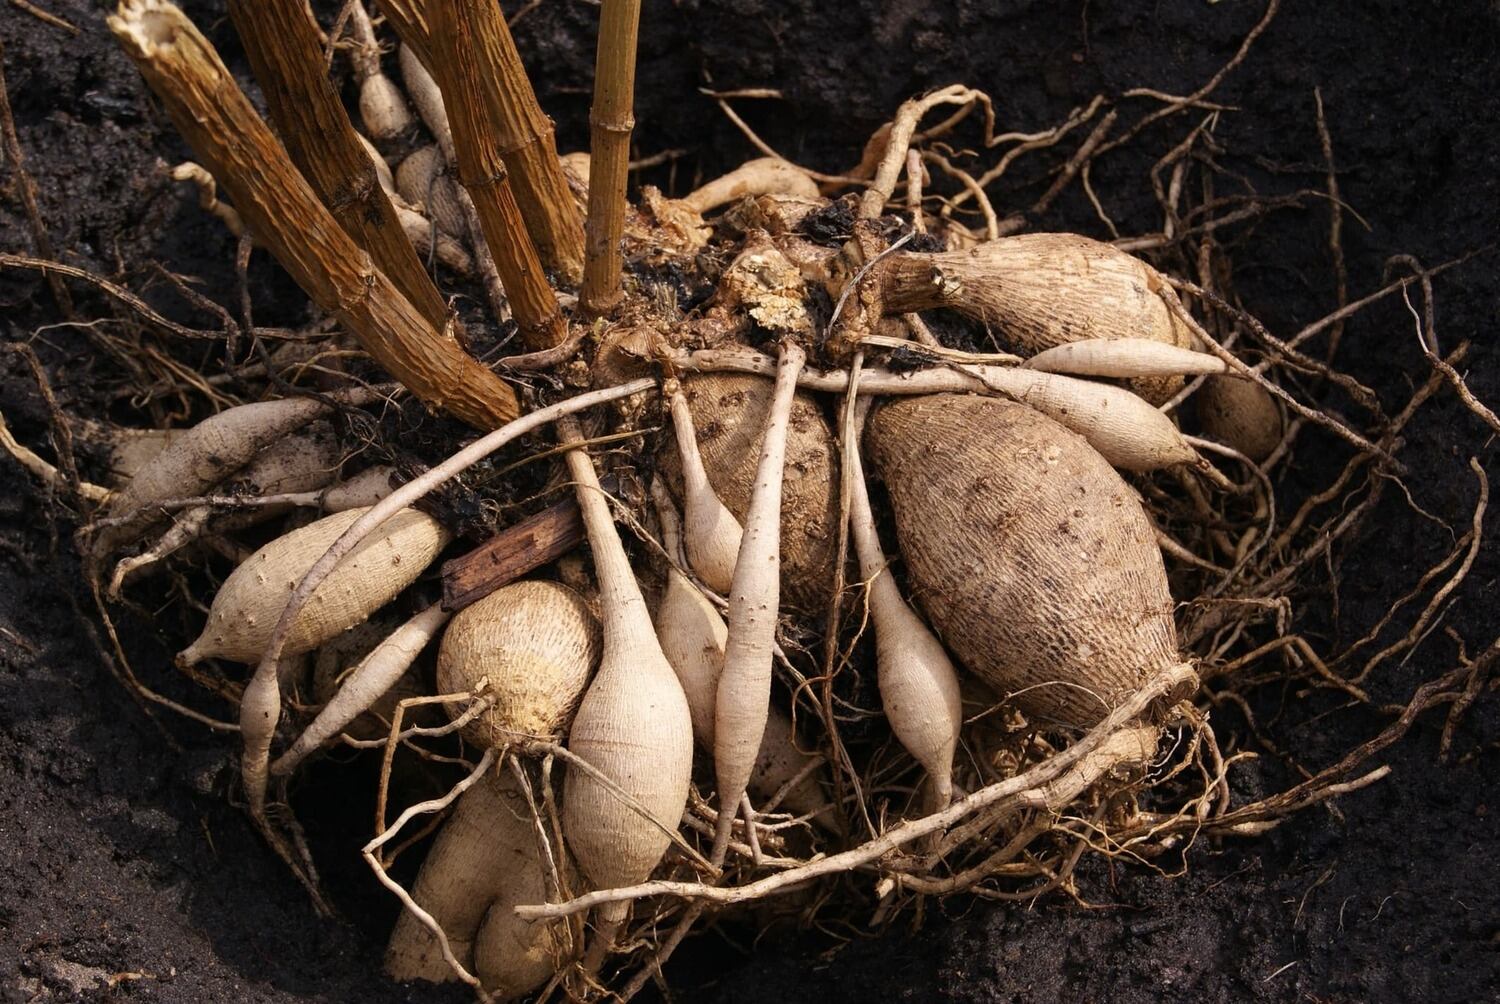
- Gently remove the bulbs from the soil: Carefully dig up the bulbs from the ground or remove them from containers, taking care not to damage them.
- Shake off loose soil: Gently shake the bulbs to remove any excess soil clinging to them. Be careful not to drop or mishandle the bulbs, as they can be quite fragile.
- Inspect for damage or disease: Examine each bulb closely for any signs of damage, rot, or disease. Discard any bulbs that appear soft, mushy, or show signs of mold or pests.
- Trim roots and foliage: Trim off any long roots or withered foliage from the bulbs, leaving only a short stub of the stem attached. This helps prevent moisture loss and reduces the chances of the bulbs rotting during storage.
- Leave the bulbs to dry: Place the bulbs in a well-ventilated area such as a mesh tray or a box lined with newspaper. Allow them to air dry for about a week or until they feel completely dry to the touch.
It’s important to ensure that the bulbs are thoroughly dried before storing them, as any moisture trapped in the bulbs can lead to rot or fungal growth. Once the bulbs are clean and dry, it’s time to move on to selecting the appropriate storage location.
Selecting the Storage Location
Choosing the right storage location for your tulip bulbs is crucial to ensure their survival and health during the winter months. Here are some factors to consider when selecting the storage location:
1. Temperature: Tulip bulbs require a cool and stable temperature during storage. The ideal range is between 35°F (2°C) and 45°F (7°C). Avoid storing the bulbs in places that are susceptible to extreme temperature fluctuations or freezing conditions, such as garages or basements.
2. Humidity: Aim for a storage location with low humidity to prevent the bulbs from becoming soft or rotting. Basements or cellars are generally more humid, so it’s best to opt for a dry and well-ventilated area in your home.
3. Light: Tulip bulbs should be stored in a dark location to prevent them from sprouting prematurely. Exposure to light can stimulate growth and lead to weak and leggy stems.
4. Air Circulation: Good air circulation is vital to prevent the buildup of moisture around the bulbs, which can lead to mold or rot. Avoid storing the bulbs in sealed containers or plastic bags that restrict airflow. Instead, opt for breathable storage options such as paper bags or mesh bags.
Based on these considerations, a suitable storage location for your tulip bulbs could be a cool and dark area in your home, such as a pantry or a closet. Ensure that the area is dry, well-ventilated, and free from fluctuations in temperature.
Once you have identified the ideal storage location, you can choose a suitable storage method to protect and preserve your tulip bulbs over the winter months.
Read more: How To Store Caladium Bulbs Over Winter
Storing Bulbs in a Paper Bag
Storing tulip bulbs in a paper bag is a popular and effective method that provides adequate airflow and protects the bulbs from moisture accumulation. Here’s a step-by-step guide on how to store tulip bulbs in a paper bag:
- Prepare the bulbs: Ensure that the tulip bulbs are clean, dry, and free from any signs of damage or disease. Trim off excess roots and foliage, leaving about an inch of stem attached.
- Choose a paper bag: Opt for a brown paper bag or a breathable fabric bag. Avoid using plastic bags, as they can trap moisture and promote mold growth.
- Arrange the bulbs: Place the tulip bulbs in the paper bag, making sure they are not overcrowded. It’s essential to leave some space between the bulbs to allow for proper airflow.
- Label the bag: Write the variety or color of tulip bulbs on the outside of the bag. This will make it easier to identify the bulbs when it’s time to plant them in the spring.
- Store in a cool, dark place: Find a suitable storage location, such as a cool and dry area in your home, away from direct sunlight. Ensure that the temperature remains within the recommended range of 35°F (2°C) to 45°F (7°C).
- Check periodically: Throughout the winter months, monitor the bulbs occasionally to ensure they are not showing signs of rot or disease. If any bulbs appear damaged or decayed, remove them from the storage bag.
Storing tulip bulbs in a paper bag allows for proper air circulation while protecting them from excess moisture. The breathable nature of the paper bag helps prevent the accumulation of condensation, reducing the risk of rot or fungal growth.
By following these steps and storing your tulip bulbs in a paper bag, you can ensure their safekeeping and increase their chances of thriving when it’s time for planting in the spring.
After the tulip bulbs have been dug up, allow them to dry thoroughly for a few days. Store them in a cool, dry place with good air circulation to prevent mold and rot. Check on them periodically to make sure they are not shriveling or rotting.
Storing Bulbs in a Mesh Bag
Another effective method for storing tulip bulbs over winter is using a mesh bag. Storing bulbs in a mesh bag provides ample airflow and ventilation, preventing the bulbs from rotting or developing mold. Here’s a step-by-step guide on how to store tulip bulbs in a mesh bag:
- Prepare the bulbs: Ensure that the tulip bulbs are clean, dry, and free from any signs of damage or disease. Trim off excess roots and foliage, leaving about an inch of stem attached.
- Select a mesh bag: Choose a mesh bag made of breathable material. Nylon, mesh produce bags, or even mesh onion bags work well for this purpose. Make sure the mesh is small enough to prevent the bulbs from falling out.
- Arrange the bulbs: Place the tulip bulbs in the mesh bag, spreading them out evenly without overcrowding. This allows for proper air circulation and prevents the bulbs from touching each other directly.
- Label the bag: Use a tag or label to identify the variety or color of the tulip bulbs stored in the bag. This information will be helpful when you are ready to plant them in the spring.
- Store in a cool, dark place: Find a cool and dry storage location, ensuring that the temperature remains within the recommended range of 35°F (2°C) to 45°F (7°C). Keep the bag away from direct sunlight to prevent premature growth.
- Regularly check the bulbs: Throughout the winter months, inspect the bulbs periodically for any signs of rot or disease. Remove any bulbs that show decay or damage to prevent the spread of fungal infections.
Storing tulip bulbs in a mesh bag allows for proper airflow and drainage, reducing the risk of moisture buildup or suffocation. The mesh bag protects the bulbs while providing an environment that helps maintain their freshness and vitality.
By following these steps and storing your tulip bulbs in a mesh bag, you can ensure their well-being and increase the chances of successful growth when the planting season arrives.
Storing Bulbs in a Cardboard Box
Using a cardboard box for storing tulip bulbs over winter can provide an easy and convenient option. While not as breathable as a mesh bag or paper bag, a cardboard box can still create a suitable environment for storing bulbs if done correctly. Here’s a step-by-step guide on how to store tulip bulbs in a cardboard box:
- Prepare the bulbs: Ensure that the tulip bulbs are clean, dry, and free from any signs of damage or disease. Trim off excess roots and foliage, leaving about an inch of stem attached.
- Select a cardboard box: Choose a sturdy cardboard box that is clean and free from any moisture or odors. Ensure that the box is of an appropriate size to comfortably accommodate the bulbs you have.
- Add insulation: To prevent extreme temperature fluctuations and moisture buildup, place a layer of dry sawdust, vermiculite, or peat moss at the bottom of the cardboard box. This helps provide insulation and absorbs excess moisture.
- Arrange the bulbs: Place the tulip bulbs in the cardboard box, arranging them in a single layer. Avoid stacking the bulbs on top of each other, as this may lead to them getting crushed or damaged.
- Add more insulation: Gently sprinkle another layer of sawdust, vermiculite, or peat moss over the bulbs, covering them completely. This helps create a protective barrier and aids in moisture control.
- Seal the box: Close the cardboard box securely, but not too tightly, allowing for some airflow. Make sure the box is labeled with the variety or color of tulip bulbs stored inside.
- Store in a cool, dark place: Find a cool and dry storage location, maintaining the temperature within the recommended range of 35°F (2°C) to 45°F (7°C). Keep the box away from direct sunlight and areas prone to extreme temperature fluctuations.
- Check periodically: Regularly inspect the bulbs throughout the winter months to ensure they remain in good condition. Remove any bulbs that show signs of rot, decay, or disease to prevent spread to other bulbs.
Storing tulip bulbs in a cardboard box provides protection from light and some insulation against temperature fluctuations. The added layer of insulation from sawdust, vermiculite, or peat moss helps regulate moisture levels and provides a degree of protection for the bulbs.
By following these steps and storing your tulip bulbs in a cardboard box, you can provide a suitable environment for their winter dormancy, increasing their chances of thriving when it’s time to plant them in the spring.
Monitoring and Maintaining Bulbs During Winter
Even though tulip bulbs are in a dormant state during winter, it’s important to monitor and maintain them for optimal storage conditions. Here are some key steps to consider:
1. Temperature control: Continuously monitor the storage area’s temperature, ensuring it remains within the recommended range of 35°F (2°C) to 45°F (7°C). Avoid exposing the bulbs to extreme cold or heat, as it can affect their viability.
2. Moisture management: Regularly check the bulbs for any signs of excessive moisture or dryness. If you notice condensation inside the storage container, it’s an indication of high humidity. Consider adjusting ventilation or adding moisture-absorbing materials like rice or silica gel to maintain a proper moisture balance.
3. Protection from pests: Inspect the storage area periodically for any signs of pests such as rodents or insects. These critters can damage the bulbs or nibble on them. Use appropriate pest control methods if necessary, ensuring they are safe for the bulbs.
4. Check for rot or disease: Routinely examine the bulbs for any signs of rot or disease. If you notice any bulbs showing decay or fungal growth, promptly remove them to prevent further spread to the healthy bulbs.
5. Proper airflow: Ensure that the storage containers or bags allow for proper airflow around the bulbs. Good ventilation helps prevent the growth of mold or mildew and keeps the bulbs fresh and healthy.
6. Avoid disturbances: Try to minimize disturbances to the stored bulbs to allow them to remain undisturbed and maintain their dormancy. Avoid moving or jostling the storage containers unnecessarily.
By regularly monitoring and maintaining the bulbs during winter, you can ensure their well-being and increase the chances of successful blooming in the next growing season.
Read more: How To Store Tulip Bulbs In The Refrigerator
Inspecting and Preparing Bulbs for Planting
Before planting your stored tulip bulbs in the spring, it’s important to inspect them carefully and prepare them for optimal growth. Follow these steps for inspecting and preparing your bulbs:
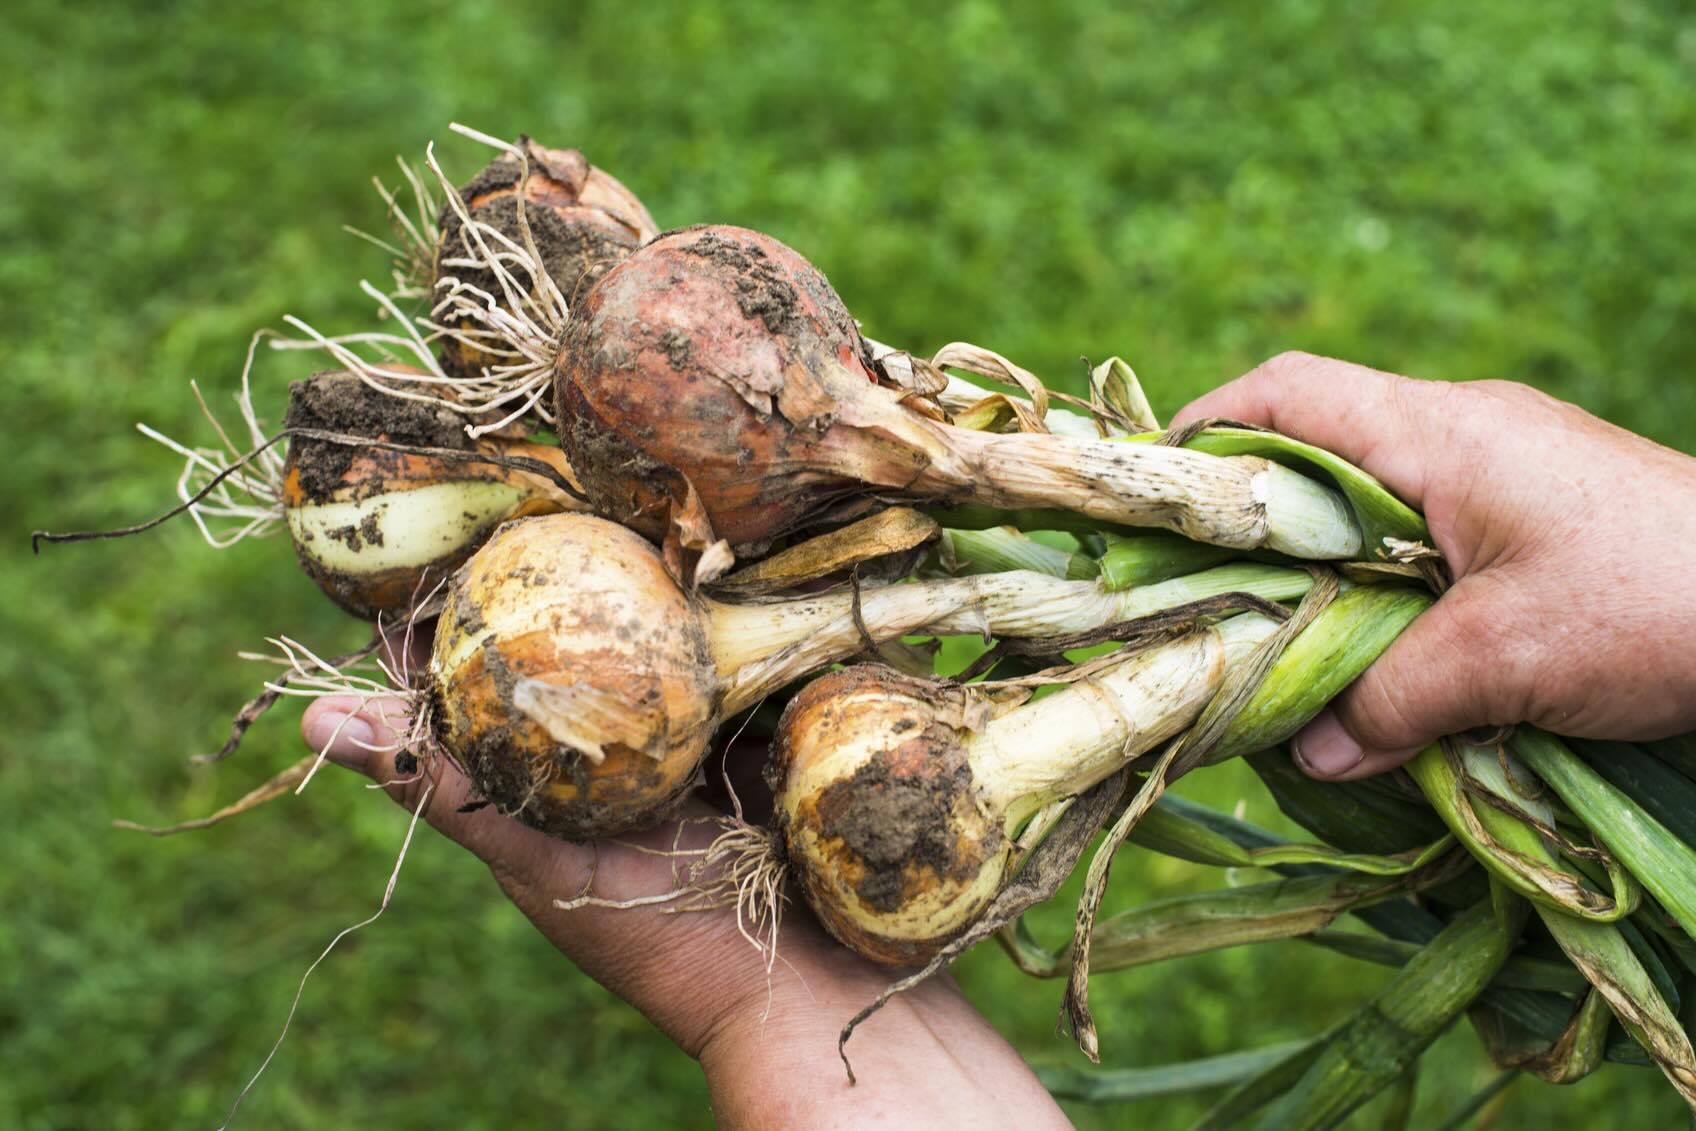
- Inspect for viability: Examine each bulb closely for any signs of rot, disease, or damage. Discard any bulbs that appear soft, mushy, or show signs of mold. Healthy bulbs should feel firm and show no signs of decay.
- Separate bulbs by size: Sort the tulip bulbs by size, grouping together those of similar dimensions. This allows for more uniform planting and ensures consistent growth and blooming.
- Soak bulbs (optional): Some gardeners choose to soak tulip bulbs in water or a bulb-specific solution for a few hours before planting. This can help hydrate the bulbs and stimulate growth.
- Prepare the planting area: Clear the planting area of any weeds, debris, or existing plant material. Loosen the soil to a depth of about 12 inches (30 cm) to ensure good drainage and root penetration.
- Plant bulbs at the right depth: Use a trowel or bulb planter to create holes in the soil. As a general rule, plant tulip bulbs at a depth that is approximately three times their height. For example, if a bulb is 2 inches tall, plant it about 6 inches deep.
- Space and arrangement: Space the bulbs according to the recommended planting distance for the particular tulip variety you have. Arrange them in the desired pattern or groupings for a visually appealing display.
- Add fertilizer: Prior to covering the bulbs with soil, sprinkle a slow-release bulb fertilizer or a balanced organic fertilizer in the planting holes. This provides essential nutrients for healthy growth and flowering.
- Cover and water: Gently cover the bulbs with soil, firming it lightly to remove any air pockets. Water the newly planted bulbs thoroughly to settle the soil and provide initial moisture.
By inspecting and properly preparing your tulip bulbs for planting, you give them the best chance of success in the upcoming growing season. Healthy bulbs that are planted at the correct depth and provided with adequate nutrients and moisture will reward you with stunning blooms.
Remember to follow the specific planting instructions for your tulip variety and provide them with the appropriate care and maintenance throughout the growing season for optimal results.
Conclusion
Storing tulip bulbs over winter is crucial for ensuring their survival and vibrant blooms in the next growing season. By following the right techniques, you can protect your tulip bulbs from freezing temperatures, rot, and disease, setting the stage for a successful display of color and beauty in your garden.
Choosing high-quality bulbs, properly cleaning and drying them, and selecting the right storage method are essential steps in the process. Whether you opt for storing bulbs in a paper bag, a mesh bag, or a cardboard box, each method provides its benefits in terms of airflow, moisture control, and insulation.
Monitoring and maintaining the bulbs throughout the winter is vital to ensuring their optimal storage conditions. Keeping them in a cool, dark, and well-ventilated area, checking for rot or disease, and controlling temperature and humidity levels will help promote their health and viability.
As spring approaches, inspecting and preparing the bulbs for planting is the final step in the process. Ensuring their viability, sorting by size, and properly planting them at the right depth with adequate nutrients and water will set the stage for successful growth and beautiful blooms.
Remember, each type of tulip bulb may have its specific requirements, so it’s essential to follow the instructions provided for the particular variety you are planting.
By employing these techniques and dedicating the necessary care to storing and preparing your tulip bulbs, you can enjoy a stunning and colorful display of tulips in your garden year after year.
So, take the time to store your tulip bulbs properly over winter, and get ready to be greeted by the breathtaking beauty of these lovely flowers in the coming spring!
Frequently Asked Questions about How To Store Tulip Bulbs Over Winter
Was this page helpful?
At Storables.com, we guarantee accurate and reliable information. Our content, validated by Expert Board Contributors, is crafted following stringent Editorial Policies. We're committed to providing you with well-researched, expert-backed insights for all your informational needs.

0 thoughts on “How To Store Tulip Bulbs Over Winter”