Home>Garden Essentials>How To Plant Tulip Seeds
Garden Essentials
How To Plant Tulip Seeds
Modified: April 22, 2024
Learn how to plant tulip seeds in your garden and enjoy a beautiful blooming display of tulips. Step-by-step guide for a successful garden planting experience.
(Many of the links in this article redirect to a specific reviewed product. Your purchase of these products through affiliate links helps to generate commission for Storables.com, at no extra cost. Learn more)
Introduction
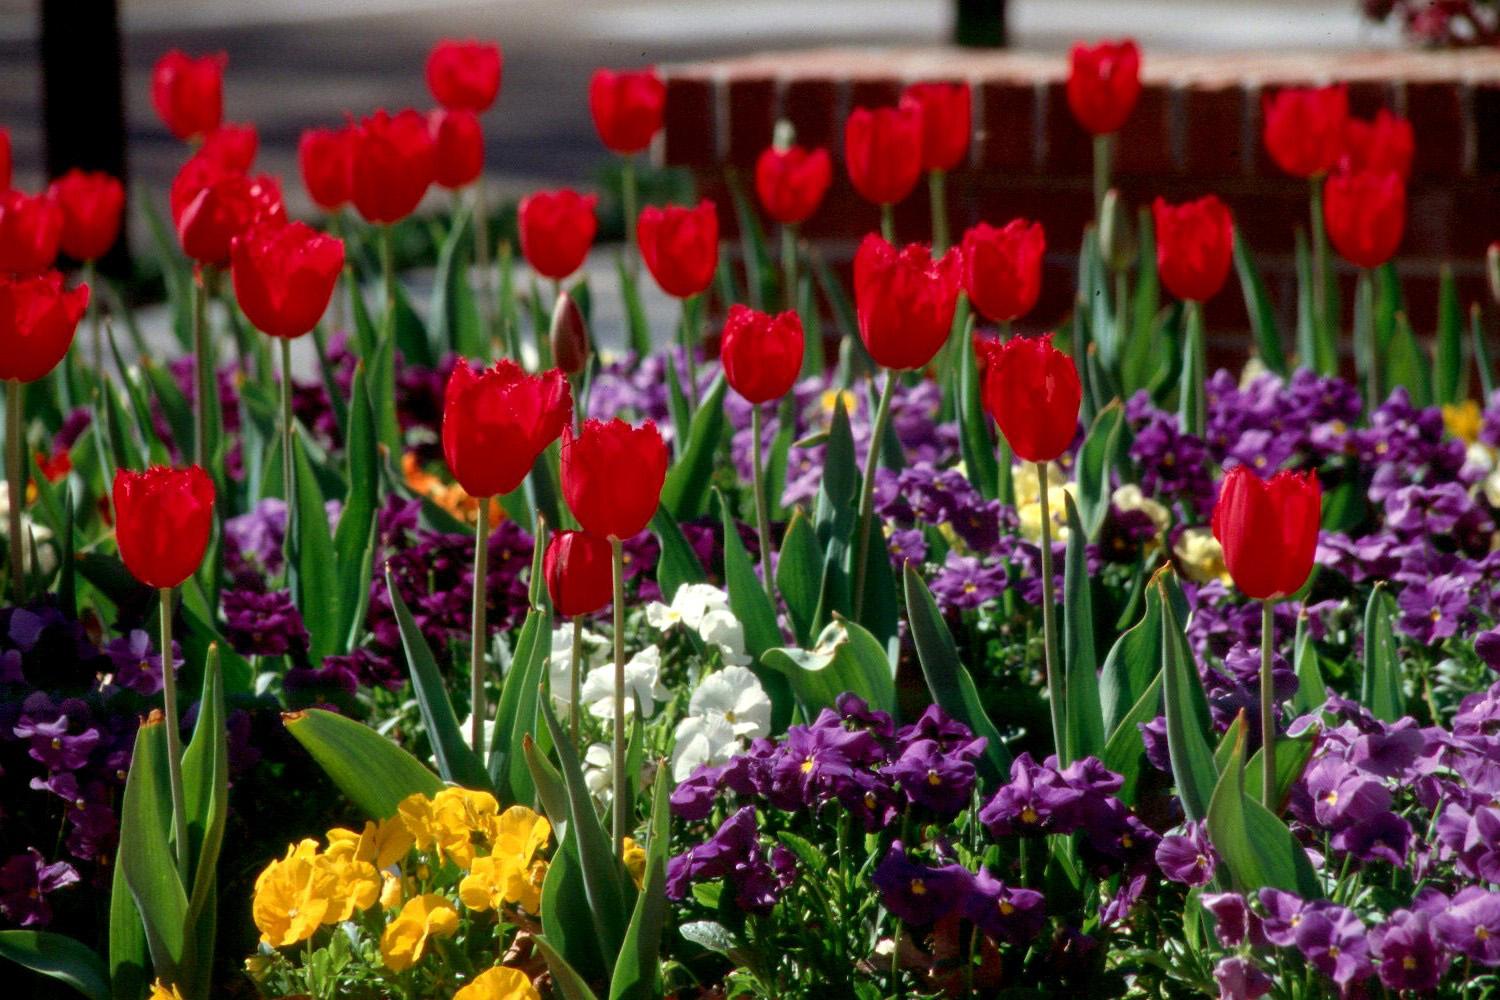
Gardening enthusiasts often find joy in watching their plants grow from tiny seeds into beautiful blooming flowers. While many gardeners are familiar with planting tulip bulbs, planting tulip seeds can be a rewarding and fascinating experience. Tulips are known for their vibrant colors and graceful shapes, making them a popular choice for gardens and floral arrangements.
In this article, we will guide you through the process of planting tulip seeds, from preparing the soil to providing proper care. Whether you are a beginner gardener or have some experience, these tips and tricks will help you successfully grow tulips from seeds and enjoy their stunning beauty.
Before we dive into the planting process, it’s important to note that growing tulips from seeds requires patience. Tulips grown from seeds take longer to bloom compared to those grown from bulbs. On average, it can take up to two to three years for a tulip seed to develop into a flowering plant. However, the wait is well worth it, as it allows you to witness the entire growth cycle firsthand.
So, let’s roll up our sleeves and get ready to start your tulip seed planting adventure!
Key Takeaways:
- Patience is key when planting tulip seeds. It takes 2-3 years for seeds to bloom, but the wait is worth it for the joy of witnessing the entire growth cycle firsthand.
- Choose diverse, fresh tulip seeds and provide proper care for successful planting. Embrace the joy of gardening and enjoy the beauty of your tulip seedlings as they grow into stunning flowers.
Read more: When Do Tulips Germinate
Step 1: Preparing the Soil
Having the right soil conditions is crucial for the successful growth of tulip seeds. Here are some steps to prepare the soil:
- Choose a well-draining soil: Tulips prefer well-draining soil to prevent waterlogging, which can lead to rotting. Sandy or loamy soils are ideal for tulip growth.
- Clear the area: Remove any weeds, rocks, or debris from the planting area. This will ensure that the tulip seeds have a clean and unobstructed space to grow.
- Loosen the soil: Use a garden fork or a tiller to loosen the soil to a depth of about 6-8 inches. This will help the tulip roots penetrate easily and receive adequate nutrients.
- Amend the soil: If the soil lacks organic matter, you can improve its fertility by adding compost or well-rotted manure. This will enhance the soil’s nutrient content and provide a good foundation for the tulip seeds to thrive.
- Level the soil: Smooth out the soil surface to create an even bed for planting. This will help prevent water pooling and ensure consistent moisture distribution.
By following these steps, you will create a favorable environment for your tulip seeds to grow and develop into healthy plants. With the soil prepared, you are ready to move on to the next step: choosing the right seeds!
Step 2: Choosing the Right Seeds
Choosing the right tulip seeds is essential for a successful and rewarding gardening experience. Here are some factors to consider when selecting tulip seeds:
- Variety: Tulips come in a wide variety of colors, shapes, and sizes. Determine what type of tulips you prefer and the aesthetic you want to achieve in your garden.
- Hardiness: Consider the hardiness zone of your region and choose tulip seed varieties that are suitable for your climate. This will ensure that the seeds can withstand the temperatures and weather conditions in your area.
- Age of the seeds: Fresh tulip seeds generally have a higher germination rate. Check the packaging or consult with a reputable seed supplier to ensure you are purchasing fresh seeds.
- Seed quality: Look for tulip seeds that are plump, firm, and free from any signs of damage or mold. Avoid seeds that appear shriveled or discolored as they may not germinate successfully.
- Hybrid or heirloom: Consider whether you want to plant hybrid tulip seeds, which can result in a wider range of colors and patterns, or heirloom tulip seeds, which maintain the characteristics of older, traditional varieties.
Keep in mind that tulip seeds can be found at garden centers, nurseries, or online seed suppliers. It’s always a good idea to do some research and read reviews to ensure you are purchasing from a reliable source.
Once you have selected the right tulip seeds, you are ready to move on to the exciting part: planting them! In the next step, we will guide you through the process of planting tulip seeds.
Step 3: Planting the Tulip Seeds
Now that you have prepared the soil and chosen the perfect tulip seeds, it’s time to plant them. Here’s how to properly plant tulip seeds:
- Timing: Tulip seeds are best planted in the fall, just before the ground freezes. This allows the seeds to undergo a natural cooling period, which helps with germination. If you missed the fall planting window, you can sow the seeds in early spring, but they may take longer to germinate.
- Location: Choose a spot in your garden that receives full sun or partial shade. Tulips thrive in areas with at least six hours of direct sunlight each day.
- Spacing: Space the tulip seeds about 4-6 inches apart to provide enough room for the plants to grow and develop. You can plant them closer together for a denser display, but this may result in smaller blooms.
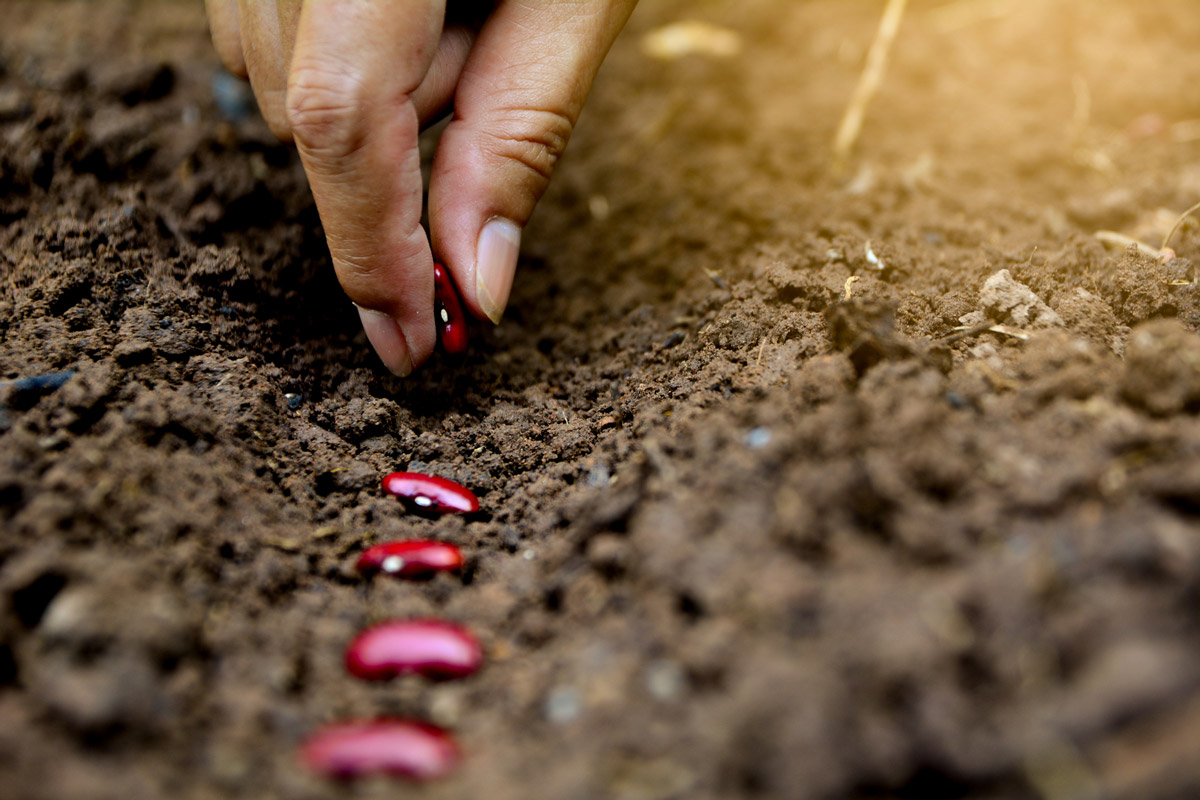
- Planting depth: Plant the tulip seeds at a depth of 1-2 inches in the soil. Use a small trowel or your fingers to create holes and gently place the seeds inside, then cover them with soil and lightly firm the surface.
- Watering: After planting, give the area a good watering to ensure that the soil is evenly moist. Avoid overwatering, as this can cause the seeds to rot. Throughout the germination process, keep the soil consistently moist but not waterlogged.
It’s important to note that tulip seeds require a period of cold stratification for successful germination. The winter temperatures will provide this naturally if you plant in the fall. If planting in the spring, you can simulate this process by placing the seed tray in the refrigerator for 6-8 weeks prior to planting.
Patience is key when it comes to tulip seed germination. It can take anywhere from several weeks to several months for the seeds to sprout. Keep an eye on the soil moisture levels and provide proper care throughout this waiting period.
In the next step, we will discuss the essential care tips to ensure the healthy growth of your tulip seedlings.
Plant tulip seeds in the fall, in well-drained soil with plenty of sunlight. Plant the seeds 4-6 inches deep and 4-6 inches apart. Water regularly and protect from pests.
Step 4: Providing Proper Care
Once your tulip seeds have germinated and started to grow, it’s important to provide them with proper care to ensure healthy development. Here are some essential care tips for your tulip seedlings:
- Watering: Keep the soil consistently moist but not waterlogged. Water the seedlings regularly, especially during dry periods. Avoid overhead watering, as wet foliage can lead to disease.
- Mulching: Apply a layer of organic mulch around the seedlings to help conserve moisture, suppress weed growth, and regulate soil temperature. Be careful not to cover the seedlings with mulch as this can hinder their growth.
- Support: As your tulip seedlings grow taller, they may benefit from some support to prevent them from bending or breaking. Place stakes or garden twine around the plants to help keep them upright.
- Fertilizing: After the seedlings have developed their first few leaves, you can start feeding them with a balanced liquid fertilizer. Follow the instructions on the fertilizer packaging for proper application and dosage.
- Weeding: Regularly remove any weeds that compete with the tulip seedlings for nutrients and water. Be gentle when weeding to avoid damaging the delicate roots of the seedlings.
- Protection: If you live in an area with wildlife, such as rabbits or deer, consider protecting your tulip seedlings with fencing or netting. These animals may find your tender seedlings irresistible.
It’s important to note that tulip seedlings may not flower in their first year. The focus during this stage is on establishing a strong root system and developing foliage. Be patient and continue caring for your seedlings, and you will be rewarded with beautiful blooms in the future.
Now that you know how to provide proper care for your tulip seedlings, let’s move on to some helpful tips and tricks to ensure successful tulip seed planting.
Read more: How To Store Tulip Bulbs Before Planting
Step 5: Tips and Tricks for Successful Tulip Seed Planting
Planting tulip seeds can be a rewarding and enjoyable gardening endeavor. Here are some tips and tricks to help you achieve successful tulip seed planting:
- Perseverance is key: Growing tulips from seeds requires patience. It can take several years for the seedlings to mature and bloom. Don’t be discouraged if you don’t see immediate results.
- Choose a diverse selection of seeds: Planting a variety of tulip seed colors and types will create a stunning display in your garden. Mix and match different varieties to add visual interest.
- Protect against frost: If you live in an area with late frosts, consider covering your tulip seedlings with a frost cloth or placing a garden pot over them at night to protect them from freezing temperatures.
- Practice crop rotation: To prevent the risk of diseases and pests, avoid planting tulips in the same location year after year. Rotate your tulip planting spots to maintain soil health and minimize the risk of fungal or viral infections.
- Deadheading: After your tulips bloom, remove the faded flowers to prevent the plant from expending energy on seed production. This will redirect the energy towards bulb development for the next growing season.
- Save seeds for future planting: If you want to experiment with saving your own tulip seeds, allow some of your tulip blooms to fully mature and form seed pods. Harvest the seeds when the pods turn brown and dry. Store them in a cool, dry place until you are ready to plant them.
- Learn from your experiences: Each garden is unique, and what works for one person may not work for another. Pay attention to your specific growing conditions, the behavior of your tulip seedlings, and make adjustments accordingly.
- Share your joy: Gardening is a wonderful way to connect with others who share your passion. Share your tulip seed planting journey with fellow gardeners, and learn from their experiences as well.
Remember, tulip seed planting is not an exact science. It’s a process of experimentation and learning. Embrace the joy of gardening and enjoy the beauty of your tulip seedlings as they grow and develop into stunning flowers. With proper care and attention, your tulip seed planting endeavor can be a rewarding and fulfilling experience.
Now that you have learned the steps, tips, and tricks for successful tulip seed planting, you are well-equipped to embark on your own gardening adventure. Happy planting!
Conclusion
Planting tulip seeds is a wonderful way to experience the joy of gardening and witness the complete growth cycle of these beautiful flowers. While it requires patience and dedication, the reward of seeing your tulip seeds transform into vibrant blooms is truly worth the wait.
We began by preparing the soil, ensuring it was well-draining and enriched with organic matter. Then, we discussed the importance of choosing the right tulip seeds, considering factors such as variety, hardiness, and seed quality. Next, we explored the process of planting the tulip seeds at the appropriate depth and providing adequate water and care for their germination and growth.
Throughout the planting process, we shared tips and tricks to help you achieve success, such as being patient, choosing a diverse selection of seeds, and protecting your seedlings from frost and pests. We also highlighted the importance of crop rotation, deadheading, and saving seeds for future planting.
Remember that gardening is a journey of learning and experimentation. Each garden is unique, and what works for one person may not work for another. Take cues from nature, adapt to your specific growing conditions, and enjoy the process of nurturing your tulip seedlings.
Ultimately, the process of planting tulip seeds allows you to truly connect with the beauty of nature and gain a deeper appreciation for the transformation of life. So, roll up your sleeves, get your hands dirty, and embark on this rewarding gardening adventure. With proper care, your tulip seeds will grow into magnificent flowers that will bring joy, color, and vibrancy to your garden.
Now, go out there and let the magic of tulips unfold in your own backyard!
Frequently Asked Questions about How To Plant Tulip Seeds
Was this page helpful?
At Storables.com, we guarantee accurate and reliable information. Our content, validated by Expert Board Contributors, is crafted following stringent Editorial Policies. We're committed to providing you with well-researched, expert-backed insights for all your informational needs.


0 thoughts on “How To Plant Tulip Seeds”