Articles
How To Store Urine Overnight For Drug Test
Modified: October 20, 2024
Learn how to store urine overnight for a drug test with our informative articles. Ensure accurate results by following our expert tips and guidelines.
(Many of the links in this article redirect to a specific reviewed product. Your purchase of these products through affiliate links helps to generate commission for Storables.com, at no extra cost. Learn more)
Introduction
Welcome to the ultimate guide on how to store urine overnight for a drug test. Whether you are faced with a surprise drug test or need to submit a urine sample for medical or employment purposes, knowing how to properly store your urine overnight is crucial to ensure accurate test results.
Why is it necessary to store urine overnight, you may wonder? Well, sometimes circumstances may arise where immediate testing is not possible. It could be due to logistical reasons, scheduling conflicts, or the need for a larger batch of urine samples to be tested together. In such cases, storing urine overnight becomes essential to preserve the integrity of the sample for accurate analysis.
In this comprehensive guide, we will walk you through the methods and proper procedures for storing urine overnight. We will cover the necessary materials, step-by-step instructions, and tips to ensure the quality and validity of your urine sample. By following these guidelines, you can rest assured that your urine sample will maintain its integrity and provide reliable results.
Key Takeaways:
- Properly storing urine overnight for a drug test requires meticulous attention to detail, including proper collection, container selection, preparation, and temperature control.
- Following specific guidelines for collection, storage, and transportation of the urine sample is crucial to ensure its integrity and reliability for accurate test results.
Read more: How To Store Pee For A Drug Test
Why store urine overnight?
Storing urine overnight may not always be the ideal scenario, but it is a necessity in certain situations. Here are a few reasons why you may need to store urine overnight:
- Logistical reasons: Sometimes, there may be logistical challenges that prevent immediate testing. It could be due to limited laboratory availability or scheduling conflicts. In such cases, storing urine overnight allows for the collection of a larger batch of samples, making the testing process more efficient.
- Time-sensitive tests: Certain drug tests require the urine to be collected at a specific time. For example, some tests require urine to be collected first thing in the morning as it provides a more concentrated sample. In these instances, storing urine overnight becomes necessary to ensure compliance with the testing requirements.
- Batch testing: When conducting drug tests on a larger scale, it is common practice to batch together multiple samples for simultaneous testing. Storing urine overnight allows for the accumulation of samples, which can then be tested together, reducing time, effort, and resources.
- Avoiding repeated collections: In certain medical or research settings, multiple urine tests may be necessary over a period of time. Rather than collecting urine repeatedly, storing it overnight can be a convenient and practical solution to avoid the need for frequent collections.
It is important to note that while storing urine overnight is sometimes necessary, it should not be done for an extended period. Urine samples should be processed and analyzed as soon as possible to ensure accurate results. The guidelines provided in this guide will help you store your urine sample safely and maintain its integrity until it can be tested.
Methods for storing urine overnight
When it comes to storing urine overnight for a drug test, there are a few methods you can follow to ensure the integrity of the sample. These methods involve proper collection, storage container selection, preparation, temperature control, labeling, and keeping the sample secure. Let’s explore each of these methods in detail:
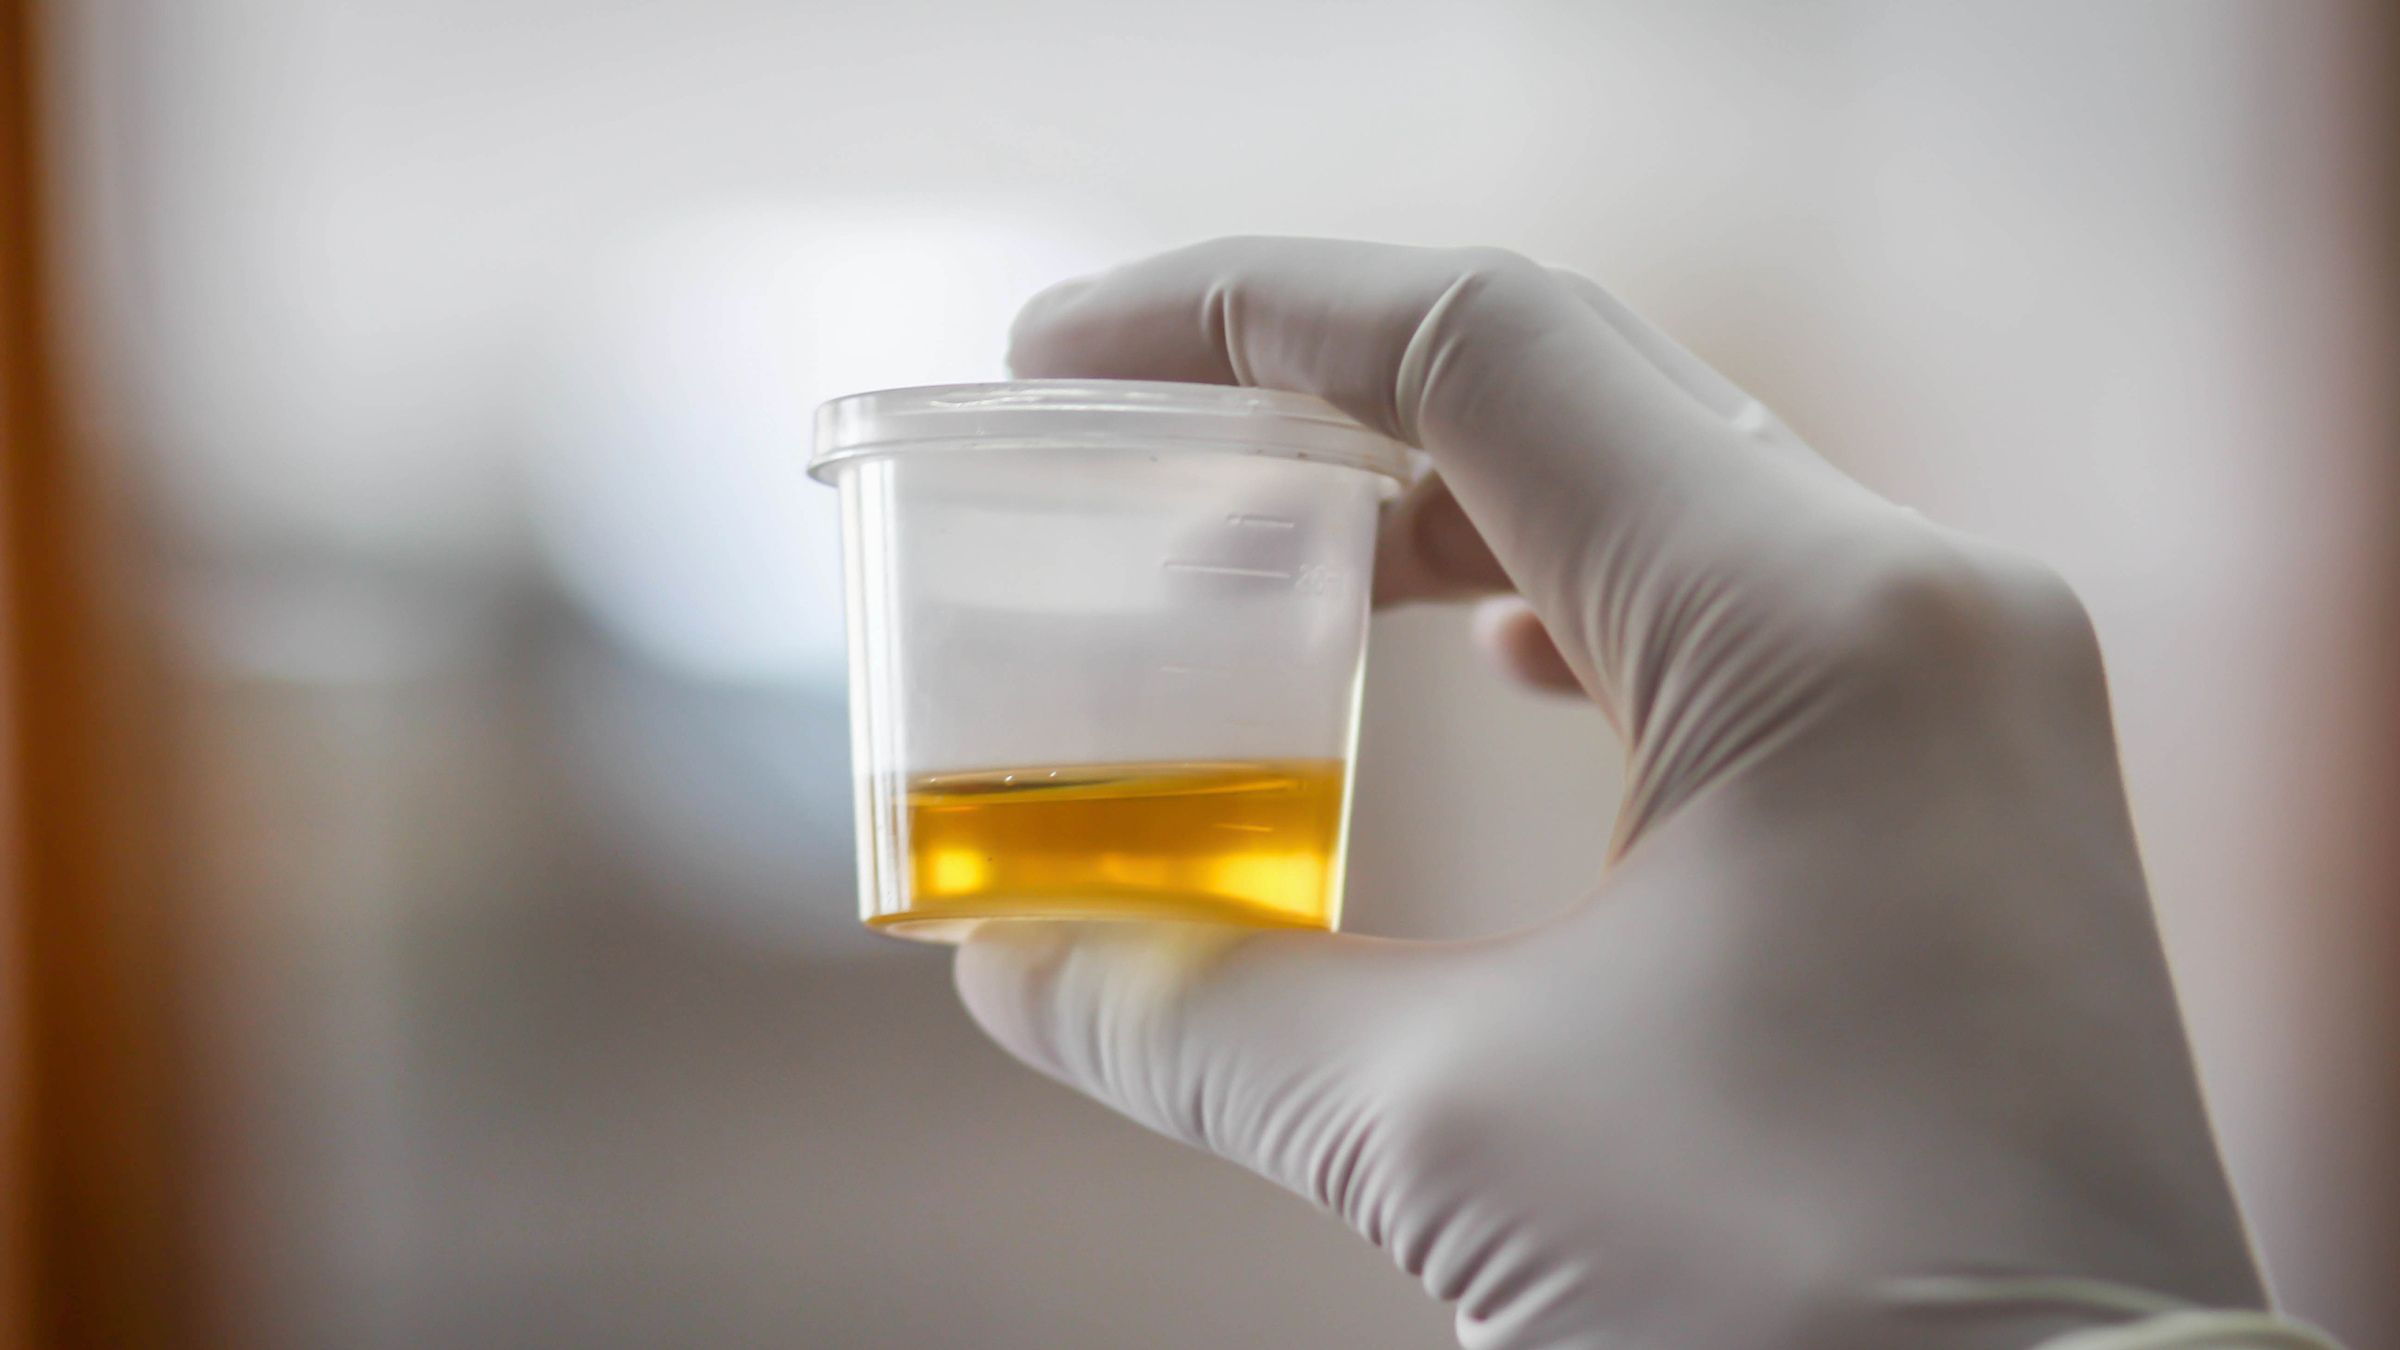
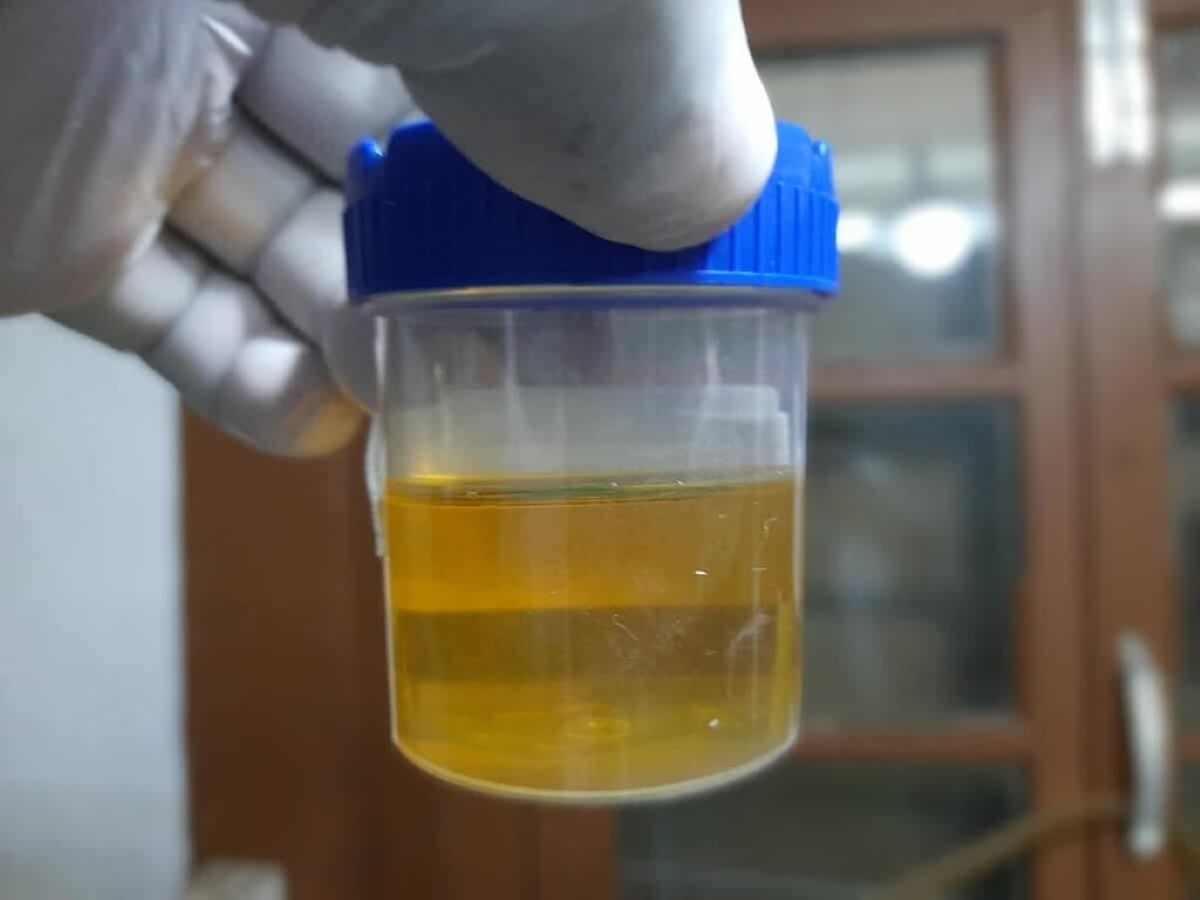
- Collection: Start by collecting a fresh urine sample in a clean and sterile container. It is crucial to follow the specific instructions provided for your drug test to ensure accurate results. Use the mid-stream method, where you start urinating into the toilet, then capture a sample mid-flow to avoid potential contaminants.
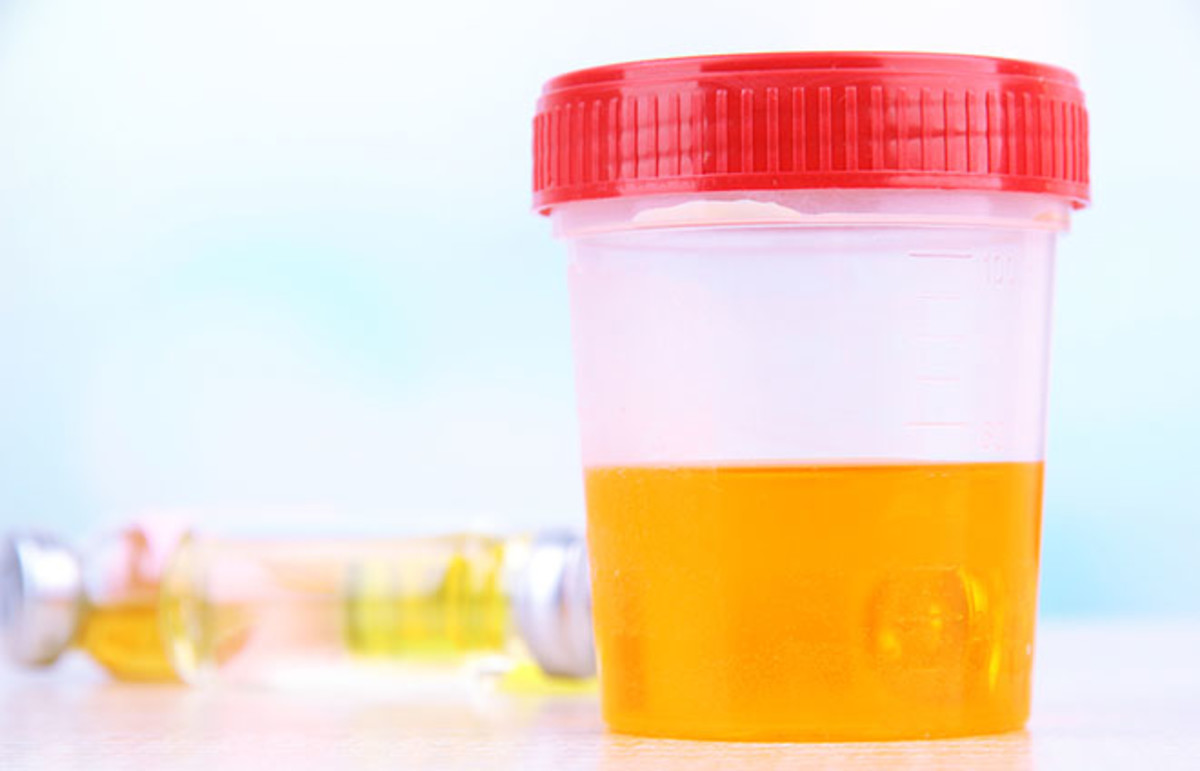
- Storage container: Choose an appropriate storage container that is leak-proof, airtight, and made of a material that preserves the sample’s integrity. Ideally, use a container specifically designed for urine storage, such as a specimen cup or a clean and sterilized glass jar with a tightly sealed lid.
- Preparation: Before storing the urine sample, make sure to label the container with your name, date, and any other required information. This will help in identifying the sample accurately and avoiding confusion. Additionally, wash your hands thoroughly before handling the sample or the container to reduce the risk of contamination.
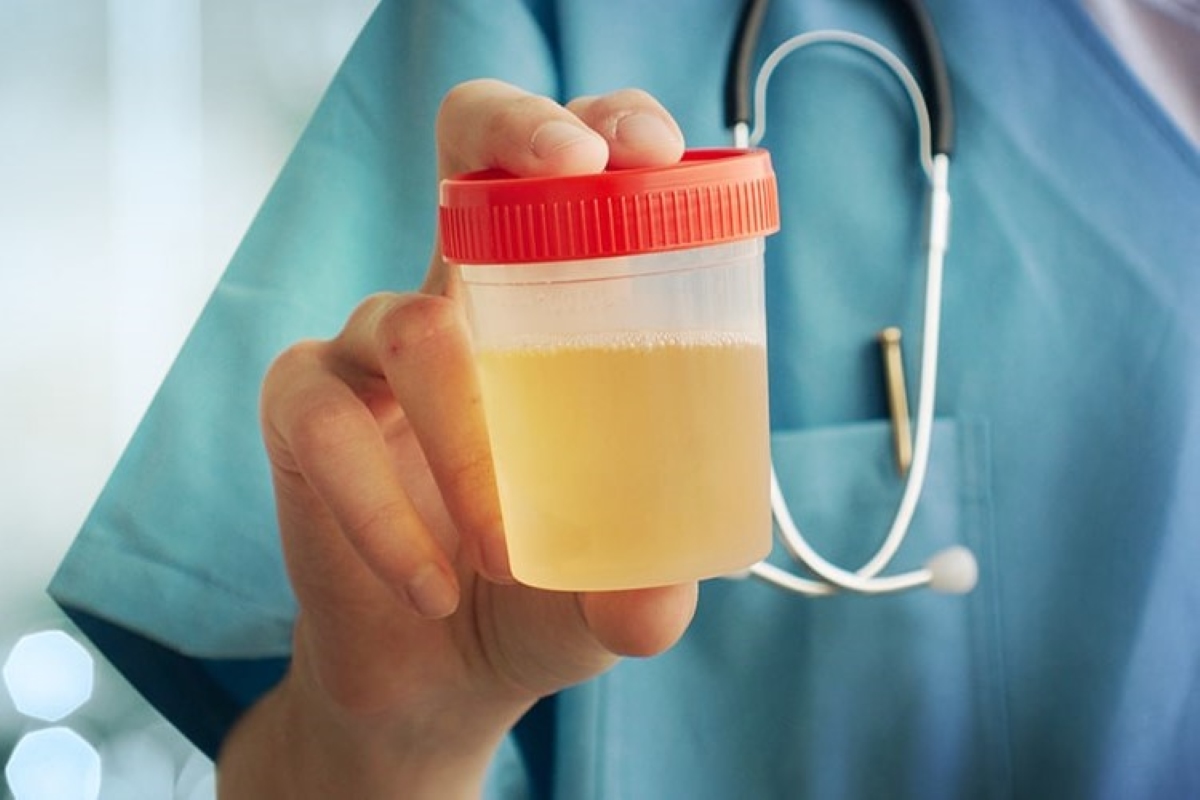
- Proper storage: Store the urine sample in a cool, dark, and dry place to preserve its integrity. Avoid direct sunlight, excessive heat, and moisture, as they can degrade the sample or introduce unwanted substances. A refrigerator is a suitable location for storing urine overnight, as it provides a consistent and controlled temperature.
- Temperature control: Maintaining the temperature of the urine sample is crucial, as improper temperature can raise suspicions and invalidate the test results. If required by the testing facility, consider using a temperature strip or a small thermometer to monitor the temperature of the sample during storage. The ideal temperature range is typically between 90°F to 100°F (32°C to 38°C).
- Labeling: Properly label the storage container with your personal information, including your name, date, and any other required identifiers. Clear and accurate labeling ensures that the sample is correctly identified and eliminates any confusion during the testing process.
- Keeping the sample secure: It is important to keep the stored urine sample secure to avoid tampering. If needed, consider sealing the container with tamper-evident tape or seals to provide additional security and ensure the integrity of the sample.
By following these methods, you can store your urine sample safely and maintain its integrity overnight. Remember to check the specific requirements and instructions provided for your drug test to ensure compliance and accurate results.
Required materials
When it comes to storing urine overnight for a drug test, having the right materials is essential to ensure the integrity of the sample. Here are the required materials you will need:
- Clean and sterile container: Use a suitable container for collecting and storing the urine sample. It should be clean, sterilized, and made of a material that preserves the sample’s integrity. Specimen cups, sterile urine collection cups, or clean and sterilized glass jars with tightly sealed lids are commonly used options.
- Labels or markers: To properly identify the urine sample, you will need labels or markers. These will be used to write your name, date, and any other required information on the storage container. Make sure the labels or markers are permanent and won’t smudge or fade easily.
- Tamper-evident tape or seals (optional): If you want to add an extra layer of security to the stored urine sample, consider using tamper-evident tape or seals. These can be used to seal the container and provide visual evidence if any tampering occurs during storage or transport.
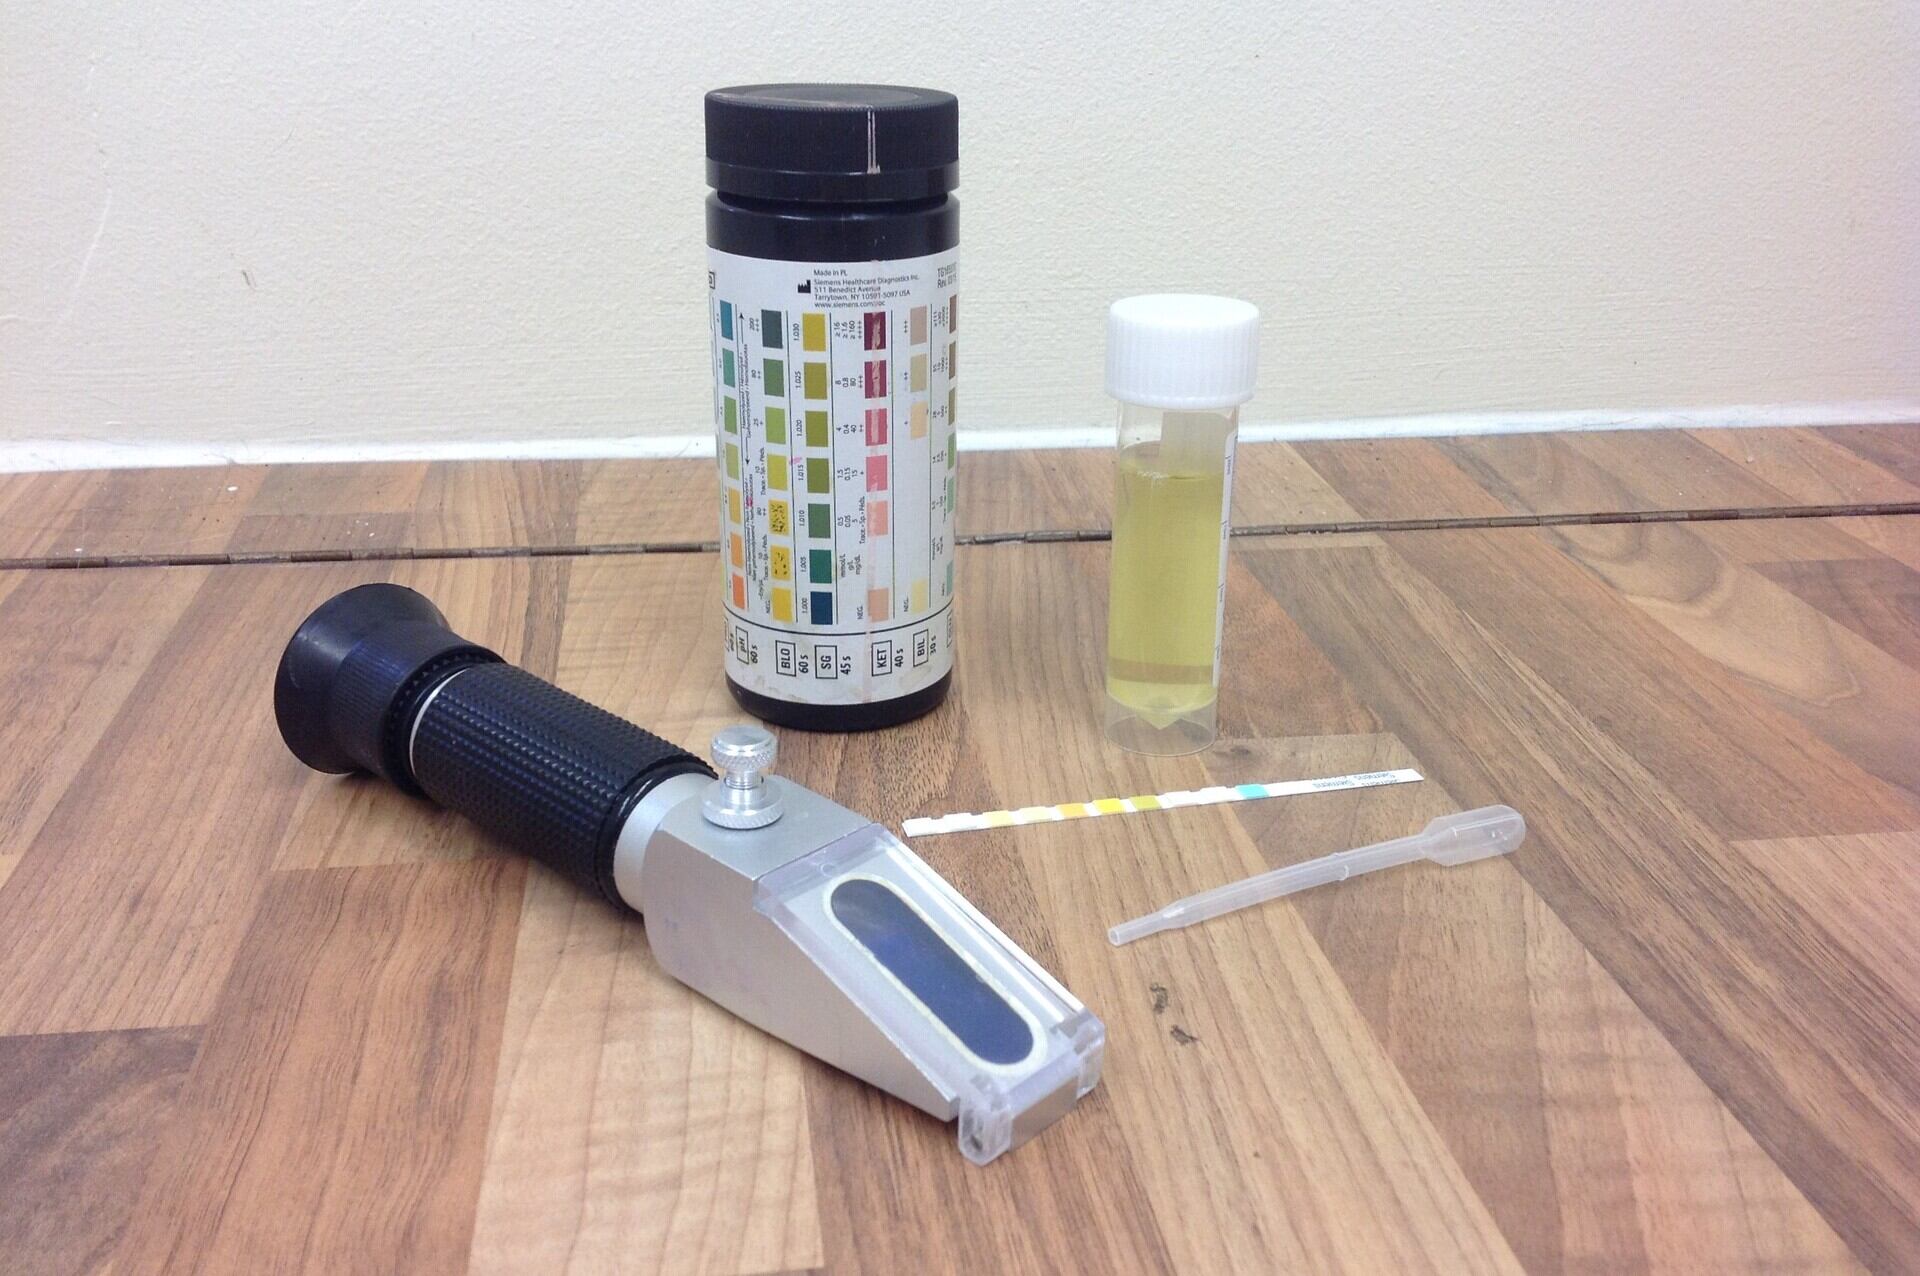
- Temperature strip or thermometer (if required): Some drug tests require the urine sample to be within a specific temperature range to ensure accuracy. If your test has such a requirement, you will need a temperature strip or a small thermometer to monitor the temperature of the sample during storage.
- Refrigerator or cool storage area: Find a suitable location for storing the urine sample overnight. A refrigerator is often the best option as it provides a controlled and consistent temperature. If a refrigerator is not available, ensure that the storage area is cool, dark, and dry to prevent degradation of the sample.
- Clean and sterile environment: Always ensure that the environment in which you collect and store the urine sample is clean and sterile. Wash your hands thoroughly with soap and water before handling the sample or the storage container to reduce the risk of contamination.
By having these required materials on hand, you can safely and effectively store your urine sample overnight for a drug test. Remember to follow the specific instructions provided for your test to ensure compliance and accurate results.
Step 1: Collection
The first step in storing urine overnight for a drug test is the collection of a fresh and clean urine sample. Follow these guidelines to ensure proper collection:
- Prepare: Before collecting the urine sample, make sure to wash your hands thoroughly with soap and warm water. This helps to minimize the risk of contamination and ensures a clean collection process.
- Timing: If your drug test requires a specific collection time, make sure to collect the urine sample at the designated time. Some tests, like morning urine tests, may require you to collect the first urine sample of the day, as it tends to be more concentrated.
- Mid-stream method: To collect the urine sample, start urinating into the toilet as you normally would. Once you are a few seconds into the flow, place the collection container in the stream of urine to capture a mid-stream sample. This helps to minimize the presence of any potential contaminants that may be present at the beginning or end of urination.
- Collect enough sample: Ensure that you collect an adequate amount of urine for the drug test. Most tests require a minimum volume of 30 milliliters (ml) to 60 ml. Be sure to check the specific requirements for your test to ensure you collect enough urine for accurate analysis.
- Avoid touching the inside of the container: When collecting the urine sample, be careful not to touch the inside of the container with your hands or any other objects. This helps to maintain the sterility of the sample and prevent any potential contamination.
- Secure the container: Once you have collected the urine sample, securely fasten the lid of the container. Ensure it is tightly sealed to prevent any leakage or odor from escaping.
- Label the container: Using a permanent marker or label, clearly write your name, date, and any other required information on the container. This helps to identify the sample and avoid any confusion during the testing process. Remember to use a label or marker that will not smudge or fade easily.
By following these steps, you can collect a clean and adequate urine sample for storage overnight. Proper collection is essential to maintain the integrity of the sample and ensure accurate test results. Proceed to the next step to learn how to select a suitable storage container.
Read more: How To Store A Urine Sample Overnight
Step 2: Storage container
Once you have collected the urine sample, it’s important to choose a suitable storage container to ensure the integrity of the sample during overnight storage. Follow these guidelines to select an appropriate storage container:
- Leak-proof and airtight: The storage container should be leak-proof and airtight to prevent any spillage or evaporation of the urine sample. This ensures that the sample remains intact and maintains its integrity.
- Material: Use a container made of a material that does not react with or contaminate the urine sample. Specimen cups or urine collection cups made of plastic are commonly used and readily available. Alternatively, a clean and sterilized glass jar with a tightly sealed lid can also be used.
- Size: Choose a container that has enough capacity to accommodate the required volume of urine for your specific drug test. Check the instructions provided for your test to determine the minimum volume required and ensure that the container has enough space to hold the urine sample comfortably.
- Sealability: Ensure that the container has a secure and tight-sealing lid to prevent leakage or odor escape. It should be able to remain tightly sealed during storage and transportation to maintain the integrity of the sample.
- Cleanliness: Before using the storage container, ensure that it is clean and sterile. Wash the container with mild soap and warm water, rinse it thoroughly, and air dry it to remove any residue or contaminants. You can also use disposable sterile specimen cups for convenience.
- Labeling: After selecting the appropriate storage container, label it with your name, date, and any other required information using a permanent marker or label. This ensures proper identification of the sample and helps to eliminate confusion during the testing process.
By following these guidelines, you can select a suitable storage container that ensures the integrity of the urine sample during overnight storage. Proceed to the next step to learn how to prepare the sample for storage.
Step 3: Preparation
After collecting the urine sample and selecting the appropriate storage container, it’s important to properly prepare the sample for overnight storage. Follow these steps to ensure the sample is well-prepared:
- Wash your hands: Before handling the urine sample or the storage container, wash your hands thoroughly with soap and warm water. This helps to minimize the risk of contamination and maintain the cleanliness of the sample.
- Label the container: Use a permanent marker or label to clearly write your name, date, and any other required information on the storage container. Accurate labeling is essential for proper identification of the sample and to prevent any confusion during the testing process.
- Secure the lid: Ensure that the lid of the storage container is tightly sealed to prevent any leakage or odor from escaping. This also helps to maintain the integrity of the sample during storage.
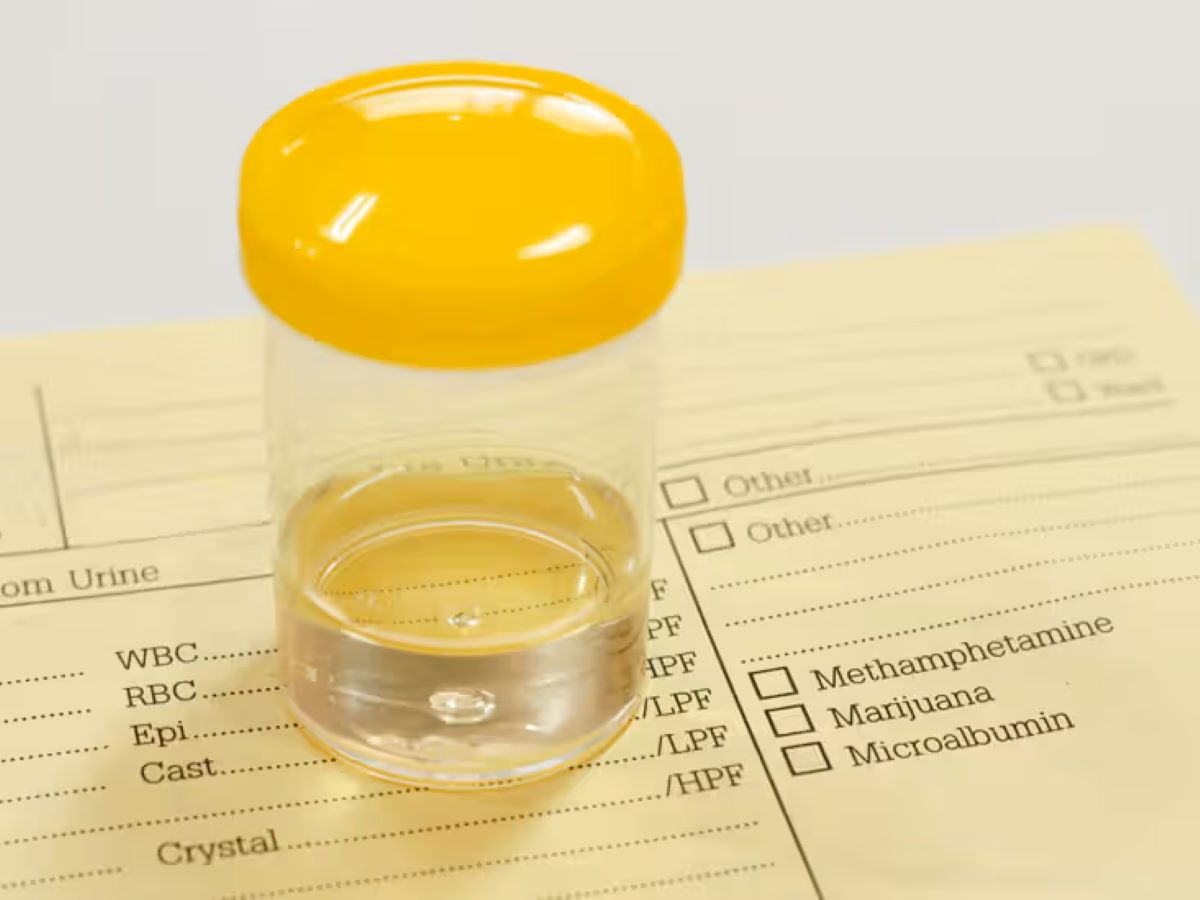
- Check for contamination: Before storing the urine sample, visually inspect it to ensure that it is free from any visible contaminants or foreign particles. If you notice any unusual color, odor, or presence of debris, it is advisable to collect a fresh sample.
- Remove excess air: If using a plastic storage container, gently squeeze it to remove any excess air before sealing it. This helps to minimize the exposure of the urine sample to oxygen, which can lead to degradation.
- Store in a cool, dark, and dry place: Find a suitable location for storing the urine sample overnight. Ideally, use a refrigerator if available, as it provides a cool and controlled environment. The storage area should be dark and dry to prevent degradation or contamination of the sample.
By following these preparation steps, you can ensure that the urine sample is well-prepared for overnight storage. Proper preparation helps to maintain the sample’s integrity and ensures accurate results when it is finally tested. Proceed to the next step to learn about the proper storage of the urine sample.
Store urine in a clean, airtight container in the refrigerator overnight. Make sure the container is labeled with your name and the date. Bring it to room temperature before the test.
Step 4: Proper Storage
Once you have prepared the urine sample, it’s crucial to store it properly to maintain its integrity during overnight storage. Follow these guidelines to ensure proper storage:
- Cool and controlled environment: Find a suitable location for storing the urine sample overnight. Ideally, use a refrigerator if available, as it provides a cool and controlled environment. The storage area should be away from direct sunlight and sources of heat, as exposure to excessive heat can degrade the sample.
- Dark and dry area: The storage area should be dark and dry to prevent the growth of bacteria or the introduction of unwanted substances. Avoid storing the urine sample near chemicals, cleaning agents, or strong odors that could potentially contaminate the sample.
- Airtight container: Ensure that the storage container has a secure and airtight seal. This prevents the leakage of urine or the escape of odor, and it also helps to maintain the integrity of the sample during storage.
- Avoid freezing: It’s important to note that freezing the urine sample is not recommended, as it can potentially alter the composition of the sample and affect the accuracy of the test results. However, refrigeration at a consistent temperature of around 2-8°C (35-46°F) is acceptable for short-term storage.
- Separate from food items: To avoid any potential contamination, store the urine sample separately from food items in the refrigerator. Use a designated area or separate shelf for storing the sample to minimize the risk of cross-contamination.
- Prevent exposure to air: If using a plastic storage container, ensure that it is tightly sealed to prevent exposure to air. Oxygen can potentially degrade the sample and affect the reliability of the test results. Squeeze out any excess air from the container before sealing it.
- Check for stability: Before storing the urine sample, confirm that the storage container is stable and will not tip over or leak during storage. Place the container in an upright position to avoid any accidental spills or leakage.
By following these storage guidelines, you can ensure that the urine sample maintains its integrity and remains suitable for accurate testing. Remember to review the specific instructions provided for your test to ensure compliance. Proceed to the next step to learn about temperature control during storage.
Step 5: Temperature Control
Temperature control is a crucial aspect of storing urine overnight for a drug test. Proper temperature maintenance ensures the sample’s integrity and prevents suspicions of tampering. Follow these guidelines for temperature control during storage:
- Monitor the temperature: If your drug test requires a specific temperature range for the urine sample’s validity, it’s important to monitor the sample’s temperature during storage. This ensures that the sample remains within the acceptable range set by the testing facility.
- Use a temperature strip or small thermometer: Consider using a temperature strip or a small thermometer designed for the specific purpose of monitoring urine temperature. These tools provide accurate temperature readings and help you maintain the sample within the required range.
- Recommended temperature range: Generally, the accepted temperature range for a urine sample is between 90°F to 100°F (32°C to 38°C). However, it’s crucial to review the specific requirements provided for your drug test, as temperature ranges may vary depending on the testing facility or the type of test being conducted.
- Adjust temperature, if needed: If the urine sample’s temperature falls outside the required range, you may need to make adjustments. For instance, if the sample is too cold, you can allow it to reach room temperature before submitting it for testing. Alternatively, if it is too warm, you can place it in a cooler area to lower the temperature gradually.
- Refrigeration as a temperature control measure: Storing the urine sample in a refrigerator helps maintain a consistent and controlled temperature. However, ensure that the sample is not kept too close to the freezer section, as extreme cold can freeze the sample, potentially affecting the accuracy of the test results.
- Follow specific instructions: Always follow the specific instructions provided for your drug test regarding temperature requirements and control during storage. These instructions will help ensure compliance and accurate test results.
By following these temperature control guidelines, you can maintain the integrity and validity of the urine sample during overnight storage. Remember to review the specific requirements provided for your drug test to ensure compliance. Proceed to the next step to learn about proper labeling of the urine sample.
Read more: Why Do Poppy Seeds Affect Drug Test
Step 6: Labeling
Properly labeling the urine sample is an essential step in storing it overnight for a drug test. Accurate labeling helps ensure the sample’s identification, avoids confusion, and maintains the integrity of the testing process. Follow these guidelines for effective labeling:
- Permanent marker or label: Use a permanent marker or label to clearly write your name, date, and any other required information on the storage container. This ensures that your sample is correctly identified and eliminates any potential mix-ups.
- Legible and visible information: Make sure the labels or writing on the container are legible and easy to read. Use clear and bold lettering to ensure visibility and prevent any misinterpretation of the information.
- Include required identifiers: Check the specific instructions provided for your drug test and include any additional identifiers that may be required. This could include your identification number, patient or employee ID, or any other specific information requested by the testing facility.
- Consistency with official identification: Ensure that the information on the label matches your official identification documents. This helps maintain consistency and avoids any discrepancies when the sample is processed and tested.
- Avoid covering crucial details: When placing labels or writing on the container, avoid covering any vital information or barcode labels that may be present. This allows for easy scanning and processing of the sample during the testing process.
- Secure the label: Once you have labeled the container, ensure that the label is firmly attached or the writing is secure and will not easily smudge or fade. This helps to maintain the visibility and legibility of the information during storage and transportation.
- Double-check the information: Before storing the urine sample, double-check the label or writing to ensure that all the required information is present and accurate. This helps to prevent any potential errors or confusion during the testing process.
By following these labeling guidelines, you can ensure that your urine sample is properly identified and ready for storage overnight. Accurate labeling helps to maintain the integrity of the sample and ensures smooth processing during the testing phase. Proceed to the next step to learn how to keep the urine sample secure.
Step 7: Keeping the Sample Secure
Keeping the urine sample secure is of utmost importance during the storage period to prevent tampering or contamination. Follow these guidelines to ensure the security of your urine sample:
- Tamper-evident tape or seals: Consider using tamper-evident tape or seals to provide an additional layer of security for the urine sample. These seals are designed to break or show signs of tampering if anyone tries to access or manipulate the sample.
- Seal the container: Make sure that the storage container is tightly sealed to prevent any leakage or odor from escaping. This also helps maintain the integrity of the sample and minimizes the risk of contamination during storage.
- Store in a secured location: Choose a secure location for storing the urine sample, especially if there are concerns about unauthorized access. Consider a locked cabinet, a personal refrigerator compartment, or a designated secure area to ensure the privacy and security of the sample.
- Avoid unnecessary handling: Minimize unnecessary handling of the urine sample to reduce the risk of contamination or accidental tampering. Only authorized individuals should have access to the sample to maintain its integrity and prevent any mishandling.
- Follow chain of custody: If the urine sample is intended for legal or employment purposes, it may be required to follow a specific chain of custody protocol. This includes documenting who has possession of the sample at each stage, ensuring a reliable and traceable pathway from collection to testing.
- Keep it out of reach: Store the urine sample in a location where it is out of reach of children, pets, or any unauthorized individuals. This prevents accidental spills or tampering and ensures the integrity of the sample.
- Limit exposure to external factors: Avoid exposing the urine sample to extreme temperatures, direct sunlight, moisture, or strong odors. These factors can potentially affect the composition of the sample or introduce contaminants, compromising the accuracy of the test results.
By following these guidelines, you can help ensure the security and integrity of your urine sample during storage. Maintaining the sample’s security is critical to obtaining accurate and reliable test results. Proceed to the next step to learn about transporting the urine sample to the testing facility.
Step 8: Transporting the Sample
Transporting the urine sample from your storage location to the testing facility requires careful attention to maintain its integrity and prevent any tampering. Follow these guidelines for transporting the urine sample:
- Follow transportation regulations: Familiarize yourself with any transportation regulations that apply to the specific type of testing facility or organization you are working with. This includes compliance with any legal requirements or guidelines for transporting biological samples.
- Secure and seal the container: Ensure that the storage container is securely closed and sealed before transporting it. This helps to prevent any leakage or odor escape during transit and maintains the integrity of the sample.
- Protect the container: Pack the sealed container in a protective bag or pouch to provide an extra layer of security and prevent any potential damage during transportation. This will also help to contain the sample in case of any unforeseen events, such as accidental spills.
- Maintain temperature control: If temperature control is necessary for the urine sample, ensure that it is maintained during transportation. Use a thermal bag or insulating material to help regulate the temperature and prevent any drastic changes that could affect the validity of the sample.
- Label the transport container: Clearly label the transport container with your identification details, including your name, date, and any other required identifiers. This ensures proper identification of the sample during transit and helps to prevent mix-ups or confusion.
- Track and monitor: If possible, use a tracking system or keep a record of the transportation process. This allows you to monitor the location and progress of the sample and provides peace of mind regarding its safe arrival at the testing facility.
- Adhere to time limits: If there are time restrictions for transporting the urine sample, ensure that it is delivered to the testing facility within the specified timeframe. Prompt delivery helps to preserve the sample’s integrity and prevent any potential degradation or contamination.
- Follow specific instructions: It’s important to follow any specific instructions provided by the testing facility for transporting the urine sample. These instructions may include additional requirements or precautions needed to ensure the sample’s proper handling and delivery.
By adhering to these guidelines, you can safely transport the urine sample from your storage location to the testing facility. Proper transportation practices help maintain the integrity of the sample and ensure accurate test results. Ensure that you promptly deliver the sample following the specified instructions to avoid any delays or risks.
Remember, always consult the specific instructions provided by the testing facility to ensure compliance with their protocols and procedures.
Conclusion
Storing urine overnight for a drug test requires careful attention to detail and adherence to proper procedures. By following the steps outlined in this comprehensive guide, you can effectively store your urine sample and ensure its integrity until it is tested. Here’s a recap of the steps:
- Collect the urine sample in a clean and sterile manner, using the mid-stream method for optimum accuracy.
- Select an appropriate storage container that is leak-proof, airtight, and made of a material that preserves the sample’s integrity.
- Properly prepare the sample by washing your hands, labeling the container with your name and relevant information, and ensuring it is securely sealed.
- Store the urine sample in a cool, dark, and dry place, preferably in a refrigerator to maintain a consistent temperature.
- Maintain temperature control by monitoring the sample’s temperature within the specified range, if required.
- Clearly label the storage container with your name and any additional identifiers to ensure its proper identification.
- Take necessary precautions to keep the sample secure, such as using tamper-evident tape or seals and storing it in a locked or secure location.
- When transporting the sample, make sure it is well-sealed, protected, and maintained at the appropriate temperature if required.
By following these steps, you can confidently store your urine sample overnight and maintain its integrity until it is tested. Remember to review any specific instructions provided by the testing facility and comply with their guidelines for proper collection, storage, and transport of the sample.
Proper storage of urine overnight is crucial to ensure accurate test results. Any mishandling, contamination, or improper temperature control can potentially render the sample unusable or affect the reliability of the test outcome. By understanding and implementing the steps outlined in this guide, you can optimize the storage process and increase the chances of obtaining accurate and reliable results from your drug test.
Always consult with medical professionals, testing facilities, or the relevant authorities for any specific instructions or requirements pertaining to your individual circumstances.
Frequently Asked Questions about How To Store Urine Overnight For Drug Test
Was this page helpful?
At Storables.com, we guarantee accurate and reliable information. Our content, validated by Expert Board Contributors, is crafted following stringent Editorial Policies. We're committed to providing you with well-researched, expert-backed insights for all your informational needs.


0 thoughts on “How To Store Urine Overnight For Drug Test”