
Articles
How To Store Zinnia Seeds For Next Season
Modified: September 1, 2024
Learn how to store zinnia seeds for the next season with our informative articles. Ensure a successful harvest by following our expert advice.
(Many of the links in this article redirect to a specific reviewed product. Your purchase of these products through affiliate links helps to generate commission for Storables.com, at no extra cost. Learn more)
Introduction
When it comes to saving money on gardening expenses, one of the most rewarding practices is collecting and storing seeds from your favorite plants. This not only allows you to have a constant supply of seeds for future planting but can also help preserve heirloom varieties or unique cultivars. In this article, we will focus on the process of storing zinnia seeds for the next season.
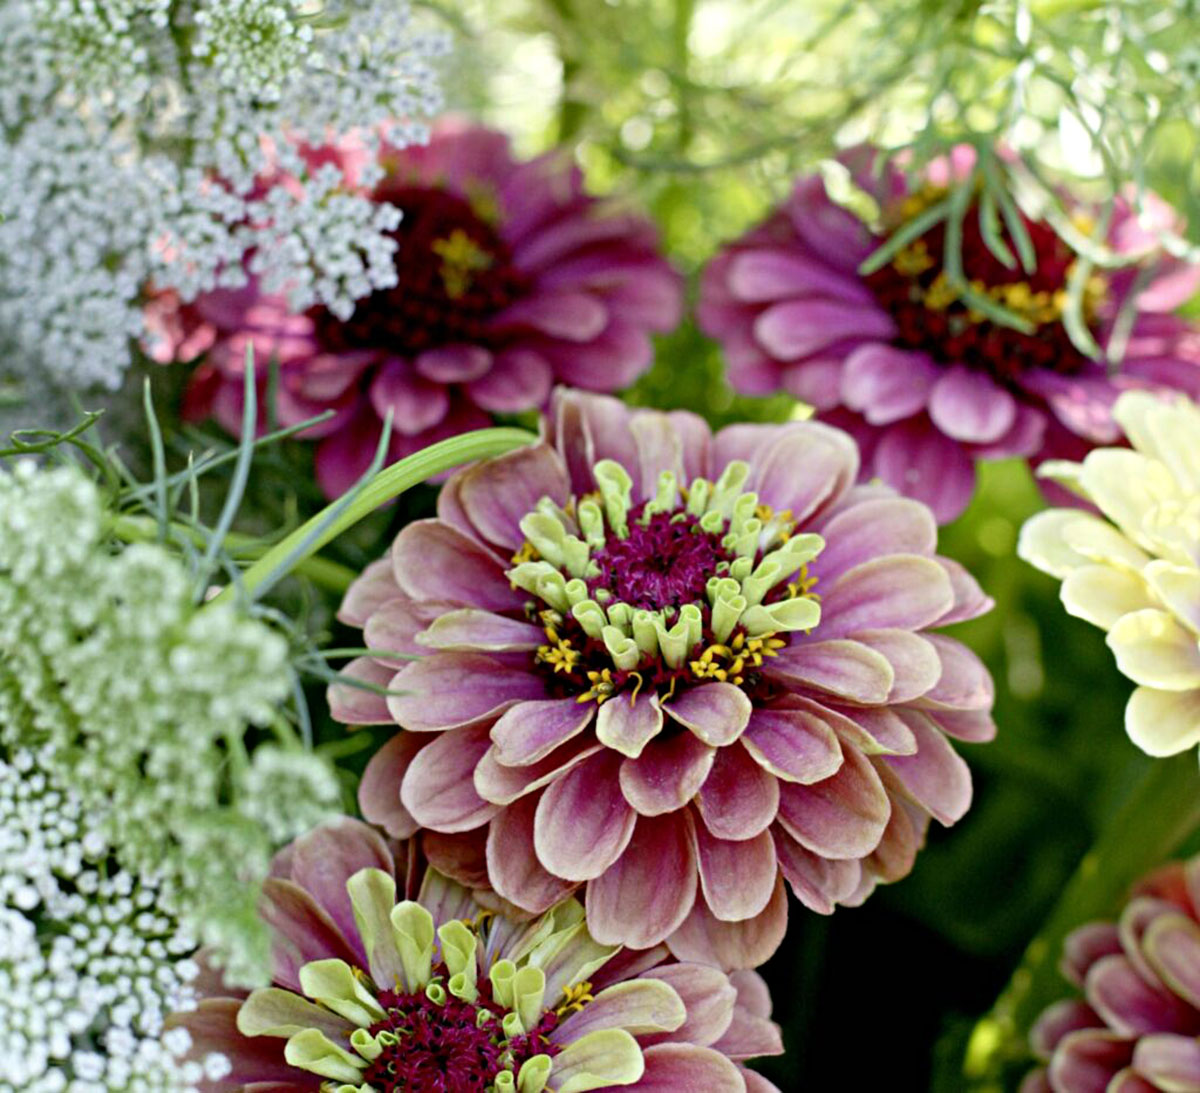
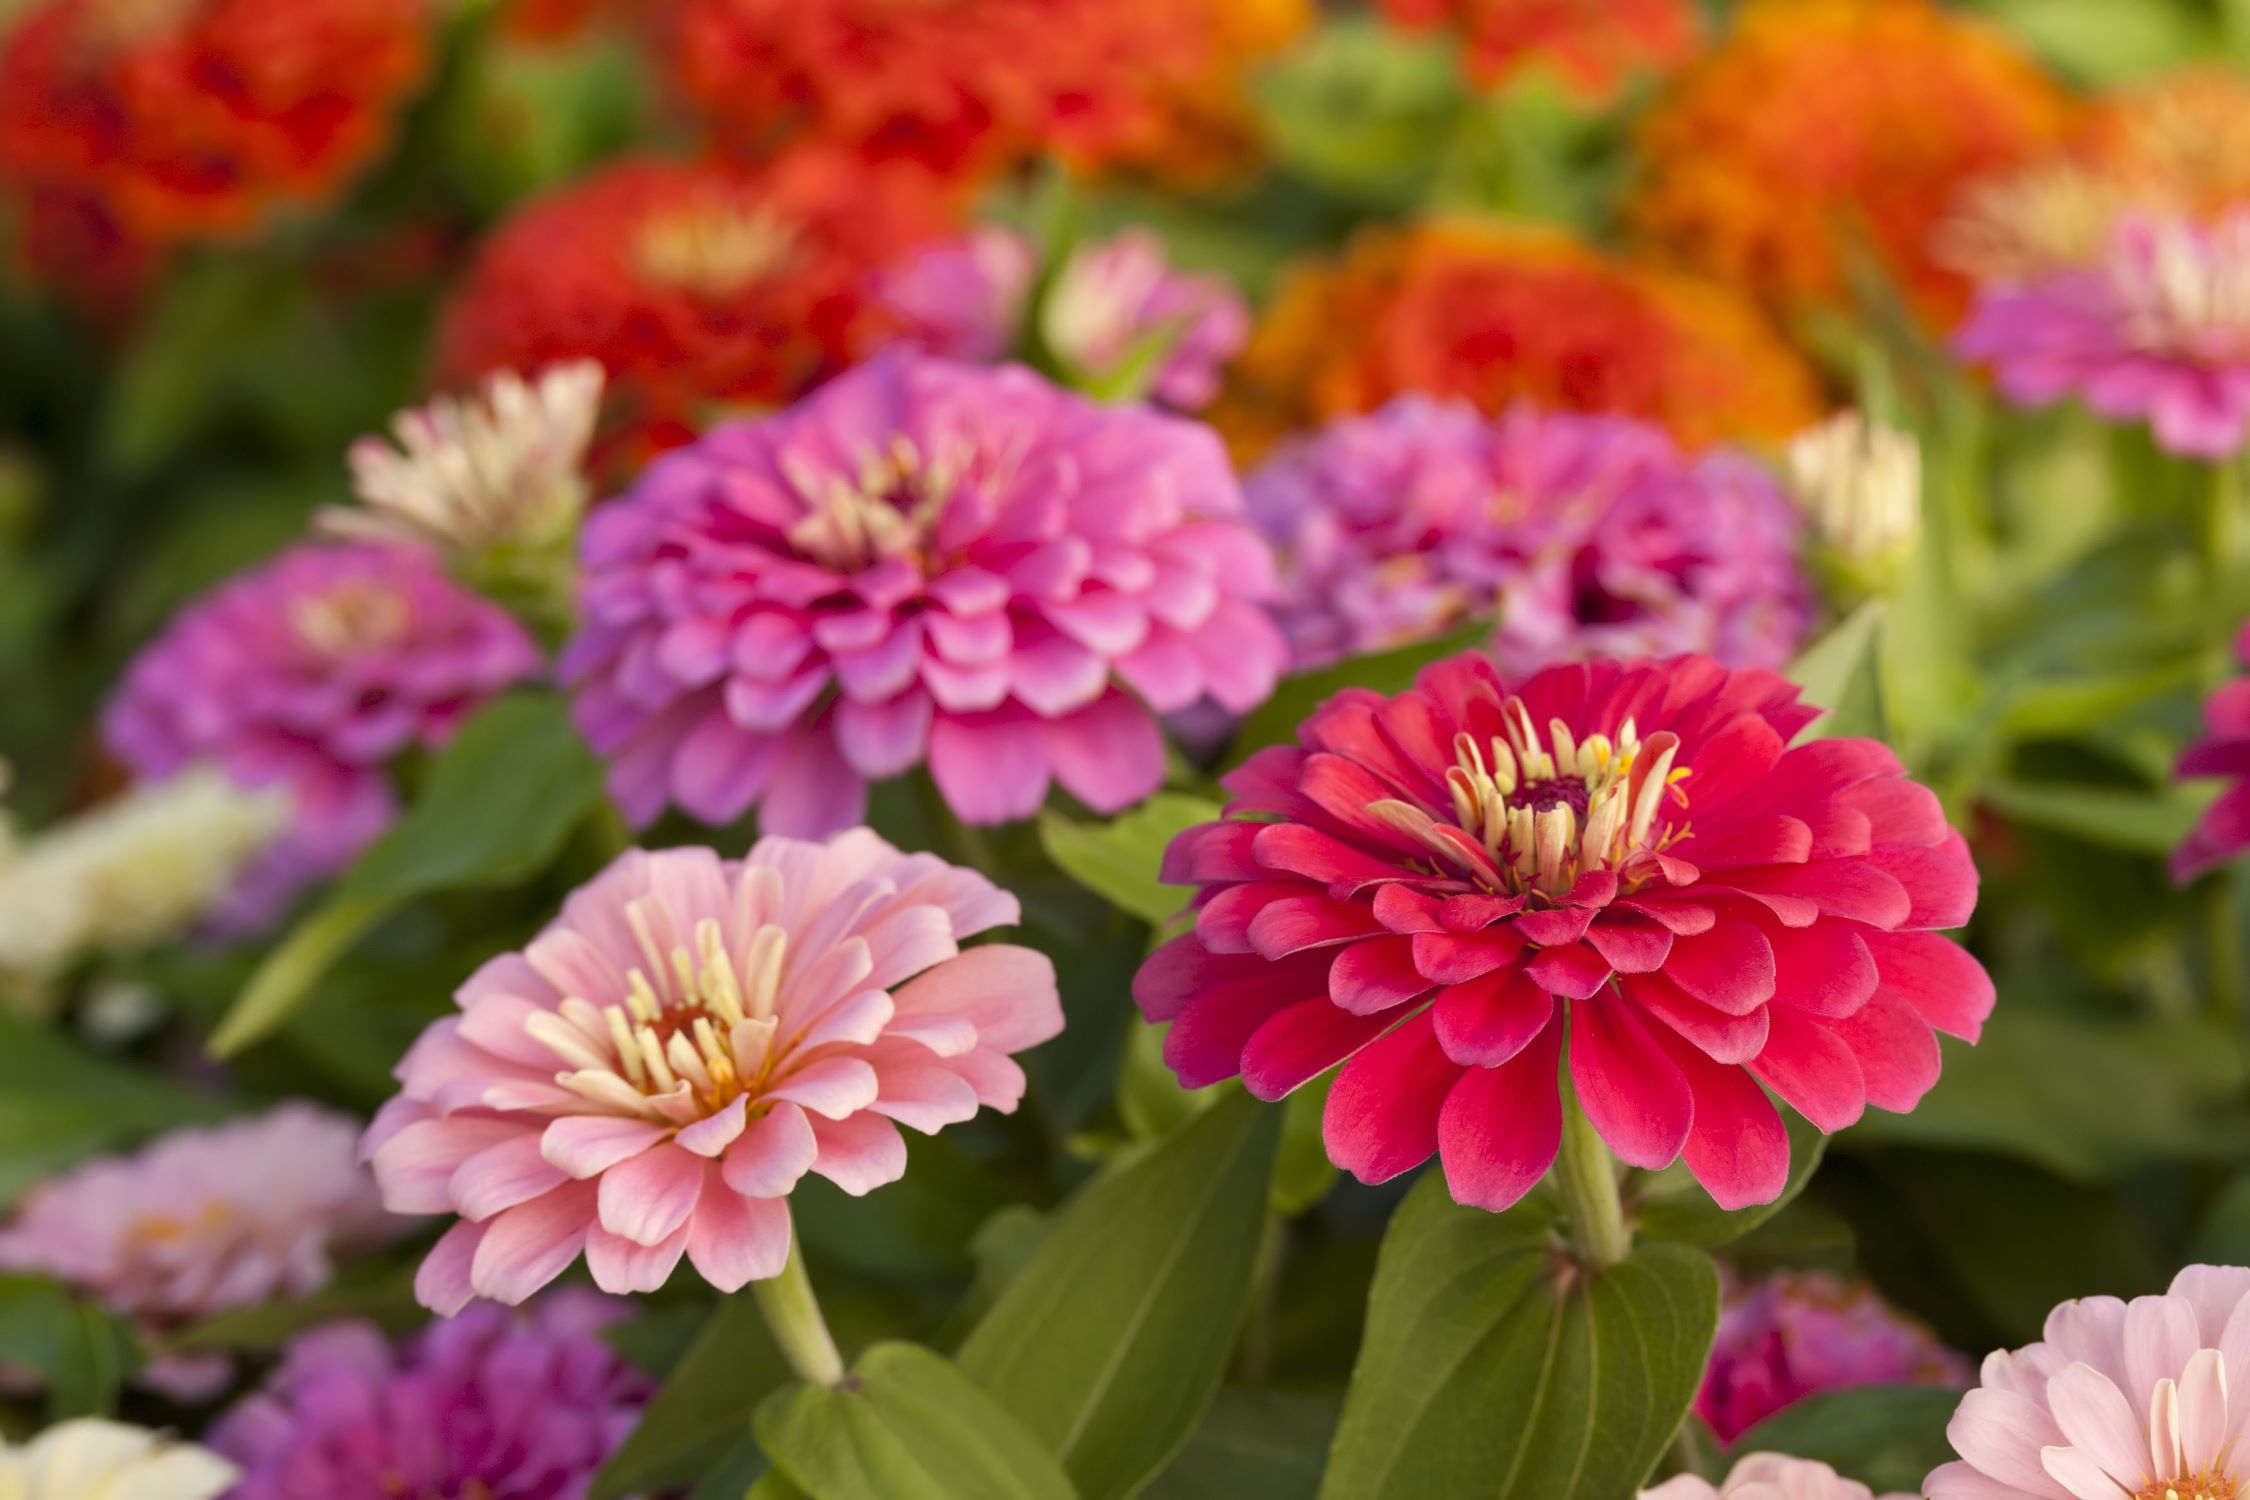
Zinnias are vibrant and versatile flowers that come in a wide range of colors and sizes. They are easy to grow and beloved by gardeners for their long-lasting blooms and ability to attract butterflies and pollinators. By saving zinnia seeds, you can ensure a consistent supply of these beautiful flowers in your garden year after year.
Harvesting and storing zinnia seeds is a simple and rewarding task that requires a little time and attention. By following a few basic steps, you can successfully save and store zinnia seeds to plant in the following growing season.
In the following sections, we will guide you through the process of harvesting, cleaning, drying, and storing zinnia seeds, as well as provide you with some helpful tips to ensure their viability and longevity.
Key Takeaways:
- Preserve the Beauty: Harvest, clean, dry, and store zinnia seeds to ensure a consistent supply of vibrant flowers year after year. Enjoy the beauty of zinnias in your garden with proper seed-saving techniques.
- Viability Assurance: Check zinnia seed viability through germination tests before planting. Proper storage, labeling, and organization are key to maintaining seed quality and ensuring successful plant growth.
Read more: How To Save Seeds For Planting Next Season
Harvesting Zinnia Seeds
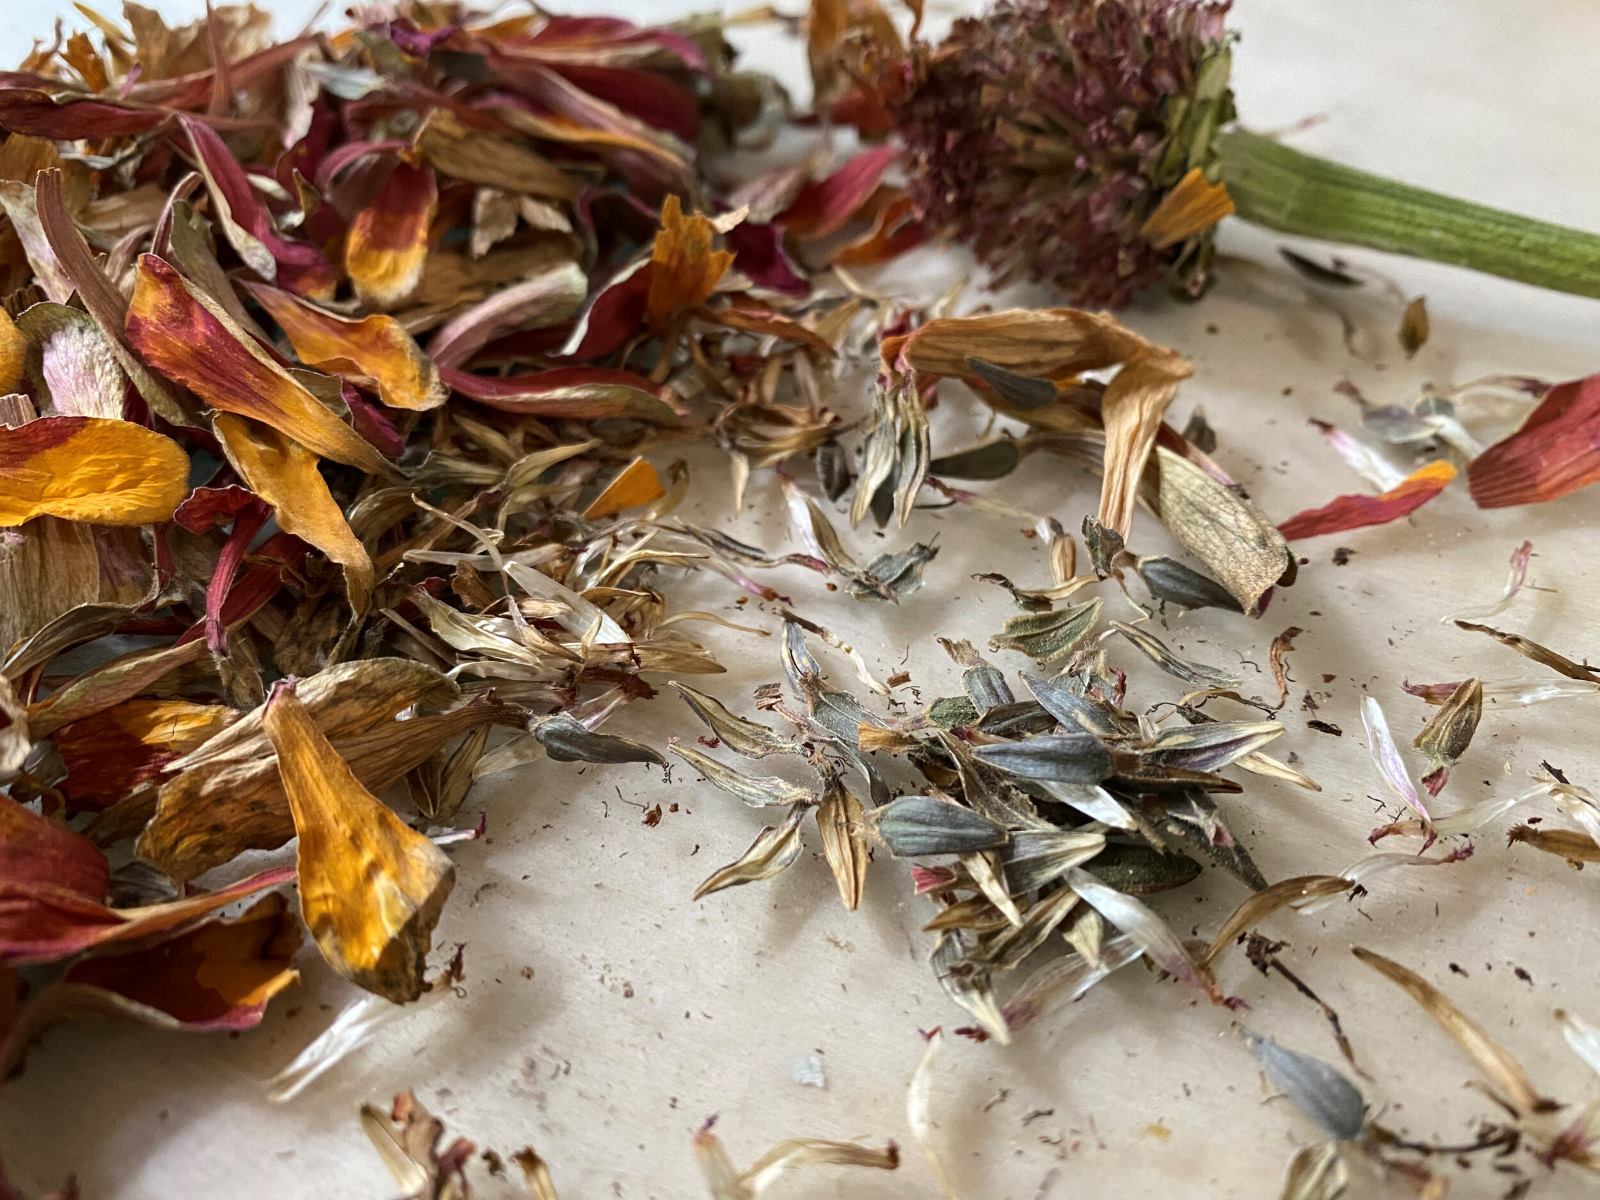
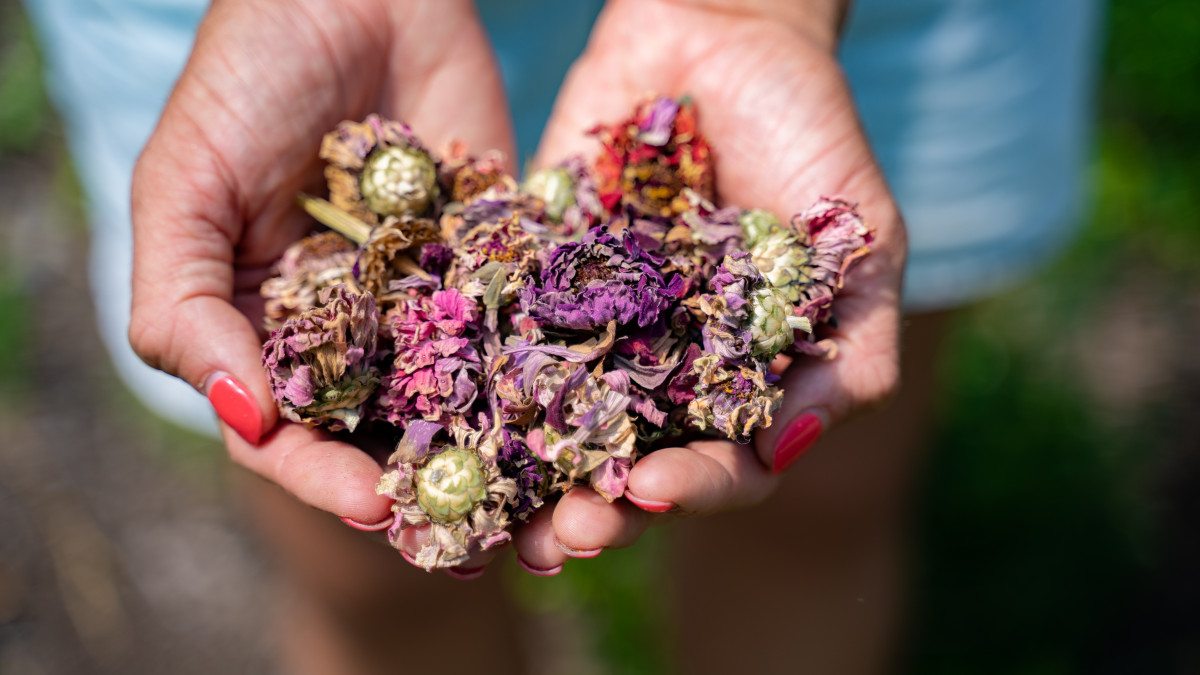
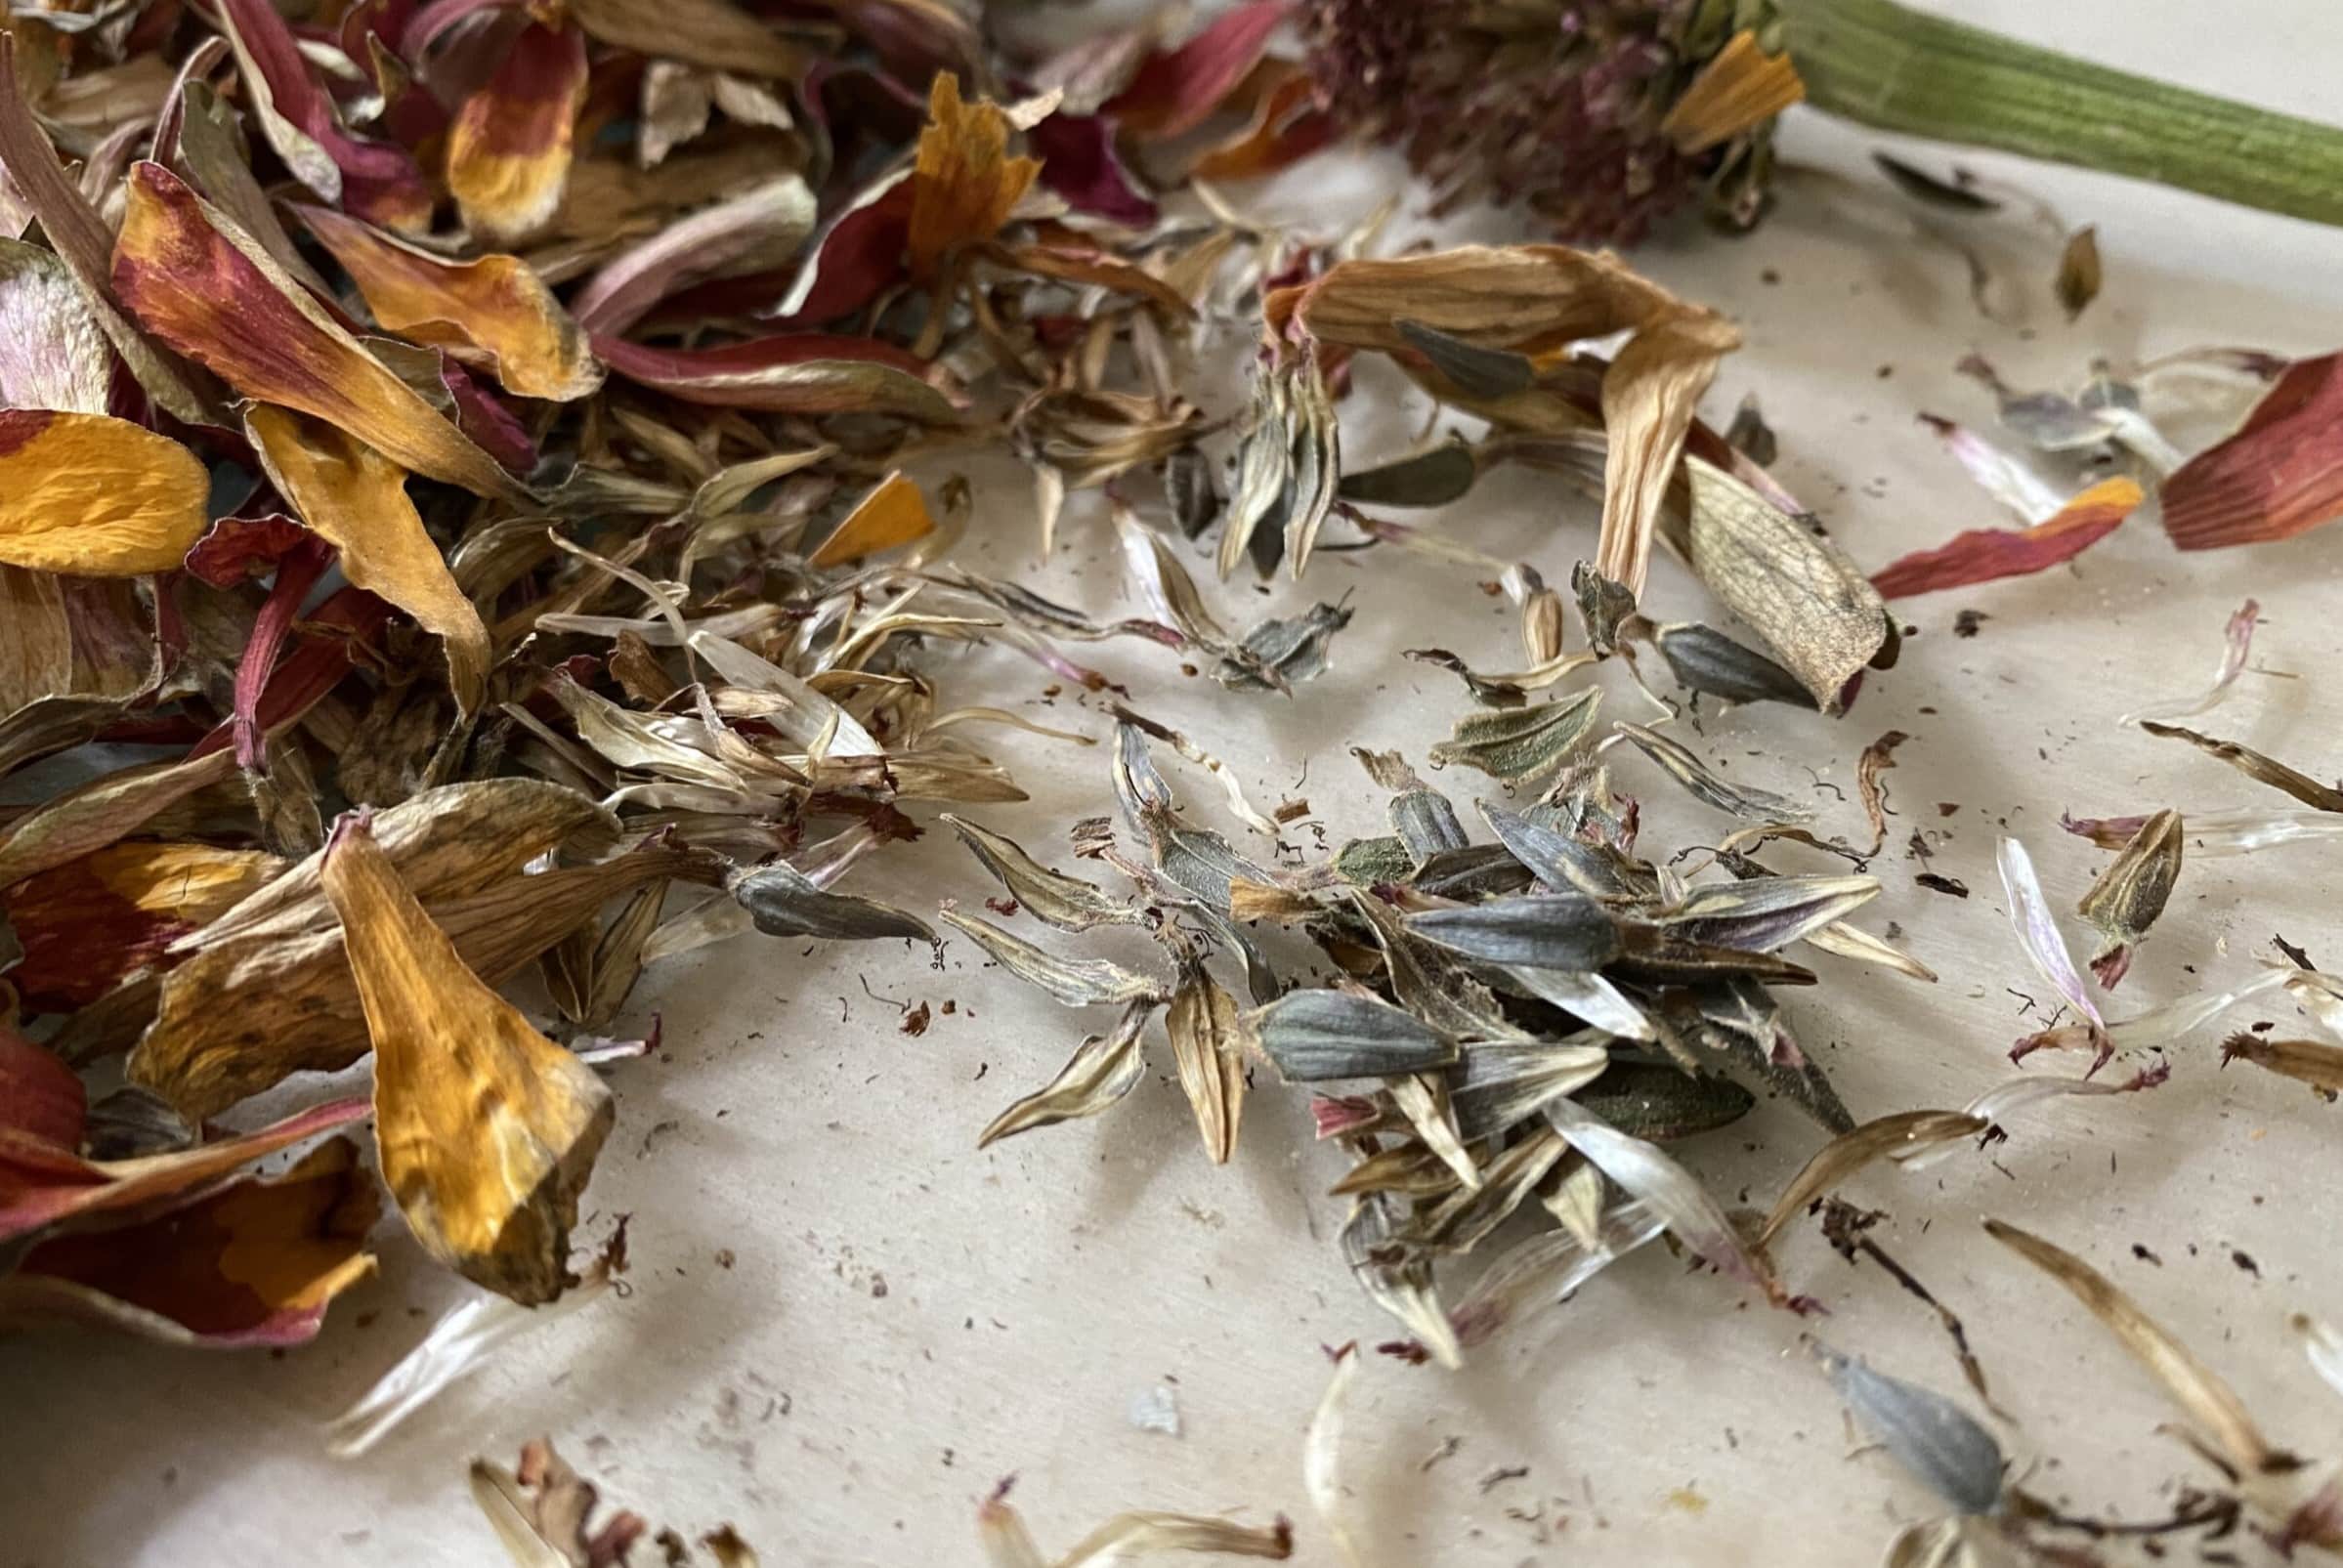
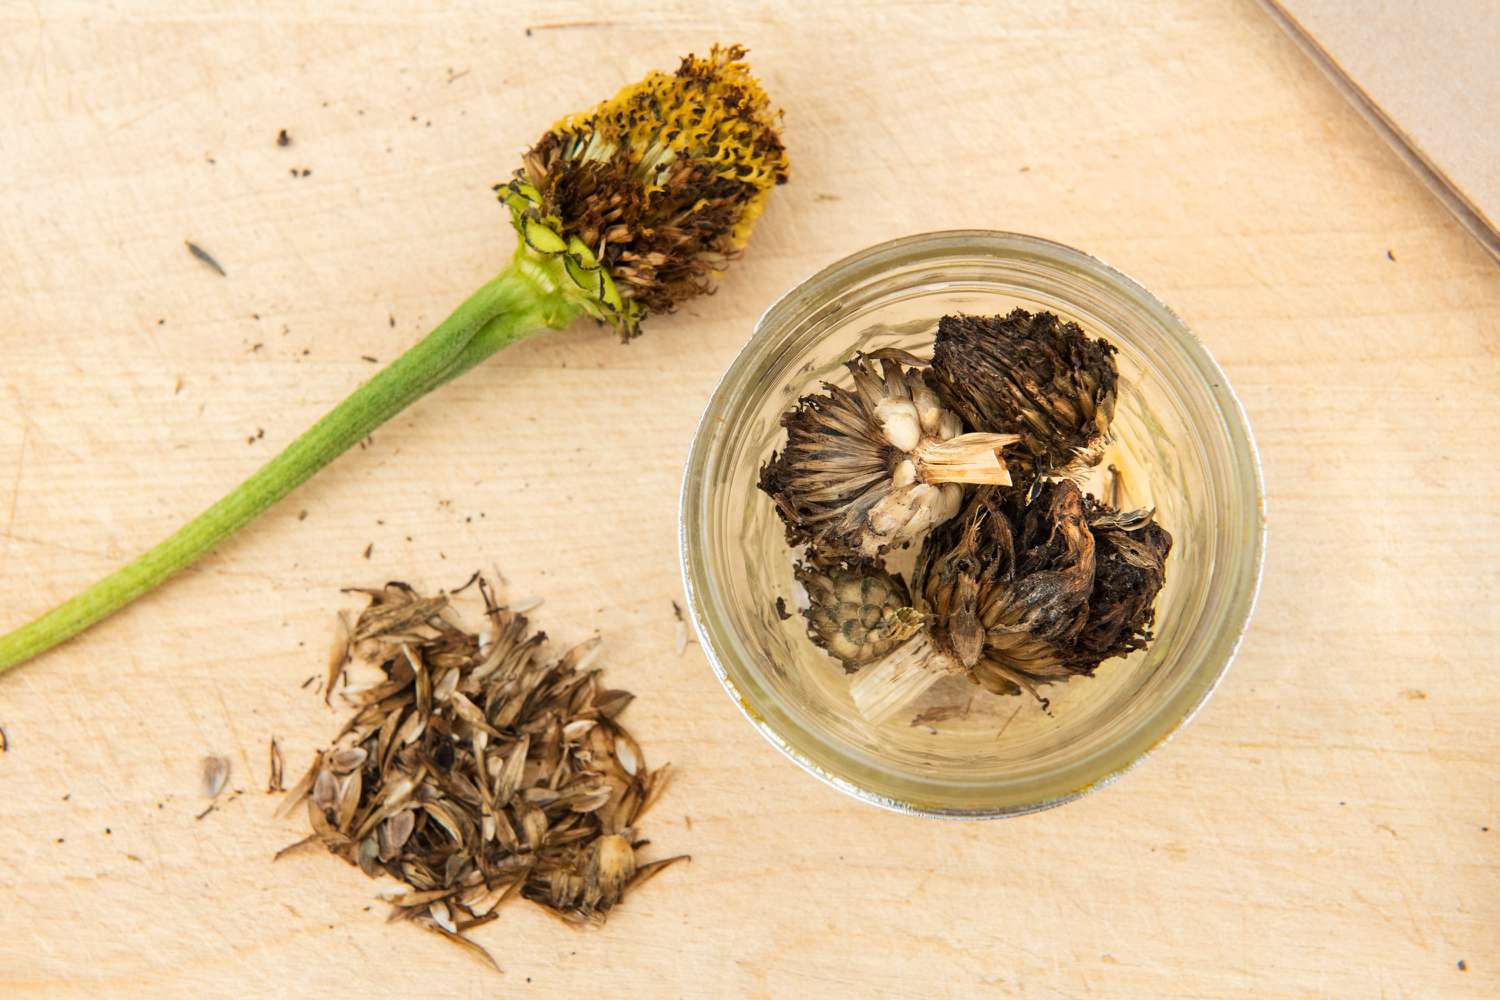
Harvesting zinnia seeds is a straightforward process that involves waiting for the flower heads to dry on the plant before collecting the seeds. Zinnias have a natural seed head that forms after the flower petals fade and fall off. The seed head contains the ripe seeds that can be collected for future planting.
To harvest zinnia seeds, follow these steps:
- Monitor the flower heads: Keep a close eye on your zinnia plants as the flowers start to fade. You will notice the formation of seed heads, which look like small, dry clusters of seeds.
- Wait for the seed head to fully dry: It is essential to let the seed heads completely dry on the plant before harvesting the seeds. The seed heads will turn brown and feel brittle when they are ready.
- Choose a dry day for harvesting: Select a dry day to harvest the seeds. Moisture can decrease the seed’s viability and increase the risk of mold or fungus formation during storage.
- Snip off the seed heads: Using clean and sharp garden scissors, carefully snip off the dried seed heads from the plant. Place them in a clean container or bucket.
It’s important to note that zinnias are open-pollinated flowers, which means their seeds can be cross-pollinated by insects. If you want to preserve a specific zinnia variety, it’s best to isolate the plants from other zinnia varieties to prevent cross-pollination. This will ensure the purity of the seeds you collect.
Once you have harvested the zinnia seed heads, it’s time to clean and prepare them for storage. Cleaning the seeds will remove any debris or plant matter that can affect their quality and viability.
Cleaning the Seeds
After harvesting the zinnia seed heads, it’s necessary to clean the seeds to remove any remaining plant debris or chaff. Cleaning the seeds not only improves their appearance but also helps prevent the growth of mold or fungus during storage. Here’s how you can clean zinnia seeds:
- Separate the seeds from the seed heads: Gently rub the seed heads between your fingers to detach the seeds. You can also use a clean, dry cloth or a fine-mesh sieve to shake out the seeds.
- Remove plant debris: After separating the seeds, transfer them to a shallow bowl or tray. Carefully pick out any remaining plant debris, such as stems or petals.
- Perform a float test: To remove any lightweight chaff or immature seeds, you can perform a simple float test. Fill a bowl with water and gently pour the seeds into it. The viable seeds will sink to the bottom, while any debris or non-viable seeds will float to the surface. Skim off the floating debris and seeds.
- Strain and rinse the seeds: Transfer the cleaned seeds into a fine-mesh sieve and rinse them under running water. Gently shake the sieve to remove excess water.
- Dry the seeds: It’s crucial to ensure that the seeds are completely dry before storing them. Spread the washed seeds on a clean paper towel or a drying rack and let them air dry in a well-ventilated area. Avoid direct sunlight or high humidity, as this can affect the seed quality.
By thoroughly cleaning the zinnia seeds, you remove any potential contaminants and increase the chances of successful germination and healthy plant growth. Once the seeds are dry, it’s time to move onto the next step: drying.
Drying the Seeds
Properly drying zinnia seeds is a crucial step in the seed saving process. Drying the seeds thoroughly helps prevent mold or fungal growth and ensures their longevity in storage. Follow these steps to effectively dry your zinnia seeds:
- Spread the seeds in a single layer: After cleaning the seeds, lay them out in a single layer on a clean and dry surface. Use a paper towel, a screen, or a mesh drying rack to provide good airflow.
- Avoid direct sunlight and moisture: Place the seeds in a cool, dry, and well-ventilated area. Avoid exposing them to direct sunlight, as it can cause excessive heat and hinder the drying process. Also, make sure the seeds are not exposed to any moisture, as it can lead to mold or mildew formation.
- Stir or shuffle the seeds: Every few days, gently stir or shuffle the seeds to promote even drying. This helps prevent clumping and ensures that all the seeds are exposed to the air.
- Check for dryness: After about 1-2 weeks, check the seeds for dryness. They should feel hard and brittle to the touch. If they still feel soft or damp, allow them more time to dry.
It’s important to note that zinnia seeds can retain a small amount of moisture even when they appear dry. To ensure complete dryness and prevent any moisture-related issues during storage, you can use a desiccant.
Next, let’s explore the methods of storing the dried zinnia seeds to maintain their quality and viability for future use.
Storing the Seeds
Proper storage is key to preserving the quality and viability of zinnia seeds for future planting. It’s essential to store them in a cool, dry, and dark environment to prevent moisture, heat, and light from damaging the seeds. Follow these steps to store your zinnia seeds effectively:
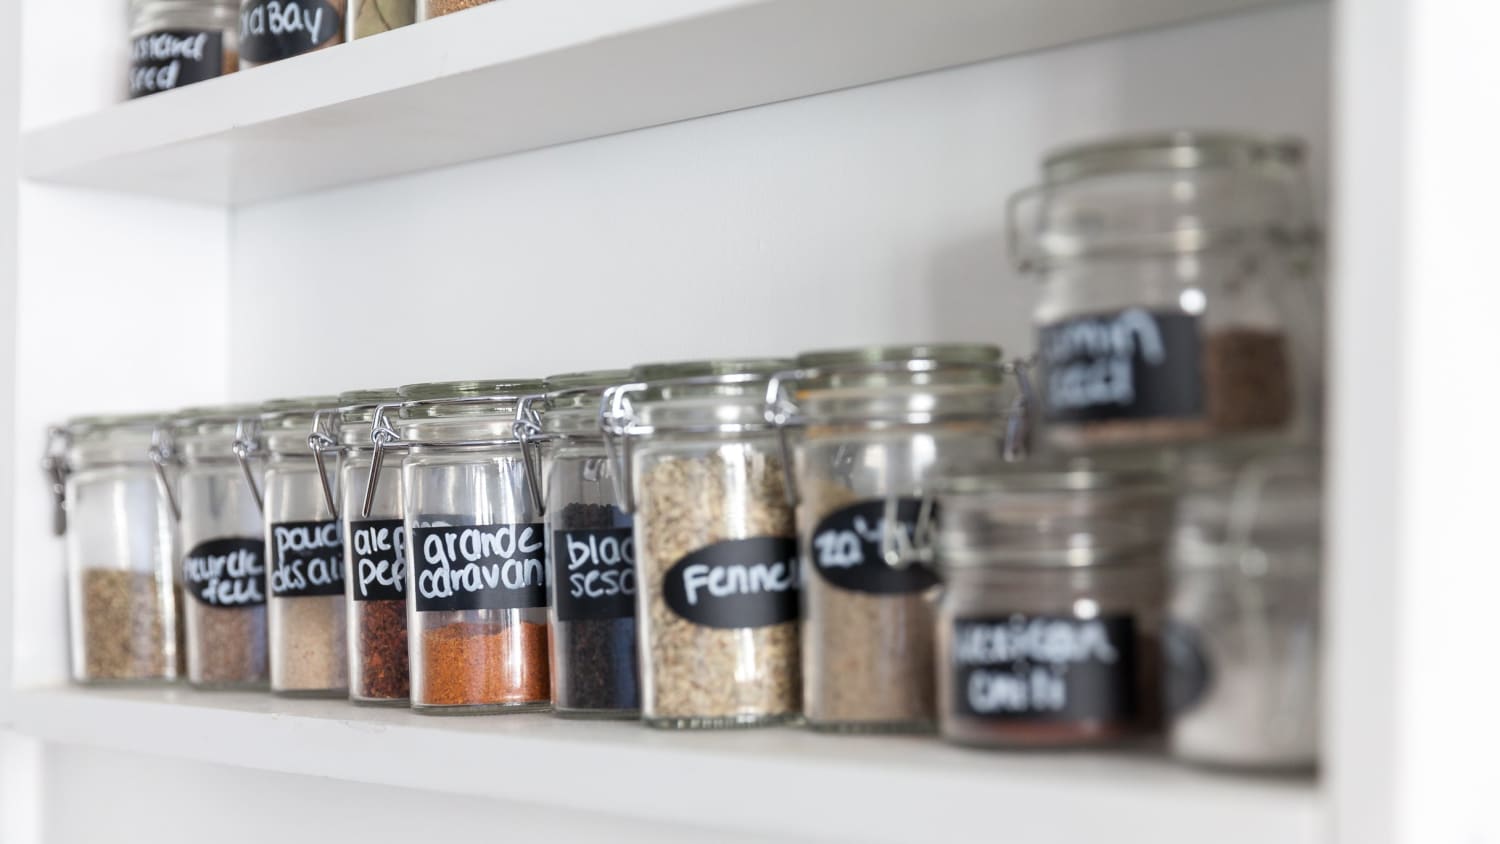
- Choose the right storage container: Select airtight containers that are moisture-proof and keep out light. Options include glass jars with tight-fitting lids, resealable plastic bags, or seed storage envelopes. Make sure the containers are clean and dry before use.
- Add desiccant for moisture control: To reduce moisture levels and prevent the growth of mold or mildew, you can place a moisture-absorbing desiccant, such as silica gel packets or rice grains, in the storage container. This will help maintain the optimal moisture content of the seeds.
- Keep seeds in a cool and dry place: Store your zinnia seeds in a cool and dry location, away from direct sunlight, extreme temperatures, and humidity. A temperature of around 40-50°F (4-10°C) is ideal for seed storage.
- Label and organize the seed packets: It’s crucial to label each storage container with the variety and date of the harvested seeds. This ensures that you can easily identify and track the seed batches. Consider creating a seed inventory or using a system to keep track of your seed collection.
By following these storage guidelines, you can maintain the quality and viability of your zinnia seeds for up to several years. However, it’s recommended to check the seed’s viability before each planting season to ensure a high germination rate.
In the next section, we will discuss how to check the viability of zinnia seeds before planting.
Read more: How To Save Tomato Seeds For Next Season
Choosing the Right Storage Container
When it comes to storing zinnia seeds, choosing the right storage container is crucial for maintaining their quality and viability. The container should provide an airtight and moisture-proof environment while also protecting the seeds from light exposure. Here are some options to consider:
- Glass Jars with Tight-Fitting Lids: Glass jars are an excellent choice for seed storage. They are durable, transparent, and provide airtight protection. Choose jars with tight-fitting lids to prevent moisture and air from entering. Mason jars or recycled jam jars work well for this purpose.
- Resealable Plastic Bags: High-quality resealable plastic bags can also be used for seed storage. Look for bags made from thick, durable material that provides airtight seal, effectively preventing moisture and air from entering the bag.
- Seed Storage Envelopes: Seed storage envelopes are designed specifically for storing seeds. These paper envelopes usually have a moisture-resistant coating and a flap that can be folded over to ensure a secure closure. They are lightweight and easy to label and organize.
Regardless of the storage container you choose, make sure that it is clean, dry, and free from any contaminants that could harm the seeds.
In addition to choosing the right container, it’s also beneficial to add a desiccant to the storage container to control moisture levels. This helps prevent the growth of mold or mildew, which can be detrimental to the seeds. Silica gel packets, rice grains, or powdered milk can be used as desiccants.
Remember to store the containers in a cool, dry, and dark place to minimize the exposure to light, heat, and moisture. A basement, pantry, or refrigerator can be suitable options, as long as the temperature remains relatively stable.
By selecting the appropriate storage container and providing the right environment, you can ensure the long-term viability of your zinnia seeds and enjoy successful germination in the following growing seasons.
After the zinnia flowers have faded and dried on the plant, carefully collect the seed heads and allow them to dry further indoors. Once fully dry, store the seeds in a cool, dry place in a paper envelope or airtight container until the next planting season.
Adding Desiccant for Moisture Control
Moisture control is essential when storing zinnia seeds to maintain their quality and viability. Excess moisture can lead to mold or fungal growth, which can damage the seeds and reduce their ability to germinate. To prevent this, it’s recommended to add a desiccant to the storage container. Here’s how you can add desiccant for moisture control:
- Silica Gel Packets: Silica gel packets are commonly used as desiccants in various products, including food and pharmaceuticals. These small packets contain silica gel beads that have a high capacity for absorbing moisture. Place one or two silica gel packets in the storage container with the zinnia seeds to help control moisture levels.
- Rice Grains: Dry uncooked rice grains can also serve as a natural desiccant. Place a handful of rice grains in a porous bag or a piece of fabric and tie it securely. Add the rice-filled bag to the storage container to help absorb any excess moisture.
- Powdered Milk: Powdered milk is another option for moisture control. It contains proteins that act as natural desiccants. Place a small bowl or a pouch filled with powdered milk in the storage container to help absorb moisture.
When adding a desiccant, make sure to keep it separate from the zinnia seeds to avoid direct contact. You can place the desiccant in a small sachet or a permeable bag to prevent it from mixing with the seeds.
It’s important to periodically check the desiccant and replace or regenerate it if necessary. Silica gel packets can be regenerated by placing them in a warm oven for a few hours to dry out the moisture they have absorbed.
Remember to store the containers in a cool, dry, and dark place to maximize the effectiveness of the desiccant and ensure the long-term preservation of the zinnia seeds.
By adding a desiccant to the storage container, you can control moisture levels and create an optimal environment for storing zinnia seeds, helping to maintain their quality and germination rate for future planting.
Keeping Seeds in a Cool and Dry Place
Proper storage conditions are crucial for preserving the quality and viability of zinnia seeds. One key factor to consider is the temperature and moisture level of the storage environment. It’s important to keep the seeds in a cool and dry place to prolong their shelf life. Here’s how you can achieve optimal storage conditions:
- Temperature: Zinnia seeds should be stored in a cool environment. Ideally, the temperature should be around 40-50°F (4-10°C). Avoid storing the seeds in areas where the temperature fluctuates significantly, such as near radiators, ovens, or windows that receive direct sunlight. These temperature fluctuations can impact the seed’s viability.
- Humidity: High humidity can lead to moisture accumulation, which can cause mold or fungal growth. It’s essential to store zinnia seeds in a dry environment with low humidity levels. A humidity level of around 40-50% is recommended for seed storage.
- Avoid moisture-prone areas: Keep the storage containers away from areas that tend to be humid, such as basements or bathrooms. Moisture can seep into the containers, potentially compromising the seed quality. Instead, opt for dry and well-ventilated locations.
- Avoid extreme temperature changes: Rapid temperature changes can create condensation inside the storage containers, leading to moisture build-up. Try to avoid placing the seeds in areas where the temperature fluctuates significantly, such as near air conditioning units or heating vents.
By maintaining a cool and dry storage environment, you can help prevent seed deterioration, maintain their viability, and ensure successful germination in future growing seasons. Regularly monitor the storage area to ensure the conditions remain stable and make any necessary adjustments if needed.
Remember to store the seeds away from direct light exposure as well. Light can potentially degrade the quality of the seeds over time. Dark and opaque containers or storage areas are ideal for zinnia seed storage.
Following these guidelines will help to ensure the long-term preservation of zinnia seeds, allowing you to enjoy beautiful and vibrant flowers in your garden for years to come.
Labeling and Organizing the Seed Packets
Labeling and organizing your zinnia seed packets is an important step in seed storage. Properly labeled packets help you keep track of the seed varieties, harvest dates, and other essential information that will assist you in planning and planting your garden. Here are some tips for labeling and organizing your zinnia seed packets:
- Use waterproof and fade-resistant markers: When labeling your seed packets, use waterproof and fade-resistant markers or pens. This ensures that the labels remain legible even after prolonged storage or exposure to moisture.
- Include key information on the label: Clearly write the zinnia variety, the date the seeds were harvested, and any other relevant details, such as the color, size, or special characteristics of the flowers. This information will help you select and plan your garden in the future.
- Consider using color-coded labels: If you have multiple zinnia varieties, you can use color-coded labels or stickers to easily differentiate between them. For example, assign a specific color to each variety or use different colored labels for different years of seeds.
- Create a seed inventory: Keep a record of your zinnia seed collection by creating a seed inventory. This can be a simple list or a spreadsheet where you note down the variety, year, and quantity of seeds. This inventory will assist you in tracking your seed stash and knowing when it’s time to replenish or replace old seeds.
- Organize by type or alphabetically: Decide on a system for organizing your seed packets. You can either group them by zinnia variety, flower color, or alphabetically by the variety name. Choose a method that works best for you and ensures easy access and retrieval of the desired seeds.
- Keep packets in a seed storage box or container: Store your labeled and organized seed packets in a dedicated seed storage box or container. This will help protect them from light, moisture, and excessive handling. Choose a box or container that is sturdy, airtight, and provides proper protection from the elements.
By labeling and organizing your zinnia seed packets, you create a system that allows for easy identification and retrieval of the seeds you need. It also helps you maintain a record of your seed collection, ensuring that you make the most of your zinnia seeds for future planting seasons.
Regularly review and update your seed inventory and labels to keep accurate records and maximize the efficiency of your zinnia seed storage system.
Read more: How To Store Bulbs For Next Season
Checking the Seeds for Viability
Before planting your zinnia seeds, it’s important to check their viability to ensure successful germination and healthy plant growth. While zinnia seeds can remain viable for a few years under proper storage conditions, it’s always a good idea to assess their quality before planting. Here’s how you can check the viability of your zinnia seeds:
- Perform a germination test: The most reliable way to check seed viability is to perform a germination test. Take a few zinnia seeds from each packet and place them evenly spaced on a damp paper towel. Fold the towel over the seeds to cover them and place it in a sealable plastic bag.
- Provide the right conditions: Keep the paper towel in a warm location, ideally around 70-75°F (21-24°C). Check regularly to ensure the paper towel remains moist but not soaked. Excessive moisture can lead to fungal growth.
- Observe seed germination: After 5-10 days, start checking the seeds for signs of germination. Look for the emergence of roots and small sprouts. Count the number of seeds that successfully germinate.
- Calculate the percentage of germination: Calculate the germination rate by dividing the number of germinated seeds by the total number of seeds tested and multiplying by 100. For example, if you tested 10 seeds and 8 of them germinated, the germination rate would be 80%.
A high germination rate indicates that the seeds are viable and likely to produce healthy plants. However, keep in mind that the germination rate can vary depending on the age and storage conditions of the seeds.
If the germination rate is low, you may consider sowing a higher number of seeds to compensate for potential non-germinated ones. Alternatively, you can purchase fresh zinnia seeds from a reputable supplier to ensure a higher germination rate.
Regularly conducting germination tests will help you assess the quality of your zinnia seeds and make informed decisions about which seeds to plant. It’s also a good opportunity to check the remaining seeds in your storage containers and discard any that show signs of damage or poor viability.
By checking the viability of your zinnia seeds, you can increase the chances of a successful growing season and enjoy an abundance of vibrant and colorful zinnias in your garden.
Summary and Conclusion
Saving and storing zinnia seeds for the next season is a rewarding endeavor that allows you to maintain the unique characteristics of your favorite zinnia varieties. By following the proper procedures, you can successfully collect, clean, dry, and store zinnia seeds to ensure their long-term viability.
Harvesting zinnia seeds involves waiting for the flower heads to dry on the plant before collecting them. Cleaning the seeds helps remove debris and improve their quality. Drying the seeds thoroughly is crucial to prevent mold or fungal growth during storage.
Storing zinnia seeds requires selecting the right container, such as glass jars, resealable plastic bags, or seed envelopes. Adding a desiccant like silica gel packets or rice grains helps control moisture levels. It’s important to keep the seeds in a cool, dry, and dark place, away from direct sunlight or extreme temperature fluctuations.
Labeling and organizing the seed packets with essential information like the zinnia variety and harvest date is essential for easy identification and planning. Regularly checking the seed viability through germination tests ensures successful planting and healthy plant growth.
In conclusion, by following the steps outlined in this article, you can effectively store zinnia seeds, ensuring their viability and preserving their unique characteristics for future growing seasons. Enjoy the beauty of zinnias year after year and continue to delight in the splendor they bring to your garden.
Frequently Asked Questions about How To Store Zinnia Seeds For Next Season
Was this page helpful?
At Storables.com, we guarantee accurate and reliable information. Our content, validated by Expert Board Contributors, is crafted following stringent Editorial Policies. We're committed to providing you with well-researched, expert-backed insights for all your informational needs.


0 thoughts on “How To Store Zinnia Seeds For Next Season”