Home>Garden Essentials>How To Sow Zinnia Seeds Outdoors
Garden Essentials
How To Sow Zinnia Seeds Outdoors
Modified: March 16, 2024
Learn how to sow zinnia seeds outdoors and create a beautiful garden with our step-by-step guide. Don't miss out on this essential gardening technique!
(Many of the links in this article redirect to a specific reviewed product. Your purchase of these products through affiliate links helps to generate commission for Storables.com, at no extra cost. Learn more)
Introduction
Welcome to the world of gardening, where the beauty of nature blooms right in your backyard. If you’re a gardening enthusiast looking to add vibrant colors to your outdoor space, then zinnias are the perfect choice for you. These stunning flowers are easy to grow and come in a variety of sizes, shapes, and colors, making them a popular choice among gardeners of all skill levels.
In this article, we will guide you through the process of sowing zinnia seeds outdoors, so you can enjoy a bountiful display of these lovely flowers throughout the season. Whether you’re a seasoned gardener or a newbie, this step-by-step guide will equip you with the knowledge and tools you need to successfully sow zinnia seeds and watch them flourish.
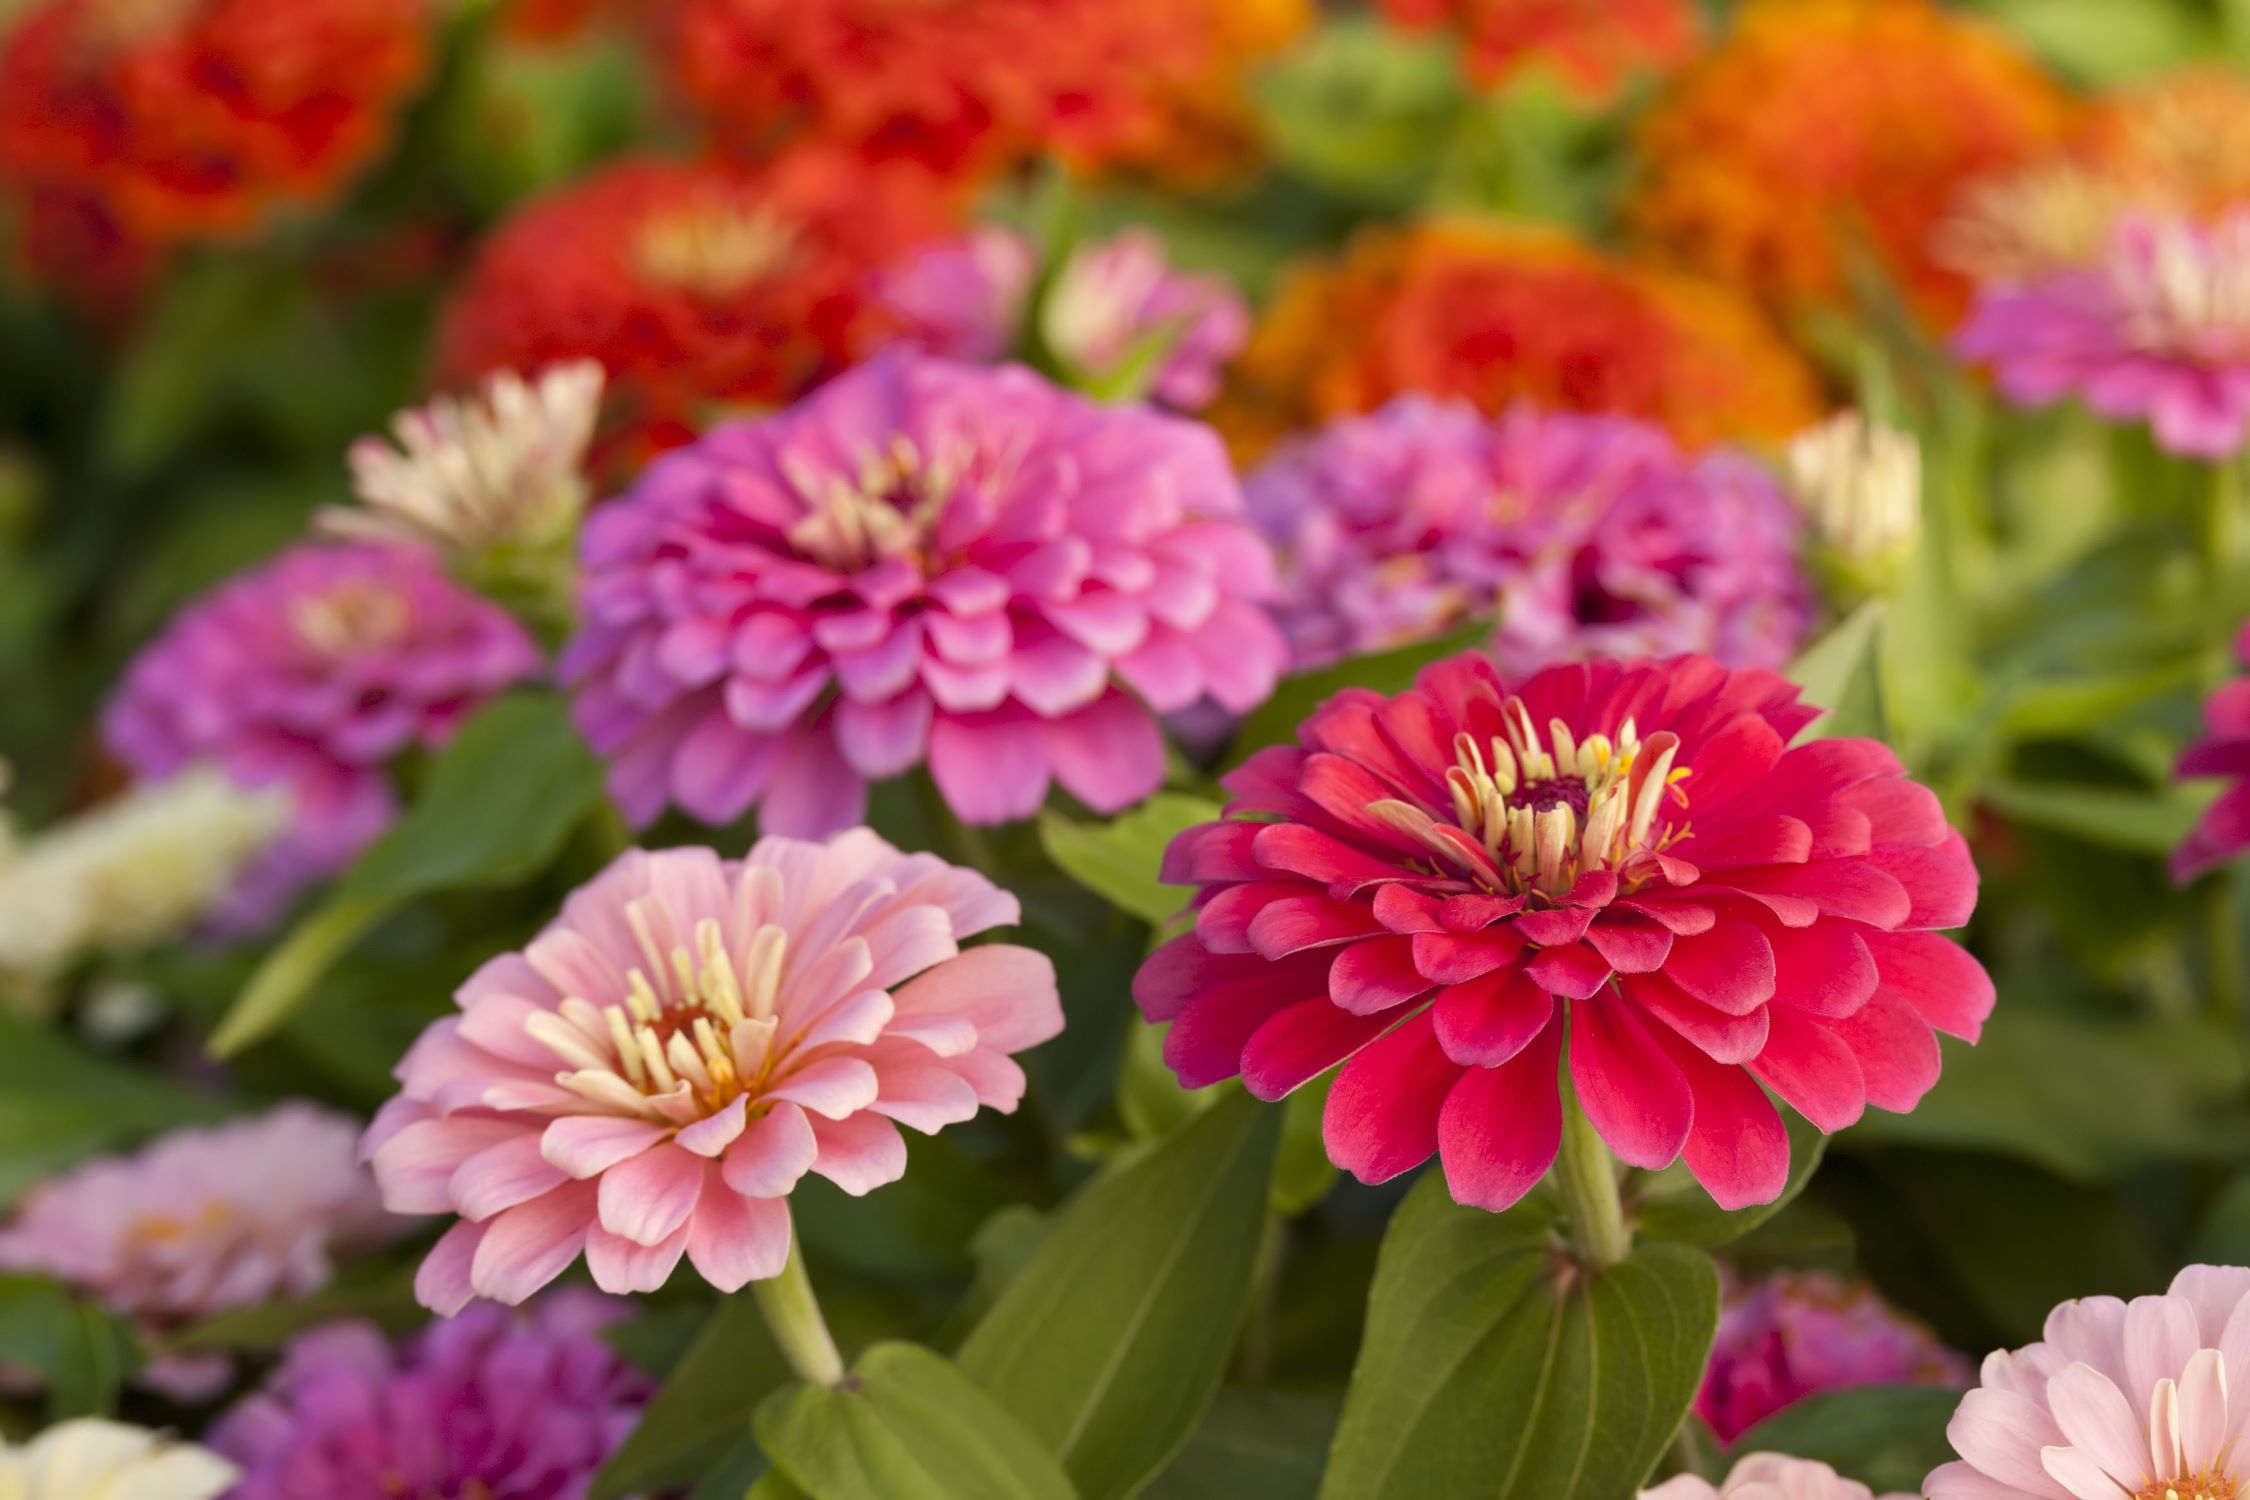
Before we dive into the specifics of sowing zinnia seeds, let’s take a moment to appreciate the beauty of these flowers. Zinnias are known for their vibrant, eye-catching petals that come in shades of red, orange, yellow, pink, purple, and white. They also come in various flower forms, including single, double, and semi-double blooms. These characteristics make zinnias a versatile choice for adding a pop of color to flower beds, borders, containers, and cutting gardens.
Not only are zinnias visually appealing, but they also attract butterflies and hummingbirds, adding an extra touch of enchantment to your garden. Plus, their long-lasting blooms make them an excellent choice for creating stunning floral arrangements to brighten up your home.
Now that we’ve established why zinnias are a fantastic addition to any garden, let’s move on to the first step in sowing zinnia seeds outdoors: choosing the right time.
Key Takeaways:
- Sowing zinnia seeds outdoors requires choosing the right time, preparing the soil, and providing proper care to ensure vibrant and colorful blooms in your garden.
- Harvesting zinnia flowers at the right stage and using proper tools and techniques allows you to enjoy their beauty both in the garden and as stunning arrangements in your home.
Read more: How To Sow Snapdragon Seeds
Choosing the Right Time
Timing is crucial when it comes to sowing zinnia seeds outdoors. These warm-season flowers thrive in temperatures between 70°F and 85°F (21°C to 29°C), so it’s important to wait until the threat of frost has passed and the soil has warmed up.
In most regions, this means waiting until after the last frost date in the spring. You can check with your local agricultural extension office or consult a gardening calendar to determine the average last frost date for your area. It’s important to note that zinnias are not frost tolerant, so planting too early can result in damaged or stunted plants.
Also, keep in mind that zinnias need a long growing season. If summers in your region are short or if you live in a cooler climate, you may need to start your zinnia seeds indoors or use transplants to extend the growing season.
In warmer climates, where winters are mild, you can also sow zinnia seeds outdoors in the late fall or winter for early spring blooms. This allows the seeds to undergo a period of cold stratification, which improves germination rates and promotes healthier plants.
Now that you know the ideal time to sow zinnia seeds, let’s move on to selecting a suitable location for your zinnia garden.
Selecting a Suitable Location
When it comes to selecting a location for your zinnia garden, there are a few key factors to consider. Zinnias thrive in full sun, which means they need a minimum of 6 to 8 hours of direct sunlight each day to grow and bloom to their fullest potential. Look for an area in your yard that receives ample sunlight and has well-draining soil.
Before planting your zinnias, take some time to evaluate the soil quality. Zinnias prefer fertile, loamy soil that is rich in organic matter. If your soil is heavy clay or sandy, it’s a good idea to amend it with compost or well-rotted manure to improve its texture and nutrient content. This will help the zinnias establish healthy root systems and promote vigorous growth.
Another factor to consider is air circulation. Good air circulation helps to prevent the development of diseases, such as powdery mildew. Avoid planting zinnias in areas that are prone to stagnant air or in spots where other plants may crowd them, inhibiting airflow around the foliage.
Lastly, consider the overall aesthetics of your garden. Zinnias come in a variety of bright and bold colors, so choose a location that will complement or enhance the color palette of your garden. Whether you decide to plant them in a dedicated zinnia bed, mix them with other annuals and perennials in a flower border, or grow them in containers, make sure the location allows the zinnias to be prominently displayed and enjoyed.
Now that you have chosen the perfect spot for your zinnia garden, it’s time to prepare the soil to ensure optimal growing conditions for your zinnia seeds.
Preparing the Soil
Proper soil preparation is essential for successful growth of zinnias. Start by removing any weeds or grass from the planting area. These unwanted plants can compete with your zinnias for nutrients and water, so it’s important to clear the space thoroughly.
Next, loosen the soil using a garden fork or a tiller. This will help improve drainage and create a loose, friable soil structure that zinnias love. If your soil is compacted, consider adding organic matter, such as compost or well-rotted manure, to improve its texture and fertility. Spread a layer of organic matter over the planting area and work it into the soil to a depth of about 6 to 8 inches (15 to 20 cm).
Once the soil is prepared, it’s time to perform a soil test. Testing the soil will give you insight into its pH level and nutrient content, allowing you to make any necessary amendments to create the ideal growing conditions for your zinnias. You can purchase a home soil test kit or send a soil sample to a local agricultural extension office for testing.
Most zinnias prefer a slightly acidic to neutral pH range between 6.0 and 7.5. If your soil is too acidic, you can add lime to raise the pH, or if it is too alkaline, you can add elemental sulfur to lower the pH. Follow the recommendations provided by the soil test results to adjust the pH accordingly.
Additionally, consider adding a slow-release fertilizer to the soil before planting your zinnias. Choose a balanced fertilizer with a ratio such as 10-10-10 or 14-14-14. Follow the package instructions for application rates and mix the fertilizer into the top few inches of soil.
Preparing the soil properly will create a favorable environment for your zinnia seeds to germinate and establish healthy roots. With the soil prepared, it’s time to gather the necessary tools and supplies for sowing the zinnia seeds.
Gathering the Tools and Supplies
Before you start sowing zinnia seeds, it’s essential to gather all the necessary tools and supplies. Having everything prepared in advance will make the process smoother and more efficient. Here’s a list of items you’ll need:
1. Garden Gloves: Protect your hands from dirt and potential hazards while working in the garden by wearing a durable pair of garden gloves.
2. Garden Trowel: A sturdy garden trowel is essential for digging small holes or furrows in the soil for planting the zinnia seeds.
3. Watering Can or Hose: Ensure your zinnias receive regular and adequate watering by having a watering can or hose at hand.
4. Organic Mulch: Consider using organic mulch, such as straw or wood chips, to help retain moisture in the soil and suppress weed growth.
5. Plant Markers: Keep track of the zinnia varieties or planting dates by using plant markers or labels.
6. Water-Soluble Fertilizer: Along with the initial fertilizer added to the soil, having a water-soluble fertilizer on hand will allow you to provide additional nutrients to your zinnias throughout the growing season.
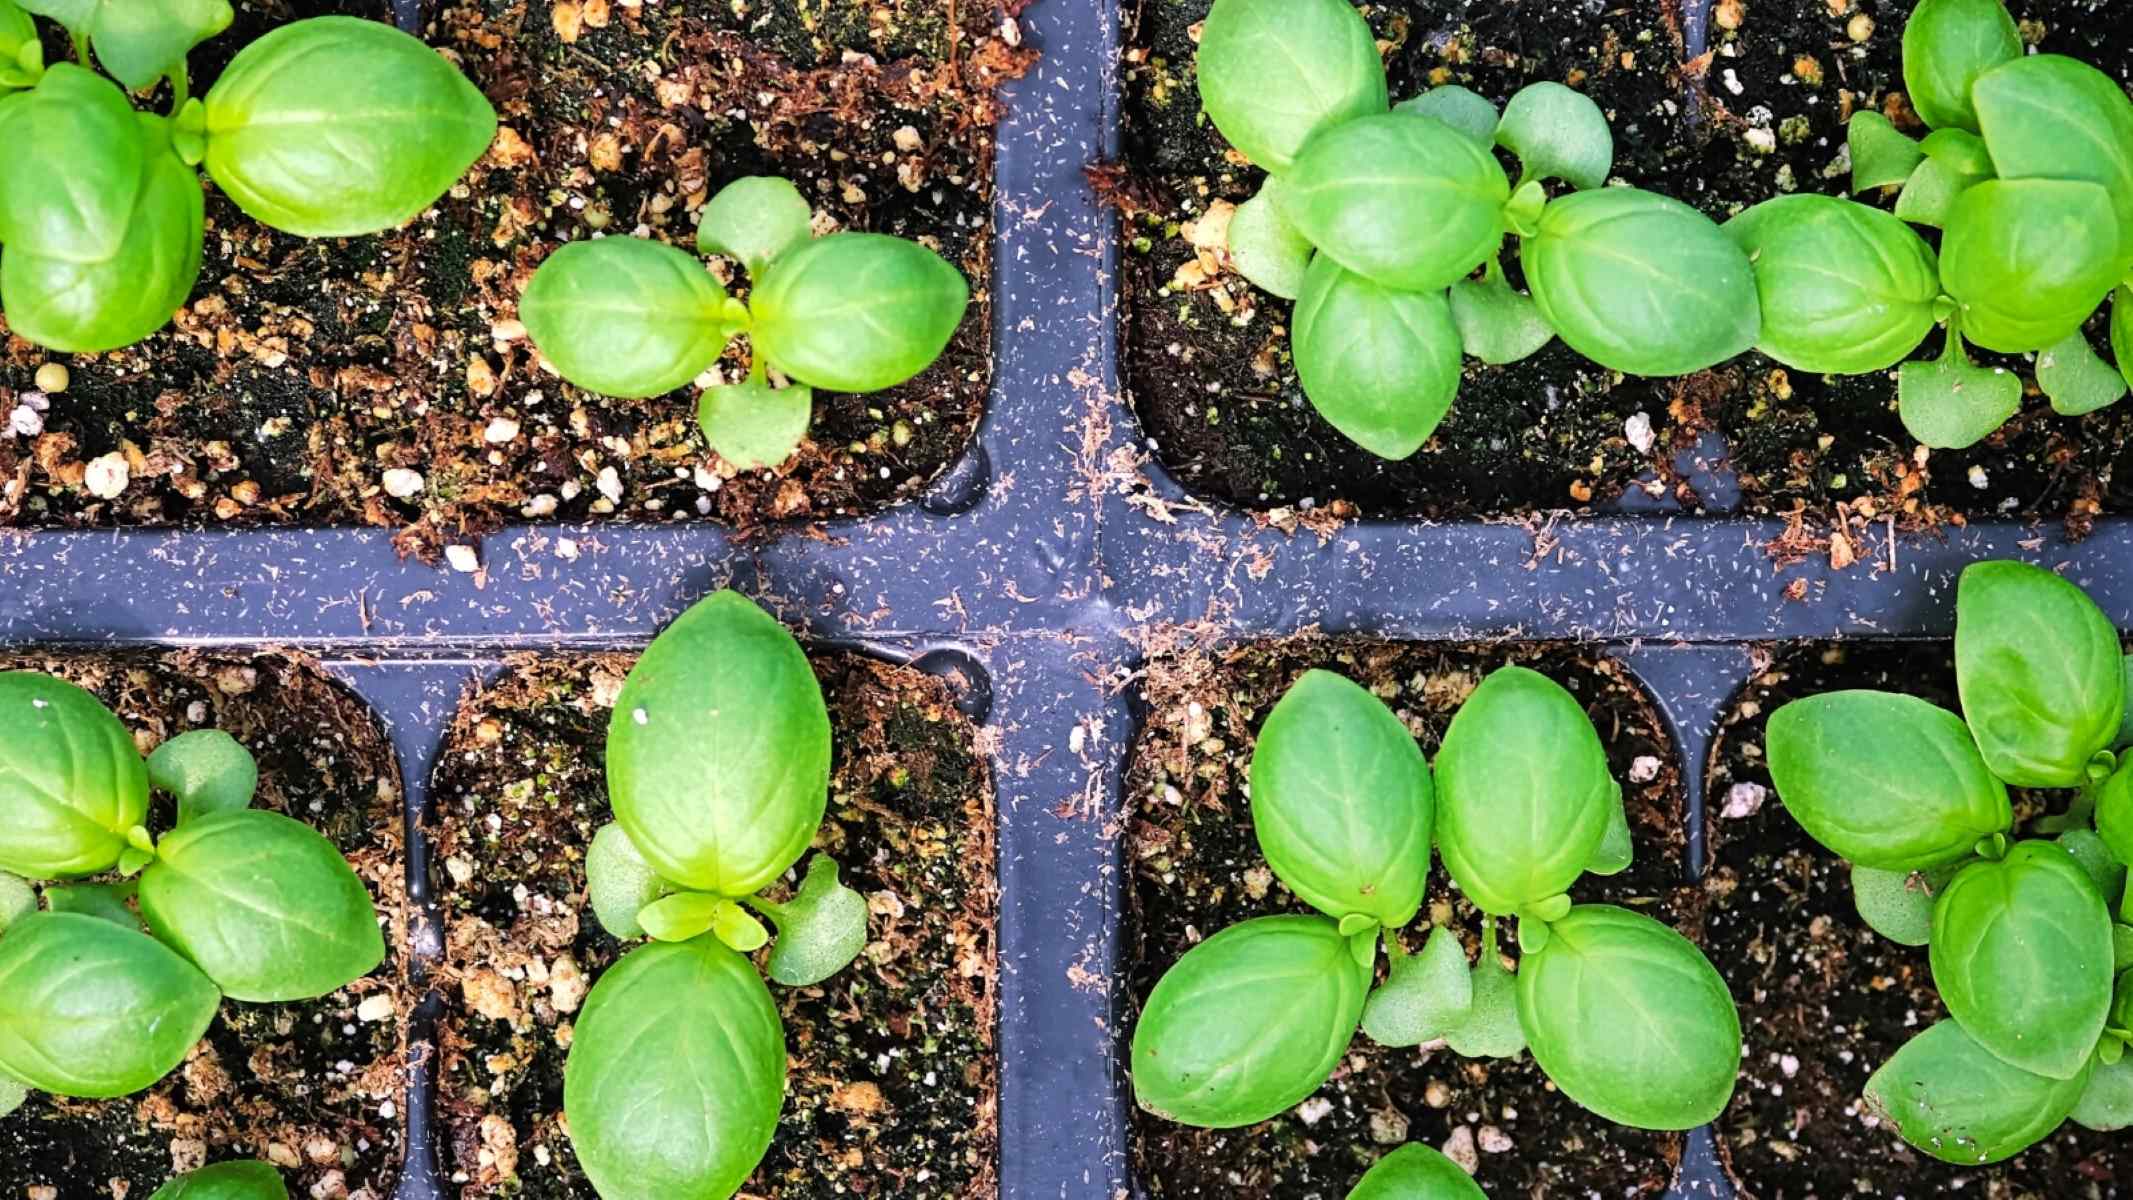
7. Seed Starting Trays or Pots: If you plan to start your zinnia seeds indoors or want to give them a head start, seed starting trays or pots will be necessary.
8. Seed Starting Mix: Ensure successful germination by using a high-quality seed starting mix that provides optimal moisture retention and aeration.
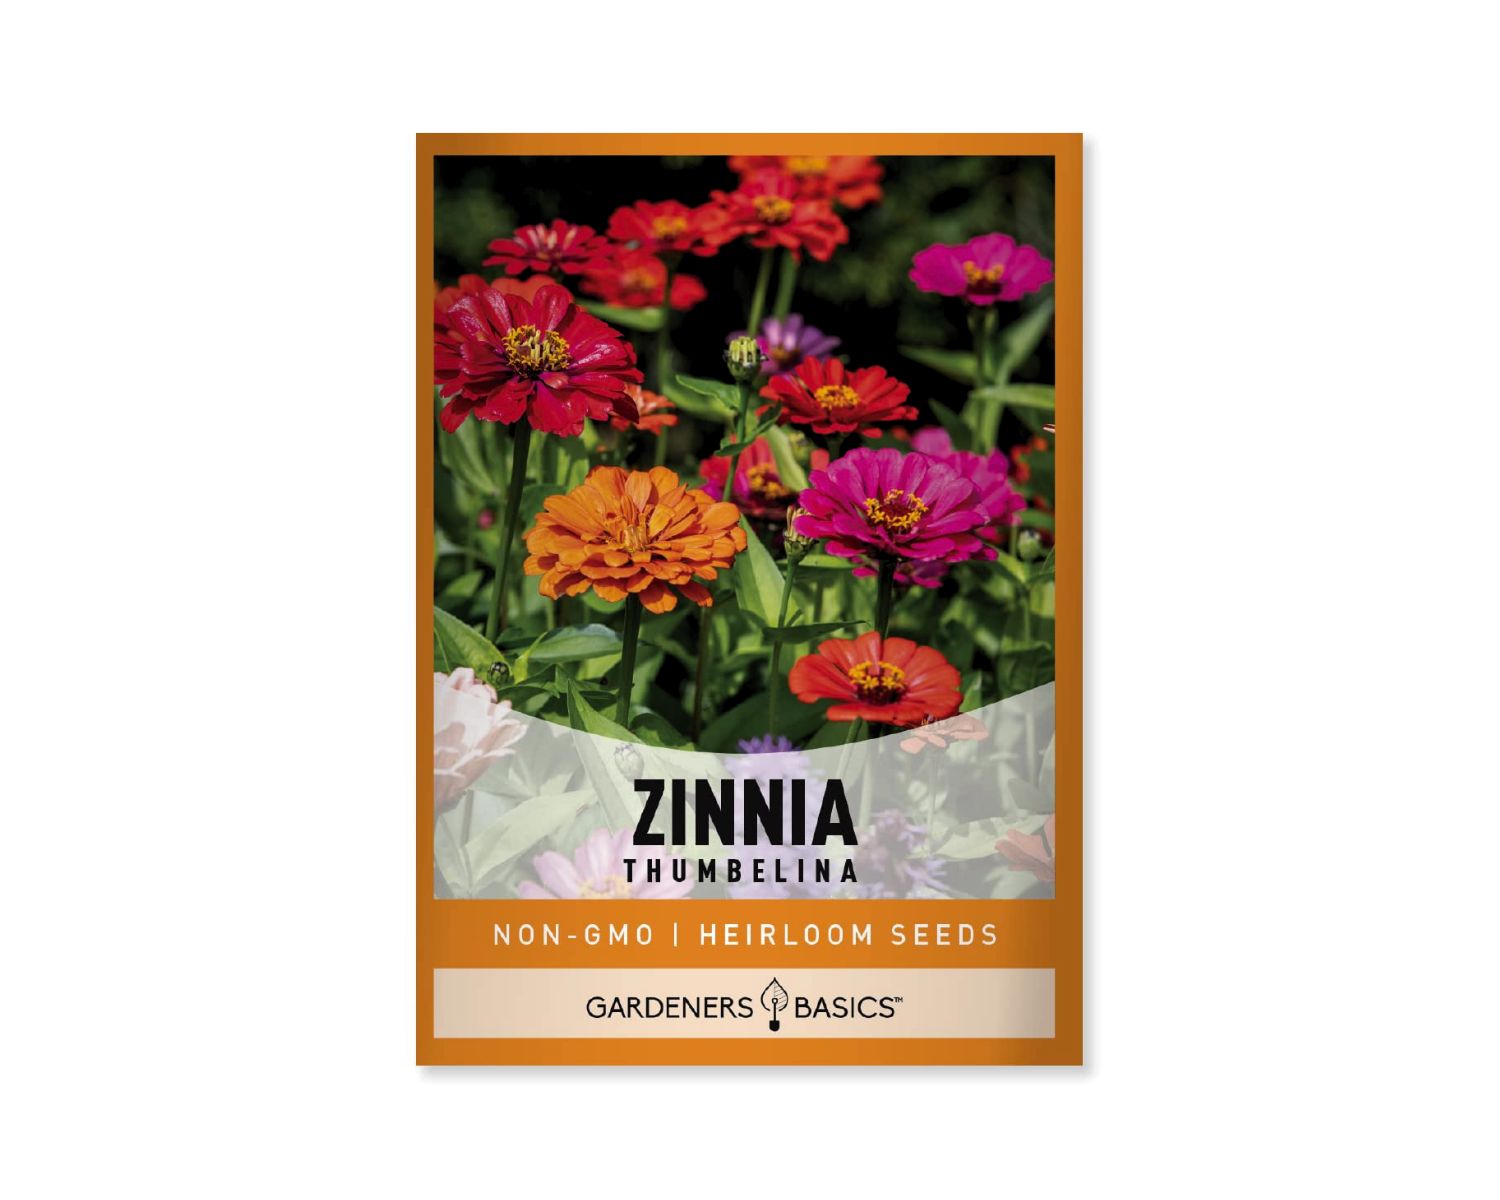
9. Zinnia Seeds: Of course, you’ll need zinnia seeds! Choose from a wide variety of zinnia seeds available in different colors and flower forms.
10. Spray Bottle: A spray bottle filled with water can be handy for gently misting the seeds to keep them moist during the germination process.
By gathering these tools and supplies beforehand, you’ll be well-prepared to sow your zinnia seeds and give them the best start possible. Now it’s time to move on to the next step: preparing the zinnia seeds for planting.
Read more: How To Sow Okra Seeds
Preparing the Zinnia Seeds
Properly preparing the zinnia seeds before sowing will help improve their germination rate and ensure healthy seedlings. Follow these steps to prepare your zinnia seeds:
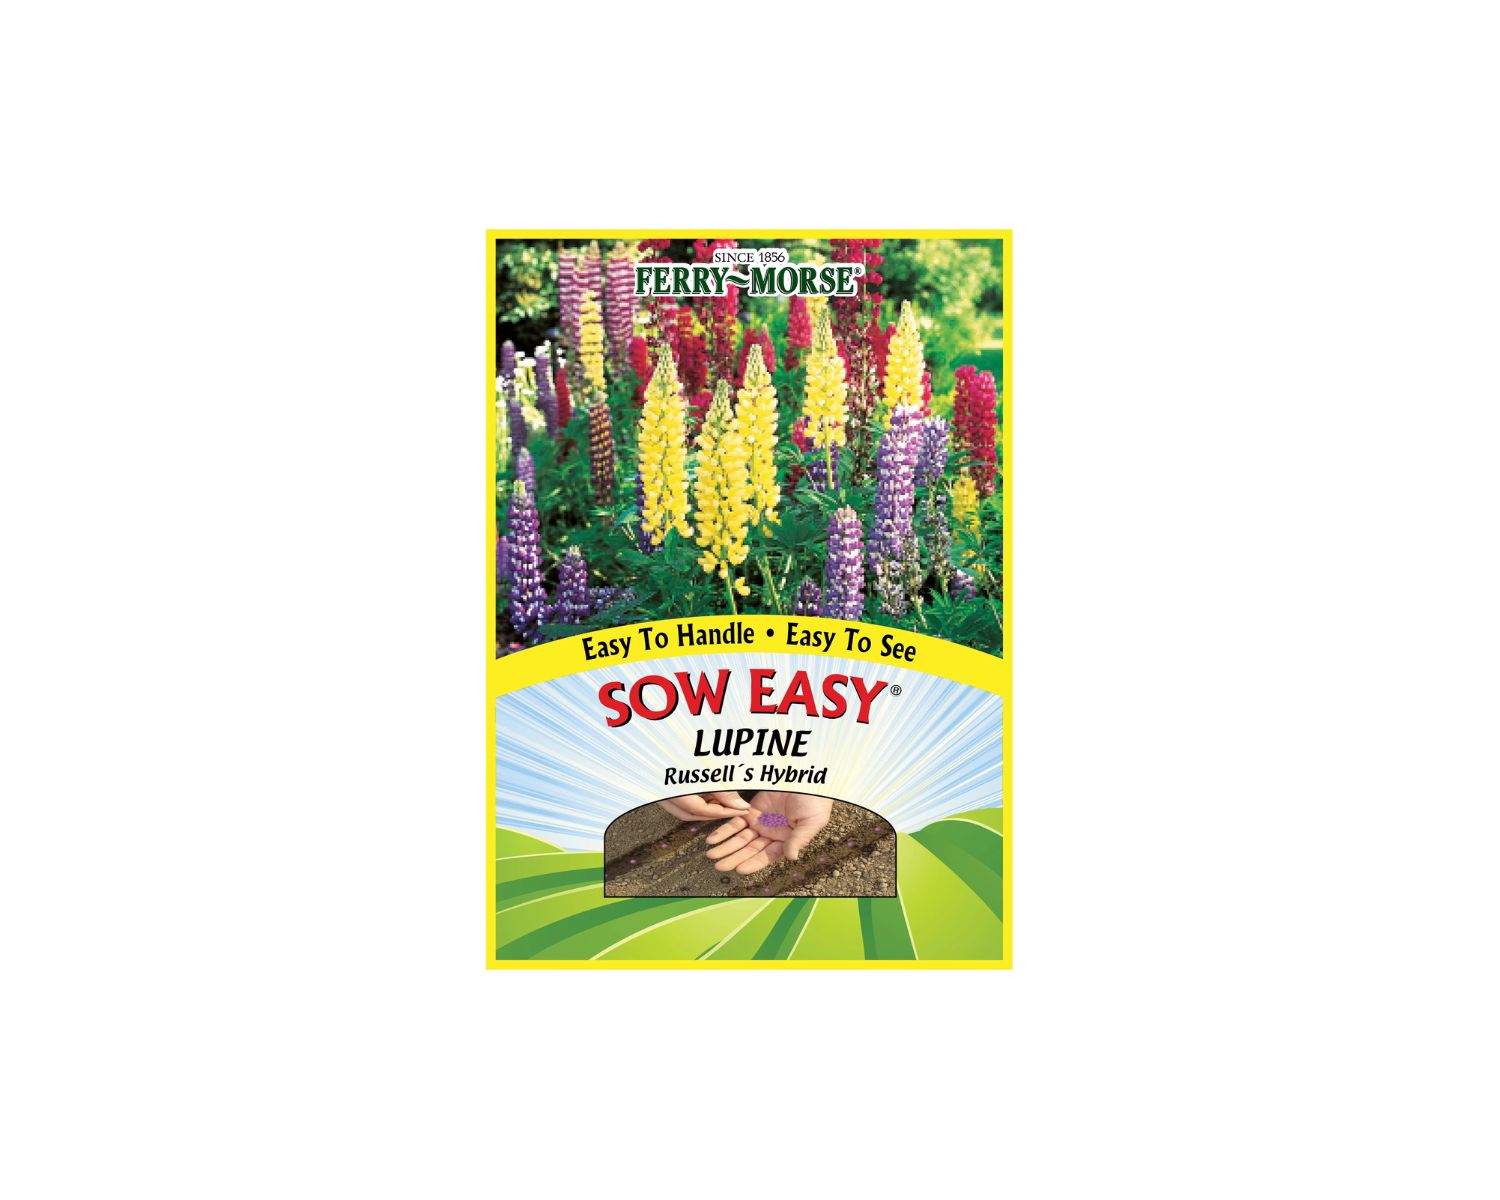
1. Check the Seed Packet: Start by carefully reading the instructions on the seed packet. It will provide valuable information on specific varieties, planting depth, and any special requirements for the zinnia seeds you have chosen.
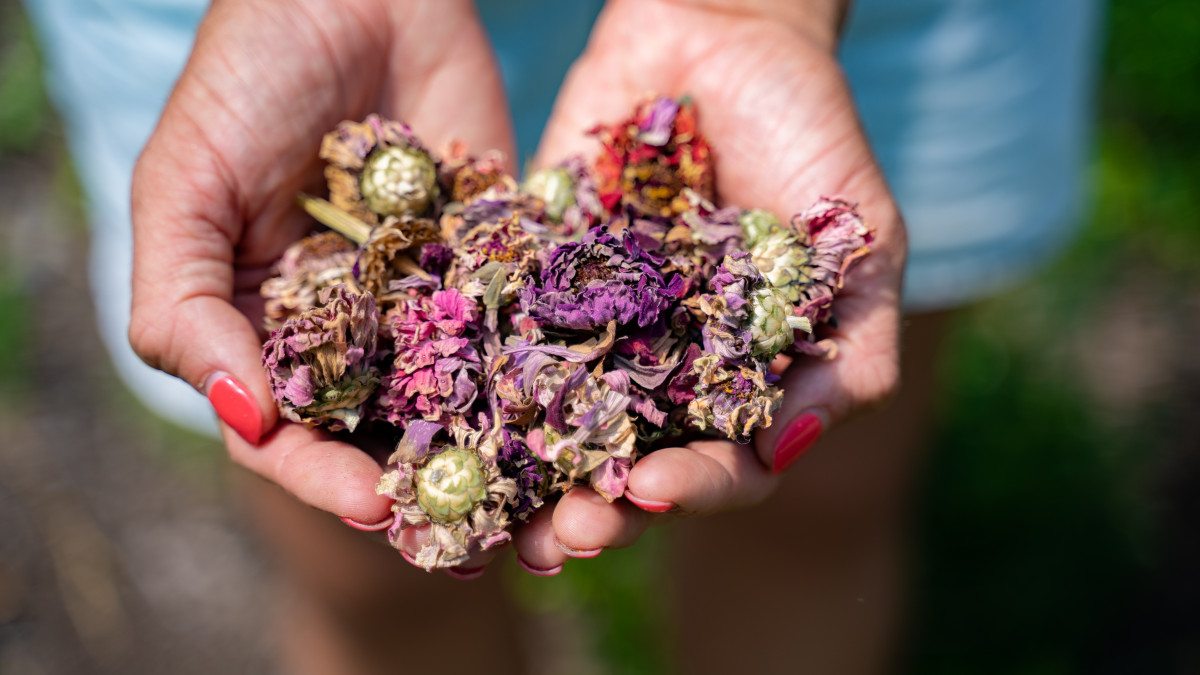
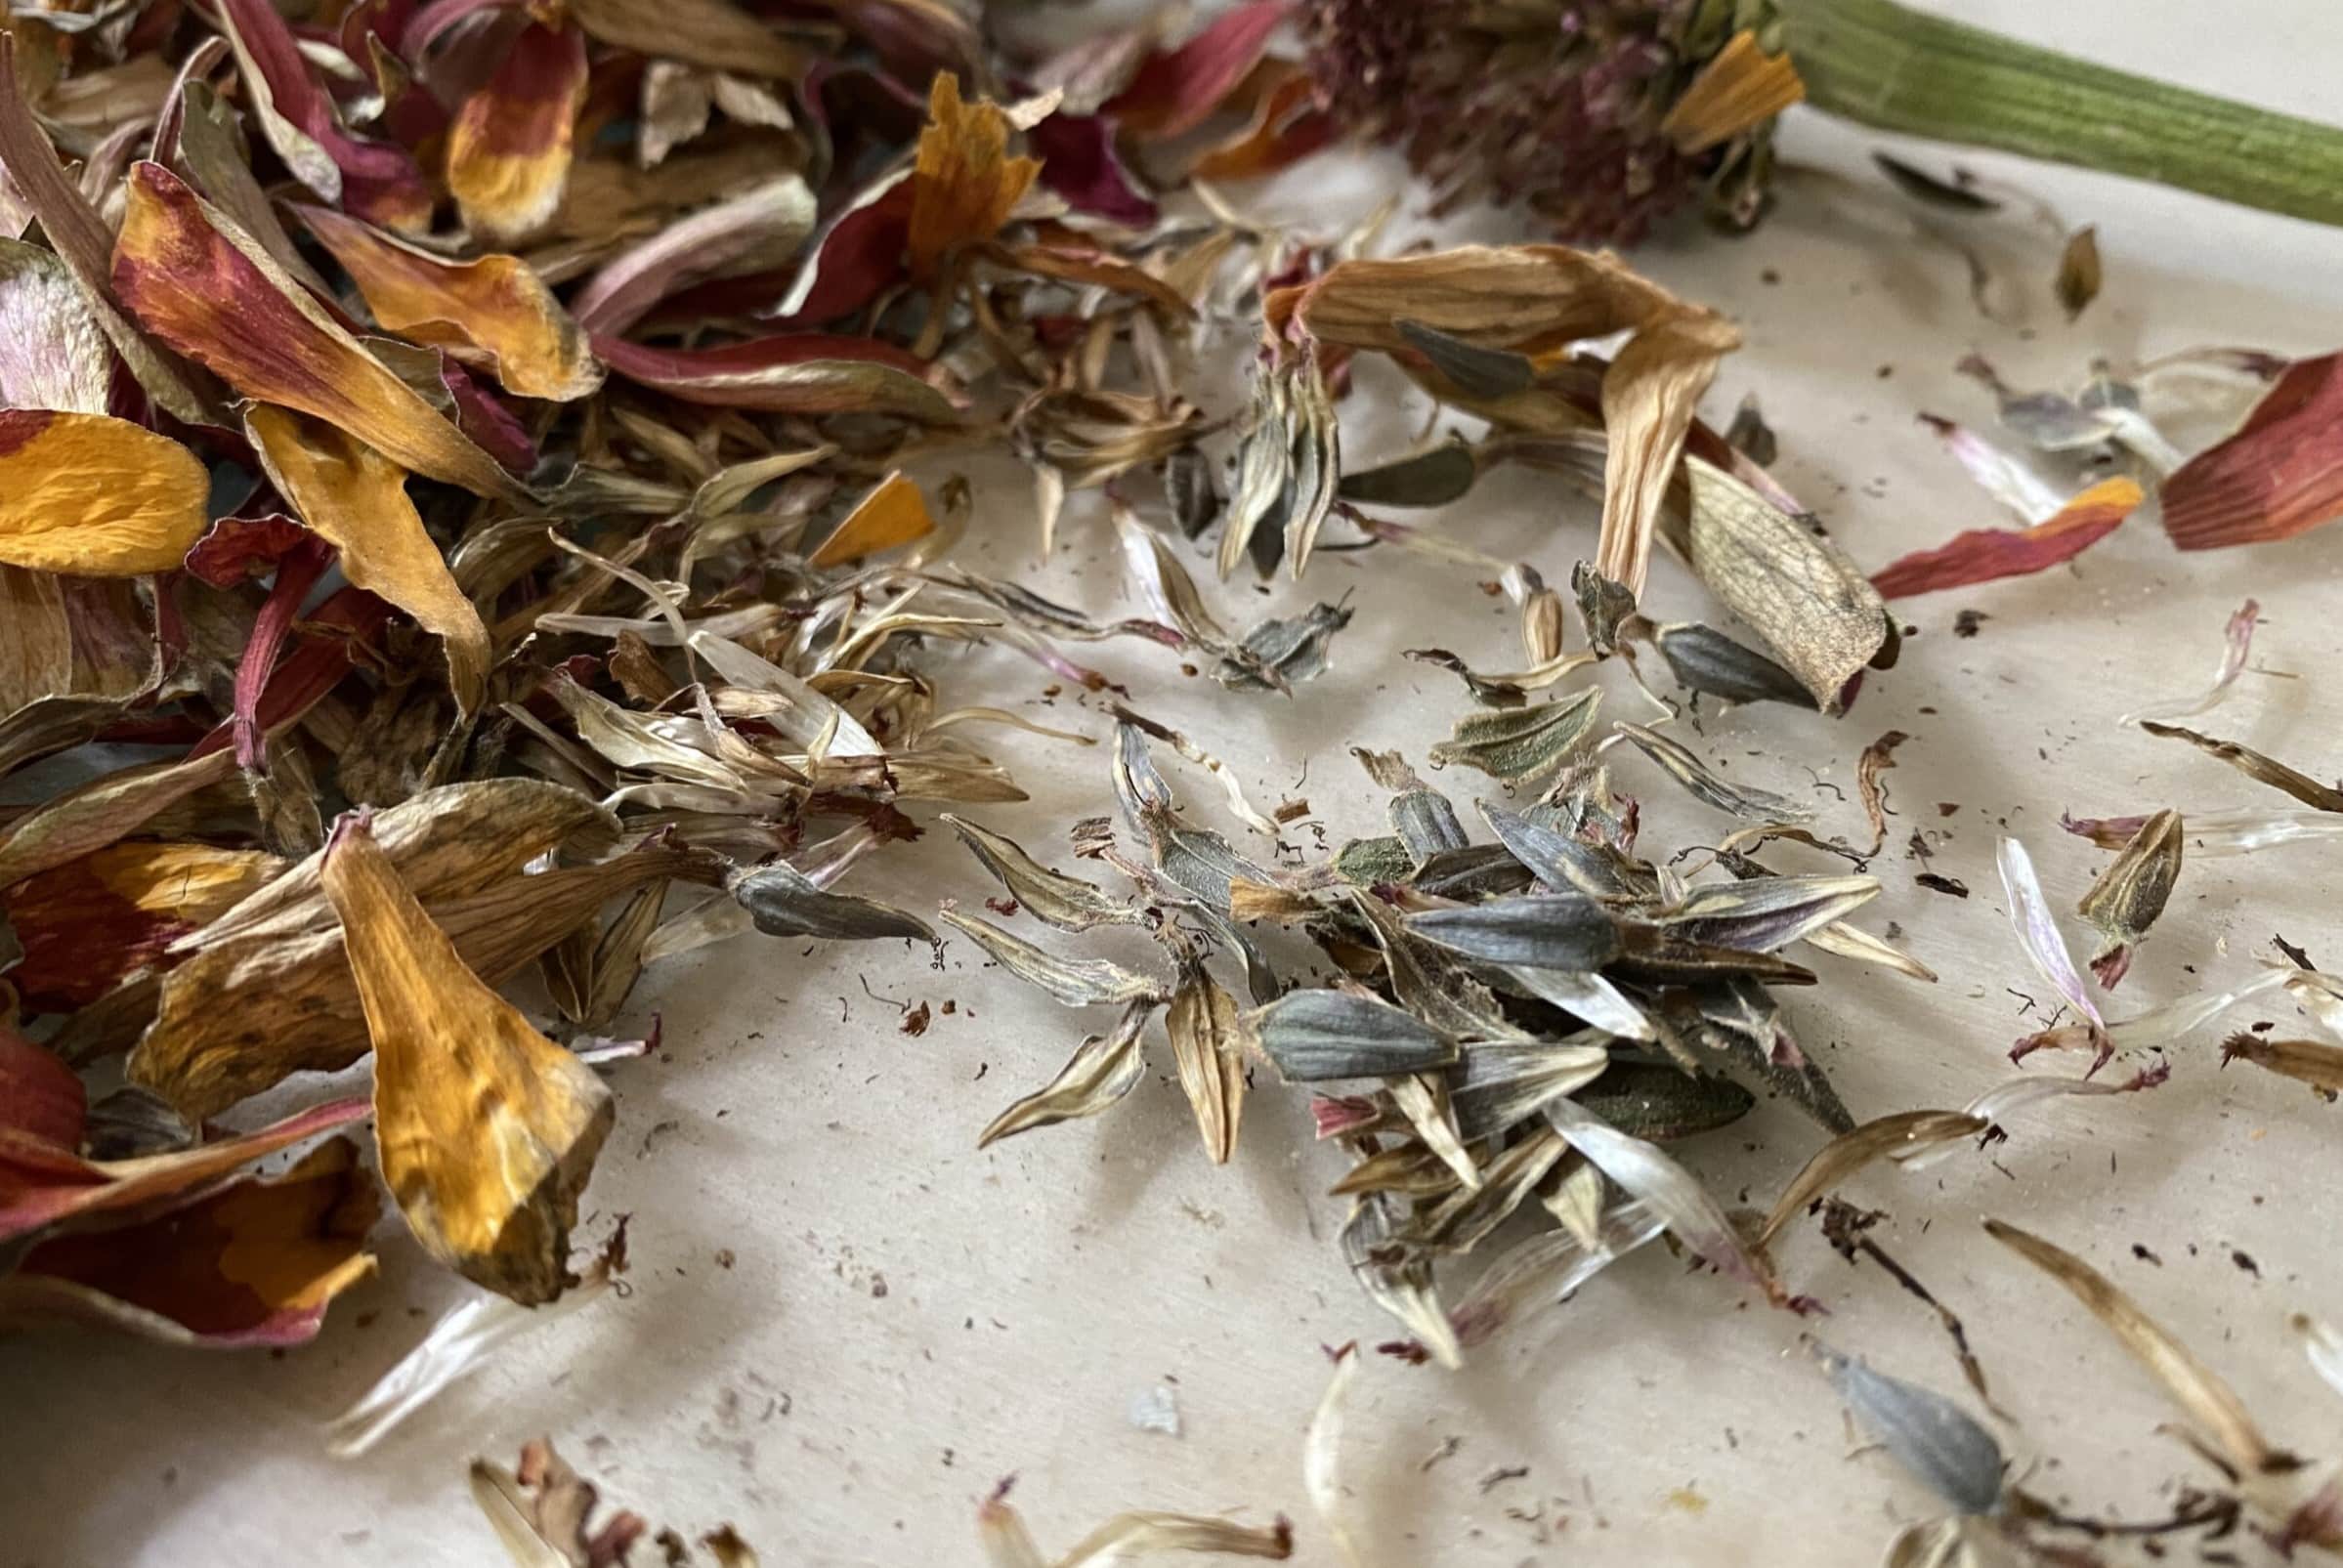
2. Seed Cleaning: Zinnia seeds often come with a papery coating called the chaff. To remove this coating and improve germination, you can gently rub the seeds between your fingers or use a fine-mesh sieve to separate the seeds from the chaff.
3. Seed Stratification: Some zinnia varieties may benefit from a process called seed stratification. This involves subjecting the seeds to a period of cold or moist conditions to break their dormancy and stimulate germination. Check the seed packet or do some research to see if stratification is necessary for the specific zinnia variety you are planting.
4. Pre-Soaking Seeds: Some gardeners prefer to pre-soak zinnia seeds in water for a few hours or overnight before sowing. This can help soften the seed coat and encourage quicker germination.
5. Seed Germination Test (Optional): If you’re unsure about the viability of your zinnia seeds or would like to test their germination rate, you can perform a seed germination test. Place a few seeds between damp paper towels or in a seedling tray filled with moist seed starting mix. Keep them in a warm location and check for germination after a few days. This test will give you an idea of how many seeds are likely to sprout.
By taking the time to prepare your zinnia seeds properly, you increase their chances of germination and set the stage for successful seedling growth. With the seeds now ready, it’s time to move on to sowing them in the garden.
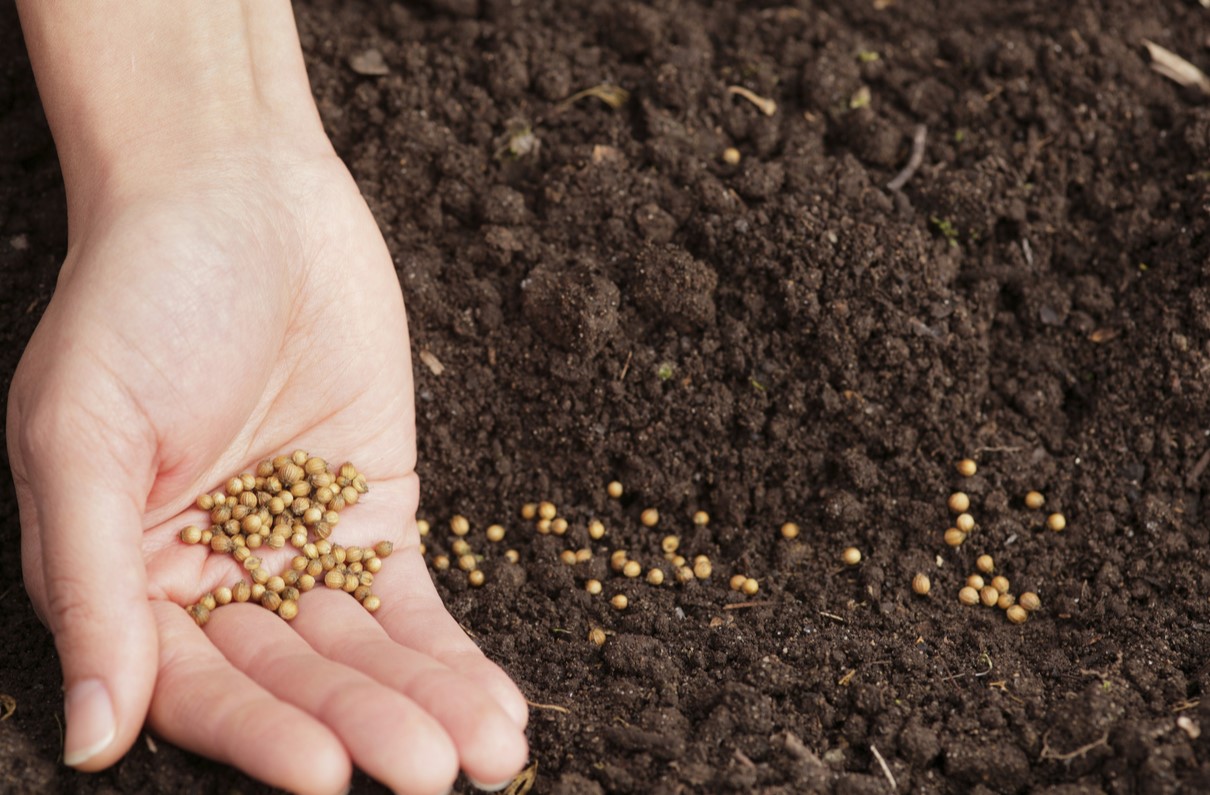
Choose a sunny spot with well-drained soil. Sow zinnia seeds directly into the ground after the last frost. Space seeds 6-18 inches apart and cover lightly with soil. Keep the soil moist until the seeds germinate.
Sowing the Zinnia Seeds
Sowing zinnia seeds in the garden is an exciting step towards creating a vibrant and colorful display. Follow these steps to ensure successful seed sowing:
1. Prepare the Soil: Before sowing, make sure the soil is well-prepared and free of weeds. Use a garden fork or trowel to loosen the soil and create a smooth planting surface.
2. Determine the Planting Depth: Check the seed packet for specific instructions regarding the planting depth for the zinnia seeds you have. As a general guideline, sow the seeds at a depth of about ¼ to ½ inch (0.6 to 1.3 cm).
3. Spacing: Zinnias need space to grow and spread, so ensure adequate spacing between the seeds. Follow the recommended spacing guidelines provided on the seed packet, typically around 6 to 12 inches (15 to 30 cm) apart.
4. Plant the Seeds: Gently press the zinnia seeds into the soil at the appropriate depth. Space them evenly within the planting area, ensuring they are not too close together.
5. Cover and Water: After planting, cover the seeds with a thin layer of soil or vermiculite. Water the area gently to ensure the soil is moist but not waterlogged. Avoid watering too heavily, as it can displace the seeds or lead to rot.
6. Mark the Rows: If you are sowing multiple rows of zinnia seeds, place plant markers or labels at the ends of each row to help you identify and track their progress.
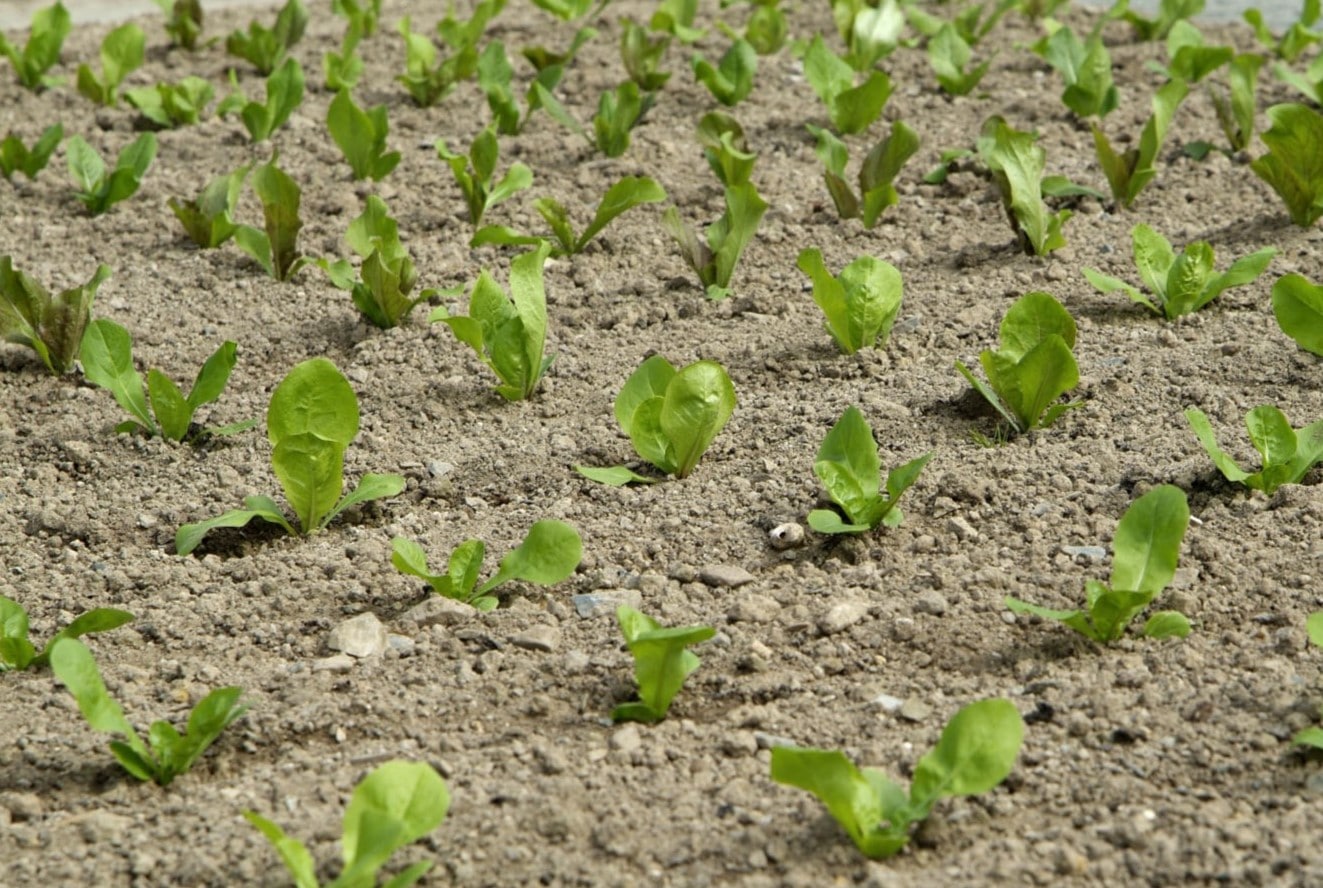
7. Provide Proper Care: Keep the soil consistently moist until the zinnia seeds germinate. Once the seedlings emerge, water them regularly, ensuring the soil remains evenly moist but not saturated.
8. Thin the Seedlings: Once the zinnia seedlings have reached a few inches in height, thin them out if needed, following the recommended spacing guidelines on the seed packet. This will allow the remaining plants to have enough space to grow and thrive.
By following these steps, you’ll have successfully sown your zinnia seeds in the garden. Now it’s time to provide proper care and attention to ensure their healthy growth and development. Let’s move on to the next section: watering and care instructions.
Watering and Care Instructions
Proper watering and care are crucial for the health and vitality of your zinnia plants. Follow these watering and care instructions to ensure optimal growth and bloom:
Watering:
– Water the zinnias regularly, keeping the soil consistently moist but not waterlogged. Aim to provide about 1 inch (2.5 cm) of water per week, either through rainfall or supplemental watering.
– Water at the base of the plants, avoiding overhead watering, as wet foliage can increase the risk of diseases like powdery mildew.
– During dry periods or hot summer months, you may need to increase the frequency of watering to prevent the soil from drying out completely.
– Monitor the soil moisture level by checking the top few inches of soil. If it feels dry, it’s time to water. Adjust the frequency and amount of watering based on the specific needs of your zinnias and the local weather conditions.
Fertilizing:
– Feed your zinnias with a balanced water-soluble fertilizer every two to three weeks, following the package instructions for application rates.
– Alternatively, you can incorporate a slow-release fertilizer into the soil at the time of planting to provide consistent nutrition throughout the season.
Pinching and Deadheading:
– Pinching the growing tips of your zinnias when they reach about 6 inches (15 cm) in height will help promote bushier growth and more flower production.
– Remove spent blooms regularly by deadheading. This encourages continuous blooming and prevents the plants from diverting energy into seed production.
Weed Control:
– Keep the area around your zinnias weed-free. Weeds can compete with the zinnias for nutrients, water, and sunlight.
– Mulching can help to suppress weeds, retain soil moisture, and regulate soil temperature. Apply a layer of organic mulch around the base of the plants, being careful not to cover the stems.
Pest and Disease Control:
– Monitor your zinnias regularly for signs of pests such as aphids, spider mites, or caterpillars. Use organic pest control methods if necessary, such as handpicking or applying insecticidal soap.
– To prevent diseases like powdery mildew, ensure good air circulation by spacing the plants properly and avoid overhead watering.
By following these watering and care instructions, you’ll provide the necessary conditions for your zinnias to thrive and reward you with beautiful blooms throughout the growing season. However, it’s important to be aware of potential problems and know how to address them. Let’s move on to the next section: protecting the seeds and seedlings.
Protecting the Seeds and Seedlings
Protecting zinnia seeds and seedlings is crucial to ensure their successful establishment and growth. Here are some guidelines to safeguard your precious plants:
Protection from Birds:
– Birds may be attracted to the seeds or seedlings of zinnias. To keep them at bay, you can cover the planting area with lightweight netting or use scare tactics like hanging reflective materials or wind chimes.
Protection from Pests:
– Keep an eye out for common garden pests like slugs, snails, and cutworms, as they can damage or devour zinnia seedlings. Implement organic pest control methods, such as handpicking, creating barriers with copper tape, or using diatomaceous earth.
Protection from Extreme Weather:
– Zinnia seeds and young seedlings are vulnerable to extreme weather conditions, such as heavy rain, strong winds, or excessive heat. Consider using row covers or providing temporary shields, like umbrellas or garden cloches, to protect the plants until they become more established.
Protection from Disease:
– Fungal diseases, such as powdery mildew, can affect zinnias. To minimize the risk, ensure proper air circulation by providing adequate spacing between plants, avoiding overhead watering, and promptly removing any infected foliage.
– If you notice signs of disease, such as white powdery spots on leaves, consult a local garden center or extension office for advice on appropriate fungicides or organic treatments to control the disease.
By taking these protective measures, you’ll give your zinnia seeds and seedlings the best chance at healthy growth and development. As your zinnias mature, they will reward you with stunning blooms. In the next section, we’ll address common problems and troubleshooting tips to help you overcome any challenges along the way.
Read more: How To Sow Cilantro Seeds
Common Problems and Troubleshooting
While zinnias are generally resilient and easy to grow, they can occasionally encounter some issues. Here are common problems you may encounter when growing zinnias and tips to troubleshoot them:
Poor Germination:
– If you notice low germination rates, ensure that you have followed the proper sowing techniques, including planting at the correct depth and providing adequate moisture and warmth. Consider conducting a seed germination test before sowing to assess the viability of the seeds.
– Check the expiration date on the seed packet, as older seeds may have lower germination rates. If necessary, purchase fresh seeds from a reputable source.
Pests:
– Keep an eye out for common garden pests like aphids, spider mites, or caterpillars, which can damage zinnia foliage or blooms. Regularly inspect the plants and take appropriate measures, such as handpicking pests or using insecticidal soap, to control their population.
Powdery Mildew:
– Powdery mildew is a fungal disease that can affect zinnias, causing a white powdery coating on the leaves and stems. To prevent powdery mildew, ensure good air circulation around the plants and avoid overhead watering. If detected, promptly remove any infected plant material and consider applying a recommended fungicide, following the manufacturer’s instructions.
Yellowing Leaves or Stunted Growth:
– Yellowing leaves or stunted growth may indicate nutrient deficiencies or overwatering. Conduct a soil test to determine the nutrient levels and adjust the fertilization accordingly. Ensure that the soil drains well and avoid overwatering, as excessive moisture can lead to root rot and stunted growth.
No Blooms:
– If your zinnias are not blooming, it may be due to insufficient sunlight, nutrient deficiencies, or overcrowding. Ensure that the plants are receiving the recommended amount of sunlight and consider adjusting the fertilization regimen to provide adequate nutrients. If overcrowding is an issue, thin out the plants to provide more space and airflow.
– Additionally, some zinnia varieties may take longer to bloom than others, so be patient and allow sufficient time for the plants to reach maturity.
By identifying and addressing these common problems promptly, you can help your zinnias overcome challenges and thrive, ensuring a bountiful display of beautiful blooms. In the next section, we’ll discuss the rewarding process of harvesting zinnia flowers.
Harvesting Zinnia Flowers
Harvesting zinnia flowers is a rewarding step that allows you to enjoy their beauty both in the garden and as cut flowers. Here are some tips to help you properly harvest zinnia flowers:
Timing:
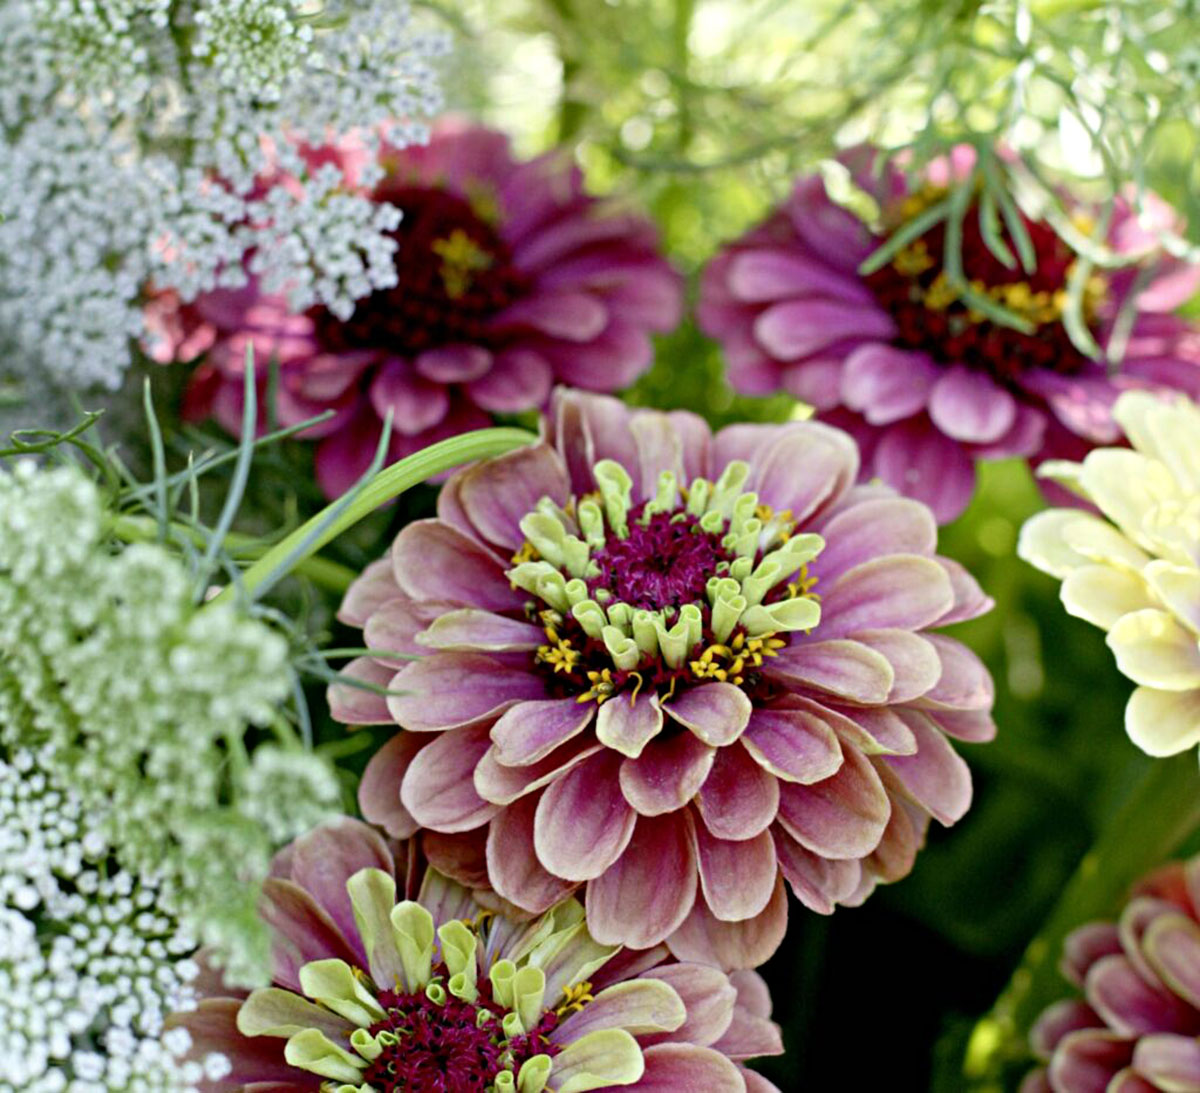
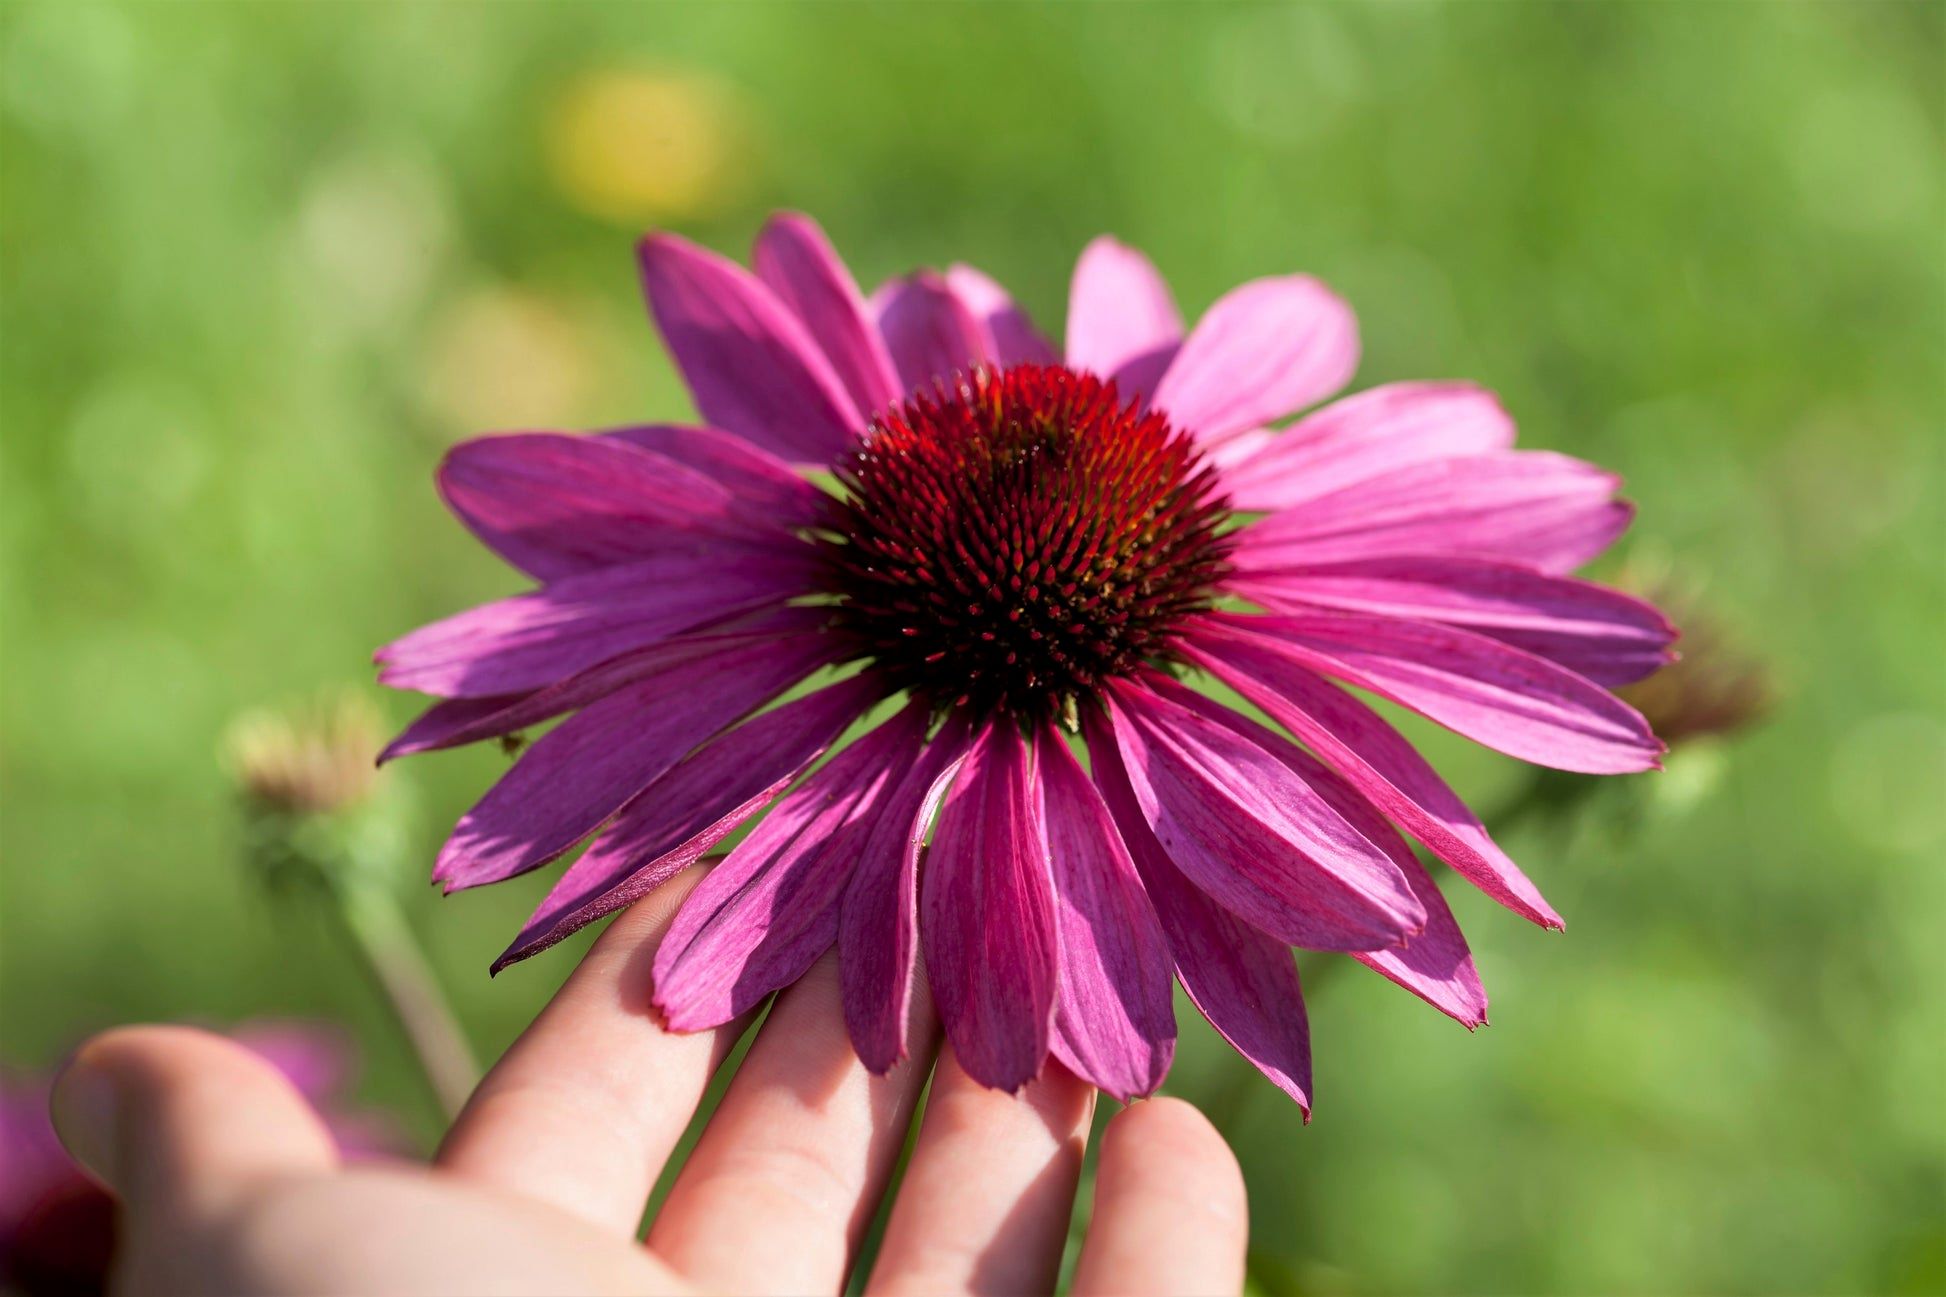
– Zinnia flowers are at their best when harvested at the right stage of maturity. Wait until the blooms are fully open, with vibrant colors and firm petals. Avoid harvesting flowers that are past their prime, as they may not last as long once cut.
Tools:
– Use sharp, clean pruning shears or scissors to harvest zinnia flowers. This will ensure clean cuts and minimize damage to the plant.
Method:
– To harvest zinnia flowers, locate a stem that has a fully open bloom. Position your pruning shears just above a pair of leaves or leaf nodes. Make a clean diagonal cut to remove the stem. This will encourage new growth and additional flower production.
Harvesting Tips:
– Harvest zinnia flowers in the early morning or late afternoon when the plants are well-hydrated and temperatures are cooler. This will help preserve the freshness and longevity of the blooms.
– Immediately place the harvested flowers in a bucket or vase filled with clean, lukewarm water. This will prevent dehydration and allow them to fully hydrate.
– If you plan to use the zinnias in floral arrangements, remove any foliage that will be submerged in the water to prevent bacterial growth. Leave a few leaves towards the top of the stem for an attractive appearance.
– Change the water in the vase every few days to keep the zinnias fresh and prolong the vase life of the flowers.
By following these harvesting tips, you can enjoy the beauty and vibrancy of zinnia flowers both in your garden and as stunning arrangements in your home. Now that you’ve learned how to harvest zinnias, let’s wrap up this article.
Conclusion
Congratulations! You’ve now learned how to sow zinnia seeds outdoors and nurture them into beautiful, blooming flowers. Zinnias are a wonderful addition to any garden, offering a burst of colors, attracting pollinators, and providing long-lasting blooms for stunning floral displays.
Remember to choose the right time for sowing, selecting a suitable location with full sun and well-draining soil. Prepare the soil by removing weeds and adding organic matter to create a fertile growing environment. Gathering the necessary tools and supplies will ensure you have everything at hand for successful planting.
Prepare the zinnia seeds by removing any coatings, pre-soaking if desired, and conducting germination tests if needed. Then, follow the steps to sow the seeds at the appropriate depth, provide consistent watering and care, protect them from pests, diseases, and extreme weather, and troubleshoot any common issues that may arise.
Once your zinnias have grown and produced colorful blooms, you can enjoy the process of harvesting them for use in floral arrangements. Remember to harvest the flowers at the right stage, use proper tools and techniques, and provide them with fresh water to maximize their beauty and vase life.
Gardening is a wonderful and fulfilling hobby that allows you to connect with nature and create a vibrant outdoor space. With the knowledge and skills you’ve gained from this article, you can confidently sow zinnia seeds and watch your garden come to life with a stunning display of these beautiful flowers. So get your hands dirty, savor the joy of gardening, and let the zinnias bring a splash of color and joy to your garden!
Frequently Asked Questions about How To Sow Zinnia Seeds Outdoors
Was this page helpful?
At Storables.com, we guarantee accurate and reliable information. Our content, validated by Expert Board Contributors, is crafted following stringent Editorial Policies. We're committed to providing you with well-researched, expert-backed insights for all your informational needs.


0 thoughts on “How To Sow Zinnia Seeds Outdoors”