
Articles
How To Sweep The Floor
Modified: October 18, 2024
Learn how to efficiently sweep the floor with these insightful articles. Find useful tips and tricks to keep your floors clean and spotless.
(Many of the links in this article redirect to a specific reviewed product. Your purchase of these products through affiliate links helps to generate commission for Storables.com, at no extra cost. Learn more)
Introduction
Sweeping the floor may seem like a simple task, but doing it properly can make a world of difference in the cleanliness and overall appearance of your space. Whether you’re sweeping your home, office, or any other area, there are techniques and tips that can help you achieve optimal results.
In this article, we will guide you through the step-by-step process of sweeping the floor efficiently and effectively. From gathering the necessary equipment to properly disposing of debris, we will cover all aspects of this often overlooked chore.
Sweeping not only removes dirt and dust from your floor, but it also provides a sense of accomplishment and satisfaction. So, let’s get started on learning how to sweep the floor like a pro!
Key Takeaways:
- Mastering the art of sweeping involves gathering the right tools, preparing the floor, choosing the best technique, and ensuring proper disposal. Attention to detail and methodical approach are key to achieving a spotless and satisfying result.
- Sweeping not only removes dirt but also provides a sense of accomplishment. By following the steps outlined, you can turn this mundane task into a rewarding and meditative experience, resulting in a clean and inviting space.
Read more: How To Sweep For Home Surveillance
Step 1: Gather the necessary equipment
Before you begin sweeping, it’s essential to gather all the necessary equipment to ensure a smooth and efficient process. Here are some items you’ll need:
- Broom: Choose a broom with bristles that are suitable for the type of flooring you have. Soft bristles are great for hardwood floors, while stiffer bristles work well on tile or concrete surfaces.
- Dustpan: A dustpan is a must-have tool for collecting and disposing of the dirt and debris you sweep up.
- Trash bag or dustbin: You’ll need a suitable container for collecting the swept-up debris for disposal.
- Optional: A handheld brush or small broom: This can be handy for reaching tight corners or crevices that a regular broom might not easily access.
By having these tools ready, you’ll be well-prepared to tackle any mess and ensure a successful sweeping session.
Step 2: Prepare the floor
Preparing the floor before you start sweeping will help make the process more efficient and effective. Here are some tips to get your floor ready:
- Clear the area: Remove any objects that may obstruct your sweeping path, such as furniture, toys, or rugs. This will make it easier to navigate and ensure that you don’t miss any spots.
- Dust surfaces: If there is dust or debris on surfaces like countertops, shelves, or tables, it’s a good idea to give them a quick wipe-down or dusting. This will prevent any loose particles from being stirred up and resettling on the freshly swept floor.
- Close doors and windows: If possible, close off the area you’re planning to sweep to minimize the amount of dust and dirt that may be brought in from outside. This will help keep your freshly swept floor cleaner for longer.
- Consider using a mat: Placing a doormat or entryway rug near the entrance is an effective way to reduce the amount of dirt and debris that gets tracked onto your floor. Encourage people to wipe their feet before entering to minimize the mess.
By taking the time to prepare the floor, you’ll create a more conducive environment for effective sweeping and achieve better results in the end.
Step 3: Choose the right technique
Choosing the right sweeping technique can make a significant difference in the efficiency and effectiveness of your sweeping. Here are a few techniques to consider:
- Parallel sweeping: This technique involves sweeping the floor in long, parallel strokes. Start from one end of the room and work your way to the other side, overlapping each stroke slightly. This method is particularly effective for larger areas and helps ensure that you cover the entire floor surface.
- Crisscross sweeping: If you’re dealing with a smaller space or areas with more clutter, a crisscross sweeping technique may be more suitable. Instead of sweeping in parallel strokes, sweep in diagonal or crisscross movements to cover the entire area more efficiently. This technique helps to reach tight corners and remove debris from hard-to-reach spots.
- Edge sweeping: Don’t forget to pay attention to the edges of the room, where dust and dirt tend to accumulate. Use the bristles of the broom to sweep along baseboards, corners, and edges to ensure a thorough cleaning.
- Back-and-forth sweeping: For areas where the dirt is more concentrated, such as near entrances or heavily trafficked areas, using a back-and-forth sweeping motion can help loosen and collect the debris more effectively.
Remember to adjust your technique based on the type of flooring you have. Delicate surfaces like hardwood may require a gentler sweeping motion, while rougher surfaces like concrete can handle more vigorous sweeping.
Experiment with different techniques to find the one that works best for you and your specific cleaning needs.
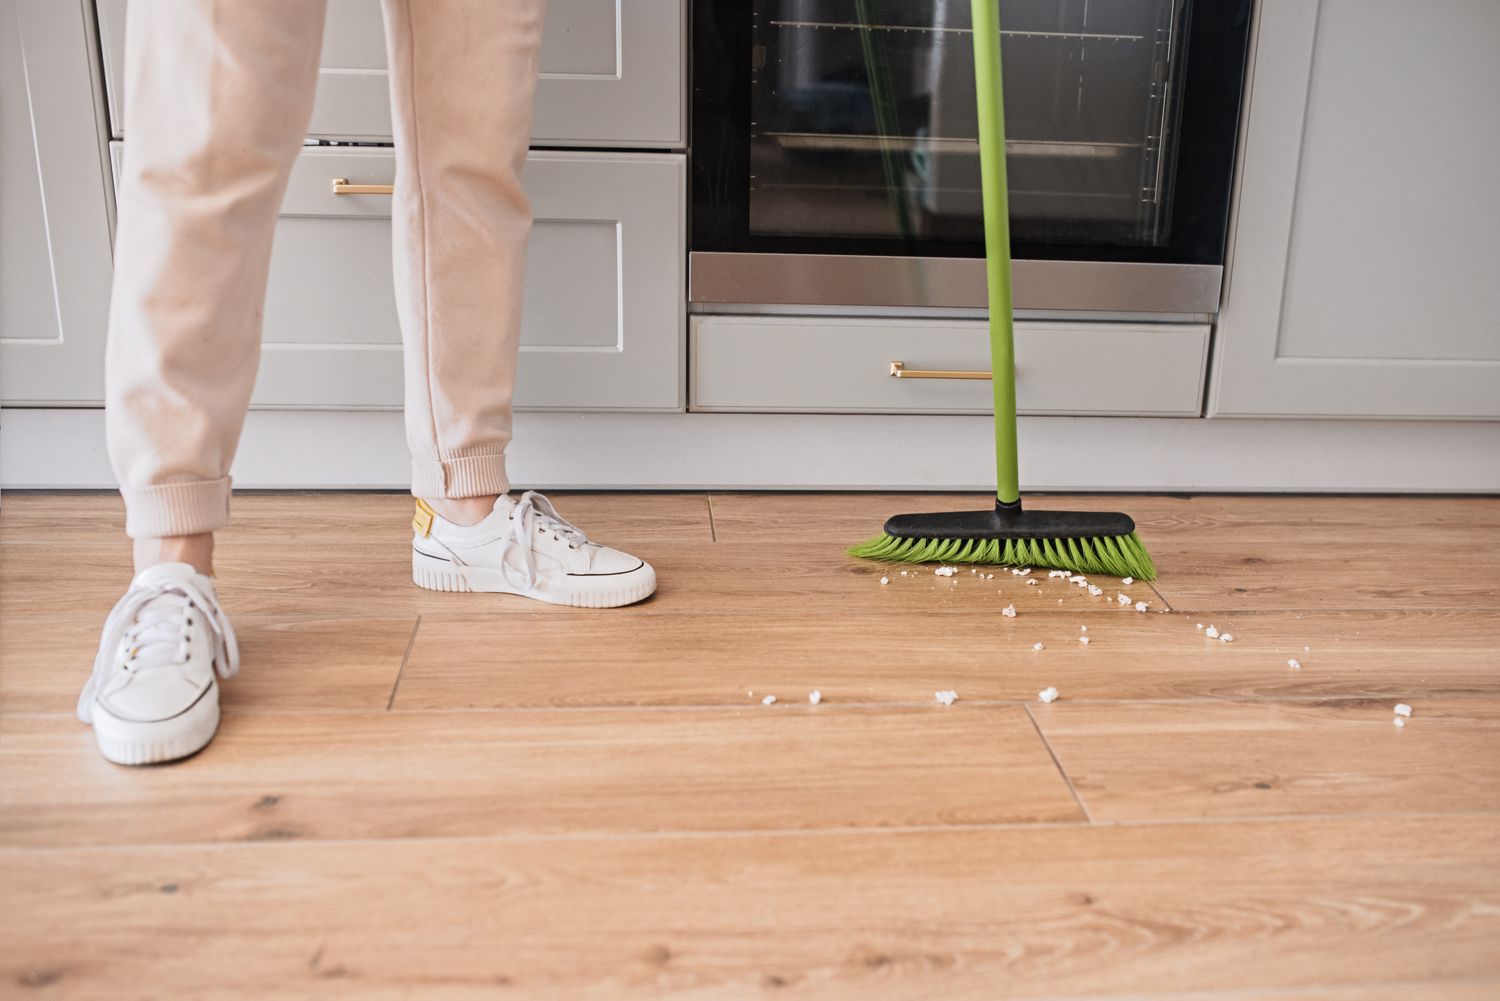
Use a broom with soft bristles to sweep the floor in short, overlapping strokes. Start from the farthest corner and work your way towards the entrance to avoid stepping on the dirt you’ve just swept.
Step 4: Begin sweeping
Now that you have your equipment ready and the floor prepared, it’s time to start sweeping. Follow these steps for a thorough and effective sweeping process:
- Hold the broom correctly: Grip the broom handle firmly, with one hand closer to the bristles for better control.
- Start in a corner: Begin sweeping from a corner of the room, working your way towards the center or the exit. This ensures that you cover the entire floor without missing any areas.
- Use long, even strokes: Sweep in long, smooth strokes, applying even pressure to the broom. This will help collect dust and debris more efficiently.
- Overlap each stroke: To make sure you don’t miss any spots, slightly overlap each stroke with the previous one. This ensures thorough coverage and prevents any areas from being left untouched.
- Pay attention to corners and edges: As you sweep, make sure to focus on the corners, edges, and baseboards. Dust and dirt tend to accumulate in these areas, so sweeping along the edges helps ensure a cleaner overall result.
- Move methodically: It’s important to move methodically throughout the room, working in a steady and organized manner. This prevents you from missing any sections and helps maintain a consistent flow.
Take your time while sweeping and be thorough in your approach. By following these steps, you’ll be well on your way to a cleaner and tidier floor.
Read more: How To Do Chimney Sweeping
Step 5: Proper disposal of debris
Once you’ve finished sweeping, it’s crucial to properly dispose of the debris you’ve collected. Here’s how to do it:
- Use a dustpan: Carefully sweep the collected debris into the dustpan using the bristles of the broom. Make sure to collect as much debris as possible to leave the floor clean.
- Transfer to a trash bag or dustbin: Empty the contents of the dustpan into a trash bag or a designated dustbin. If you’re using a dustbin, ensure that it has a secure lid to prevent the debris from spilling out.
- Seal the bag or secure the lid: If you’re using a trash bag, tie it securely to prevent any dust or debris from escaping. This will help keep your surroundings clean and prevent any further mess.
- Dispose of correctly: Take the bag of debris or the sealed dustbin to the appropriate waste disposal area. Follow your local regulations and guidelines for proper waste disposal to ensure that you’re disposing of it responsibly.
Remember, it’s important to dispose of the debris promptly to maintain a clean and healthy environment. Proper disposal also prevents the spread of dust and allergens, which can contribute to respiratory issues and allergies.
Step 6: Final touch-ups
After sweeping and disposing of the debris, it’s time for the final touch-ups to ensure a clean and polished floor. Here are some final steps to consider:
- Inspect the floor: Take a moment to inspect the floor and look for any remaining dust or debris. If you notice any areas that still need attention, use a handheld brush or a small broom to spot clean those spots.
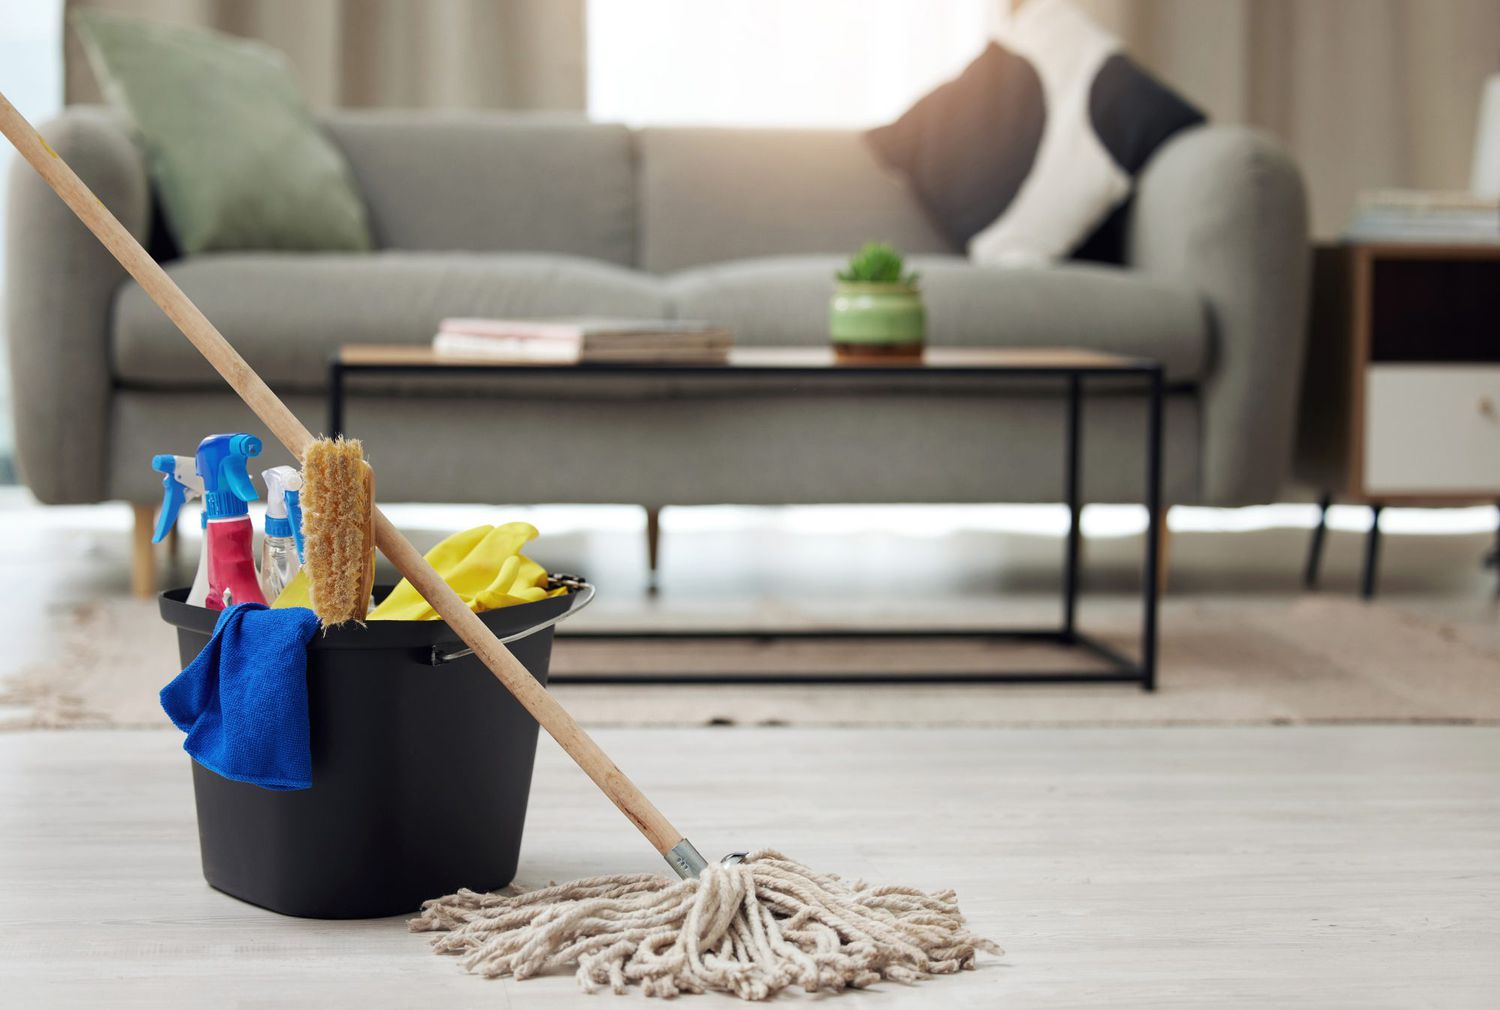
- Spot mop if necessary: If you come across any stubborn stains or spills during your inspection, consider spot mopping the affected area. Use a mild cleaner appropriate for your flooring type and a clean cloth or mop to gently remove the stain.
- Promptly clean the equipment: Once you’re satisfied with the cleanliness of the floor, clean your broom, dustpan, and any other tools you used for sweeping. This helps to maintain their effectiveness and prevents the transfer of dirt to the next cleaning session.
- Store the equipment properly: Find a dedicated storage space for your cleaning tools to keep them organized and in good condition for future use. Hang brooms or place them upright to prevent the bristles from bending or deforming.
- Admire your clean floor: Take a moment to appreciate your hard work and enjoy the satisfaction of a clean and tidy floor. Breathe in the fresh atmosphere and revel in the improved aesthetics of your space.
By performing these final touch-ups, you’ll ensure that your floor is spotless and ready to be admired by all who walk upon it.
Conclusion
Sweeping the floor may seem like a mundane task, but when done properly, it can make a significant difference in the cleanliness and overall appearance of your space. By following the steps outlined in this article, you can sweep like a pro and achieve optimal results.
From gathering the necessary equipment to preparing the floor and choosing the right technique, each step plays a crucial role in ensuring effective sweeping. By taking the time to clear the area, dust surfaces, and close doors and windows, you create an ideal environment for sweeping.
Choosing the right technique, such as parallel sweeping, crisscross sweeping, or edge sweeping, allows you to cover the entire floor and reach tight corners. By using long, even strokes and paying attention to details, you can achieve a thorough cleaning.
Proper disposal of the debris is equally important. Using a dustpan to collect the debris and transferring it into a secure trash bag or dustbin ensures a clean and sanitary space. Following the appropriate waste disposal regulations helps maintain a healthier environment.
Lastly, don’t forget the final touch-ups. Inspect the floor for any remaining debris, spot mop if necessary, and clean and store your equipment properly for future use. Taking these extra steps ensures a polished and well-maintained floor.
So, the next time you need to sweep your floors, remember these steps and put them into practice. Sweeping can be a meditative and rewarding task, and with the right techniques and attention to detail, you’ll be able to enjoy a clean and inviting space.
Happy sweeping!
Frequently Asked Questions about How To Sweep The Floor
Was this page helpful?
At Storables.com, we guarantee accurate and reliable information. Our content, validated by Expert Board Contributors, is crafted following stringent Editorial Policies. We're committed to providing you with well-researched, expert-backed insights for all your informational needs.




0 thoughts on “How To Sweep The Floor”