Articles
How To Soundproof Floor
Modified: October 23, 2024
Learn how to soundproof your floor with these helpful articles. Find expert tips and advice to reduce noise and create a peaceful environment in your home.
(Many of the links in this article redirect to a specific reviewed product. Your purchase of these products through affiliate links helps to generate commission for Storables.com, at no extra cost. Learn more)
Introduction
Are you tired of the constant noise from the floor above? Whether it’s the sound of footsteps, furniture being moved, or even the impact of dropping objects, a noisy floor can be a major annoyance. Fortunately, there are several effective methods for soundproofing your floor and creating a quieter and more peaceful living environment. In this article, we will explore step-by-step how to soundproof your floor and enjoy the benefits of a noise-free space.
Noise pollution not only disrupts our daily lives but can also have a negative impact on our health and well-being. Excessive noise can lead to stress, sleep disturbances, and reduced productivity. By soundproofing your floor, you can significantly reduce the amount of noise that enters or leaves your living space, creating a more comfortable and serene environment for everyone.
Before diving into the soundproofing process, it’s important to first identify the source of the noise. Is the noise coming from footsteps, moving furniture, or airborne sounds like music or voices? By pinpointing the main source, you can tailor your soundproofing efforts to effectively tackle the specific problem.
Once you have identified the noise source, it’s time to seal any gaps or cracks in your floor. These small openings can serve as channels for sound to easily travel through. Use a quality acoustic sealant to fill in these gaps and create a barrier that prevents sound transmission. Additionally, consider weatherstripping for doors and windows to further minimize sound infiltration.
The next step is to install a soundproof underlayment. This layer of material is placed between the subfloor and the flooring, helping to absorb and block sound vibrations. There are various types of underlayment available, such as foam, cork, or rubber, each with its own sound-dampening properties. Choose an underlayment that suits your specific needs and flooring type.
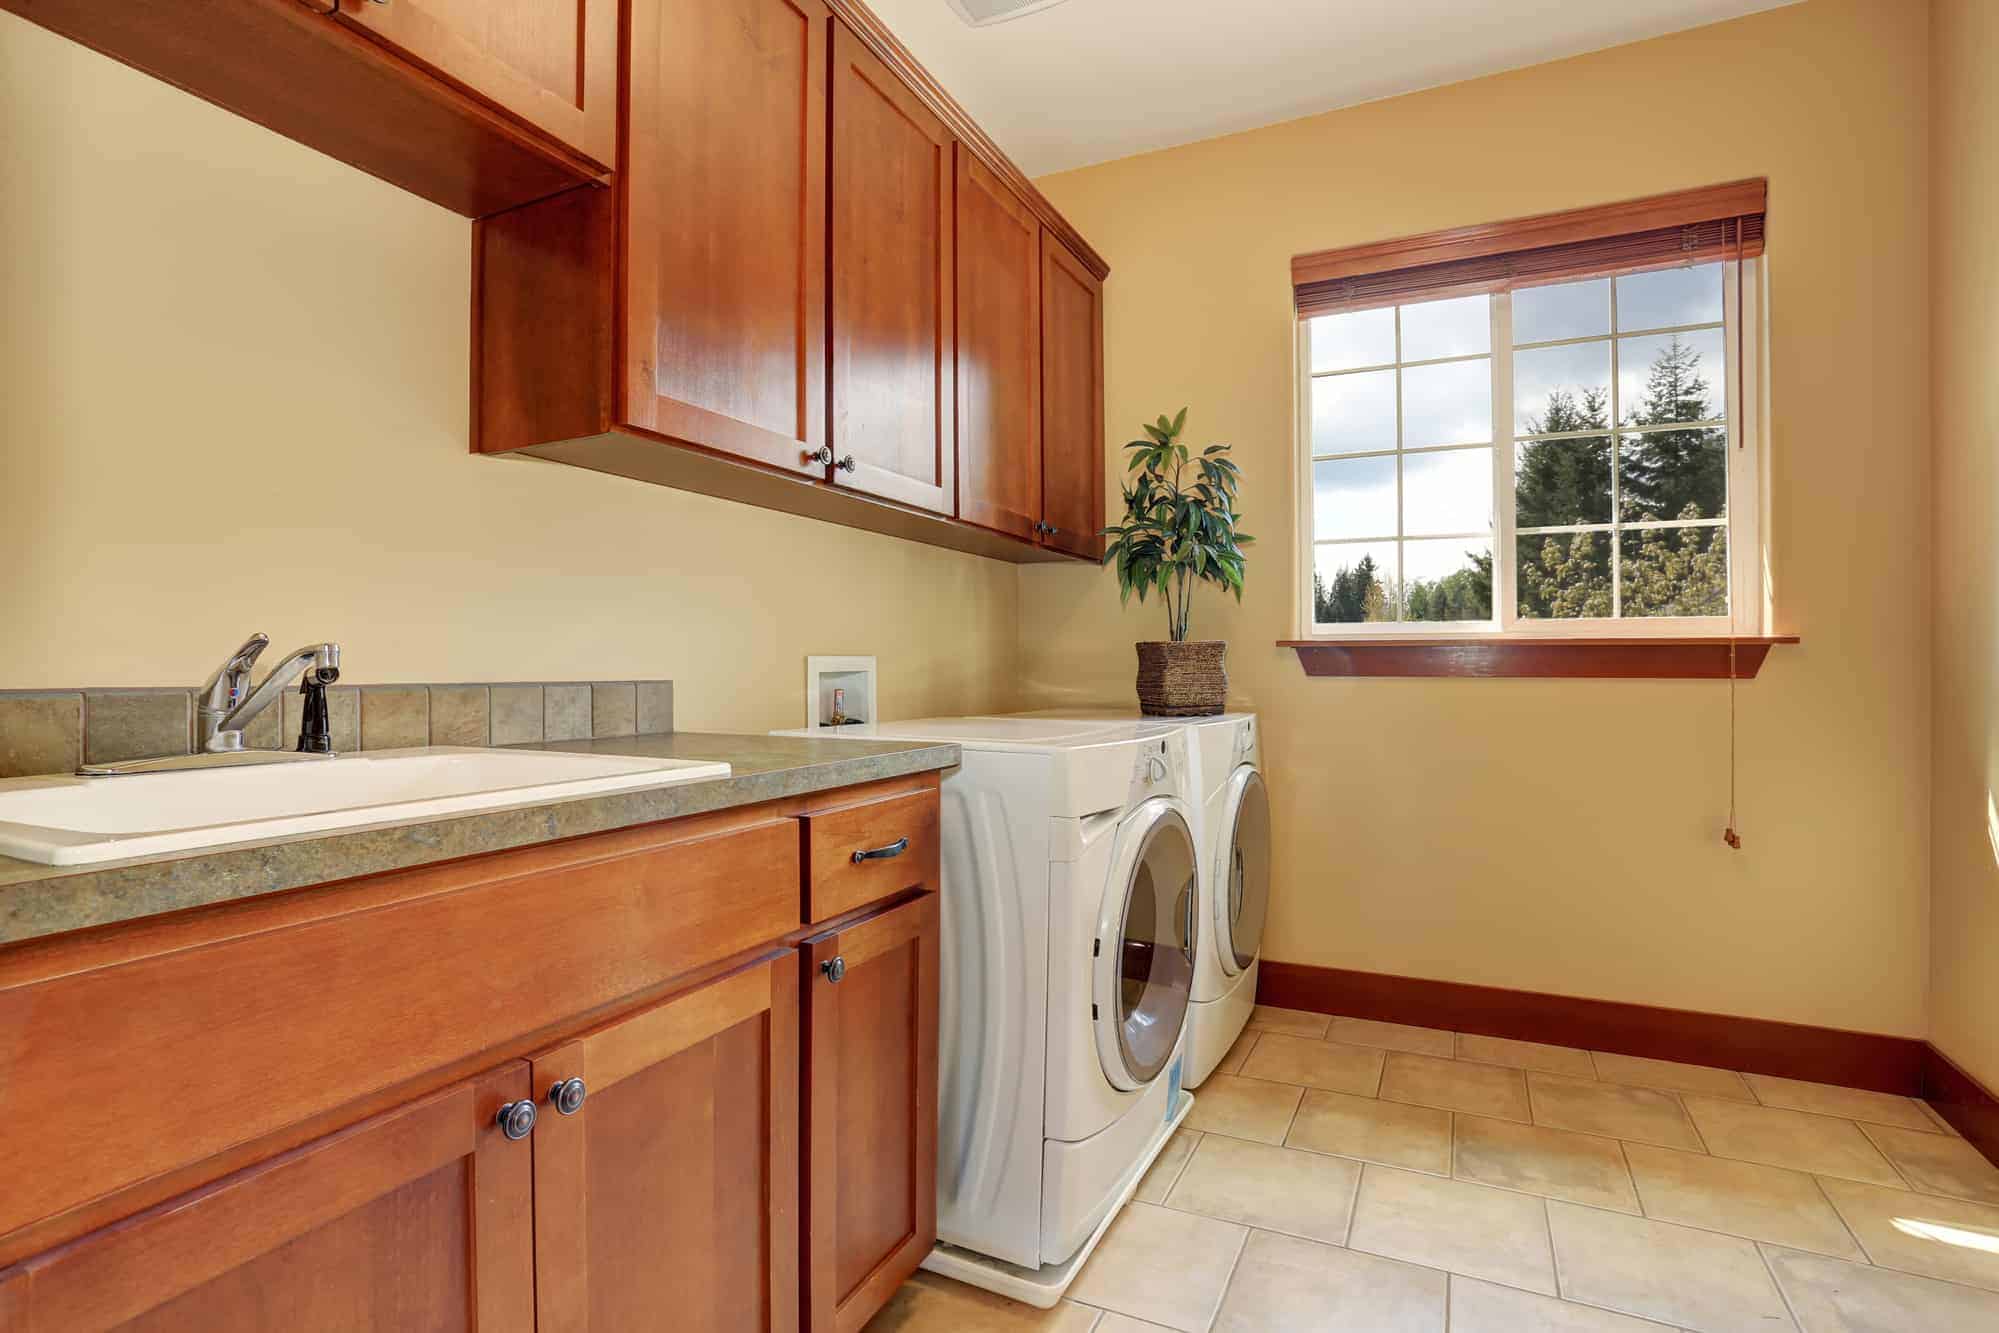
Upgrading your floor materials can also contribute to a quieter space. Some types of flooring, such as hardwood or tile, tend to amplify sound vibrations. Consider replacing them with more sound-absorbent materials like carpet or vinyl flooring. Additionally, opting for thicker flooring materials can help to further reduce noise transmission.
Creating soundproof barriers is another effective technique. You can install a layer of mass-loaded vinyl under the flooring or use thick curtains or room dividers to block sound waves. These barriers help to direct the sound away from your living areas, minimizing the impact of noise pollution.
Key Takeaways:
- Identifying the source of noise and customizing soundproofing efforts is crucial for creating a peaceful living environment. From sealing gaps to upgrading floor materials, a tailored approach is key to effective soundproofing.
- Regular maintenance and upkeep of soundproofing materials are essential for sustaining a quieter home. By staying proactive and addressing wear and tear, you can enjoy long-term benefits of a serene living space.
Read also: 12 Superior Soundproofing Floor for 2025
Step 1: Identify the Noise Source
Before embarking on the process of soundproofing your floor, it is crucial to identify the source of the noise. This step allows you to assess the specific problem and customize your soundproofing efforts accordingly. Here are some common noise sources that you may encounter:
- Footsteps: If you frequently hear footsteps from the floor above, it is likely that the noise is caused by the impact of people walking. The vibrations travel through the floor and reach your living space.
- Moving Furniture: Furniture being moved across the floor can generate loud noises. The scraping or dragging sound can be bothersome and disruptive.
- Airborne Sounds: Sometimes, the noise may come in the form of music, television, conversations, or other types of airborne sounds. These sounds can easily penetrate through ceilings and floors, affecting your peace and quiet.
- Structural Defects: In some cases, the noise problem might not be related to activities in the adjacent space but could be due to structural defects within your own floor. For example, squeaky floorboards can produce irritating creaking noises.
Take the time to carefully listen and observe to determine the primary noise source. It can be helpful to ask your neighbors or the occupants of the floor above for their input, as they may provide insights into the activities that could be contributing to the noise. By identifying the exact source of the noise, you can tailor your soundproofing efforts to directly address the problem.
Once you have determined the noise source, consider the specific characteristics of the noise. Is it a low-frequency thumping or a high-pitched squeaking? Understanding the nature of the noise will guide you in choosing the appropriate soundproofing solutions.
Remember that identifying the noise source might require patience, as it can be challenging to track down the exact origin. However, the effort invested in this initial step will pay off by ensuring that your subsequent soundproofing measures are focused and effective.
Step 2: Seal the Gaps and Cracks
Once you have identified the noise source, it’s time to take action and seal the gaps and cracks in your floor. These small openings act as pathways for sound waves to easily travel through, causing noise leakage. By sealing these gaps, you can create a barrier that prevents sound transmission and significantly reduces the level of noise.
To get started, thoroughly inspect your floor for any visible gaps or cracks. Common areas where you might find these openings include around baseboards, between floorboards, and at the junctions of walls and floors.
One of the most effective ways to seal the gaps is by using an acoustic sealant. Acoustic sealants are specifically designed to reduce sound transmission and have excellent adhesion to various materials, including wood, concrete, and tile. Apply the sealant along the gaps and cracks, ensuring that all areas are properly filled.
In addition to using acoustic sealant, consider applying weatherstripping for doors and windows. This helps to create an airtight seal and prevents sound from entering or leaving the room through these openings. Check the condition of existing weatherstripping and replace any worn-out or damaged strips for optimal soundproofing.
If you notice any gaps between the floor and the wall, use a backer rod before applying the sealant. Backer rods are foam or rubber rods that are inserted into larger gaps to provide a solid foundation for the sealant.
Remember to pay attention to any gaps or cracks in the ceiling below the noise source as well. Sound can easily travel through these openings, so sealing them is vital for effective soundproofing.
Once you have sealed the gaps and cracks, give the sealant sufficient time to dry and set properly before proceeding to the next step. It is recommended to follow the manufacturer’s instructions for the drying time to ensure the best results.
Sealing the gaps and cracks in your floor is a crucial step in the soundproofing process. By doing so, you create a solid barrier that prevents sound from entering or escaping, resulting in a significant reduction in noise levels and a more peaceful living environment.
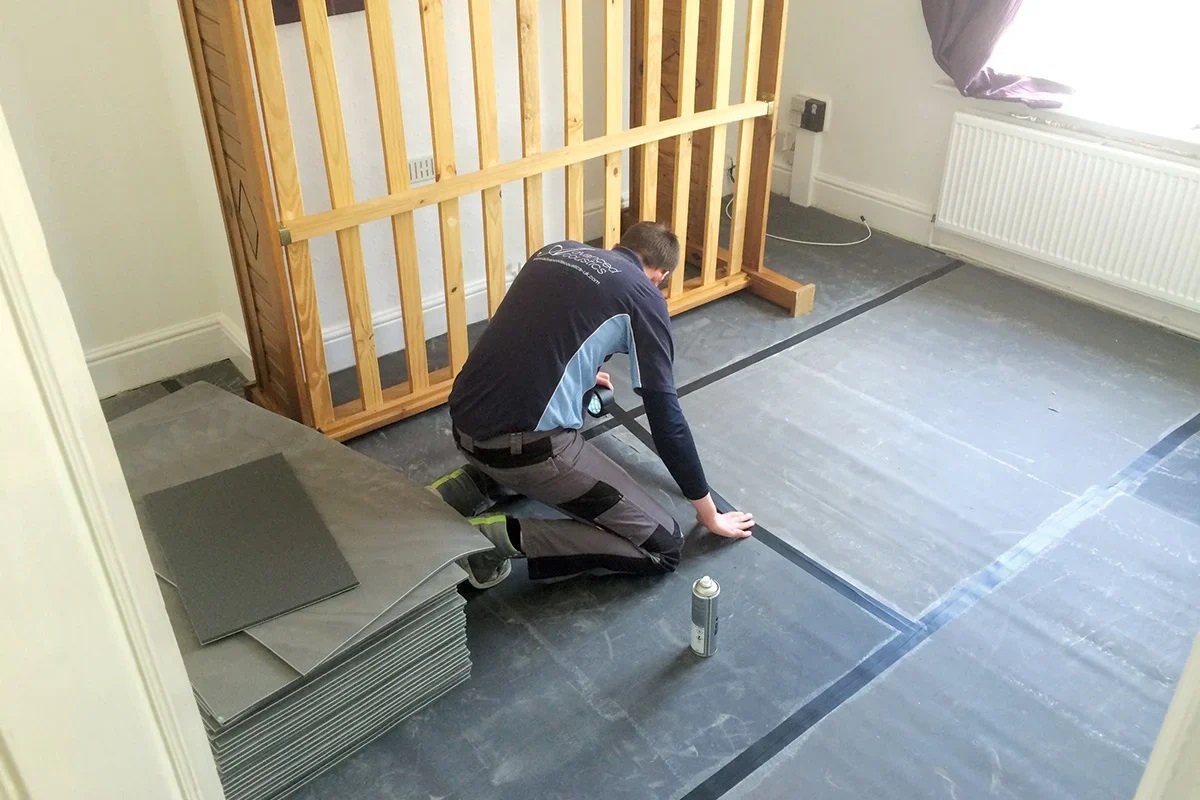
Step 3: Install Soundproof Underlayment
Installing soundproof underlayment is a highly effective method to further enhance the soundproofing of your floor. Soundproof underlayment is a layer of material that is placed between the subfloor and the finished flooring. It helps to absorb and dampen sound vibrations, preventing them from traveling through the floor and into your living space.
Before installing the underlayment, ensure that your subfloor is clean, dry, and free from any debris or irregularities. This will provide a smooth and stable surface for the underlayment to be installed on.
There are various types of soundproof underlayment available, such as foam, cork, or rubber. Each material has its own unique sound-dampening properties, so it is essential to choose the right type based on your specific needs and the type of flooring you have.
Foam underlayment is a popular choice as it is lightweight, easy to install, and provides excellent sound absorption. It comes in various thicknesses, so select one that suits your requirements. Cork underlayment is another option that offers exceptional sound insulation and is also eco-friendly. Rubber underlayment is known for its superior impact and noise reduction properties, making it ideal for areas with heavy foot traffic.
When installing the underlayment, carefully follow the manufacturer’s instructions. Some underlayments come with adhesive backing that allows for easy installation, while others may require a separate adhesive or tape. Make sure to secure the underlayment tightly and evenly to prevent any gaps or overlaps.
If you have a concrete subfloor, consider using a moisture barrier in conjunction with the underlayment. Moisture barriers help to prevent moisture from seeping into the underlayment and causing damage. This is especially important in basements or areas prone to moisture issues.
Once the soundproof underlayment is installed, you can proceed with laying your finished flooring on top. The underlayment will significantly reduce the transmission of impact noise, such as footsteps or furniture being moved, resulting in a quieter and more comfortable living environment.
Installing soundproof underlayment is an essential step in soundproofing your floor. It provides an additional layer of insulation and effectively absorbs sound vibrations, ensuring that unwanted noise is minimized and your space remains peaceful and tranquil.
Step 4: Upgrade Floor Materials
If you’re looking to achieve even better soundproofing results, consider upgrading your floor materials. Some types of flooring materials, such as hardwood or tile, tend to amplify sound vibrations, resulting in increased noise transmission. By replacing these materials with more sound-absorbent options, you can significantly reduce noise and create a quieter living space.
Carpeting is a popular choice for soundproofing floors as it has excellent sound-dampening properties. The soft fibers of the carpet act as a natural sound absorber, reducing the impact of footsteps and other noises. Opt for dense and thick carpeting as it provides better insulation against sound vibrations.
If you prefer hard flooring surfaces like hardwood or laminate, consider installing an underlayment specifically designed for sound absorption before laying the flooring. This will add an extra layer of insulation and help to reduce noise transmission. Additionally, selecting thicker and heavier flooring materials can also help to minimize sound transfer.
Another option to explore is luxury vinyl flooring. Luxury vinyl flooring is thicker and sturdier compared to regular vinyl flooring, which makes it more effective at reducing noise. It also offers a wide range of styles and designs to choose from, allowing you to enhance both the aesthetics and acoustics of your space.
It is important to note that if you live in an apartment or a multi-story building, you may have to consider factors such as building regulations or restrictions on floor material choices. Check with your landlord or building management to ensure you comply with any guidelines while still optimizing your soundproofing efforts.
When upgrading your floor materials, it is recommended to seek professional assistance, especially if you are unfamiliar with the installation process. Professional installation ensures that the materials are properly fitted and installed, maximizing their soundproofing capabilities.
By upgrading your floor materials to more sound-absorbent options, you can greatly reduce the impact of noise and create a calmer and more peaceful living environment.
Read more: How To Soundproof A Closet
Step 5: Create Soundproof Barriers
To further enhance soundproofing of your floor, you can create soundproof barriers that direct and absorb sound waves, preventing them from entering or leaving your living space. These barriers act as a physical obstruction, minimizing noise transmission and significantly reducing the level of unwanted noise.
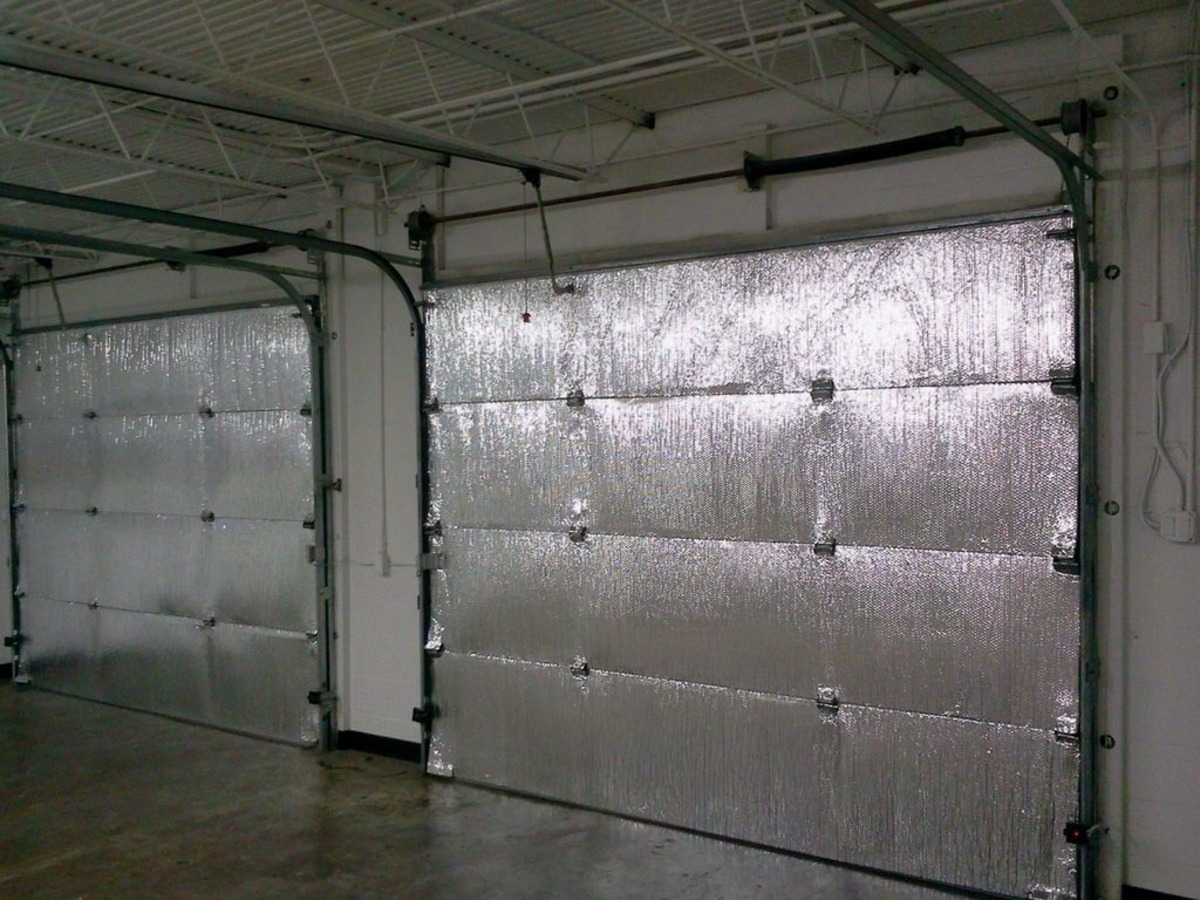
One effective method to create soundproof barriers is by installing a layer of mass-loaded vinyl (MLV) under your flooring. MLV is a dense, flexible material that is designed to block and absorb sound vibrations. It is particularly effective in reducing airborne sounds such as music, voices, and other external noises. Install the MLV by adhering it directly to the subfloor, ensuring full coverage and tight seams.
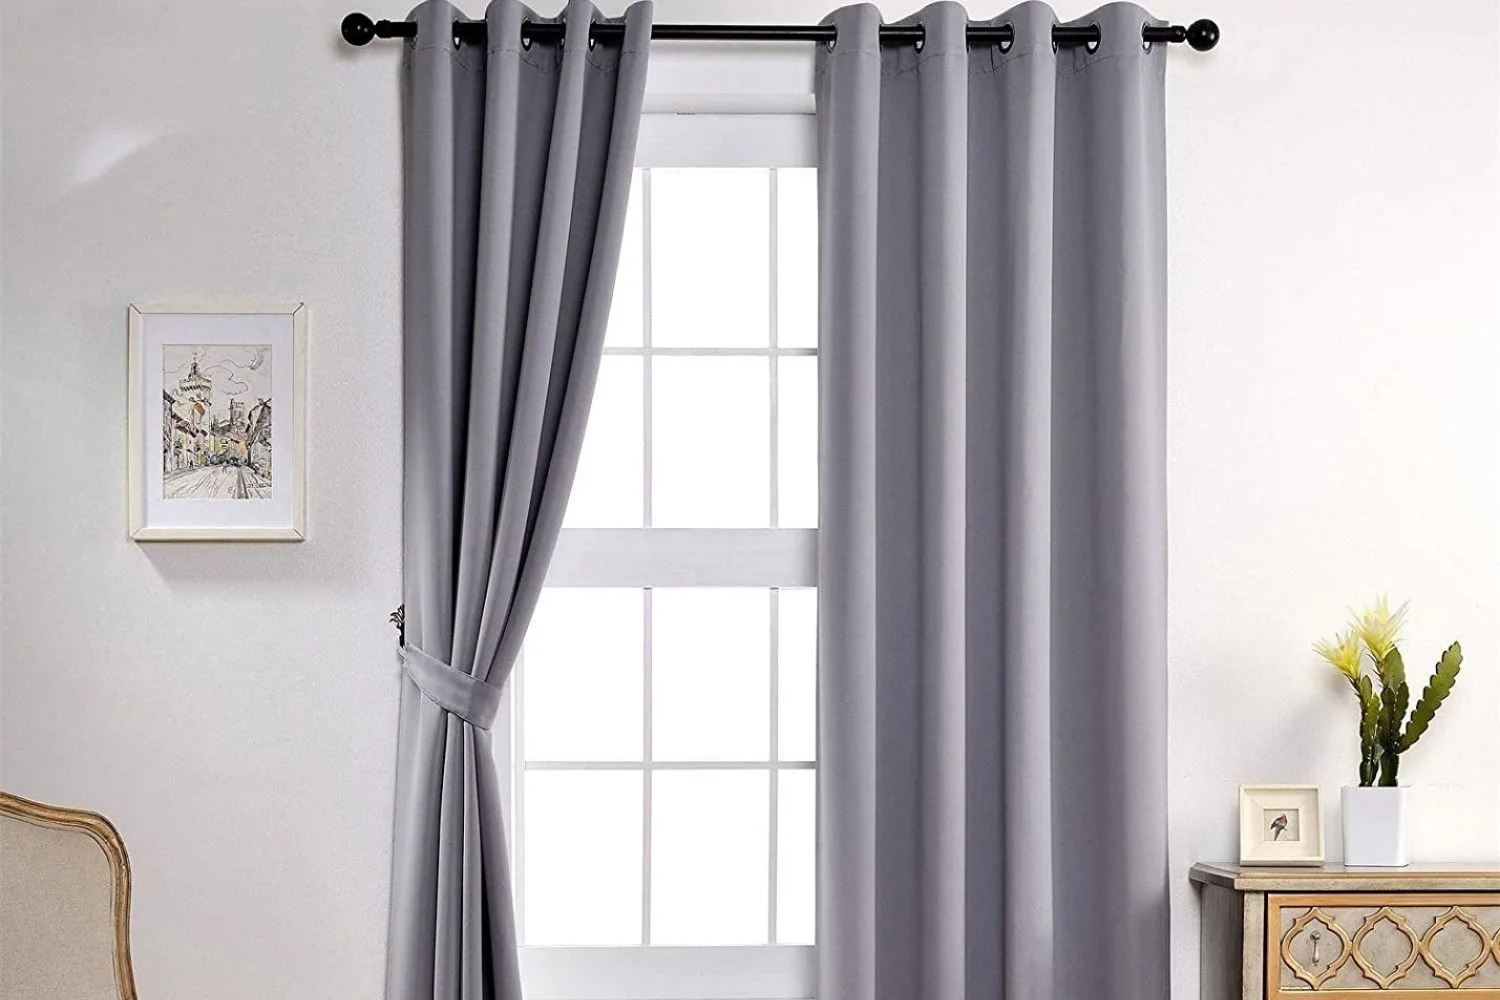
Another option is the installation of thick curtains or room dividers. Hanging heavy curtains or adding room dividers with sound-absorbing materials can help trap and dampen sound waves, preventing them from bouncing off surfaces and entering your living space. Make sure to choose curtains or dividers that are specifically designed for soundproofing purposes.
If you have an open-concept layout, you can use bookshelves, cabinets, or other furniture to create physical barriers that block and absorb sound. These objects act as obstacles that disrupt sound waves, reducing their intensity and preventing sound from traveling freely throughout the space.
Additionally, consider installing soundproofing panels on the walls adjacent to the noisy floor. Acoustic panels, made of materials like foam or fabric, are designed to absorb sound and reduce reverberation. These panels can be strategically placed to effectively absorb and dampen sound reflections, creating a more peaceful environment.
While creating sound barriers, it’s essential to cover all areas where sound can potentially enter or leave, including corners, gaps between walls and floor, and any other openings. Pay diligent attention to detail, ensuring that there are no gaps or leaks in the barriers that could compromise their effectiveness.
Creating soundproof barriers serves as a comprehensive approach to soundproofing your floor. These physical obstructions block and absorb sound waves, minimizing the impact of noise transmission and creating a quieter and more enjoyable living environment.
Use soundproof underlayment or acoustic mats to reduce impact noise from footsteps and other activities on the floor. These materials can help absorb and block sound transmission, creating a quieter environment.
Step 6: Add Rugs or Carpets
A simple yet effective way to reduce noise and improve the soundproofing of your floor is by adding rugs or carpets. These soft floor coverings help to absorb and dampen sound vibrations, minimizing the impact of footsteps, furniture movement, and other noises.
Rugs and carpets act as a natural sound absorber due to their thick and dense fibers. When placed on the floor, they help to trap and dissipate sound waves, preventing them from bouncing and echoing throughout the room. The thicker and heavier the rug or carpet, the better it will be at reducing noise transmission.
When selecting rugs or carpets for soundproofing purposes, consider opting for those with a higher pile or plush surface. This allows for better sound absorption and dampening. Additionally, consider placing a thick underlay beneath the rug or carpet for added insulation against sound vibrations.
If you have hard flooring surfaces like hardwood or tile, placing area rugs strategically in high-traffic areas can significantly reduce the impact of footsteps and other noises. Focus on areas such as entryways, hallways, and living spaces where noise tends to be more prevalent. Adding rugs or carpets in these areas can help to create a quieter and more comfortable living environment.
In addition to their sound-absorbing properties, rugs and carpets also offer other benefits such as improved thermal insulation and enhanced aesthetics. They can add warmth and style to your living space while simultaneously reducing noise levels.
Regular maintenance of your rugs or carpets is essential to ensure their longevity and optimal soundproofing performance. Vacuum them regularly to remove dust and debris that may accumulate between the fibers. Additionally, consider professional deep cleaning periodically to maintain their appearance and functionality.
Adding rugs or carpets is a cost-effective and versatile solution for soundproofing your floor. By incorporating these soft floor coverings, you can significantly reduce noise transmission and enjoy a quieter and more peaceful environment within your home.
Step 7: Use Soundproofing Paint or Wallpaper
If you’re looking for an innovative way to soundproof your floor, consider using soundproofing paint or wallpaper. These specialized products are designed to enhance the soundproofing capabilities of your walls and ceilings, reducing noise transmission and creating a more peaceful living environment.
Soundproofing paint is a unique type of paint that contains sound-absorbing materials. When applied to walls or ceilings, it forms a layer that helps to dampen sound vibrations and reduce noise. It works by converting sound energy into heat energy, effectively diminishing the impact of noise in your space. Simply apply the paint to the designated areas following the manufacturer’s instructions for the best results.
Soundproofing wallpaper, also known as acoustic wallpaper, is another option for soundproofing your floor. Similar to soundproofing paint, it contains sound-absorbing materials that help to reduce noise transmission. The wallpaper is applied to the walls using traditional wallpaper techniques, creating a barrier that absorbs and dampens sound vibrations.
When choosing soundproofing paint or wallpaper, look for products that are specifically designed for sound absorption and noise reduction. They should have high Noise Reduction Coefficient (NRC) ratings, indicating their effectiveness in reducing sound. Additionally, consider the aesthetics of the paint or wallpaper, ensuring that it complements your existing décor and style.
It’s important to note that soundproofing paint or wallpaper is most effective when combined with other soundproofing techniques such as sealing gaps, using soundproof underlayment, or installing acoustic panels. These methods work together to create a comprehensive soundproofing solution.
When applying soundproofing paint or wallpaper, follow the manufacturer’s instructions carefully for proper application and drying times. Taking the time to ensure a thorough and even application will optimize the soundproofing performance of these products.
Soundproofing paint and wallpaper offer a convenient and effective way to enhance the soundproofing of your floor by reducing noise transmission through the walls and ceilings. By incorporating these products into your soundproofing efforts, you can create a quieter and more peaceful living space.
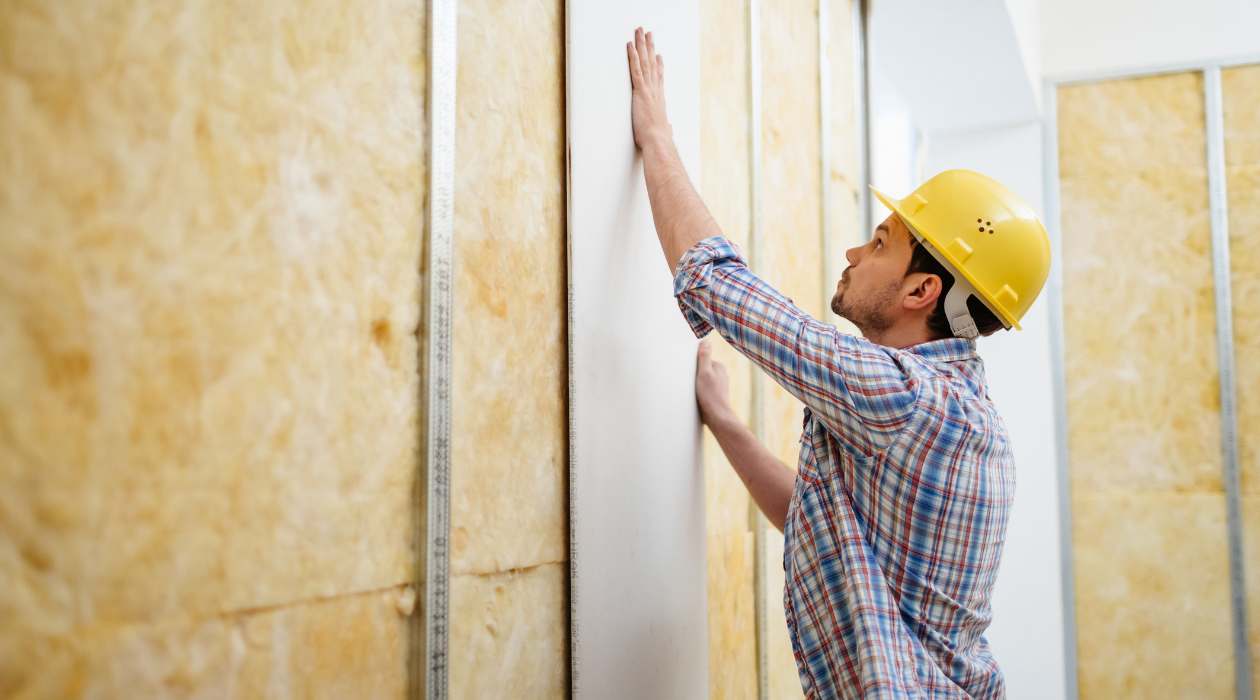
Step 8: Install Acoustic Panels
To further improve the soundproofing of your floor, consider installing acoustic panels. These panels are specially designed to absorb sound waves and reduce reverberation, resulting in a quieter and more acoustically balanced living space.
Acoustic panels are typically made of materials that have excellent sound-absorbing properties, such as foam, fabric, or fiberglass. They are available in various sizes, shapes, and designs, making it easy to find options that suit your aesthetic preferences and fit seamlessly into your existing decor.
The installation process for acoustic panels is relatively straightforward. The panels can be affixed directly onto the walls or ceilings using adhesive or hooks, allowing for easy removal or repositioning if needed. It’s important to follow the manufacturer’s instructions to ensure proper installation and maximize the soundproofing benefits.
When installing acoustic panels, focus on the walls adjacent to the noisy floor, as well as the ceiling if applicable. These areas are most likely to be affected by sound leakage. Place the panels strategically in areas where sound reflections and echoes are prominent, such as near hard surfaces or in large open spaces.
By absorbing sound waves, acoustic panels help to reduce noise propagation, creating a more controlled and comfortable acoustic environment. They are particularly effective at minimizing echoes and reverberation that can occur in rooms with hard surfaces like hardwood floors or walls made of materials that reflect sound.
Acoustic panels serve as an excellent complement to other soundproofing techniques, such as sealing gaps, using soundproof underlayment, or utilizing soundproofing paint or wallpaper. Combined with these methods, they can significantly improve the overall soundproofing performance of your floor.
When choosing acoustic panels, consider factors such as the thickness and density of the panels, as well as their Noise Reduction Coefficient (NRC) rating. The NRC rating indicates the sound absorption capabilities of the panels, with higher ratings indicating better sound absorption.
Investing in acoustic panels is a worthwhile step in your journey to soundproof your floor. They offer a practical and effective solution to enhance the acoustics of your space, creating a more peaceful and enjoyable living environment.
Read more: How To Soundproof A Shed
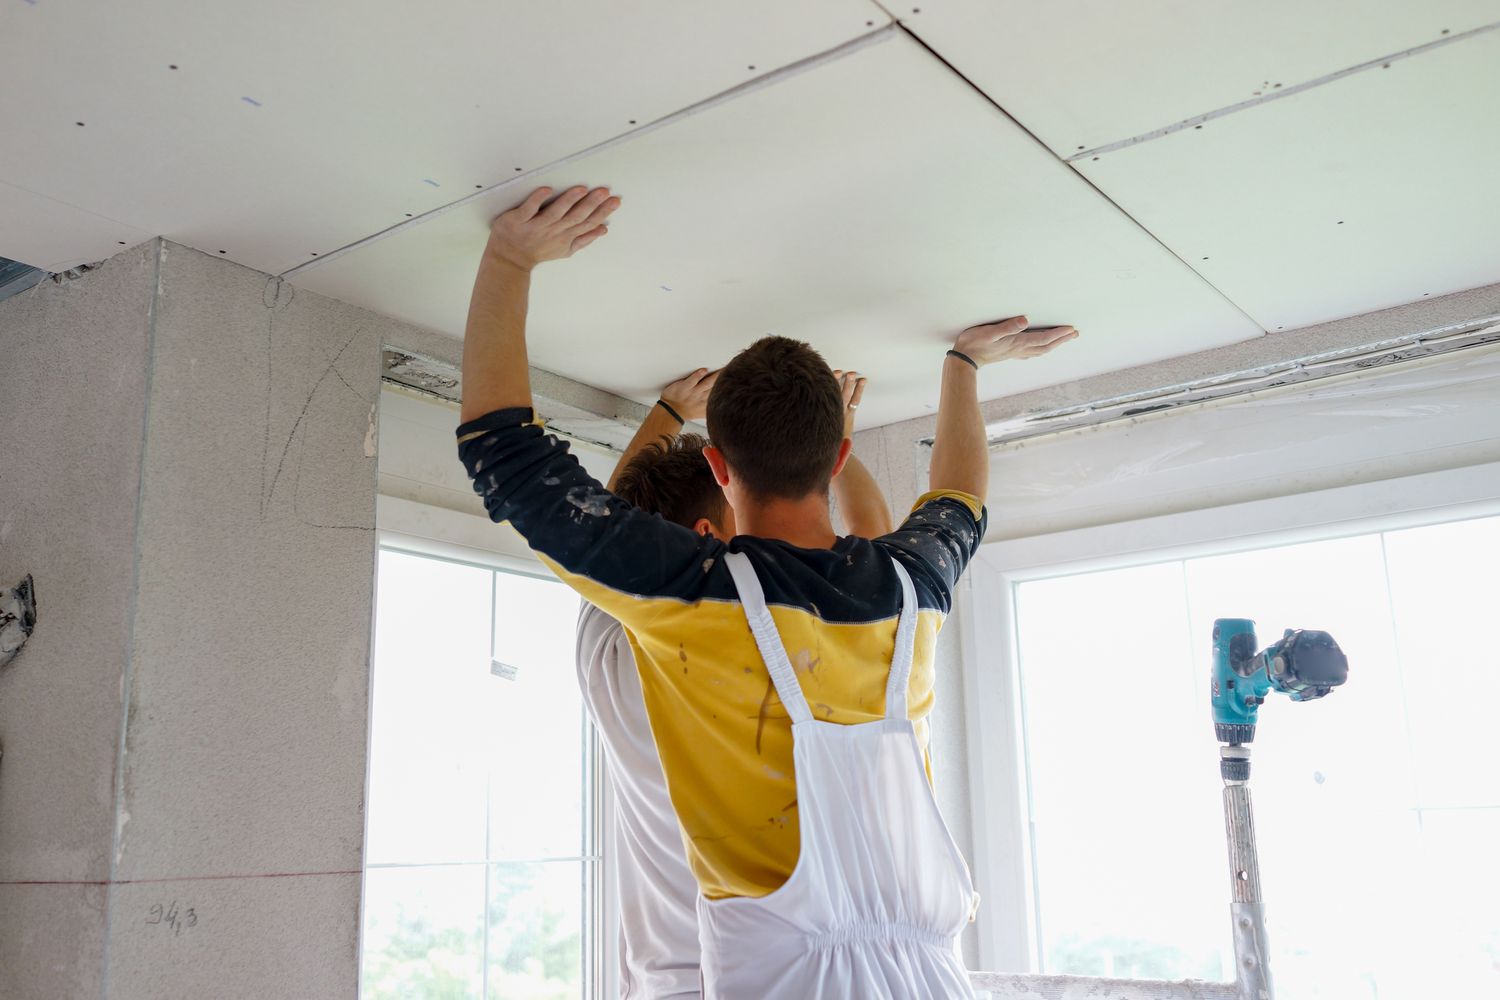
Step 9: Consider Ceiling Soundproofing
When soundproofing your floor, it’s important not to overlook the impact of noise that can come from the ceiling. Sound vibrations can easily travel through ceilings, especially in multi-story buildings, causing disturbances and reducing the overall effectiveness of your soundproofing efforts. Therefore, it’s essential to consider ceiling soundproofing as a crucial step in achieving maximum noise reduction.
One effective method for soundproofing the ceiling is by installing a ceiling soundproofing system. This typically involves adding a layer of soundproofing material to the existing ceiling structure. Common materials used for ceiling soundproofing include mass-loaded vinyl (MLV), mineral wool, or acoustic panels.
Mass-loaded vinyl, when applied to the ceiling, acts as a barrier that blocks and absorbs sound vibrations. It is typically installed between the existing ceiling and a new layer of drywall or suspended ceiling. This additional layer helps to reduce sound transmission from the floor above and creates a more acoustically insulated space.
Mineral wool, which is made from rock or slag fibers, is another option for ceiling soundproofing. It offers excellent sound absorption properties and can be installed in the ceiling cavity to reduce noise transfer. It also provides thermal insulation benefits, making it a versatile choice for both soundproofing and energy efficiency.
Acoustic ceiling panels or tiles are designed specifically for noise reduction and are a popular choice for commercial and residential environments. They are made of sound-absorbing materials that help to reduce reverberation and dampen sound vibrations. These panels can be easily installed onto the ceiling surface, providing effective soundproofing benefits.
Aside from these specialized soundproofing materials, there are additional measures you can take to further reduce noise transfer through the ceiling. These include sealing any gaps or cracks in the ceiling surface, insulating the ceiling cavity to minimize sound transmittance, and using resilient channel systems to decouple the ceiling from the floor structure.
It’s important to note that ceiling soundproofing may require professional assistance, especially if modifications to the existing ceiling structure are necessary. Consulting with an experienced contractor or soundproofing specialist can ensure the proper installation of soundproofing materials and optimize their effectiveness.
By addressing ceiling soundproofing as part of your overall floor soundproofing efforts, you can create a more comprehensive and effective solution to reduce noise transmission, resulting in a quieter and more peaceful living space.
Step 10: Regular Maintenance and Upkeep
Once you’ve implemented various soundproofing techniques to minimize noise from your floor, it’s important to prioritize regular maintenance and upkeep to ensure the continued effectiveness of your soundproofing measures. Regular maintenance helps to prolong the lifespan of soundproofing materials and ensures that they remain in optimal condition to provide maximum noise reduction.
Here are some key maintenance steps to consider:
- Inspect for Damaged Materials: Periodically inspect your soundproofing materials, such as acoustic sealant, underlayment, or acoustic panels, for any signs of damage or wear. Look for cracks, tears, or areas where the materials have deteriorated. If you spot any issues, take prompt action to repair or replace the damaged materials to maintain their soundproofing capabilities.
- Clean and Vacuum: Regularly clean and vacuum your soundproofing materials, especially if you have rugs, carpets, or acoustic panels. Dust and debris can accumulate over time and impact the sound-absorbing properties. Use a vacuum cleaner with a soft brush attachment to gently clean the surface of the materials, ensuring that they remain free from dirt and allergens.
- Address Gaps or Cracks: Inspect your floor periodically for any new gaps or cracks that may have developed. These openings can compromise the effectiveness of your soundproofing efforts, allowing sound to leak through. Seal any gaps or cracks promptly using appropriate sealant or filler to maintain a solid sound barrier.
- Consider Reinforcement: Over time, you may find that certain areas or materials of your soundproofing setup require reinforcement. For example, if you notice increased noise transmission in a particular spot, you may need to add an additional layer of soundproofing material or upgrade to a more substantial product.
- Stay Mindful of Wear and Tear: Monitor the condition of your floor, especially high-traffic areas, for signs of wear and tear. Frayed carpet edges, worn-out underlayment, or damaged flooring can compromise the soundproofing effectiveness. Address these issues promptly by repairing or replacing damaged components to maintain the integrity of your soundproofing system.
Regular maintenance and upkeep of your soundproofing measures are essential to ensure their long-term effectiveness. By staying proactive and addressing any issues that arise, you can continue to enjoy a peaceful and noise-free living space.
Remember, soundproofing is an ongoing process, and periodic maintenance allows you to address any changes in the sound environment and adapt your soundproofing measures accordingly. By remaining attentive to the condition of your soundproofing materials and implementing proper care, you can sustain the benefits of a quieter home for years to come.
Conclusion
Congratulations on completing the journey to soundproof your floor and create a quieter and more peaceful living environment. By following the ten steps outlined in this guide, you have taken significant strides towards minimizing noise transmission and enjoying a serene space free from disruptions.
Throughout the process, you have learned how to identify the noise source, seal gaps and cracks, install soundproof underlayment, upgrade floor materials, create soundproof barriers, add rugs or carpets, use soundproofing paint or wallpaper, install acoustic panels, consider ceiling soundproofing, and prioritize regular maintenance and upkeep.
By combining these different techniques and implementing them effectively, you have created a comprehensive soundproofing strategy that addresses both impact noise and airborne sound vibrations. Whether it be footsteps, furniture movement, or external noises, your efforts have significantly reduced their impact and created a more comfortable living space.
Remember, soundproofing is not a one-size-fits-all solution, and it’s important to customize your approach based on your specific needs and environment. Continuously monitor your space for any changes or new sources of noise, and be open to making adjustments and improvements as needed.
Additionally, ensure that you regularly maintain and upkeep your soundproofing materials to sustain their performance. This includes inspecting for any damage, cleaning and vacuuming rugs or carpets, addressing gaps or cracks in the floor, and reinforcing or upgrading materials as necessary.
By investing time and effort into soundproofing your floor, you have created a more serene and comfortable living space. Enjoy the benefits of reduced noise, improved well-being, and increased productivity in your daily life. Take this knowledge and experience forward, and share it with others who may be seeking ways to soundproof their own floors.
Remember, a soundproof floor is just one aspect of creating a peaceful home. Consider extending your soundproofing efforts to other areas like walls, windows, doors, and even ceiling soundproofing if needed to further enhance the tranquility of your living space.
May your newly soundproofed floor provide you with a haven of calmness and quiet, allowing you to fully enjoy your time at home without the distractions of unwanted noise.
Frequently Asked Questions about How To Soundproof Floor
Was this page helpful?
At Storables.com, we guarantee accurate and reliable information. Our content, validated by Expert Board Contributors, is crafted following stringent Editorial Policies. We're committed to providing you with well-researched, expert-backed insights for all your informational needs.


0 thoughts on “How To Soundproof Floor”