
Articles
How To Build A Floor
Modified: August 31, 2024
Learn how to make floor articles with our step-by-step guide. Get expert tips and tricks for creating beautiful and durable floors at home.
(Many of the links in this article redirect to a specific reviewed product. Your purchase of these products through affiliate links helps to generate commission for Storables.com, at no extra cost. Learn more)
Introduction
Having a beautiful and durable floor is essential for any home or commercial space. Whether you’re renovating or building from scratch, the process of making a floor involves careful planning, selection of materials, and precise installation. From assessing the space to cleaning and maintenance, every step plays a vital role in creating a floor that stands the test of time.
In this article, we will guide you through the process of making a floor, offering valuable insights and expert advice along the way. From assessing the space to selecting the right flooring material, preparing the subfloor to installing the underlayment, and finally, applying adhesive or nails and finishing the floor, we will cover it all. So, let’s dive in and discover how to transform your space with a stunning floor.
Key Takeaways:
- Transform your space with a stunning and durable floor by carefully assessing the space, selecting the right flooring material, and following expert installation and maintenance tips.
- Create a beautiful oasis in your home or commercial space with a professionally installed and well-maintained floor, enhancing both aesthetics and functionality.
Read more: How To Build Shower Floor
Assessing the Space
Before you begin the process of making a floor, it’s essential to assess the space where the floor will be installed. This step is crucial as it sets the foundation for the entire project. Here are a few key factors to consider:
- Functionality: Determine how the space will be used. Is it a high-traffic area, such as a hallway or kitchen? Or is it a more private space, like a bedroom or office? Understanding the purpose of the room will help you choose the right flooring material that can withstand the demands of daily use.
- Moisture Levels: Check the moisture levels in the room. Some flooring materials, like solid wood, can be prone to warping and damage in areas with high humidity or moisture. Consider using moisture-resistant or waterproof flooring options, such as laminate or vinyl, in spaces like bathrooms or basements.
- Subfloor Condition: Inspect the condition of the subfloor. Ensure that it is clean, dry, and level. Any irregularities or damage to the subfloor should be addressed before proceeding with the floor installation. This may involve repairing or replacing sections of the subfloor to create a strong and stable foundation.
- Room Size and Layout: Measure the dimensions of the room and consider its layout. This will help you determine the quantity of flooring material needed and plan the installation layout. Additionally, take note of any obstacles like doorways or pillars that may affect the installation process.
Taking the time to assess the space thoroughly will help you make informed decisions about the type of flooring material to choose and ensure a smooth and successful floor installation. Remember to consider the aesthetics of the space as well, as the flooring should complement the overall design and style of the room.
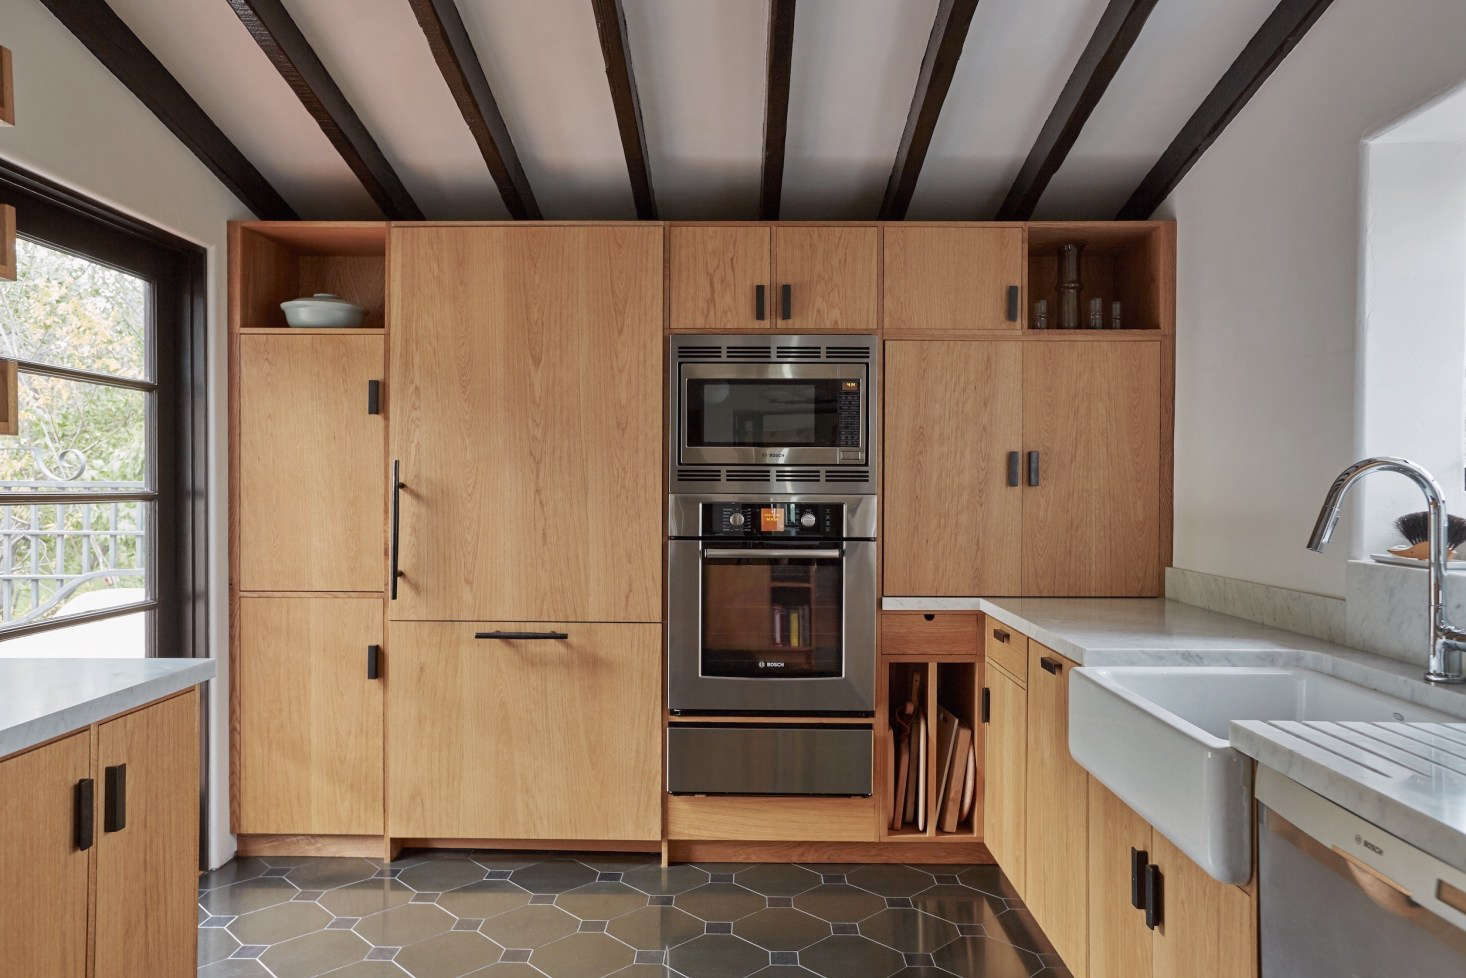
Selecting the Flooring Material
Once you have assessed the space and have a clear understanding of its requirements, it’s time to select the flooring material that best suits your needs and design preferences. There are various options available in the market, each with its own unique properties and aesthetics. Here are some popular flooring materials to consider:
- Hardwood: Hardwood flooring offers timeless beauty and durability. It is available in a wide range of species, colors, and finishes, allowing you to create a classic or contemporary look. Keep in mind that hardwood requires regular maintenance and can be susceptible to scratches and moisture damage.
- Laminate: Laminate flooring is a cost-effective and versatile option. It mimics the look of hardwood or tile and is available in a variety of styles and textures. Laminate is durable, easy to clean, and resistant to scratches and stains, making it suitable for high-traffic areas.
- Vinyl: Vinyl flooring is a popular choice for its affordability, durability, and versatility. It comes in a wide range of colors, patterns, and styles, including luxury vinyl planks that mimic the appearance of hardwood. Vinyl is water-resistant, making it suitable for bathrooms and kitchens.
- Tile: Tile flooring, whether ceramic or porcelain, offers a durable and easy-to-maintain option. It is available in a vast array of colors, sizes, and patterns, allowing for endless design possibilities. Tile is moisture-resistant and perfect for areas prone to spills or high humidity.
- Carpet: Carpet is a soft and comfortable flooring option that adds warmth and insulation to a space. It comes in various pile heights, colors, and designs, allowing you to create a cozy and inviting atmosphere. Carpet is best suited for bedrooms, living rooms, and areas where comfort is a priority.
Consider factors such as durability, maintenance requirements, comfort, and style when selecting the flooring material. It’s also essential to check the manufacturer’s recommendations and warranty information to ensure that the chosen material is suitable for the intended space and meets your expectations in terms of performance and longevity.
In the next steps, we will delve into the process of preparing the subfloor and installing the underlayment, which are crucial for a successful floor installation.
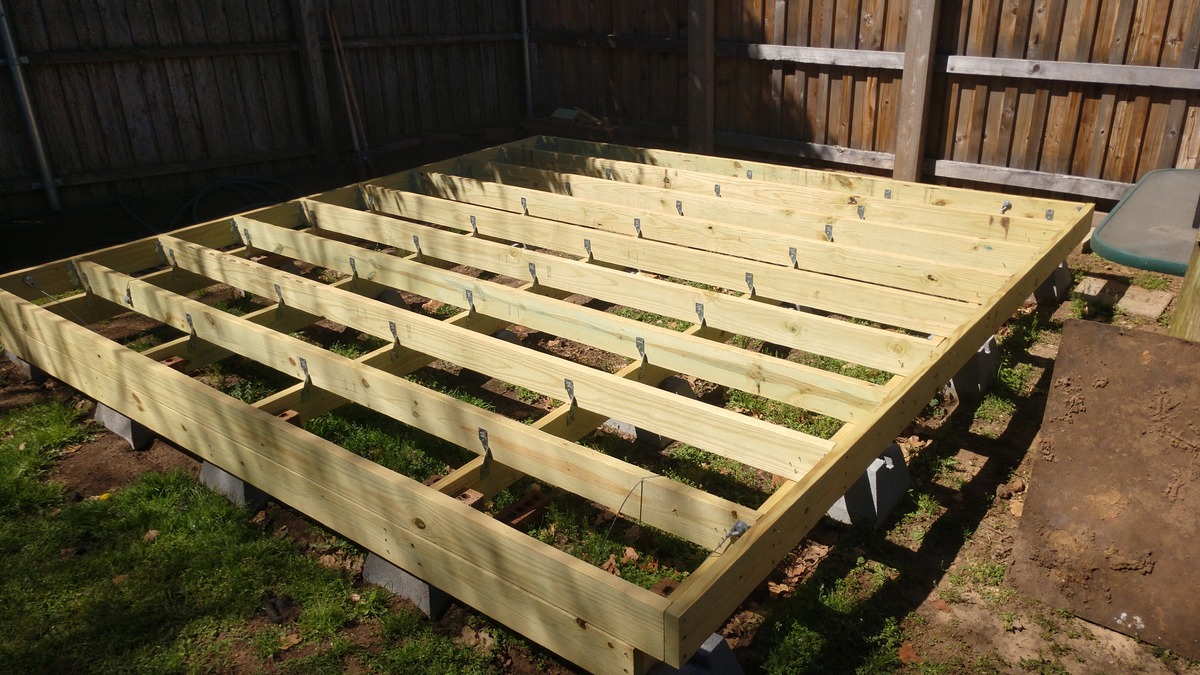
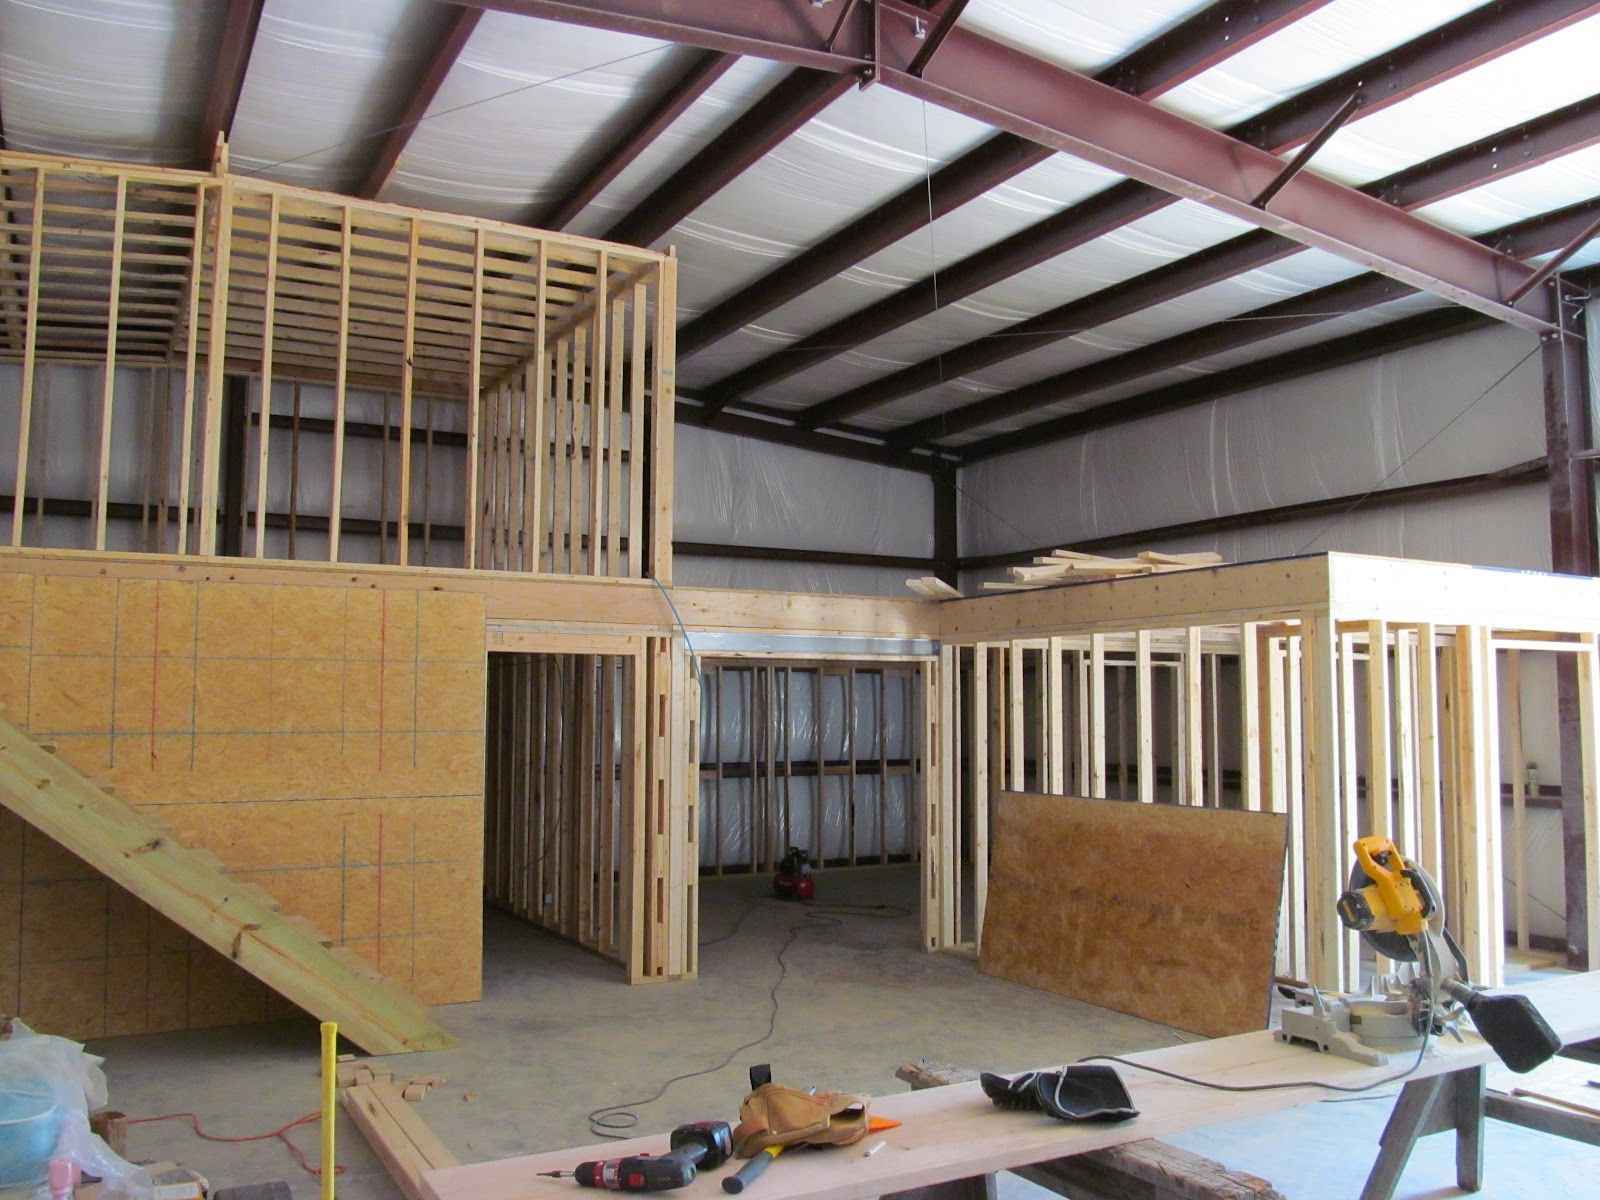
Preparing the Subfloor
Before installing any type of flooring, it is essential to properly prepare the subfloor. The subfloor is the structural layer that lies beneath the visible floor covering and provides stability and support. Here are the steps to prepare the subfloor for a successful floor installation:
- Clean the Subfloor: Remove any debris, dust, or dirt from the subfloor. Sweep or vacuum the area thoroughly to ensure a clean surface. Any loose or protruding nails should be hammered down or removed.
- Level the Subfloor: Check the subfloor for any unevenness or dips. Using a level, identify areas that need to be leveled out. Depending on the severity of the unevenness, you may need to use self-leveling compound or plywood to create a smooth and even surface.
- Address Moisture Issues: If you live in an area with high moisture levels or suspect moisture-related problems, take appropriate measures to address them. Install a vapor barrier or moisture barrier to prevent moisture from seeping through the subfloor and into the flooring material. This is particularly important for hardwood or laminate flooring.
- Repair Damaged Areas: Inspect the subfloor for any damage, such as rot or termite infestation. If you notice any areas that are compromised, replace or repair them before proceeding. It’s crucial to have a solid and stable subfloor to ensure the longevity and integrity of the flooring.
By preparing the subfloor properly, you create a solid foundation for your flooring installation. This not only ensures a smooth and level surface for the flooring material but also helps prevent any issues such as squeaking or movement in the future. Take the time to address any subfloor issues before moving on to the next step of installing the underlayment.
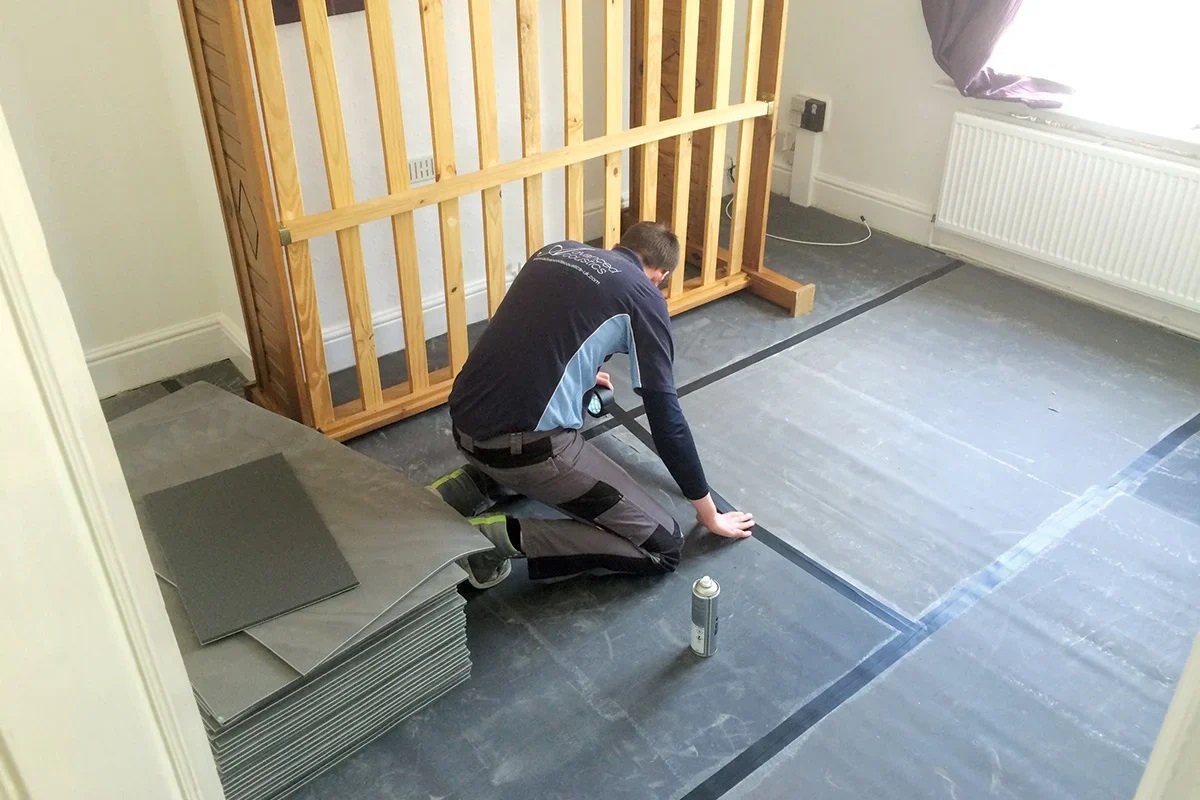
Installing the Underlayment
Once the subfloor is properly prepared, the next step in making a floor is to install the underlayment. The underlayment is a thin layer of material that is placed over the subfloor and beneath the actual flooring to provide additional support, insulation, and moisture protection. Here’s how to install the underlayment effectively:
- Choose the Right Underlayment: Select an underlayment material that is suitable for your flooring type. Options include foam, cork, plywood, or specialized underlayment specifically designed for certain types of flooring. Consider factors such as moisture resistance, insulation properties, and sound reduction when choosing the underlayment material.
- Cut and Lay the Underlayment: Measure the dimensions of the room and cut the underlayment material accordingly. It’s important to leave a small gap around the edges to allow for expansion of the flooring. Lay the underlayment, ensuring that it covers the entire area of the subfloor.
- Secure the Underlayment: Depending on the type of underlayment, you may need to secure it to the subfloor. This can be done using adhesive, staples, or nails, as recommended by the manufacturer. Avoid overlapping the underlayment seams, as this can create unevenness in the flooring.
- Check for Proper Alignment: Once the underlayment is installed, double-check for any wrinkles, gaps, or misalignment. These issues can affect the final appearance and performance of the floor. Use a straight edge or roller to smooth out any imperfections.
Installing the underlayment is a crucial step in the floor-making process as it provides an extra layer of protection and support. It also helps reduce noise transmission and improves the overall comfort of the flooring. Take the time to install the underlayment correctly to ensure a flawless installation of the floorboards or tiles that will follow in the next steps.
Read more: How To Build A Dance Floor
Layout and Measuring
Once the subfloor is prepared and the underlayment is installed, it’s time to move on to the layout and measuring phase of making a floor. This step is crucial as it ensures an accurate and aesthetically pleasing installation. Here’s what you need to do:
- Determine the Starting Point: Begin by deciding where to start the installation. In most cases, it’s best to start in a corner of the room, away from the main entrance. This allows for a more seamless and natural flow throughout the space.
- Mark Guidelines: Use a chalk line or straight edge to mark guidelines on the underlayment. These guidelines will serve as a reference point for laying the floorboards or tiles in a straight line. It’s important to ensure that these guidelines are level and aligned properly.
- Measure and Cut: Measure the length and width of the room to determine the size of each piece of flooring material. Allow for a small gap, usually around 1/4 inch, to account for expansion and contraction of the flooring. Use a saw or appropriate cutting tool to cut the floorboards or tiles to the necessary size.
- Create a Staggered Pattern: When laying floorboards, it’s best to create a staggered pattern instead of aligning the seams in a straight line. This creates stability and a more visually appealing appearance. Aim for randomness in the pattern to avoid obvious repetition.
During the layout and measuring phase, it’s important to take your time and be precise. Accuracy at this stage ensures a smooth and professional-looking installation. Make sure to double-check all measurements and keep the aesthetic aspect in mind when planning the layout. By following these steps, you’ll be well on your way to achieving a stunning floor in your space.
When making a floor, ensure that the subfloor is clean, level, and dry before installing any flooring material. This will help prevent any issues with the finished floor in the future.
Cutting and Fitting the Floorboards
Once you have completed the layout and measuring phase, it’s time to move on to cutting and fitting the floorboards. This step requires precision and attention to detail to ensure a seamless and professional installation. Here’s how to cut and fit the floorboards effectively:
- Start with the First Row: Begin by placing the first row of floorboards along the reference line or guideline you marked earlier. Use spacers to maintain a consistent gap between the floorboards and the wall. This gap allows for natural expansion and contraction of the flooring material.
- Measure and Cut: Measure the length of the space where the last floorboard of the row will be placed. Mark the measurement on the floorboard and cut it to the appropriate size using a saw. Remember to include the gap for expansion when making the cuts.
- Fit the Floorboards: Fit the cut floorboard into place, ensuring a snug and secure fit. Use a tapping block and rubber mallet to gently tap the floorboard into position. Make sure the boards are tightly connected and that there are no visible gaps between them.
- Continue with Subsequent Rows: Repeat the process of measuring, cutting, and fitting the floorboards for each subsequent row. Stagger the end joints by a minimum of 6 inches to create stability and an appealing pattern. Continue until you reach the final row.
Cutting and fitting the floorboards can be a challenging task, especially if you encounter irregular spaces or obstacles such as doorways or columns. Take your time and measure twice before making any cuts. It’s better to err on the side of caution and trim a little at a time, rather than cutting too much and ending up with a gap or ill-fitting floorboard.
Remember to periodically check the alignment and levelness of the floor while fitting the boards. This will ensure a consistent and visually pleasing installation. With patience and careful attention to detail, you can achieve a professional-looking floor with perfectly fitted and aligned floorboards.
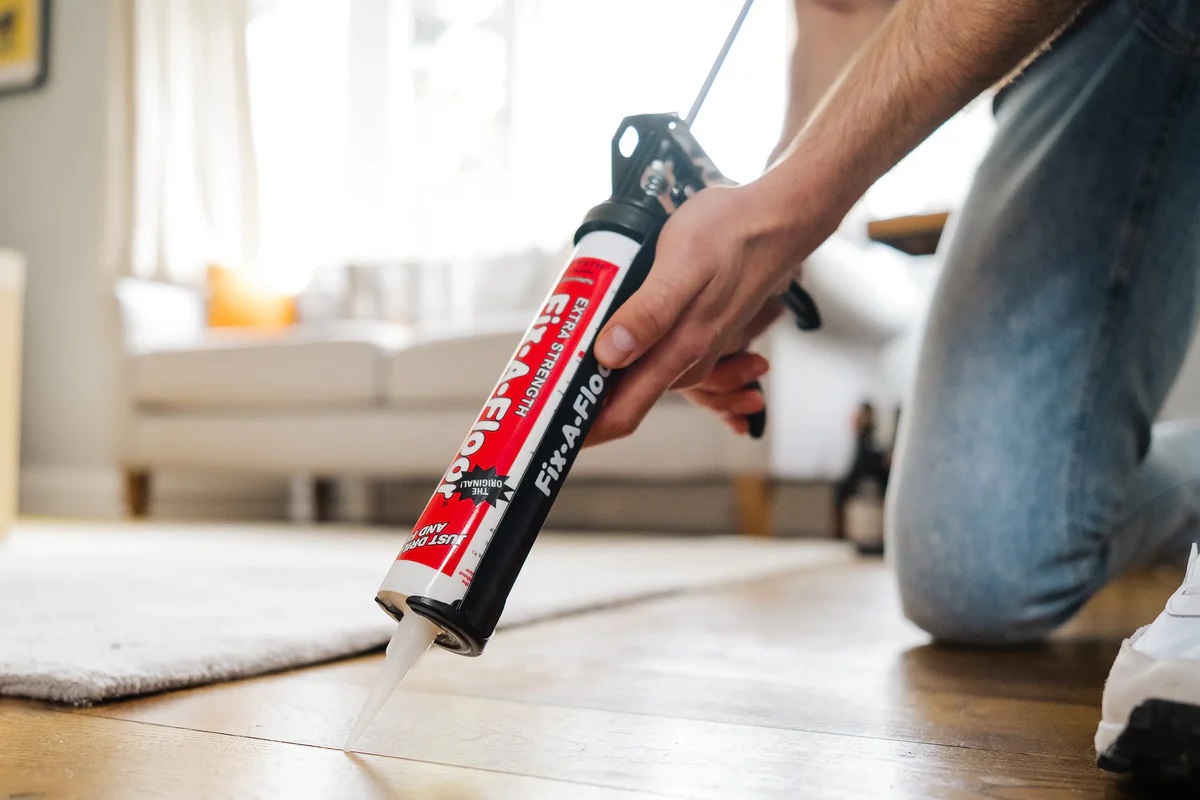
Applying Adhesive or Nails
Once the floorboards are cut and fitted into place, the next step in making a floor is to secure them with either adhesive or nails, depending on the type of flooring material and installation method. This step ensures stability and prevents the floorboards from shifting or dislodging over time. Here’s how to apply adhesive or nails effectively:
- For Adhesive Installation:
- Read and follow the manufacturer’s instructions for the specific type of adhesive you are using.
- Apply the adhesive evenly on the subfloor using a trowel or recommended application tool.
- Work in small sections, applying the adhesive as you go to prevent it from drying too quickly.
- Press the floorboards firmly into the adhesive, ensuring they are securely bonded to the subfloor.
- Use a weighted object or clamps to hold the floorboards in place while the adhesive sets.
- Follow the recommended drying and curing time before allowing foot traffic on the newly installed floor.
- For Nail Installation:
- Use a flooring nailer or a hammer and nails specifically designed for flooring installation.
- Place nails at a slight angle, driving them through the tongues of the floorboards into the subfloor.
- Space the nails approximately 6 to 8 inches apart, ensuring they are driven in flush with the surface of the floorboards.
- Pre-drill nail holes near the ends of the floorboards to prevent splitting.
- Countersink the nail heads slightly below the surface of the floorboards using a nail punch.
It’s important to follow proper installation guidelines when applying adhesive or nails to ensure a secure and long-lasting floor. Be sure to allow sufficient drying or curing time if using adhesive before subjecting the floor to regular use.
If you are unsure about which method to choose or have specific requirements for your floor installation, it’s always advisable to consult a professional flooring installer who can provide expert guidance and assistance.
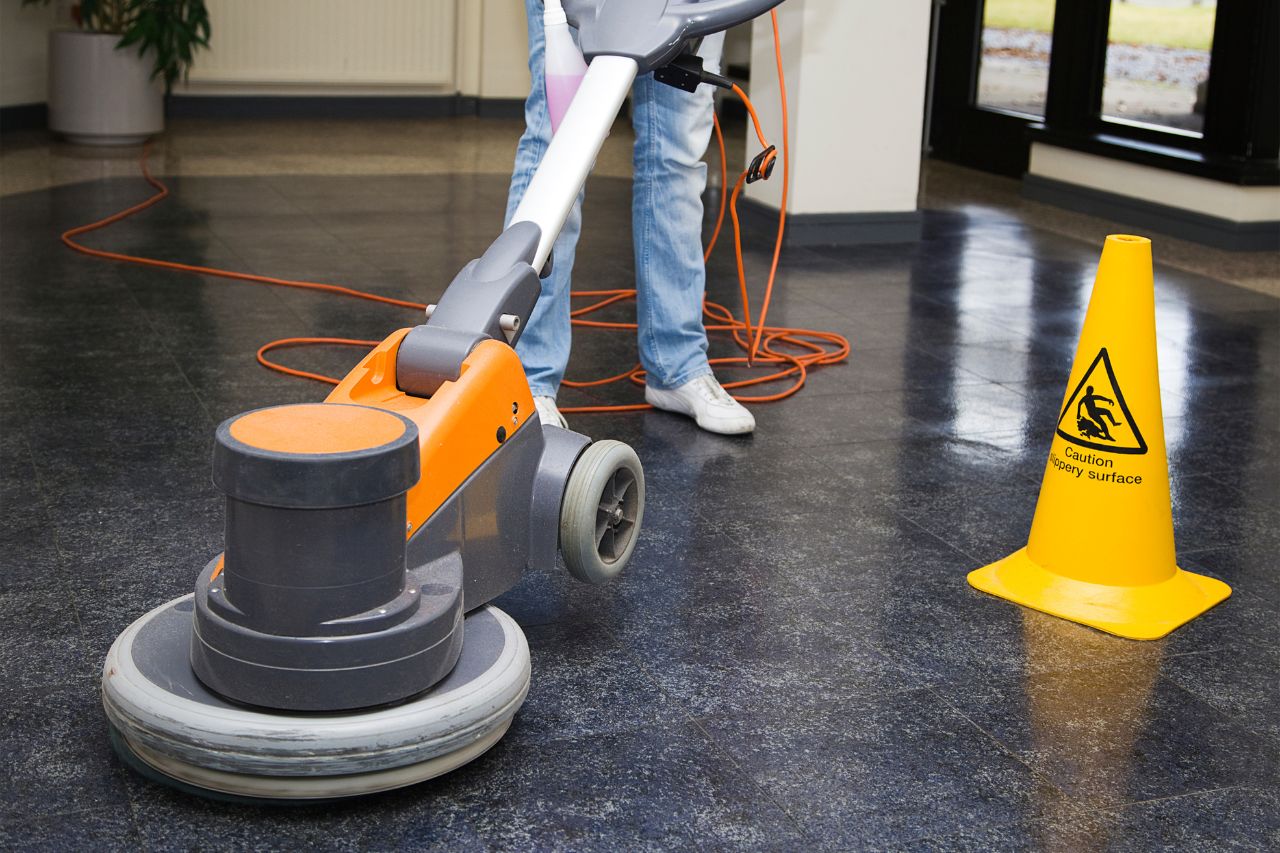
Finishing and Sealing the Floor
After the floorboards are securely installed, it’s time to finish and seal the floor. The finishing and sealing process not only enhances the appearance of the floor but also protects the surface from scratches, stains, and moisture. Here’s how to finish and seal the floor effectively:
- Clean the Floor: Before applying any finishing product, ensure that the floor is clean and free of dust and debris. Sweep or vacuum the floor to remove any loose particles.
- Choose the Finish: Select a finish that is suitable for your flooring material and desired look. Common options include polyurethane, varnish, oil-based finishes, or wax. Consider factors such as durability, ease of maintenance, and the desired sheen (matte, satin, or gloss) when choosing the finish.
- Apply the Finish: Follow the manufacturer’s instructions for applying the chosen finish. Use a brush, roller, or lambswool applicator to apply an even coat of finish to the floorboards. Work in small sections, ensuring that there are no puddles or uneven areas.
- Allow Drying and Cure Time: Give the finish ample time to dry and cure. This process can take anywhere from a few hours to several days, depending on the type of finish and environmental conditions. Avoid walking on the floor or placing furniture until the finish is fully cured.
- Seal the Floor (Optional): Depending on the flooring material and finish, you may opt to seal the floor for added protection. Sealants create a barrier that helps prevent moisture penetration and makes the floor easier to clean. Follow the manufacturer’s instructions to apply the sealant evenly and allow it to dry completely.
Finishing and sealing the floor not only adds an extra layer of protection but also enhances the natural beauty of the floor, making it shine and look more polished. Proper maintenance and regular cleaning will help preserve the finish and keep the floor looking its best for years to come.
Take care to follow safety precautions when applying finishes and sealants, ensuring good ventilation and wearing protective gear as needed. If you’re not confident in your DIY skills or prefer a professional touch, consider hiring a flooring specialist to handle the finishing and sealing process for you.
Read more: How To Build A Shed Floor
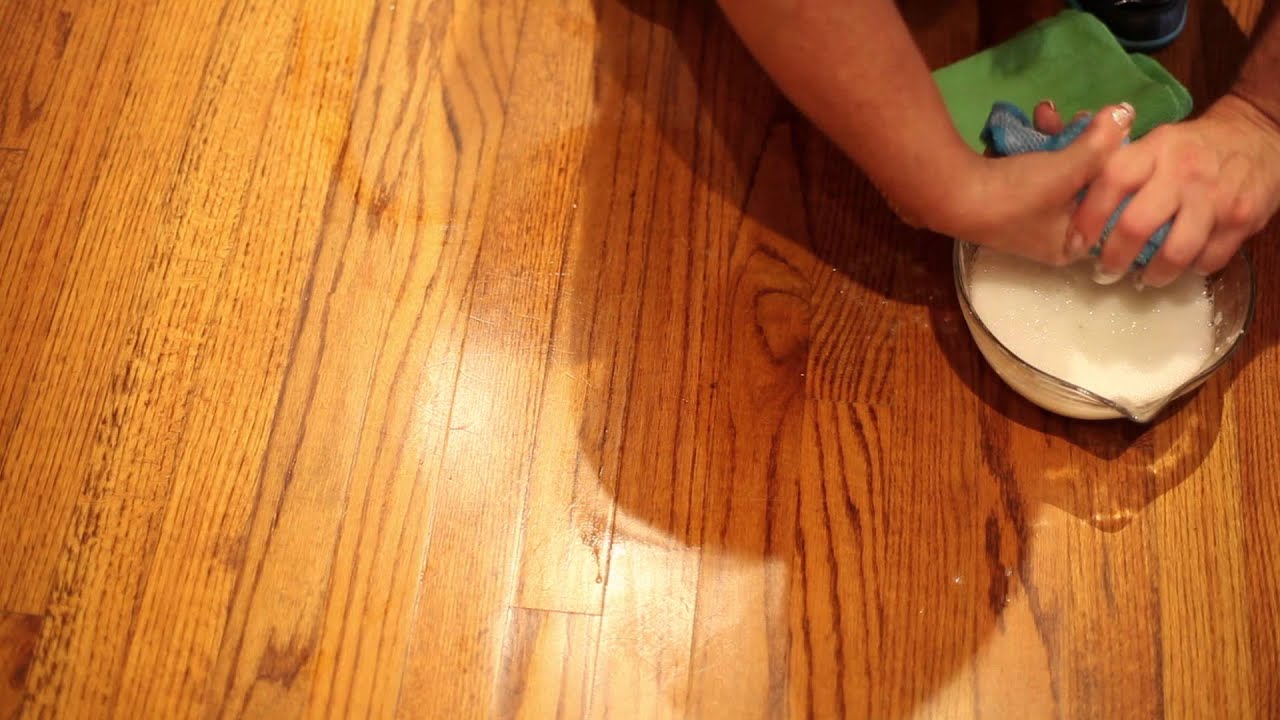
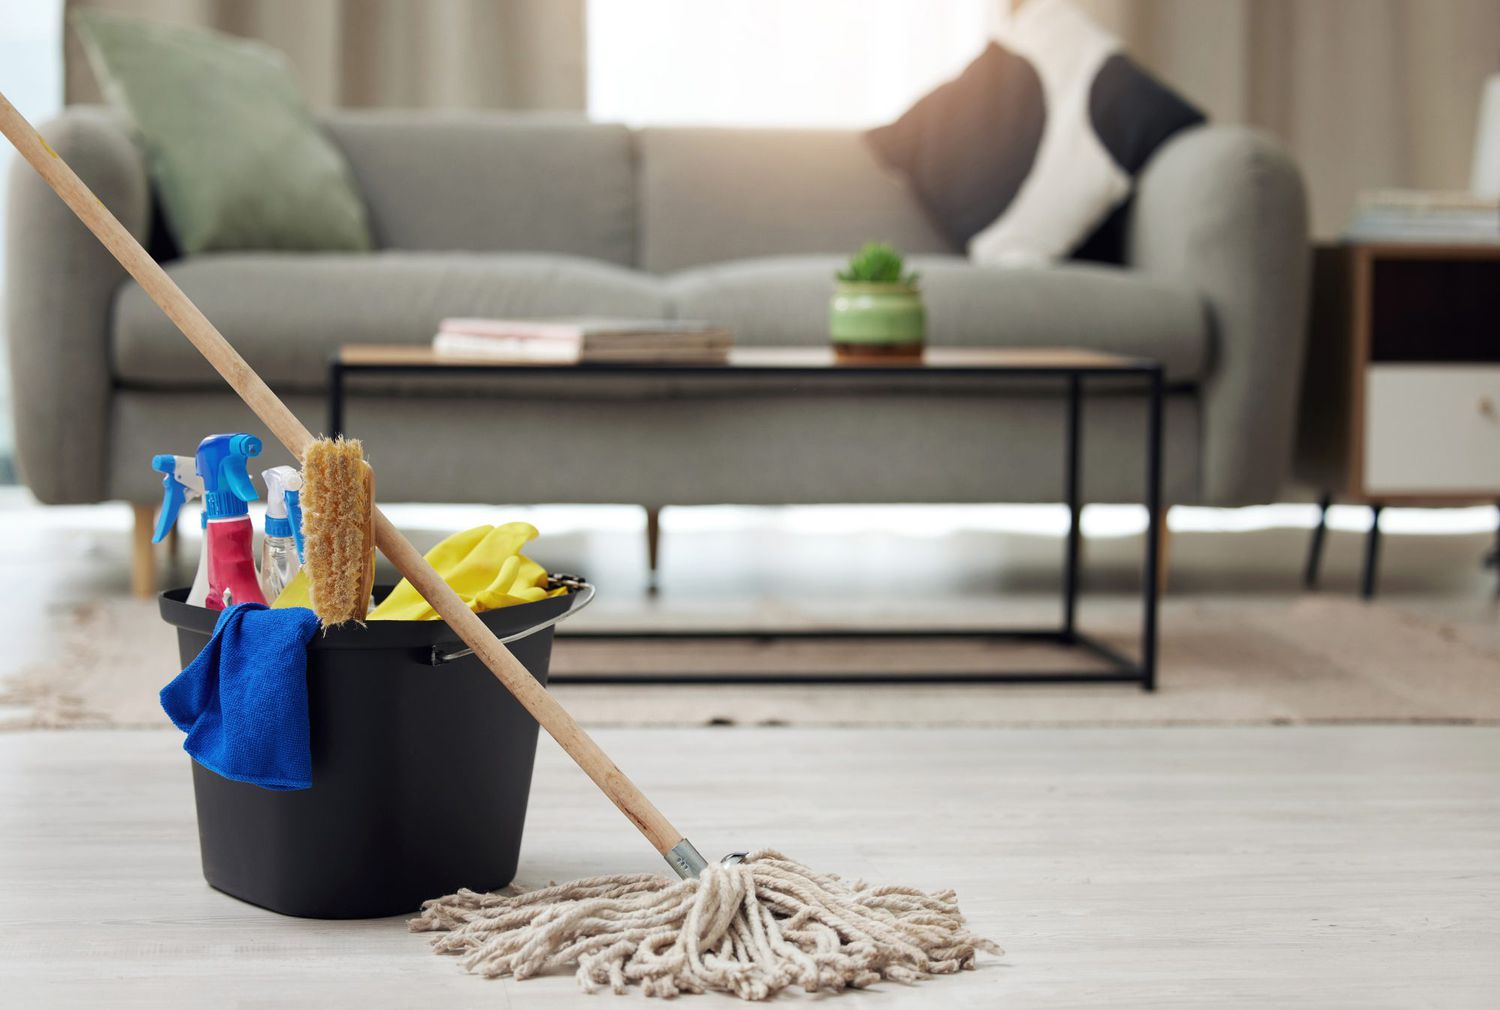
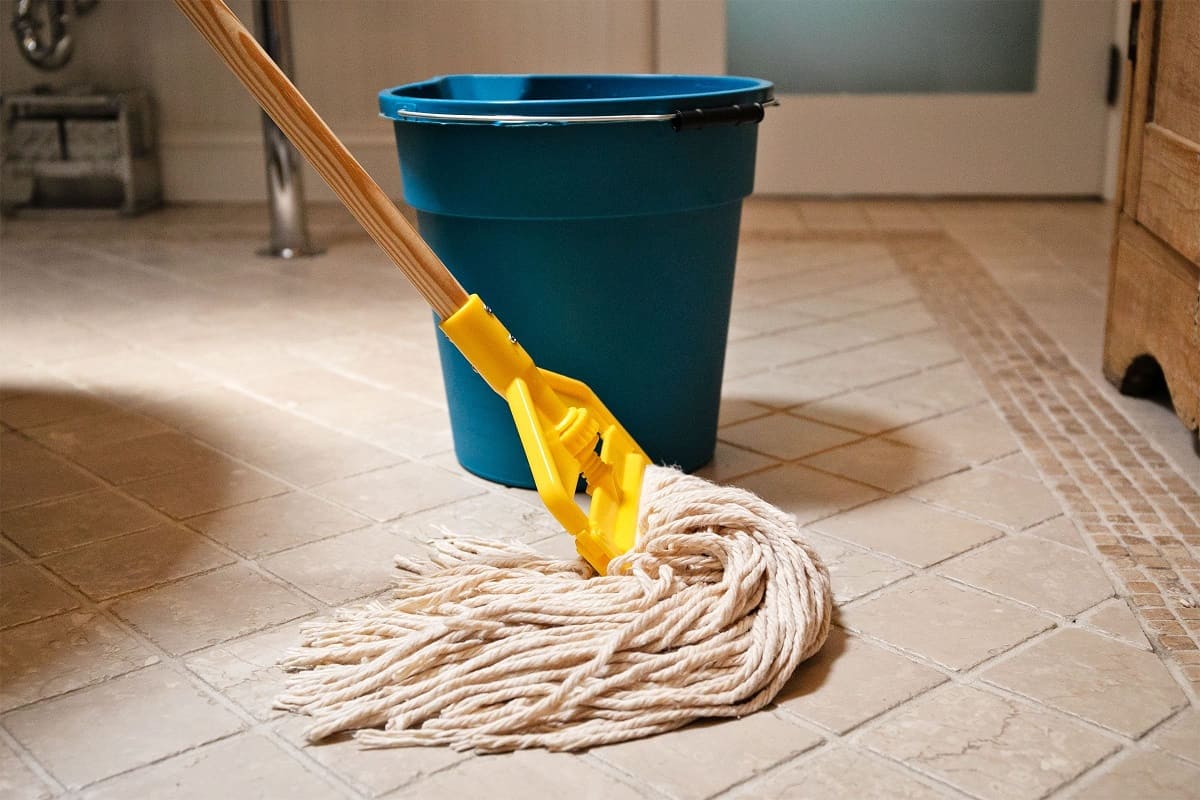
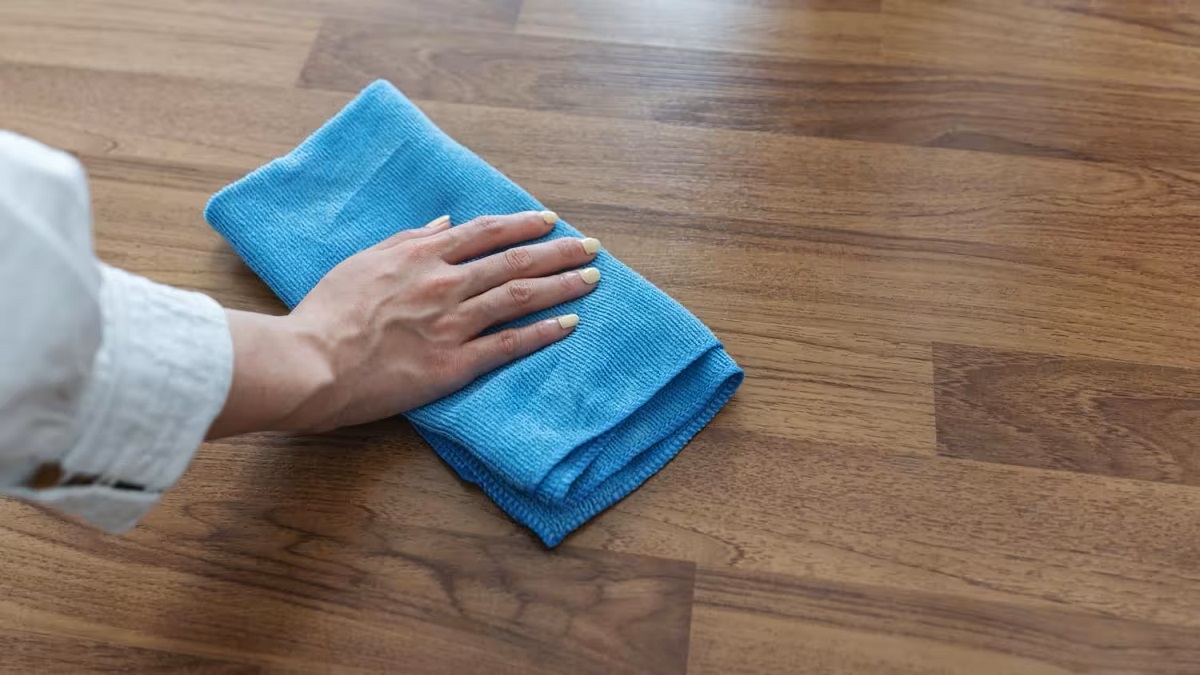
Cleaning and Maintenance
Proper cleaning and maintenance are vital for preserving the beauty and longevity of your floor. By following a regular cleaning routine and implementing a few maintenance practices, you can keep your floor looking pristine for years to come. Here are some cleaning and maintenance tips to keep in mind:
- Sweep or Vacuum Regularly: Remove loose dirt, dust, and debris from the floor by sweeping or using a vacuum with a soft brush attachment. This prevents scratches and abrasive particles from damaging the surface of the floor.
- Mop with Care: When mopping the floor, use a damp (not wet) mop and a mild cleaning solution specifically designed for your flooring type. Avoid excessive water, as it can seep into the joints and cause damage. Also, use the recommended cleaning products as harsh chemicals can strip the finish or discolor the floor.
- Wipe Spills Immediately: Clean up any spills or stains promptly to prevent them from penetrating the flooring material. Use a soft cloth or paper towel to blot the liquid and gently clean the area with a mild cleaning solution if necessary.
- Protect from Scratches and Dents: Place mats or rugs in high-traffic areas and near entrances to trap dirt and prevent it from scratching the floor. Use furniture pads or felt protectors under the legs of furniture to prevent scratches and dents when moving or rearranging items.
- Avoid Excessive Sun Exposure: Direct sunlight can fade and discolor certain flooring materials, especially wood. Use curtains, blinds, or UV-blocking window films to protect the floor from excessive sun exposure.
- Trim Pet Nails: If you have pets, regularly trim their nails to prevent them from scratching the floor. Additionally, train your pets to avoid scratching or damaging the floorboards.
- Follow Manufacturer’s Guidelines: Refer to the manufacturer’s guidelines for specific cleaning and maintenance instructions. They may provide recommendations on the frequency of cleaning, products to use, and any special maintenance considerations for your flooring material.
By implementing these cleaning and maintenance practices, you can extend the lifespan of your floor and keep it looking its best. Regular care and attention will help prevent damage, maintain the finish, and preserve the overall beauty of your floor.
Remember, different flooring materials may have specific cleaning requirements and limitations, so it’s essential to follow the instructions provided by the manufacturer. If you have any doubts or concerns, consult a flooring professional for further guidance.
Conclusion
Creating a stunning and durable floor involves careful planning, precise execution, and regular maintenance. By following the steps outlined in this article, you can successfully make a floor that enhances the aesthetics of your space while providing functionality and longevity.
From assessing the space and selecting the right flooring material to preparing the subfloor, installing the underlayment, and cutting and fitting the floorboards, each step plays a crucial role in the overall floor-making process. Applying adhesive or nails, finishing and sealing the floor, and implementing a cleaning and maintenance routine ensure that your floor remains in top condition for years to come.
Remember to consider the specific needs of your space, such as foot traffic, moisture levels, and subfloor conditions, when choosing the flooring material. Take the time to properly prepare the subfloor and install the underlayment, as these steps provide a solid foundation for the floor installation.
Whether it’s hardwood, laminate, vinyl, tile, or carpet, each flooring material offers its unique benefits and aesthetic appeal. By following the recommendations provided by the manufacturer and seeking professional guidance when needed, you can ensure a successful and visually pleasing floor installation.
Maintaining your floor through regular cleaning, proper care, and addressing any issues promptly will help preserve its beauty and functionality. By preventing scratches, cleaning spills promptly, and following the manufacturer’s guidelines, you can enjoy a beautiful floor that complements your space for years to come.
So go ahead and embark on your floor-making journey, armed with the knowledge and insights shared in this article. With a little effort and attention to detail, you can transform your space into a beautiful oasis with a stunning and long-lasting floor.
Frequently Asked Questions about How To Build A Floor
Was this page helpful?
At Storables.com, we guarantee accurate and reliable information. Our content, validated by Expert Board Contributors, is crafted following stringent Editorial Policies. We're committed to providing you with well-researched, expert-backed insights for all your informational needs.


0 thoughts on “How To Build A Floor”