
Articles
How To Take Apart A Kegerator Tap
Modified: October 20, 2024
Learn how to easily take apart a kegerator tap in this informative article. Discover step-by-step instructions and expert tips on dismantling your kegerator tap for maintenance or cleaning purposes.
(Many of the links in this article redirect to a specific reviewed product. Your purchase of these products through affiliate links helps to generate commission for Storables.com, at no extra cost. Learn more)
Introduction
Welcome to our comprehensive guide on how to take apart a kegerator tap. If you have a kegerator at home or are thinking of getting one, it’s important to know how to properly disassemble and clean the tap components. Regular maintenance and cleaning can ensure that your beer tastes fresh and your kegerator operates smoothly.
Whether you are a seasoned homebrewer or simply enjoy having draft beer on tap at home, understanding the process of taking apart a kegerator tap is essential. Over time, beer residue can build up inside the tap components, leading to off flavors and even clogs. By disassembling the tap, you can thoroughly clean each part and maintain the quality of your beer.
In this guide, we will walk you through the step-by-step process of disassembling a kegerator tap. We will cover the tools you’ll need, provide detailed instructions for each step, and offer tips for cleaning and reassembling the tap components. Let’s get started!
Key Takeaways:
- Regularly disassembling and cleaning your kegerator tap is crucial for maintaining fresh-tasting beer and a smoothly operating tap system. Follow our comprehensive guide to ensure your draft beer always hits the spot.
- By mastering the process of disassembling, cleaning, and reassembling your kegerator tap, you can impress friends with perfectly poured pints and ensure a delightful draft beer experience at home. Cheers to your newfound tap maintenance expertise!
Read more: How To Tap Keg In Kegerator
Tools Needed
Before you begin disassembling your kegerator tap, gather the following tools:
- Flathead screwdriver
- Adjustable wrench
- Keg wrench or crescent wrench
- Brush for cleaning
- Bucket or container for collecting excess beer and cleaning solution
These tools will help you effectively take apart and clean the various components of your kegerator tap. Make sure you have them on hand before starting the process.
Step 1: Gather Your Supplies
Before you begin disassembling your kegerator tap, it’s important to gather all the necessary supplies. This will ensure a smooth and efficient process. Here’s what you’ll need:
- Flathead screwdriver: This will be used to remove any screws or clips that hold the tap components in place.
- Adjustable wrench: An adjustable wrench will come in handy for loosening and tightening various fittings throughout the disassembly process.
- Keg wrench or crescent wrench: Depending on your kegerator model, you may need a keg wrench or crescent wrench to disconnect the keg from the tap system.
- Brush for cleaning: A brush with soft bristles will be used to clean the different parts of the tap, such as the faucet and beer lines.
- Bucket or container: You’ll need a bucket or container to collect any excess beer or cleaning solution that may spill during the disassembly process.
Ensure that you have all these supplies readily available before you start disassembling your kegerator tap. This will help streamline the process and prevent any unnecessary delays or disruptions.
Once you have gathered your supplies, you’re ready to move on to the next step: disconnecting the keg and turning off the CO2.
Step 2: Disconnect the Keg and Turn off the CO2
Before you begin taking apart your kegerator tap, it’s important to disconnect the keg and turn off the CO2. This will ensure your safety and prevent any potential leaks or accidents. Follow these steps:
- Locate the keg inside the kegerator. Depending on your kegerator model, the keg might be in the main compartment or in a separate refrigerated area.
- Turn off the CO2 tank valve. Locate the CO2 tank, which is usually attached to the back or side of the kegerator. Turn the valve clockwise until it is fully closed.
- Disconnect the gas line from the keg. Use an adjustable wrench to loosen the nut connecting the gas line to the keg. Once loosened, carefully remove the gas line from the keg’s valve.
- Disconnect the beer line from the keg. Similar to the gas line, use an adjustable wrench to loosen the nut connecting the beer line to the keg’s tap. Once loosened, remove the beer line from the tap.
- Set aside the keg in a cool and safe location. Make sure it is away from any potential hazards and that it remains sealed to prevent contamination or leakage.
By disconnecting the keg and turning off the CO2, you ensure that the pressure is released and that you can safely proceed with disassembling the kegerator tap.
Next, we’ll move on to the third step: removing the tap handle.
Step 3: Remove the Tap Handle
Now that you have completed the necessary safety precautions by disconnecting the keg and turning off the CO2, it’s time to remove the tap handle. The tap handle is the part you typically pull or push to dispense beer. Follow these steps:
- Locate the tap handle on top of the kegerator. It is usually attached to the faucet or tap tower.
- Inspect the tap handle for any screws or clips that may be holding it in place. If there are any, use a flathead screwdriver to remove them.
- Gently pull the tap handle upwards while twisting it counterclockwise. Most tap handles are threaded and will unscrew from the faucet or tap tower.
- Set the tap handle aside in a safe location, ensuring it won’t be damaged or misplaced.
Removing the tap handle will give you better access to the other components of the kegerator tap. It’s important to be gentle to avoid any damage to the tap handle or surrounding area.
With the tap handle removed, you’re now ready to move on to the next step: unscrewing the hex nut.
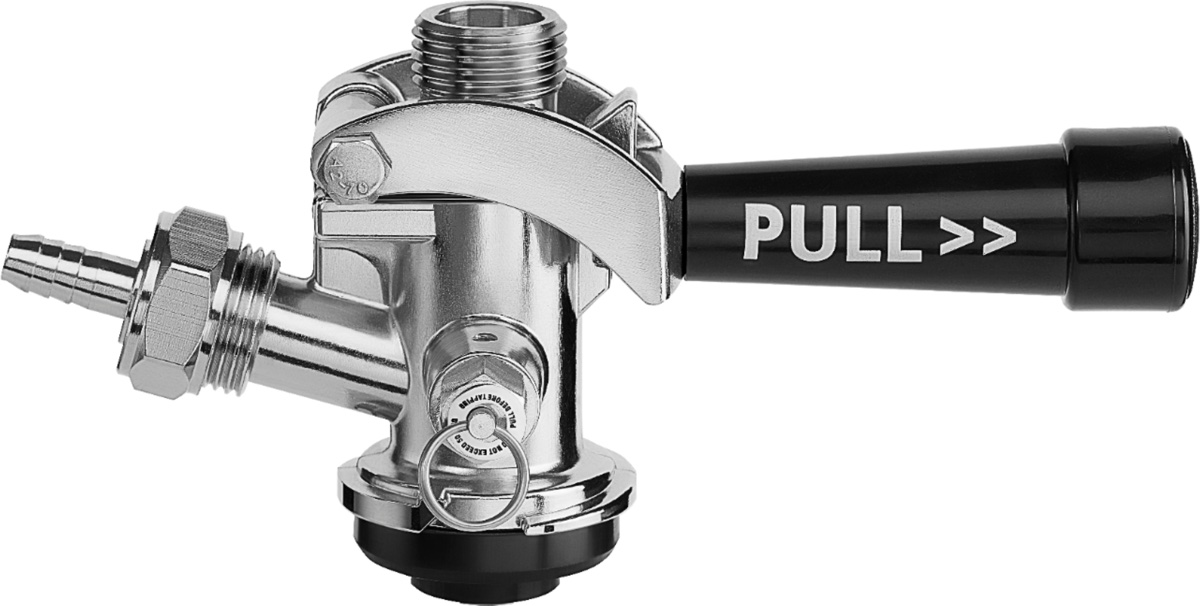
Step 4: Unscrew the Hex Nut
After removing the tap handle, the next step in disassembling your kegerator tap is to unscrew the hex nut. This nut holds the faucet in place and prevents any leaks. Follow these steps:
- Locate the hex nut just below the faucet. It is usually a metal ring with six sides.
- Using an adjustable wrench, carefully grip the hex nut and turn it counterclockwise. Be cautious not to apply excessive force, as you don’t want to damage the nut or the surrounding components.
- Continue unscrewing the hex nut until it is completely loose. At this point, you should be able to remove the nut by hand.
- Set the hex nut aside in a safe place, making sure not to misplace it.
Once the hex nut is removed, you will have easier access to the other components of the kegerator tap, such as the beer line and coupling nut.
Now that the hex nut is out of the way, you can proceed to the next step: loosening and removing the coupling nut.
When taking apart a kegerator tap, make sure to turn off the CO2 and release any pressure in the keg before starting. This will prevent any accidents and make the process safer.
Step 5: Loosen and Remove the Coupling Nut
With the hex nut removed, it’s time to loosen and remove the coupling nut. The coupling nut connects the beer line to the faucet and holds everything securely in place. Follow these steps:
- Locate the coupling nut, which is a larger nut just below the hex nut.
- Using an adjustable wrench, carefully grip the coupling nut and turn it counterclockwise to loosen it. Make sure to only loosen it enough to be able to remove it later.
- Once the coupling nut is loose, use your hand to unscrew it completely and remove it from the faucet assembly.
- Set the coupling nut aside in a safe location, as you’ll need it for reassembly later.
By removing the coupling nut, you create separation between the beer line and the faucet assembly. This will allow you to detach the beer line more easily in the next step.
Now that the coupling nut is out of the way, you can move on to the next step: detaching the beer line.
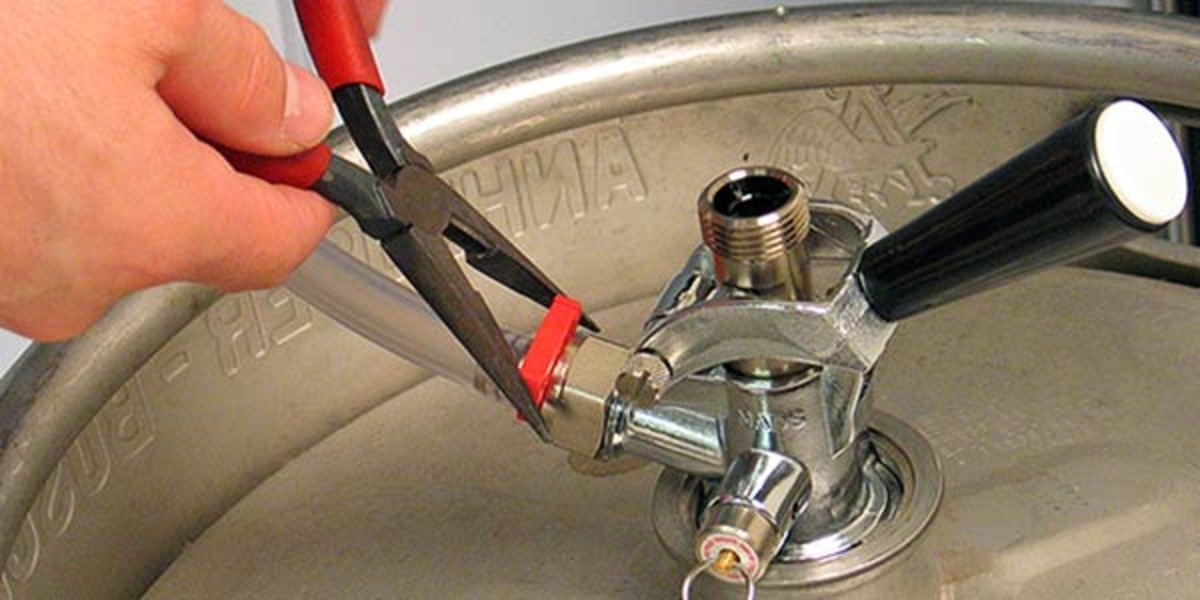
Step 6: Detach the Beer Line
Now that the coupling nut has been removed, you can proceed to detach the beer line. The beer line is responsible for transferring the beer from the keg to the faucet for dispensing. Follow these steps:
- Locate the beer line, which is connected to the faucet assembly.
- Hold the faucet assembly with one hand to stabilize it.
- Using your other hand, carefully grip the beer line where it connects to the faucet assembly.
- Twist the beer line counterclockwise while gently pulling it away from the faucet assembly to detach it.
- Set the beer line aside in a safe location. Take care not to damage or kink the line, as this can affect the flow of beer during reassembly.
Detaching the beer line allows you to thoroughly clean it and prevent any build-up that may affect the taste and quality of your beer. Make sure to handle the beer line with care to avoid any unnecessary damage.
With the beer line detached, you’re ready to move on to the next step: removing the faucet.
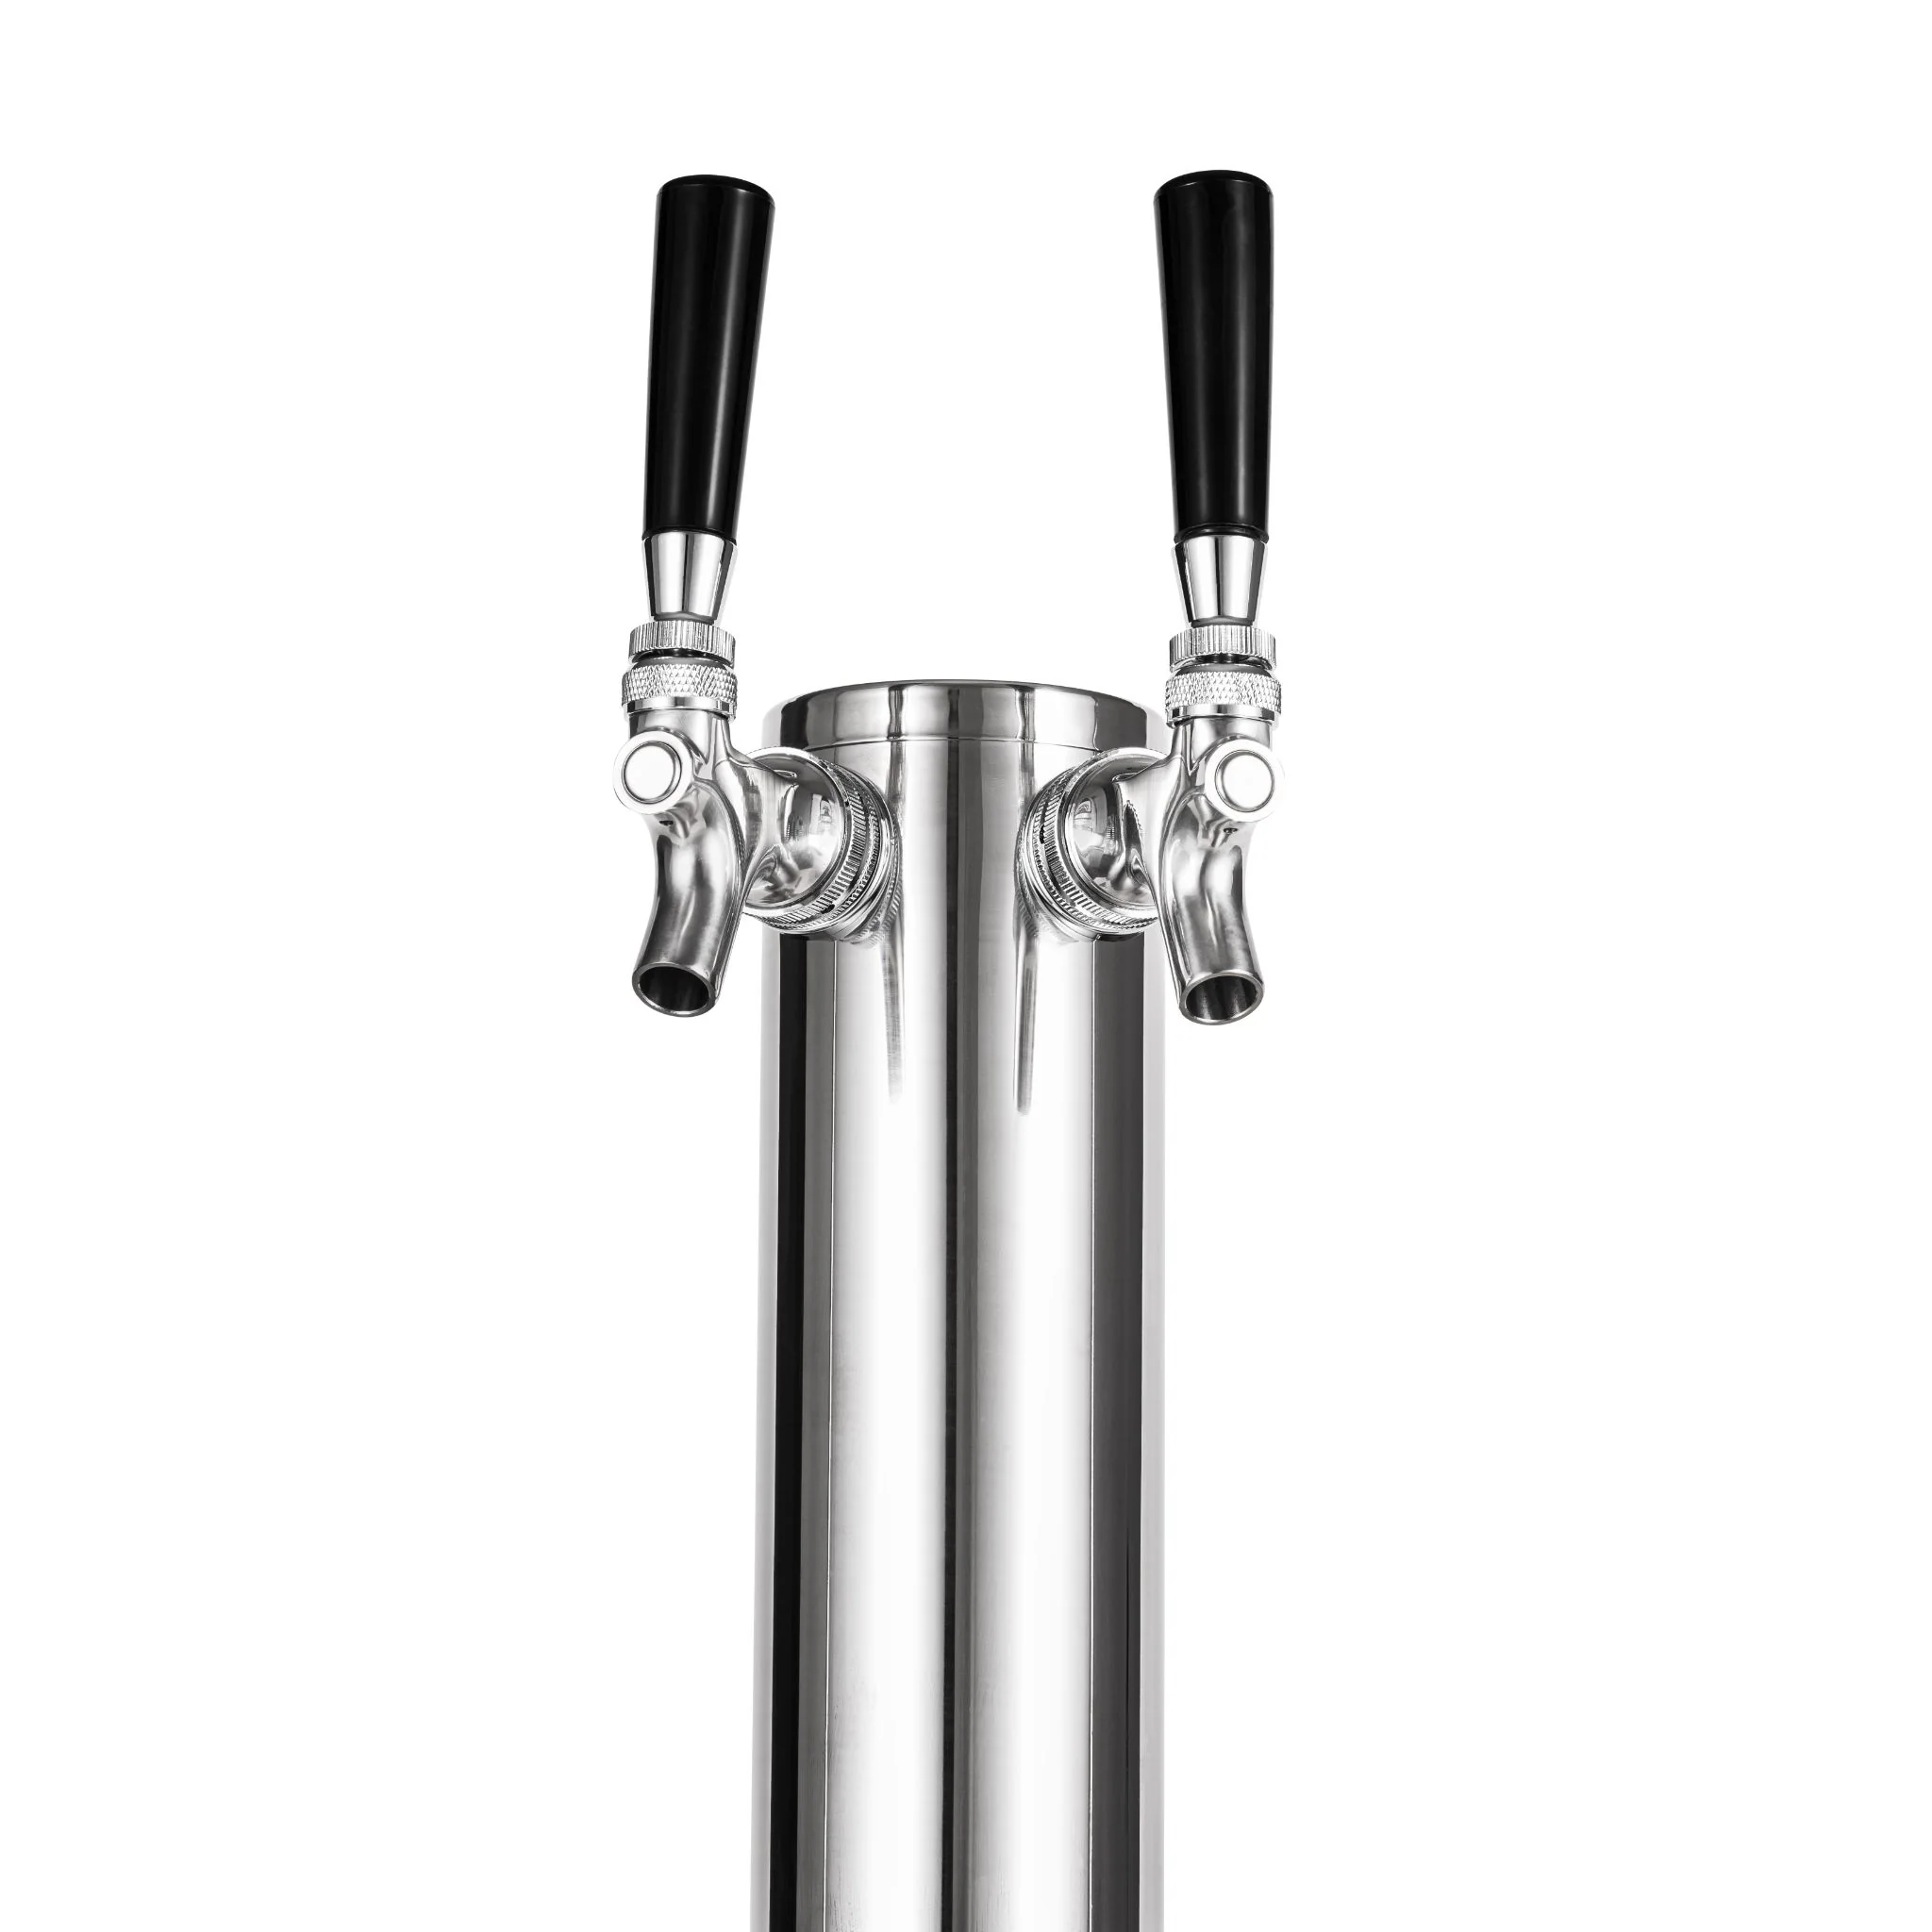
Step 7: Remove the Faucet
Now that the beer line is detached, it’s time to remove the faucet from the kegerator tap. The faucet is the part of the tap that dispenses the beer. Follow these steps:
- Hold the faucet assembly firmly with one hand to prevent it from moving.
- With your other hand, twist the faucet counterclockwise to unscrew it from the faucet shank.
- Continue unscrewing the faucet until it is completely detached from the faucet shank.
- Gently pull the faucet away from the kegerator tap system.
- Set the faucet aside in a safe location, making sure not to damage or misplace it.
Removing the faucet allows for easier cleaning and maintenance. It’s important to handle the faucet carefully to avoid any accidental damage that may affect its functionality.
With the faucet removed, you’re now ready to move on to the next step: cleaning and reassembling the tap components.
Read more: How To Tap A Keg In An Edgestar Kegerator
Step 8: Clean and Reassemble the Tap Components
Now that all the tap components are disassembled, it’s time to clean and reassemble them to ensure a fresh, properly functioning kegerator tap. Follow these steps:
- Fill a bucket or container with warm water and a mild cleaning solution. You can use a commercial beer line cleaning solution or a mixture of warm water and mild dish soap.
- Place the faucet, coupling nut, hex nut, and other small metal components into the bucket and let them soak for about 15 minutes.
- Using a cleaning brush or a soft cloth, scrub the faucet, coupling nut, and other metal components to remove any residue or build-up. Pay particular attention to the inside of the faucet spout.
- Rinse the components thoroughly with clean water to remove any cleaning solution residue.
- Dry the cleaned components with a clean, lint-free cloth.
- Inspect the beer line for any signs of residue or build-up. If necessary, use a beer line cleaning brush to scrub the inside of the line.
- Rinse the beer line thoroughly with clean water to remove any cleaning solution residue.
- Once all the components are clean and dry, begin the reassembly process.
- Attach the faucet to the faucet shank by twisting clockwise until it is securely in place.
- Connect the beer line to the faucet assembly by twisting it clockwise until it is tightly attached.
- Place the coupling nut onto the faucet assembly and screw it on clockwise until it is snug.
- Screw the hex nut onto the faucet assembly and tighten it securely with an adjustable wrench.
By thoroughly cleaning and reassembling the tap components, you ensure that your kegerator tap is free from any residue or contaminants. This will result in better-tasting beer and a well-functioning tap system.
Now that the tap components are clean and reassembled, you’re ready for the final step: reconnecting the tap system and testing it.
Step 9: Reconnect the Tap System and Test
With the tap components cleaned and reassembled, it’s time to reconnect the tap system and test it to ensure everything is working properly. Follow these steps:
- Using an adjustable wrench, reattach the beer line to the keg’s tap by tightening the nut clockwise.
- Reconnect the gas line to the keg’s valve by tightening the nut clockwise with an adjustable wrench.
- Turn on the CO2 tank valve by turning it counterclockwise until it is fully open. This will allow gas to flow into the keg.
- Check for any leaks by inspecting the connections between the beer line, gas line, and keg. Look for any bubbling or hissing sounds, which may indicate a leak.
- If there are no leaks, grab your glass and pull the tap handle forward to dispense the beer.
- Observe the flow of beer. It should be smooth and without any excessive foam or splashing.
- Taste the beer to ensure that it is fresh and has no off flavors. If necessary, adjust the CO2 pressure to achieve the desired carbonation levels.
- Once you are satisfied with the performance and taste of the beer, enjoy your cold, refreshing brew!
By reconnecting the tap system and testing it, you can verify that all the components have been properly reassembled and that your beer is being dispensed correctly. If you encounter any issues during the testing phase, refer back to the previous steps to troubleshoot and make any necessary adjustments.
Congratulations! You have successfully taken apart, cleaned, and reassembled your kegerator tap. With regular maintenance and cleaning, your tap system will continue to provide you with a delightful draft beer experience.
Now go ahead and invite your friends over for a beer tasting party, and impress them with your newly acquired knowledge of kegerator tap maintenance!
Conclusion
Taking apart and cleaning your kegerator tap is an essential part of maintaining the quality and freshness of your draft beer. By following the step-by-step guide we have provided, you can confidently disassemble, clean, and reassemble the tap components, ensuring that your beer tastes its best every time.
Throughout the process, we discussed the necessary tools needed, from a flathead screwdriver and adjustable wrench to a keg wrench and cleaning brush. These tools are essential for safely and effectively disassembling the tap components.
Each step of the disassembly process was detailed, from disconnecting the keg and turning off the CO2 to removing the tap handle, unscrewing the hex nut, loosening and removing the coupling nut, detaching the beer line, and finally removing the faucet.
Once the tap components were disassembled, we explored the importance of thorough cleaning. A bucket or container filled with warm water and a mild cleaning solution was recommended for soaking and cleaning the faucet, coupling nut, hex nut, and other metal components. The beer line was also cleaned using a beer line cleaning brush and rinsed with clean water.
After cleaning, reassembling the tap components was discussed, including attaching the faucet, connecting the beer line, and tightening the coupling nut and hex nut securely. Finally, we covered the crucial step of reconnecting the tap system, testing for any leaks, and ensuring the beer is flowing smoothly without any off flavors.
By following these steps and regularly maintaining your kegerator tap, you can enjoy fresh, delicious draft beer in the comfort of your own home. Remember to clean the tap components periodically, as recommended by the manufacturer, to prevent any build-up or contamination.
Now that you have mastered the art of taking apart a kegerator tap, you can confidently impress your friends and family with your knowledge and skills. Cheers to a perfectly poured pint!
Frequently Asked Questions about How To Take Apart A Kegerator Tap
Was this page helpful?
At Storables.com, we guarantee accurate and reliable information. Our content, validated by Expert Board Contributors, is crafted following stringent Editorial Policies. We're committed to providing you with well-researched, expert-backed insights for all your informational needs.


0 thoughts on “How To Take Apart A Kegerator Tap”