
Articles
How To Connect A Tap To A Kegerator
Modified: March 1, 2024
Learn how to connect a tap to a kegerator with these informative articles. Find step-by-step guides and expert tips to enhance your beer drinking experience.
(Many of the links in this article redirect to a specific reviewed product. Your purchase of these products through affiliate links helps to generate commission for Storables.com, at no extra cost. Learn more)
Introduction
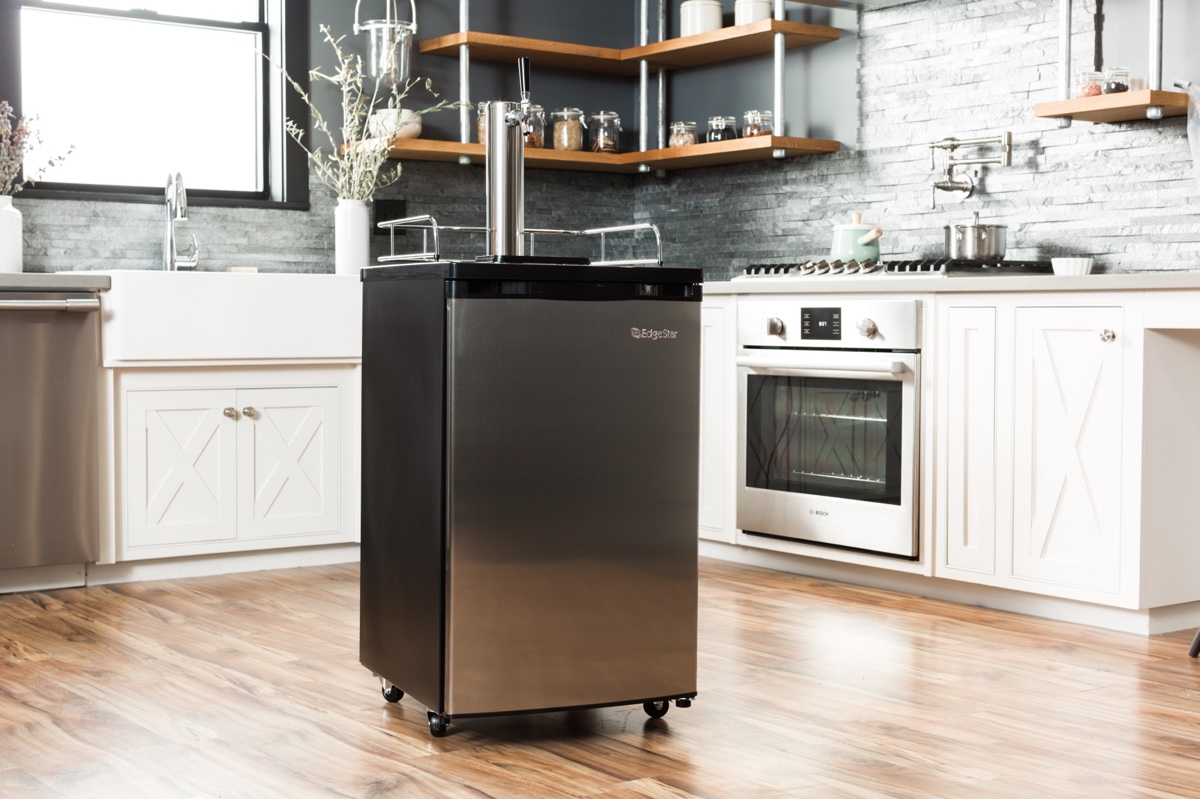
Connecting a tap to a kegerator is a simple and rewarding process that allows you to enjoy freshly tapped beer right in the comfort of your own home. Whether you’re a beer enthusiast or just a casual drinker, having a kegerator can elevate your beer-drinking experience to a whole new level.
In this article, we will guide you through the step-by-step process of connecting a tap to your kegerator. From gathering the necessary materials to testing for leaks, we will cover everything you need to know to ensure a successful installation.
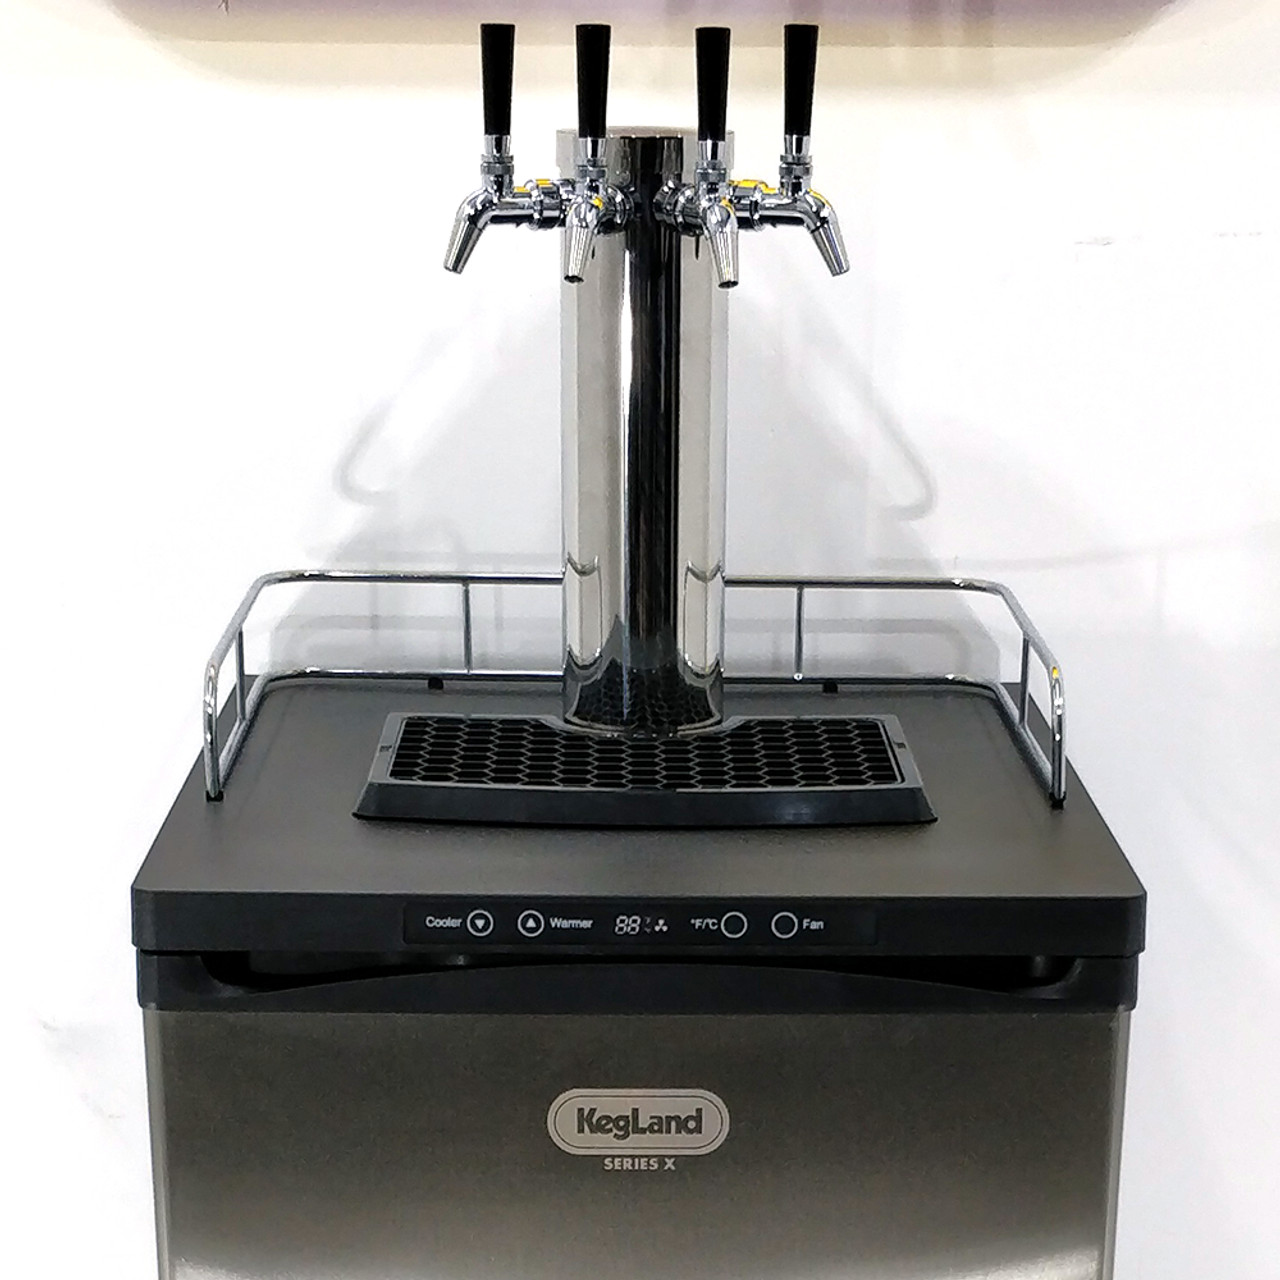
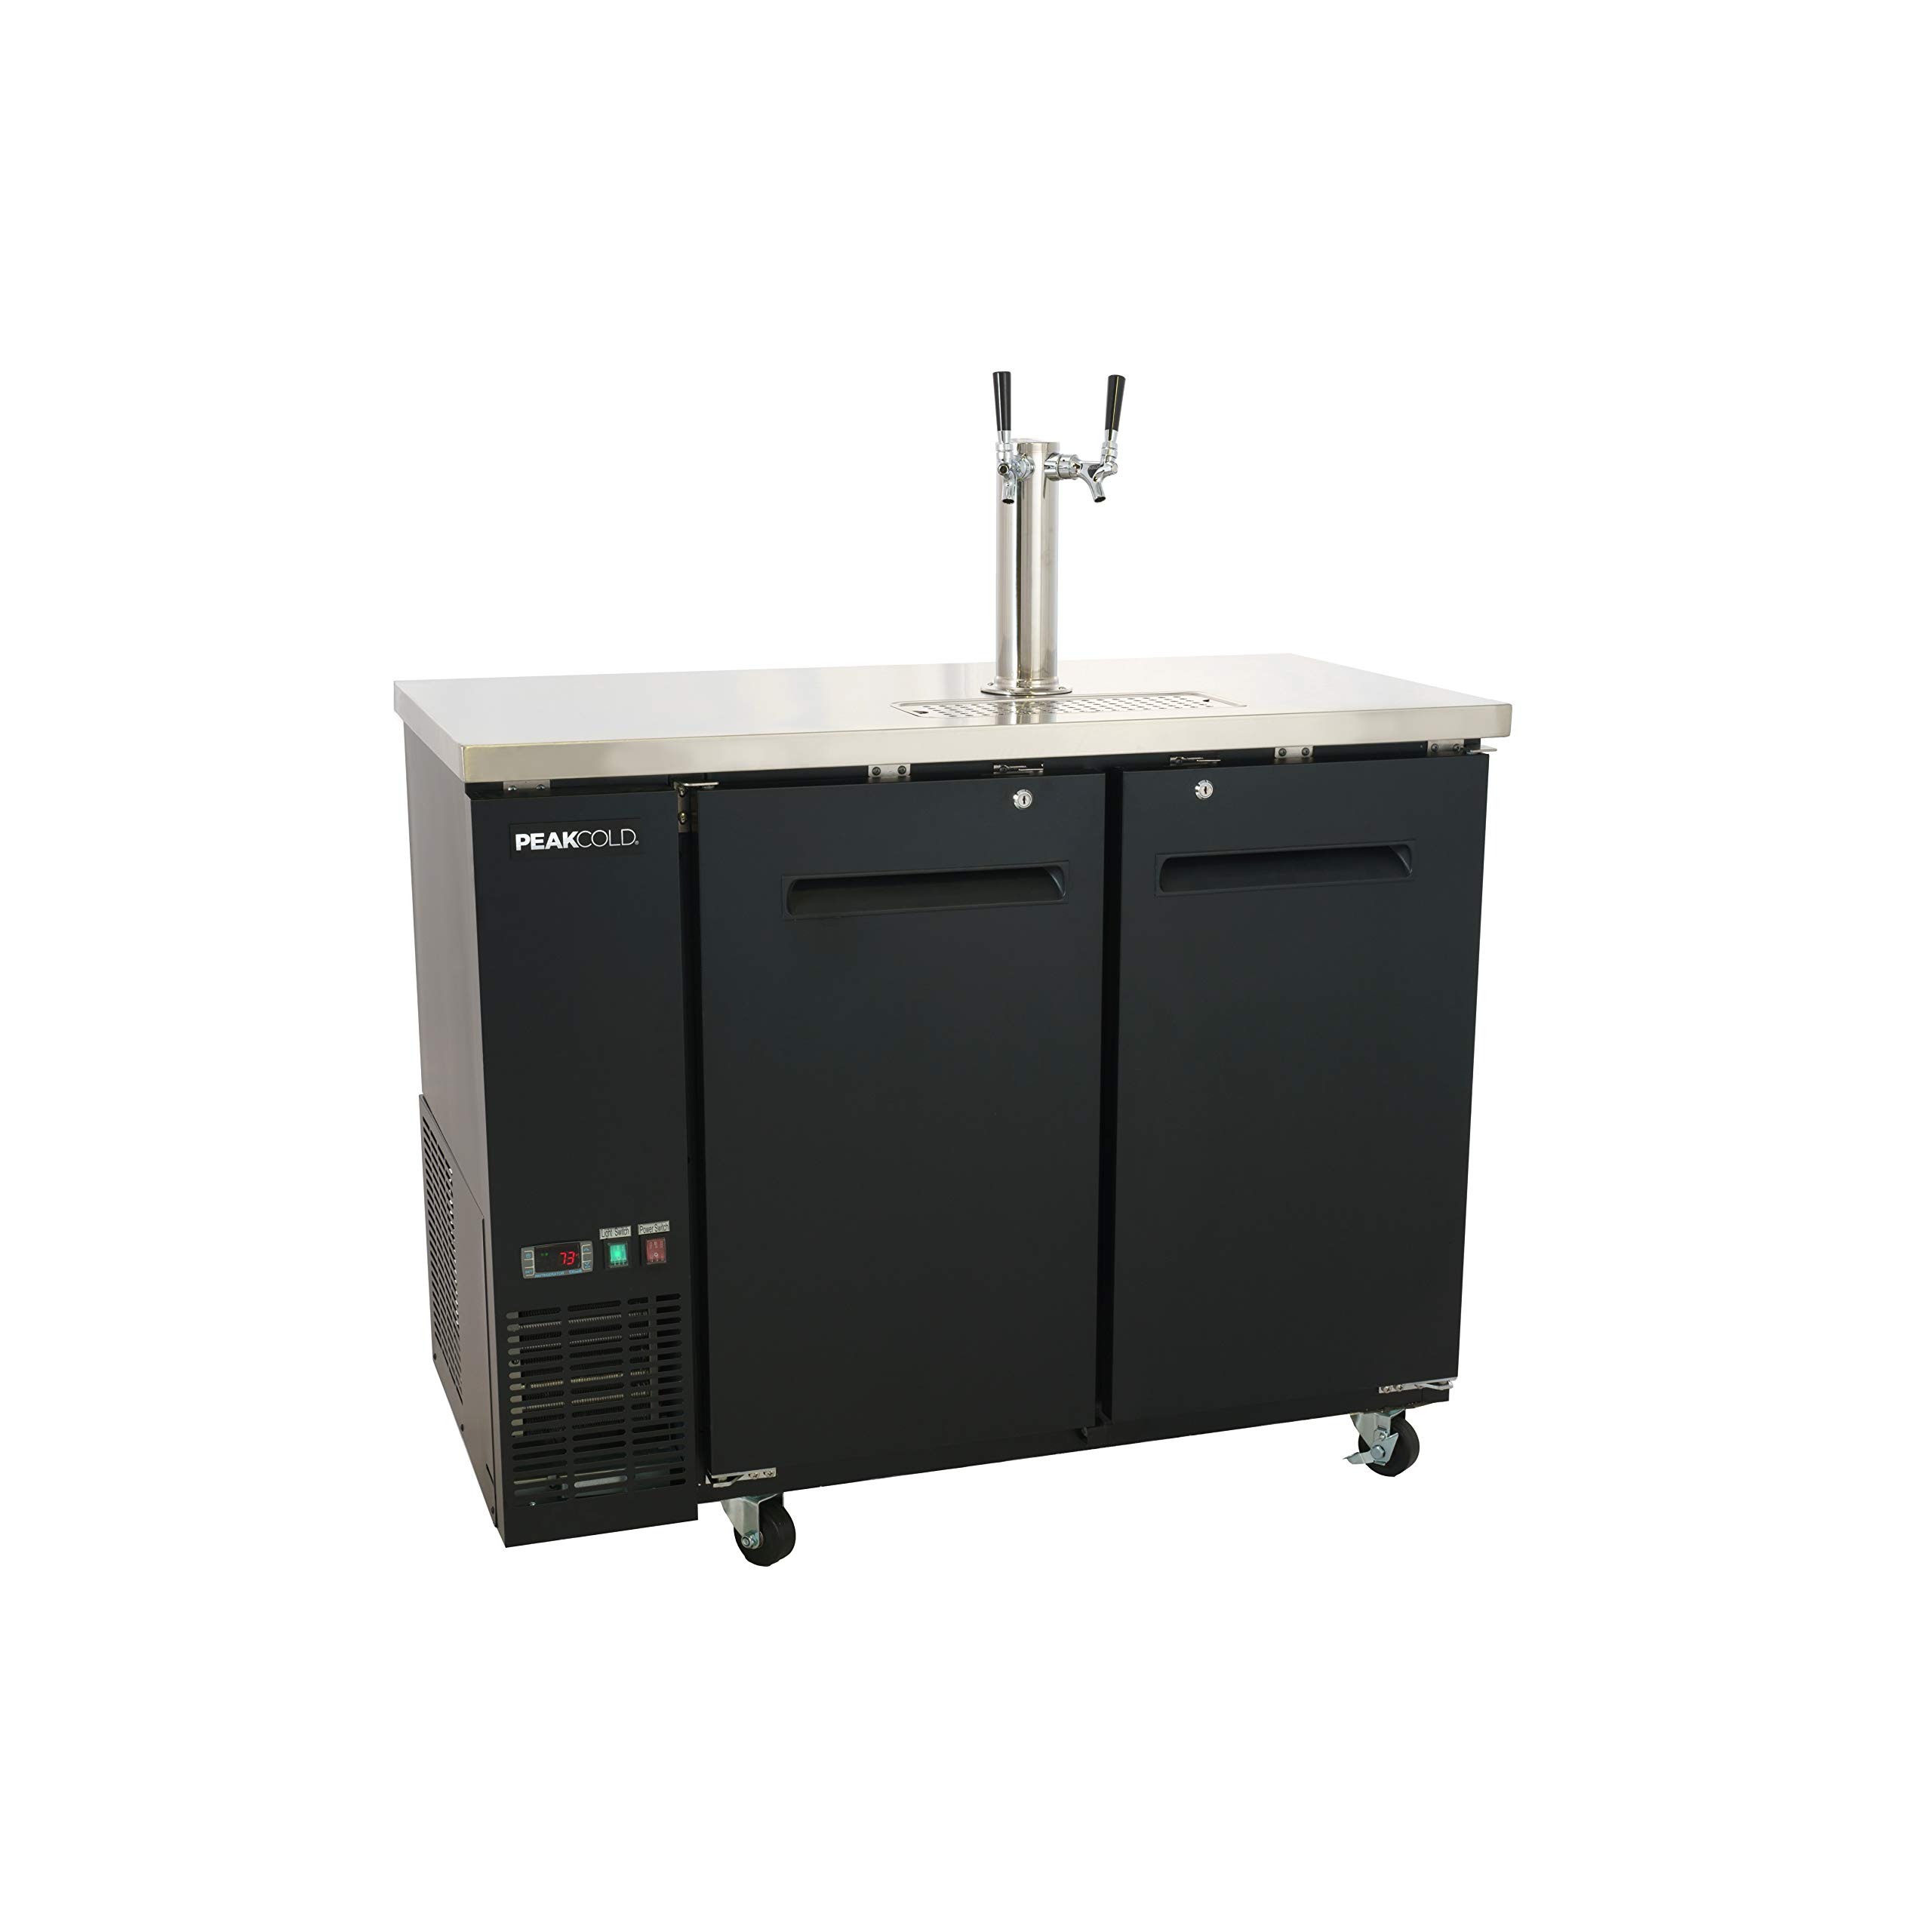
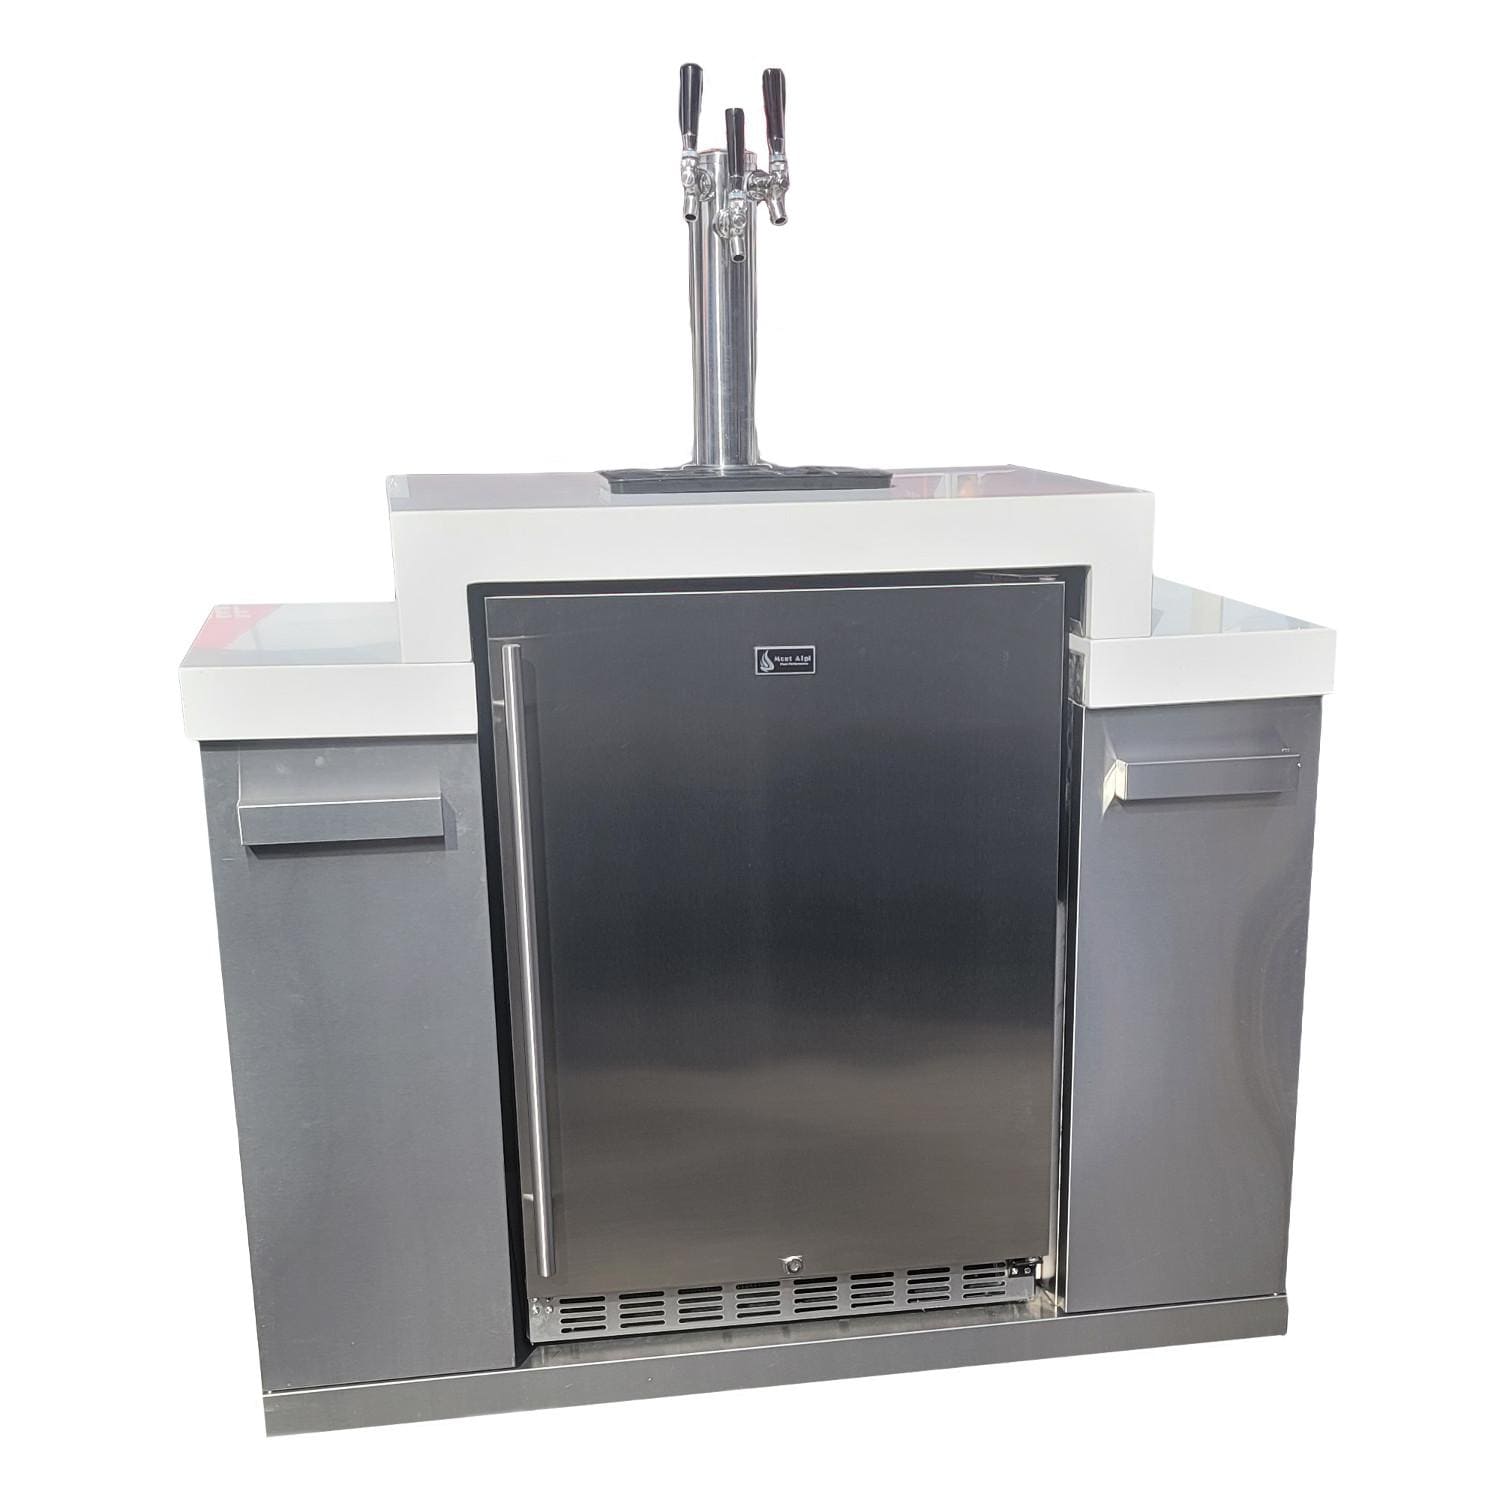
Before we dive into the installation process, it’s important to note that kegerators come in different shapes and sizes. Some kegerators are specifically designed for home use, while others are commercial-grade and can accommodate multiple kegs. The steps outlined in this article are general guidelines, but it’s essential to consult your kegerator’s manual for any specific instructions or modifications required for your particular model.
Now, let’s get started and turn your kegerator into your very own personal beer dispensing system!
Key Takeaways:
- Elevate your beer-drinking experience by connecting a tap to your kegerator. Follow our comprehensive guide for a rewarding and refreshing DIY beer dispensing system at home.
- Enjoy the convenience of freshly tapped beer with friends and loved ones. From installation to maintenance, savor the pride and satisfaction of a perfectly poured pint from your very own kegerator.
Read more: How To Two Tap Kegerator
Step 1: Gather the Necessary Materials
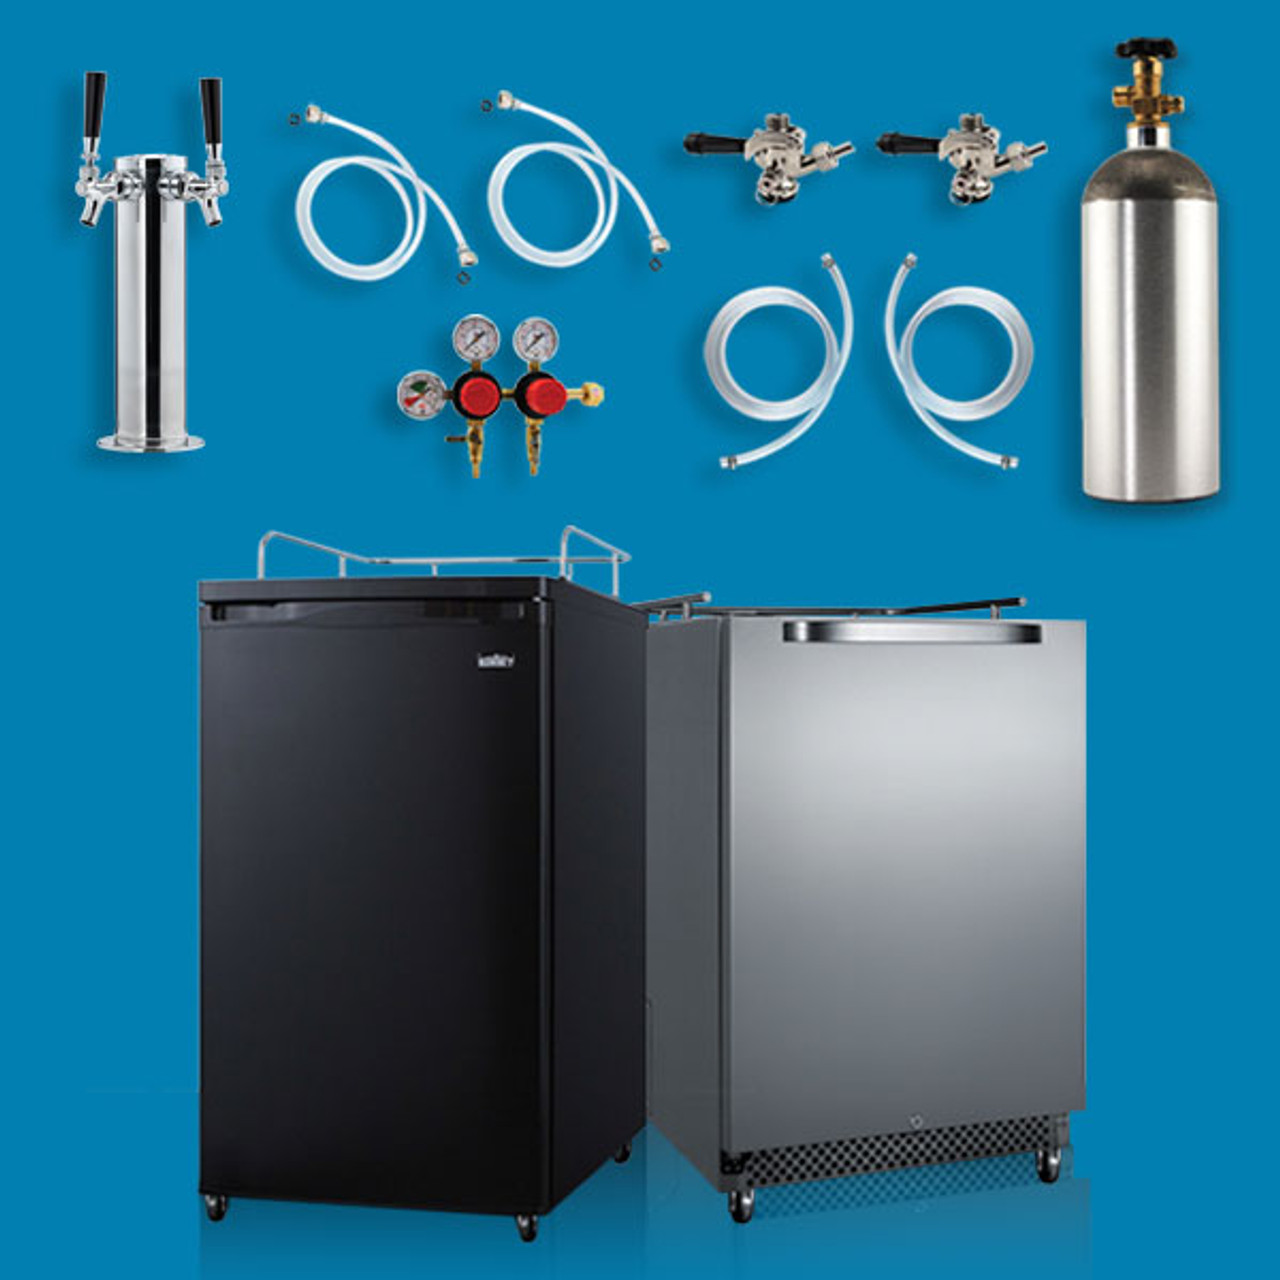
Before you begin the installation process, it’s crucial to make sure you have all the necessary materials on hand. Here’s a list of items you’ll need:
- Tap faucet
- Beer line
- CO2 regulator
- Gas line
- CO2 tank
- Wrench or spanner
- Screwdriver
- Teflon tape
- Cleaning solution
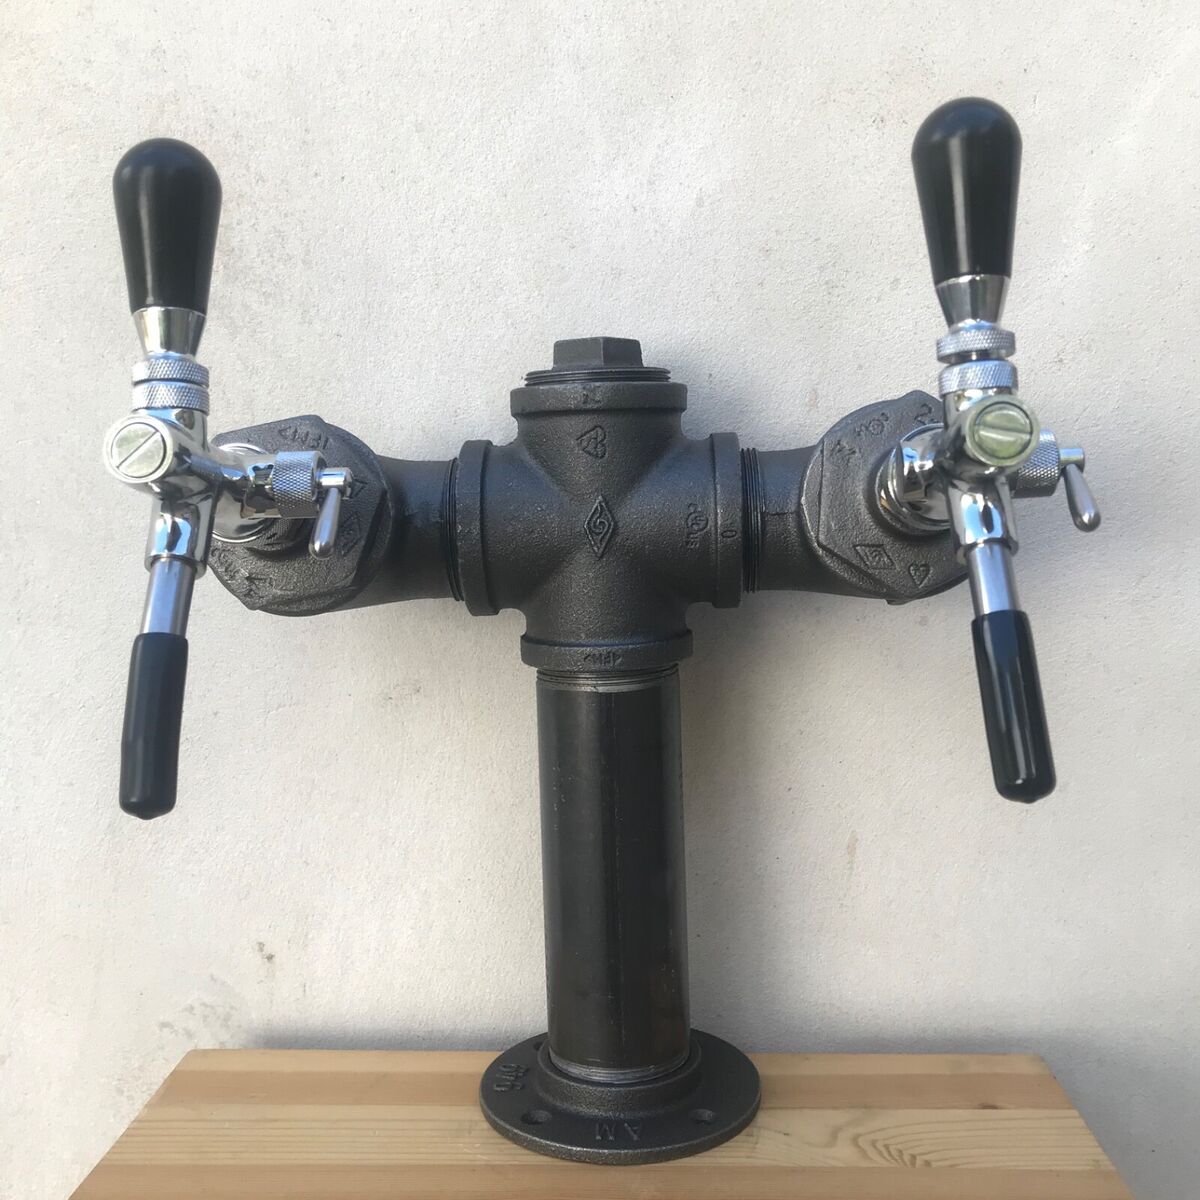
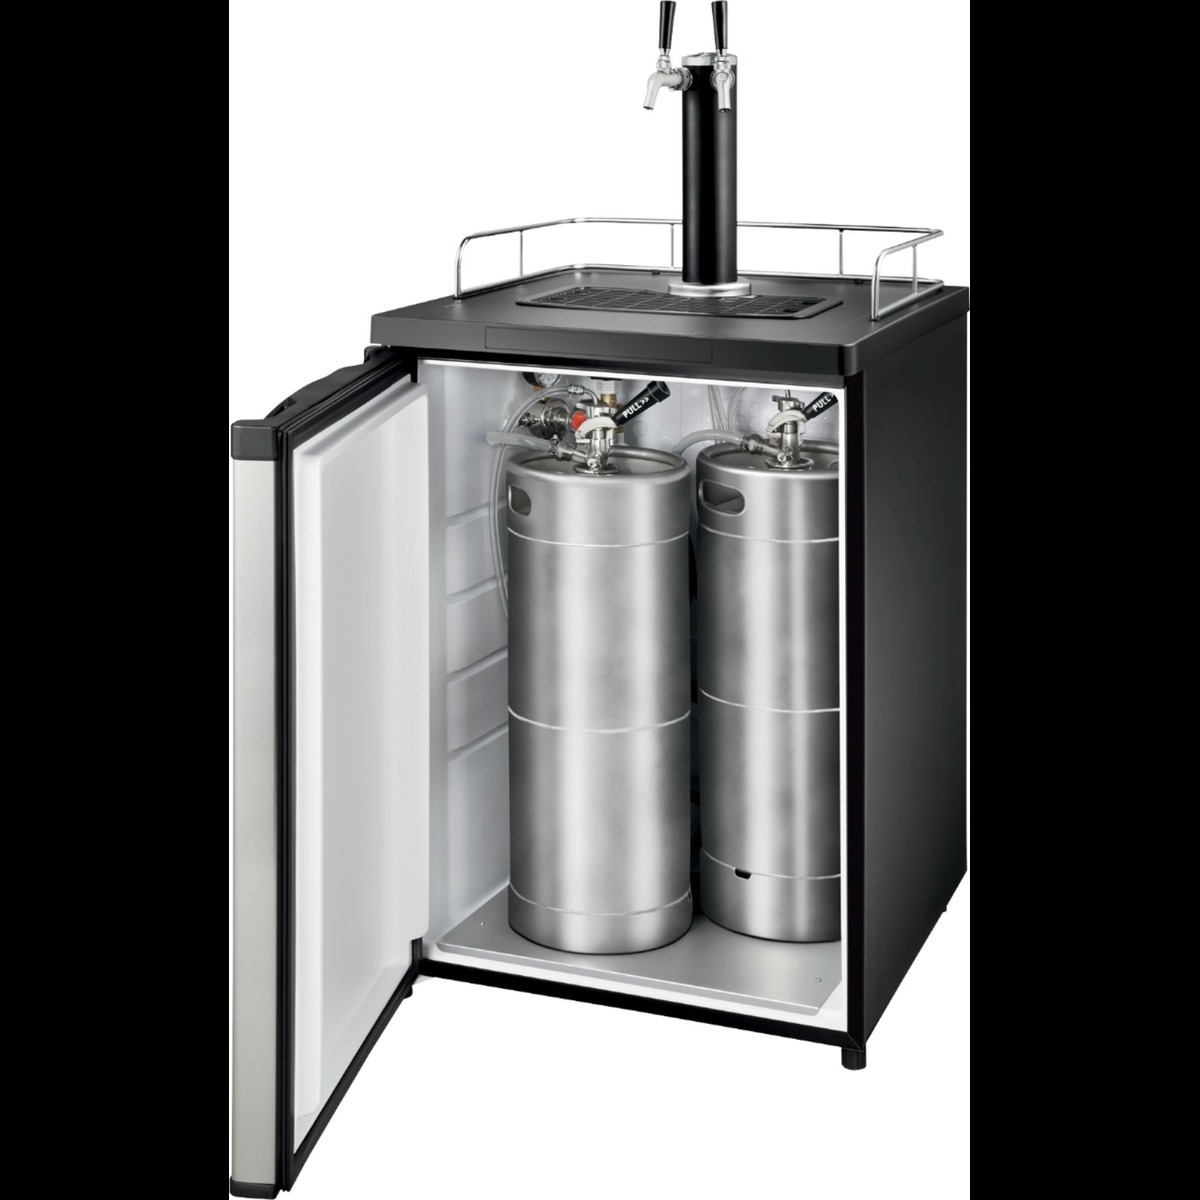
The tap faucet is the heart of your kegerator setup. It allows you to dispense the beer from the keg. Ensure you choose a faucet suitable for your kegerator model and personal preferences. Some popular options include traditional faucets, flow control faucets, and forward-sealing faucets.
The beer line connects the tap faucet to the keg and transports the beer to the glass. It’s essential to choose a beer line that fits your kegerator system. The diameter and length of the beer line can affect the flow rate and maintain the desired pressure in the system.
The CO2 regulator regulates the pressure inside the kegerator and controls the carbonation level of the beer. Make sure you select a regulator that matches the type of kegerator you have. There are single-gauge and dual-gauge regulators available, with the latter offering additional functionality to monitor CO2 tank pressure.
The gas line connects the CO2 regulator to the CO2 tank. Ensure you choose a gas line that matches the fittings of your regulator and CO2 tank. The length of the gas line will depend on the distance between your kegerator and CO2 tank.
A wrench or spanner is necessary for tightening and connecting various components of the kegerator setup. A screwdriver may also be required for certain parts that need to be secured in place. Teflon tape is used to create a tight seal and prevent leaks at the connection points of the fittings.
Lastly, a cleaning solution is essential for maintaining the hygiene of the kegerator. It ensures that the lines and faucet are free from any residue or contaminants, providing you with pure and fresh-tasting beer.
Once you have gathered all the necessary materials, you’re ready to proceed to the next step: preparing the kegerator for installation.
Step 2: Prepare the Kegerator for Installation
Before you can connect the tap to your kegerator, it’s important to prepare the unit for installation. Follow these steps to ensure a smooth setup:
- Empty the kegerator: Remove any existing kegs or bottles from the kegerator, ensuring that the unit is empty and ready for the installation process.
- Clean the kegerator: Thoroughly clean the interior of the kegerator using a suitable cleaning solution. This will remove any residue or contaminants that may affect the taste and quality of your beer. Pay special attention to the beer lines, faucets, and any other components that will come in contact with the beer.
- Check the seals: Inspect the seals on the kegerator door and make sure they are in good condition. If any seals are worn or damaged, replace them to ensure proper insulation and temperature regulation.
- Position the CO2 tank: Decide where you want to position the CO2 tank, keeping in mind that it should be easily accessible for refilling. Place the tank in a secure location near the kegerator, ensuring that it is stable and won’t accidentally tip over.
Once you have completed these steps, your kegerator will be ready for the tap installation process. Taking the time to prepare the unit properly will ensure that you have a clean and well-functioning kegerator setup.
Next, we will move on to Step 3: installing the tap faucet.
Step 3: Install the Tap Faucet
Installing the tap faucet is a crucial step in connecting your kegerator. Follow these steps to install the faucet securely:
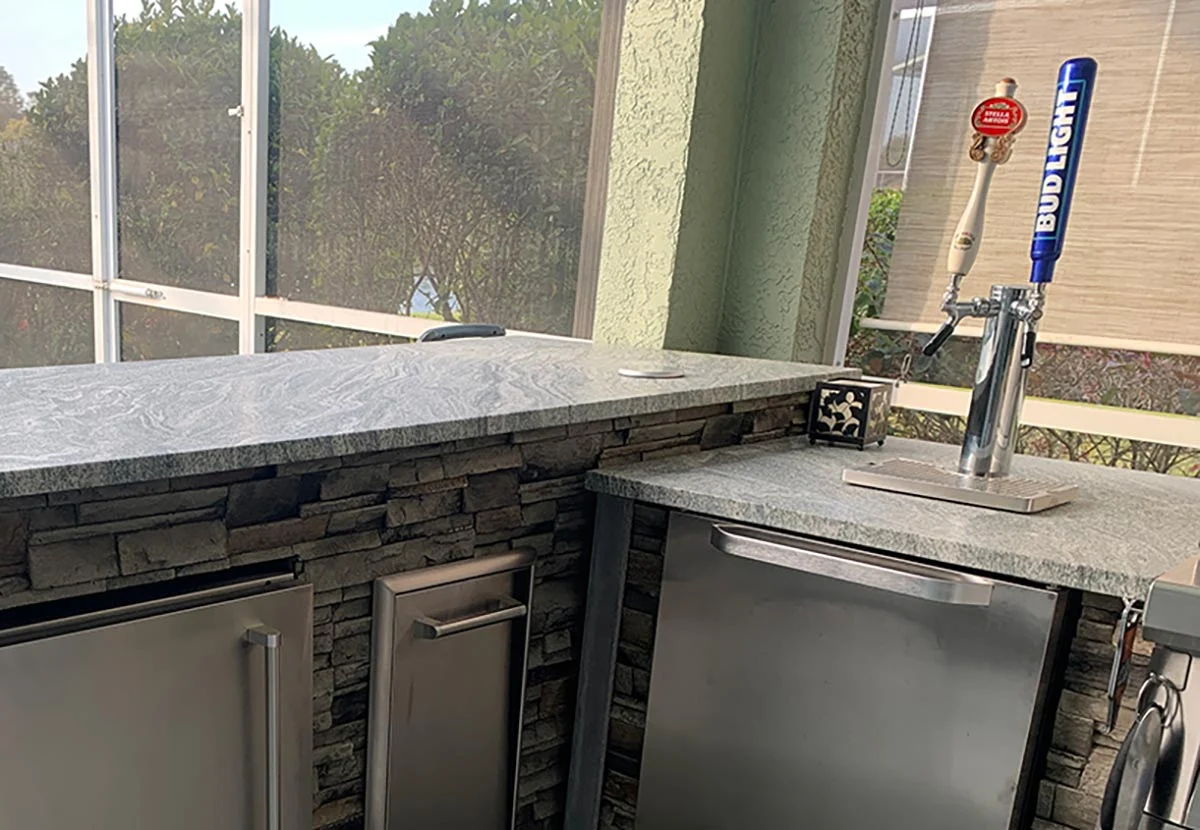
- Choose the installation location: Decide where you want to install the tap faucet on your kegerator. Typically, it is placed on the front of the unit, near the top. Ensure that there is enough space for the faucet, and it is easily accessible for pouring beer.
- Prepare the hole: Using a suitable drill bit, carefully drill a hole into the desired location on the door or side panel of the kegerator. The hole should be slightly larger than the diameter of the faucet, allowing for a snug fit.
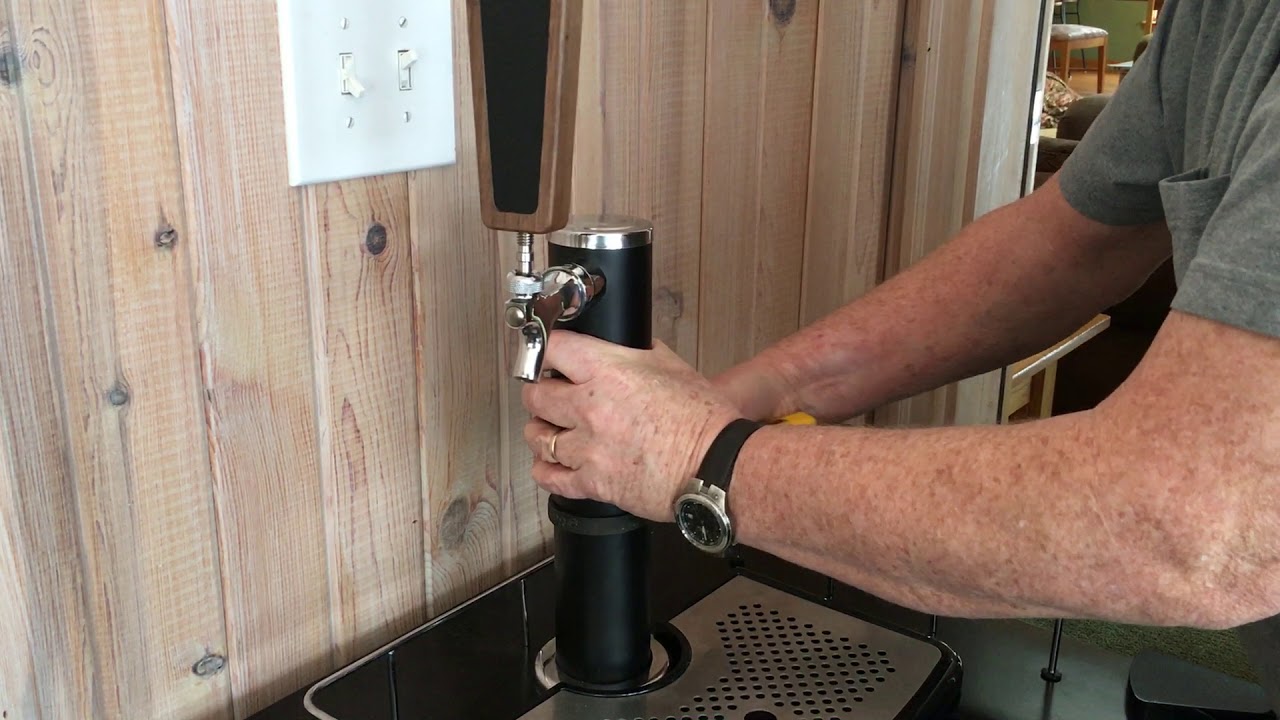
- Attach the faucet shank: Insert the faucet shank into the hole you just drilled. On the inside of the kegerator, secure the faucet shank in place using the provided locking nut, washer, and gasket. Use a wrench or spanner to tighten the nut, ensuring that the faucet is held firmly in position.
- Connect the beer line: Take the beer line and attach it to the end of the faucet shank. Use a hose clamp to secure the connection and prevent any leaks. Ensure that the beer line is cut to the appropriate length, allowing for easy dispensing of beer without any kinks or obstructions.
- Test the faucet: Before moving on to the next step, test the faucet by opening it briefly to check for any leaks. If you notice any leaks, tighten the connections or replace any faulty components.
Once you have successfully installed the tap faucet, you’re one step closer to enjoying freshly tapped beer from your kegerator. Move on to Step 4: connecting the beer line to the faucet.
Step 4: Connect the Beer Line to the Faucet
With the tap faucet installed, it’s time to connect the beer line to the faucet. Follow these steps to ensure a secure connection:
- Inspect the beer line: Before connecting the line, inspect it for any kinks, cuts, or damage. Replace the line if necessary to ensure a smooth flow of beer.
- Attach the tailpiece: Slide a hose clamp onto the end of the beer line and then attach the tailpiece to the end of the line. Use a wrench to tighten the tailpiece, ensuring a secure connection.
- Attach the beer nut and washer: Take the beer nut and washer and slide them onto the threaded end of the tailpiece. It’s important to ensure that the washer is in place to create a tight seal and prevent any leaks.
- Connect the beer line to the faucet: Align the beer nut and washer with the threaded end of the faucet shank. Slowly turn the beer nut clockwise to tighten it onto the faucet shank. Use a wrench or spanner to ensure a secure and leak-free connection.
- Check for leaks: Once the connection is secure, turn on the CO2 supply and open the faucet to check for any leaks. Inspect all connections and fittings for any signs of leakage. If you notice any leaks, tighten the connections or replace any faulty components.
With the beer line securely connected to the faucet, you’re one step closer to enjoying a perfect pour of beer from your kegerator. Safety tip: Be careful not to over-tighten the connections, as it may damage the fittings or cause leaks.
Next up, we’ll move on to Step 5: attaching the CO2 regulator.
When connecting a tap to a kegerator, make sure to use the correct size and type of tubing to ensure a proper seal and prevent leaks. It’s also important to regularly clean and maintain the tap to keep the beer flowing smoothly.
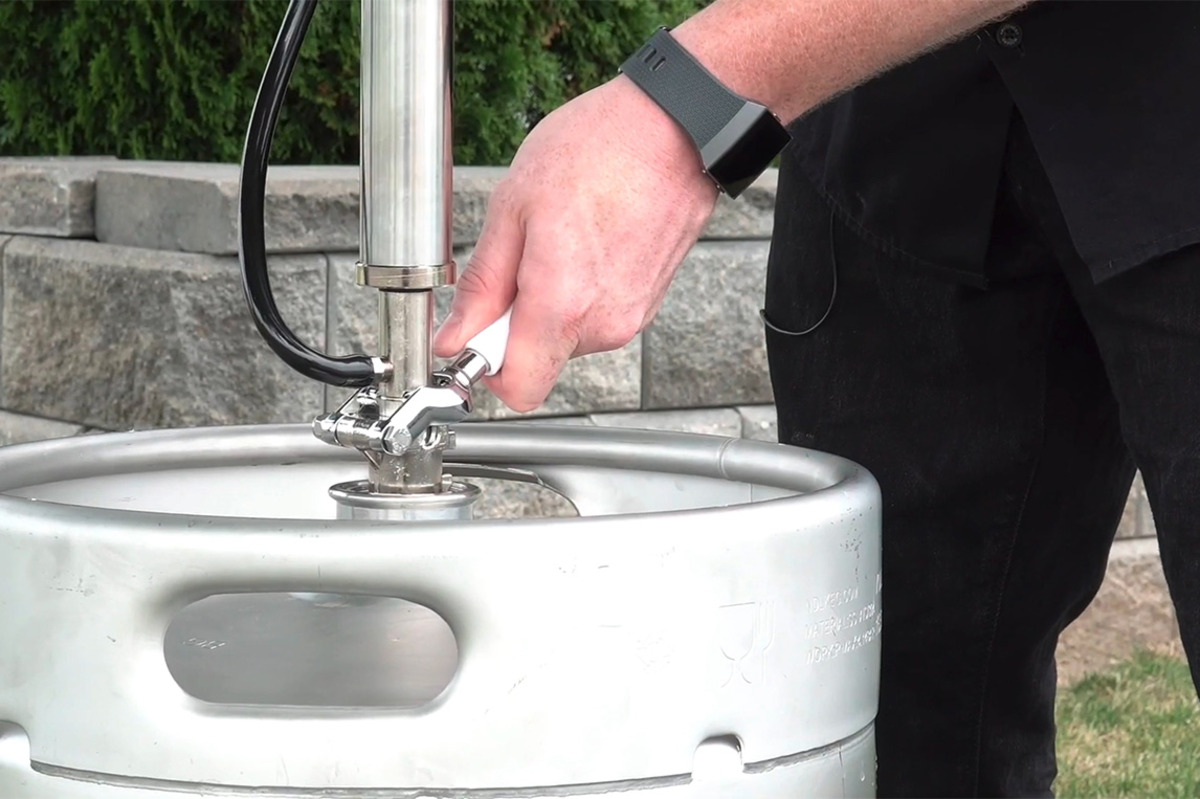
Read more: How To Tap Keg In Kegerator
Step 5: Attach the CO2 Regulator
Attaching the CO2 regulator is an important step in ensuring proper carbonation and pressure control in your kegerator setup. Follow these steps to attach the regulator:
- Locate the CO2 inlet: Identify the CO2 inlet on your kegerator. This is typically located at the back or side of the unit.
- Prepare the connection: Ensure that the CO2 tank valve is closed by turning it counterclockwise. Next, remove the protective cap from the CO2 inlet.
- Attach the regulator: Take your CO2 regulator and align the inlet on the regulator with the CO2 inlet on the kegerator. Insert the regulator into the CO2 inlet and firmly push it in until it is securely in place.
- Tighten the nut: Once the regulator is inserted, use a wrench or spanner to tighten the nut on the regulator. This will ensure a secure connection and prevent any leaks.
- Open the CO2 tank valve: Turn the CO2 tank valve clockwise to open it. This will allow the flow of CO2 into the kegerator system.
- Adjust the pressure: Use the pressure adjustment knob on the CO2 regulator to set the desired pressure for carbonation. Refer to your kegerator’s manual for the recommended pressure settings based on the type of beer you will be dispensing.
- Test for leaks: Once the regulator is attached and the CO2 tank valve is open, closely inspect all connections and fittings for any signs of leakage. Apply a mixture of dish soap and water to the connections and look for any bubbles forming. If you see bubbles, tighten the connections or replace any faulty components.
Attaching the CO2 regulator is a vital step in ensuring proper carbonation levels and maintaining the right pressure for dispensing your beer. By following these steps, you’ll be one step closer to enjoying a perfectly carbonated and refreshing pint of beer.
Next, let’s move on to Step 6: connecting the gas line to the CO2 tank.
Step 6: Connect the Gas Line to the CO2 Tank
Connecting the gas line to the CO2 tank is a crucial step in ensuring the proper flow of CO2 into your kegerator system. Follow these steps to connect the gas line:
- Prepare the connection: Ensure that the CO2 tank valve is closed by turning it counterclockwise. This will prevent any accidental release of CO2 during the connection process.
- Inspect the gas line: Before connecting the gas line, inspect it for any damage or wear. Ensure that it is free from kinks or cuts that may affect the flow of CO2.
- Attach the gas line to the regulator: Take the end of the gas line and connect it to the gas outlet on the CO2 regulator. The gas outlet is typically located at the top of the regulator and will have a threaded connection.
- Tighten the nut: Once the gas line is connected, use a wrench or spanner to tighten the nut on the gas outlet. This will create a secure connection and prevent any leaks.
- Attach the other end of the gas line: Take the other end of the gas line and connect it to the CO2 tank valve. Align the connection and ensure that it is seated properly.
- Tighten the nut: Use a wrench or spanner to tighten the nut on the gas line connection to the CO2 tank valve. Ensure that the connection is secure but avoid over-tightening, as it may damage the fittings.
- Open the CO2 tank valve: Turn the CO2 tank valve clockwise to open it. This will allow the flow of CO2 into the kegerator system.
- Test for leaks: Once the gas line is connected and the CO2 tank valve is open, closely inspect all connections and fittings for any signs of leakage. Apply a mixture of dish soap and water to the connections and look for any bubbles forming. If you see bubbles, tighten the connections or replace any faulty components.
By following these steps, you’ll successfully connect the gas line to the CO2 tank, ensuring a steady supply of CO2 for carbonation and dispensing of your beer. Proceed to the next step, Step 7: testing for leaks, to ensure a safe and effective setup.
Step 7: Test for Leaks
Testing for leaks is a crucial step in ensuring the safety and efficiency of your kegerator setup. Follow these steps to conduct a thorough leak test:
- Close the CO2 tank valve: Start by turning the CO2 tank valve counterclockwise to close it. This will stop the flow of CO2 into the kegerator system.
- Inspect all connections: Carefully inspect all connections, including the faucet, beer line connections, CO2 regulator, and gas line connections. Look for any signs of leakage such as bubbles, hissing sounds, or noticeable drops in pressure. Check both the inside and outside of the kegerator for any visible leaks.
- Apply a soapy water solution: Mix a solution of water and dish soap in a spray bottle or bowl. Liberally apply the soapy water solution to all connections and fittings. Allow the solution to sit for a few moments and observe for any bubbles or foaming, as this indicates a leak.
- Tighten or replace faulty components: If you notice any leaks during the test, identify the source of the leakage and take necessary steps to address it. Tighten the connections that are leaking or replace any faulty components as needed. Remember to use a wrench or spanner to ensure secure connections.
- Re-test for leaks: After addressing any leaks, repeat the leak test process to ensure that all connections are secure and there are no additional leaks.
It’s important to be thorough when conducting the leak test to prevent any potential safety hazards or beer wastage. Taking the time to identify and resolve any leaks will ensure the proper functioning of your kegerator and the quality of your beer.
Once the leak test is completed and all connections are secure, you can move on to the final step: enjoying freshly tapped beer from your kegerator!
Step 8: Enjoy Freshly Tapped Beer
Congratulations! After successfully completing the installation and testing process, it’s time to sit back, relax, and enjoy your freshly tapped beer straight from your kegerator. Here are a few tips to enhance your kegerator experience:
- Chill the keg: Make sure you have properly chilled your keg before tapping it. Most kegs require several hours, if not overnight, in the refrigerator to achieve the optimal temperature for serving.
- Purge the beer lines: Before pouring your first glass, it’s recommended to purge the beer lines to remove any air or excess foam. To do this, simply open the faucet and allow a small amount of beer to flow through the lines until it runs smoothly without excessive foaming.
- Pour the perfect pint: To achieve the perfect pour, hold your glass at a 45-degree angle beneath the faucet. Open the faucet fully and gradually straighten the glass as it fills. Aim for about an inch or two of foam at the top to enhance the aroma and carbonation of the beer.
- Experiment with different styles: Your kegerator opens up a world of possibilities for trying out different beer styles and flavors. Explore a variety of craft beers, lagers, ales, or even experiment with homebrews to discover new favorites.
- Keep your kegerator clean: Regularly clean and sanitize your kegerator, including the beer lines, faucet, and keg coupler. This will help maintain the quality and taste of your beer over time.
- Invite friends and share the experience: Enjoying freshly tapped beer is even better when shared with friends and loved ones. Host a gathering or a beer tasting event to showcase your kegerator setup and share the joy of a perfectly poured pint.
Remember, your kegerator setup is designed to provide you with the convenience and pleasure of enjoying draft beer at home. Take the time to appreciate the craftsmanship and care that goes into each glass and savor the unique flavors and aromas of your favorite brews.
Enjoy the pride and satisfaction of being able to serve and enjoy quality beer on tap, and cheers to many memorable moments with your kegerator!
With Step 8 completed, you have successfully learned how to connect a tap to your kegerator. Now, it’s time to raise a glass and toast to your new beer dispensing system. Cheers!
Read more: How To Use A Kegerator Freestanding Tap
Conclusion
Congratulations! You have reached the end of our comprehensive guide on how to connect a tap to a kegerator. By following the step-by-step instructions outlined in this article, you have acquired the knowledge and skills necessary to set up your very own beer dispensing system. Whether you’re a beer enthusiast or simply enjoy the occasional pint, having a kegerator allows you to experience the freshness and convenience of draft beer right at home.
Throughout this guide, we covered everything from gathering the necessary materials to testing for leaks. We emphasized the importance of proper preparation, installation, and maintenance to ensure a successful and enjoyable kegerator experience. By taking the time to set up your kegerator correctly and regularly maintaining it, you can always have a cold and refreshing glass of beer within reach.
Remember, each step in the installation process plays a crucial role in the overall functionality and performance of your kegerator. Take care to follow the instructions carefully and consult your kegerator’s manual for any specific requirements or modifications.
Now, it’s time to pour yourself a glass of your favorite beer and appreciate the fruits of your labor. Share the joy of your newly connected tap with friends and loved ones, and celebrate the pleasure of savoring a perfectly poured pint of draft beer from the comfort of your own home.
Thank you for trusting us to guide you through the process of connecting a tap to your kegerator. We hope you found this article helpful and that it enhances your beer-drinking experience. Cheers, and happy pouring!
Frequently Asked Questions about How To Connect A Tap To A Kegerator
Was this page helpful?
At Storables.com, we guarantee accurate and reliable information. Our content, validated by Expert Board Contributors, is crafted following stringent Editorial Policies. We're committed to providing you with well-researched, expert-backed insights for all your informational needs.




0 thoughts on “How To Connect A Tap To A Kegerator”