
Articles
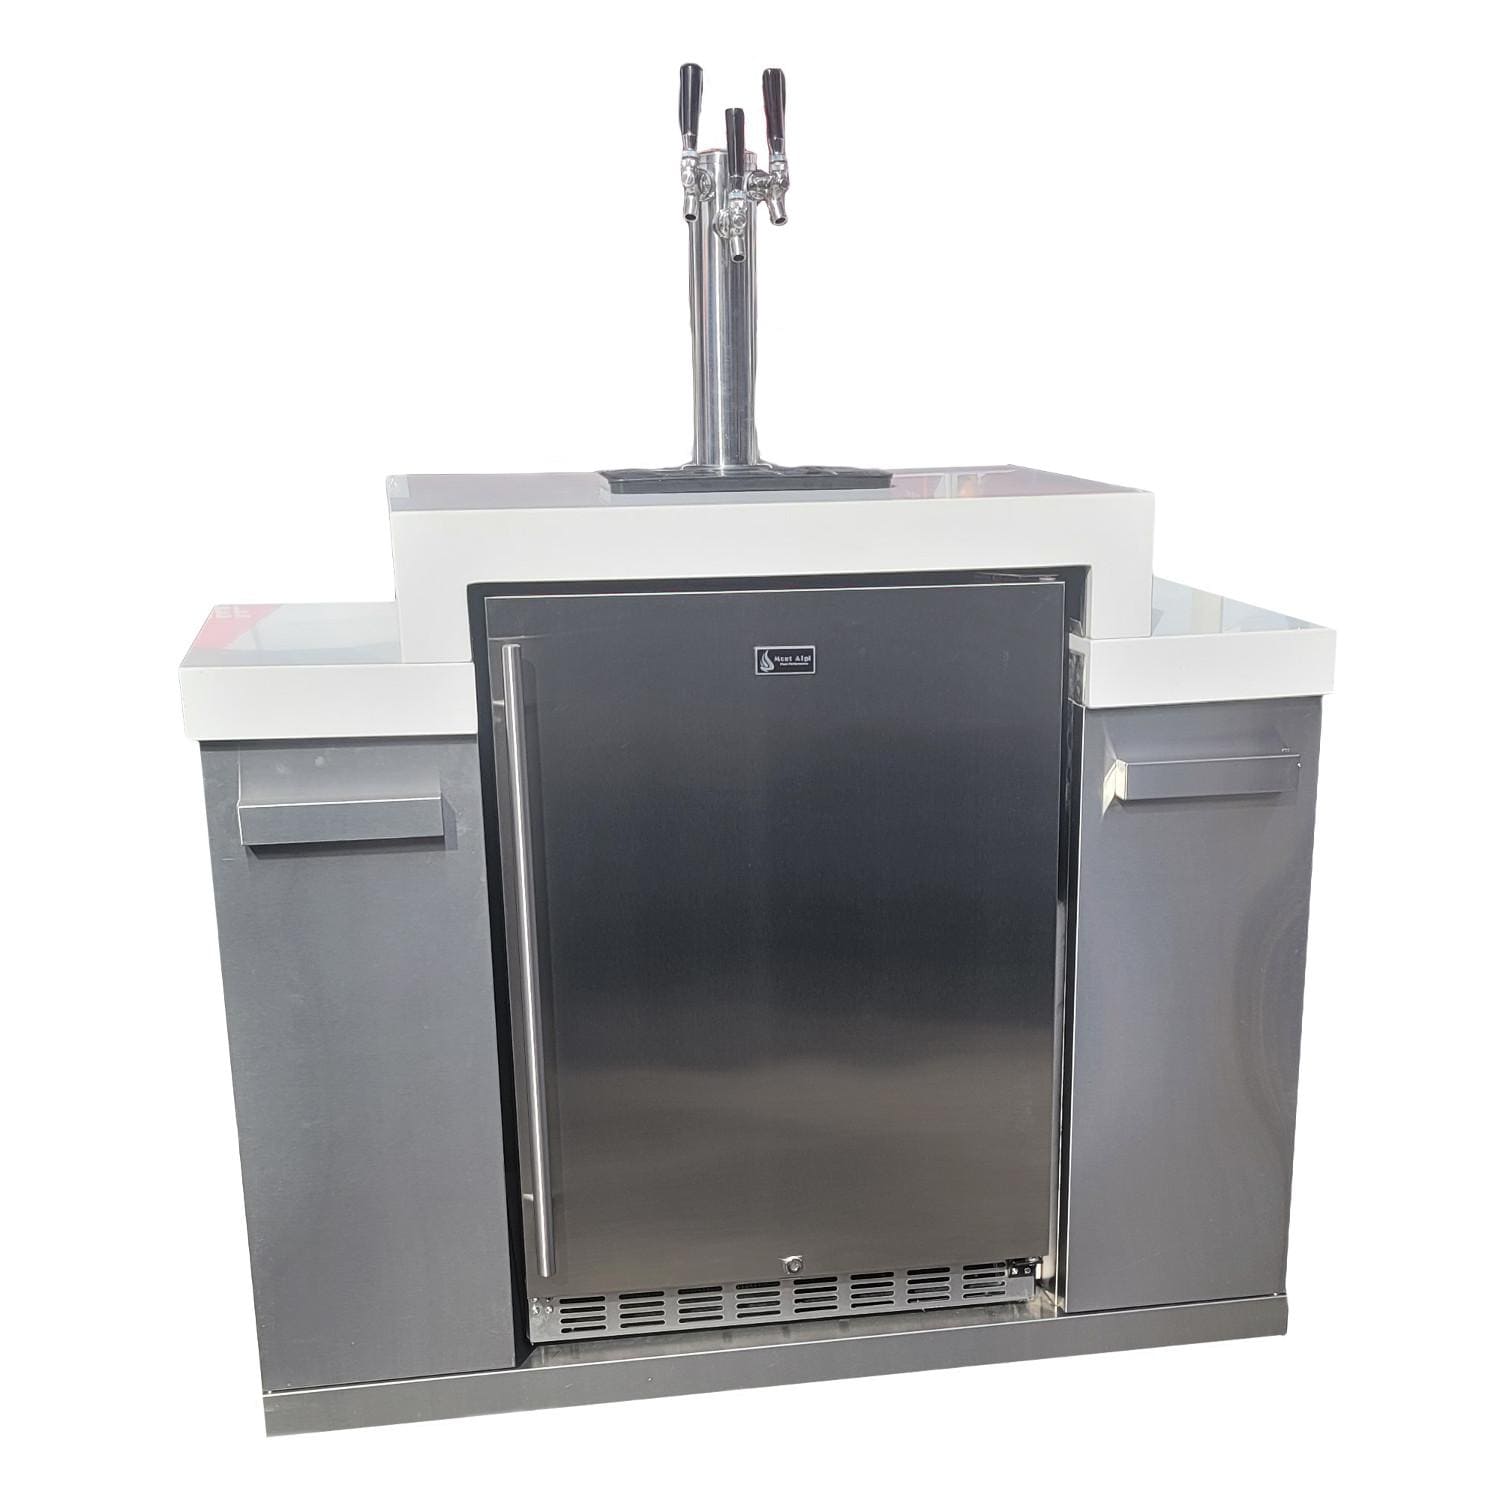
How To Remove Tap Nostalgia Kegerator
Modified: March 1, 2024
Discover effective methods and techniques for removing tap nostalgia kegerators with our informative articles.
(Many of the links in this article redirect to a specific reviewed product. Your purchase of these products through affiliate links helps to generate commission for Storables.com, at no extra cost. Learn more)
Introduction
Welcome to this step-by-step guide on how to remove tap nostalgia kegerator. If you’ve been enjoying draught beer at home and are ready for a change or simply need to perform maintenance on your kegerator, removing the tap is the first step. Whether you’re upgrading to a new tap system or just taking a break from home brewing, this guide will walk you through the process so you can easily remove the tap from your nostalgia kegerator.
Before we dive into the steps, it’s important to note that safety should always be a priority. Make sure to follow manufacturer instructions and take necessary precautions to prevent any accidents or injuries during the process. Additionally, keep in mind that different kegerator models may have slight variations in their design, so consult your owner’s manual for specific details related to your kegerator.
Now that we have the necessary disclaimers out of the way, let’s begin! In the next few steps, we’ll guide you through the process of removing the tap from your nostalgia kegerator so you can get started on whatever comes next in your beer-related adventures.
Key Takeaways:
- Safely remove the tap from your nostalgia kegerator by following these step-by-step instructions, ensuring a smooth process and preparing for maintenance or upgrades.
- Prioritize safety, gather necessary tools, and follow manufacturer instructions to successfully remove the tap, clean the components, and reassemble your kegerator for continued beer enjoyment.
Read more: How To Assemble A Nostalgia Kegerator
Step 1: Gathering the necessary tools
Before you begin the process of removing the tap from your nostalgia kegerator, it’s important to gather the necessary tools. Having these tools ready and easily accessible will ensure a smooth and efficient process. Here’s a list of tools you will need:
- Adjustable wrench
- Phillips screwdriver
- Bucket or container for beer disposal
- Cleaning solution or mild detergent
- Clean cloth or sponge
Make sure you have all of these tools nearby before proceeding to the next step. It’s always a good idea to double-check your tools to avoid any unnecessary interruptions or delays during the process.
Step 2: Disconnecting the kegerator from power
Before you start working on removing the tap from your nostalgia kegerator, it’s crucial to disconnect the appliance from power. This step ensures your safety and prevents any electrical accidents. Follow these steps to disconnect your kegerator from power:
- Locate the power cord at the back of the kegerator near the bottom. It is typically plugged into a standard electrical outlet.
- Gently pull the power plug out of the outlet. Make sure to grip the plug itself, not the cord, to avoid any damage.
- Once the kegerator is disconnected from power, you can proceed with the tap removal process.
Remember to exercise caution and be aware of any potential hazards while working with electrical appliances. In addition, keep in mind that some kegerators may have different power configurations or be hardwired, so it’s essential to refer to the manufacturer’s instructions specific to your model.
By disconnecting the kegerator from power, you create a safe working environment that allows you to focus on removing the tap without any electrical risks. Take a moment to ensure that the power cord is safely tucked away and won’t accidentally be plugged back in.
Step 3: Removing the tap handle
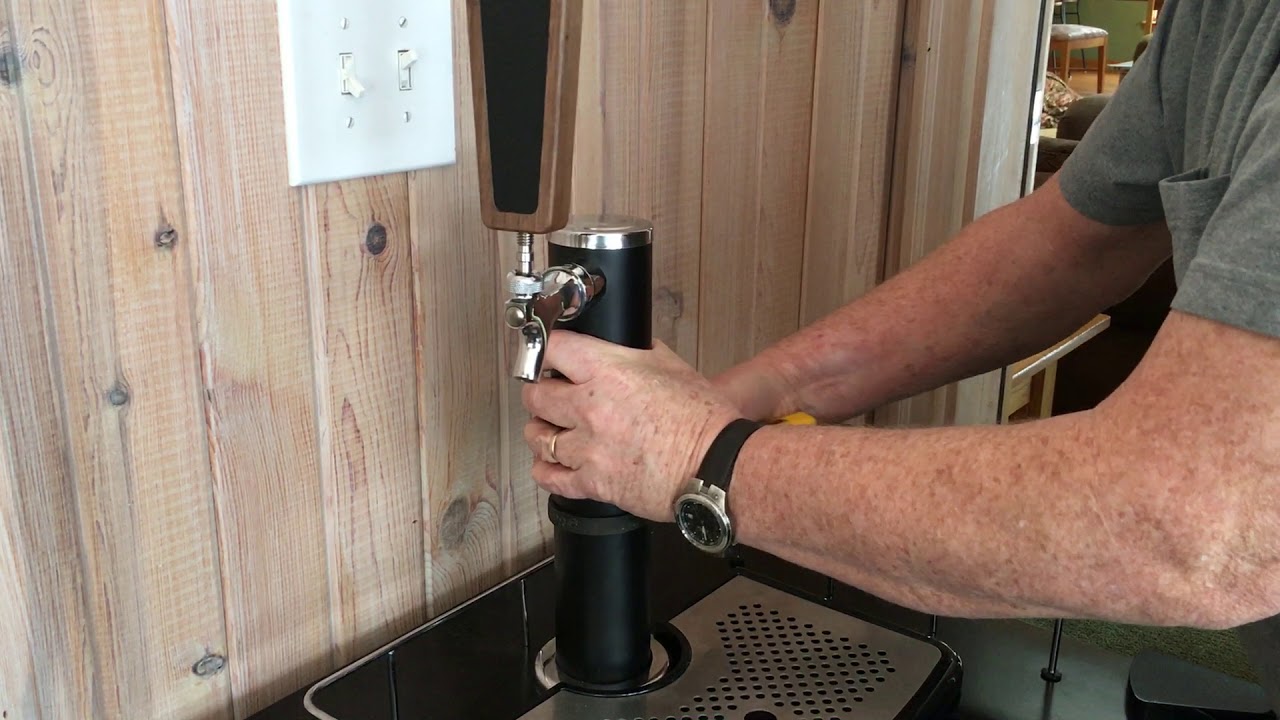
Now that your kegerator is safely disconnected from power, it’s time to remove the tap handle. The tap handle is the part that you turn to dispense your beer, so removing it is the first visible step in the process. Here’s how you can do it:
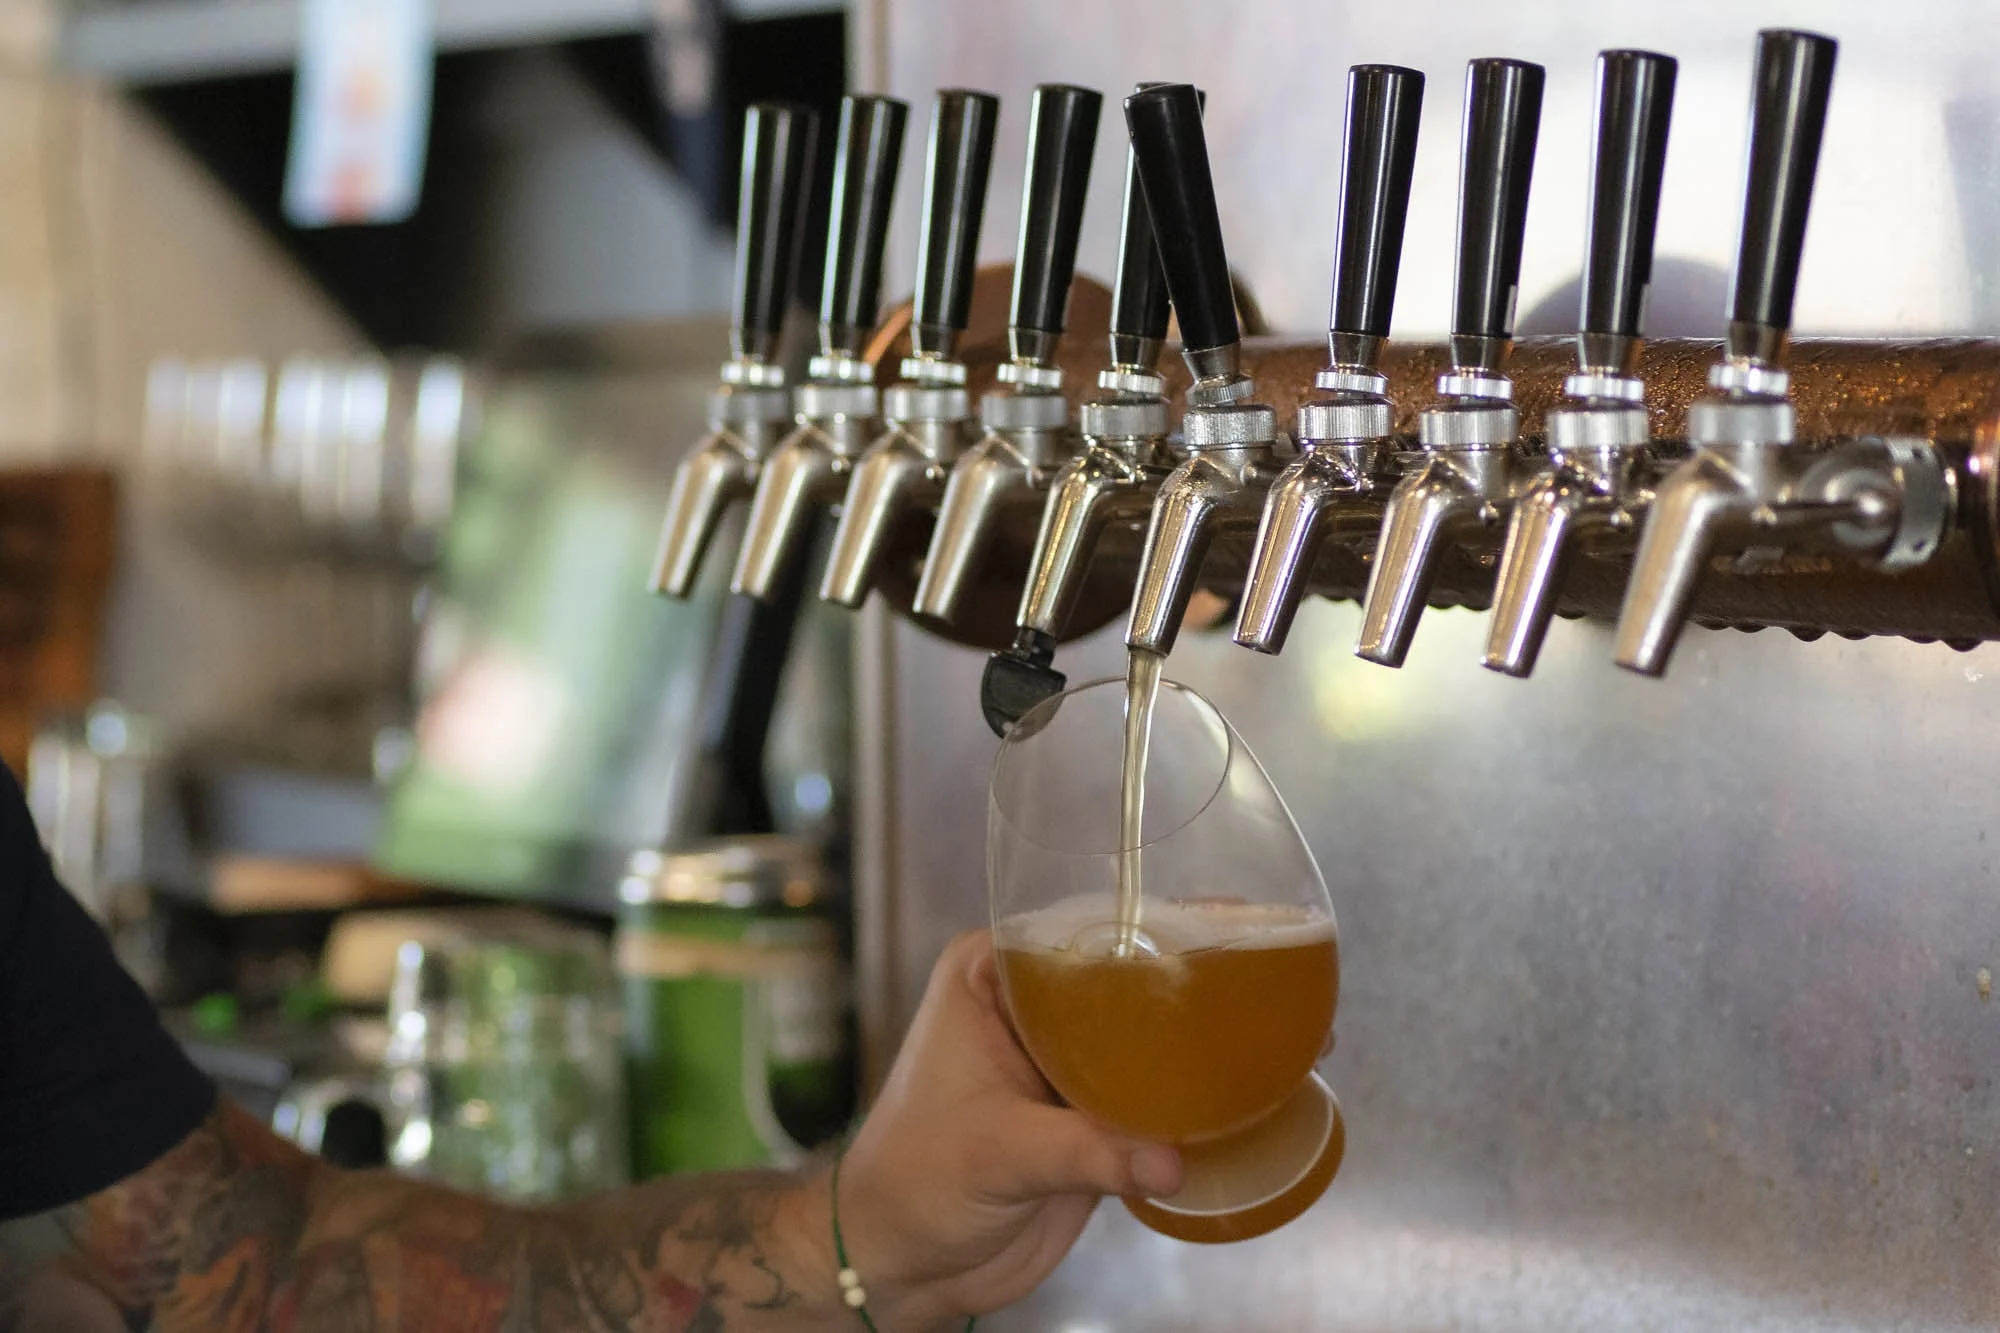
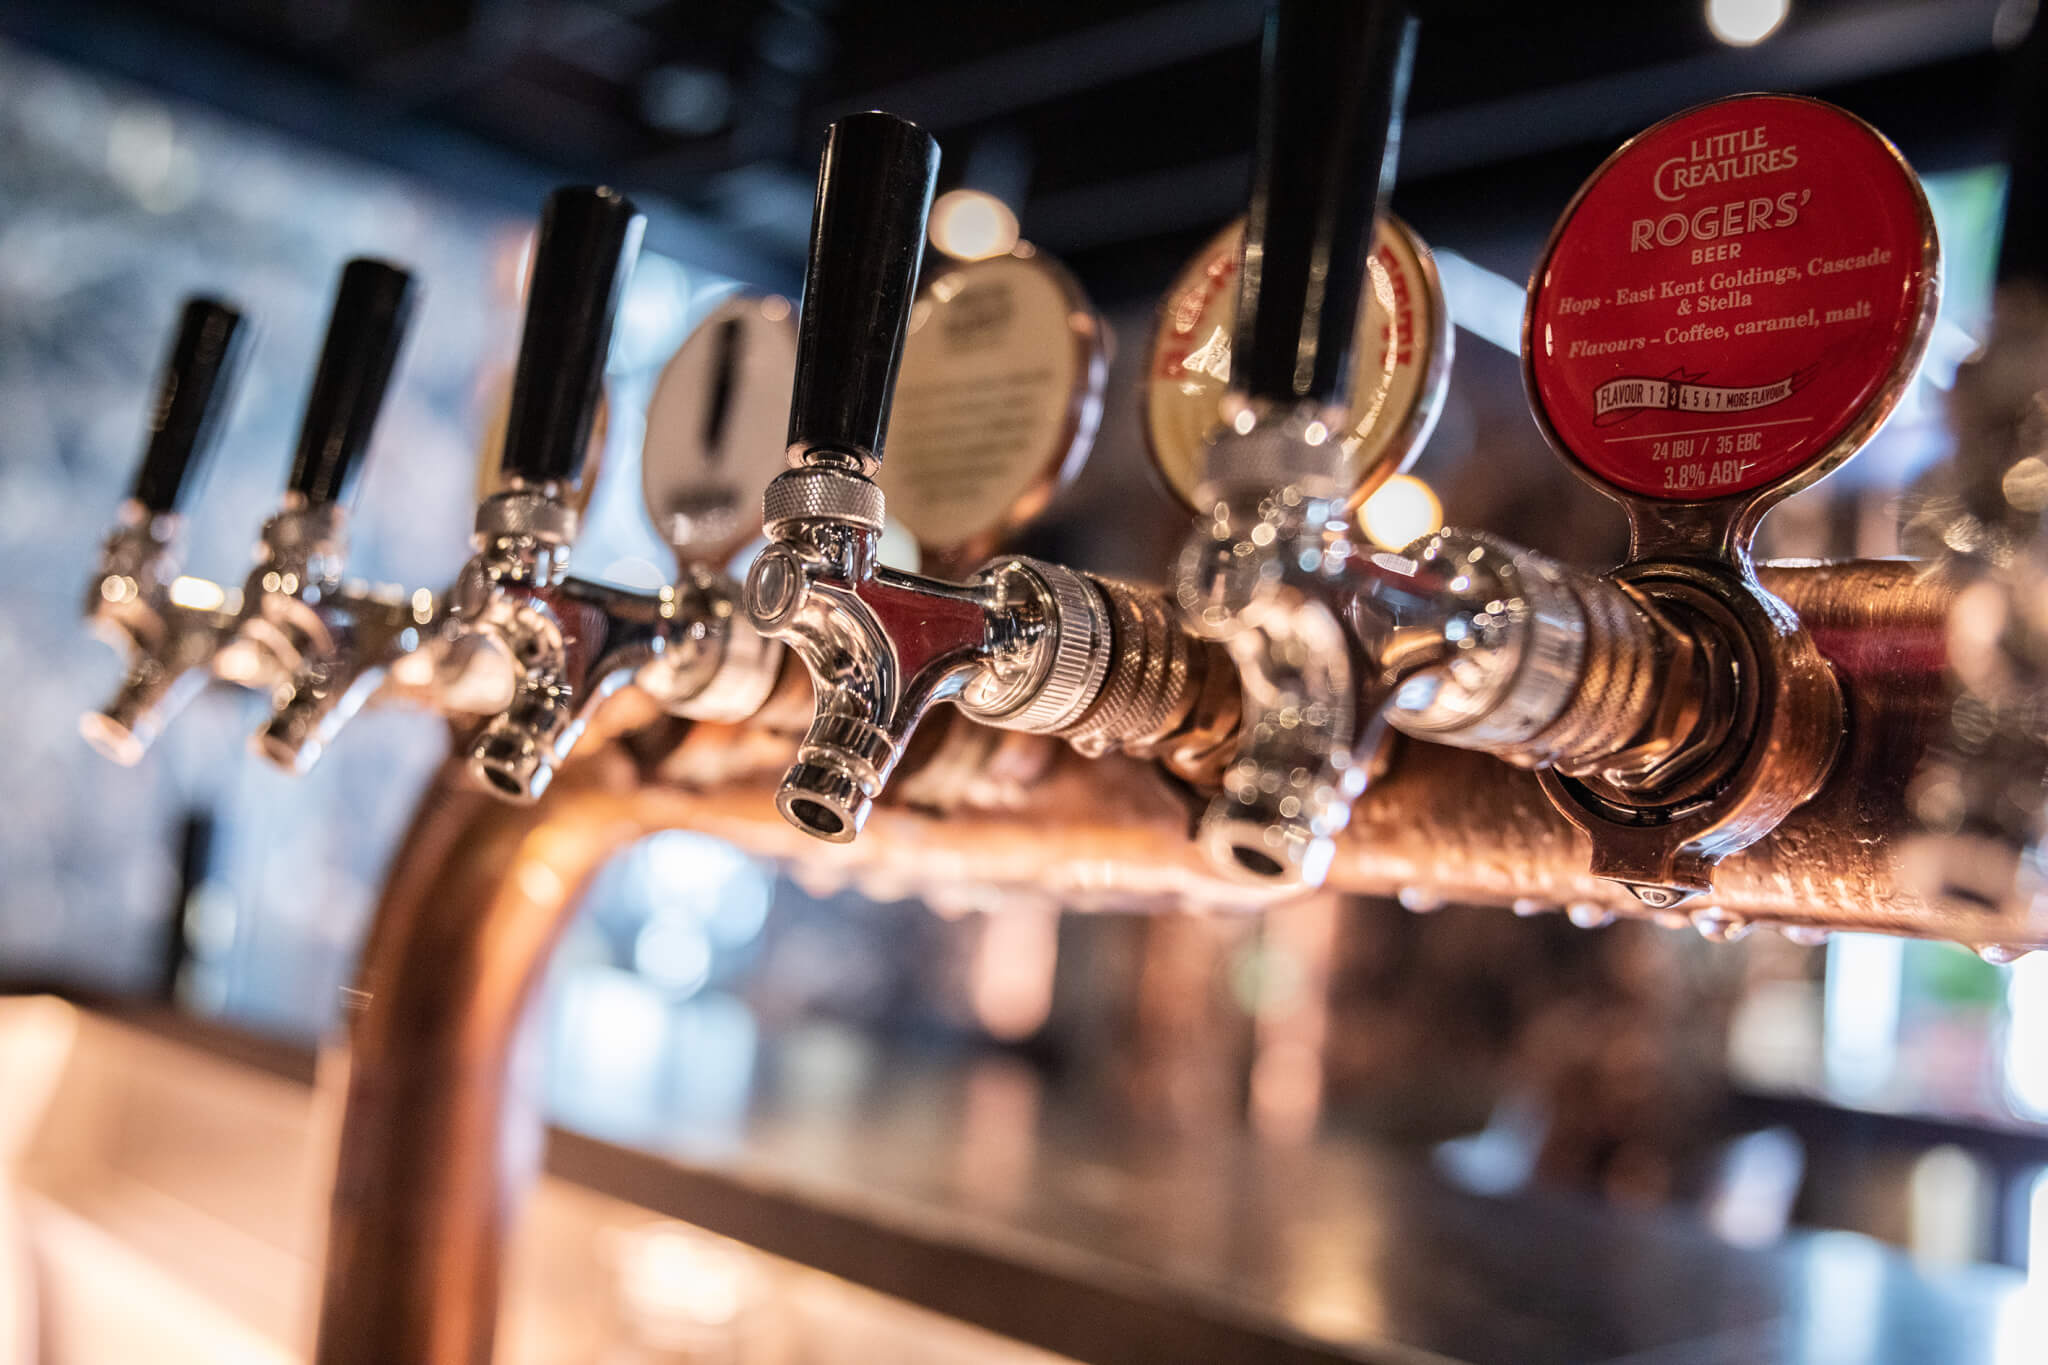
- Locate the tap handle on top of the kegerator. It is usually attached to a faucet or shank.
- Depending on the design of your kegerator, the tap handle may either be held in place by a set screw or a threaded connection.
- If there is a set screw, use a Phillips screwdriver to loosen and remove it. This will free the tap handle from the faucet or shank.
- If the tap handle has a threaded connection, simply turn it counterclockwise until it comes off.
- Once the tap handle is removed, set it aside in a safe place. You may want to wrap it in a cloth or store it in a plastic bag to prevent any damage or loss.
Removing the tap handle allows you to access the internal components of the kegerator and move on to the next steps of the tap removal process. With the tap handle safely removed, you can continue with confidence knowing that you’ve successfully completed this step.
Step 4: Detaching the beer line
With the tap handle removed, it’s time to detach the beer line from the kegerator. The beer line is responsible for carrying the beer from the keg to the tap, so detaching it is an important step in the tap removal process. Follow these steps to detach the beer line:
- Locate the beer line connected to the back of the tap or faucet. It is usually held in place by a beer nut.
- Using an adjustable wrench, loosen the beer nut by turning it counterclockwise. Be careful not to apply too much force, as you don’t want to damage the fittings.
- Once the beer nut is loosened, gently pull the beer line away from the tap or faucet. You may need to use a slight twisting motion to release it completely.
- As you remove the beer line, be prepared for some beer spillage. It’s a good idea to have a bucket or container nearby to catch any liquid that may come out.
- Once the beer line is detached, set it aside for cleaning or disposal. You can clean it with a mild detergent and water or replace it if necessary.
Detaching the beer line allows you to proceed with the tap removal process and ensures that the line is free from any obstructions. Take your time and be careful when loosening the beer nut to avoid any unnecessary damage. By successfully detaching the beer line, you’re one step closer to removing the tap from your nostalgia kegerator.
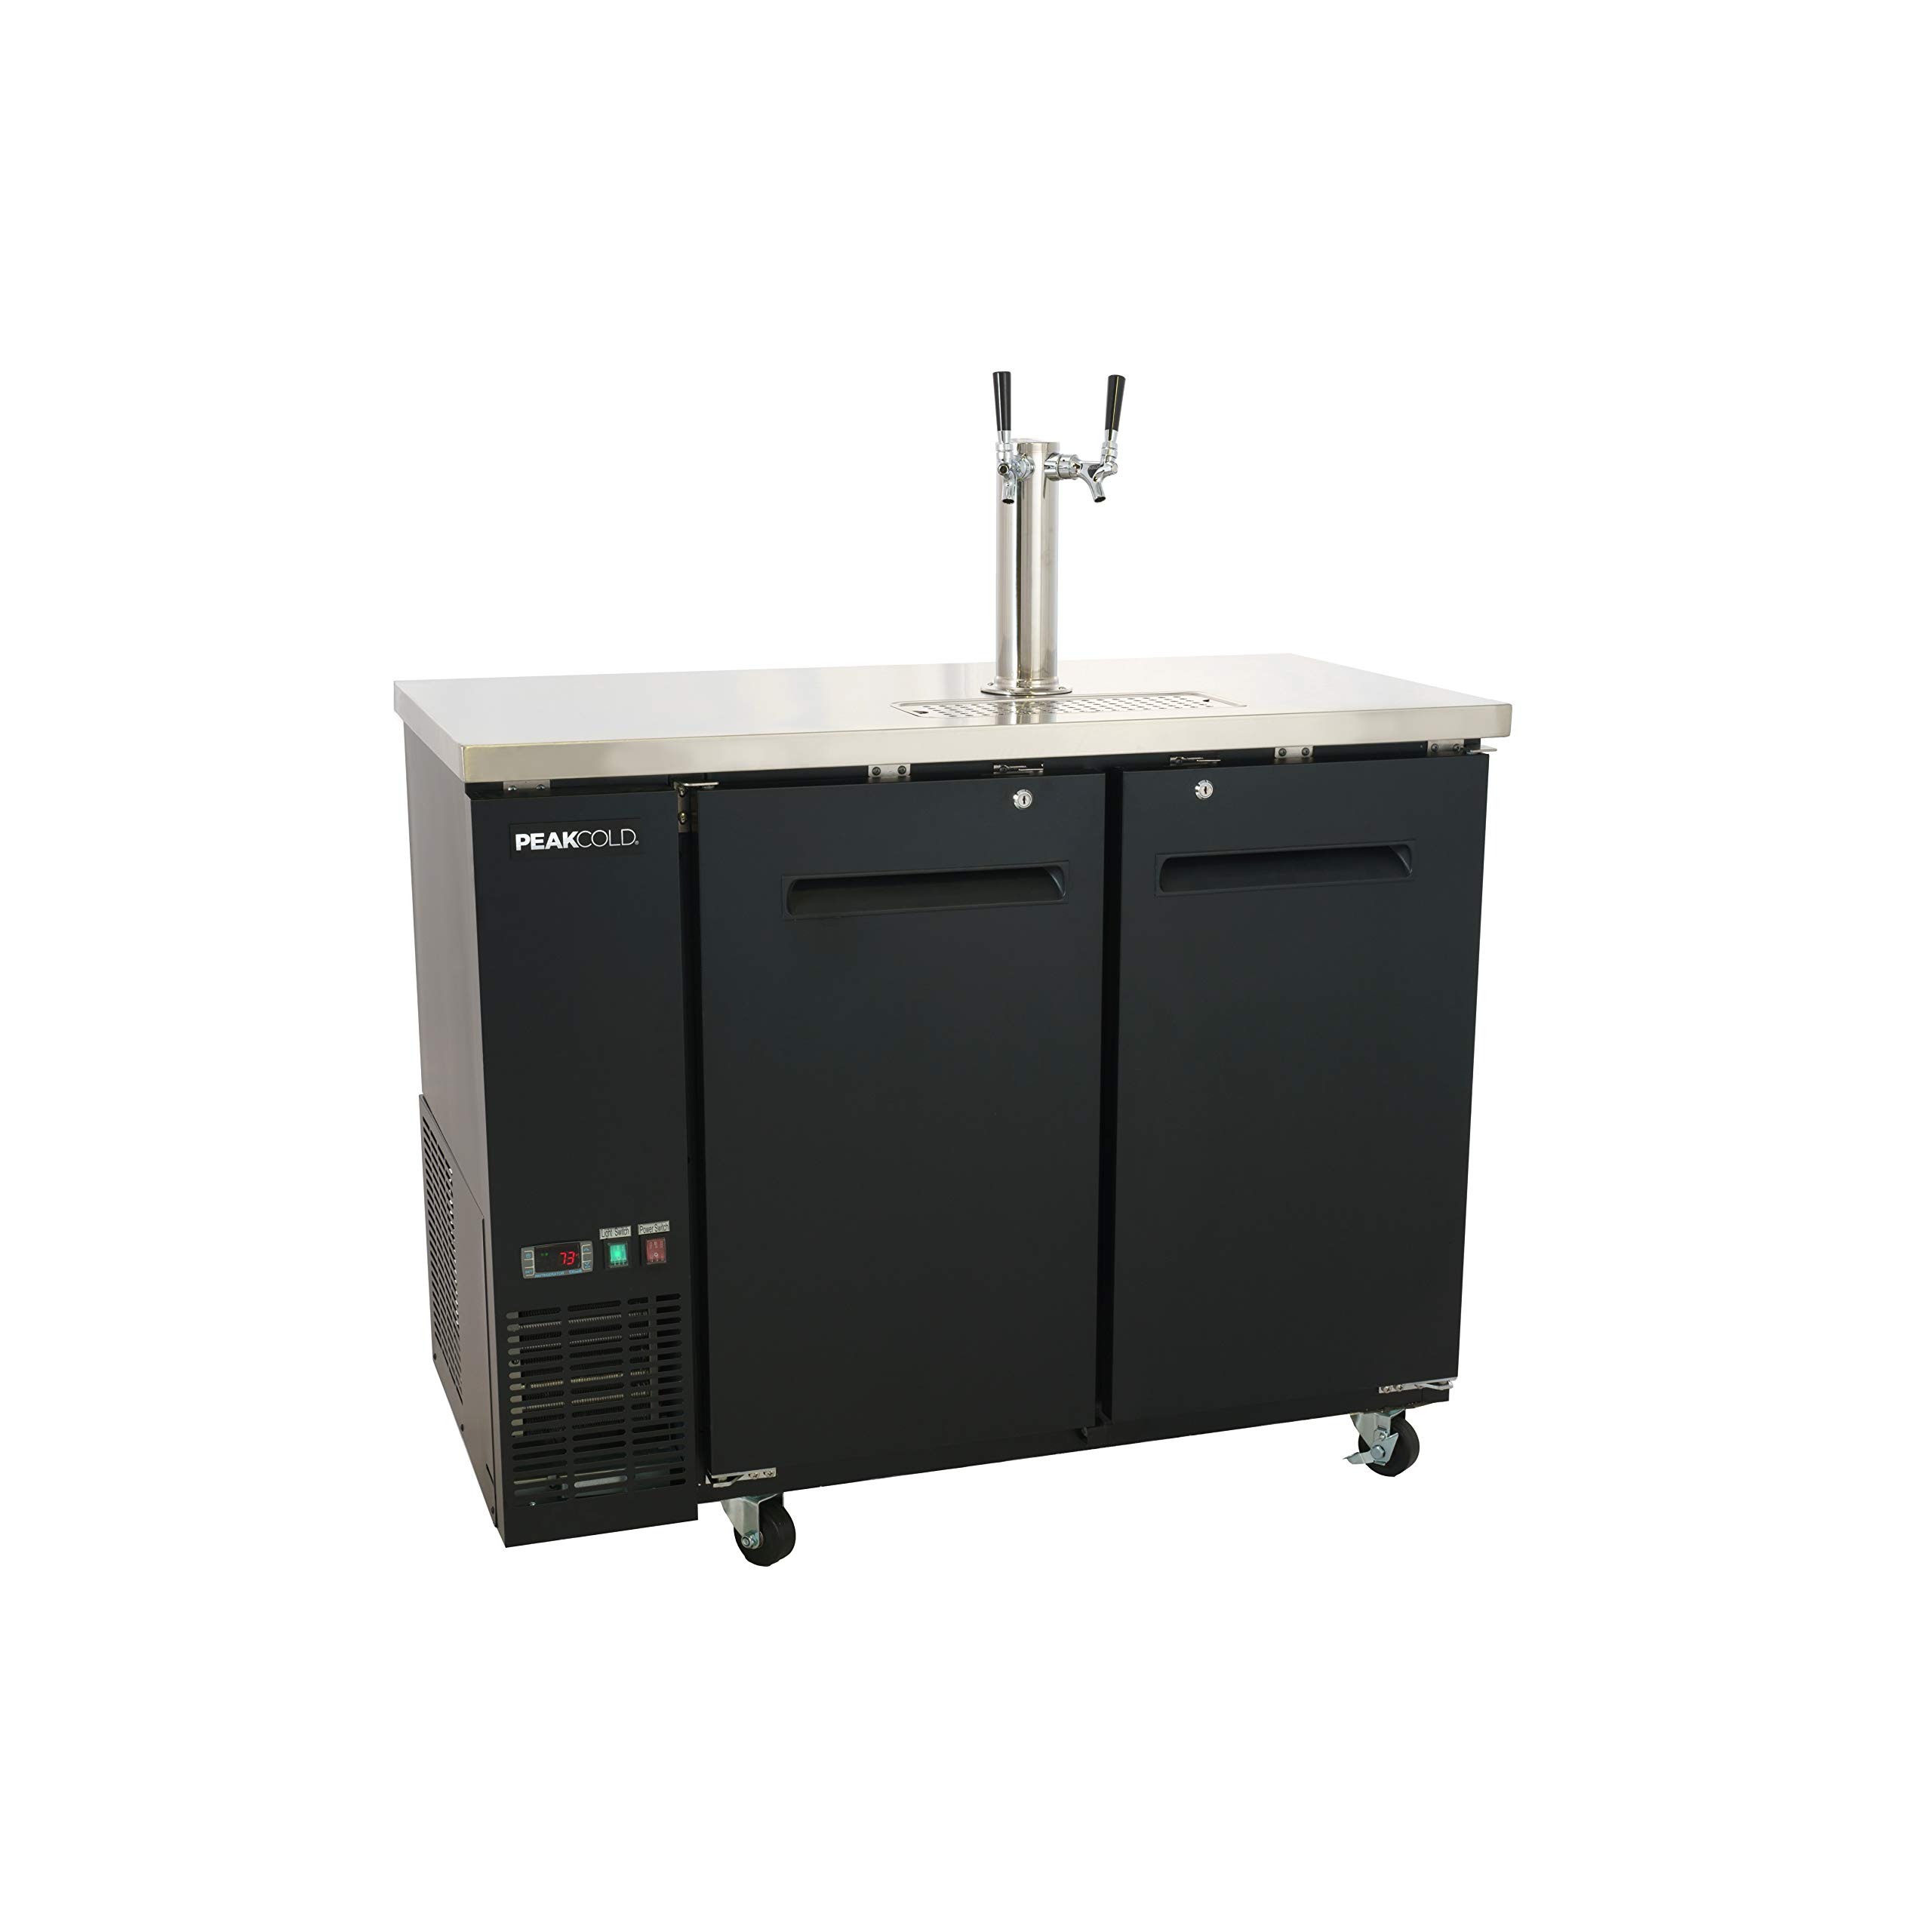
When removing a Tap Nostalgia Kegerator, make sure to unplug the unit and remove any remaining beer or CO2. Then, carefully disconnect and remove the tap and beer lines before lifting and transporting the kegerator to its new location.
Read more: How To Two Tap Kegerator
Step 5: Removing the coupler
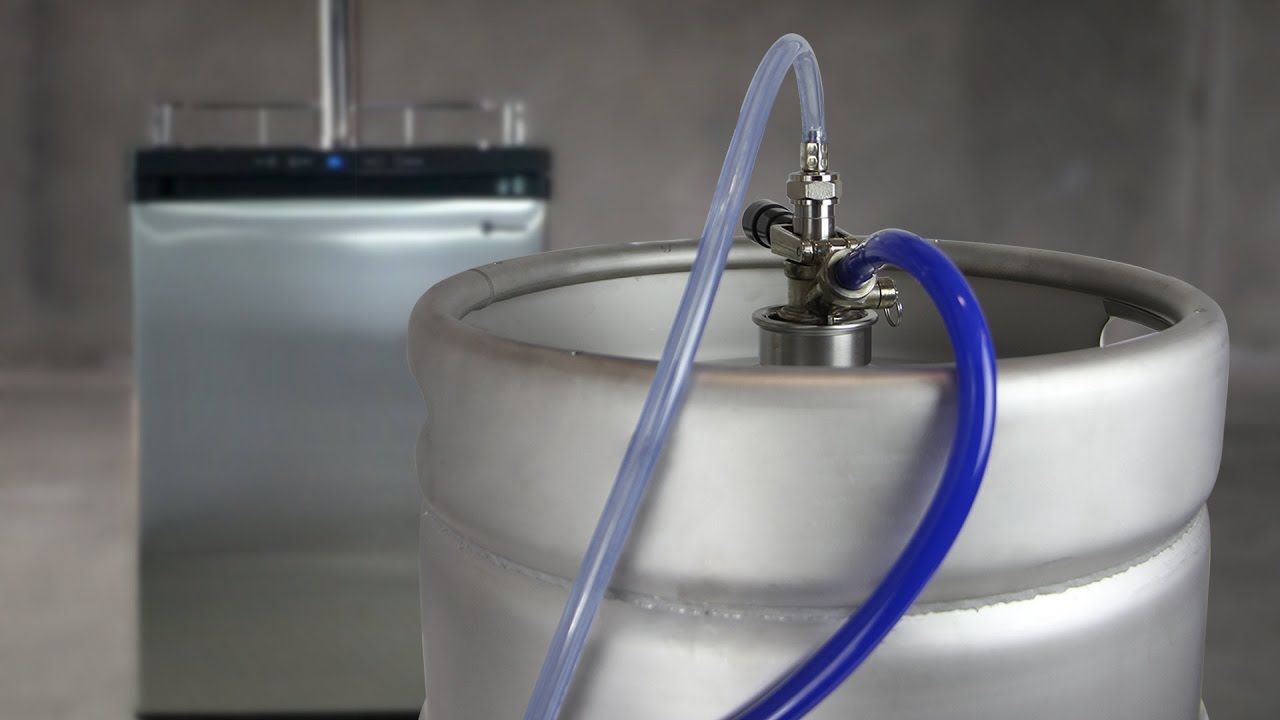
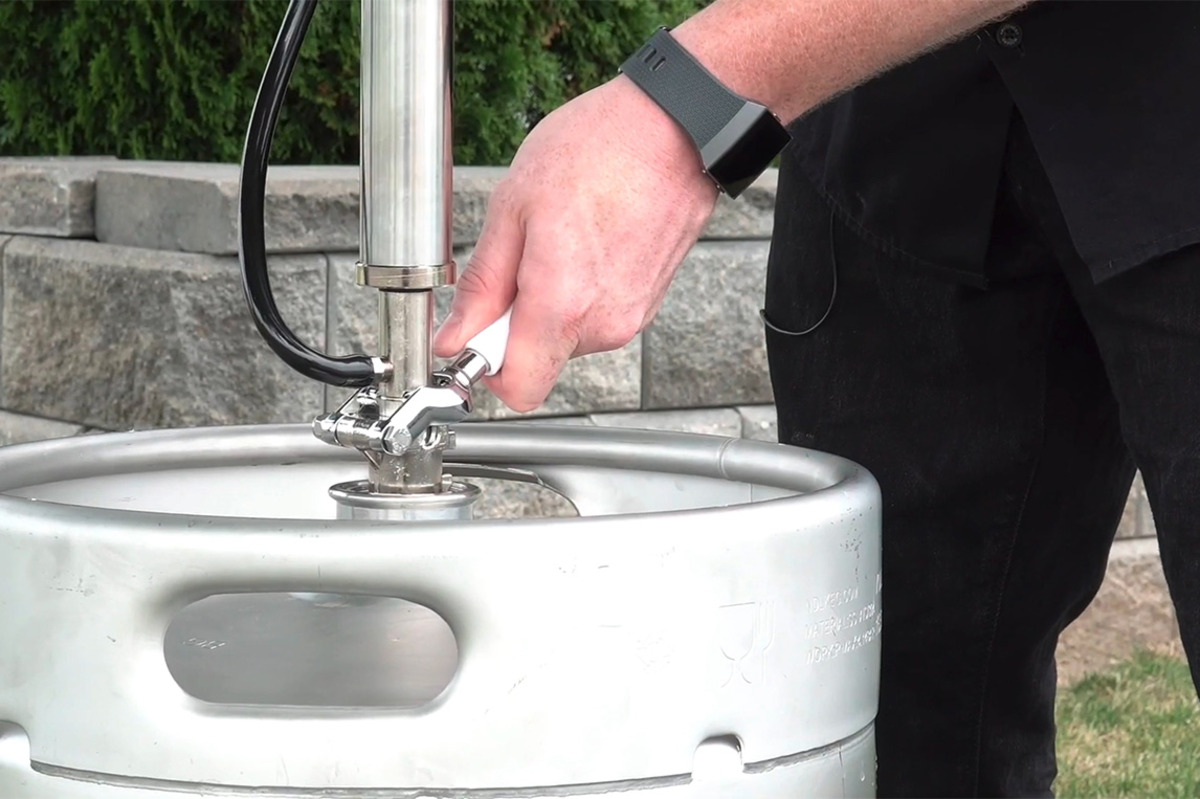
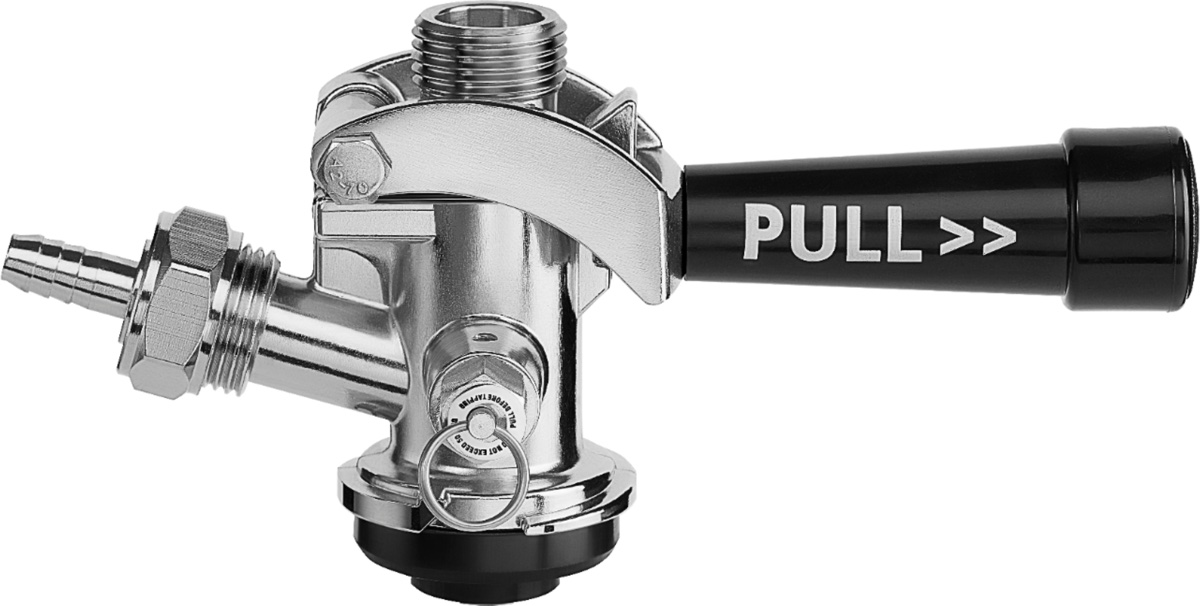
Now that you have detached the beer line, the next step is to remove the coupler. The coupler is the part that attaches to the keg and allows beer to flow into the beer line. Here’s how you can remove the coupler from your nostalgia kegerator:
- Locate the coupler on top of the keg. It is usually held in place by a circular clamp.
- Inspect the coupler and locate the two metal tabs on the side. These tabs need to be lifted in order to release the coupler.
- Using your fingers or a flathead screwdriver, lift the metal tabs simultaneously. Apply gentle pressure to release the tension and lift the coupler off the keg.
- Once the coupler is lifted, carefully lift it away from the keg, making sure to avoid any sudden movements that could cause beer spillage.
Removing the coupler allows you to disconnect the keg from the kegerator and continue with the tap removal process. Take note of any remaining beer inside the keg before moving forward. You may need to empty the beer before proceeding to the next steps, depending on your specific needs or the maintenance you plan to perform.
By successfully removing the coupler, you are one step closer to removing the tap from your nostalgia kegerator and completing the tap removal process.
Step 6: Emptying the remaining beer from the keg
Before you proceed with the tap removal process, it’s important to empty the remaining beer from the keg. This step ensures that the keg is empty and prevents any spills or leaks during the removal process. Here’s how you can empty the remaining beer from your nostalgia kegerator:
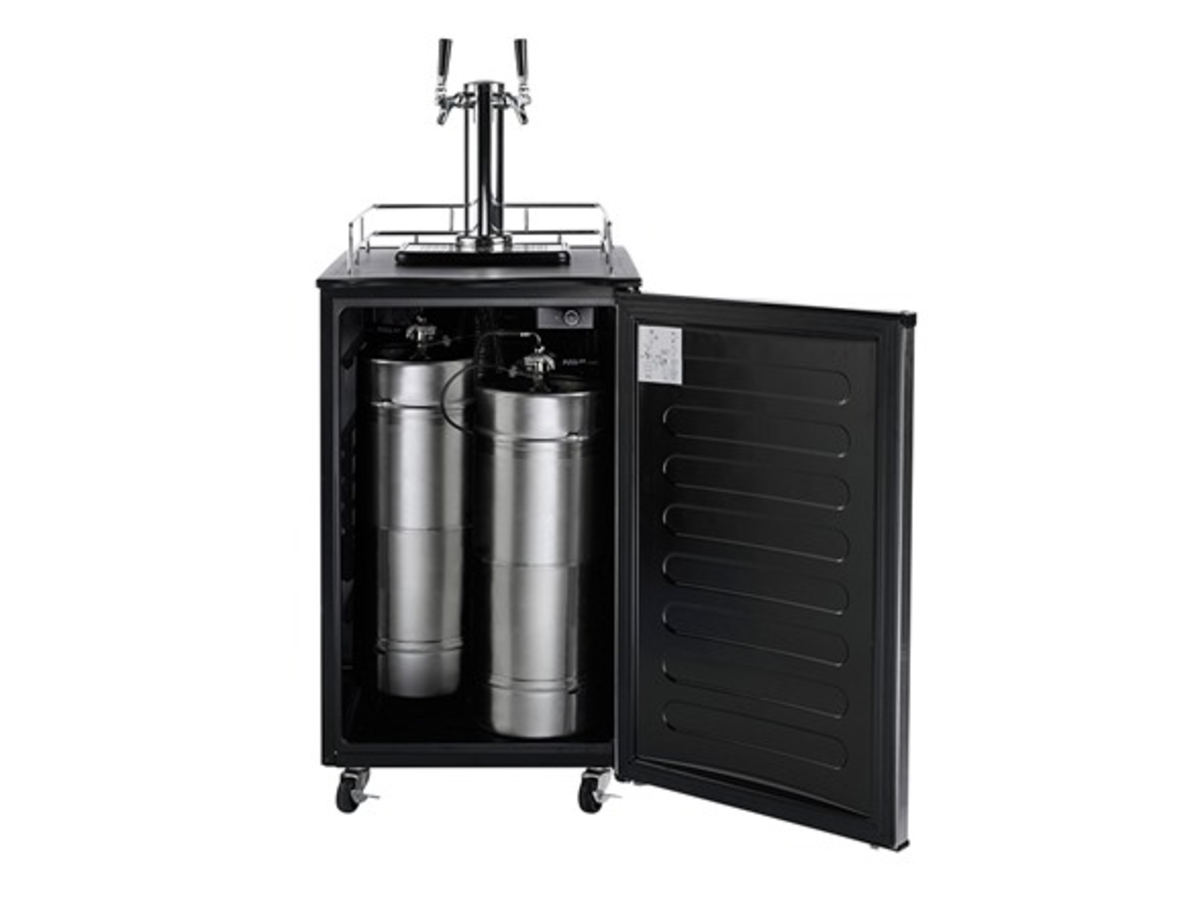
- Carefully lift the keg from the kegerator and place it in a stable and secure location, such as a countertop or table.
- Locate the beer tap on the top of the keg. This is the part that you use to dispense the beer.
- If the beer tap has a handle, lift it up to release any pressure in the keg. This will allow the beer to flow out more easily.
- Position a bucket or container below the beer tap to catch the beer as it empties from the keg.
- Slowly turn the beer tap counterclockwise to open the valve and allow the beer to flow into the bucket or container.
- Once the beer has stopped flowing, close the beer tap by turning it clockwise to prevent any further leakage.
It’s important to handle the keg and the beer tap with care during this process to avoid any spills or accidents. Take your time and ensure that the beer flows smoothly into the bucket or container. If necessary, you can tilt the keg to guide the beer flow. Be aware that the keg may be heavy, so it’s a good idea to get assistance if needed.
By emptying the remaining beer from the keg, you ensure a clean and hassle-free tap removal process. Once the keg is empty, you can move on to the next steps confidently, knowing that you have properly prepared the kegerator for tap removal.
Step 7: Cleaning the kegerator components
Now that you have removed the tap and emptied the keg, it’s time to clean the kegerator components. Cleaning is an essential part of maintenance and ensures that your kegerator remains in optimal condition. Follow these steps to clean the components of your nostalgia kegerator:
- Start by removing any remaining parts connected to the tap, such as the faucet or shank. These components can be detached by turning them counterclockwise.
- Prepare a cleaning solution by mixing mild detergent or specialized keg line cleaner with warm water in a bucket or basin.
- Using a clean cloth or sponge, dip it into the cleaning solution and gently scrub the interior surfaces of the kegerator, focusing on areas that may have accumulated beer residue or mold.
- Rinse the cloth or sponge with clean water and wipe down the interior surfaces of the kegerator again to remove any soap residue.
- If there are any stubborn stains or buildup, you can use a soft-bristle brush or a toothbrush to scrub the affected areas.
- For the beer line and components, such as the coupler and beer nut, soak them in the cleaning solution for a few minutes to dissolve any residue. Then, rinse them thoroughly with clean water.
- Allow all the components, including the kegerator interior, faucet, shank, coupler, and beer line, to air dry completely before reassembling.
It’s essential to clean the kegerator components regularly to maintain good hygiene and prevent any build-up that could affect the taste and quality of the beer. By following these cleaning steps, you ensure that your nostalgia kegerator is free from dirt, bacteria, and any potential contaminants.
Once all the components are clean and dry, you’re ready to move on to the final step of reassembling the kegerator and getting it ready for future use or maintenance.
Step 8: Reassembling the kegerator
After cleaning the kegerator components, it’s time to reassemble the kegerator and get it ready for use or future maintenance. Follow these steps to properly reassemble your nostalgia kegerator:
- Start by attaching the cleaned faucet or shank back onto the kegerator. Turn it clockwise to secure it in place.
- Take the beer line and reattach it to the faucet or shank. Use an adjustable wrench to tighten the beer nut, ensuring a snug fit.
- If applicable, attach the cleaned coupler back onto the keg. Align the coupler with the keg opening and press it down firmly until it locks into place.
- Ensure that all connections are tightened securely, but be careful not to overtighten and risk damaging any components.
- If necessary, reconnect any other accessories or parts that were removed during the tap removal process, such as the tap handle.
- Double-check that all the components are properly assembled and securely attached.
- If you haven’t already done so, plug the kegerator back into the power outlet, ensuring it is receiving power.
By following these steps, you have successfully reassembled your nostalgia kegerator. It’s now ready for use or any future maintenance you may need to perform. Make sure to consult the manufacturer’s instructions for any specific guidelines related to your kegerator model.
Before using the kegerator, it’s a good idea to run a cleaning solution through the system to ensure that any remaining residue or cleaning agents are flushed out. Follow the cleaning solution instructions provided by the manufacturer.
With your kegerator reassembled, you can now enjoy a refreshing glass of draught beer or continue with your beer-related adventures!
Read more: How To Fix Nostalgia Electric Kegerator
Conclusion
Congratulations! You have successfully learned how to remove the tap from your nostalgia kegerator. This step-by-step guide has provided you with the necessary instructions to safely and effectively remove the tap and perform necessary maintenance or upgrades. By following these steps, you can ensure that your kegerator remains in top-notch condition and continues to provide you with the perfect draught beer experience.
Throughout the process, it’s important to prioritize safety and to consult your kegerator’s manufacturer instructions for any specific details pertaining to your model. Taking the time to gather the necessary tools, disconnect the kegerator from power, remove the tap handle, detach the beer line, remove the coupler, empty the remaining beer, clean the kegerator components, and reassemble the kegerator will help keep your system running smoothly and effectively.
Remember to perform regular cleaning and maintenance on your kegerator to maintain its performance and extend its lifespan. By doing so, you can ensure that you enjoy the freshest and most flavorful draught beer at home.
We hope this guide has been helpful in assisting you with removing the tap from your nostalgia kegerator. Cheers to your successful tap removal and many more enjoyable beer-tasting experiences!
Frequently Asked Questions about How To Remove Tap Nostalgia Kegerator
Was this page helpful?
At Storables.com, we guarantee accurate and reliable information. Our content, validated by Expert Board Contributors, is crafted following stringent Editorial Policies. We're committed to providing you with well-researched, expert-backed insights for all your informational needs.


0 thoughts on “How To Remove Tap Nostalgia Kegerator”