Home>Articles>How To Convert A Chest Freezer Into A Kegerator
Articles
How To Convert A Chest Freezer Into A Kegerator
Modified: August 30, 2024
Transform your chest freezer into a kegerator with our step-by-step guide. Learn how to convert your appliance to dispense cold, refreshing draft beer at home. Find more articles on DIY projects and home improvement.
(Many of the links in this article redirect to a specific reviewed product. Your purchase of these products through affiliate links helps to generate commission for Storables.com, at no extra cost. Learn more)
Introduction
Have you ever dreamed of having an endless supply of ice-cold beer on-tap at home? If so, converting a chest freezer into a kegerator may be the perfect project for you. A kegerator is a modified refrigerator that is designed specifically for keeping kegs of beer cold and dispensing them with ease. While you can certainly purchase a pre-made kegerator, converting a chest freezer offers several advantages, including cost savings and customization options.
In this article, we will guide you through the process of converting a chest freezer into a kegerator step by step. From choosing the right chest freezer to setting up the CO2 system and tap tower, we’ll cover everything you need to know to turn your ordinary freezer into the ultimate beer dispensing machine.
But before we dive into the details, let’s understand why converting a chest freezer is a popular choice among homebrewers and beer enthusiasts. Chest freezers are spacious, energy-efficient, and have better insulation compared to regular fridges. This means they can easily accommodate multiple kegs and provide excellent temperature control, essential for preserving the quality and flavor of your favorite brews.
So, if you’re ready to embark on this DIY kegerator adventure, let’s get started!
Key Takeaways:
- Transform an ordinary chest freezer into a personalized kegerator for endless, ice-cold beer on-tap at home. Enjoy cost savings, customization, and the satisfaction of a DIY beer dispensing machine.
- Follow step-by-step instructions to convert a chest freezer into a kegerator, from choosing the right freezer to setting up the CO2 system and tap tower. Enjoy fresh, draft beer at home with your customized beer dispensing machine.
Read more: How To Build A Freezer Kegerator
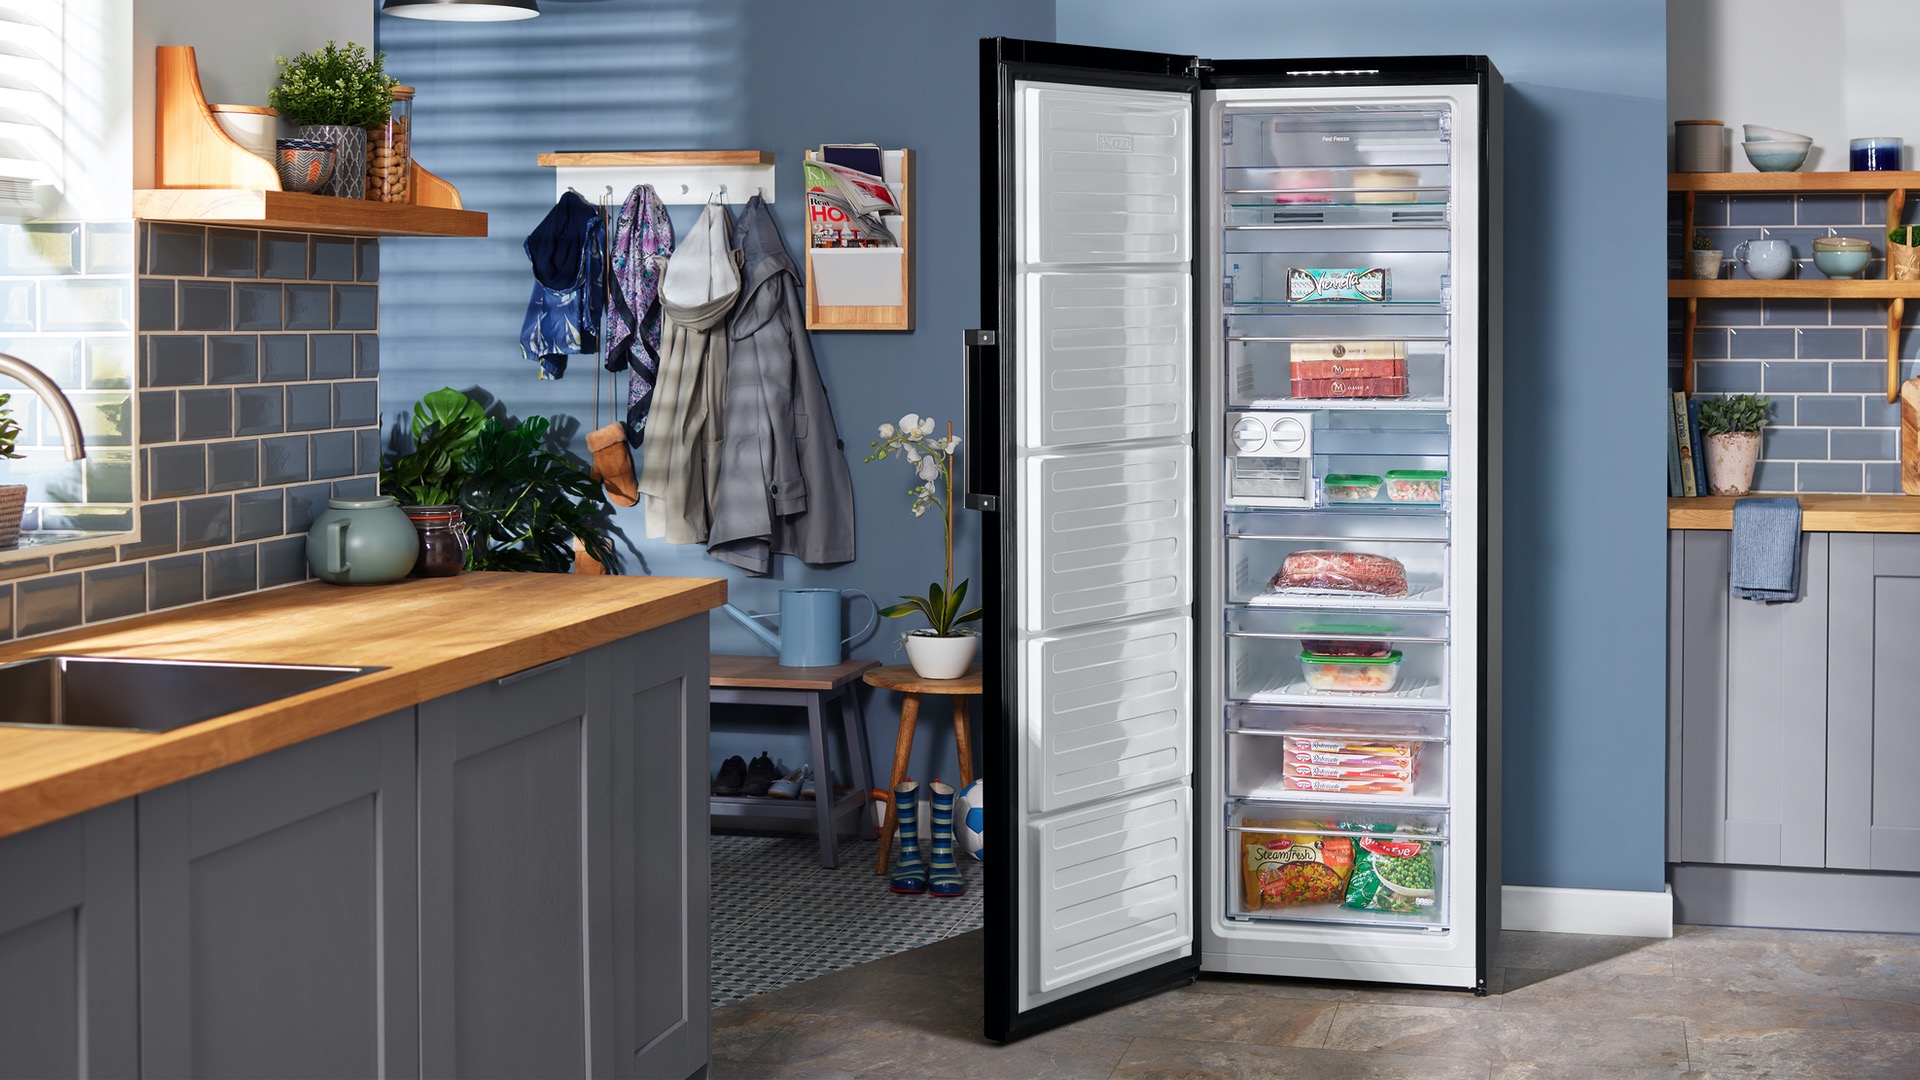
Step 1: Choosing the Right Chest Freezer
The first and most crucial step in converting a chest freezer into a kegerator is selecting the right freezer for the job. Here are a few factors to consider when making your decision:
- Size: Determine how many kegs you plan to store in your kegerator. Chest freezers come in various sizes, so make sure to choose one that is spacious enough to accommodate your needs.
- Energy Efficiency: Look for a chest freezer that has a high energy efficiency rating. This will help you save on energy costs in the long run.
- Temperature Control: Opt for a freezer that offers manual temperature control or one that can be easily modified to suit your needs. This is important for maintaining the ideal temperature range for your kegs.
- Accessories: Consider any additional features or accessories you may want, such as baskets or dividers to keep your kegs organized and separate.
- Budget: Set a budget for your kegerator project and search for a chest freezer that fits within your price range.
Once you have a clear idea of your requirements, start researching different brands and models of chest freezers. Read customer reviews and compare prices to find the best option for you.
It’s important to note that when choosing a chest freezer for conversion, you’ll need one with a top-opening lid rather than a front-opening door. This is because the top-opening lid allows for easy installation of the necessary components, such as the gas lines and tap tower.
When you’ve found the right chest freezer, make sure to measure the dimensions and plan out the space needed for the CO2 tank, gas lines, and keg(s). This will help you determine the best placement for these components and ensure a smooth installation process.
Now that you’ve chosen your chest freezer, it’s time to move on to the next step: preparing the freezer for kegerator conversion.
Step 2: Preparing the Chest Freezer
Now that you have your chosen chest freezer, it’s time to prepare it for the kegerator conversion. Follow these steps to ensure a proper setup:
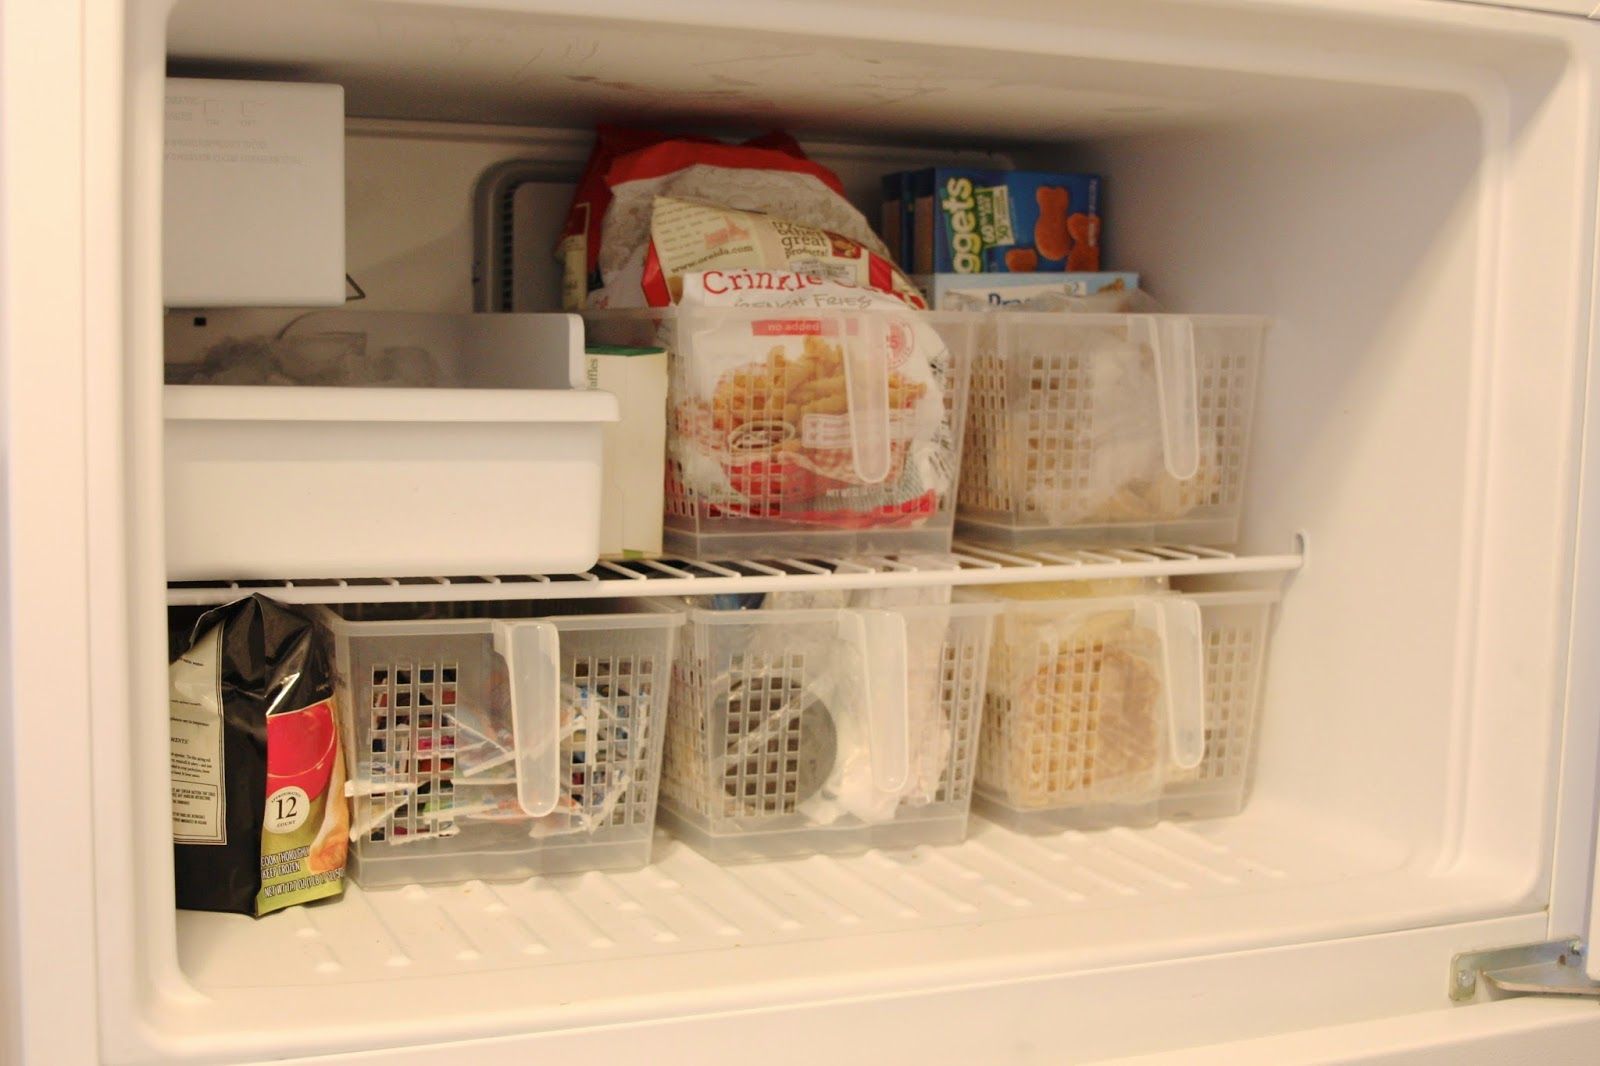
- Clean and Defrost: Start by thoroughly cleaning the interior of the chest freezer. Remove any shelves, drawers, or dividers, and clean them separately. Use a mild detergent and warm water to clean the interior, and make sure to rinse it well to remove any residue. Once cleaned, allow the freezer to defrost completely if it was previously in use.
- Seal any Holes: Inspect the chest freezer and seal any existing holes or gaps that could let cold air escape or warm air enter. Use silicone caulk or weatherstripping to seal these areas effectively.
- Plan for Gas and Electrical Outlets: Depending on the location of your kegerator, you may need to make provisions for gas and electrical outlets. If the freezer is far from a gas line, you will need to extend the gas line using approved connectors. Similarly, if the freezer is not near an electrical outlet, you may need an extension cord or hire an electrician to install a new outlet, adhering to all safety regulations.
- Create Drip Tray: Installing a drip tray is crucial to catch any spills or drips from the taps. You can purchase a pre-made drip tray or create one using a waterproof material such as a plastic tray or metal sheet. Ensure that the drip tray is positioned below the tap tower to prevent any damage to the chest freezer.
Once you have completed these preparations, take a moment to envision your desired kegerator layout. Consider where you will place the gas tank, CO2 lines, and keg(s) within the chest freezer. This visualization will help guide you in the next steps of installing the CO2 system and tap tower.
With your chest freezer now prepared for the kegerator conversion, it’s time to move on to the exciting process of installing the CO2 system.
Step 3: Installing the CO2 System
Installing the CO2 system is a crucial step in converting your chest freezer into a fully functioning kegerator. Follow these steps to ensure a proper installation:
- Choose the Right CO2 Tank: Select a CO2 tank that fits well inside your chest freezer and matches your desired capacity. Consider the size of your kegs and the frequency of use to determine the appropriate tank size.
- Secure the CO2 Tank: Find a suitable location within the chest freezer to secure the CO2 tank. Use straps or brackets to fasten the tank securely and prevent it from moving or tipping over during use.
- Connect the Regulator: Attach the regulator to the CO2 tank. The regulator allows you to control the pressure of the gas flowing into the keg(s). Follow the manufacturer’s instructions to ensure a secure connection.
- Install the Gas Lines: Measure and cut the gas lines to the appropriate lengths, taking into account the distance between the CO2 tank and the keg(s) inside the chest freezer. Use approved gas line connectors and clamps to secure the lines in place and prevent any leaks.
- Check for Leaks: Once the gas lines are installed, check for any leaks by applying a soapy water solution to the connections. If you see any bubbles forming, there is a leak that needs to be addressed. Tighten the connections or replace any faulty parts to ensure a proper seal.
It’s important to note that the CO2 tank should be positioned outside the chest freezer, while the gas lines will run through a small hole or opening in the freezer to reach the keg(s) inside. This ensures that the gas pressure is regulated properly and avoids any potential hazards.
With the CO2 system properly installed, it’s time to move on to the next step: building the tap tower and faucet.
When converting a chest freezer into a kegerator, make sure to insulate the inside of the freezer to maintain the desired temperature and prevent condensation buildup. This will help ensure your beer stays cold and fresh.
Step 4: Building the Tap Tower and Faucet
Building the tap tower and installing the faucet is an exciting part of converting your chest freezer into a kegerator. Follow these steps to ensure a successful installation:
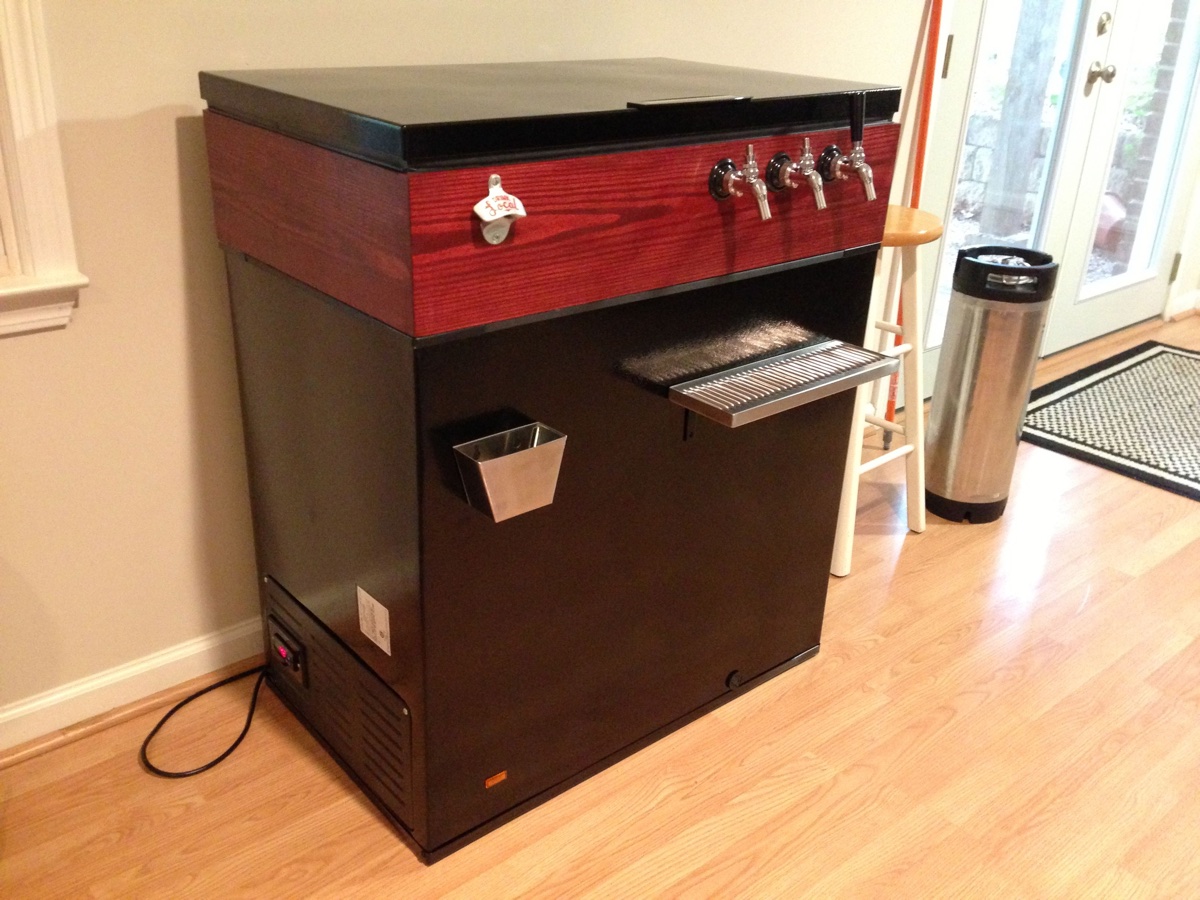
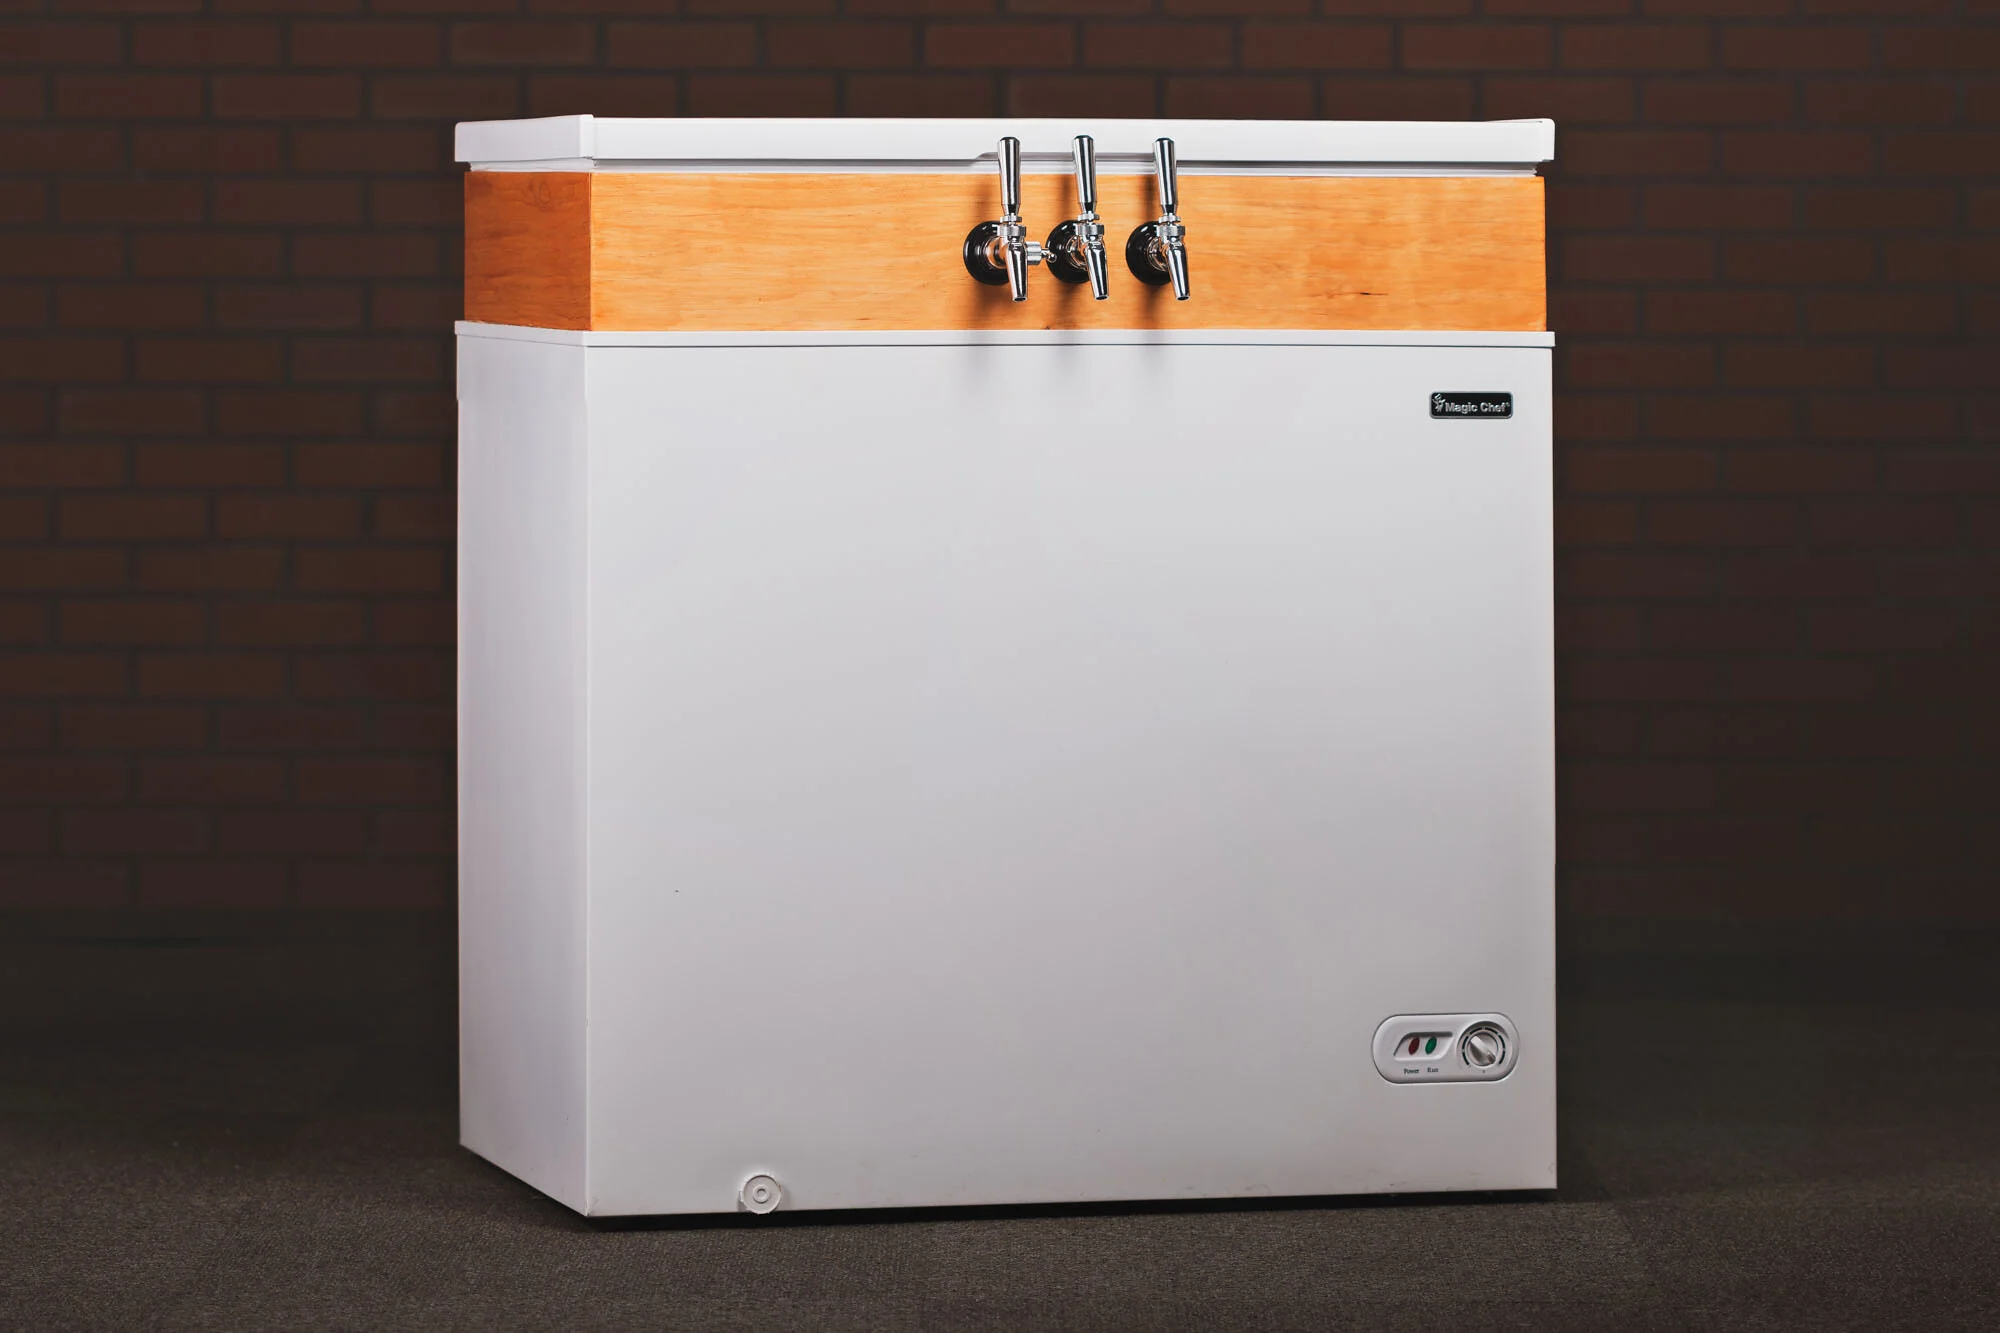
- Choose a Tap Tower: Select a tap tower that fits your style and needs. Tap towers come in various styles and configurations, so choose one that matches the aesthetic of your kegerator and can accommodate the number of taps you desire.
- Drill Holes: Carefully measure and mark the locations where you want to install the tap tower. Use a drill and an appropriate-sized hole saw to create the holes through the lid of the chest freezer. Make sure to position the holes according to the spacing requirements of your tap tower.
- Mount the Tap Tower: Place the tap tower over the holes and secure it in place using the included mounting hardware or adhesive. Ensure that it is level and properly aligned with the lid of the freezer.
- Install the Faucet(s): Attach the faucet(s) to the tap tower according to the manufacturer’s instructions. Make sure the faucets are tight and properly aligned to prevent any leaking or dripping.
- Connect the Beer Lines: Measure and cut the beer lines to the appropriate length, considering the distance between the keg(s) inside the chest freezer and the tap tower. Attach the beer lines to the faucets and secure them using appropriate connectors and clamps.
- Check for Leaks: Once the tap tower and faucet(s) are installed, check for any leaks by running beer through the lines. Make sure all connections are tight and sealed properly. If there are any leaks, tighten the connections or replace any faulty parts to ensure a proper seal.
Building the tap tower and installing the faucet(s) may require some technical know-how and tools, so take your time and follow the manufacturer’s instructions carefully. Once completed, you’ll have a fully functional tap tower ready to dispense your favorite beers.
With the tap tower and faucet successfully installed, it’s time to move on to the next step: setting up the insulation and temperature control for optimal performance.
Read more: How To Use A Freezer As A Kegerator
Step 5: Setting Up the Insulation and Temperature Control
Setting up proper insulation and temperature control is essential for maintaining the ideal conditions inside your kegerator. Follow these steps to ensure optimal performance:
- Add Insulation: Insulating the inside of the chest freezer helps maintain a consistent temperature and prevent temperature fluctuations. Use foam insulation boards or weatherstripping to line the interior walls of the freezer. Pay special attention to areas where the gas lines and beer lines pass through to ensure a tight seal.
- Install a Temperature Controller: Depending on your specific needs and preferences, you may want to install a temperature controller to maintain the desired temperature range inside the kegerator. A temperature controller helps regulate the freezer’s compressor and prevent it from running continuously or getting too cold. Follow the manufacturer’s instructions for installing the temperature controller.
- Position the Temperature Probe: If using a temperature controller, place the temperature probe in a location that accurately reflects the internal temperature of the kegerator. It is typically recommended to place the probe in a thermowell or attach it to the beer line near the top of the keg(s) for more accurate readings.
- Test the Temperature: After setting up the insulation and temperature control, test the temperature inside the kegerator using a separate thermometer. Adjust the temperature controller as needed to achieve and maintain your desired temperature range for serving your beer.
- Monitor and Adjust: Regularly monitor the temperature inside the kegerator and make any necessary adjustments to the temperature control settings. Remember that factors such as ambient temperature, frequency of keg opening, and the amount of beer inside the kegerator can affect the temperature stability.
Proper insulation and temperature control are crucial for keeping your beer fresh and maintaining the perfect serving temperature. Take the time to ensure a well-insulated kegerator and set up the temperature control to enjoy your beer at its best.
With the insulation and temperature control set up, it’s time to move on to the final step: testing and troubleshooting your newly converted kegerator.
Step 6: Testing and Troubleshooting
Now that your chest freezer has been converted into a kegerator, it’s time to test it out and address any potential issues that may arise. Follow these steps to ensure everything is in working order:
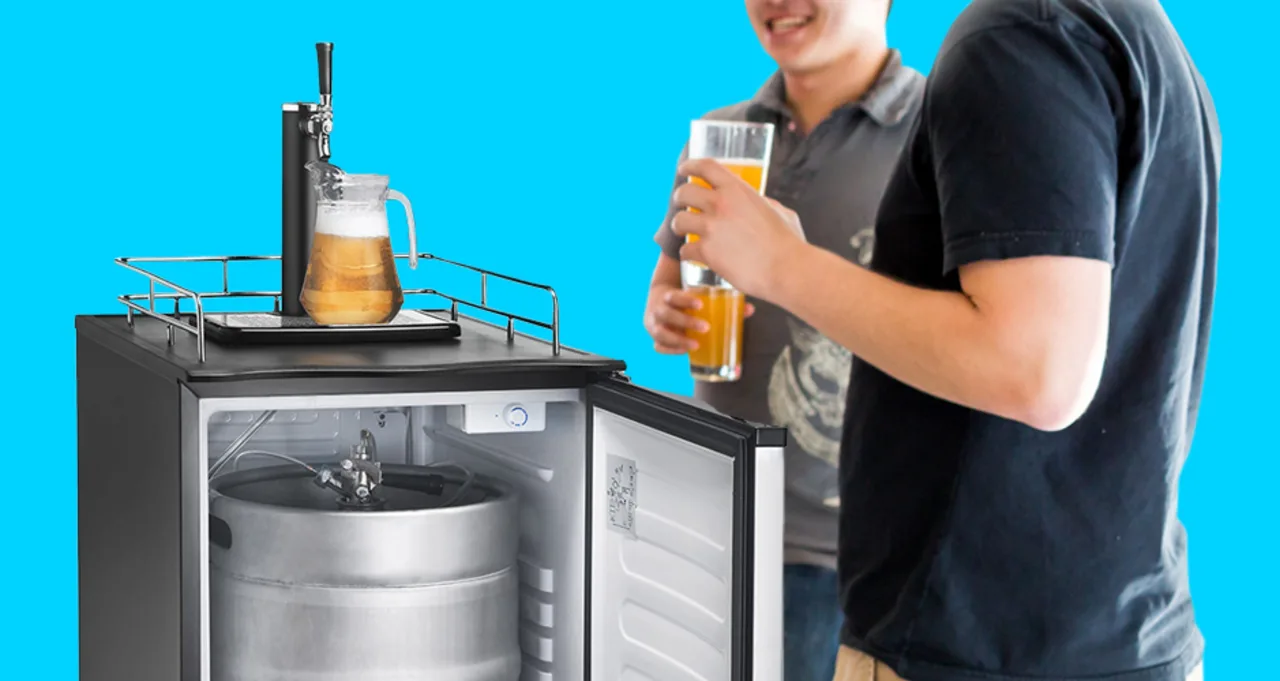
- Connect the Keg(s): Connect your keg(s) to the CO2 system and ensure that all connections are secure. Make sure the gas is flowing properly and that the pressure is set to the appropriate level for your beer.
- Purge the Lines: Before dispensing your first beer, purge the beer lines of any excess gas to prevent foaming. Simply open the tap(s) briefly and let the gas escape until you see beer flowing.
- Check for Proper Dispensing: Dispense a small amount of beer and observe the flow. It should come out smoothly without excessive foaming or splattering. If you encounter issues, such as excessive foam or inconsistent flow, consult troubleshooting guides or homebrewing forums for possible solutions.
- Monitor the Temperature: Keep a close eye on the temperature inside the kegerator. Use a separate thermometer to verify that the temperature readings align with your temperature controller settings. Adjust the temperature control as necessary to maintain the desired temperature range.
- Address any Issues: If you encounter any issues during the testing phase, such as leaks in the gas or beer lines, inconsistent temperature control, or problems with the dispensing system, take the time to troubleshoot and address them accordingly. Consult manufacturer instructions, online resources, or seek advice from experienced homebrewers if needed.
- Enjoy Your Beer: Once you have tested and resolved any issues, sit back, and enjoy your home-poured, ice-cold beer from your newly converted kegerator!
Remember that troubleshooting and fine-tuning may be necessary in the early stages of using your kegerator. Don’t get discouraged if you encounter challenges. With a little patience and persistence, you’ll be able to overcome any issues and have a fully functional kegerator that delivers delicious beer on-tap.
Congratulations! You’ve successfully converted your chest freezer into a kegerator and completed all the necessary steps. Cheers to enjoying your favorite beer from the comfort of your home!
Before we conclude, remember to always drink responsibly and ensure that you comply with all local laws and regulations regarding homebrewing and alcohol consumption.
Conclusion
Converting a chest freezer into a kegerator is a rewarding DIY project that allows you to enjoy fresh, draft beer in the comfort of your own home. By following the detailed steps outlined in this article, you can transform an ordinary freezer into the ultimate beer dispensing machine.
From choosing the right chest freezer to setting up the CO2 system, tap tower, and temperature control, each step is crucial to ensure a successful conversion. Proper insulation and temperature control are essential for maintaining the quality and flavor of your favorite brews, while troubleshooting any issues that arise during testing will help fine-tune your kegerator for optimal performance.
Not only does converting a chest freezer into a kegerator offer cost savings compared to purchasing a pre-made kegerator, but it also provides the opportunity for customization and personalization to suit your specific needs and preferences.
Remember, throughout the process of converting your chest freezer, safety should remain a top priority. Be sure to read and follow all manufacturer instructions, consult professional advice when needed, and ensure that all electrical and gas connections are done safely and in compliance with local regulations.
Now that you have the knowledge and guidance to convert a chest freezer into a kegerator, it’s time to embark on this exciting project. Enjoy the satisfaction of pouring a perfectly chilled, perfectly carbonated pint of beer from your very own kegerator. Cheers!
Frequently Asked Questions about How To Convert A Chest Freezer Into A Kegerator
Was this page helpful?
At Storables.com, we guarantee accurate and reliable information. Our content, validated by Expert Board Contributors, is crafted following stringent Editorial Policies. We're committed to providing you with well-researched, expert-backed insights for all your informational needs.


0 thoughts on “How To Convert A Chest Freezer Into A Kegerator”