Articles
How To Test A Kidde Carbon Monoxide Detector
Modified: October 20, 2024
Learn how to test a Carbon Monoxide Detector Kidde in this informative article. Keep your family safe from the dangers of CO poisoning.
(Many of the links in this article redirect to a specific reviewed product. Your purchase of these products through affiliate links helps to generate commission for Storables.com, at no extra cost. Learn more)
Introduction
Carbon monoxide (CO) is an odorless, colorless gas that can be deadly if inhaled in high concentrations. It is produced by the incomplete combustion of fuels such as coal, wood, oil, and gas. Because it is undetectable by our senses, carbon monoxide poses a serious threat to our health and safety.
This is where carbon monoxide detectors come into play. These devices are designed to alert us when there are high levels of carbon monoxide present in the air, giving us precious time to evacuate or take necessary precautions. One trusted brand that offers reliable carbon monoxide detectors is Kidde.
Kidde carbon monoxide detectors are known for their accuracy, durability, and ease of use. However, like any other device, they require regular testing to ensure they are functioning properly. In this article, we will guide you through the steps of testing a Kidde carbon monoxide detector.
Testing your carbon monoxide detector is essential to maintain its effectiveness in detecting the presence of this harmful gas. Regular testing not only ensures the safety of yourself and your loved ones but also provides peace of mind that you are taking the necessary precautions to protect your home.
So, let’s dive into the world of carbon monoxide detectors and learn how to properly test Kidde carbon monoxide detectors.
Key Takeaways:
- Regularly testing your Kidde carbon monoxide detector is crucial for ensuring the safety of your home and loved ones. Follow the manufacturer’s instructions and maintain a record of each test to stay vigilant and proactive.
- Understanding the features and testing procedures of Kidde carbon monoxide detectors is essential for maintaining their optimal performance. Be prepared, choose the appropriate testing method, and interpret the test results accurately to ensure reliable protection against carbon monoxide.
Read more: How To Test A Carbon Monoxide Detector
Importance of Testing Carbon Monoxide Detectors
Carbon monoxide is often referred to as the silent killer because it is both odorless and invisible. Without a carbon monoxide detector in place, it is impossible to detect the presence of this deadly gas. Testing your carbon monoxide detectors regularly is crucial as it ensures that they are functioning properly and can effectively detect dangerous levels of carbon monoxide in your home or building.
The importance of testing your carbon monoxide detectors cannot be overstated. Here are some key reasons why regular testing is essential:
- Ensuring your safety: Carbon monoxide poisoning can lead to severe health problems, including headaches, dizziness, nausea, and even death. By testing your carbon monoxide detectors, you can be confident that they will alert you if there is a dangerous level of carbon monoxide present, allowing you to take appropriate action to protect yourself and your loved ones.
- Verification of functionality: Like any electronic device, carbon monoxide detectors can experience malfunctions. Regular testing helps ensure that they are in proper working condition. This includes checking for any issues with the sensor, battery, alarm, and other components. It is recommended to follow the manufacturer’s instructions for testing frequency.
- Peace of mind: Knowing that your carbon monoxide detectors are functioning correctly brings peace of mind. You can rest assured that you have taken the necessary steps to protect your home and family from the dangers of carbon monoxide exposure.
- Compliance with regulations: In many jurisdictions, having working carbon monoxide detectors in your home is not just good practice, but a legal requirement. Regular testing ensures that you are adhering to these regulations and maintaining a safe living environment.
It is important to note that testing your carbon monoxide detectors is just one part of overall carbon monoxide safety. Other preventive measures include proper ventilation, regular maintenance of fuel-burning appliances, and avoiding running vehicles or generators in enclosed spaces.
Now that we understand why testing carbon monoxide detectors is crucial, let us dive into the specifics of testing Kidde carbon monoxide detectors.
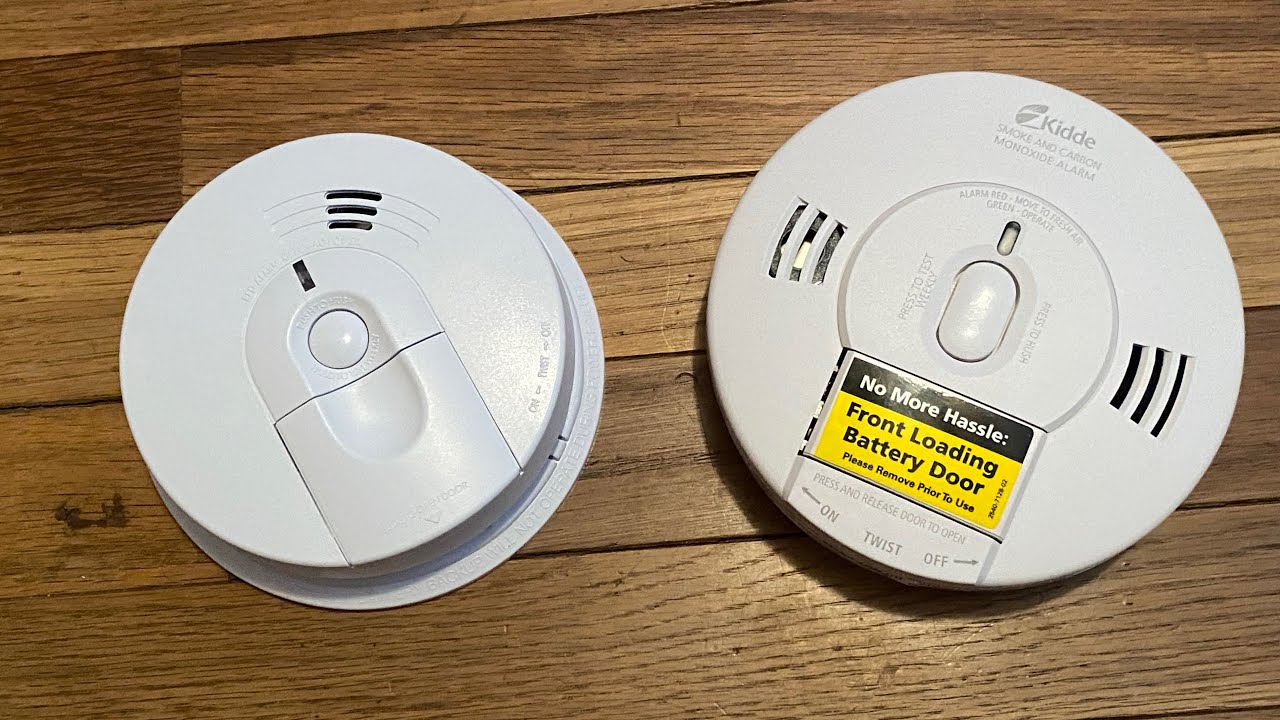
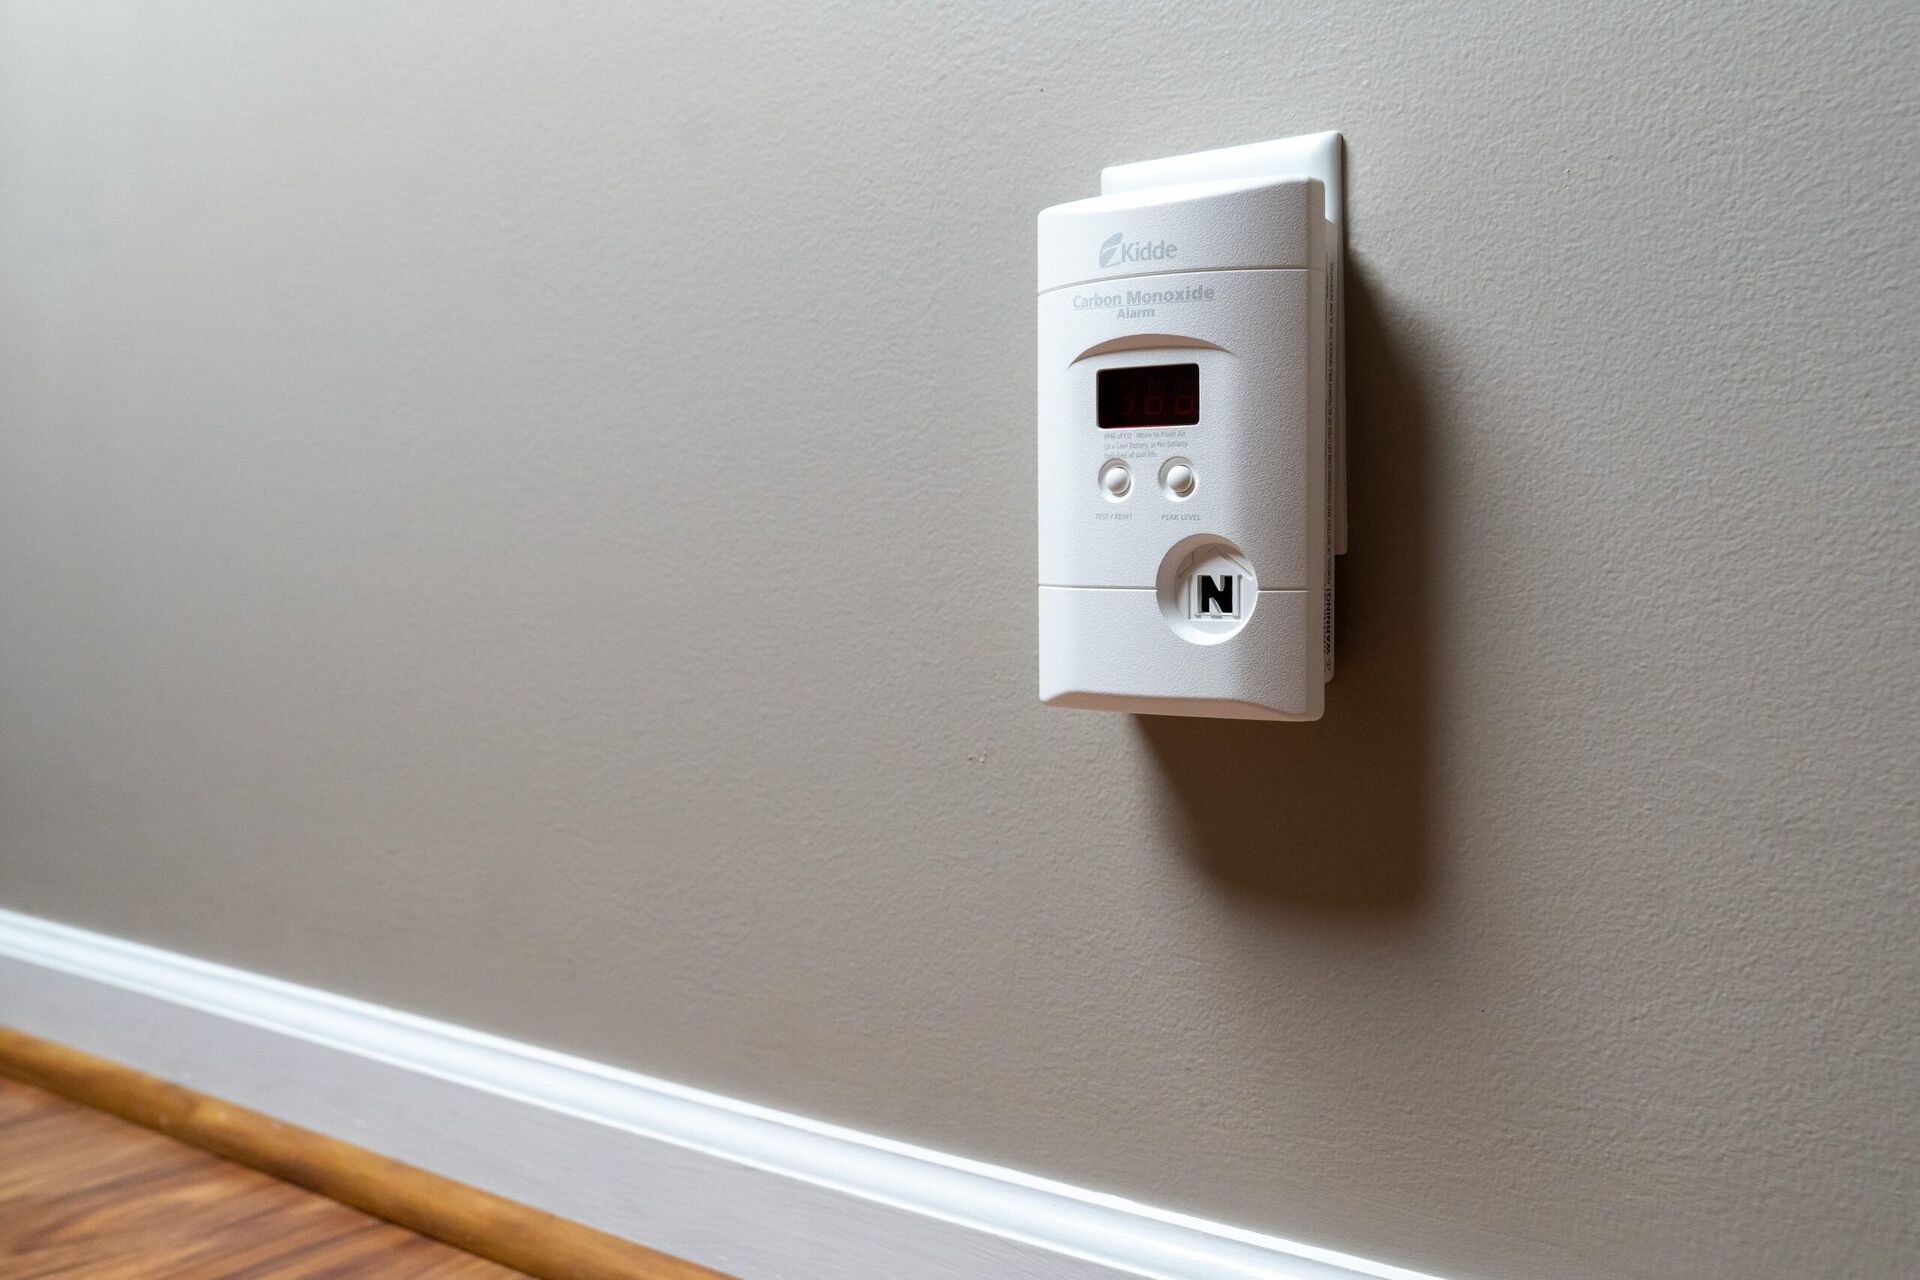
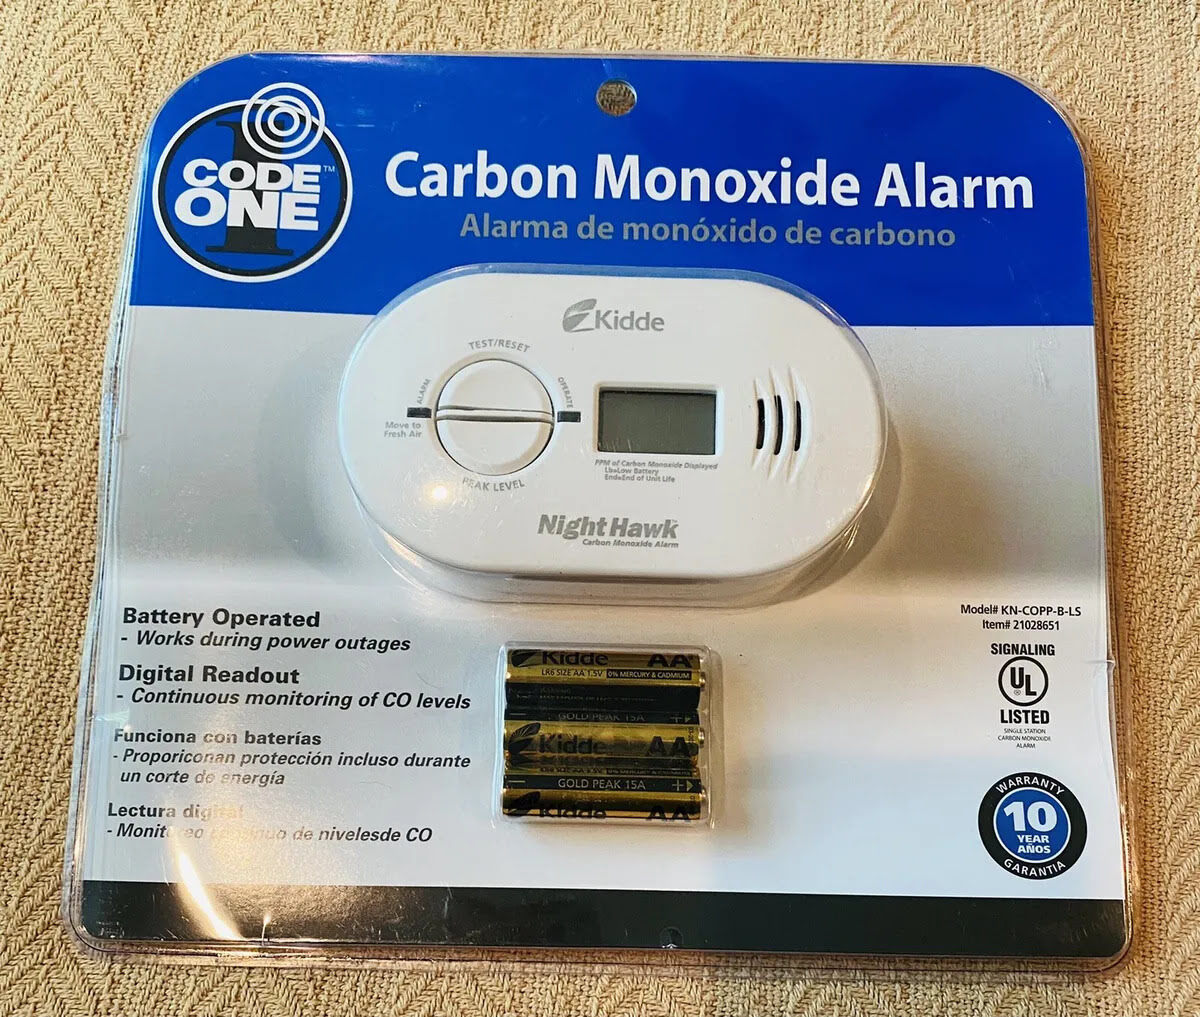
Understanding Kidde Carbon Monoxide Detectors
Kidde is a well-known brand in the field of home safety, offering a range of reliable and high-quality carbon monoxide detectors. Understanding the features and working principles of Kidde carbon monoxide detectors is essential before proceeding with the testing process.
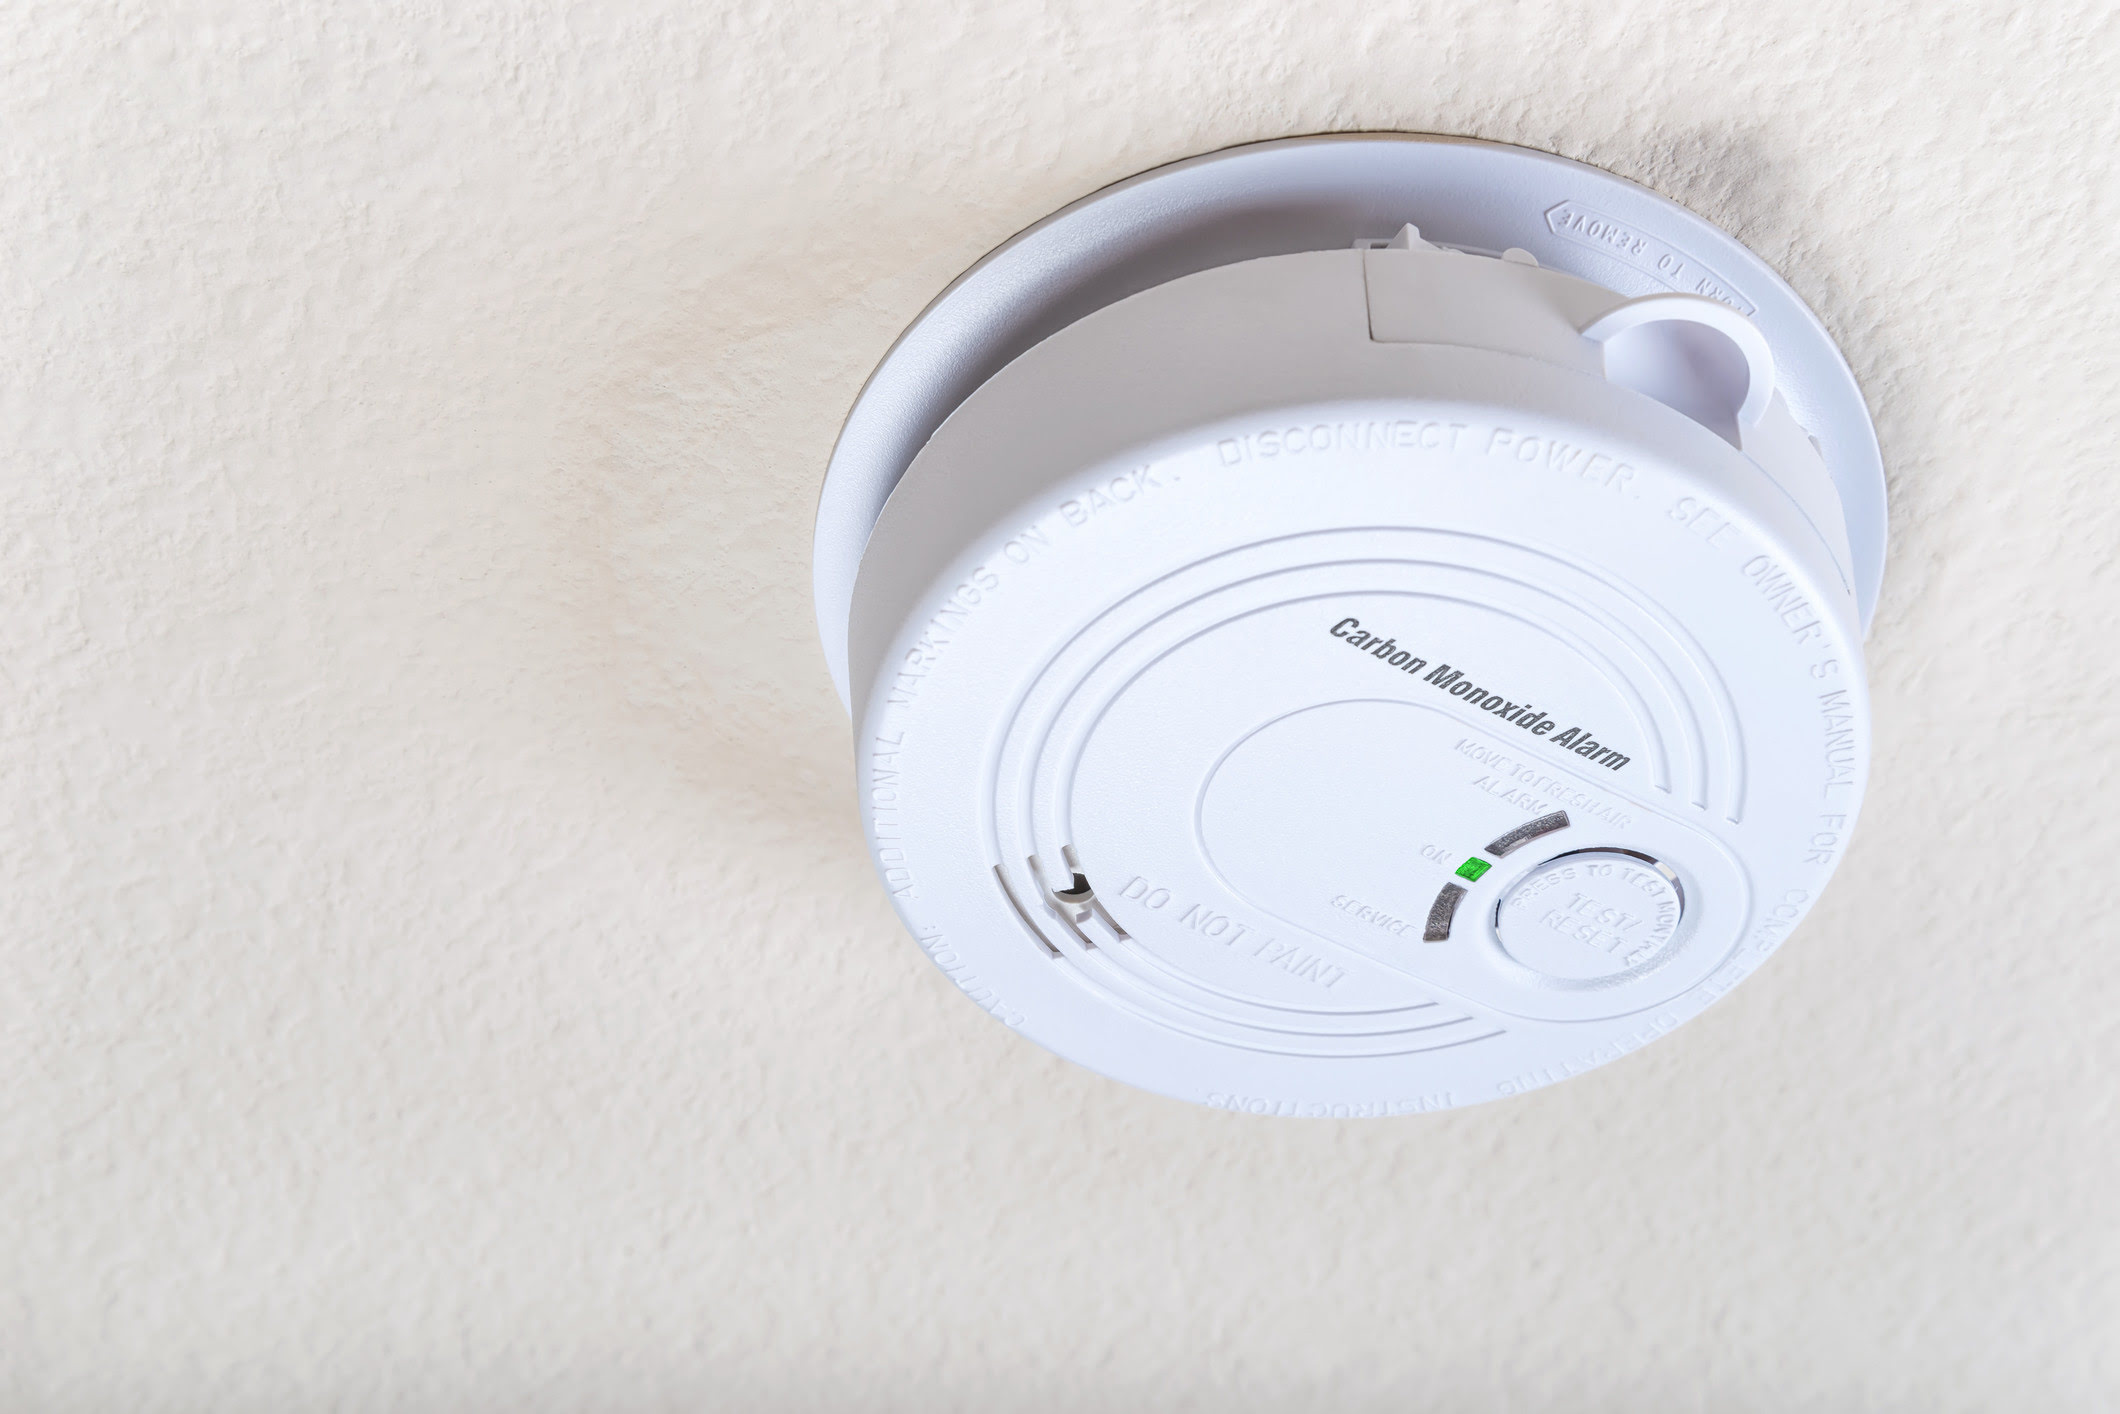
Kidde carbon monoxide detectors are designed to detect the presence of carbon monoxide gas in the air and alert occupants through loud alarms. These detectors utilize advanced sensor technology to accurately detect even low levels of carbon monoxide.
Here are some key features of Kidde carbon monoxide detectors:
- Electrochemical Sensor: Kidde detectors are equipped with electrochemical sensors, which are highly sensitive and capable of detecting low levels of carbon monoxide. These sensors work by using an electrochemical reaction to detect and measure the concentration of carbon monoxide particles in the air.
- Multiple Power Options: Kidde carbon monoxide detectors offer flexible power options, including battery-powered or hardwired models. Battery-powered detectors are easy to install and provide continuous protection even during power outages. Hardwired detectors are directly connected to the electrical system of the building and usually have backup batteries for uninterrupted functionality.
- Digital Display: Many Kidde models come with a digital display that shows the current carbon monoxide levels in parts per million (PPM). This feature allows you to easily monitor the gas levels and make informed decisions.
- End-of-Life Warning: Kidde detectors have a built-in end-of-life warning feature that alerts you when the unit needs to be replaced. This is typically indicated by a chirping sound or a specific warning message displayed on the device.
- Interconnectivity: Some Kidde models offer interconnectivity, allowing multiple detectors to be linked together. When one detector detects carbon monoxide, all interconnected detectors will sound their alarms, providing comprehensive coverage and faster response.
It is important to read and understand the specific instructions provided by Kidde for your particular model of carbon monoxide detector. This will help ensure that you are familiar with all the functionalities and testing procedures specific to your device.
Now that you have a better understanding of Kidde carbon monoxide detectors, let’s move on to the steps involved in testing these detectors to ensure their optimal performance.
Steps to Test a Kidde Carbon Monoxide Detector
Testing a Kidde carbon monoxide detector is a straightforward process that can be done by following a few simple steps. Here’s a step-by-step guide to testing your Kidde carbon monoxide detector:
- Read the User Manual: Before beginning the testing process, it is crucial to read the user manual provided by Kidde for your specific model. Familiarize yourself with the instructions and recommendations to ensure you are performing the test correctly.
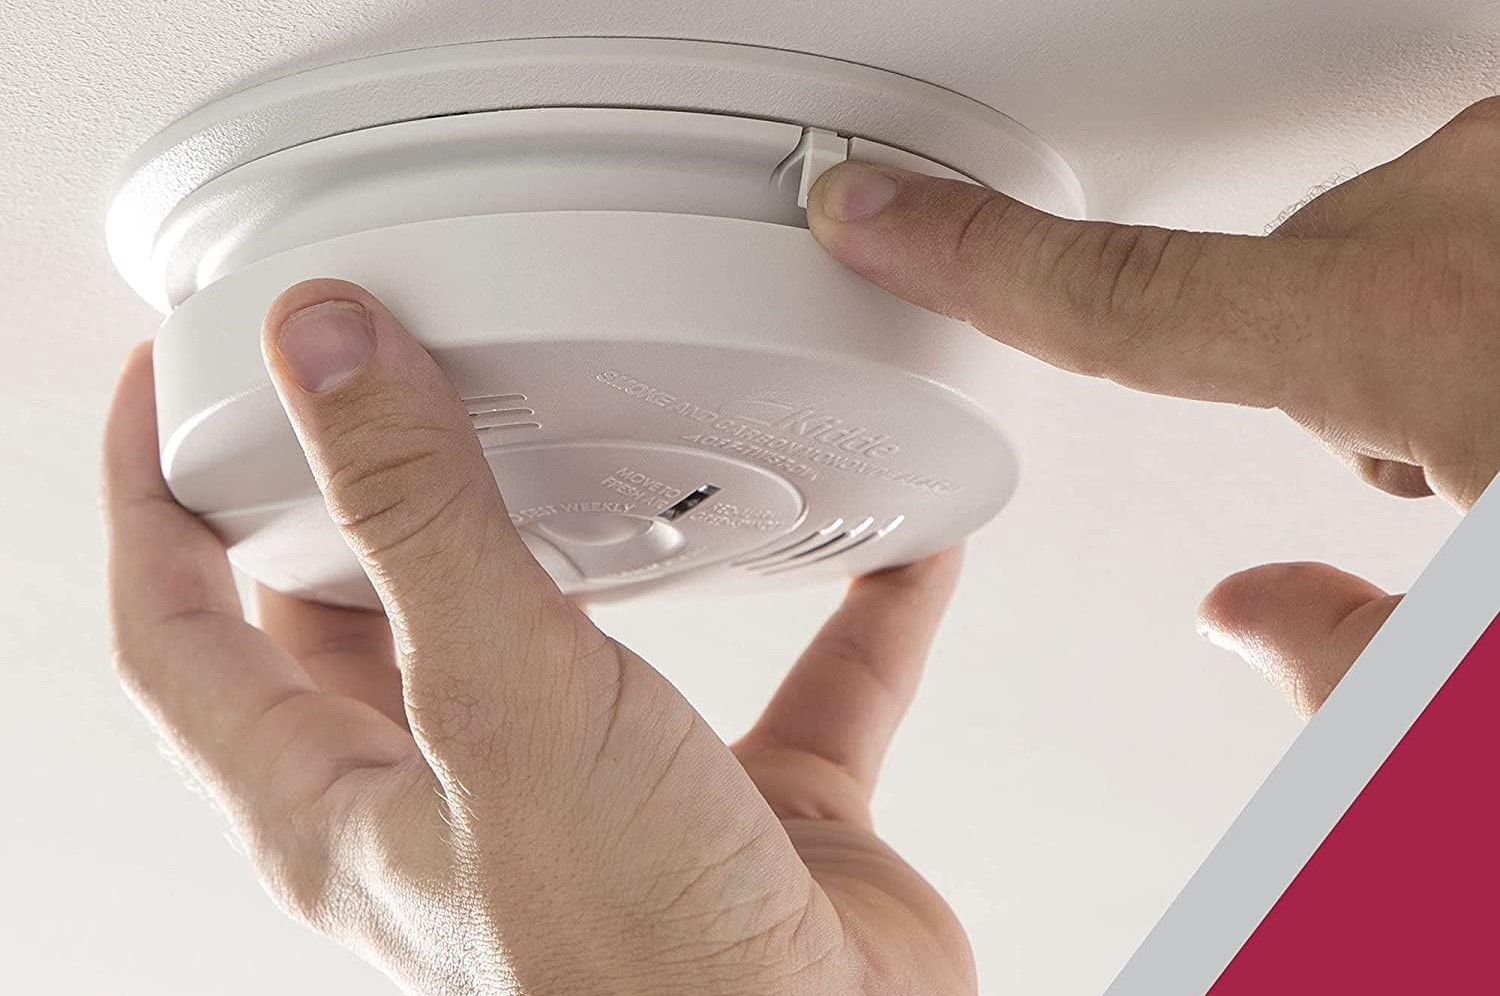
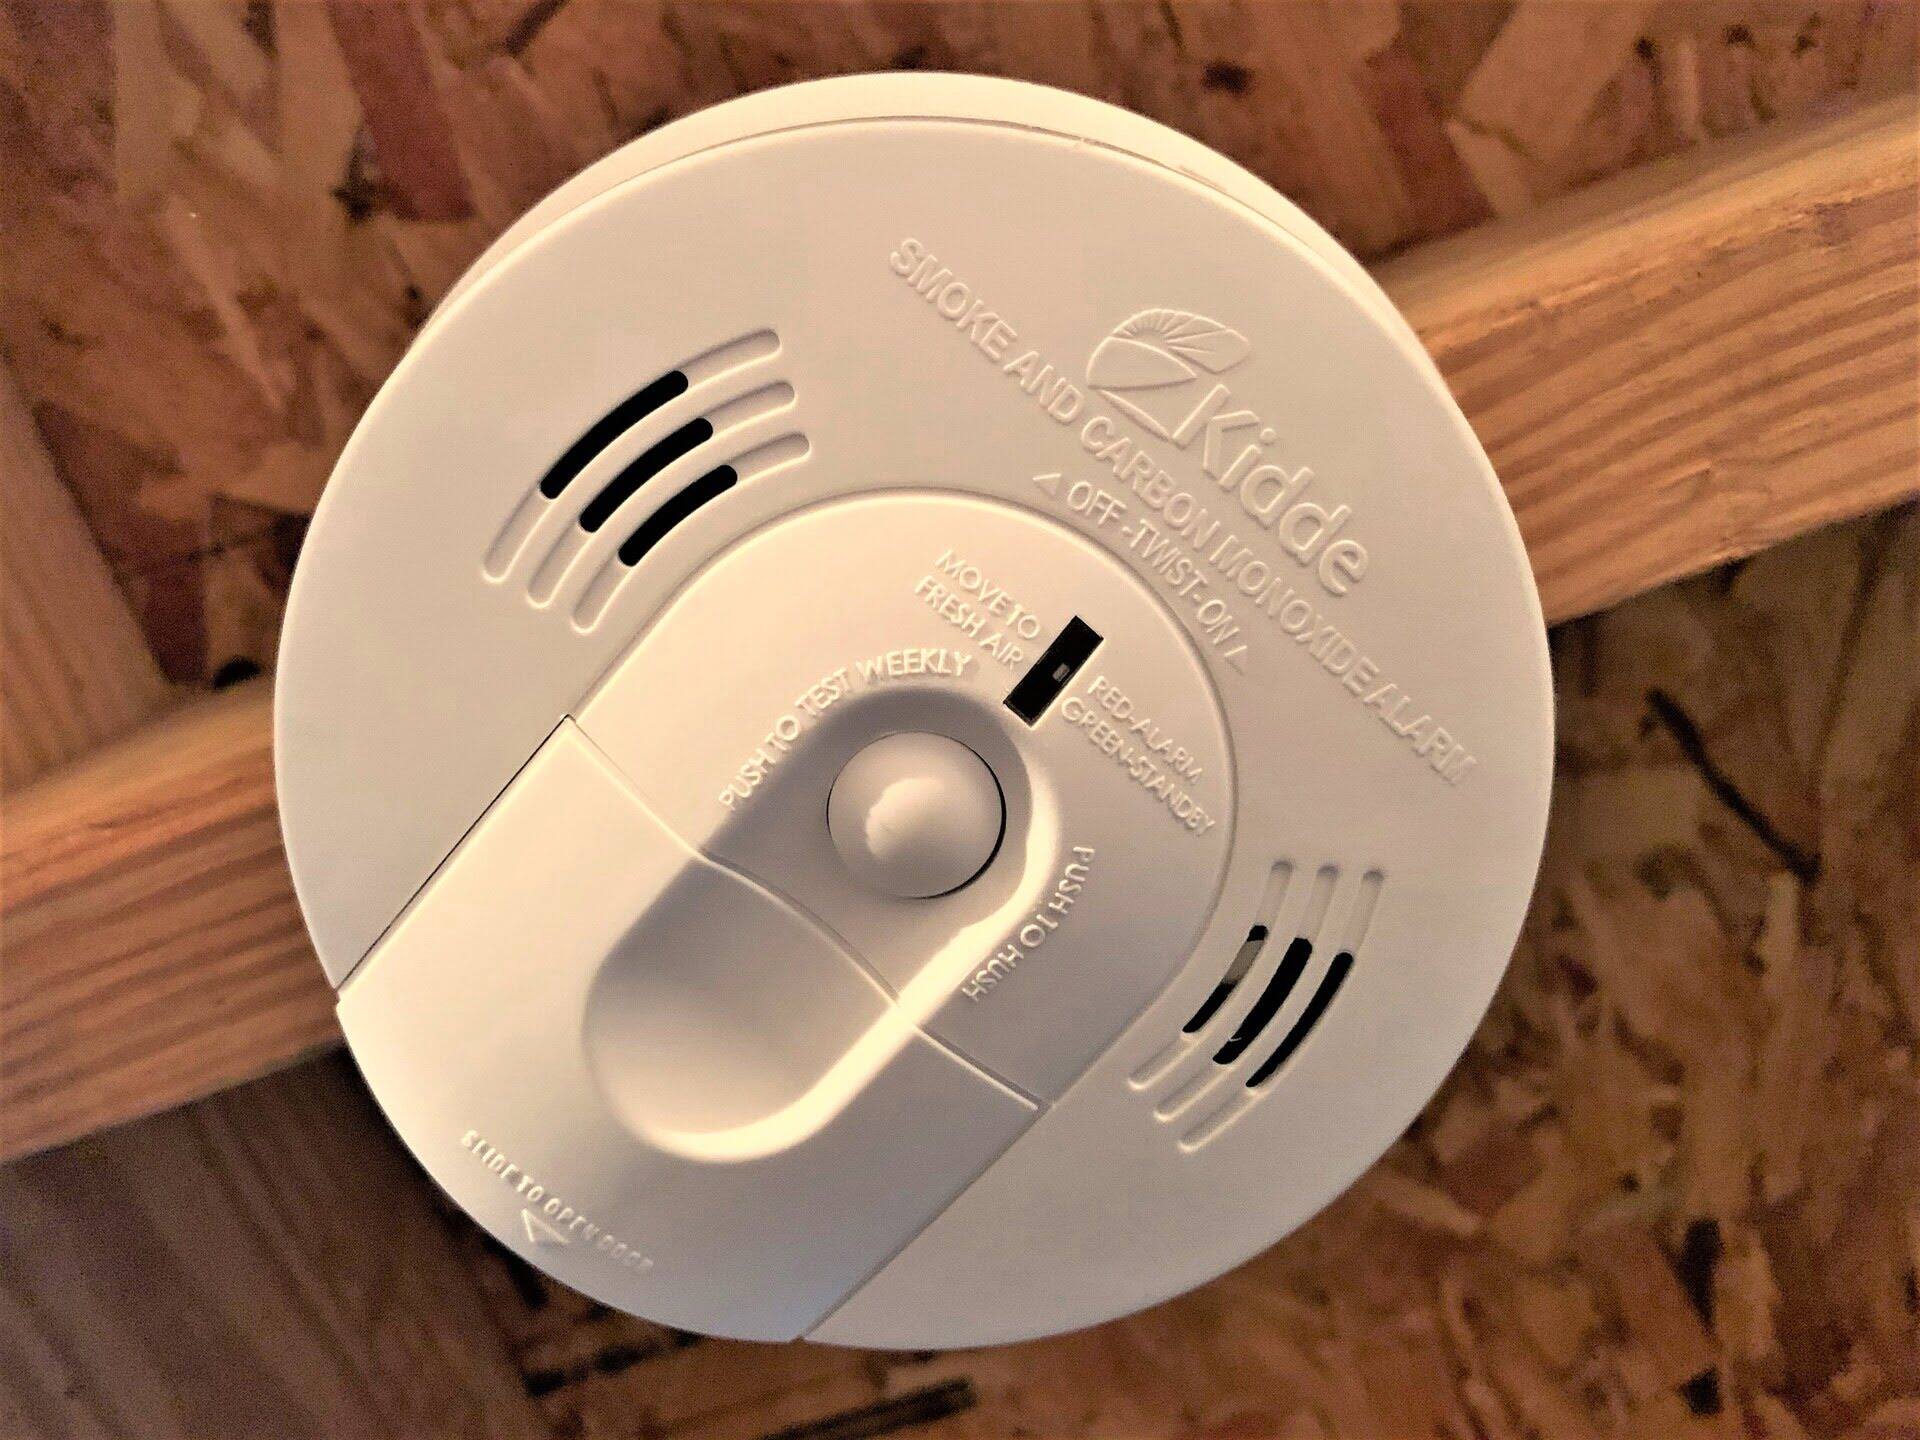
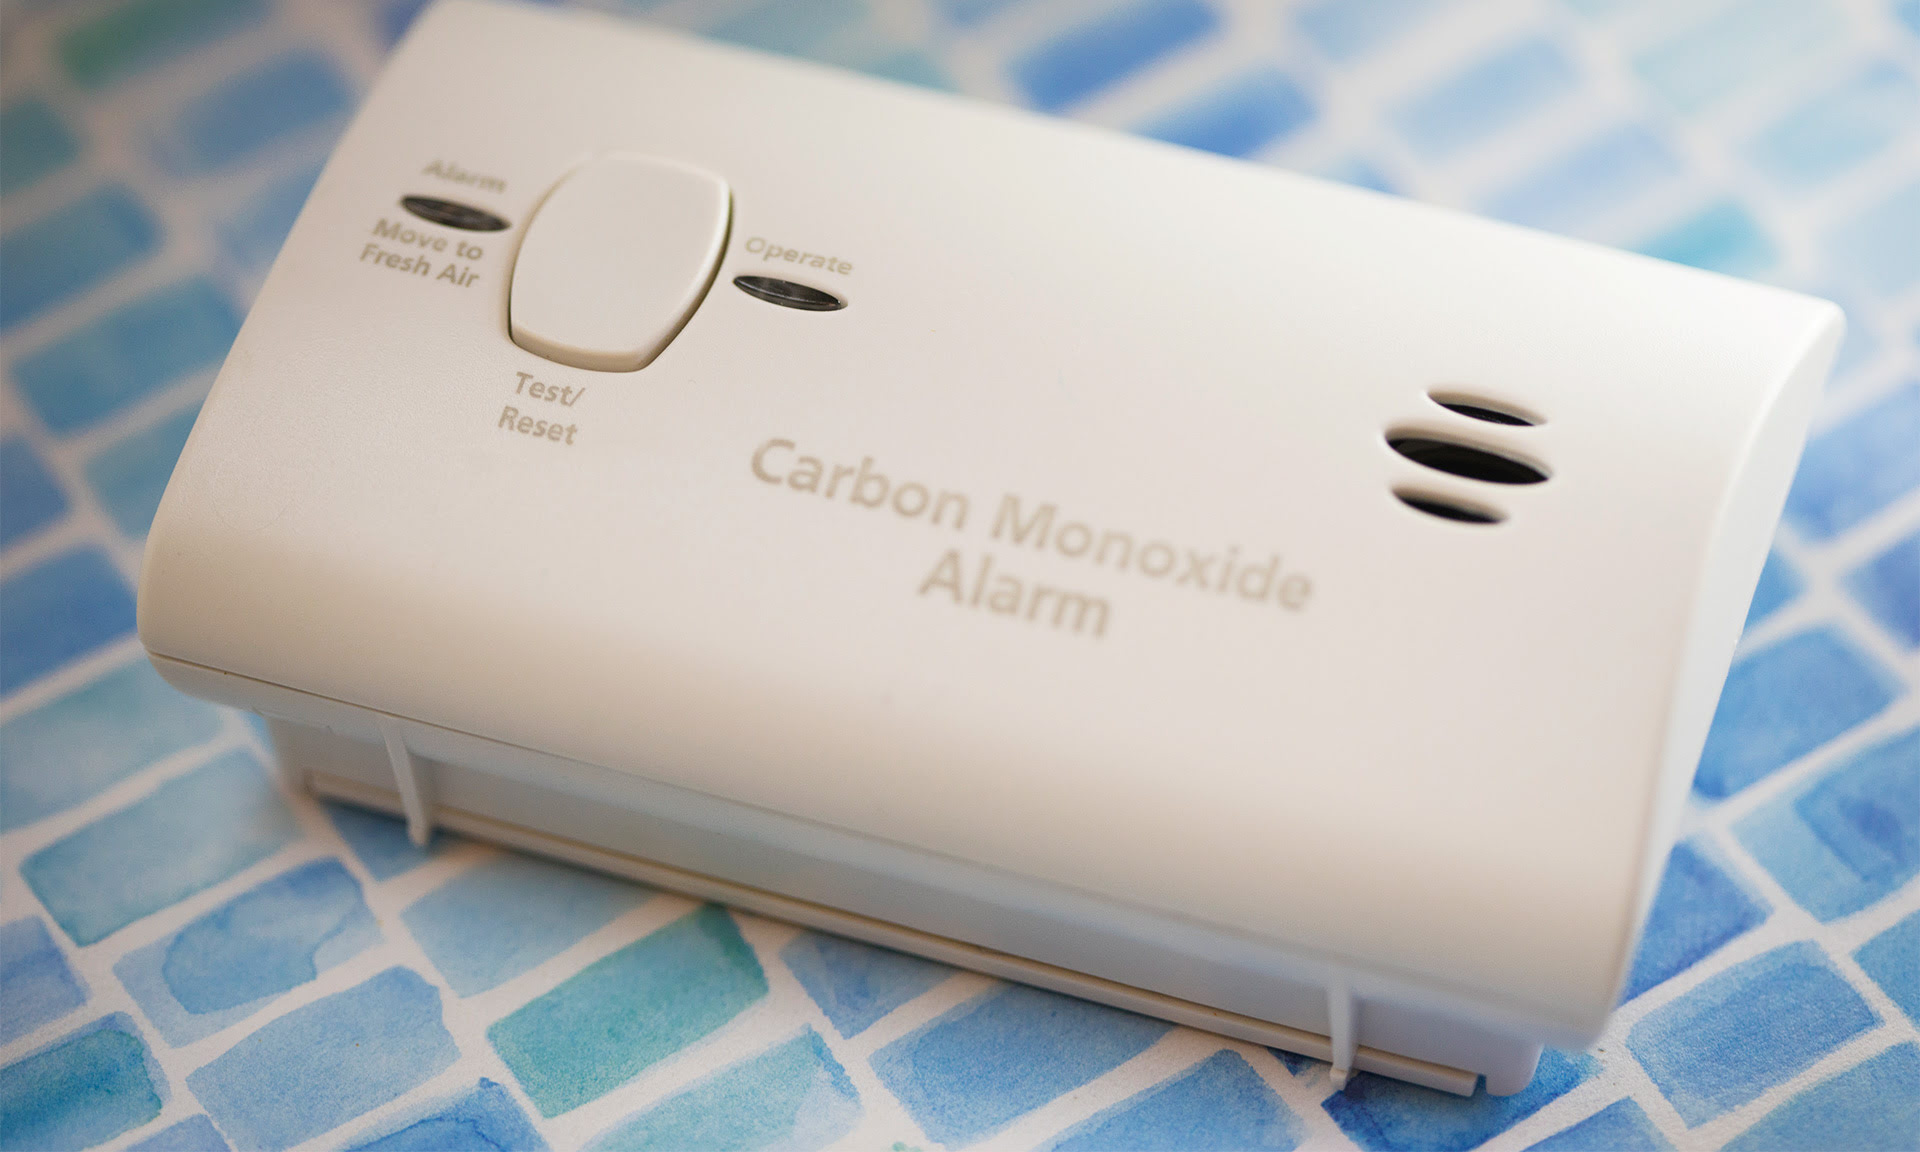
- Choose a Test Method: Kidde offers different methods for testing their carbon monoxide detectors. The most common methods include using either a test button on the device or an aerosol-based carbon monoxide test spray provided by Kidde. Refer to the user manual to determine which method is recommended for your particular model.
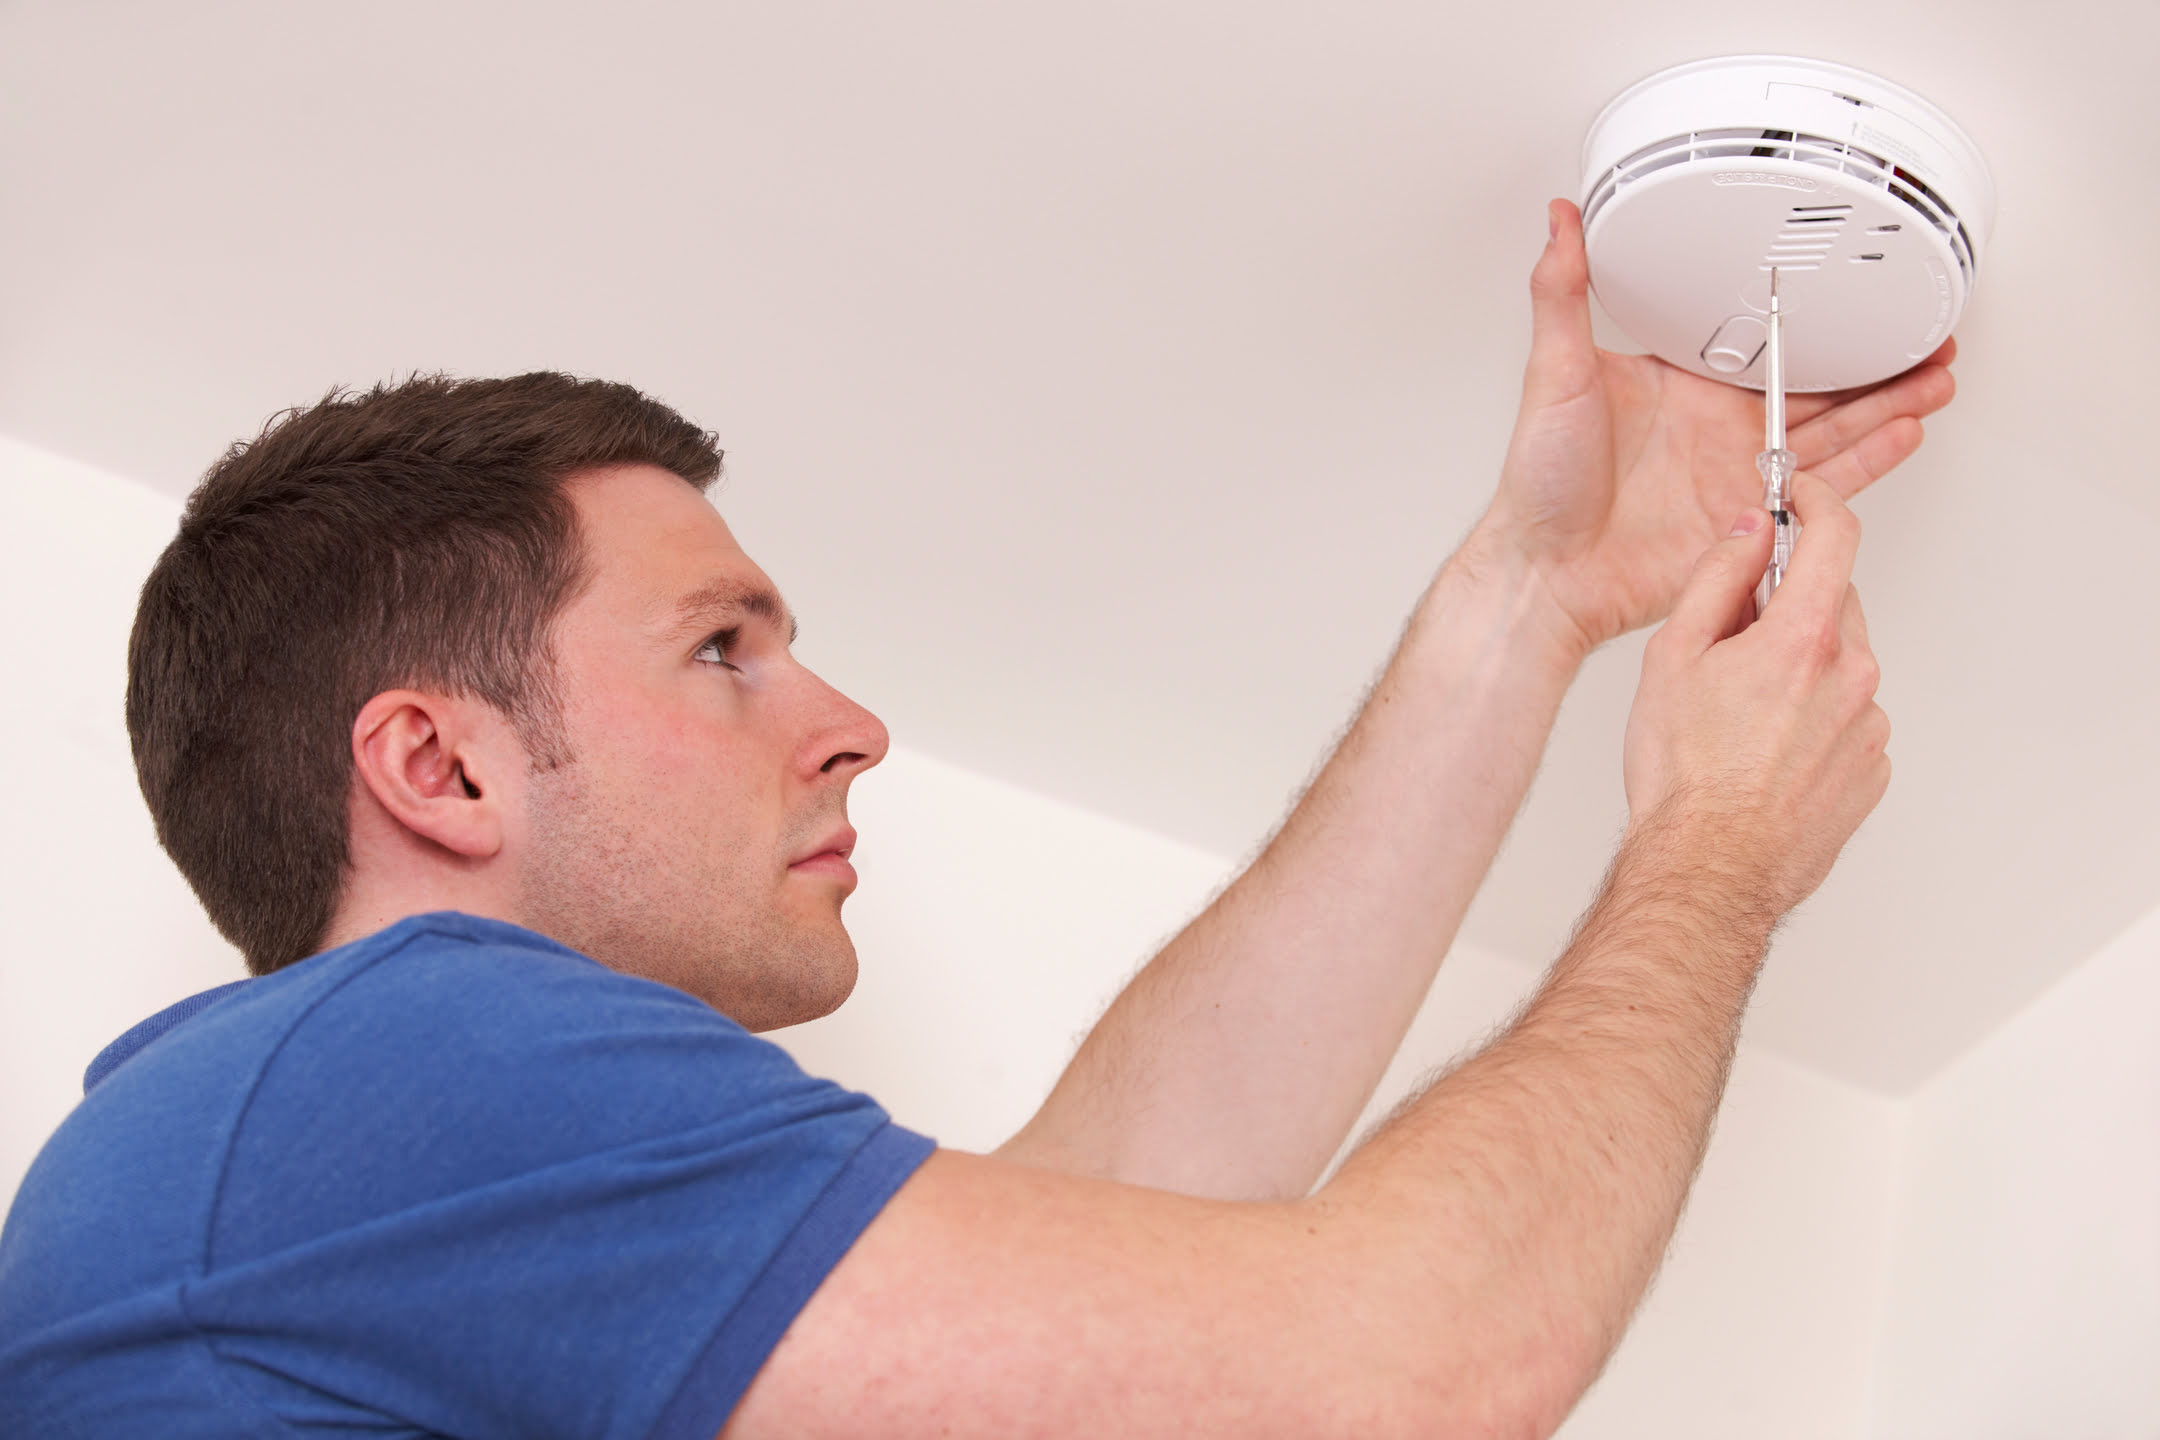
- Prepare the Surrounding Area: Ensure the area around the detector is clear and free from any obstructions. Remove any objects that may obstruct the airflow to the detector.
- Notify Household Members: Before initiating the test, inform household members that you will be testing the carbon monoxide detector. The loud alarm triggered during the test might startle occupants if they are unaware of the testing procedure.
- Perform the Test: If your Kidde carbon monoxide detector has a test button, simply press and hold the button. This will activate the testing sequence, and if everything is functioning correctly, the alarm will sound. If you are using an aerosol-based test spray, follow the instructions provided with the spray to discharge a small amount near the detector. This will simulate the presence of carbon monoxide and trigger the alarm.
- Observe the Alarm: Once the alarm is activated, observe the detector to ensure that the loud alarm sounds and any visual indicators, like flashing lights or the digital display, show the presence of carbon monoxide. This indicates that the detector is working properly and capable of alerting you in case of a real carbon monoxide emergency.
- Reset the Detector: After completing the test, reset the carbon monoxide detector according to the manufacturer’s instructions. This ensures that the detector is back to its normal operational state and ready to detect carbon monoxide levels effectively.
- Document the Test: It is good practice to document the date and result of each test performed on your Kidde carbon monoxide detector. This will help you keep track of testing frequency and provide a record for future reference or in case of any issues.
Following these steps will help ensure that your Kidde carbon monoxide detector is working properly and will provide reliable protection against the dangers of carbon monoxide poisoning.
In the next section, we will discuss how to interpret the test results and troubleshoot common issues that may arise during the testing process.
Preparing for the Test
Before testing your Kidde carbon monoxide detector, it is important to take a few preparatory steps to ensure an accurate and effective test. These preparations will help create the optimal conditions for testing and provide reliable results. Here’s what you need to do to prepare for the test:
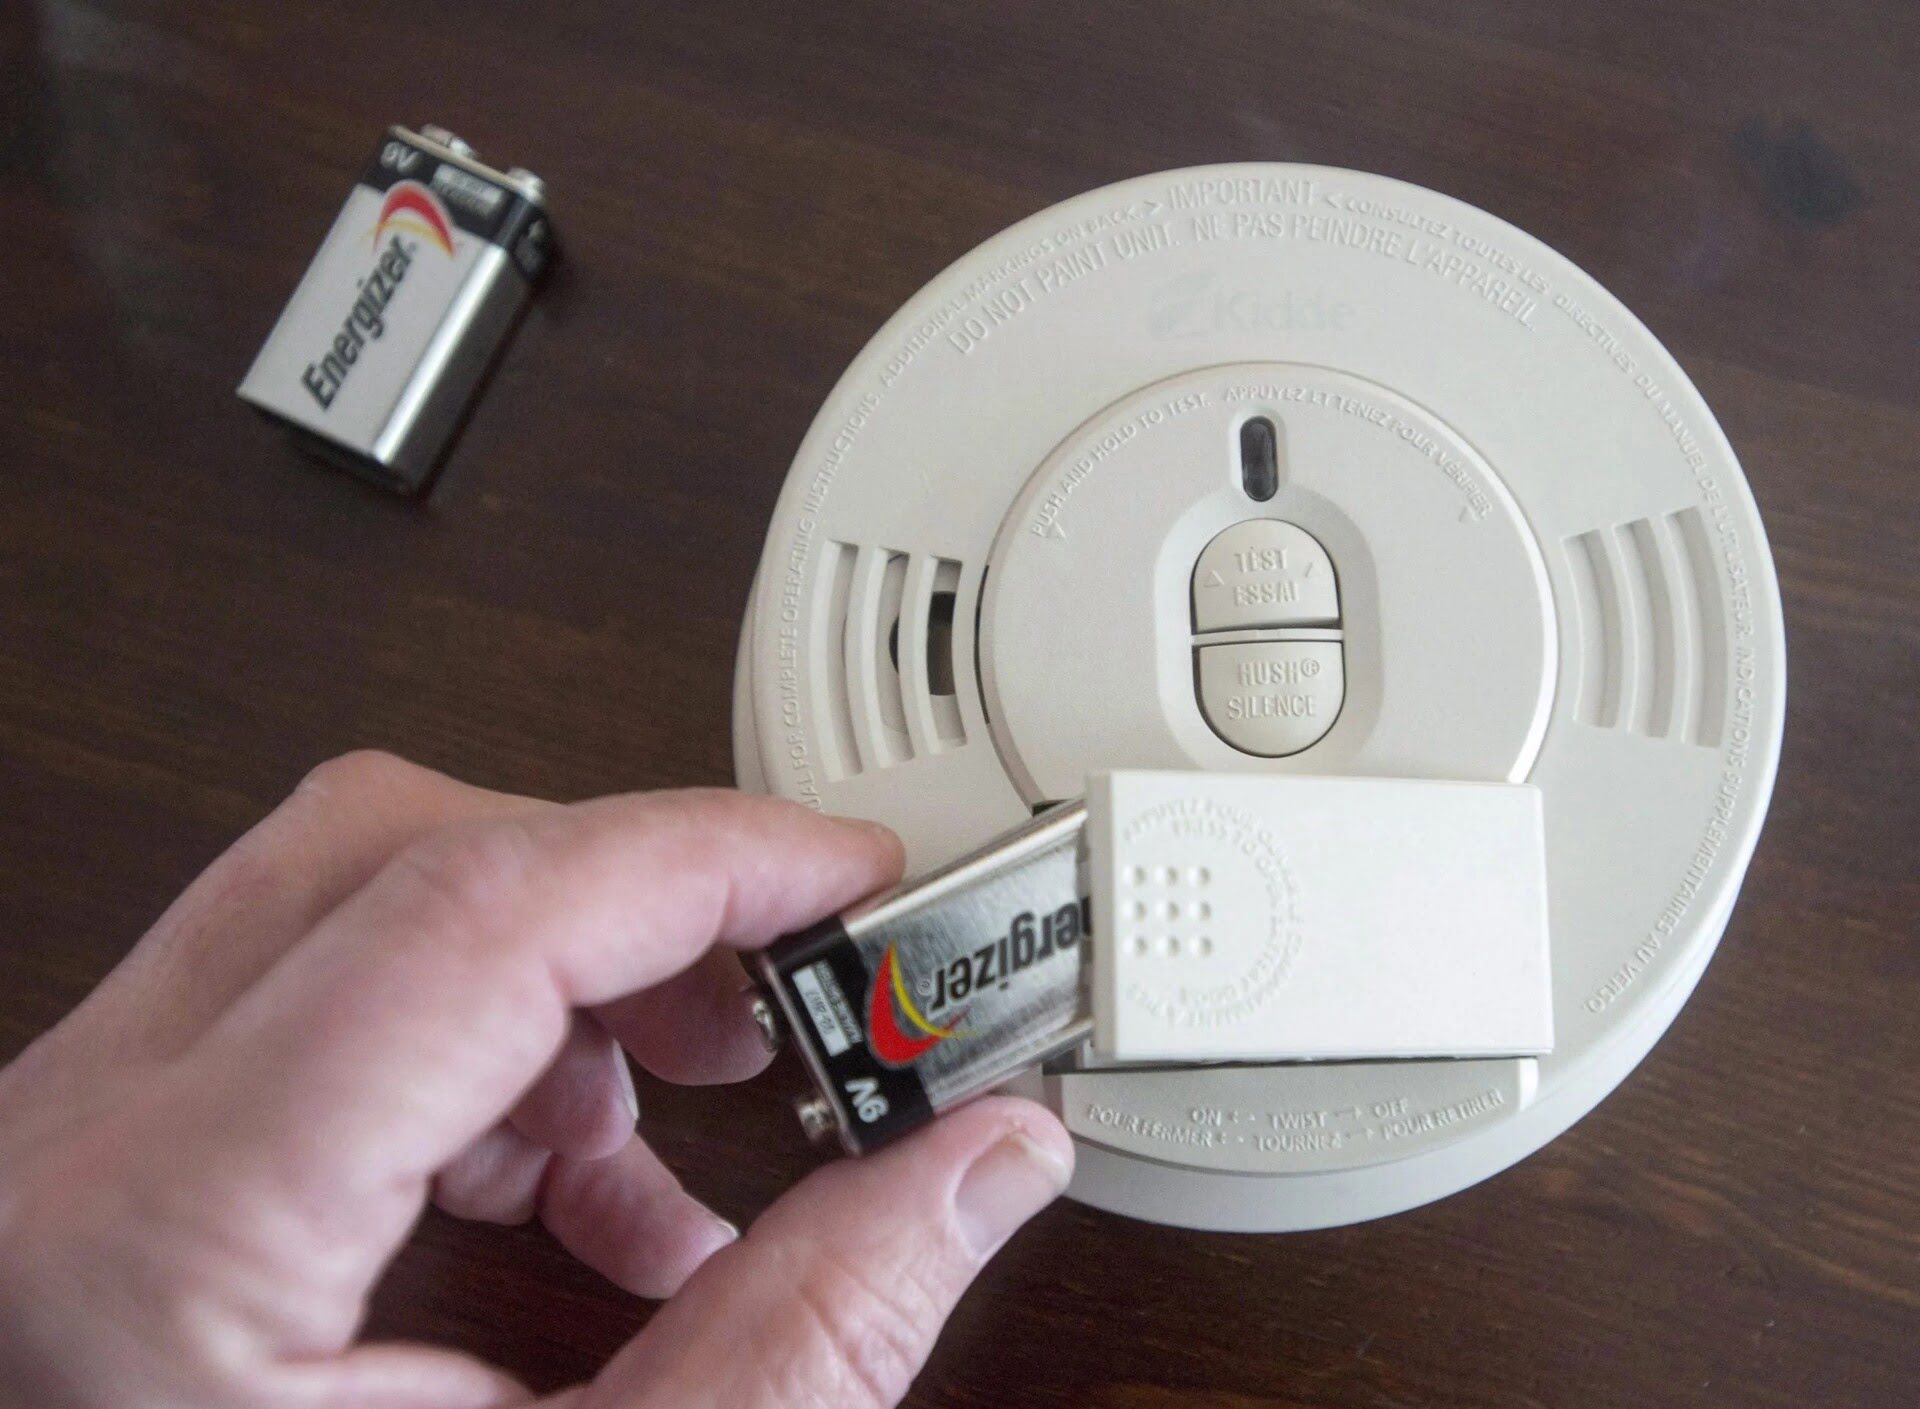
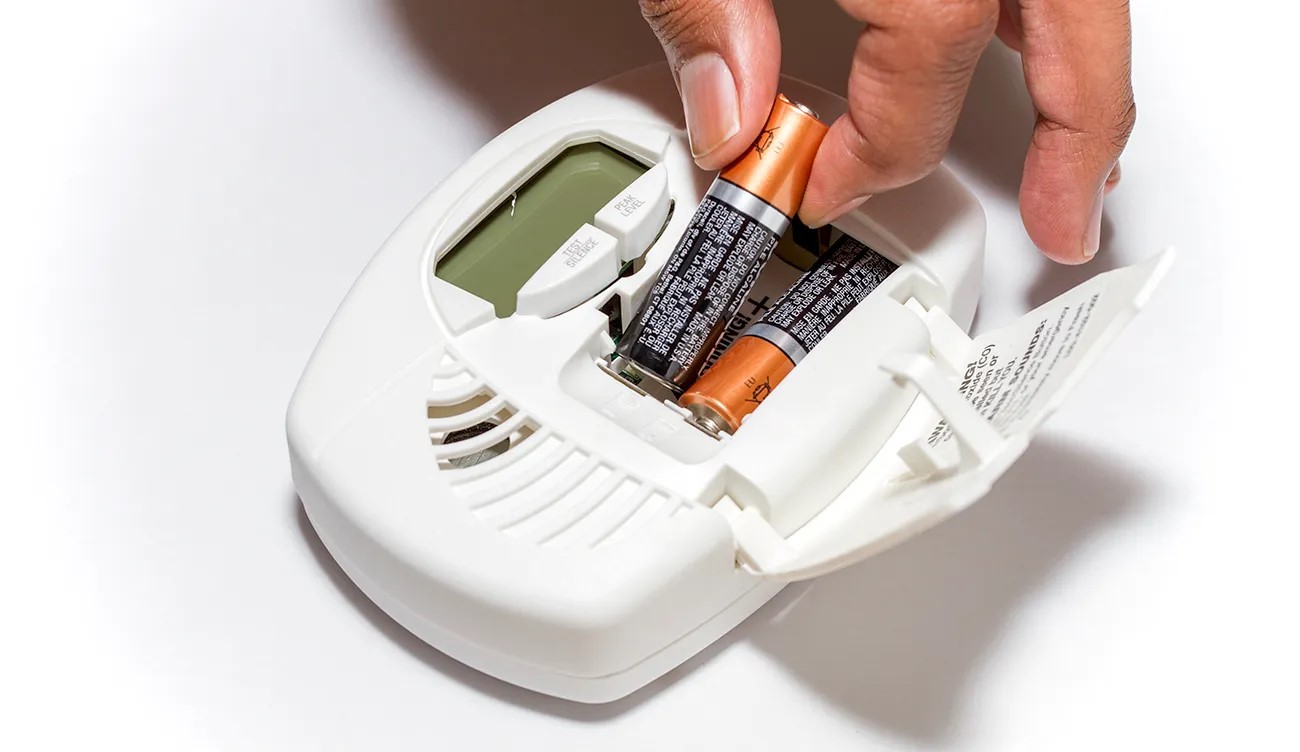
- Check the Batteries: Ensure that the batteries in your Kidde carbon monoxide detector are fully charged or replaced with new ones. Weak or depleted batteries can affect the performance of the detector and may lead to inaccurate test results. If your detector is hardwired with a backup battery, make sure the backup battery is also in good working condition.
- Inspect the Detector: Examine the detector visually to ensure there are no visible signs of damage or tampering. Check for any loose connections or wires that may affect the functioning of the detector. If you notice any issues, contact Kidde customer support for assistance or consider replacing the detector.
- Clear the Surrounding Area: Remove any objects or debris that may obstruct the airflow to the detector. Make sure there are no curtains, furniture, or any other items blocking the vents or covering the detector. Proper airflow is essential for the accurate detection of carbon monoxide.
- Inform Household Members: Notify all household members about the upcoming test so they are aware of the loud alarm that will sound during the testing process. This will help prevent unnecessary panic or disruption.
- Choose a Test Method: Determine whether you will be using the test button on the detector or an aerosol-based carbon monoxide test spray provided by Kidde. Refer to the user manual or manufacturer’s instructions to select the appropriate method for your specific model.
- Review Safety Precautions: Familiarize yourself with the safety precautions recommended by Kidde for testing their carbon monoxide detectors. These precautions may include keeping windows or doors open during testing for proper ventilation or temporarily relocating sensitive individuals, such as infants or individuals with respiratory conditions, to a well-ventilated area away from the testing location.
Taking these preparatory steps will help ensure that the testing process goes smoothly and provides accurate results. By being well-prepared, you can proceed with confidence and ensure the optimal functioning of your Kidde carbon monoxide detector.
Now that you have prepared for the test, let’s move on to the actual steps involved in testing the Kidde carbon monoxide detector.
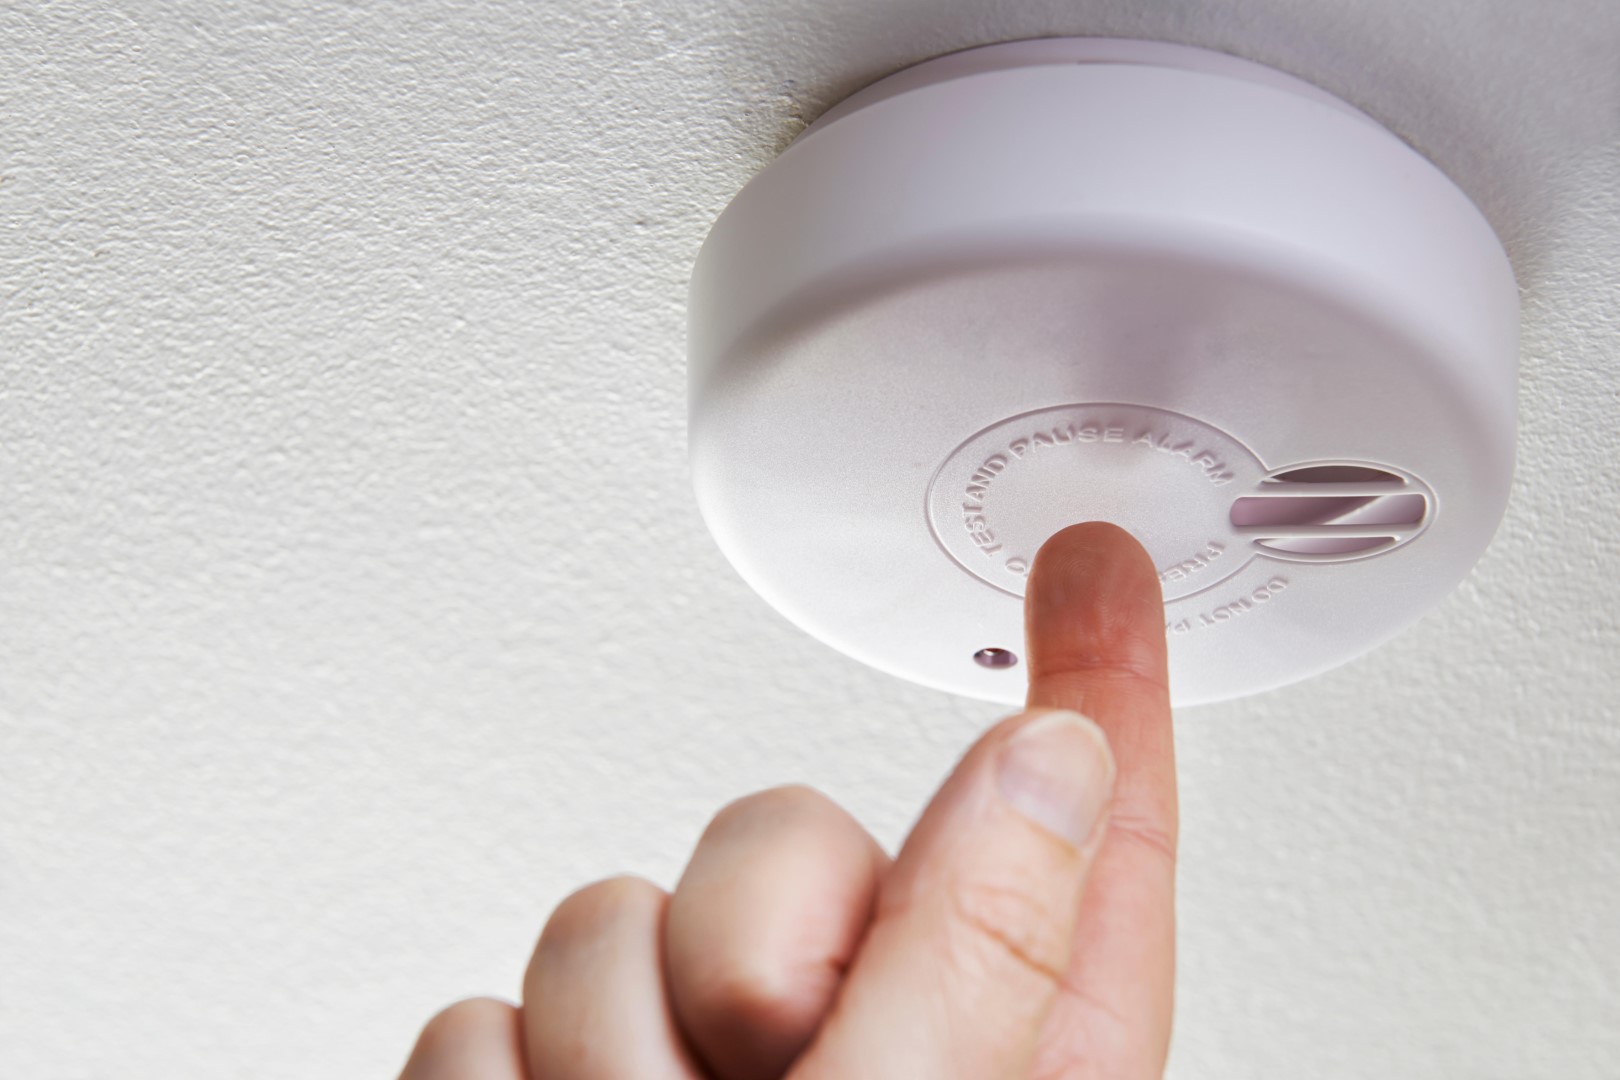
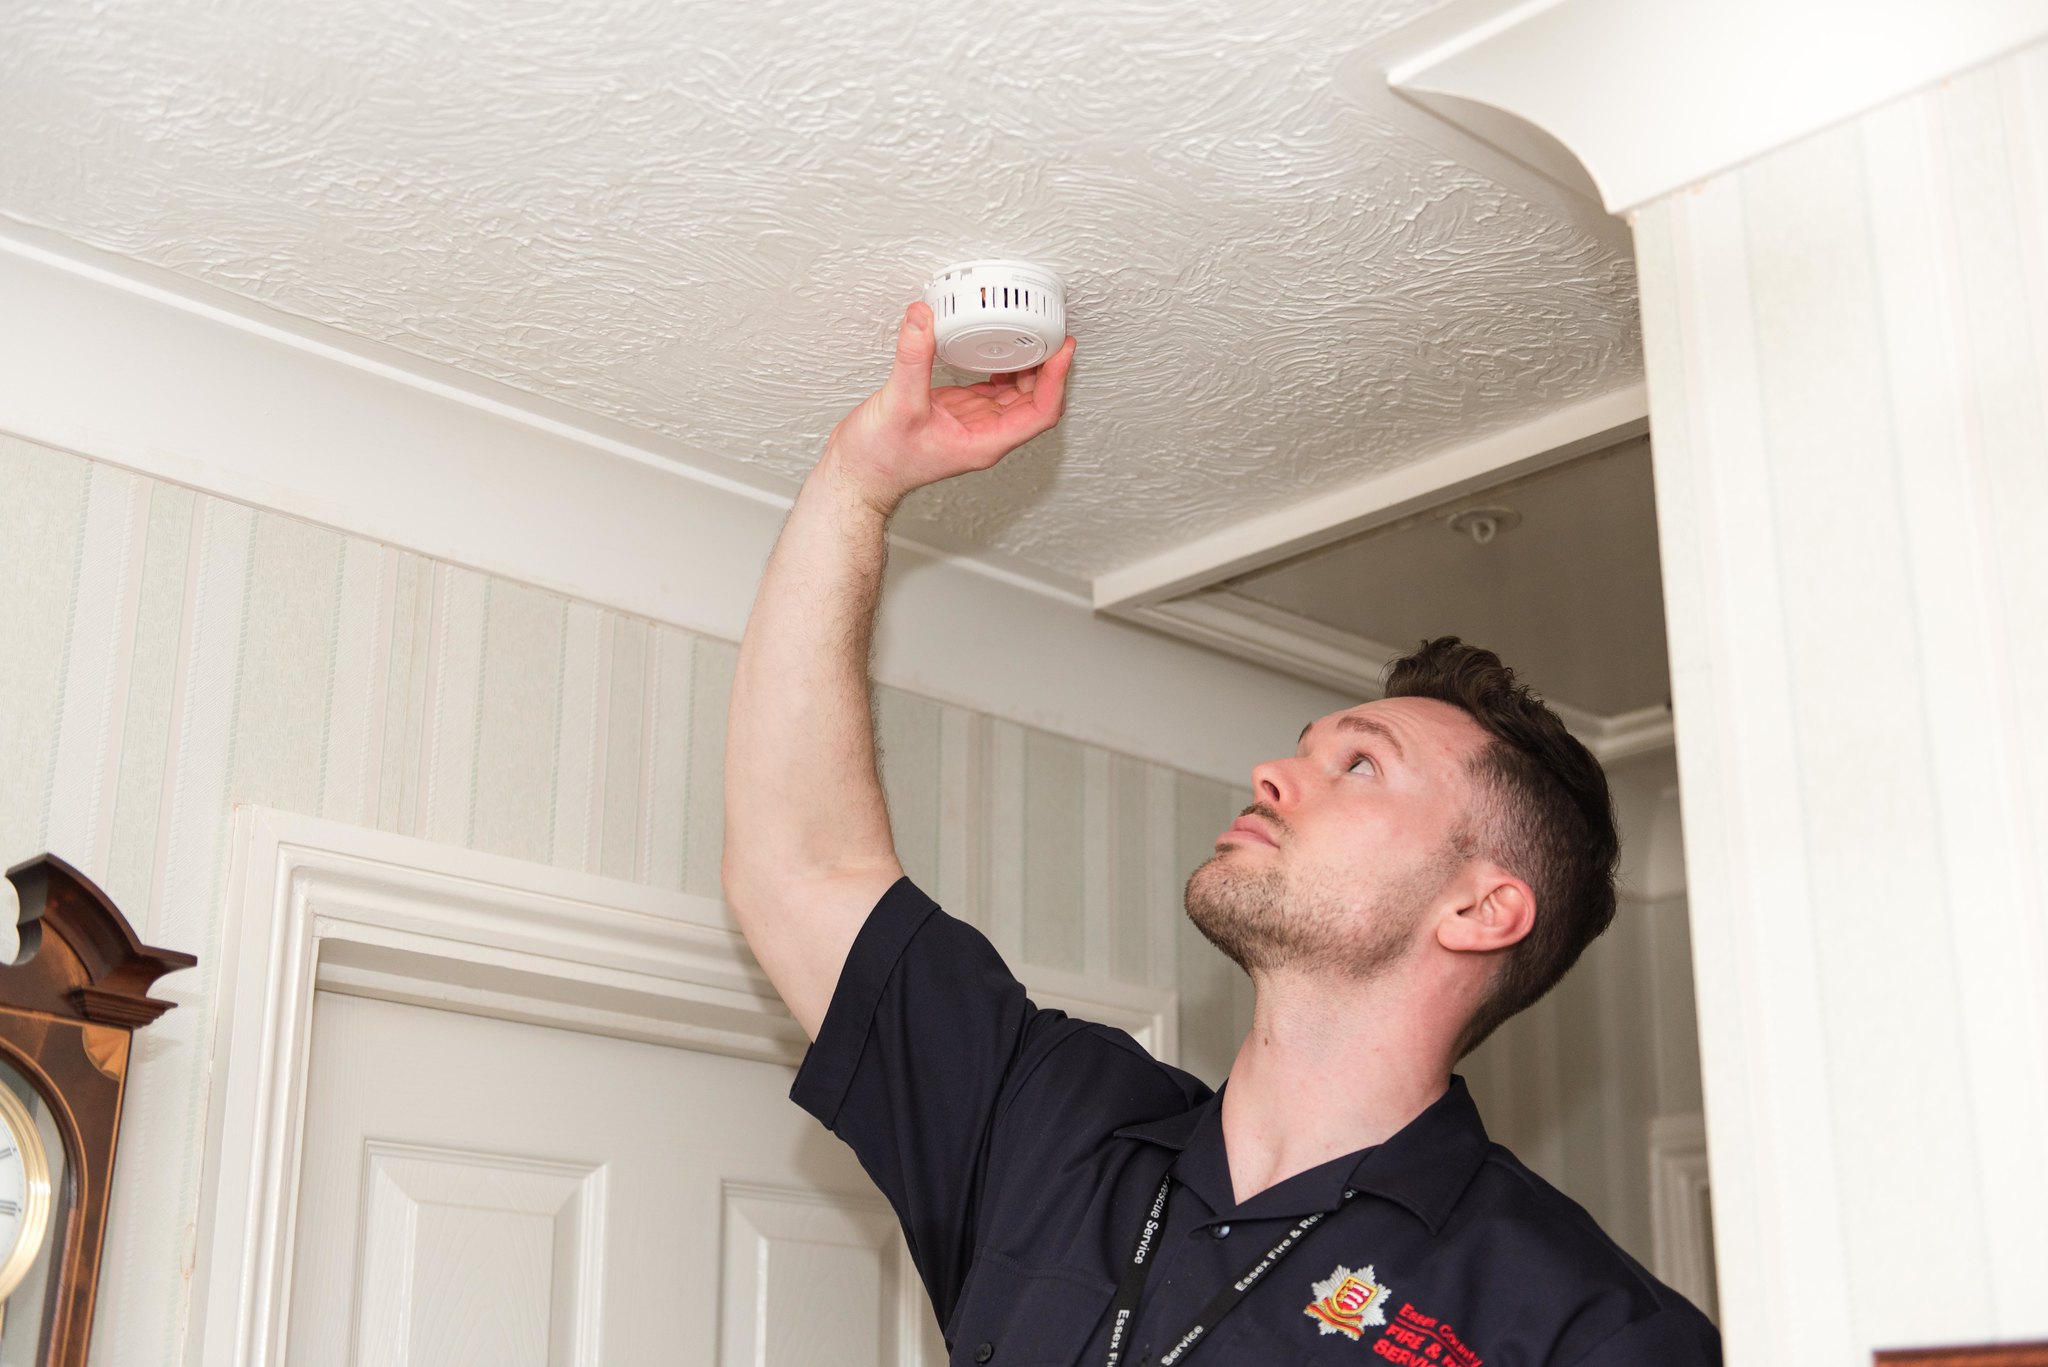
Test your Kidde carbon monoxide detector by pressing and holding the test button until the alarm sounds. If it doesn’t sound, replace the batteries and test again.
Testing the Kidde Carbon Monoxide Detector
Now that you have prepared for the test, it’s time to proceed with testing your Kidde carbon monoxide detector. By following the steps below, you can ensure that your detector is in proper working condition and capable of detecting the presence of carbon monoxide effectively:
- Refer to the User Manual: Before initiating the test, refer to the user manual provided by Kidde for your specific model. This will ensure that you are following the correct testing procedure and utilizing the recommended method for your particular detector.
- Choose the Testing Method: Depending on your Kidde carbon monoxide detector model, you can either use the test button on the device or an aerosol-based carbon monoxide test spray provided by Kidde. Follow the manufacturer’s instructions to determine the appropriate testing method for your detector.
- Press the Test Button: If your Kidde carbon monoxide detector has a test button, simply press and hold the button for a few seconds. This will trigger the testing sequence, simulating the presence of carbon monoxide. The alarm should sound within a few seconds to indicate that the detector is functioning correctly.
- Activate the Test Spray: If you are using the Kidde aerosol-based carbon monoxide test spray, follow the instructions provided with the spray. Typically, you will need to hold the canister a few inches away from the detector and discharge a short burst of the spray. This will simulate the presence of carbon monoxide and trigger the alarm if the detector is working properly.
- Observe the Alarm: Once the testing method is initiated, observe the carbon monoxide detector closely. The alarm should sound loudly, indicating that the detector has detected the simulated carbon monoxide gas. Additionally, check for any visual indicators, such as flashing lights or a digital display, that confirm the presence of carbon monoxide.
- Ensure Alarm Reset: After completing the test, reset the carbon monoxide detector according to the manufacturer’s instructions. This will bring the detector back to its normal operational state, ready to detect potential carbon monoxide issues effectively.
- Record the Test Result: It is a good practice to document the date and outcome of each test performed on your Kidde carbon monoxide detector. This record will help you keep track of the testing frequency and serve as a reference in case of any issues or concerns in the future.
By following these steps, you can ensure the proper functioning of your Kidde carbon monoxide detector and have confidence in its ability to detect carbon monoxide and keep you and your loved ones safe.
In the next section, we will discuss how to interpret the test results and troubleshoot common issues that may arise during the testing process.
Interpreting the Test Results
After conducting the test on your Kidde carbon monoxide detector, it is important to interpret the results correctly to determine the functionality and effectiveness of the device. Here’s how you can interpret the test results:
- Alarm Activation: During the test, if the alarm of your Kidde carbon monoxide detector sounds loudly, it indicates that the detector is functioning properly. The loud alarm alerts you to the presence of carbon monoxide and serves as a vital warning in the event of a real carbon monoxide emergency.
- Visual Indicators: Some Kidde carbon monoxide detectors feature visual indicators, such as flashing lights or a digital display, to provide additional information about the presence of carbon monoxide. If these indicators are activated during the test, it confirms that the detector has detected the simulated carbon monoxide gas and is capable of providing visual warnings.
- Silence or Ineffective Alarm: If, after performing the test, your Kidde carbon monoxide detector does not activate the alarm or the alarm is weak or intermittent, it may indicate potential issues with the device. In this case, refer to the troubleshooting steps provided by Kidde or contact their customer support for further assistance.
- End-of-Life Warning: Depending on the model, your Kidde carbon monoxide detector may have an end-of-life warning feature that alerts you when the device needs to be replaced. If the test results indicate an end-of-life warning, follow the manufacturer’s instructions to replace the detector promptly.
It is important to note that performing regular tests on your Kidde carbon monoxide detector does not guarantee its effectiveness over time. Over the years, the sensor may degrade, and the device’s overall performance may diminish. Therefore, it is recommended to replace your carbon monoxide detector as per the manufacturer’s guidelines, which typically range from 5 to 10 years.
Properly interpreting the test results of your Kidde carbon monoxide detector ensures that you have a reliable and functional device capable of alerting you to the presence of carbon monoxide. In case of any uncertainties or issues, always refer to the user manual or contact Kidde customer support for guidance.
In the next section, we will address common issues that may occur during testing and provide troubleshooting suggestions to resolve them.
Troubleshooting Common Issues
While testing your Kidde carbon monoxide detector, you may encounter some common issues that could affect its performance or produce inaccurate test results. Here are some troubleshooting tips to address these issues:
- No Alarm Sound: If the detector does not produce any alarm sound during the test, check the batteries to ensure they are properly installed and fully charged. If using a hardwired model, ensure that the backup battery (if applicable) is functional. If the batteries are fine, consult the user manual to determine if there are any specific settings or requirements that may impact the alarm sound.
- False Alarms: Sometimes, Kidde carbon monoxide detectors may trigger false alarms. This could be due to factors such as environmental conditions, nearby sources of chemicals or gases, or low batteries. If you experience frequent false alarms, inspect the detector for any signs of contamination or obstructions near the sensor. Cleaning the detector and ensuring proper ventilation can help reduce false alarms.
- Intermittent Alarms: If the detector produces intermittent alarms during the test or at other times, it may indicate a weak or faulty sensor. Check for any loose connections or damaged wires. If the problem persists, it may be necessary to replace the detector, as a malfunctioning sensor can compromise the effectiveness of the device.
- End-of-Life Warning: If your Kidde carbon monoxide detector provides an end-of-life warning during the test, it signifies that the device has reached its recommended lifespan and needs to be replaced. Follow the manufacturer’s instructions for replacing your detector, ensuring that you dispose of the old one properly according to local regulations.
- Digital Display Issues: If your Kidde carbon monoxide detector has a digital display and it shows unusual readings or malfunctions during the test, refer to the user manual for troubleshooting steps. Make sure the display is not obstructed or damaged, and if necessary, contact Kidde customer support for further assistance.
It is important to note that troubleshooting steps may vary depending on the specific model of your Kidde carbon monoxide detector. Always refer to the user manual or contact Kidde customer support for accurate and model-specific guidance.
Regular maintenance and testing of your Kidde carbon monoxide detector will help ensure its proper functioning and reliability. If you encounter persistent issues despite troubleshooting, consider replacing the detector to maintain the safety of your home and family.
Now that you have learned how to troubleshoot common issues, let’s conclude our discussion on testing Kidde carbon monoxide detectors.
Conclusion
Testing your Kidde carbon monoxide detector is a crucial step in maintaining the safety and well-being of your home and loved ones. Carbon monoxide is a deadly gas that is undetectable by our senses, making reliable detectors essential for early detection and prevention of carbon monoxide poisoning.
Through this article, we have explored the importance of testing carbon monoxide detectors, specifically focusing on Kidde carbon monoxide detectors. We discussed the features and working principles of Kidde detectors, guiding you through the steps involved in testing them accurately.
We emphasized the significance of preparing for the test by checking batteries, inspecting the detector, and clearing the surrounding area. We also highlighted the importance of choosing the appropriate testing method and notifying household members about the test to prevent any misunderstandings.
By following the steps outlined in this article, you can perform an effective test on your Kidde carbon monoxide detector. We also provided guidance on interpreting the test results and troubleshooting common issues that may arise during the testing process.
Remember, testing your Kidde carbon monoxide detector should be a regular practice to ensure its ongoing functionality and effectiveness. Set reminders for testing according to the manufacturer’s recommendations and maintain a record of each test. This proactive approach will help you stay vigilant and safeguard your home and family from the dangers of carbon monoxide.
Lastly, if you encounter persistent issues or have specific concerns about your Kidde carbon monoxide detector, always refer to the user manual or contact Kidde customer support for accurate guidance and assistance.
Stay proactive, stay safe, and prioritize the protection of your home by regularly testing your Kidde carbon monoxide detector.
Frequently Asked Questions about How To Test A Kidde Carbon Monoxide Detector
Was this page helpful?
At Storables.com, we guarantee accurate and reliable information. Our content, validated by Expert Board Contributors, is crafted following stringent Editorial Policies. We're committed to providing you with well-researched, expert-backed insights for all your informational needs.


0 thoughts on “How To Test A Kidde Carbon Monoxide Detector”