Home>Articles>How To Replace Recessed Lighting With Flush Mount Lighting
Articles
How To Replace Recessed Lighting With Flush Mount Lighting
Modified: August 27, 2024
Learn how to replace recessed lighting with flush mount lighting with our helpful articles. Update your home's lighting with ease and style.
(Many of the links in this article redirect to a specific reviewed product. Your purchase of these products through affiliate links helps to generate commission for Storables.com, at no extra cost. Learn more)
Introduction
Replacing recessed lighting with flush mount lighting is a popular home improvement project that can have a significant impact on the overall look and feel of a room. Whether you’re looking to update the style of your lighting fixtures or simply improve the functionality of your space, this step-by-step guide will walk you through the process.
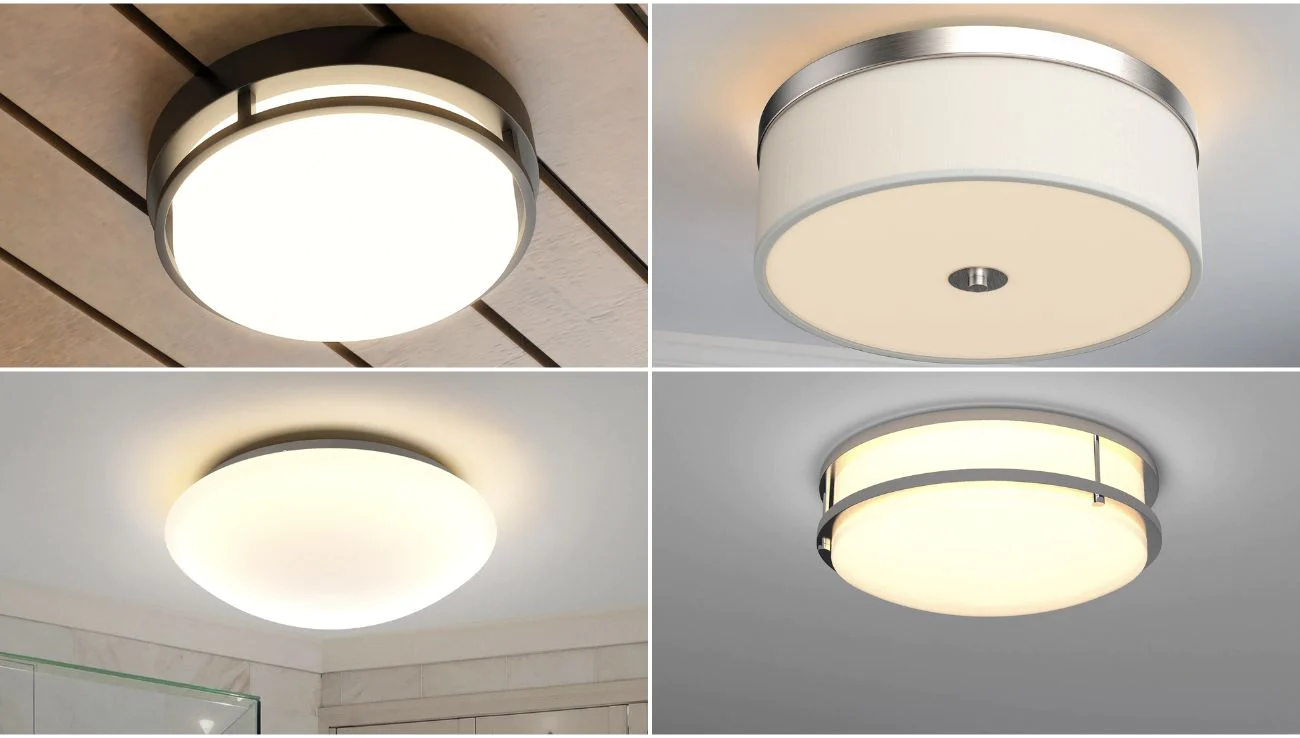
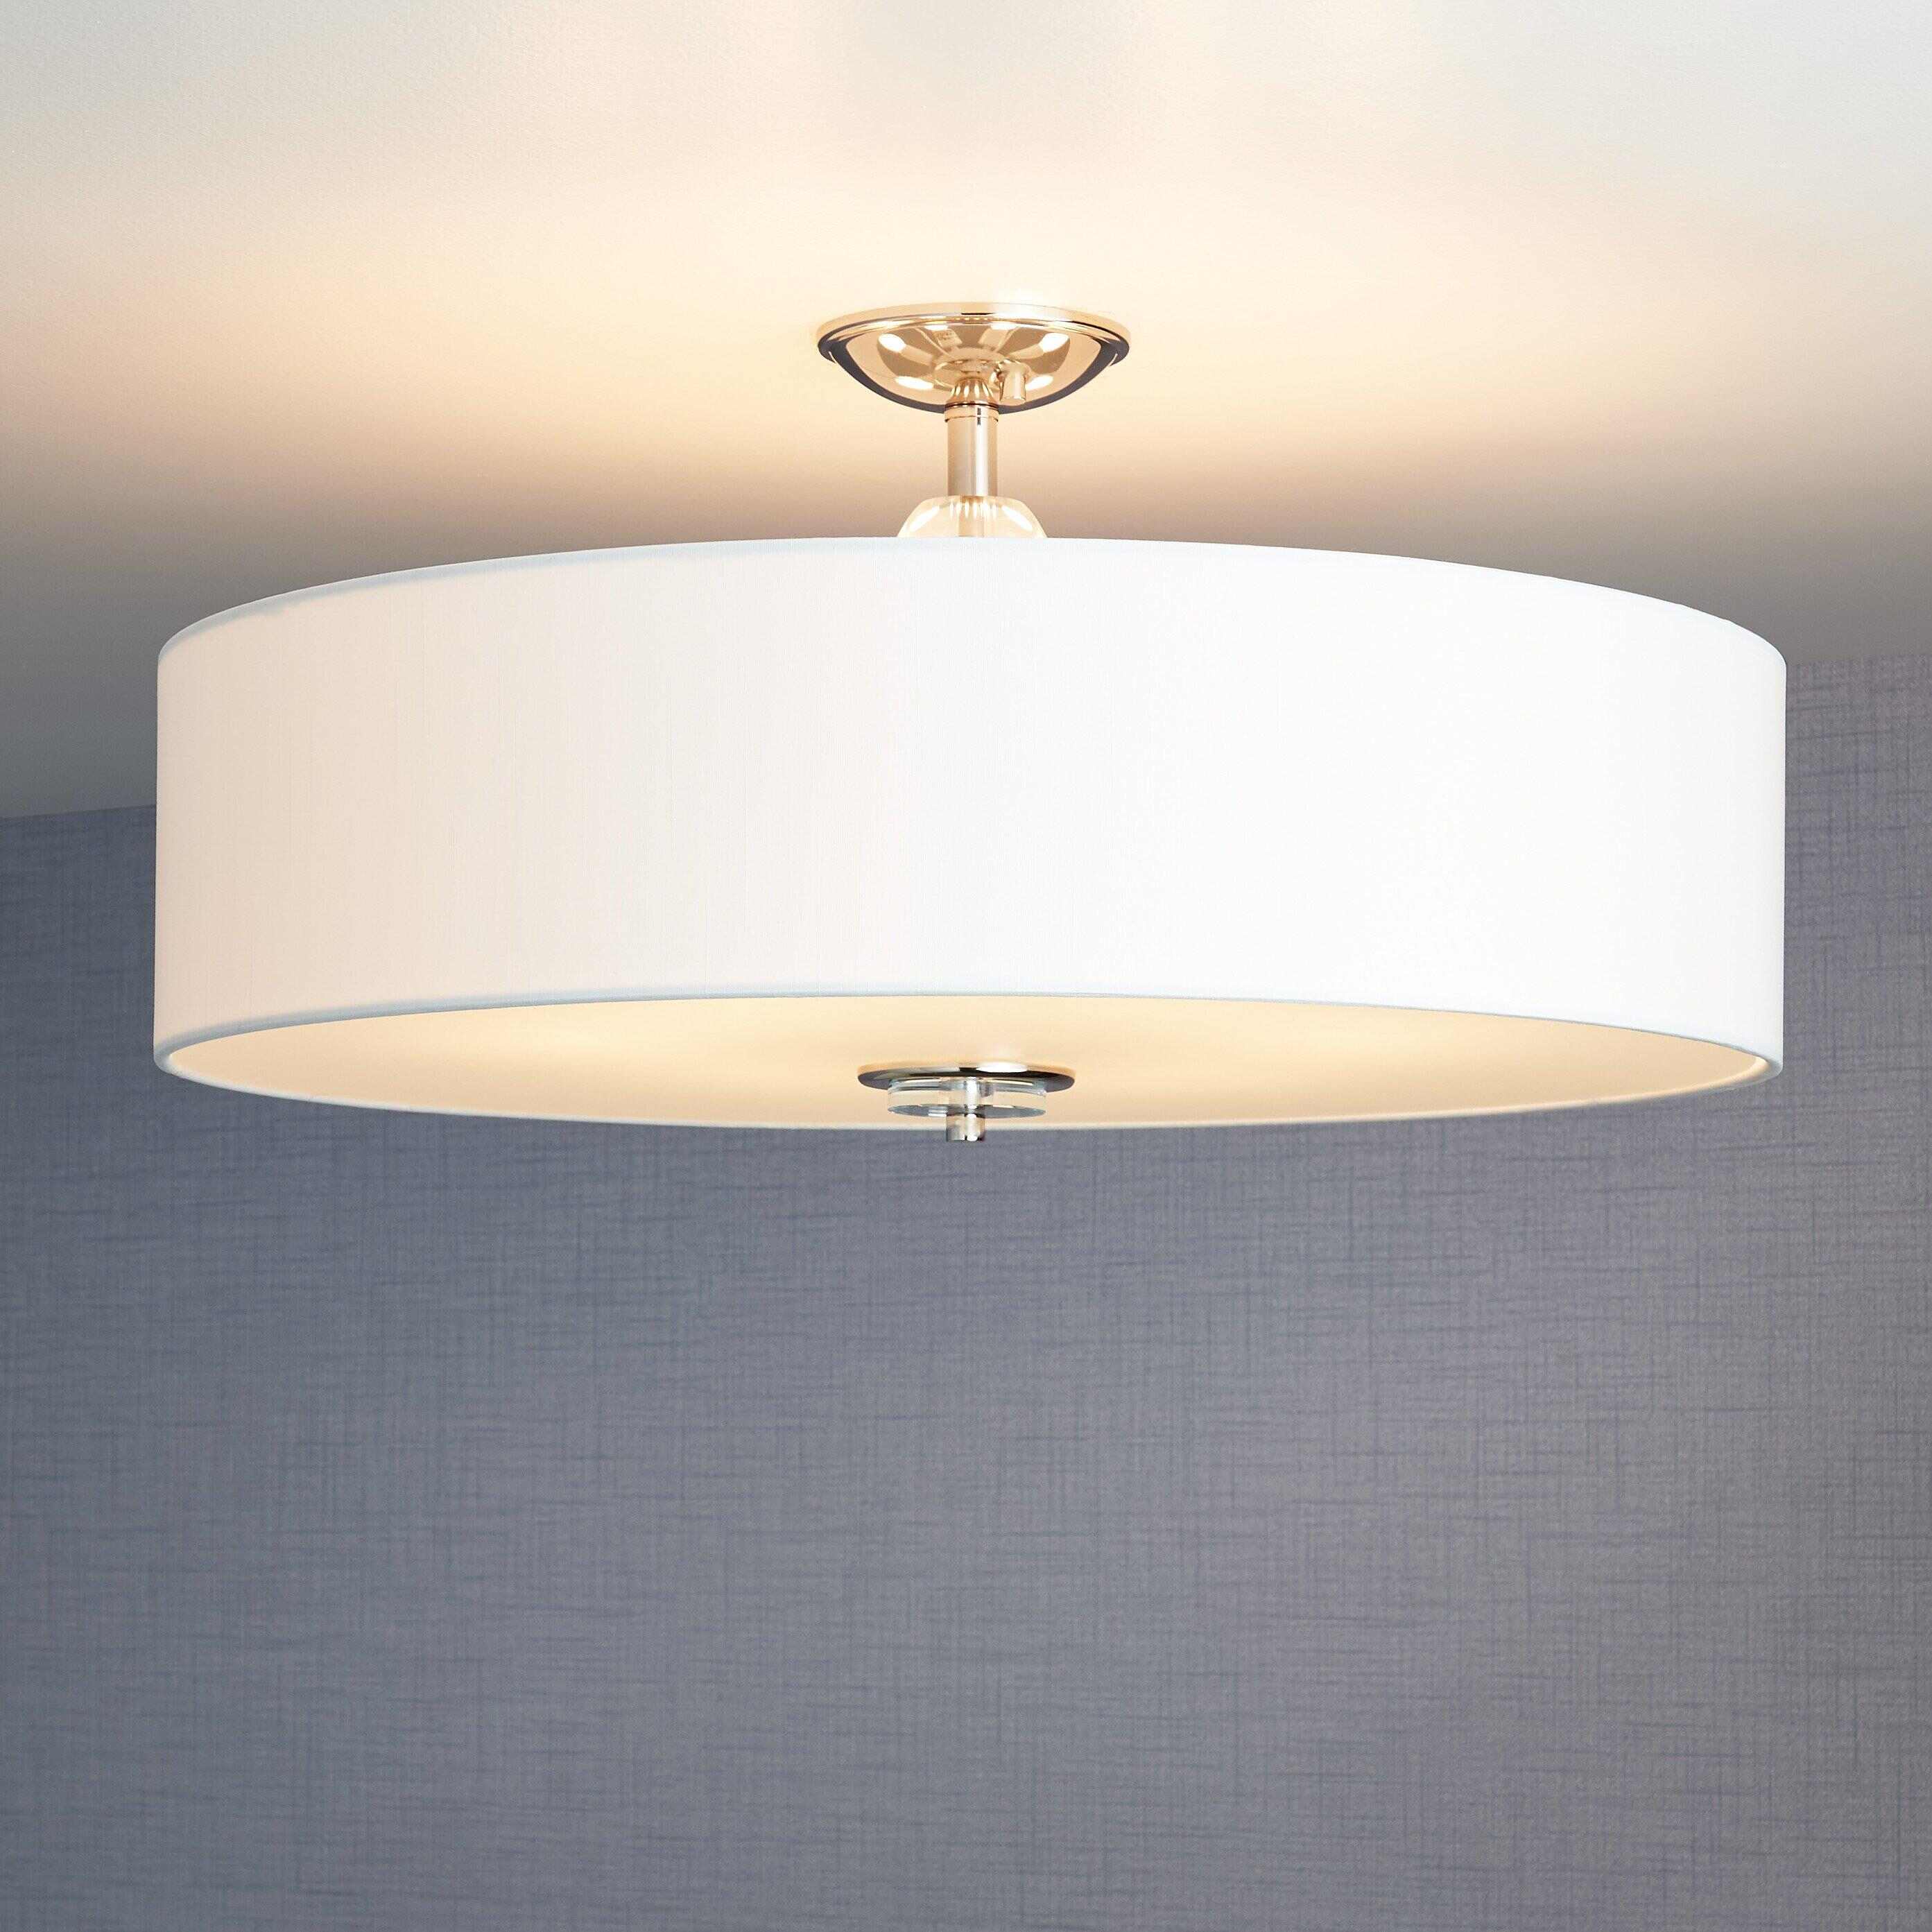
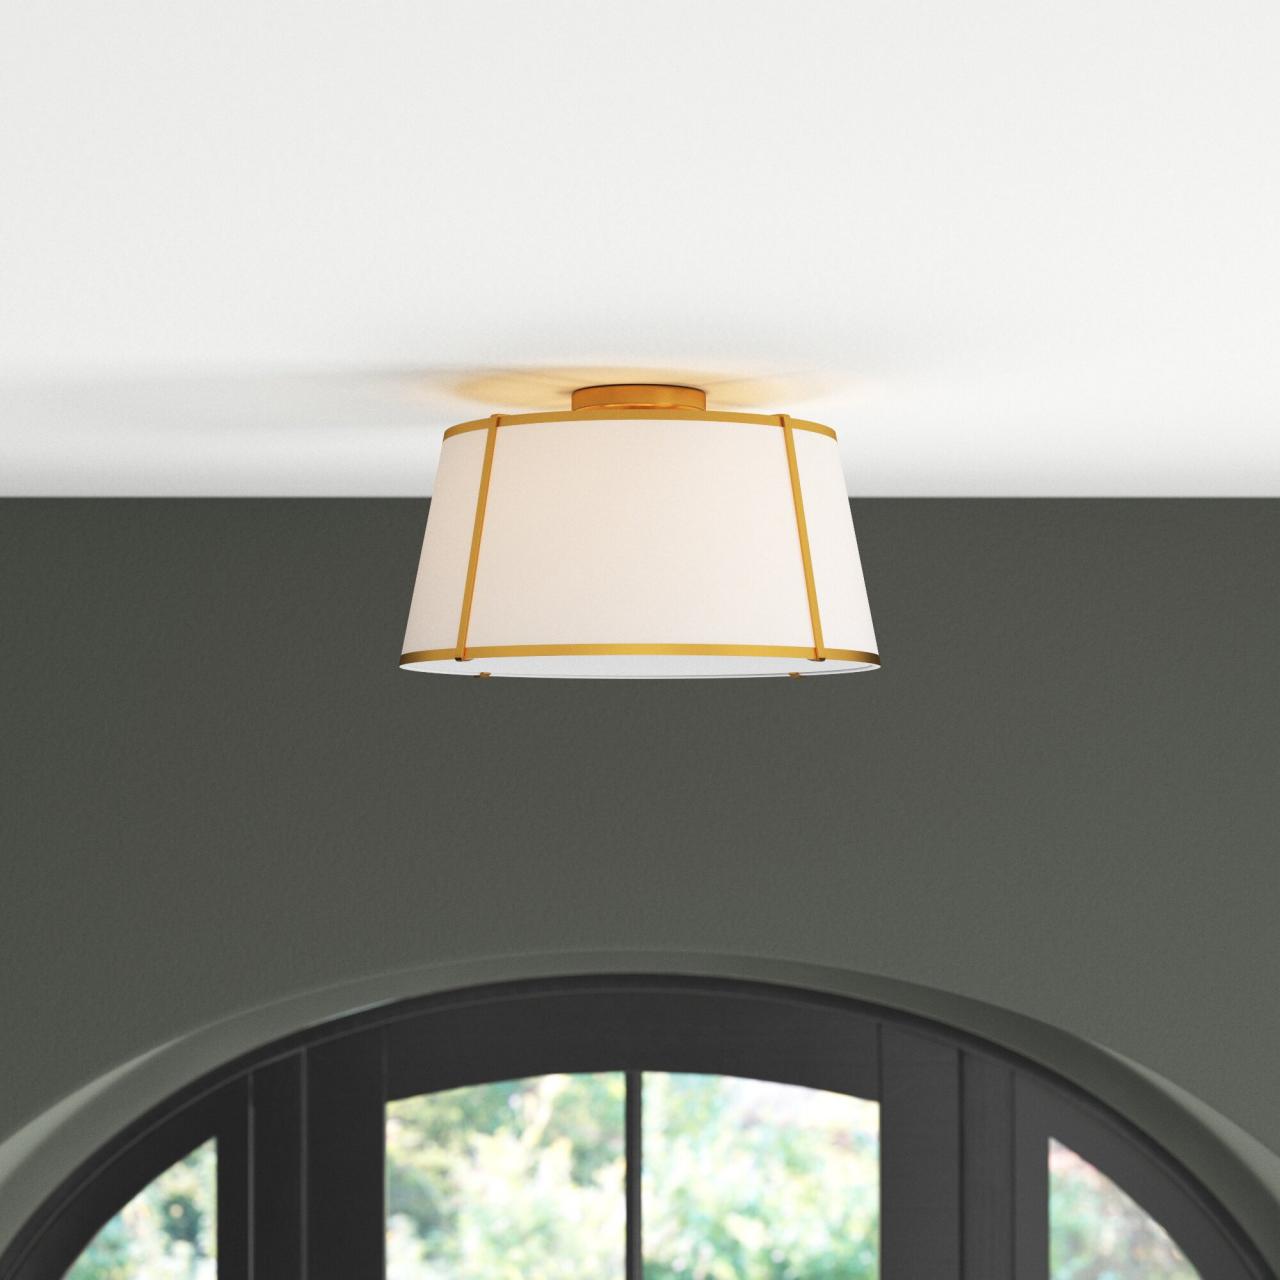
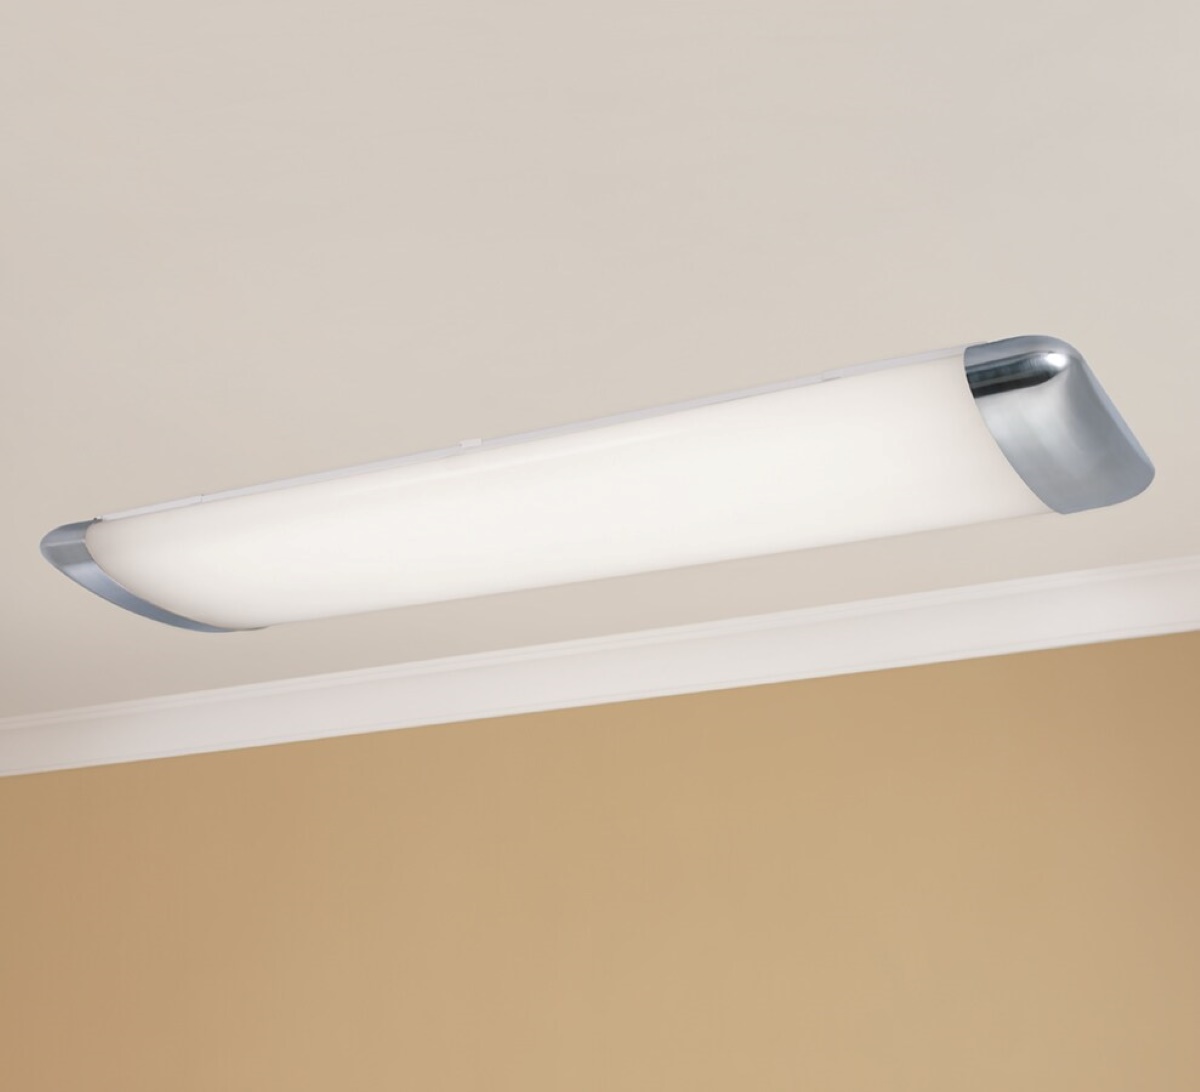
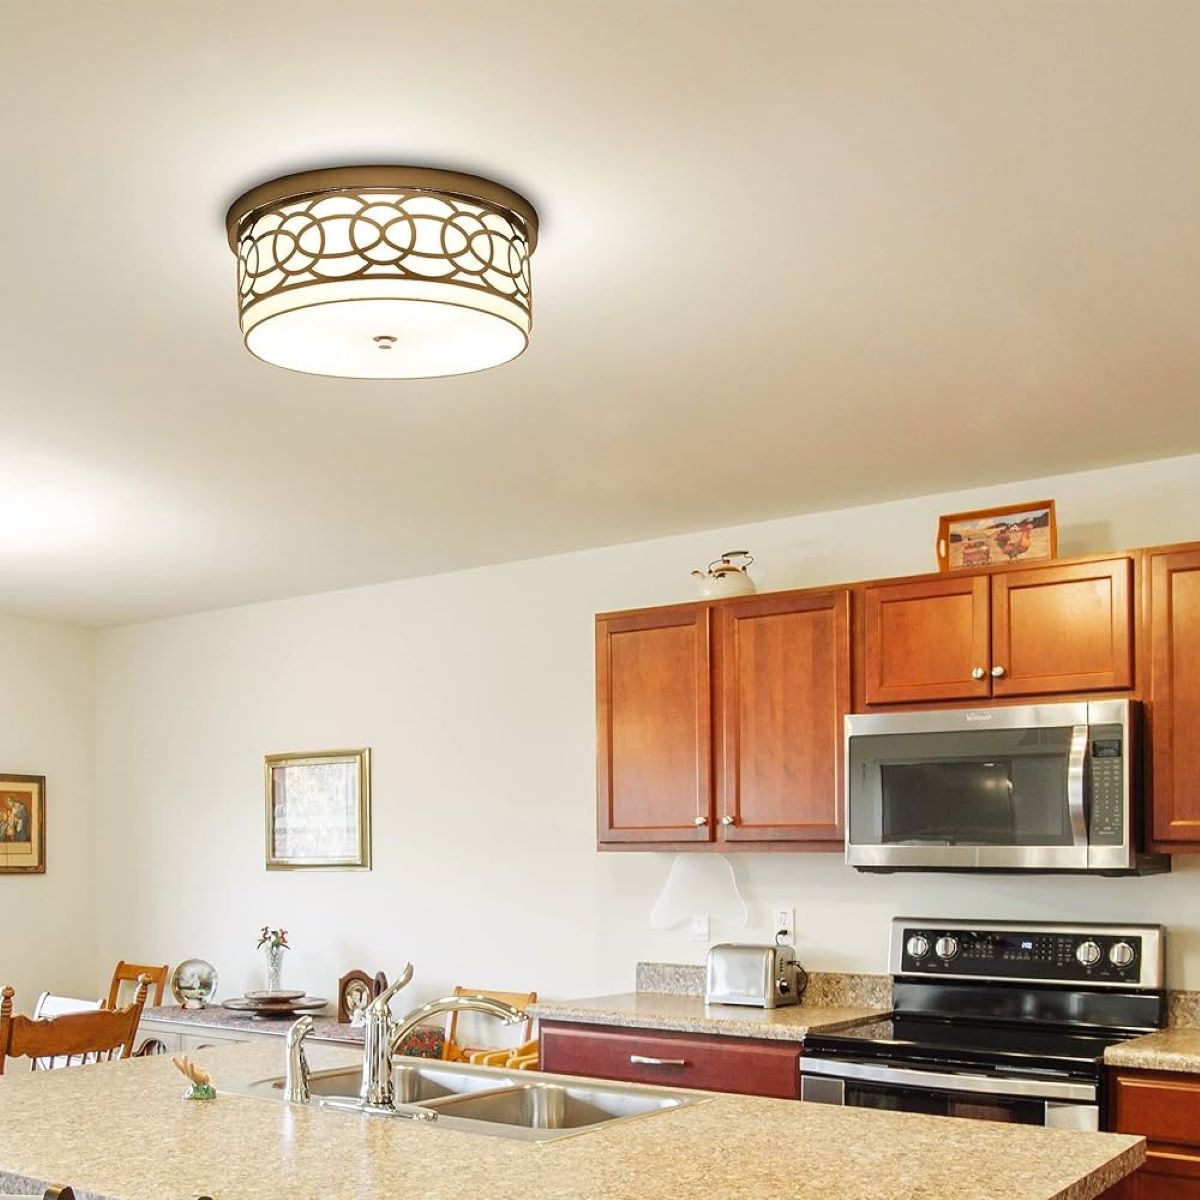
Recessed lighting, also known as can lights or downlights, offers a sleek and modern look as the fixtures are installed directly into the ceiling, providing a clean and unobtrusive lighting solution. However, there are certain instances where flush mount lighting is preferred. Flush mount fixtures are installed flush against the ceiling, creating a seamless and traditional look. They are often used in rooms with low ceilings or where a more decorative lighting option is desired.
By following the steps outlined in this guide, you will be able to replace your recessed lighting with flush mount lighting and achieve a fresh and updated look. Before you begin, keep in mind that working with electrical components can be dangerous if proper precautions are not taken. If you are not comfortable working with electrical wiring, it is recommended to hire a professional electrician to complete the installation for you.
Now, let’s get started on transforming your space and replacing your recessed lighting with flush mount fixtures!
Key Takeaways:
- Replacing recessed lighting with flush mount fixtures can transform the look and feel of a room, offering a sleek, modern aesthetic or a decorative lighting option for low-ceiling spaces.
- Prioritize safety and gather the necessary tools and materials before starting the installation process. If unsure, consult a professional electrician for assistance to ensure a successful and safe transformation.
Read more: What Are Flush Mount Lights
Step 1: Gather the necessary tools and materials
Before you begin the process of replacing your recessed lighting with flush mount lighting, it is important to gather all the necessary tools and materials. This will ensure that you have everything you need to complete the installation smoothly and efficiently.
Here is a list of the tools and materials you will need:
Tools:
- Step ladder or sturdy platform
- Wire cutters/strippers
- Screwdrivers (flathead and Phillips)
- Wire nuts
- Pliers
- Electrical tape
Materials:
- Flush mount lighting fixture(s)
- Retrofit adapter bracket(s)
- Light bulbs suitable for the new fixture(s)
Make sure to check the specifications of the flush mount lighting fixture(s) you have chosen to ensure they are compatible with your existing electrical wiring and ceiling structure. It is also a good idea to measure the existing recessed lighting fixtures to ensure that the new flush mount fixtures will fit properly and cover any existing ceiling openings.
Once you have gathered all the necessary tools and materials, you are ready to move on to the next step of the installation process – turning off the power supply.
Step 2: Turn off the power supply
Before you begin working with any electrical components, it is crucial to ensure your safety by turning off the power supply to the recessed lighting fixtures. This will prevent any accidental electrical shocks during the installation process.
Follow these steps to safely turn off the power:
- Locate the main electrical panel in your home. It is usually found in the garage, basement, or utility room.
- Open the panel door by removing the screws or latches, if applicable.
- Locate the circuit breaker that controls the power supply to the recessed lighting fixtures. Look for a label indicating “lighting” or a specific label for the room where the fixtures are installed.
- Flip the corresponding circuit breaker switch to the “off” position. You may hear a click, indicating that the power has been successfully turned off.
- To be extra cautious, use a non-contact voltage tester to confirm that there is no electricity flowing to the recessed lighting fixtures. This handheld device will emit an audible or visual signal if it detects any live wires.
Once you have confirmed that the power supply is turned off, wait a few minutes to allow any residual electricity to dissipate. This will further minimize the risk of electrical shocks.
Remember, safety should always be your top priority when working with electricity. If you are unsure about any aspect of turning off the power supply, consult a licensed electrician for assistance.
With the power supply turned off, you are now ready to move on to the next step – removing the recessed lighting fixtures.
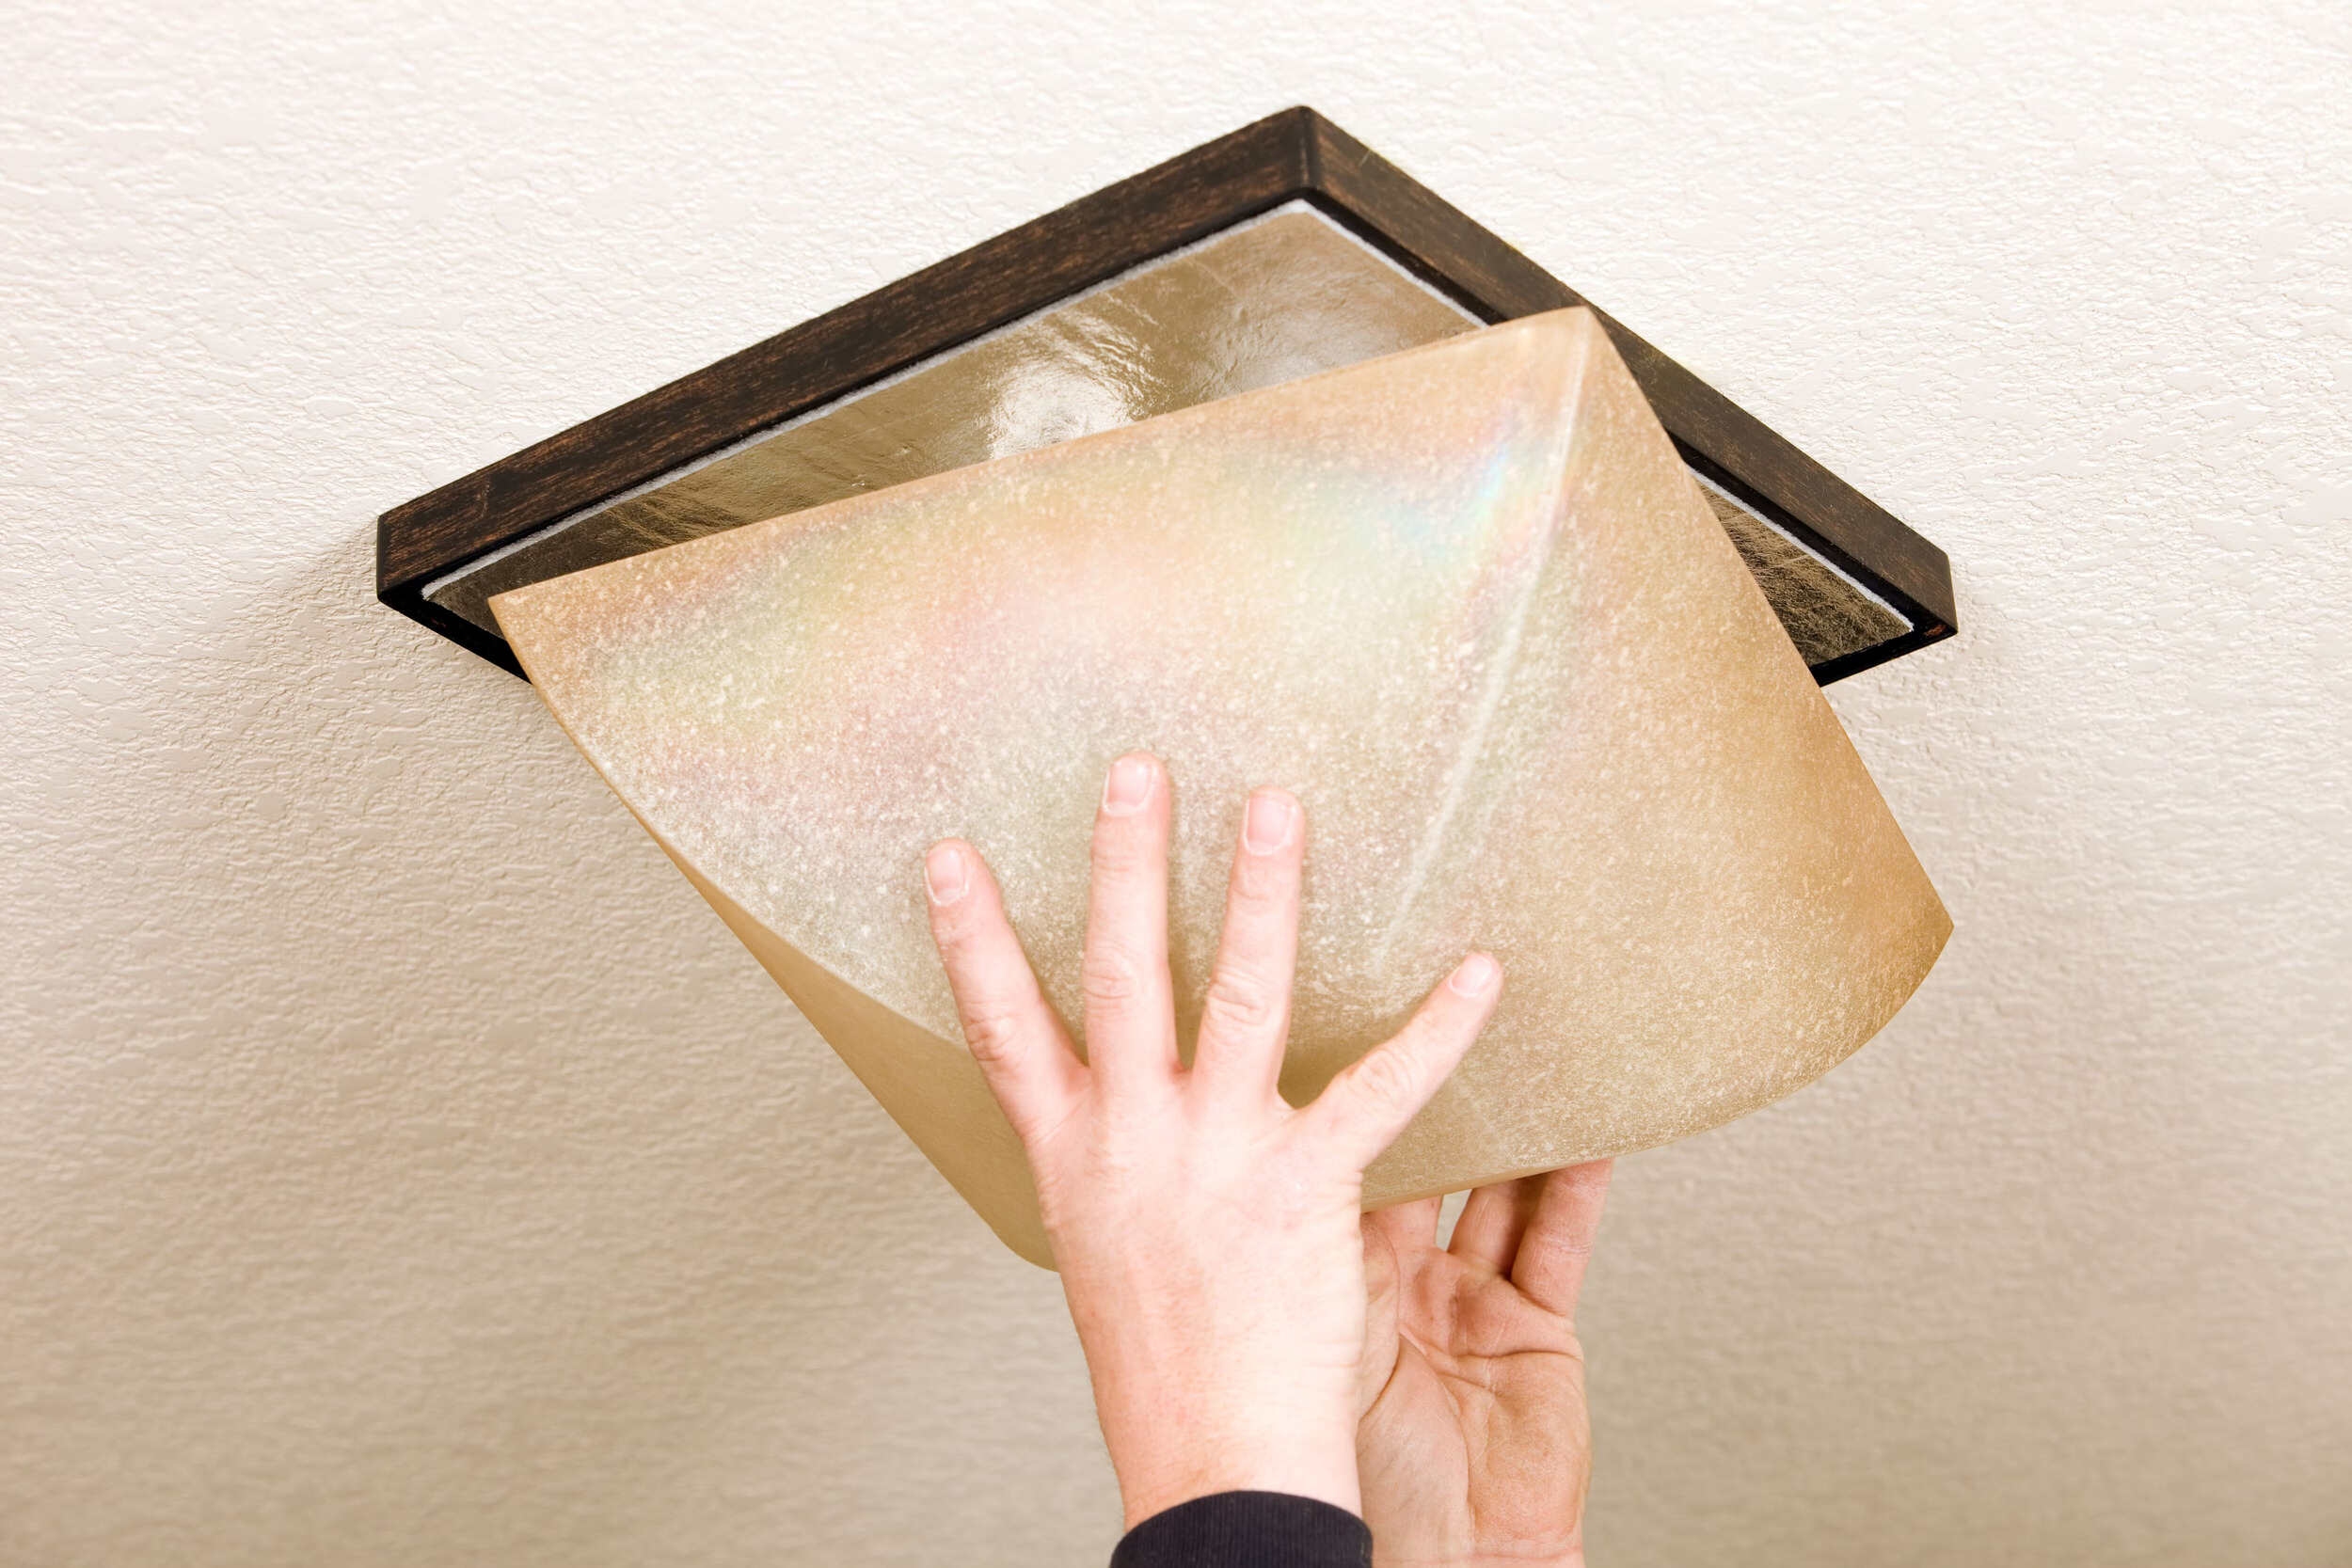
Step 3: Remove the recessed lighting fixtures
With the power supply turned off and your safety ensured, it’s time to remove the existing recessed lighting fixtures. Follow these steps to complete this task:
- Set up a stepladder or sturdy platform directly under the recessed lighting fixture you will be working on. This will provide stability and support as you remove the fixture.
- Locate the outer trim ring of the recessed lighting fixture. This is the visible part of the fixture that sits flush against the ceiling.
- Carefully remove the trim ring by unscrewing any screws or gently pulling it away from the ceiling. Be cautious not to damage the ceiling or any surrounding areas as you do this.
- Once the trim ring is removed, you will have access to the recessed housing. In some cases, the housing may be attached with screws that need to be loosened or removed. Use a screwdriver to unscrew and detach the housing.
- After removing the housing, you will see the wiring connections. Identify these connections, which usually consist of a set of black (hot) and white (neutral) wires, along with a ground wire (if present). Take note of how they are connected or take a picture for reference.
- Disconnect the wiring connections by unscrewing the wire nuts or untwisting the wire connections carefully. Make sure to hold onto the wires as you do this to prevent them from falling back into the ceiling.
- Once the wiring connections are disconnected, carefully pull the recessed lighting fixture out of the ceiling. Be cautious of any insulation or debris that may be present.
Repeat these steps for each recessed lighting fixture you wish to remove. Remember to take your time and work carefully to avoid any damage to the ceiling or surrounding areas.
With the recessed lighting fixtures removed, you are now ready to move on to the next step – installing the retrofit adapter bracket.
Step 4: Install the retrofit adapter bracket
Now that the recessed lighting fixtures have been removed, it’s time to install the retrofit adapter bracket. The retrofit adapter bracket is a key component that will allow you to securely attach the flush mount lighting fixture to the existing recessed housing. Follow these steps to complete this installation:
- Inspect the interior of the recessed housing to ensure it is clean and free from any debris or loose wires. If necessary, use a vacuum or brush to remove any dirt or dust.
- Take the retrofit adapter bracket and align it with the opening in the ceiling left by the removed recessed lighting fixture. The bracket should fit snugly and cover the opening completely.
- Secure the retrofit adapter bracket to the ceiling by using the provided screws. Make sure to tighten the screws firmly, but be careful not to overtighten as this may damage the ceiling or bracket.
- Double-check the stability of the retrofit adapter bracket by giving it a gentle push or tug. It should be securely attached and not move or wobble.
It’s important to note that the specific installation process may vary depending on the type and brand of the retrofit adapter bracket you are using. Always refer to the manufacturer’s instructions for detailed guidance on installing the specific model you have purchased.
With the retrofit adapter bracket securely installed in the recessed housing, you are now ready to move on to the next step – attaching the flush mount lighting fixture.
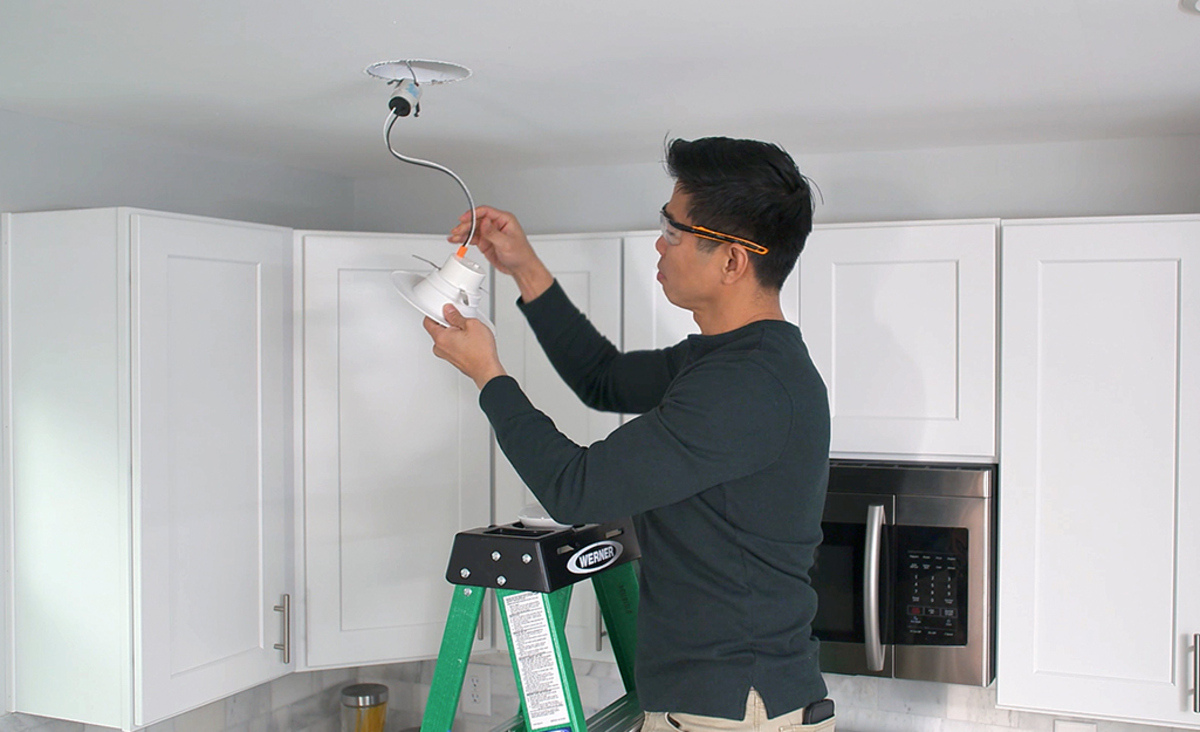
Step 5: Attach the flush mount lighting fixture to the adapter bracket
Now that the retrofit adapter bracket is installed, it’s time to attach the flush mount lighting fixture. The flush mount fixture will be positioned against the ceiling, covering the opening left by the removed recessed lighting fixture. Follow these steps to complete the attachment:
- Take the flush mount lighting fixture and position it over the adapter bracket. Align the holes or mounting points on the fixture with the corresponding holes or tabs on the bracket.
- Once aligned, insert the provided screws or fasteners into the holes or tabs, securing the fixture to the bracket. Use a screwdriver or the appropriate tool to tighten the screws, ensuring that the fixture is securely attached.
- Double-check the alignment and stability of the flush mount lighting fixture. It should be centered and level, with no visible gaps between the fixture and the ceiling.
Some flush mount lighting fixtures may have additional features or components, such as decorative covers or diffusers. Follow the manufacturer’s instructions to properly install these components, if applicable.
It’s important to note that the specific installation process may vary depending on the type and brand of the flush mount lighting fixture you are using. Always refer to the manufacturer’s instructions for detailed guidance on attaching the specific model you have purchased.
With the flush mount lighting fixture securely attached to the adapter bracket, you are now ready to move on to the next step – connecting the wiring.
When replacing recessed lighting with flush mount lighting, make sure to turn off the power to the existing fixture before starting the installation process to ensure safety.
Step 6: Connect the wiring
Connecting the wiring is a crucial step in the process of replacing recessed lighting with a flush mount fixture. Properly connecting the wires will ensure that the fixture functions correctly and safely. Follow these steps to complete the wiring connection:
- Start by exposing the electrical wiring inside the recessed housing. You may need to remove any wire nuts or insulation that cover the wires.
- Inspect the exposed wires to ensure they are in good condition and free from any damage. Trim any frayed or damaged ends using wire cutters.
- Take the wiring from the flush mount lighting fixture and carefully match each corresponding wire color. In general, black wires are for the hot (live) connection, white wires are for the neutral connection, and green or bare copper wires are for the ground connection.
- Twist the matching wires together clockwise, ensuring a tight and secure connection. If needed, use wire nuts to further secure and insulate the connections. Make sure that no bare wire is exposed.
- Once the connections are made, gently tuck the wires back into the recessed housing, making sure they do not interfere with the installation of the flush mount fixture.
It’s essential to follow electrical safety guidelines during this step. Make sure the power supply to the lighting fixture is still turned off and avoid working in damp areas to minimize the risk of electric shock.
It’s important to note that the specific wiring connections may vary depending on the manufacturer and model of the flush mount lighting fixture. Always refer to the manufacturer’s instructions for detailed guidance on connecting the specific fixture you have purchased.
With the wiring correctly connected, you are now ready to move on to the final step – securing the fixture and restoring power.
Read more: How To Install A Flush Mount Light
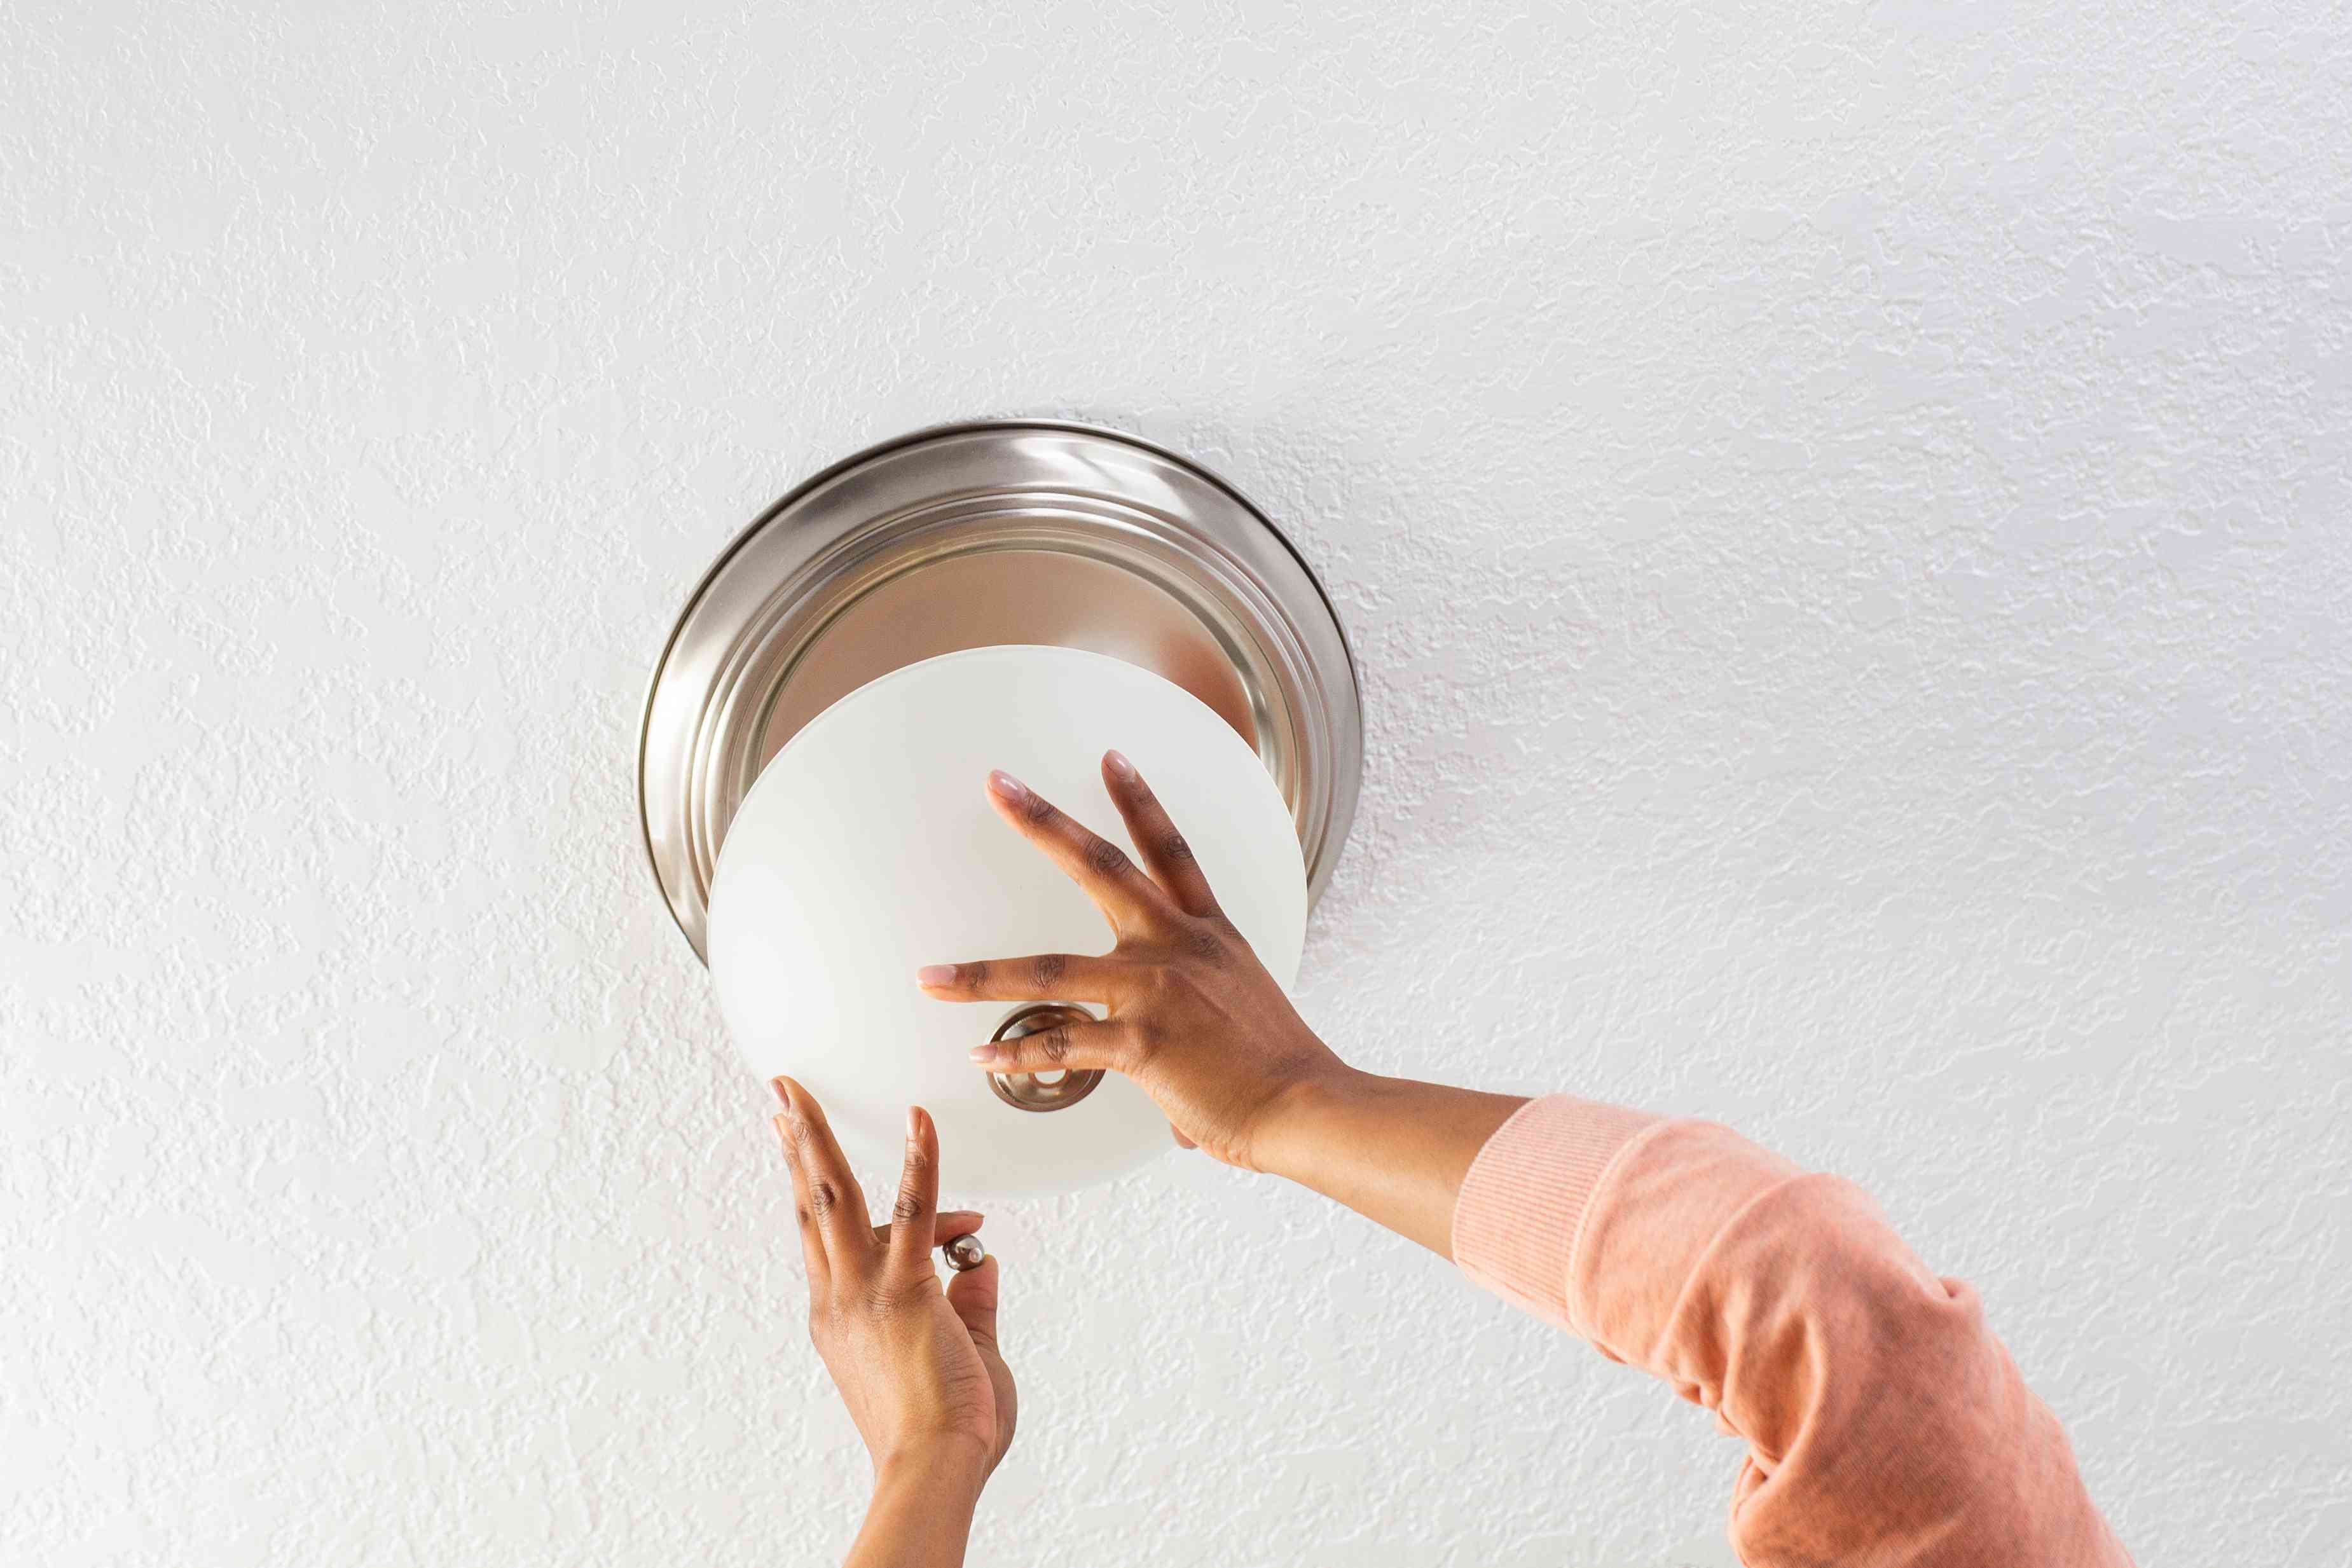
Step 7: Secure the fixture and restore power
The final step in replacing recessed lighting with a flush mount fixture is to secure the fixture in place and restore power to the lighting circuit. Follow these steps to complete the installation:
- Ensure that all wiring connections are securely made and properly insulated. Verify that there are no loose or exposed wires.
- Hold the flush mount lighting fixture against the ceiling and align it with the adapter bracket.
- Using the provided screws or fasteners, attach the fixture to the adapter bracket. Tighten the screws firmly, ensuring that the fixture is stable and flush against the ceiling.
- Double-check the alignment and appearance of the flush mount fixture. Make any necessary adjustments to ensure it is centered and level.
- Once the fixture is securely in place, it’s time to restore power to the lighting circuit. Return to the main electrical panel and locate the circuit breaker that controls the lighting circuit.
- Flip the circuit breaker switch back to the “on” position. You should hear a click or feel a slight resistance.
- To test the new flush mount fixture, turn on the light switch or use the fixture’s built-in switches or controls. The light should illuminate, indicating the successful installation.
If the light does not turn on, first double-check that the circuit breaker is properly switched to the “on” position. If the issue persists, review the wiring connections to ensure they are correctly made. If you are unable to resolve the problem, consult a licensed electrician for assistance.
Congratulations! You have successfully replaced your recessed lighting with a flush mount fixture. Take a moment to admire your newly transformed space.
As with any electrical work, always prioritize safety and follow the manufacturer’s instructions and local electrical codes. If you have any doubts or concerns about the installation process, it is recommended to consult a professional electrician for assistance.
Thank you for following this step-by-step guide. Enjoy your new flush mount lighting and the enhanced ambiance it brings to your home!
Conclusion
Replacing recessed lighting with flush mount lighting can drastically change the look and feel of a room. Whether you’re looking for a more modern, streamlined look or a decorative lighting option, this step-by-step guide has provided you with the knowledge and instructions to successfully complete the installation.
Throughout this process, we’ve covered the important steps, including gathering necessary tools and materials, turning off the power supply, removing the recessed lighting fixtures, installing the retrofit adapter bracket, attaching the flush mount lighting fixture, connecting the wiring, and securing the fixture in place.
By following these steps carefully and ensuring your safety throughout the process, you can confidently replace your recessed lighting fixtures with flush mount lighting and create a renewed aesthetic in your space.
Remember to always prioritize safety when working with electrical components. If you are uncomfortable or unsure about any aspect of the installation process, it is wise to consult a licensed electrician or professional for assistance.
Now that you have completed the installation, enjoy the improved lighting and the new ambiance it brings to your room. Whether it’s a brighter workspace, a cozy living room, or a stylish bedroom, your newly installed flush mount lighting fixture will enhance the overall functionality and aesthetics of your space.
We hope this guide has been helpful to you on your home improvement journey. Enjoy your newly transformed space and bask in the warm glow of your new flush mount lighting fixtures!
Frequently Asked Questions about How To Replace Recessed Lighting With Flush Mount Lighting
Was this page helpful?
At Storables.com, we guarantee accurate and reliable information. Our content, validated by Expert Board Contributors, is crafted following stringent Editorial Policies. We're committed to providing you with well-researched, expert-backed insights for all your informational needs.


0 thoughts on “How To Replace Recessed Lighting With Flush Mount Lighting”