
Articles
How To Turn On A Ninja Blender
Modified: October 18, 2024
Learn how to turn on a Ninja Blender with this helpful article. Get step-by-step instructions and troubleshooting tips to ensure a perfect blending experience.
(Many of the links in this article redirect to a specific reviewed product. Your purchase of these products through affiliate links helps to generate commission for Storables.com, at no extra cost. Learn more)
Introduction
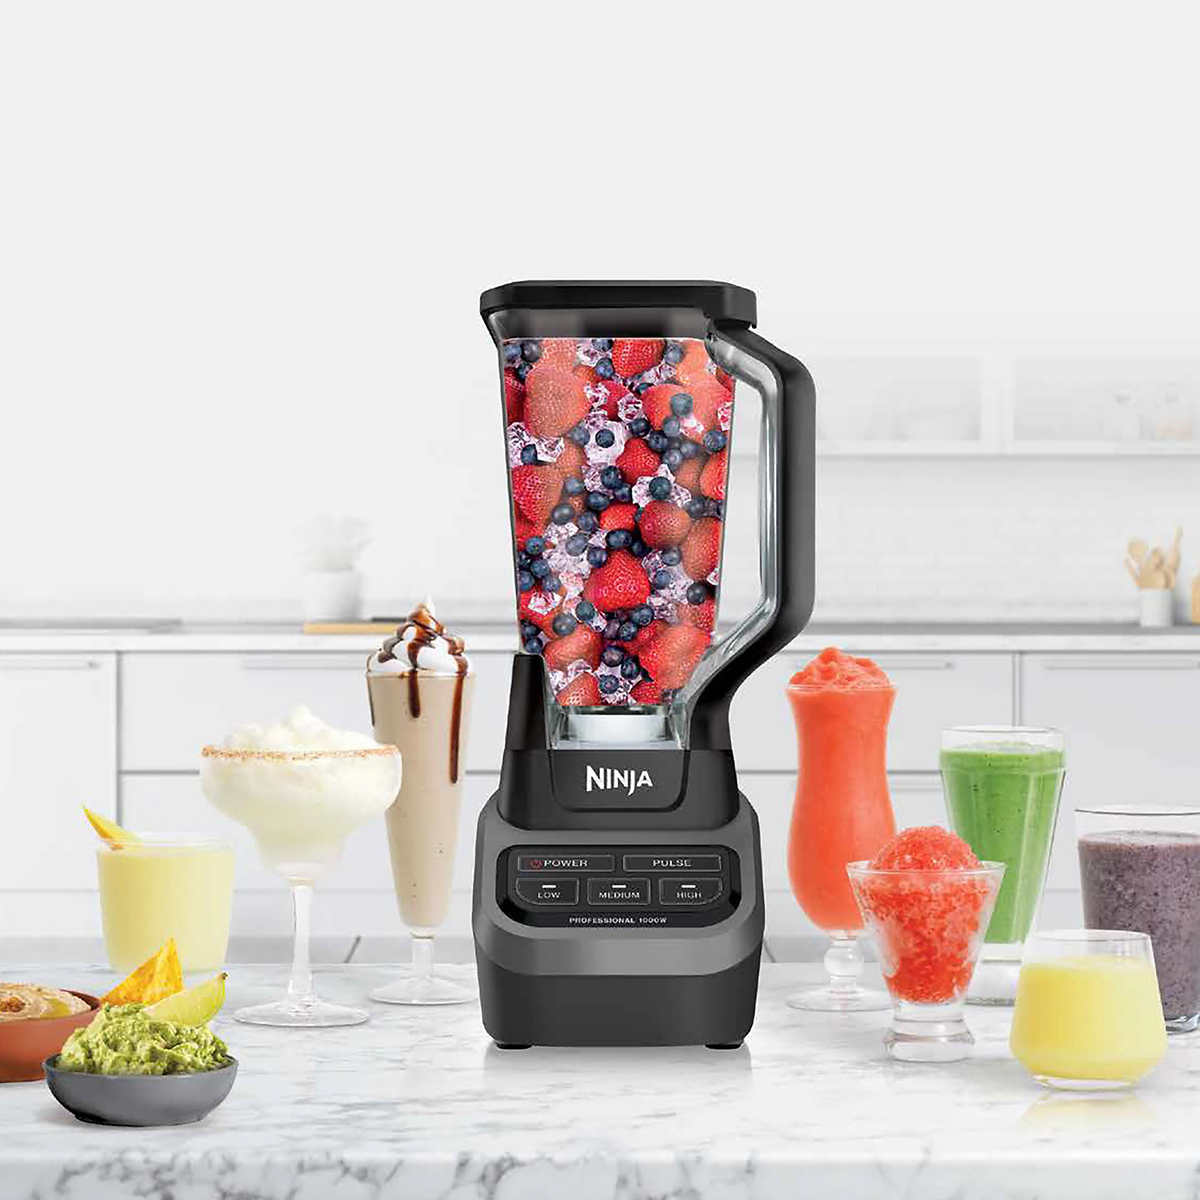
Welcome to this guide on how to turn on a Ninja Blender! Whether you’re a culinary enthusiast or a health-conscious individual, a Ninja Blender can be your best friend in the kitchen. This versatile appliance can whip up smoothies, blend ingredients for soups and sauces, crush ice, and even make delicious desserts.
Turning on a Ninja Blender might seem like a straightforward task, but it’s important to do it correctly to ensure safe and efficient operation. In this article, we will guide you through the step-by-step process of turning on a Ninja Blender, so you can enjoy all the benefits this powerful appliance has to offer.
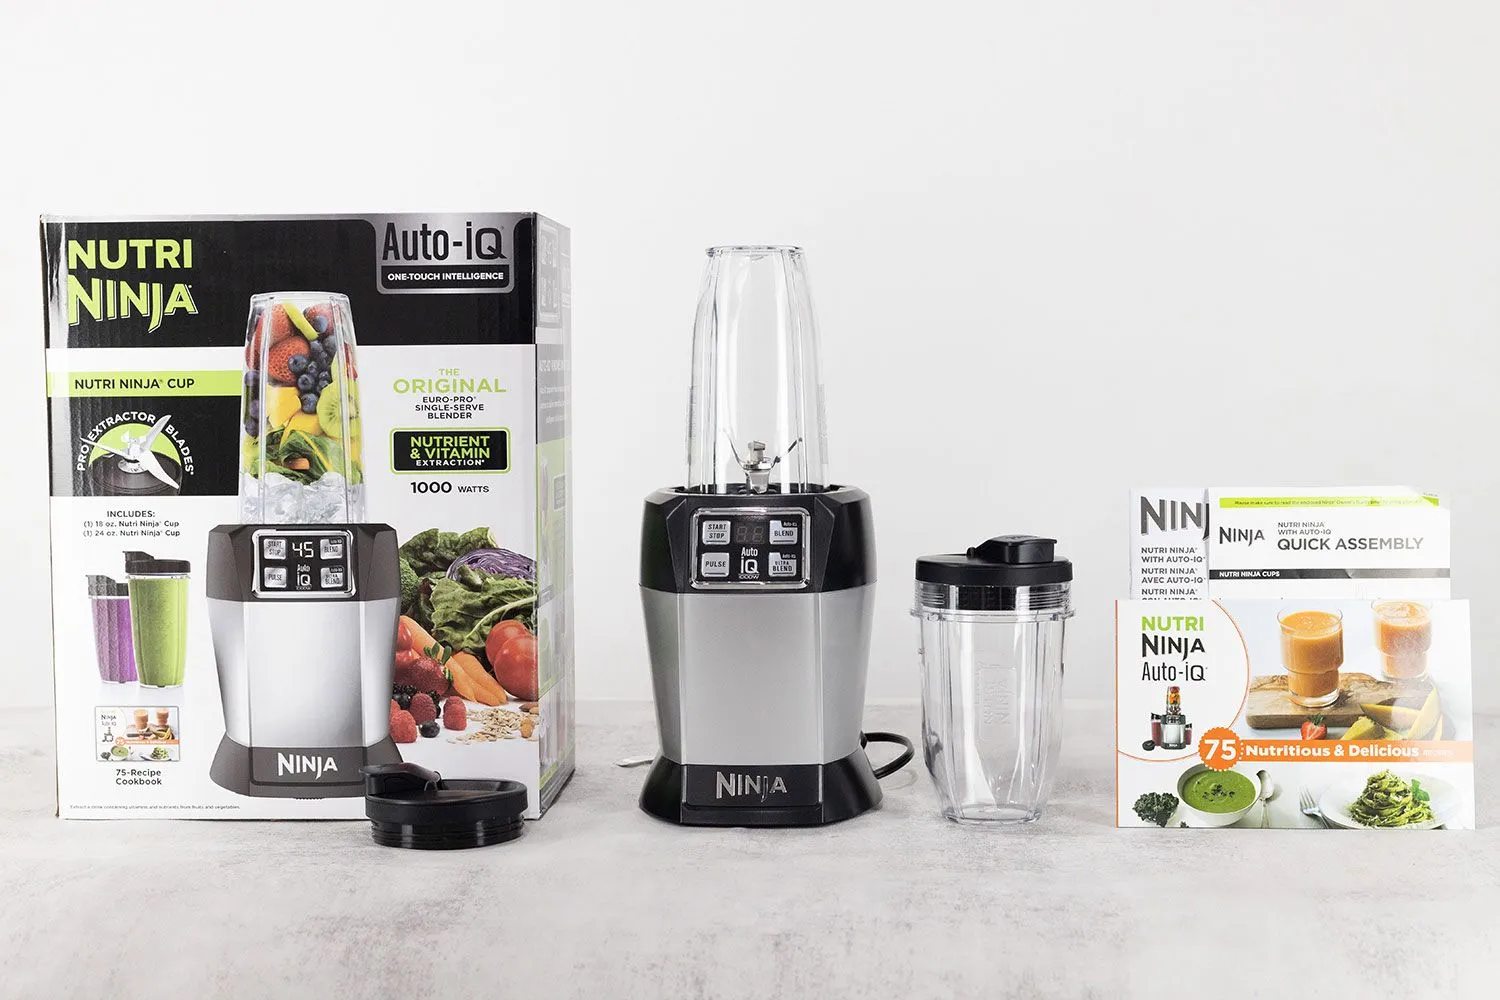
Before we dive into the details, it’s worth mentioning that the steps may vary slightly depending on the specific model of your Ninja Blender. However, the fundamental principles remain the same across most models, so you should be able to follow along regardless of the exact model you own.
So, let’s get started and embark on our Ninja Blender journey!
Key Takeaways:
- Master the art of turning on your Ninja Blender by preparing, assembling, plugging in, securing, selecting speed, and monitoring the blending process for safe and efficient operation.
- Unleash your culinary creativity with the versatile Ninja Blender, but always prioritize safety by following the step-by-step process and turning off the blender properly.
Read more: How To Start The Ninja Blender
Step 1: Prepare the Blender
The first step to turning on your Ninja Blender is to prepare it for use. Here are the necessary steps:
- Ensure that the blender is clean and dry before use. If it was previously used, make sure to wash the blender jar, lid, and blades with warm soapy water and dry them thoroughly.
- Check that the blender’s power cord is in good condition and free of any damage. If there are any signs of damage, it’s crucial to avoid using the blender and contact customer support for assistance.
- Find a clean and sturdy surface to place your blender on. Make sure it’s a stable and level surface that can support the weight of the blender.
- Make sure the blender is positioned in a well-ventilated area, as it may generate heat during operation. Avoid placing the blender near any flammable materials or sources of heat.
By ensuring that your blender is clean, in good condition, and placed on a suitable surface, you’re setting the stage for a successful blending experience.
Step 2: Assemble the Blades
Once you have prepared the blender, the next step is to assemble the blades. Here’s how:
- Ensure that the blender is turned off and unplugged before handling the blades. This is crucial for your safety.
- Take the blender jar and carefully align the blade assembly at the bottom of the jar. Different Ninja Blender models may have different types of blade assemblies, but the general process remains the same.
- Gently twist the blade assembly clockwise until it fits securely into place. Make sure it is firmly attached to the jar to avoid any accidents during blending.
- Double-check that the blades are properly aligned and inserted. Give it a slight jiggle to ensure that it’s secure.
It’s essential to handle the blades with caution and avoid direct contact with the sharp edges. Take your time to assemble them correctly to ensure safe and efficient blending.
Step 3: Plug in the Blender
Now that the blades are assembled, you’re ready to plug in the blender and get it powered up. Here’s how:
- Locate a nearby electrical outlet that can accommodate the blender’s power cord.
- Take the power cord of the blender and ensure it’s in good condition without any visible damage or frayed wires. If you notice any damage, do not use the blender and contact customer support for assistance.
- Insert the power cord into the designated power outlet. Make sure it’s firmly plugged in to establish a secure connection.
- Once the blender is plugged in, you should see the power indicator light illuminate, indicating that it’s ready for use and receiving electrical power.
Ensuring that the blender is properly plugged in will allow it to receive the necessary power to operate. Always be cautious when dealing with electrical appliances and make sure the power cord is not placed in a position where it can be tripped over or accidentally pulled out.
Step 4: Secure the Blender Jar
With the blender plugged in, the next step is to securely attach the blender jar to the base. Follow these steps to ensure it is properly secured:
- Place the blender jar on top of the base, making sure the jar aligns with the base’s center.
- Rotate the jar clockwise until you feel a slight click or the jar locks into place.
- Gently give the jar a slight tug to verify that it’s properly secured to the base. It should not wobble or feel loose.
- Check the lid of the blender jar and ensure it is tightly closed. This will prevent any spills or leaks during the blending process.
Securing the blender jar is crucial for safe and efficient blending. Make sure the jar is locked into place before proceeding to the next step.
Make sure the blender is plugged in and the power switch is turned on. Place the ingredients into the blender pitcher and secure the lid. Press the power button to start blending.
Read more: How To Open A Ninja Blender
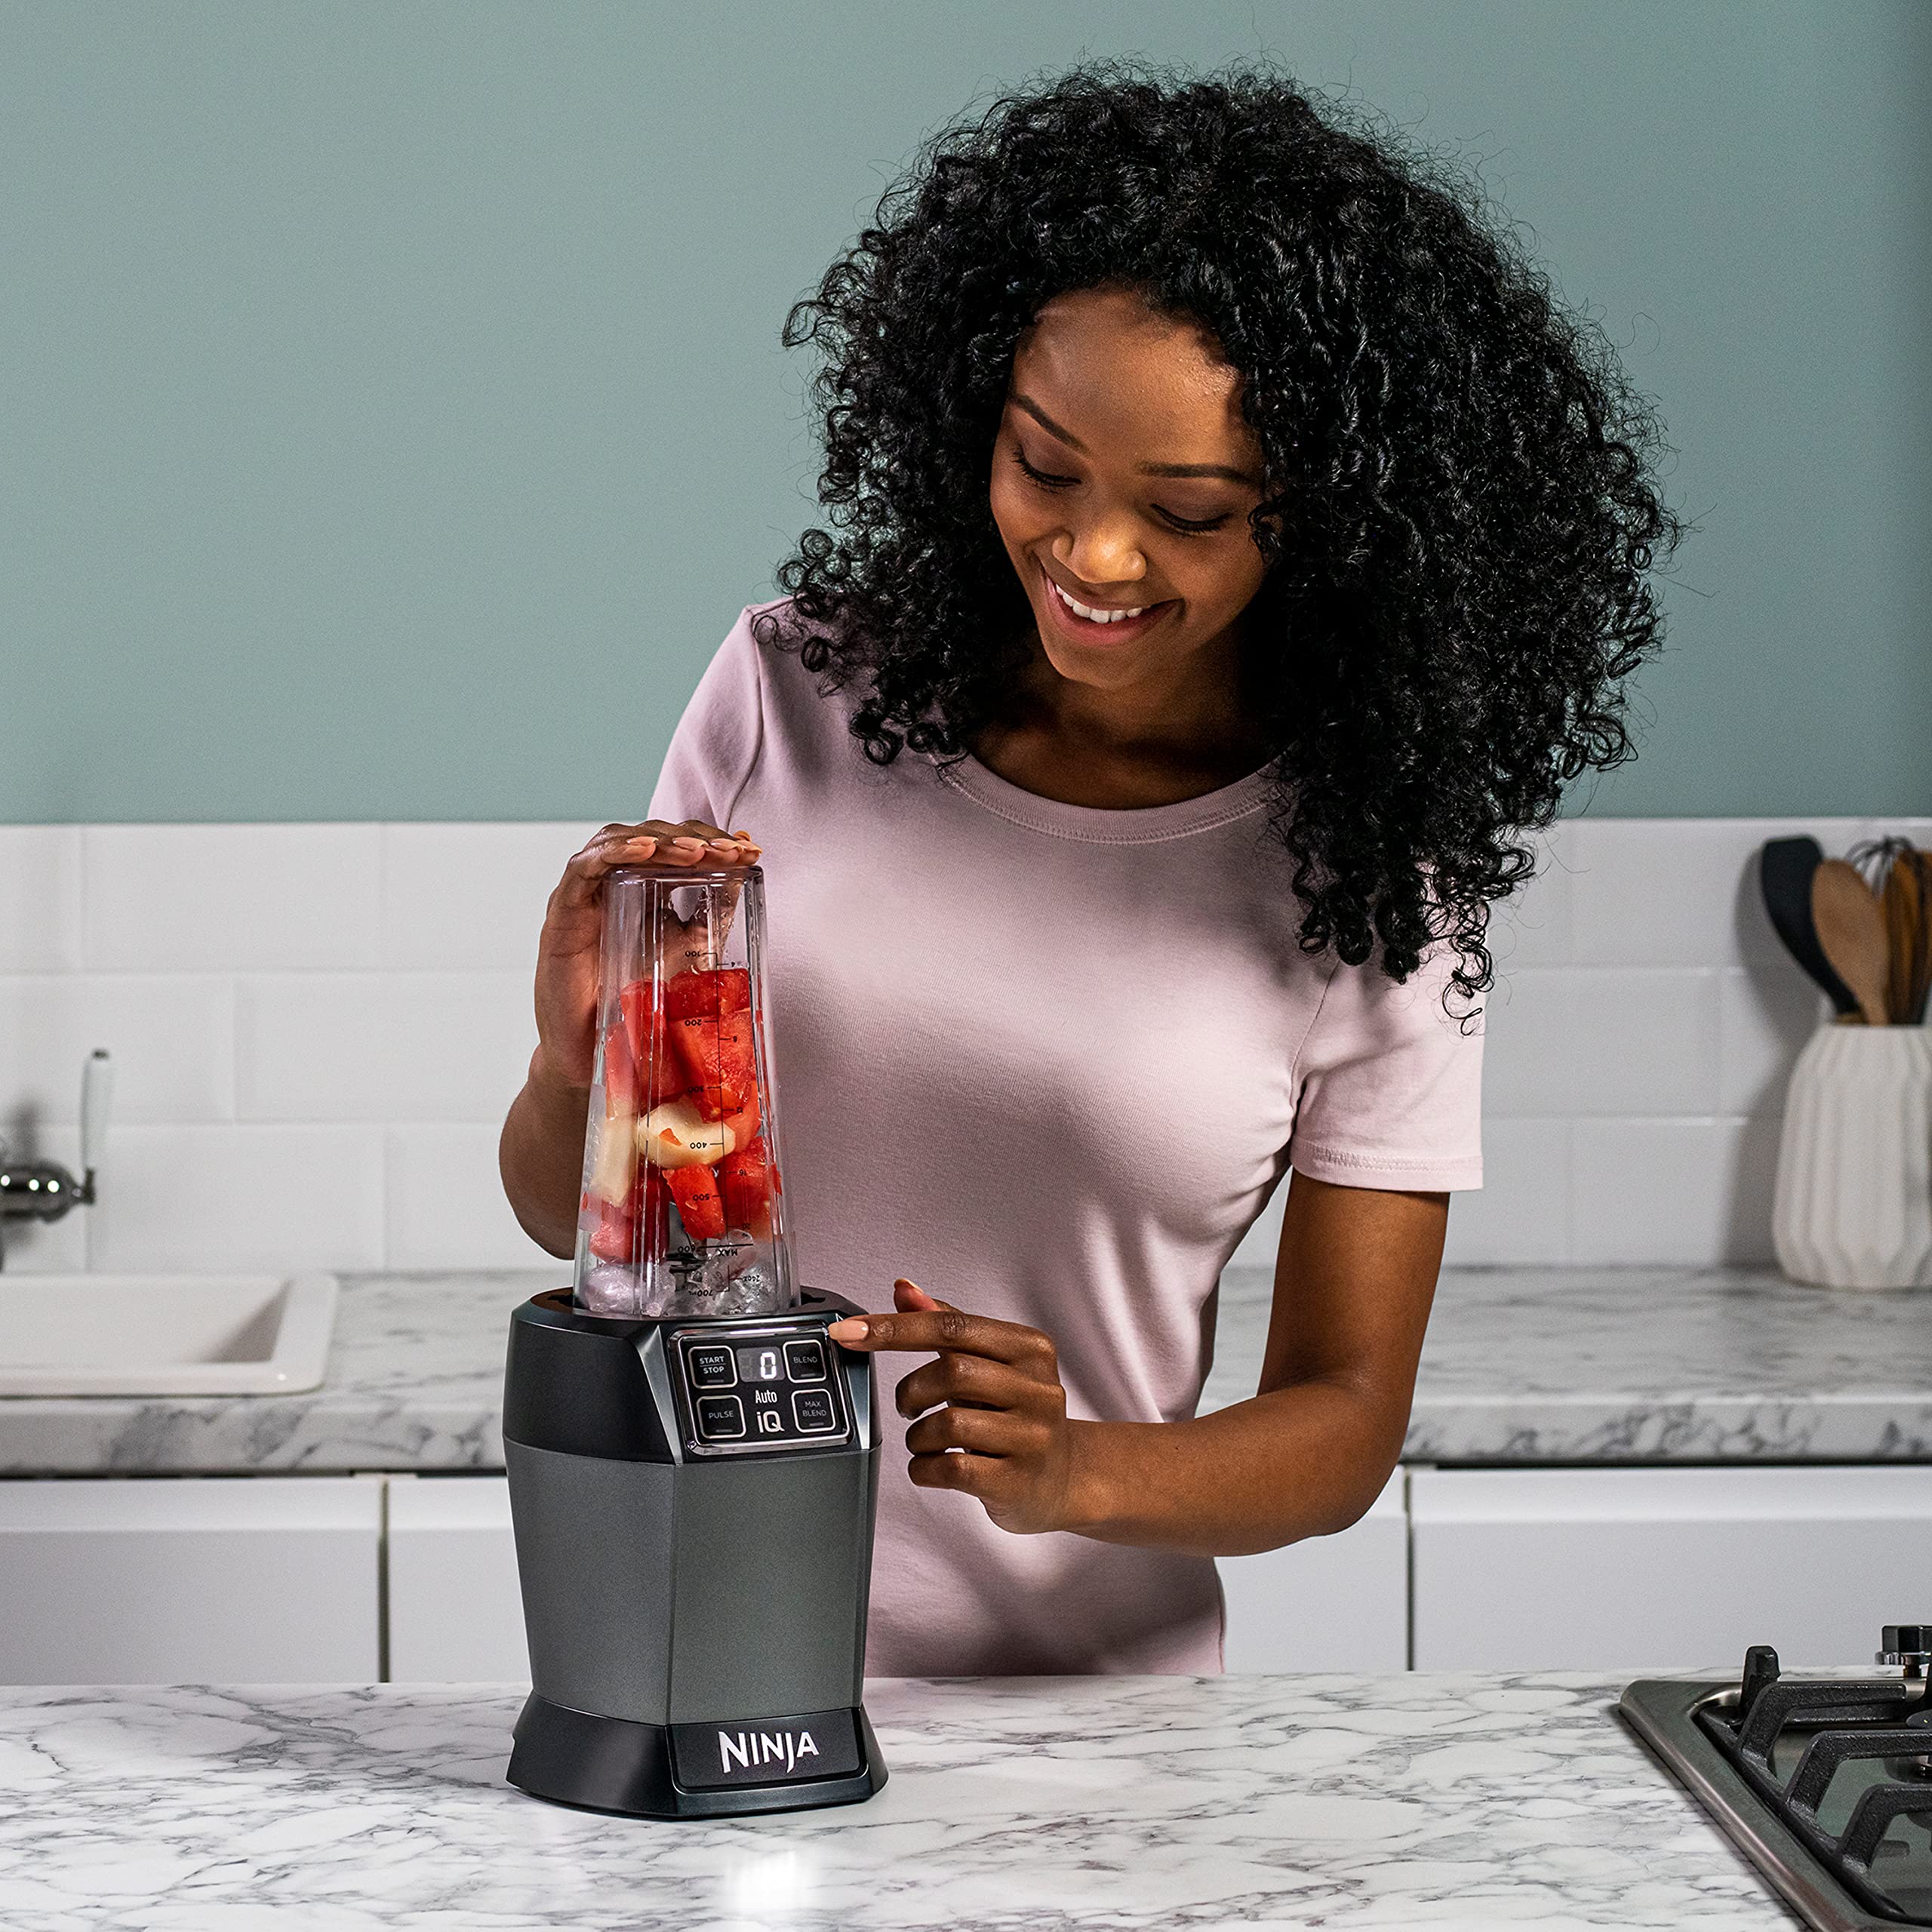
Step 5: Select the Desired Speed
Now that the blender jar is securely attached, it’s time to select the desired speed for your blending needs. Most Ninja Blenders offer multiple speed settings to accommodate different recipes and ingredients. Follow these steps to select the appropriate speed:
- Locate the speed control options on the blender’s control panel. This is usually represented by a dial or buttons labeled with different speed levels.
- Refer to the recipe or instructions you are following to determine the recommended speed. Some common speed settings include low, medium, high, and pulse.
- Turn the dial to the desired speed or press the corresponding button to select the speed level. Make sure the speed setting aligns with your blending requirements.
- Take note of any additional features or specialty modes on your specific Ninja Blender. Some blenders may have specific functions for crushing ice, making smoothies, or processing food.
Choosing the right speed setting will ensure that your ingredients are blended to the desired consistency. Adjust the speed as needed throughout the blending process to achieve the best results for your recipe.
Step 6: Press the Power Button
With the desired speed selected, it’s time to bring your Ninja Blender to life by pressing the power button. Follow these steps to turn on the blender:
- Locate the power button on the blender’s control panel.
- Ensure that the blender jar is properly placed on the base and the lid is securely closed.
- Press the power button firmly to start the blending process.
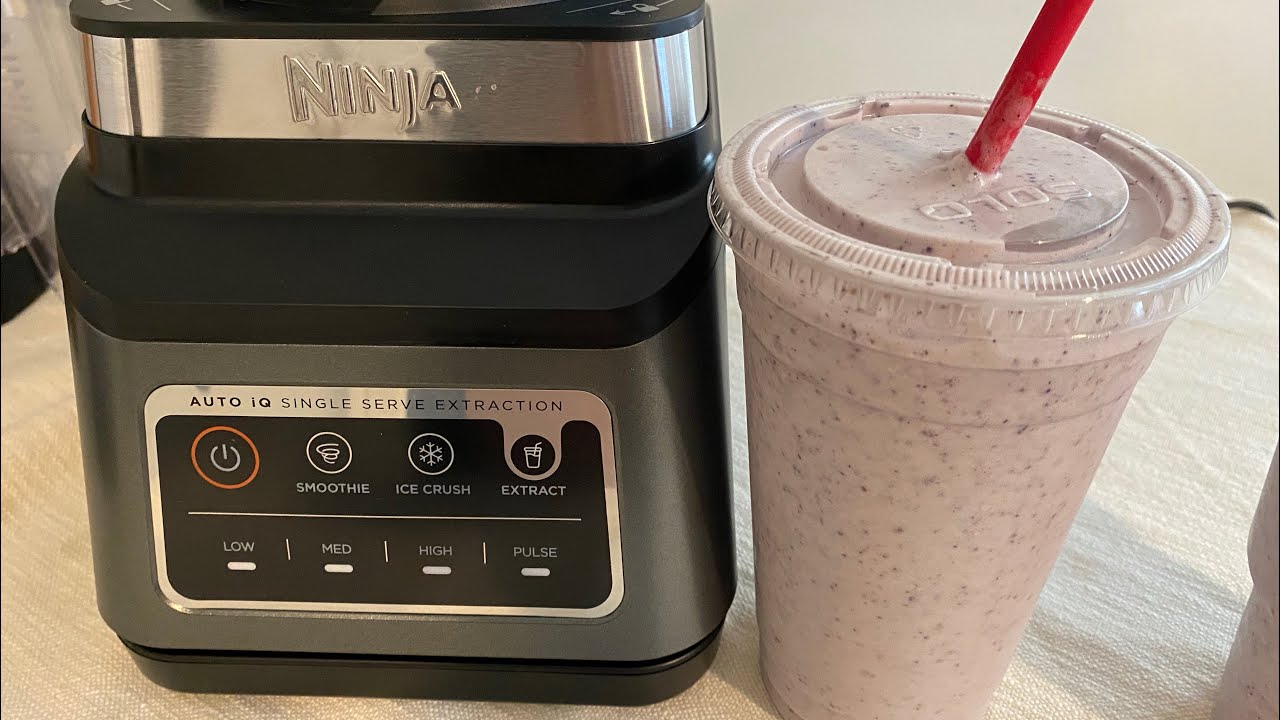
- Observe the blender’s control panel or display to confirm that it has been powered on. You may also hear the motor starting to run.
By pressing the power button, you initiate the blending process and allow the blender’s powerful motor to start spinning the blades. The length of time you need to press the power button may vary depending on the specific model of your Ninja Blender.
Remember to hold down the power button for the entire duration of the blending process. Releasing it prematurely can interrupt the blending cycle.
With the blender powered on, you’re ready to monitor the blending process and watch as your ingredients transform into delicious creations.
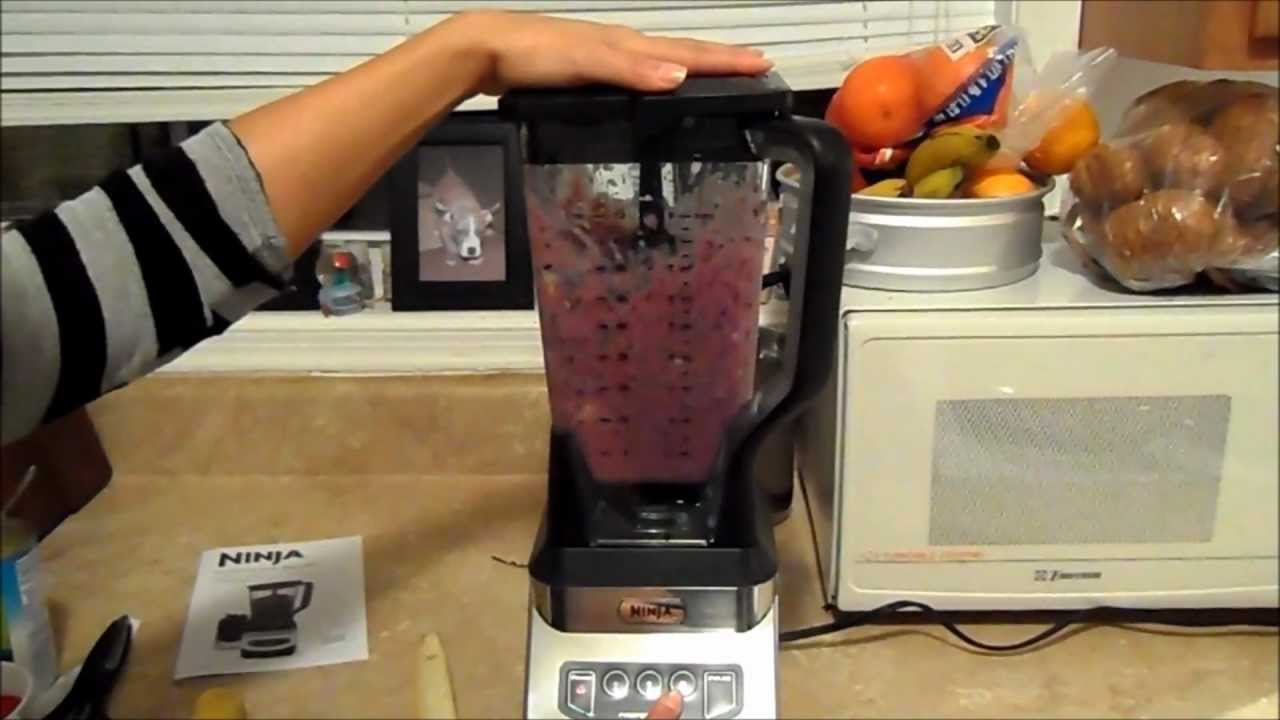
Step 7: Monitor the Blending Process
Once the blender is powered on, it’s essential to closely monitor the blending process to ensure the desired results. Follow these steps to effectively monitor the blending process:
- Keep a close eye on the ingredients inside the blender jar as they blend. This will help you determine if any adjustments are needed.
- Listen to the sound of the blender and pay attention to any unusual noises that may indicate a problem. A properly functioning blender should have a smooth and consistent blending sound.
- Periodically check the consistency and texture of the ingredients. You can do this by gently lifting the lid and using a spatula or spoon to assess the blending progress.
- If necessary, pause the blender and scrape down the sides of the blender jar with a spatula. This will ensure that all ingredients are blended evenly.
While monitoring the blending process, consider the recommended blending times for your specific recipe or ingredient. Over-blending can result in an undesirable texture, while under-blending may leave chunks or unprocessed ingredients.
By actively observing and adjusting as needed, you’ll be able to achieve the perfect consistency for your blend.
Step 8: Turn Off the Blender
After the desired blending time has elapsed or you’re satisfied with the consistency of the ingredients, it’s time to turn off the blender. Follow these steps to safely turn off your Ninja Blender:
- Release the power button on the blender’s control panel. This will stop the blending process and shut off the motor.
- Wait for the blender blades to come to a complete stop before removing the blender jar from the base. This ensures that there are no spinning blades that could cause harm or create a mess.
- Unplug the power cord from the electrical outlet. This step is essential for safety reasons and to conserve energy.
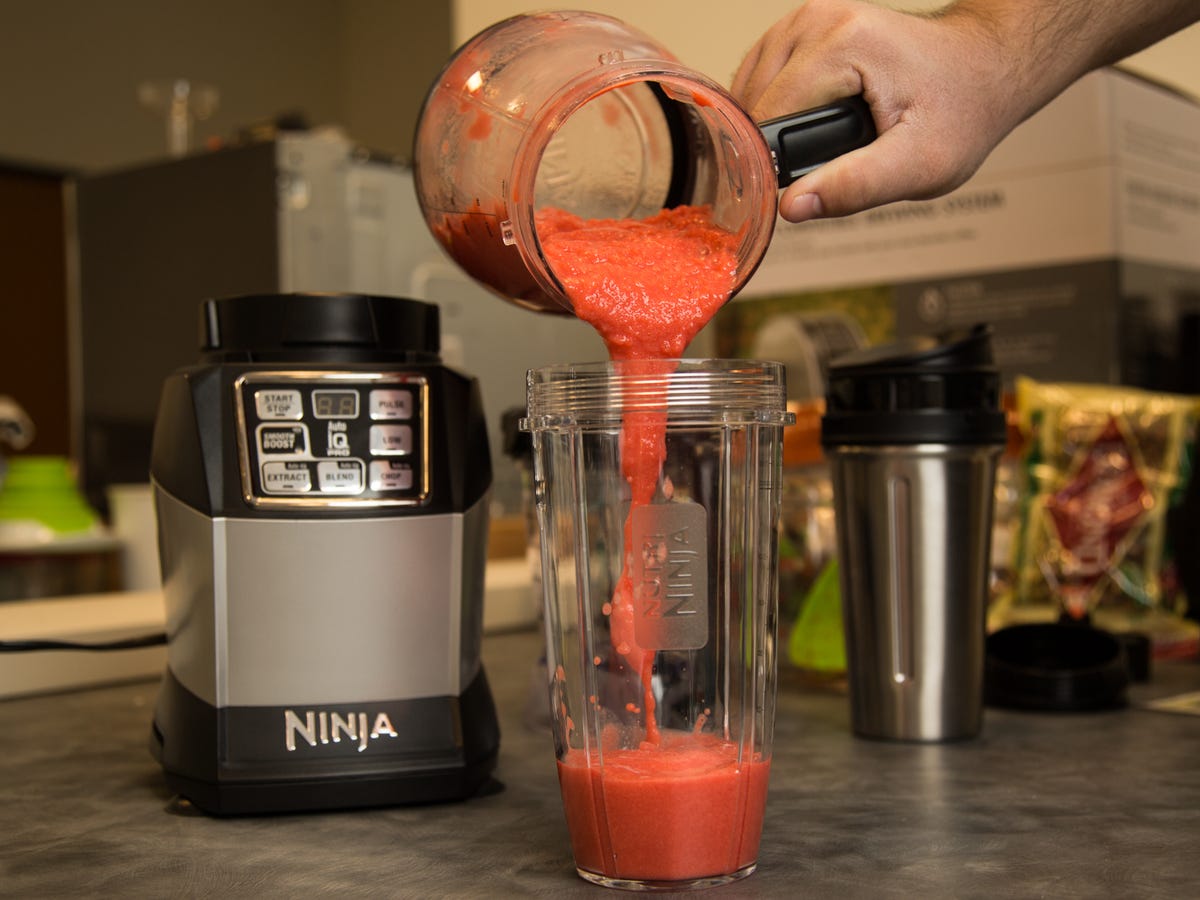
- Carefully remove the blender jar from the base and unfasten the lid. This allows you to access your blended creation and transfer it to your desired container.
Turning off the blender properly not only ensures your safety but also helps preserve the lifespan of the appliance. Always remember to unplug the blender when it’s not in use to prevent any accidental activation.
Now that you’ve successfully turned off the blender, you can enjoy your deliciously blended creation or proceed to clean your Ninja Blender for future use.
Read more: How To Lock A Ninja Blender
Conclusion
Congratulations! You’ve learned how to turn on a Ninja Blender and navigate through the blending process. By following these step-by-step instructions, you can ensure safe and efficient operation of your blender while achieving the desired blending results.
Remember to always prepare the blender by cleaning and drying it, assemble the blades correctly, and securely plug in the blender before use. Additionally, make sure to select the appropriate speed, attach the blender jar firmly, press the power button, and monitor the blending process closely. Finally, don’t forget to turn off the blender safely before removing the jar and unplugging the power cord.
Whether you’re blending smoothies, soups, sauces, or even creating delectable desserts, your Ninja Blender is a versatile tool that can make your culinary adventures more exciting and convenient.
Now that you’re equipped with the knowledge of how to turn on a Ninja Blender, it’s time to unleash your creativity and explore a variety of recipes and ingredients. Experiment with different blends, textures, and flavors to discover new culinary delights.
Always remember to refer to the instruction manual specific to your Ninja Blender model for any additional guidance or safety precautions. Following the manufacturer’s guidelines will help you make the most out of your blender and ensure its longevity.
Happy blending!
Now that you're up and running with your Ninja Blender, why not expand your culinary skills even further? If you're curious about crafting delicious beverages without this specific appliance, our next guide on making smoothies using another kitchen staple is perfect for you. This guide breaks down the process, making it easy for anyone to follow. Whether you're a smoothie aficionado or just getting started, you'll find valuable tips to enhance your blending technique and discover new flavor combinations.
Frequently Asked Questions about How To Turn On A Ninja Blender
Was this page helpful?
At Storables.com, we guarantee accurate and reliable information. Our content, validated by Expert Board Contributors, is crafted following stringent Editorial Policies. We're committed to providing you with well-researched, expert-backed insights for all your informational needs.


0 thoughts on “How To Turn On A Ninja Blender”