Articles
How To Check HVAC Compressor
Modified: August 27, 2024
Learn how to check your HVAC compressor with our informative articles. Ensure your compressor is running efficiently and troubleshoot any issues.
(Many of the links in this article redirect to a specific reviewed product. Your purchase of these products through affiliate links helps to generate commission for Storables.com, at no extra cost. Learn more)
Introduction
Welcome to our comprehensive guide on how to check your HVAC compressor. The HVAC compressor is one of the most crucial components of your heating, ventilation, and air conditioning system. Its primary function is to compress and circulate refrigerant, which is essential for cooling or heating your home or office space.
Understanding how to check your HVAC compressor can help you troubleshoot any issues and ensure that your system is functioning optimally. By regularly inspecting and maintaining your compressor, you can prevent costly breakdowns and extend the lifespan of your HVAC unit.
In this guide, we will walk you through each step of the process, from performing initial safety precautions to conducting a detailed inspection of the compressor. We will also explain how to check for potential electrical and refrigerant issues and provide tips for cleaning and maintaining your compressor. By following these steps, you can effectively troubleshoot common problems and keep your HVAC system running smoothly.
Before we begin, it’s essential to note that checking your HVAC compressor requires a basic understanding of electrical systems and the necessary tools and equipment. It’s always a good idea to consult a professional if you are unsure about performing any of these steps yourself.
Now, let’s dive into the details and learn how to check your HVAC compressor effectively!
Key Takeaways:
- Regularly checking and maintaining your HVAC compressor is crucial for preventing costly breakdowns, extending the system’s lifespan, and ensuring a comfortable indoor environment. Follow the comprehensive guide for effective troubleshooting and maintenance.
- Prioritize safety, wear protective gear, and consult a professional if unsure. From inspecting the compressor to testing electrical components and cleaning, proactive maintenance can save on energy costs and reduce the risk of system malfunctions.
Read more: How To Check An Air Conditioner Compressor
Understanding the HVAC Compressor
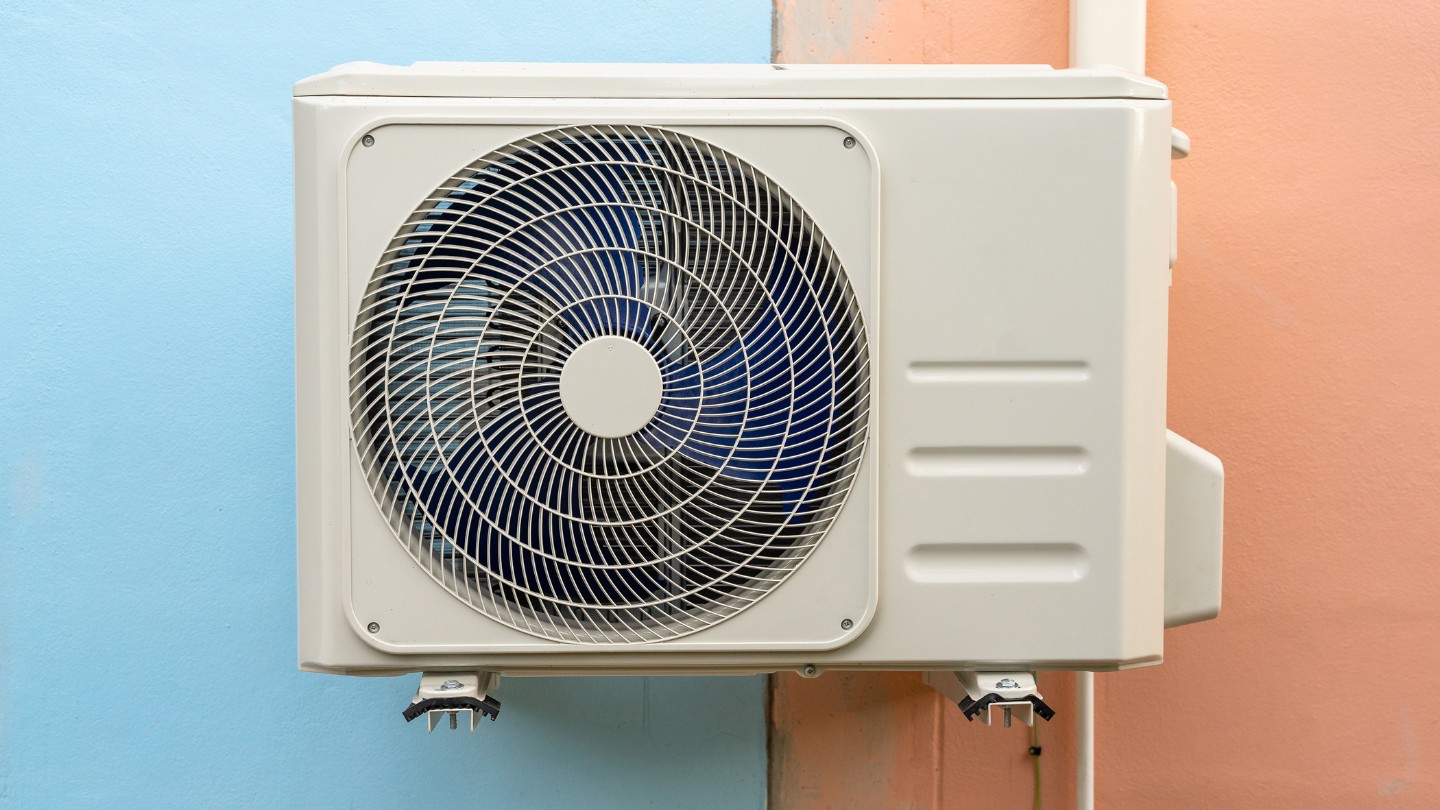
The HVAC compressor is a vital component of your heating, ventilation, and air conditioning system. It plays a significant role in the heat transfer process, ensuring efficient cooling or heating of your indoor space. To understand how to check your HVAC compressor, it’s essential to have a basic understanding of how it works.
The compressor is responsible for compressing the refrigerant gas, raising its pressure and temperature. This high-pressure gas then flows into the condenser coil, where it releases heat and condenses into a high-pressure liquid. From there, the liquid refrigerant moves into the evaporator coil, where it evaporates into a low-pressure gas, absorbing heat in the process. Finally, the low-pressure gas returns to the compressor to complete the cycle.
By compressing and circulating the refrigerant, the HVAC compressor helps regulate the temperature and humidity levels in your space. Without a properly functioning compressor, your system may struggle to cool or heat effectively.
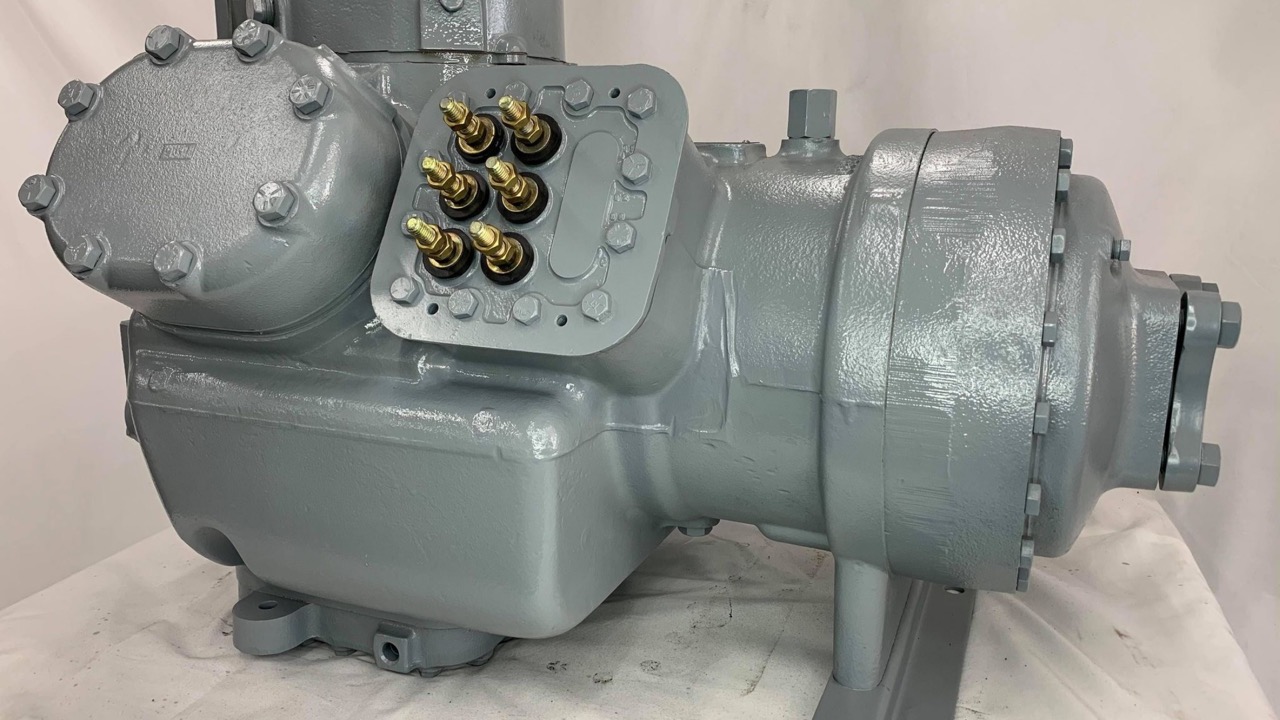
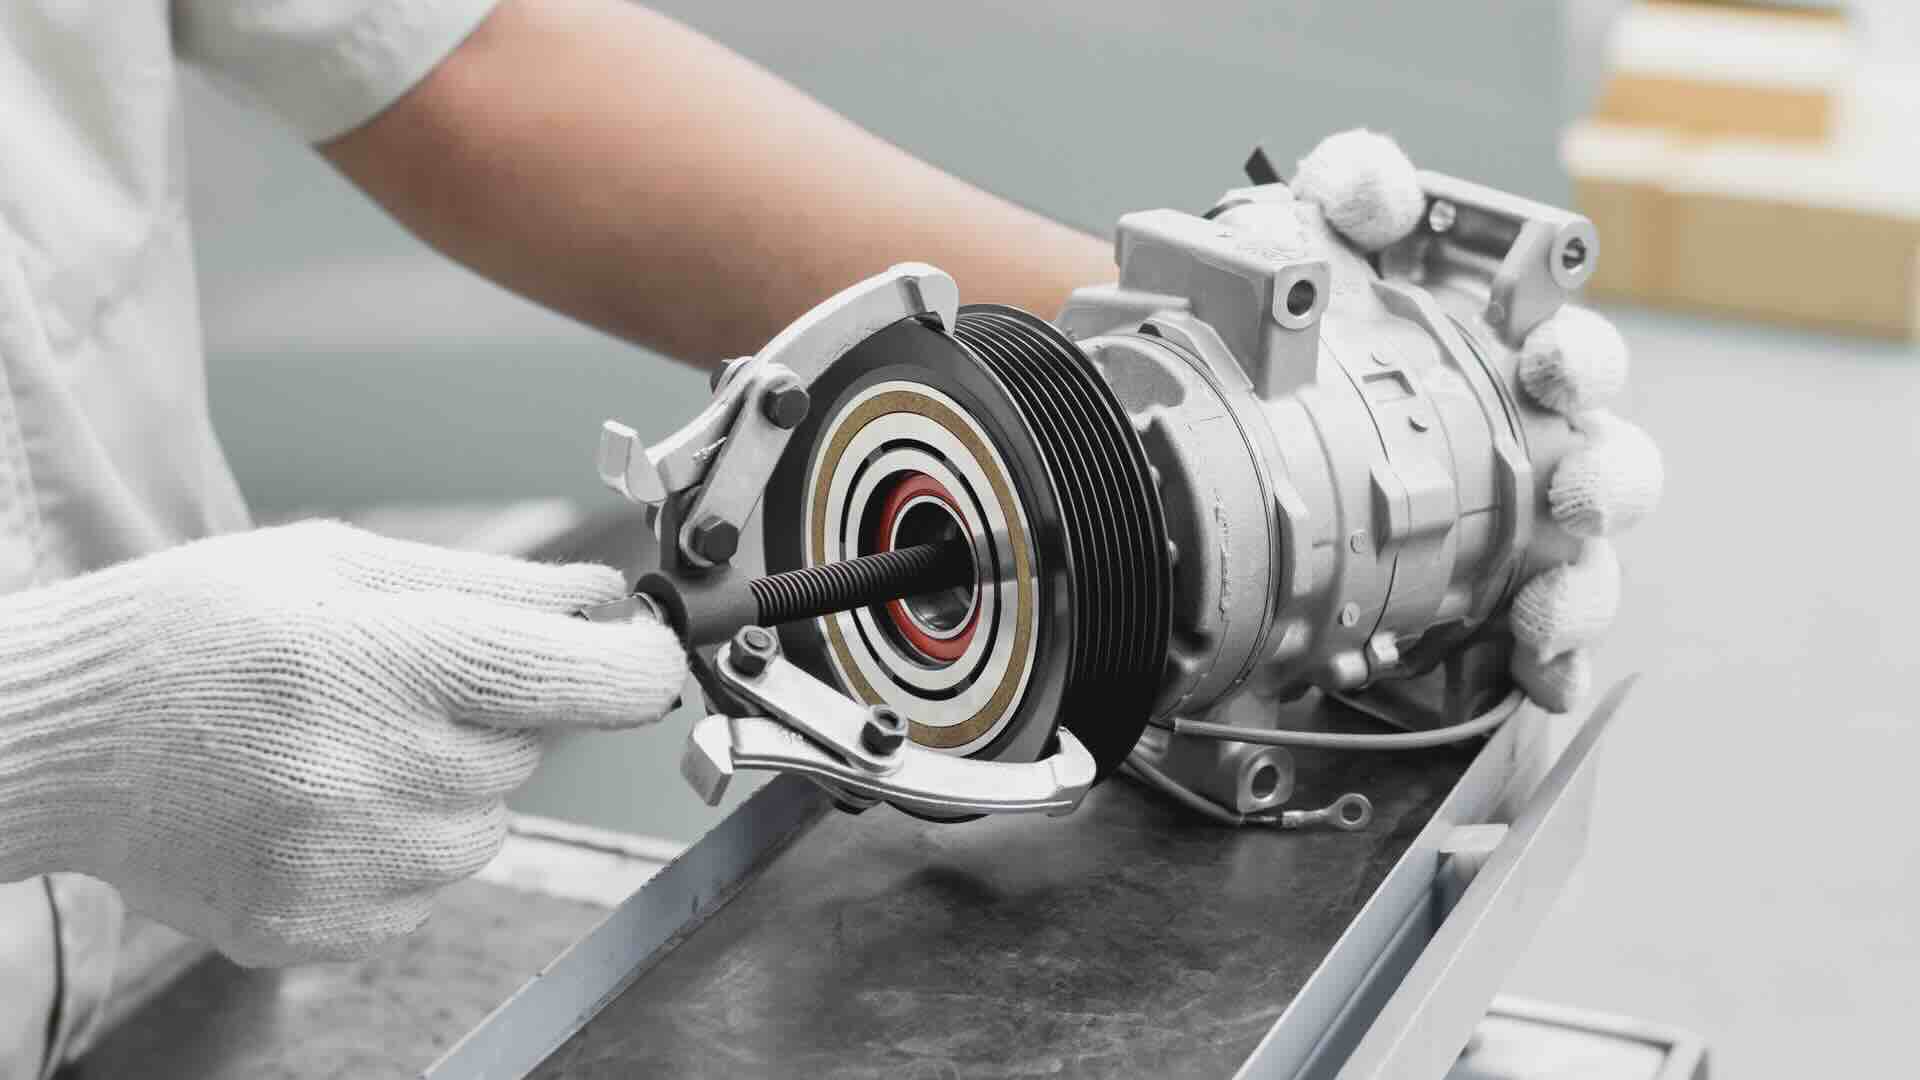
The compressor itself consists of several key components, including the following:
- Motor: The motor powers the compressor, providing the mechanical energy needed to compress the refrigerant.
- Crankshaft: The crankshaft converts the rotary motion of the motor into the reciprocating motion required for the compressor’s piston to compress the refrigerant gas.
- Piston: The piston compresses the refrigerant gas, raising its pressure and temperature.
- Valves: The valves within the compressor control the flow of refrigerant into and out of the compression chamber.
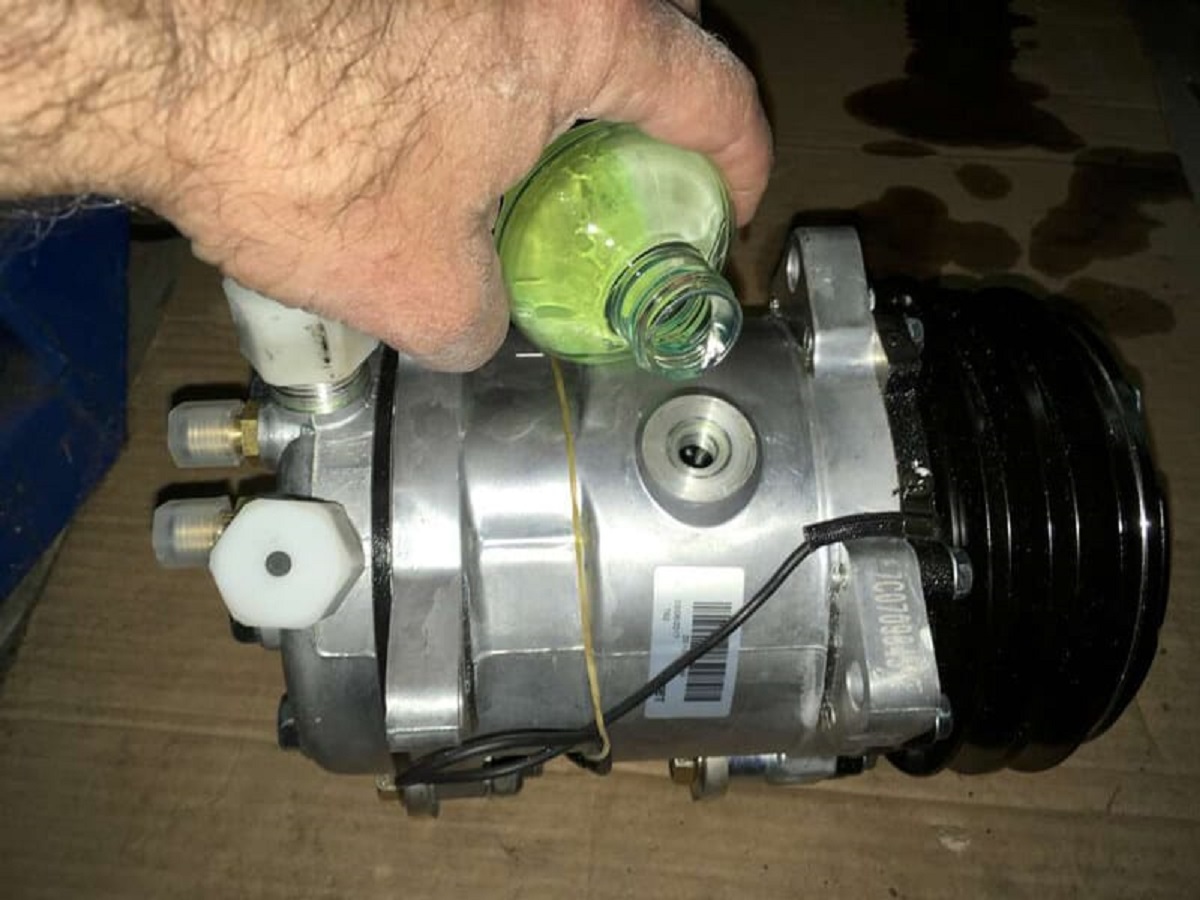
- Oil Lubrication System: The compressor requires lubrication to reduce friction and prevent overheating. Oil is circulated within the compressor to ensure smooth operation.
Understanding these components will help you identify potential issues when checking your HVAC compressor. If you notice any unusual sounds, vibrations, or performance issues, it may indicate a problem with one of these key components.
Now that you have a basic understanding of how the HVAC compressor works, let’s move on to the tools and equipment you’ll need to perform your inspection.
Tools and Equipment Needed
Before you begin checking your HVAC compressor, it’s important to gather the necessary tools and equipment. Having the right tools on hand will make the inspection process much smoother and more efficient. Here’s a list of the essential tools and equipment you’ll need:
- Work gloves and safety goggles: These will protect your hands and eyes from any potential hazards while working with the compressor.
- Multimeter: A multimeter is a versatile tool that can measure voltage, current, and resistance. You’ll need it to check electrical connections and test components like capacitors.
- Screwdriver set: A set of screwdrivers with different sizes and types will be useful for removing panels and accessing different parts of the compressor.
- Adjustable wrench: An adjustable wrench will come in handy for loosening and tightening nuts and bolts.
- Pressure gauge: A pressure gauge is necessary for checking the refrigerant pressure in the system. Make sure to choose a gauge that is compatible with the type of refrigerant used in your HVAC system.
- Condenser coil cleaner: A coil cleaner is essential for removing dirt, debris, and other contaminants from the condenser coil. Keeping the coil clean improves the efficiency of the compressor.
- Cleaning brush or vacuum: You’ll need a brush or a vacuum to clean the condenser fins and other accessible parts of the compressor.
- Electrical tape and wire connectors: These will be necessary if you need to repair or replace any electrical connections.
- Flashlight: Having a flashlight will help you see into tight spaces and inspect the compressor more effectively.
Make sure you have all these tools and equipment readily available before you start your inspection. It’s important to prioritize safety during the process, so wearing gloves and safety goggles is highly recommended.
Now that you have all the tools you need, it’s time to move on to the first step: safety precautions.
Step 1: Safety Precautions
Before you begin inspecting your HVAC compressor, it’s important to prioritize safety. Working with electrical components and moving parts can pose potential hazards if not approached with caution. Follow these safety precautions to ensure a safe inspection process:
- Turn off the power: Start by turning off the power to your HVAC system. Locate the circuit breaker or disconnect switch for the outdoor unit and switch it off. This will prevent any accidental electrical shocks while you’re working on the compressor.
- Wear protective gear: Put on work gloves and safety goggles to protect your hands and eyes from any potential hazards. If you’re working in a dusty or dirty environment, consider wearing a face mask as well.
- Let the compressor cool down: If your HVAC system has been running, give the compressor enough time to cool down before you start inspecting it. The compressor can become hot during operation, and touching it while it’s still hot can cause burns.
- Disconnect power supply from other sources (if applicable): If your HVAC system is connected to any other power sources, such as a backup generator or solar panels, make sure to disconnect them before starting the inspection. This will ensure that there are no additional electrical currents flowing through the system.
- Avoid touching moving parts: During the inspection, be mindful of any moving parts, such as the fan or the compressor motor. Avoid touching them while the system is running or shortly after turning it off.
- Stay clear of sharp edges: The compressor may have sharp edges or protruding parts. Be cautious when handling the compressor, and make sure to avoid any cuts or injuries.
- Work in a well-ventilated area: If you’re inspecting the compressor outdoors, make sure you’re in a well-ventilated area. If you’re working indoors, ensure proper ventilation to prevent the build-up of harmful fumes or gases.
By following these safety precautions, you’ll minimize the risk of accidents or injuries while inspecting your HVAC compressor. Always prioritize safety and take necessary breaks if you feel tired or overwhelmed during the inspection process.
With the safety measures in place, you’re now ready to move on to the next step: shutting off the power.
Step 2: Shutting Off the Power
Before you begin inspecting your HVAC compressor, it’s crucial to shut off the power to ensure your safety. By disconnecting the power supply, you eliminate the risk of electrical shocks or accidents. Follow these steps to properly shut off the power:
- Locate the circuit breaker: Find the circuit breaker that controls your HVAC system. It is typically located in the main electrical panel of your home or office.
- Identify the HVAC circuit: Locate the circuit that is dedicated to your HVAC system. The circuit breaker is usually labeled for easier identification. If not, refer to your HVAC system’s manual or consult an electrician.
- Switch off the circuit breaker: Flip the switch of the HVAC circuit breaker to the “off” position. You should hear a click or see the switch move to indicate that the power is disconnected.
- Verify the power is off: Check that the HVAC system is no longer running. Listen for any sounds of the compressor or fan motor and ensure that the unit’s display or lights are off.
After shutting off the power, it’s recommended to wait for a few minutes to allow any residual electricity to dissipate. This extra precaution ensures that there is no remaining electrical charge in the system.
Keep in mind that shutting off the power will disable your HVAC system. Avoid turning it back on until you have completed the inspection and are ready to start the system again.
Now that the power is safely disconnected, you can move on to the next step: locating the compressor.
Read more: How Much Is An HVAC Compressor
Step 3: Locating the Compressor
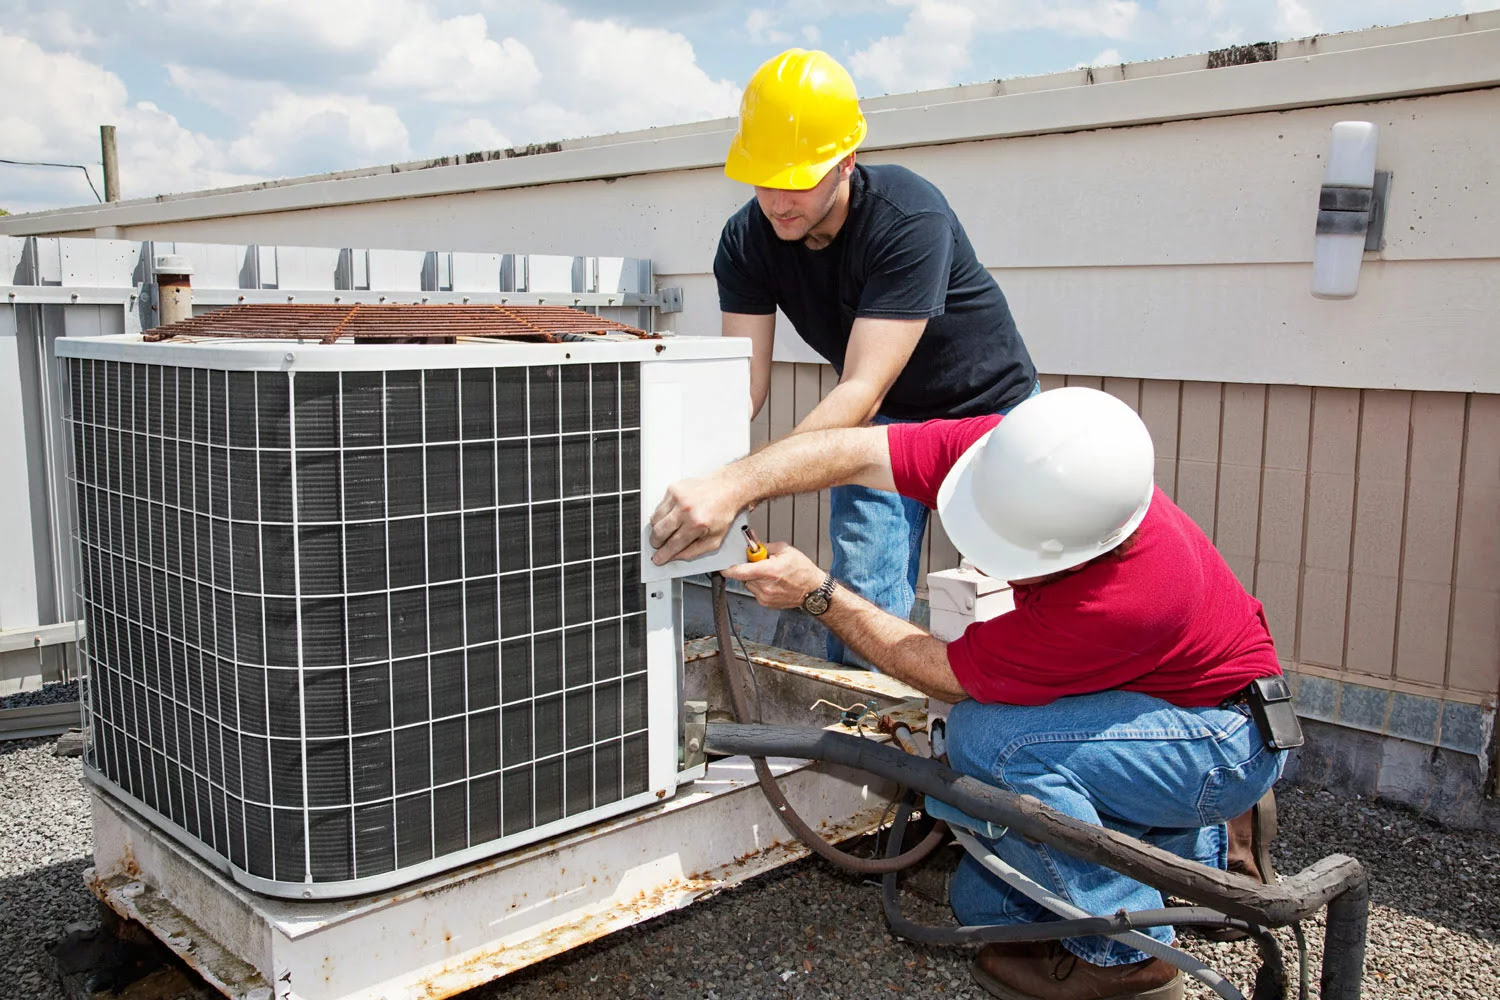
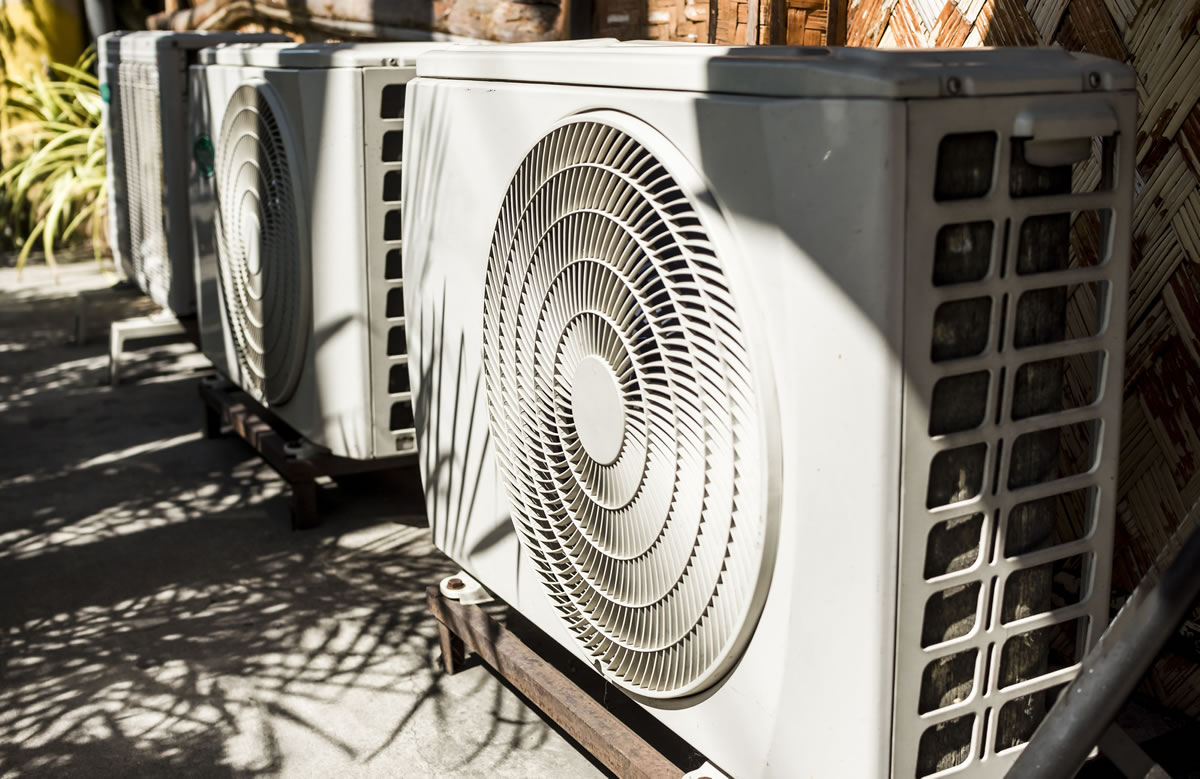
Once you have shut off the power to your HVAC system, the next step is to locate the compressor. The compressor is typically located in the outdoor unit of your HVAC system and is placed near the condenser coil.
Follow these steps to locate the compressor:
- Identify the outdoor unit: Go outside to where your HVAC system’s outdoor unit is located. This unit is larger and contains the compressor, condenser coil, fan, and other components.
- Inspect the unit: Look for the rectangular or square-shaped housing that encloses the compressor. It may have louvers or grilles for ventilation purposes.
- Check for labels or markings: The compressor or the outdoor unit may have labels or markings indicating its location and model number. These labels can be helpful for future reference or when seeking professional assistance.
Once you have located the compressor, take a moment to observe its surroundings. Clear any obstructions or debris near the unit to ensure better access and visibility during the inspection process.
It’s important to note that the compressor can be hot after the HVAC system has been running. Use caution when touching it or any surrounding components to avoid burns.
Now that you have successfully located the compressor, you’re ready to move on to the next step: inspecting the compressor for any visible issues.
Step 4: Inspecting the Compressor
With the compressor located, it’s time to inspect it for any visible issues. A thorough inspection can help identify potential problems and determine the overall condition of the compressor. Follow these steps to inspect the compressor:
- Visually examine the exterior: Start by visually inspecting the exterior of the compressor. Look for any signs of physical damage, such as dents, cracks, or rust. Pay attention to the fan blades, motor housing, and any attached wires or tubing. Note any abnormalities or signs of wear and tear.
- Check for oil leaks: Inspect the base of the compressor and surrounding areas for any signs of oil leaks. Oil stains or pools around the compressor can indicate a refrigerant leak or a problem with the compressor’s seal. If you notice any leaks, it’s best to consult a professional technician for further evaluation and repair.
- Listen for unusual sounds: While the power is still off, carefully listen for any unusual sounds coming from the compressor. Start by remaining quiet and attentive. Switching the power back on briefly can help you identify any abnormal noises, such as grinding, buzzing, or clicking. Unusual sounds can indicate a faulty motor, loose components, or other internal issues.
- Inspect the fan blades: Check the condition of the fan blades attached to the compressor. Ensure that they are clean, straight, and free from any damage or obstructions. Bent or damaged blades can impact the airflow and overall performance of the compressor.
- Observe the vibration: Observe the compressor for any excessive vibration when it starts or runs. Excessive vibration can indicate misalignment or imbalanced components. While a slight vibration is normal, significant or persistent vibration may require attention and adjustment.
During the inspection, make note of any issues or concerns that you observe. These findings will help guide you in further troubleshooting or seeking professional assistance, if needed.
Remember, if you are unsure about any aspect of the inspection or encounter any major issues, it’s always best to consult a licensed HVAC technician. They have the expertise and experience to diagnose and address complex compressor problems.
Now that you have completed the visual inspection, it’s time to move on to the next step: checking for any potential electrical issues.
Step 5: Checking for Electrical Issues
Electrical issues can significantly impact the performance of your HVAC compressor. It’s crucial to check for any potential electrical problems to ensure the system operates safely and efficiently. Follow these steps to check for electrical issues:
- Inspect the power supply cables: Start by examining the power supply cables that connect to the compressor. Ensure that they are securely attached and free from any fraying, damage, or signs of wear. Loose or damaged cables can lead to poor electrical connections and may require repair or replacement.
- Check the circuit breaker: Refer to the circuit breaker panel and verify that the breaker for the HVAC system is in the “off” position. If it is not, switch it off to avoid inadvertently turning on the power during the inspection.
- Test the voltage: Using a multimeter, set it to the appropriate voltage setting and carefully test the voltage supply at the compressor’s terminals. Compare the measured voltage to the manufacturer’s specifications to ensure it falls within the acceptable range. Low or high voltage readings can indicate issues with the electrical supply or the compressor itself.
- Check the wiring connections: Inspect the wiring connections within the compressor. Look for loose, corroded, or damaged wires. Tighten any loose connections and clean off any corrosion if present. Replace any damaged wires or connectors with appropriate replacements if needed.
- Test the continuity: Use the multimeter to test the continuity of the compressor’s wiring. This will help identify any broken or disconnected wires. Ensure that the wires are properly connected, and there are no interruptions in the continuity.
- Inspect the control board: If your HVAC system has a control board, visually inspect it for any signs of burnt components or loose connections. A faulty control board can cause electrical issues and may require professional assistance to repair or replace.
It’s essential to handle all electrical components with caution and ensure that the power supply is still disconnected during this step. Any doubts or concerns about the electrical system should be addressed by a professional electrician or HVAC technician.
If you encounter any significant electrical issues or are unsure about any aspect of the inspection, it’s recommended to seek professional help. Professional technicians have the necessary knowledge and expertise to safely diagnose and address electrical problems.
Now that you have checked for electrical issues, let’s move on to the next step: testing the capacitor.
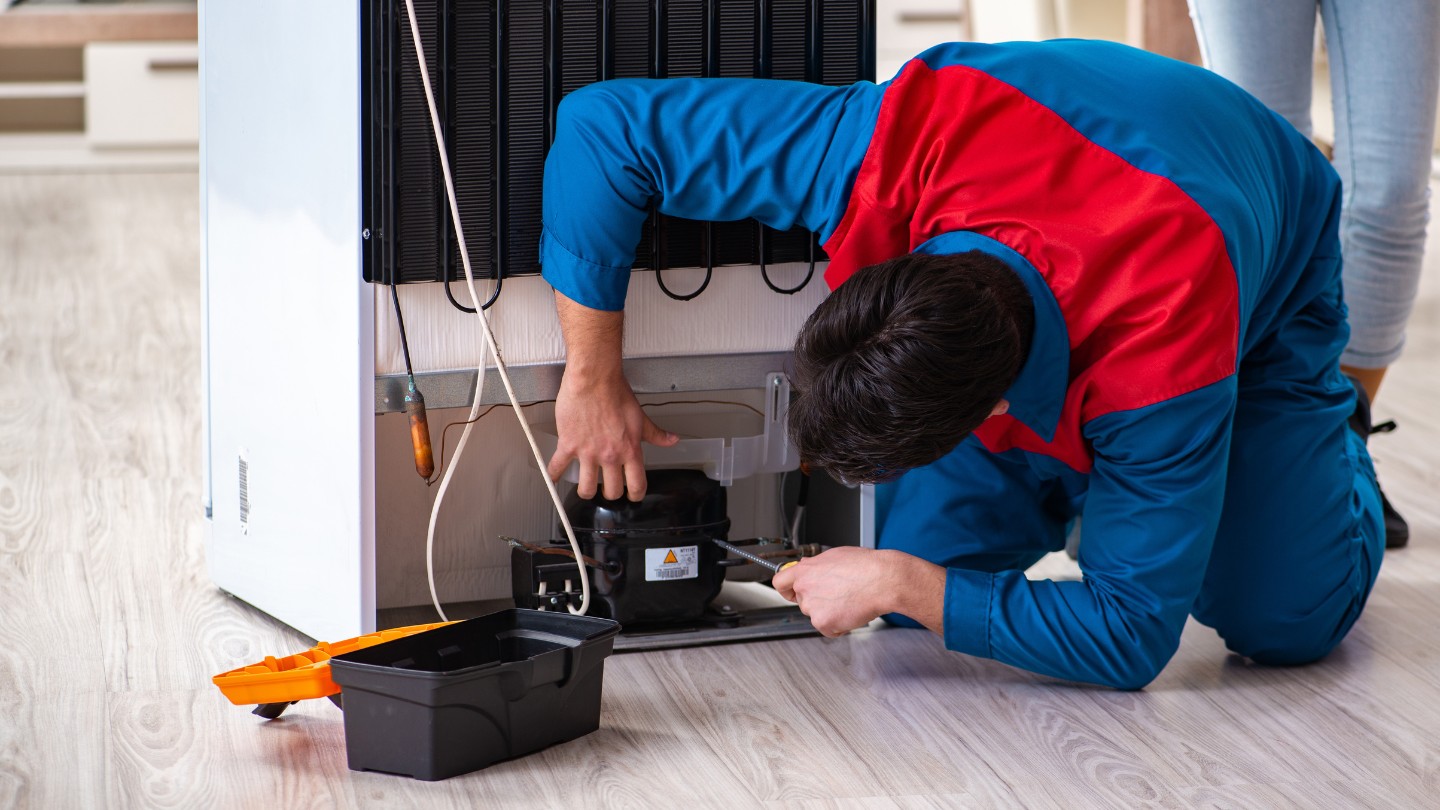
When checking the HVAC compressor, make sure to inspect the electrical connections for any signs of damage or corrosion. This can help prevent potential issues with the compressor’s performance.
Step 6: Testing the Capacitor
The capacitor plays a vital role in the functioning of your HVAC compressor. It helps provide the necessary electrical energy to start and run the motor smoothly. Testing the capacitor is an essential step to ensure it is in good working condition. Follow these steps to test the capacitor:
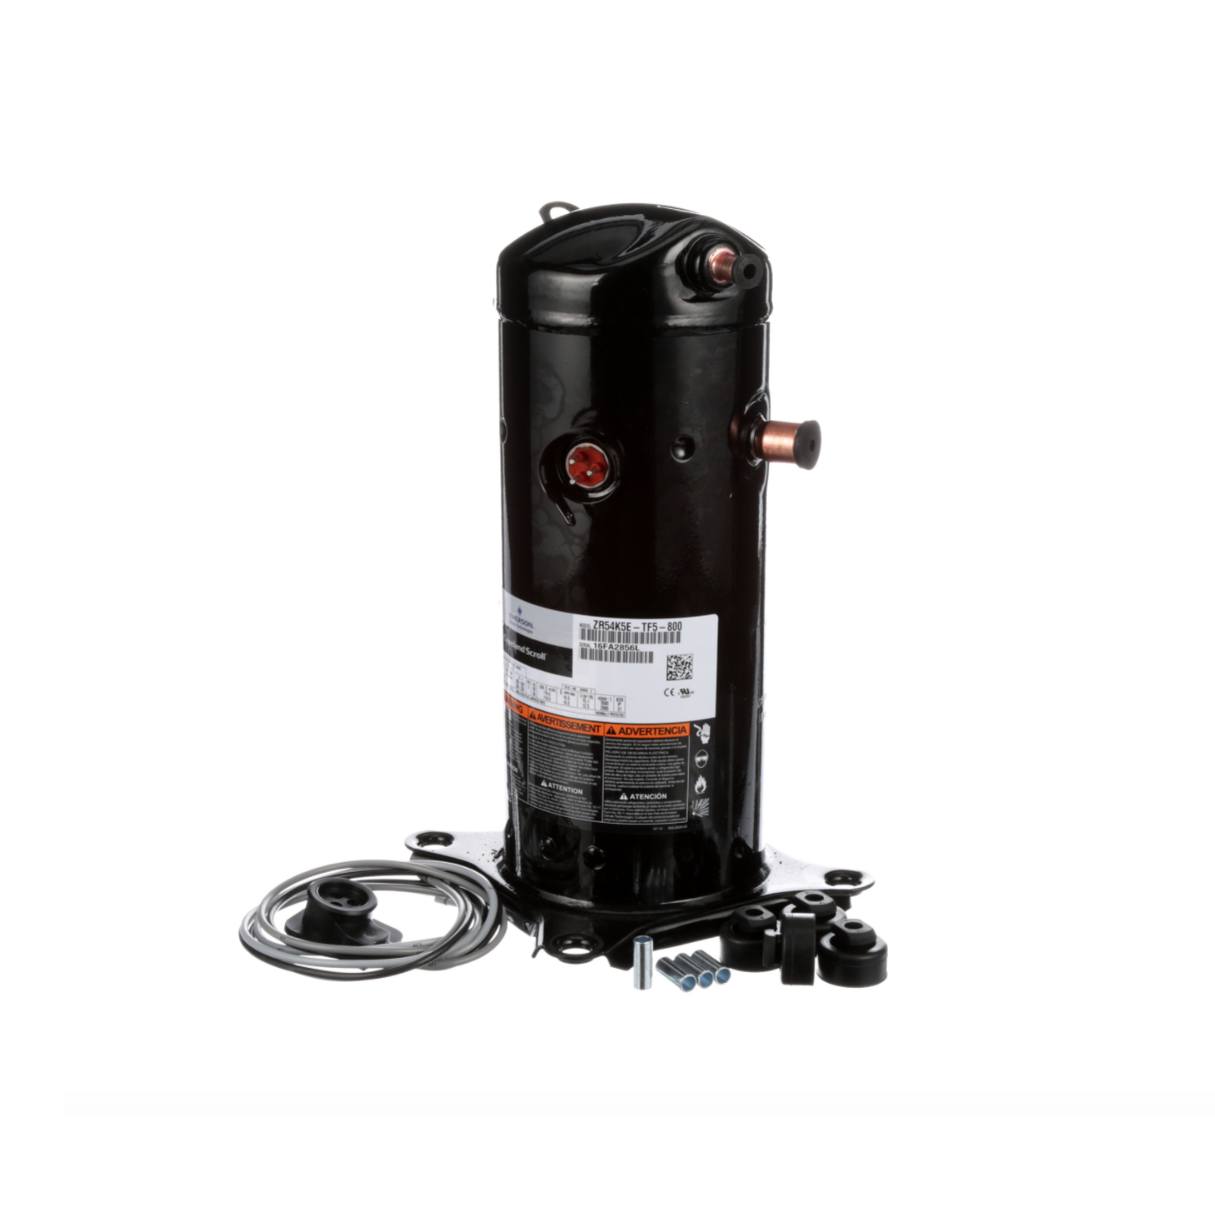
- Locate the capacitor: The capacitor is typically located near the compressor, either attached to it or mounted nearby. It is a cylindrical or oval-shaped component with two or three terminals.
- Discharge the capacitor: Before testing the capacitor, it’s crucial to discharge any stored electrical energy. Use an insulated screwdriver to short the terminals of the capacitor to safely discharge it. Ensure that you are wearing safety gloves and taking appropriate precautions.
- Set the multimeter: Set the multimeter to capacitance mode (usually denoted by the symbol “C”). Select the appropriate range based on the capacitance rating of your capacitor. This information can typically be found on the label of the capacitor.
- Test the capacitance: Using the multimeter leads, touch the corresponding terminals of the capacitor to measure its capacitance. Compare the reading to the manufacturer’s specifications to determine if the capacitor is within the acceptable range. A significantly different or zero reading may indicate a faulty or failed capacitor that needs to be replaced.
- Check for leakage: Inspect the capacitor for any signs of leakage, such as bulging or leaking electrolyte. A leaking capacitor is a clear indication of damage and requires immediate replacement.
If the capacitance reading is within the acceptable range and there are no signs of leakage, the capacitor is likely functioning properly. However, it’s worth noting that a capacitor can still be defective even if it shows the correct capacitance reading. If you suspect a faulty capacitor, it’s best to consult a professional technician for further evaluation and replacement.
Once you have completed the capacitor test, you can proceed to the next step: checking for refrigerant issues.
Read more: How To Check HVAC Ducts For Leaks
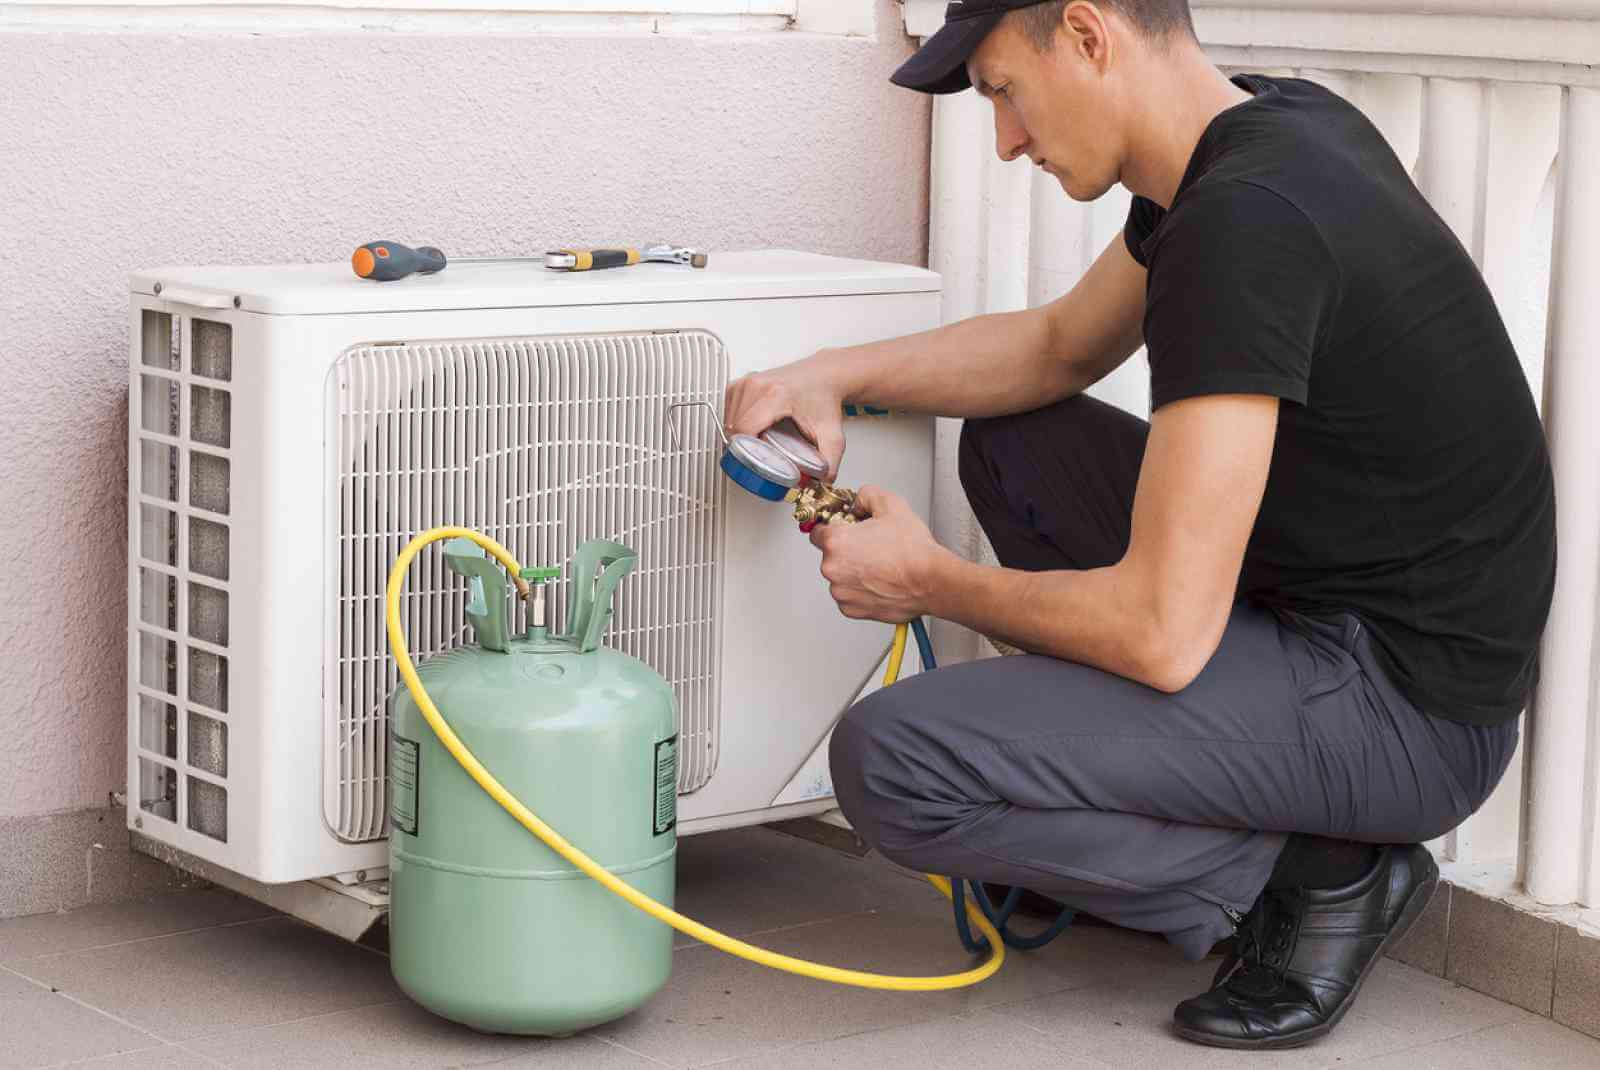
Step 7: Checking for Refrigerant Issues
The refrigerant is an essential component in the cooling or heating process of your HVAC system. It absorbs and releases heat, allowing the system to regulate the temperature. Checking for refrigerant issues is crucial as any leaks or insufficient levels can significantly affect the performance of your compressor. Follow these steps to check for refrigerant issues:
- Visual inspection for leaks: Inspect the refrigerant lines and connections for any visible signs of leaks. Look for oil stains, discoloration, or hissing sounds that indicate refrigerant leakage. If you notice any leaks, it’s important to consult a professional technician for repair and refrigerant recharge.
- Observe the refrigerant lines: Look for frost or ice formation on the refrigerant lines. Ice or frost buildup can indicate a refrigerant issue, such as low levels or a restriction in the system. If you notice ice formation, it’s best to seek professional assistance to diagnose and resolve the problem.
- Check the refrigerant pressure: Using a pressure gauge, measure the refrigerant pressure on the high and low sides of the system. Compare the readings to the manufacturer’s specifications to ensure they are within the recommended range. Low or high pressure readings can indicate a refrigerant issue that may require professional attention.
It’s important to note that handling refrigerant requires specialized knowledge and certification. If you suspect a refrigerant issue or encounter any problems during the inspection, it’s best to contact a licensed HVAC technician. They have the expertise and equipment to safely handle refrigerant and diagnose any related issues.
By checking for refrigerant issues, you can ensure that your HVAC compressor is operating with the appropriate levels of refrigerant and avoid any potential performance problems. With this step completed, we can move on to the next step: examining the wiring connections.
Step 8: Examining the Wiring Connections
Proper electrical connections are crucial for the efficient and safe operation of your HVAC compressor. Checking and examining the wiring connections is essential to ensure that all electrical components are properly connected and functioning as they should. Follow these steps to examine the wiring connections:
- Visual inspection of wires: Visually inspect the wiring connections around the compressor. Look for any loose, frayed, or damaged wires. Loose connections can cause electrical issues and hinder the performance of the compressor.
- Tighten any loose connections: If you identify any loose connections, use a screwdriver or an appropriate tool to tighten them. Ensure that the connections are secure and snug, but be careful not to overtighten, which could damage the terminals or wires.
- Repair or replace damaged wires: If you notice any frayed or damaged wires, they should be repaired or replaced. Use electrical tape or wire connectors to secure any exposed or damaged sections of wire. If the damage is significant, it’s recommended to consult a professional technician for assistance.
- Ensure proper labeling: Check that all wires are properly labeled and connected to the correct terminals. Improperly connected wires can lead to system malfunctions and potential hazards. If you’re unsure about the wiring, refer to the system’s manual or consult a professional technician.
During the examination, take note of any findings or issues with the wiring connections. This information will be helpful for future reference or when seeking professional assistance.
Remember, if you’re not comfortable or experienced with electrical work, it’s best to consult a licensed HVAC technician to examine and address any wiring-related concerns. They have the expertise and knowledge to ensure safe and proper electrical connections.
With the wiring connections examined, we can now move on to the next step: inspecting the contactor.
Step 9: Inspecting the Contactor
The contactor is a crucial component in the HVAC system that controls the flow of electricity to the compressor. Inspecting the contactor is essential to ensure proper electrical connections and functioning. Follow these steps to inspect the contactor:
- Locate the contactor: The contactor is typically found inside the electrical compartment of the outdoor unit. It is a rectangular-shaped component with multiple terminals.
- Visual inspection: Carefully examine the contactor for any signs of damage or wear. Look for melted or burned areas, pitted contacts, or loose or corroded terminals. These issues can prevent proper electrical flow and affect the performance of the compressor.
- Clean the contactor: If you notice any dirt, debris, or corrosion on the contactor, use a soft brush or a clean cloth to gently remove them. Cleaning the contactor can help ensure proper electrical connections.
- Check for proper contact closure: Activate the HVAC system and observe the contactor when the compressor should be running. Ensure that the contacts within the contactor firmly close, allowing the flow of electricity. If the contacts appear loose or fail to close properly, it may indicate a faulty contactor that needs to be replaced.
- Test the contactor with a multimeter: If you suspect an issue with the contactor, you can test it with a multimeter. Set the multimeter to continuity mode and place the probes on the contact points. The multimeter should indicate continuity when the contactor is activated. If there is no continuity, it may indicate a malfunctioning contactor.
Inspecting the contactor is essential to ensure proper electrical connections and reliable operation. If you notice any significant issues or are unsure about the condition of the contactor, it’s recommended to consult a licensed HVAC technician for further evaluation and replacement if necessary.
With the contactor inspection completed, we can now move on to step 10: cleaning the compressor.
Step 10: Cleaning the Compressor
Regularly cleaning the compressor is crucial for maintaining its optimal performance and efficiency. Over time, the compressor can accumulate dirt, debris, and other contaminants, which can hinder its operation. Follow these steps to clean the compressor:
- Power off the system: Before starting the cleaning process, make sure the power to the HVAC system is turned off to prevent any safety hazards.
- Remove debris: Use a brush or vacuum cleaner to remove any loose debris or dirt from the exterior of the compressor. Pay attention to the fins, coils, and nearby areas. Be gentle during the cleaning process to avoid damaging any delicate components.
- Clean the fins: Inspect the fins and use a fin brush or a soft brush to carefully clean them. Brush in a straight motion to remove dirt and debris lodged between the fins. Avoid bending or damaging the fins, as they play a crucial role in heat transfer.
- Apply condenser coil cleaner: If the condenser coil is particularly dirty, apply a proper condenser coil cleaner according to the manufacturer’s instructions. Be cautious and follow all safety precautions while using the coil cleaner.
- Rinse with water: After applying the condenser coil cleaner, rinse the compressor with water using a gentle spray. Make sure the water pressure is not too high, as it could potentially damage the fins or other components. Rinse away any remaining cleaning solution and dirt.
- Dry the compressor: Allow the compressor to air dry completely before turning the power back on. Ensure that all components are dry to avoid any electrical or operational issues.
Cleaning the compressor helps improve airflow, heat transfer, and overall efficiency. It’s recommended to perform this cleaning process at least once a year or as needed, depending on the environmental conditions and the level of debris accumulation.
Remember, if you’re unsure about any aspect of the cleaning process or encounter any difficulties, it’s best to consult a professional HVAC technician. They have the expertise and equipment to safely and effectively clean the compressor and other components of the HVAC system.
With the compressor cleaning completed, we can now move on to the final step: starting the system.
Read more: How To Check For Mold In HVAC System
Step 11: Starting the System
Once you have completed all the necessary inspections, tests, and cleaning, it’s time to start the HVAC system back up. By following these final steps, you can ensure a smooth and successful restart:
- Double-check all connections: Before turning the power back on, double-check all electrical connections to ensure they are secure and properly tightened. Make sure there are no loose wires or connections that could cause issues.
- Clear the area: Remove any tools, equipment, or debris from around the outdoor unit to ensure unobstructed airflow. This will help optimize the compressor’s performance and prevent any potential hazards.
- Turn on the power: Switch the circuit breaker or disconnect switch back to the “on” position to restore power to the HVAC system.
- Set the thermostat: Set the thermostat to the desired temperature and mode (cooling or heating) to start the system. Monitor the system to ensure it correctly cycles on and off as needed.
- Observe the compressor: Once the system is running, observe the compressor for any unusual sounds or vibrations. Monitor the system’s performance to ensure that it is cooling or heating effectively and maintaining the desired temperature.
It’s normal for the system to take a few minutes to reach the desired temperature initially. However, if you experience any persistent issues or notice any abnormalities, it’s advisable to contact a professional HVAC technician for further evaluation and assistance.
Regular maintenance and inspections, along with promptly addressing any issues, can help prolong the life of your HVAC compressor and ensure efficient operation. Consider scheduling regular professional maintenance to avoid costly breakdowns and ensure optimal performance.
Congratulations! You have successfully completed the process of checking and maintaining your HVAC compressor. By following these steps, you can keep your system running smoothly and enjoy a comfortable indoor environment.
Remember, if you are uncertain about any step or encounter any major issues during the process, it’s always best to seek the assistance of a qualified HVAC professional to ensure safety and accuracy.
Thank you for using our comprehensive guide on how to check your HVAC compressor. We hope it has been informative and helpful in your maintenance endeavors.
Stay tuned for more useful HVAC tips and guides from our experts!
Conclusion
Maintaining and checking your HVAC compressor is essential for the smooth and efficient operation of your heating, ventilation, and air conditioning system. By following the steps outlined in this guide, you can ensure that your compressor is in optimal condition and address any potential issues in a timely manner. Regular inspections and maintenance help prevent costly breakdowns, extend the lifespan of your HVAC system, and maintain a comfortable indoor environment.
Throughout this guide, we covered various steps to help you check your HVAC compressor. We started with safety precautions, emphasizing the importance of turning off the power and wearing protective gear. We then moved on to locating the compressor, inspecting its physical condition, and checking for electrical issues, including wiring connections and the capacitor. We also covered testing the contactor, examining refrigerant levels, and cleaning the compressor to remove dirt and debris. Finally, we concluded by discussing the proper steps to start the system and monitoring its performance.
It’s crucial to remember that while this guide provides comprehensive instructions, it’s always best to consult a licensed HVAC technician if you are unsure or uncomfortable performing any of the tasks. HVAC systems can be complex and require professional expertise for certain repairs and maintenance.
By proactively checking your HVAC compressor and addressing any issues promptly, you can not only save on energy costs and reduce the risk of breakdowns but also maintain a comfortable and healthy indoor environment for you and your loved ones.
We hope this guide has provided you with valuable insights and practical knowledge on how to check your HVAC compressor. Remember to prioritize safety, follow the manufacturer’s guidelines, and seek professional assistance when needed. By doing so, you can ensure the longevity and optimum performance of your HVAC system.
Thank you for choosing our guide, and we wish you success in maintaining your HVAC compressor!
Frequently Asked Questions about How To Check HVAC Compressor
Was this page helpful?
At Storables.com, we guarantee accurate and reliable information. Our content, validated by Expert Board Contributors, is crafted following stringent Editorial Policies. We're committed to providing you with well-researched, expert-backed insights for all your informational needs.


0 thoughts on “How To Check HVAC Compressor”