Articles
How To Unlock A Stove Top
Modified: December 7, 2023
Learn how to unlock a stove top in our informative articles. Unlocking a stove top is easy with our step-by-step guides and tips.
(Many of the links in this article redirect to a specific reviewed product. Your purchase of these products through affiliate links helps to generate commission for Storables.com, at no extra cost. Learn more)
Introduction
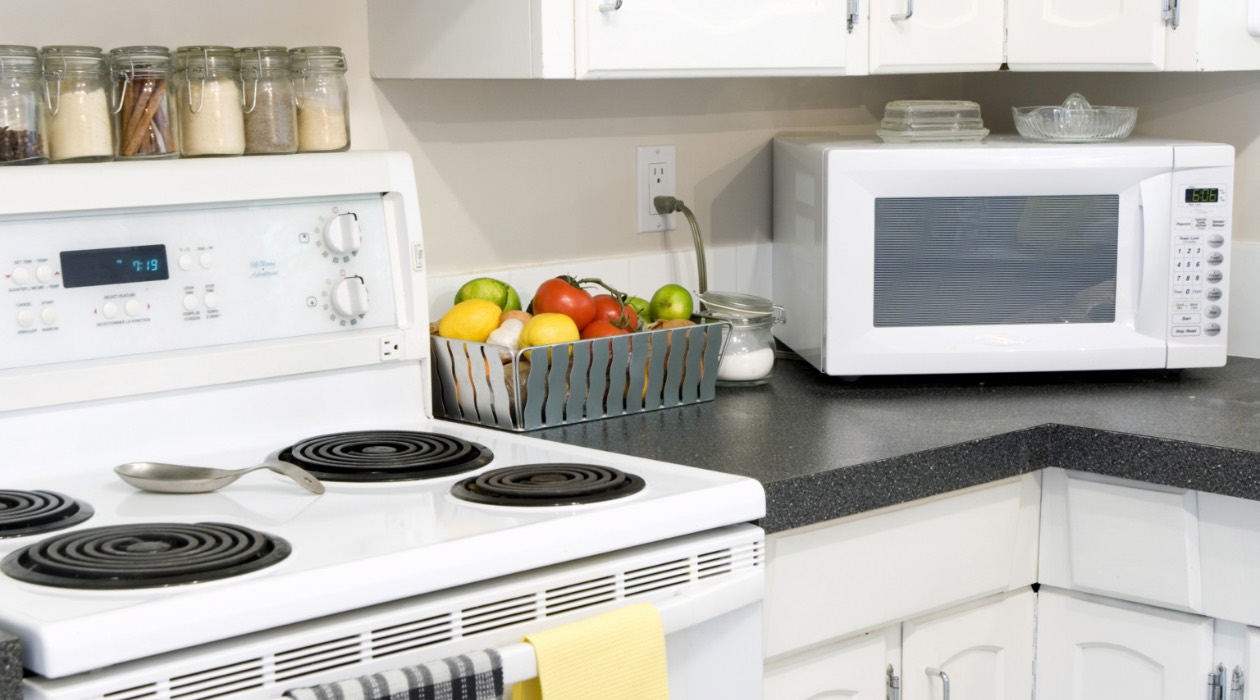
Unlocking a stove top is a common task that many homeowners may need to do at some point. Whether you need to clean the burners, replace a faulty component, or perform routine maintenance, knowing how to unlock a stove top is essential. With the right knowledge and steps, you can safely and easily unlock your stove top without any hassle.
In this article, we will guide you through the step-by-step process of unlocking a stove top. From turning off the stove to reassembling after unlocking, we will cover all the necessary details to ensure a successful unlocking process. So, let’s dive in and explore how to unlock your stove top.
Key Takeaways:
- Safety First!
Turning off the stove, allowing it to cool down, and handling components with care are crucial for a safe unlocking process. Prioritize safety to prevent accidents and ensure a hassle-free experience. - Step-By-Step Confidence
Following the detailed steps from lifting burner grates to unlocking control knobs empowers homeowners to confidently unlock and reassemble their stove tops. With patience and caution, anyone can master this essential skill.
Read more: How To Unlock Miele Induction Cooktop
Step 1: Turn off the stove
The first and most crucial step in unlocking a stove top is to turn off the stove. This is essential for your safety and to prevent any accidents or injuries. Here’s how to do it:
- Look for the control panel or knobs on your stove. These are typically located on the front of the stove or on the side.
- Locate the power button or knob and turn it to the “Off” position. This will ensure that no heat or electricity is being supplied to the stove top.
- Verify that the stove is turned off by checking that the burners are not emitting any heat or flames. You can also test by trying to turn the control knobs and ensuring they are in the locked position.
Once you have successfully turned off the stove, you can proceed to the next step of unlocking the stove top.
Step 2: Allow the stove to cool down
After turning off the stove, it’s important to give it some time to cool down before attempting to unlock the stove top. This step is crucial to prevent burns or injuries from hot surfaces. Here’s what you need to do:
- Ensure that all the burners are turned off and that the stove is no longer producing heat.
- Avoid touching the stove top or any hot surfaces. Use caution and wait for the stove to cool down completely.
- It’s recommended to wait at least 30 minutes to an hour for the stove to cool down, depending on how long it has been in use.
During this waiting time, you can use this opportunity to gather any necessary tools or cleaning supplies you may need to unlock and clean your stove top.
Remember, safety should always be the top priority when working with appliances, especially when they involve heat. Proceed to the next step only when you are confident that the stove has cooled down sufficiently.
Step 3: Lift the burner grates
With the stove cooled down, it’s time to start unlocking the stove top. The first step is to lift the burner grates. Follow these instructions to lift the burner grates:
- Identify the burner grates, which are the metal grids that cover the burners on your stove top.
- Gently lift the burner grates one by one and set them aside on a clean surface. Be careful while handling them, as they may be hot or heavy.
- If necessary, clean the burner grates using mild dish soap and warm water. Remove any food residue or debris, and rinse them thoroughly before setting them aside to dry.
By lifting the burner grates, you will have better access to the burner caps and heads, which need to be removed in the next steps. Take your time and ensure that the burner grates are placed safely on a stable surface to avoid any damage or accidents.
Step 4: Remove the burner caps
Once you have lifted the burner grates, the next step in unlocking the stove top is to remove the burner caps. The burner caps are the round metal or ceramic pieces that sit directly on top of the burner heads. Follow these steps to remove the burner caps:
- Identify the burner caps on your stove top. They are usually located in the center of each burner, directly on top of the burner heads.
- Gently lift and remove each burner cap from the burner head. Some burner caps may be secured with screws or clips, so keep an eye out for these and remove them if necessary.
- Place the removed burner caps in a safe location, away from any potential damage or dropping.
- If needed, clean the burner caps using a mild cleaner or a mixture of baking soda and water. Remove any grease, stains, or debris, and rinse them thoroughly before setting them aside to dry.
Removing the burner caps will provide you with direct access to the burner heads, which is the next step in unlocking the stove top. Take your time and handle the burner caps with care to avoid any damage or breakage.
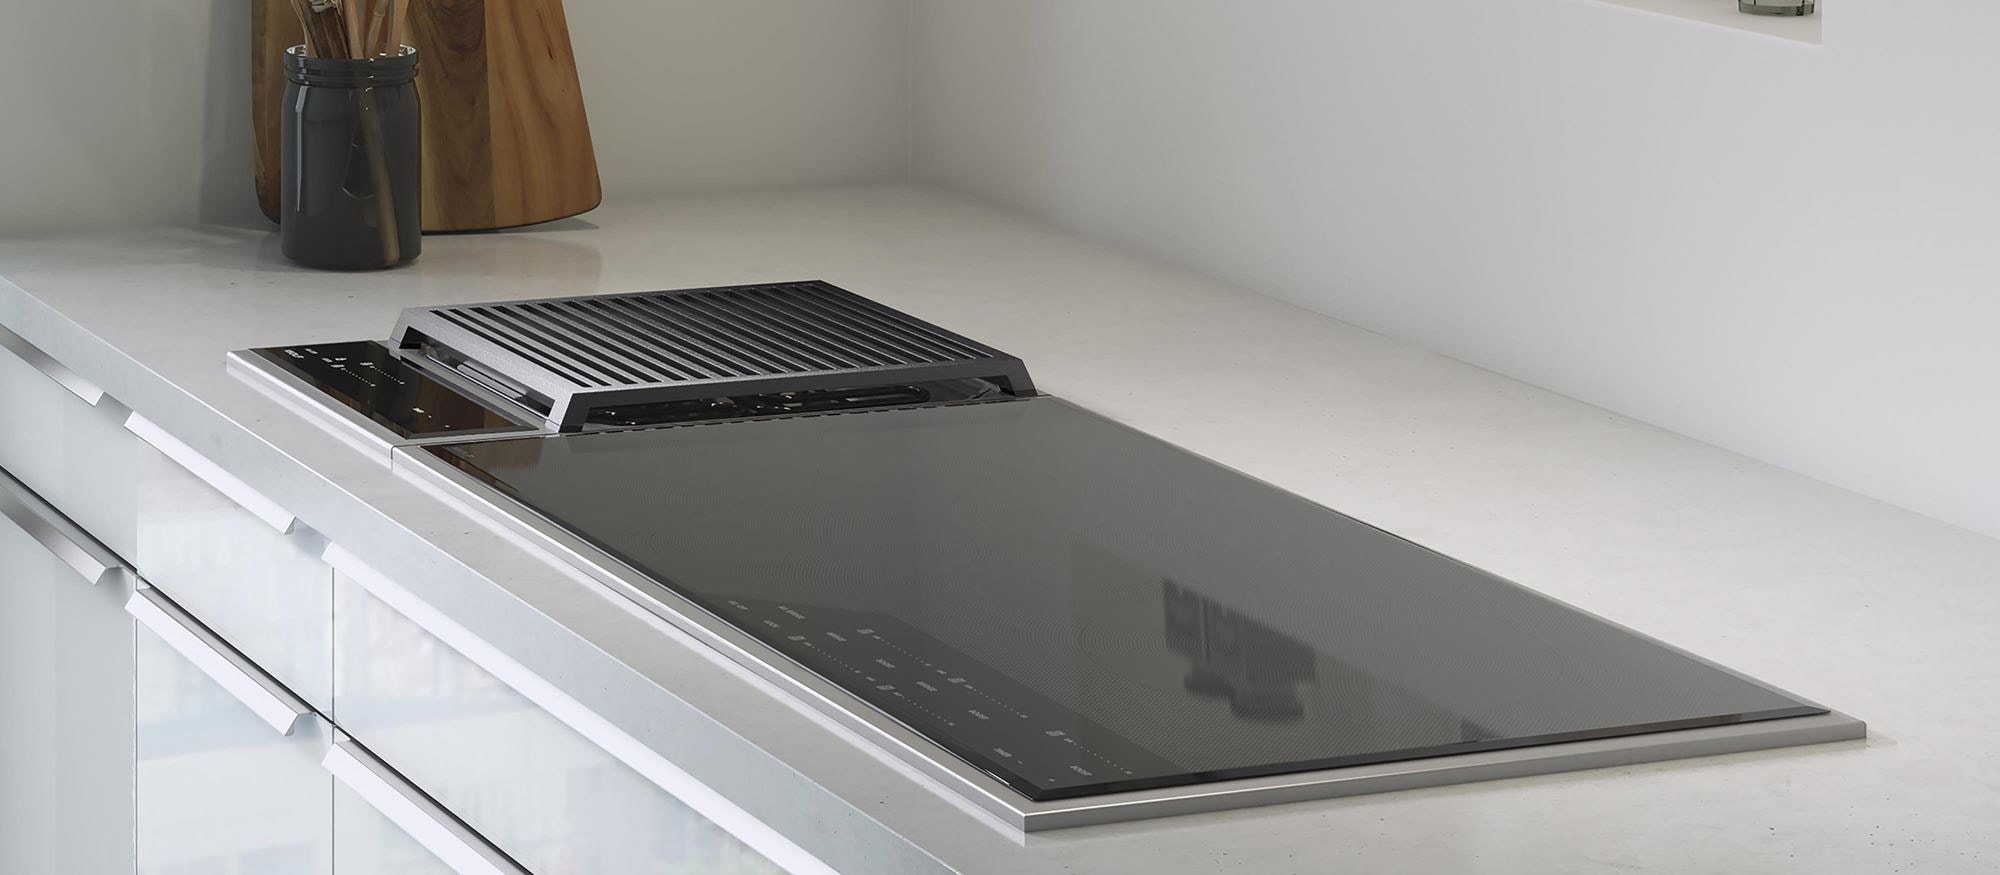
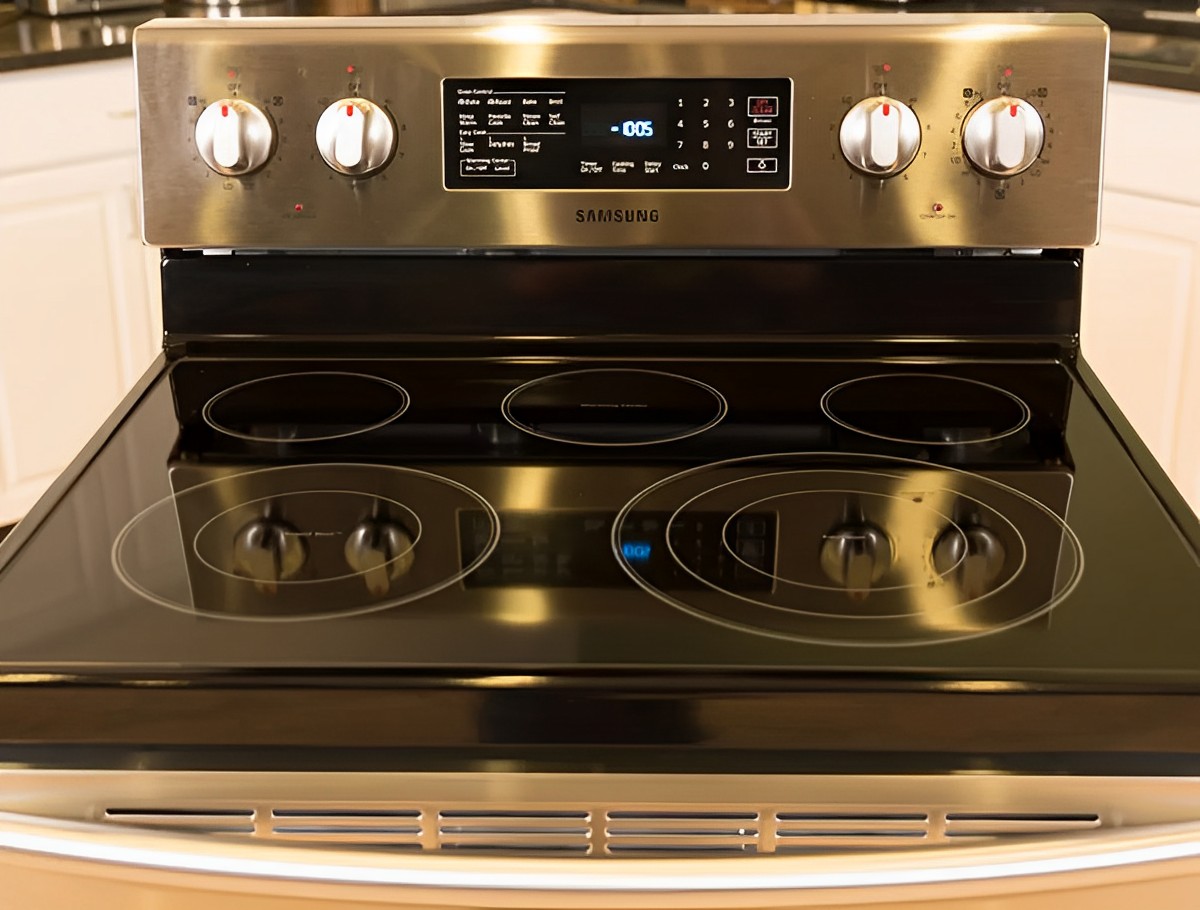
To unlock a stove top, locate the control panel and look for the lock symbol. Press and hold the lock button for a few seconds until the lock indicator light turns off. This will unlock the stove top and allow you to use the burners.
Step 5: Lift the burner heads
After removing the burner caps, the next step in unlocking the stove top is to lift the burner heads. The burner heads are the round metal or ceramic components that distribute the heat from the burner to your cookware. Follow these instructions to lift the burner heads:
- Locate the burner heads, which should be revealed after removing the burner caps.
- Gently lift the burner heads one by one and set them aside on a clean surface. Be cautious while handling them, as they may be hot or greasy.
- Inspect the burner heads for any signs of damage, such as cracks or excessive buildup. Clean the burner heads if necessary using a brush or a non-abrasive sponge with warm soapy water. Rinse them thoroughly and allow them to dry before reassembling.
Lifting the burner heads will expose the control knobs that need to be unlocked in the next step. Take your time while removing the burner heads to ensure safety and avoid any mishaps.
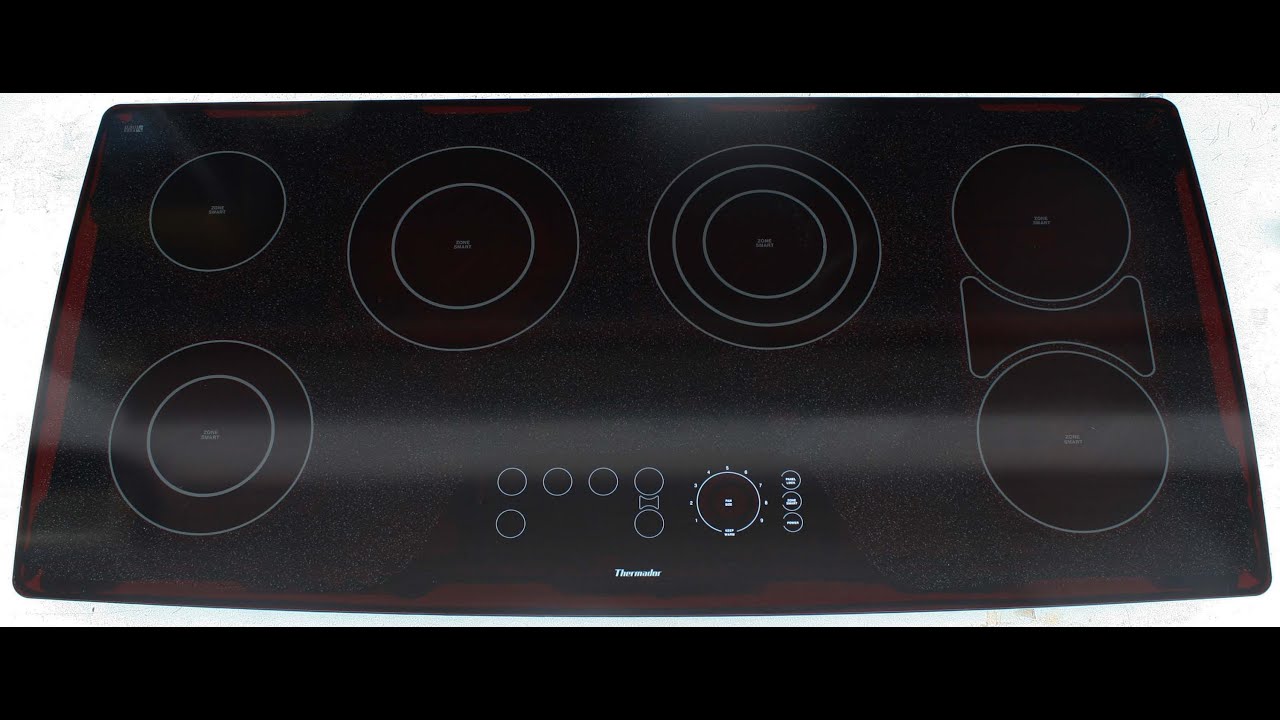
Step 6: Unlock the control knobs
Now that you have lifted the burner heads, it’s time to unlock the control knobs of your stove top. The control knobs are responsible for regulating the heat and turning the burners on and off. Follow these steps to unlock the control knobs:
- Locate the control knobs on your stove top. They are typically found near the front of the stove, either above or below the burner area.
- Inspect the control knobs for any locking mechanisms. Some stoves may have a push and turn, or a slide and turn, mechanism for locking the knobs in place.
- Using your thumb and index finger, push or slide the locking mechanism while simultaneously turning the control knob counterclockwise. This will unlock the knob and allow you to adjust the heat settings.
- Repeat this process for each control knob on your stove top.
Once the control knobs are unlocked, you can adjust the heat settings as required or proceed with any maintenance tasks you need to perform on your stove top.
Remember to follow the manufacturer’s instructions regarding the use and unlocking of the control knobs, as different stoves may have varying mechanisms. Be cautious while handling the control knobs and avoid using excessive force to prevent any damage.
Step 7: Reassemble the stove
After performing the necessary tasks on your stove top, it’s time to reassemble it. Reassembling the stove properly ensures that it functions correctly and maintains its safety. Follow these steps to reassemble your stove:
- Begin by placing the lifted burner heads back onto the stove. Make sure each burner head aligns properly with its respective burner.
- Next, position the burner caps back onto the burner heads. Ensure that they are securely placed and aligned with the burner heads.
- Gently lower the burner grates over the burner caps. Make sure each grate is balanced and covers the burners completely.
- Finally, if applicable, reattach any screws or clips that hold the burner caps or grates in place. Double-check that everything is properly aligned and secured.
After reassembling the stove, perform a quick visual inspection to ensure that everything is in its proper place. Give the control knobs a test turn to ensure they are functioning smoothly.
Once you are satisfied with the reassembly, you can go ahead and turn on the stove to check if everything is working as expected. Make sure to follow the safety guidelines and instructions provided by the manufacturer.
Congratulations! You have successfully unlocked and reassembled your stove top.
Conclusion
Unlocking a stove top may seem like a simple task, but it is important to follow the proper steps to ensure your safety and prevent any damage to your appliance. By turning off the stove, allowing it to cool down, lifting the burner grates, removing the burner caps, lifting the burner heads, unlocking the control knobs, and finally reassembling the stove, you can effectively unlock your stove top without any hassle.
Remember to always prioritize safety when working with appliances, especially those that involve heat. Take your time, be cautious, and follow the manufacturer’s instructions. If you encounter any difficulties or are unsure about any steps, it is best to consult a professional or refer to the stove’s user manual for guidance.
Unlocking a stove top is a necessary skill for any homeowner, as it allows for proper cleaning, maintenance, and repairs. By knowing how to unlock your stove top, you can keep it in good condition and ensure its longevity.
We hope this step-by-step guide has helped you understand the process of unlocking a stove top. Now you can confidently unlock your stove top whenever needed. Enjoy cooking delicious meals on your unlocked and fully functional stove top!
Frequently Asked Questions about How To Unlock A Stove Top
Was this page helpful?
At Storables.com, we guarantee accurate and reliable information. Our content, validated by Expert Board Contributors, is crafted following stringent Editorial Policies. We're committed to providing you with well-researched, expert-backed insights for all your informational needs.


0 thoughts on “How To Unlock A Stove Top”