
Articles
How To Unscrew Aerator On Faucet
Modified: December 7, 2023
Learn the step-by-step process of unscrewing an aerator on a faucet with our informative articles. Easily fix your plumbing issues with our expert tips and guidance.
(Many of the links in this article redirect to a specific reviewed product. Your purchase of these products through affiliate links helps to generate commission for Storables.com, at no extra cost. Learn more)
Introduction
Have you ever noticed a decrease in water flow from your faucet? It might be time to clean or replace the aerator. The aerator is a small device located at the end of the faucet spout that helps regulate water flow and prevent splashing. Over time, mineral deposits and debris can accumulate in the aerator, causing it to clog and reduce water flow.
In this article, we will guide you on how to unscrew the aerator on your faucet so that you can clean or replace it easily. This simple DIY task can restore the optimal water flow and improve the performance of your faucet without the need for professional help.
Before we dive into the steps, let’s gather the necessary tools and materials:
Key Takeaways:
- Regularly cleaning and maintaining the aerator on your faucet using simple DIY steps can greatly improve water flow, prevent clogs, and extend the lifespan of your faucet.
- By gathering the necessary tools, assessing the aerator type, and following the step-by-step process, you can confidently unscrew, clean, and reinstall the aerator, ensuring the smooth operation of your faucet for years to come.
Read more: How To Clean Aerator On Faucet
Tools and Materials Needed
- Adjustable pliers
- Soft cloth or towel
- Vinegar or lime scale remover solution
- A small brush or toothbrush
Once you have these tools and materials ready, let’s move on to the next step.
Key Takeaways:
- Regularly cleaning and maintaining the aerator on your faucet using simple DIY steps can greatly improve water flow, prevent clogs, and extend the lifespan of your faucet.
- By gathering the necessary tools, assessing the aerator type, and following the step-by-step process, you can confidently unscrew, clean, and reinstall the aerator, ensuring the smooth operation of your faucet for years to come.
Read more: How To Clean Aerator On Faucet
Tools and Materials Needed
Before you begin the process of unscrewing the aerator on your faucet, it’s important to gather the necessary tools and materials. Having everything prepared beforehand will make the task much easier and quicker. Here’s what you’ll need:
- Adjustable Pliers: This is the primary tool you’ll need to unscrew the aerator. A pair of adjustable pliers will provide a firm grip and allow you to apply enough torque to remove the aerator without damaging it.
- Soft Cloth or Towel: It’s a good idea to have a soft cloth or towel on hand to protect the faucet’s finish while you work. This will prevent any scratches or damage to the surface.
- Vinegar or Lime Scale Remover Solution: Over time, mineral deposits can build up on the aerator, causing it to become clogged. Having some vinegar or a lime scale remover solution will help dissolve these deposits and make cleaning the aerator more effective.
- A Small Brush or Toothbrush: For thorough cleaning, you’ll need a small brush or toothbrush to scrub away any remaining debris or mineral deposits on the aerator. This will ensure that the aerator is restored to its optimal performance.
With these tools and materials ready, you can proceed to unscrew the aerator on your faucet and maintain its functionality. Let’s move on to the next step.
Step 1: Gather the Necessary Tools
Before you start the process of unscrewing the aerator on your faucet, it’s important to gather all the necessary tools. This will ensure that you have everything you need within reach, making the task much easier and more efficient. Here’s a breakdown of the tools you’ll need:
- Adjustable Pliers: Obtain a pair of adjustable pliers, as these will provide a firm grip and allow you to apply sufficient torque to unscrew the aerator. The adjustable feature enables you to customize the pliers for a secure fit on the aerator.
- Soft Cloth or Towel: It’s a good idea to have a soft cloth or towel readily available. This will not only protect the surface of the faucet from scratches but also provide a comfortable and safe grip for unscrewing the aerator.
- Vinegar or Lime Scale Remover Solution: Over time, mineral deposits and sediment can build up in the aerator, obstructing the water flow and diminishing the performance. To effectively remove these deposits, prepare a mixture of vinegar and water or a lime scale remover solution.
- A Small Brush or Toothbrush: To ensure a thorough cleaning of the aerator, acquire a small brush or toothbrush. This will aid in scrubbing away the accumulated debris and mineral deposits, restoring the aerator’s functionality.
By gathering these essential tools, you are well-prepared for the aerator unscrewing process. This will result in a smoother and more successful experience, as well as extend the lifespan of your faucet. In the next step, we will discuss how to turn off the water supply before proceeding with the aerator removal.
Step 2: Turn Off the Water Supply
Before you begin unscrewing the aerator on your faucet, it’s crucial to turn off the water supply. This step will prevent any potential leaks or water spraying while you work. Here’s a guide on how to properly turn off the water supply:
- Locate the water shut-off valves under the sink. Typically, there are two valves—one for hot water and one for cold water.
- Rotate the shut-off valve handles in a clockwise direction until they are fully closed. This will stop the water flow to the faucet.
- Test the water supply by turning on the faucet handles. If the water does not flow, then you have successfully turned off the water supply.
By turning off the water supply, you minimize the risk of any water leakage or accidental spraying while you remove the aerator. This step is essential for a smooth and hassle-free unscrewing process.
Once the water supply is turned off, you can proceed to the next step, where we will discuss how to assess the type of aerator on your faucet.
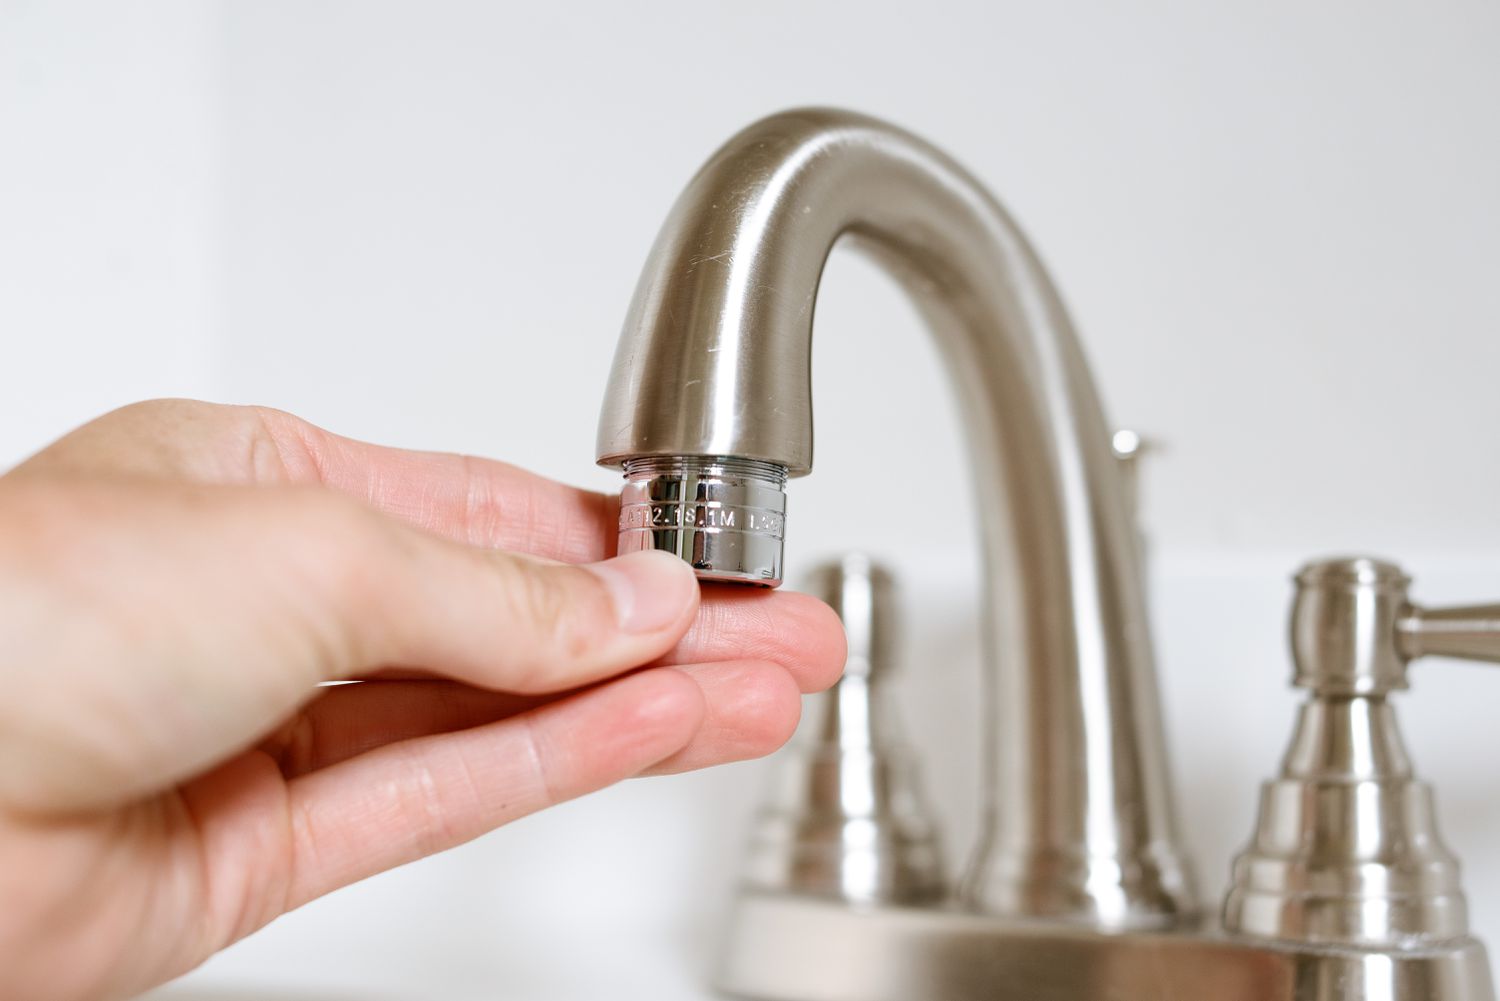
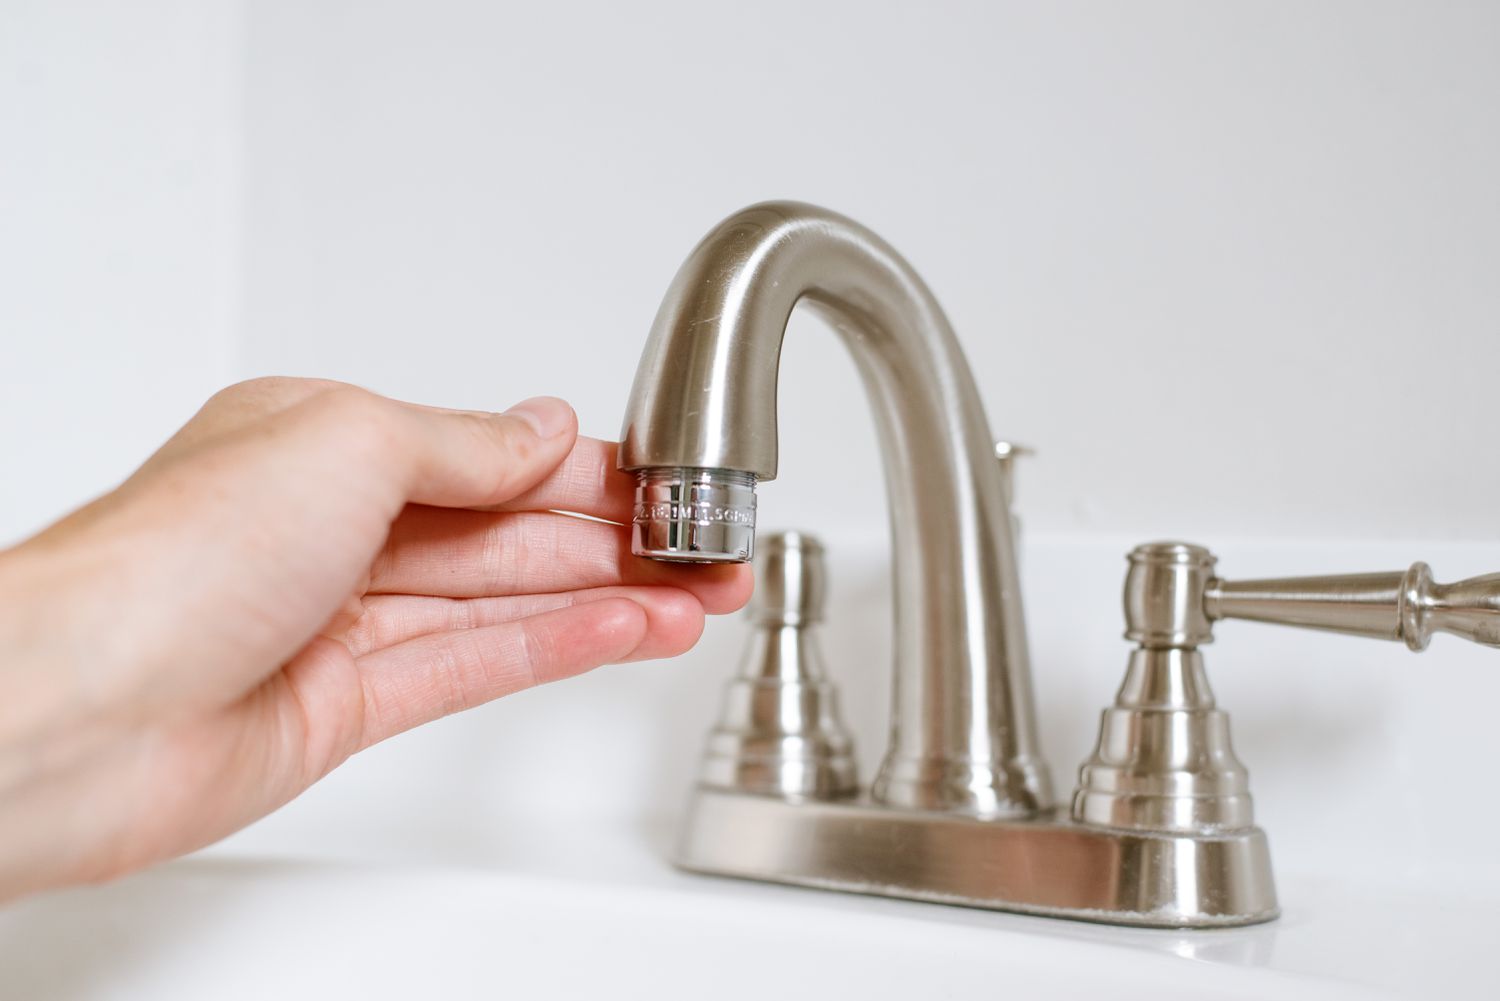
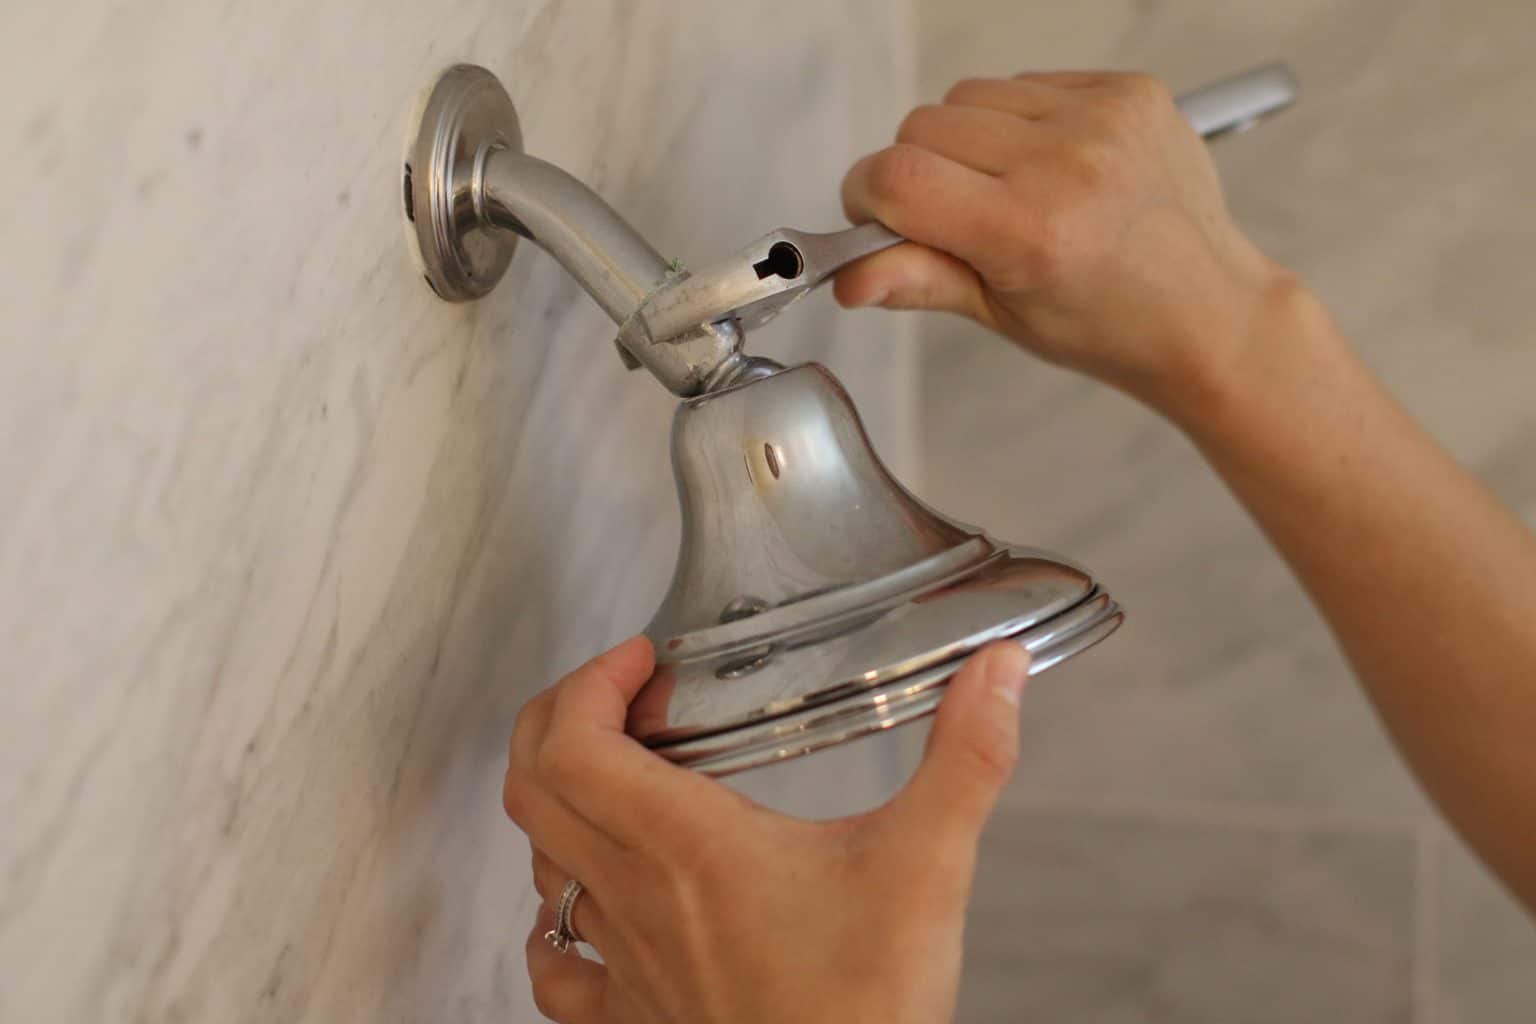
Use a pair of pliers with a cloth to protect the aerator, grip it firmly and turn it counterclockwise to unscrew it from the faucet. If it’s stuck, try using a lubricant or soaking it in vinegar to loosen it.
Read more: How To Remove Aerator From Pull Down Faucet
Step 3: Assess the Aerator Type
Before you can unscrew the aerator on your faucet, it’s important to assess what type of aerator you have. Different types of aerators require different techniques for removal. Here are a few common aerator types:
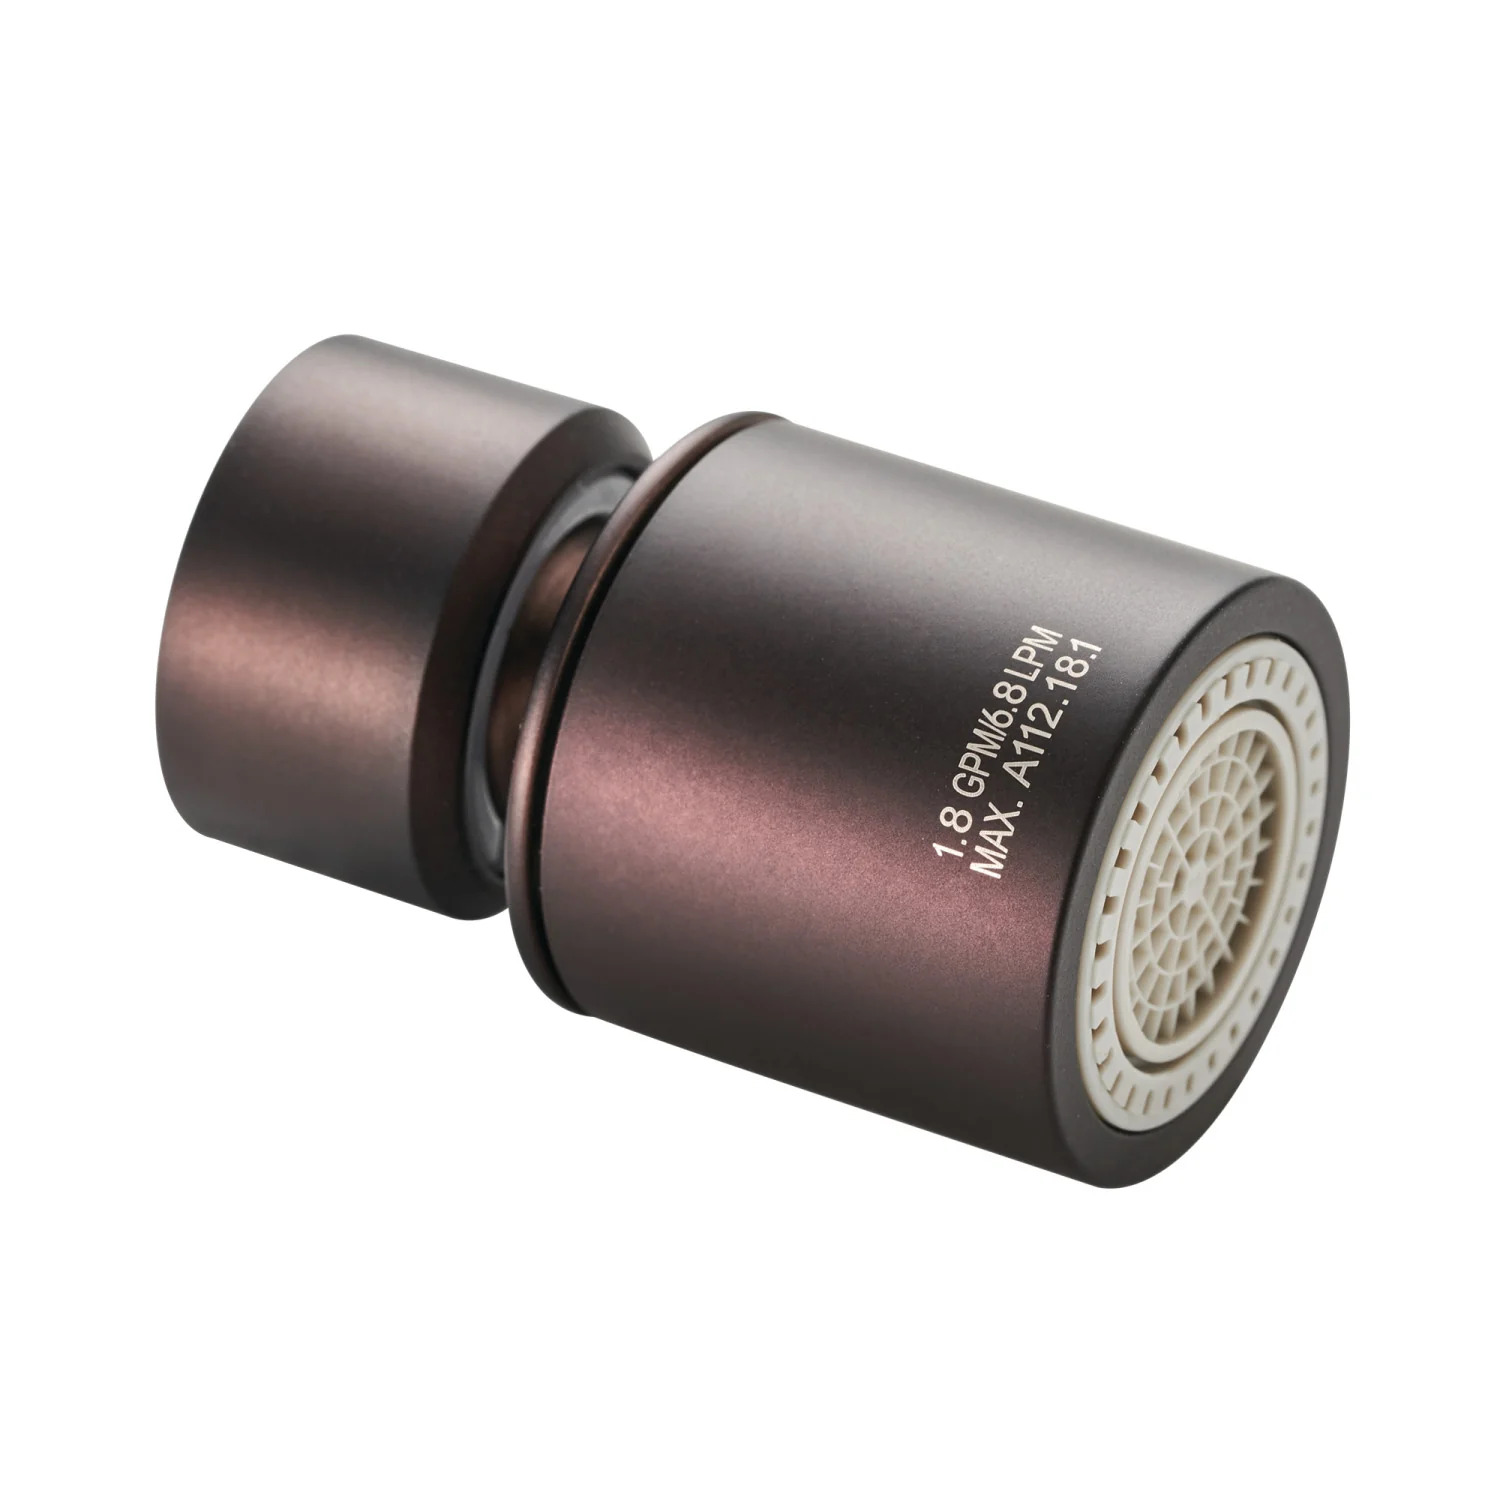
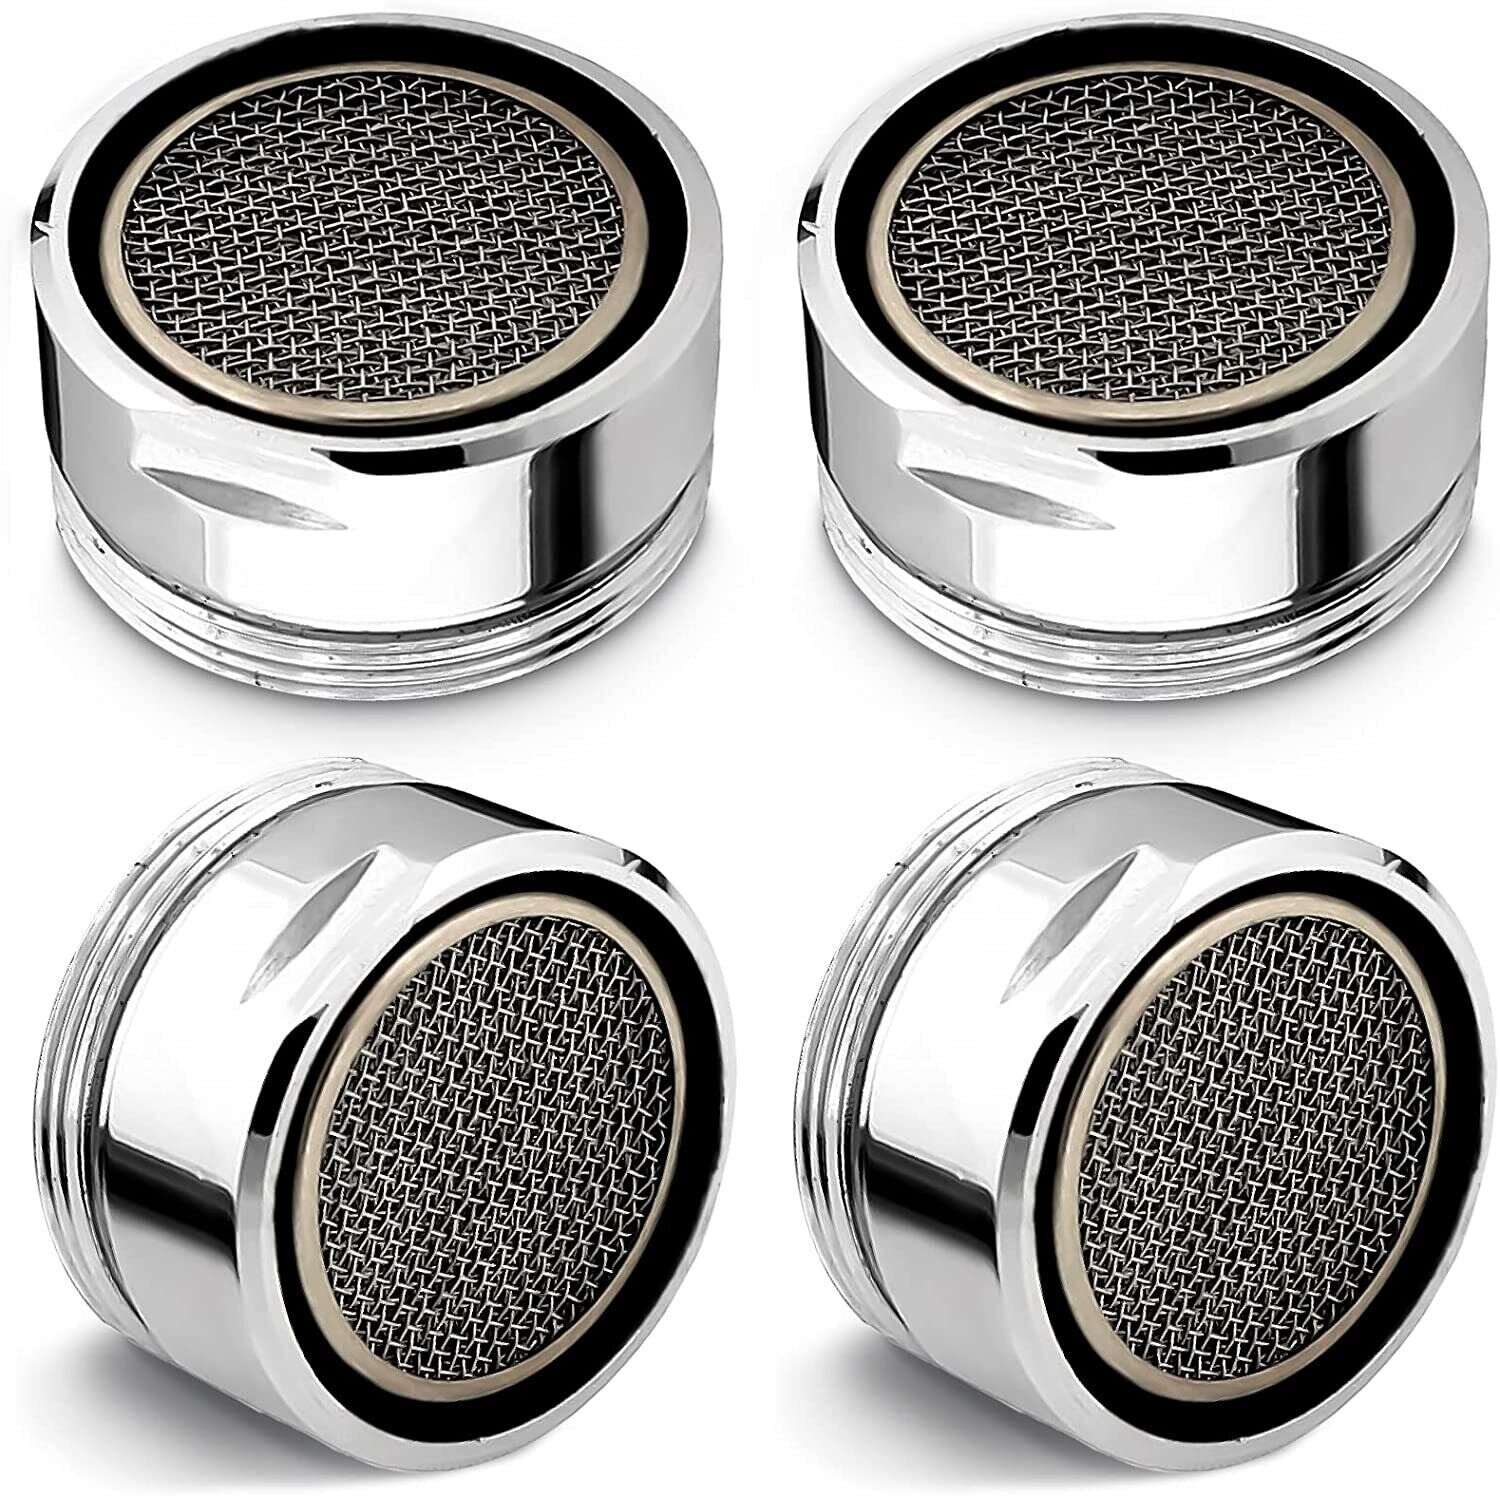
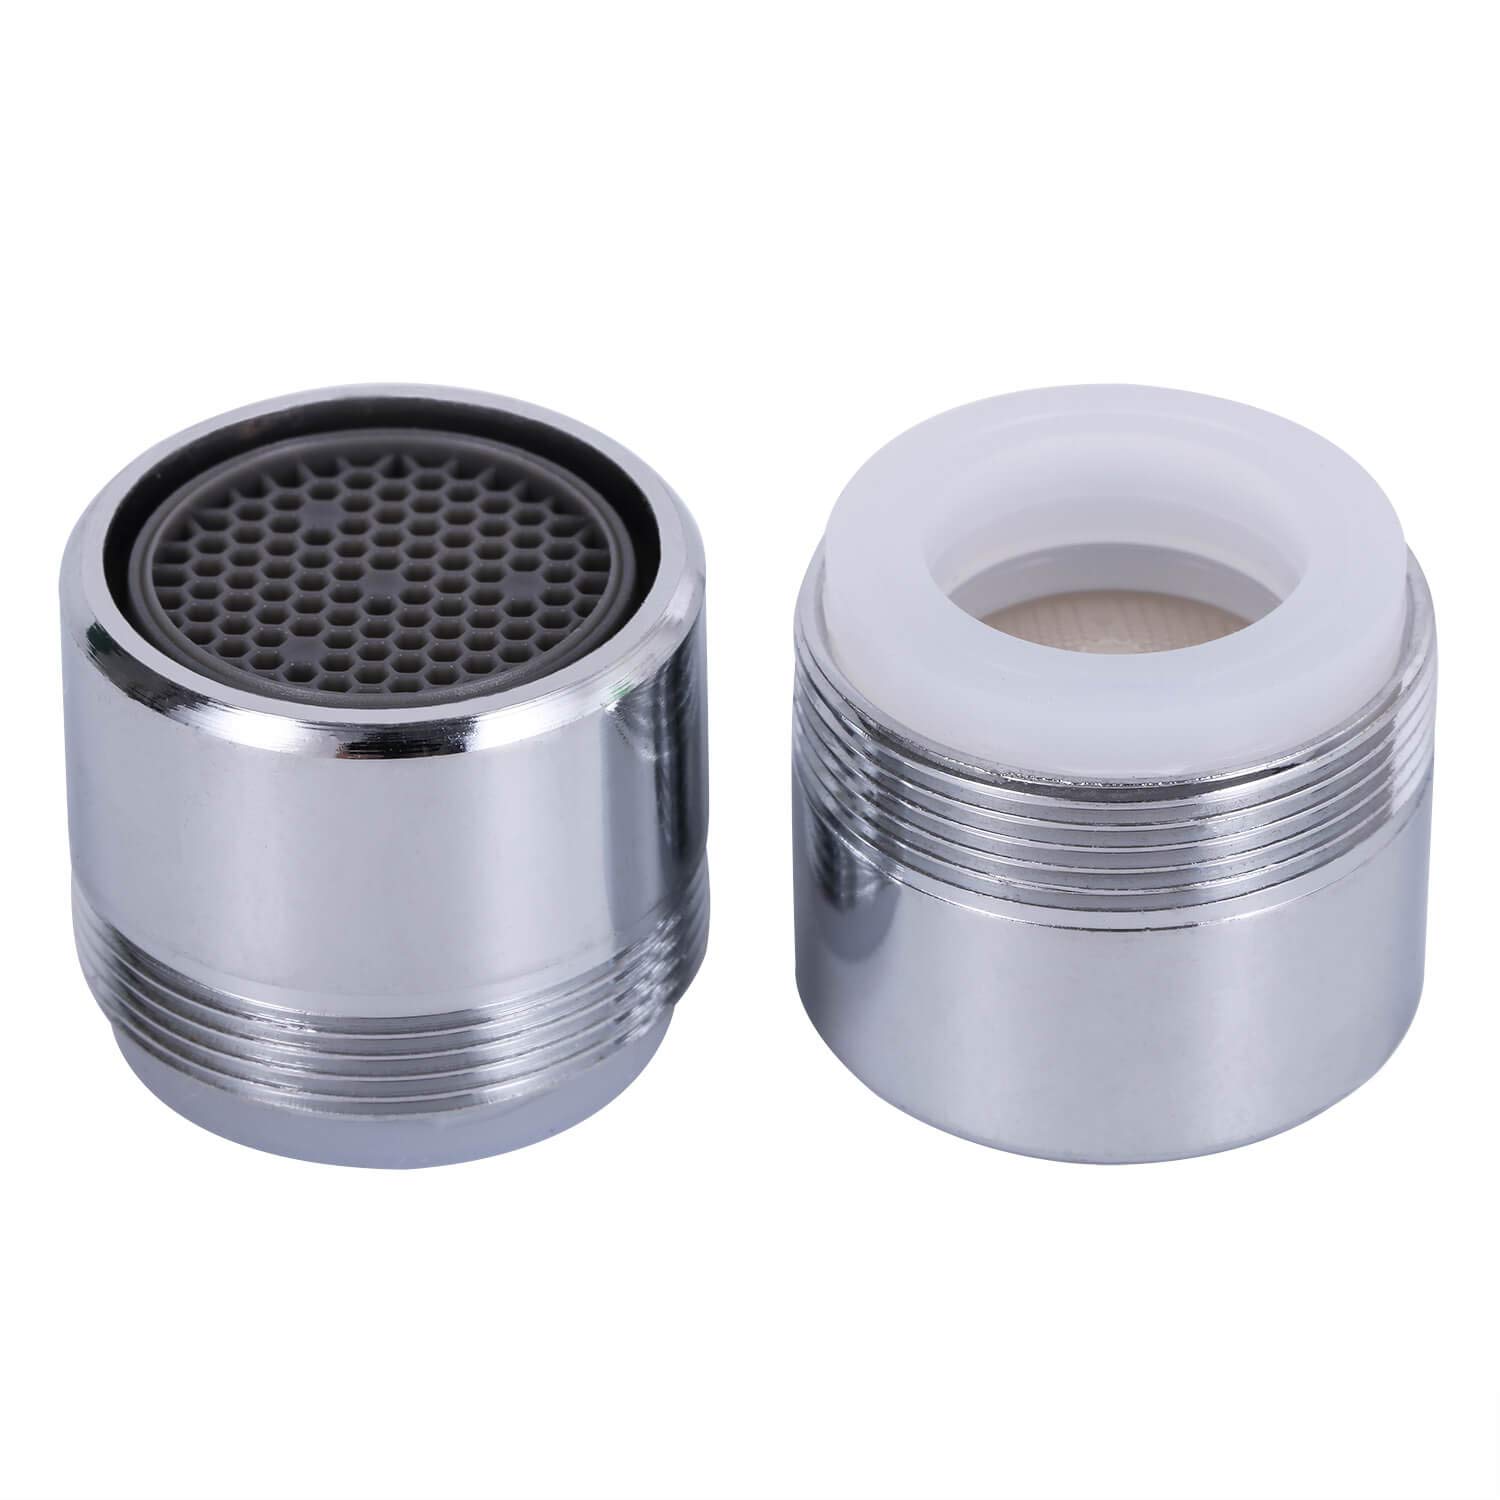
- External Threaded Aerator: This type of aerator has visible threads on the outside. It is relatively easy to remove by hand or with the help of pliers.
- Internal Threaded Aerator: An internal threaded aerator has threads on the inside. You will need a specific tool called a cache aerator key or a needle-nose plier to remove this type. It is important to identify the correct key size for your faucet model.
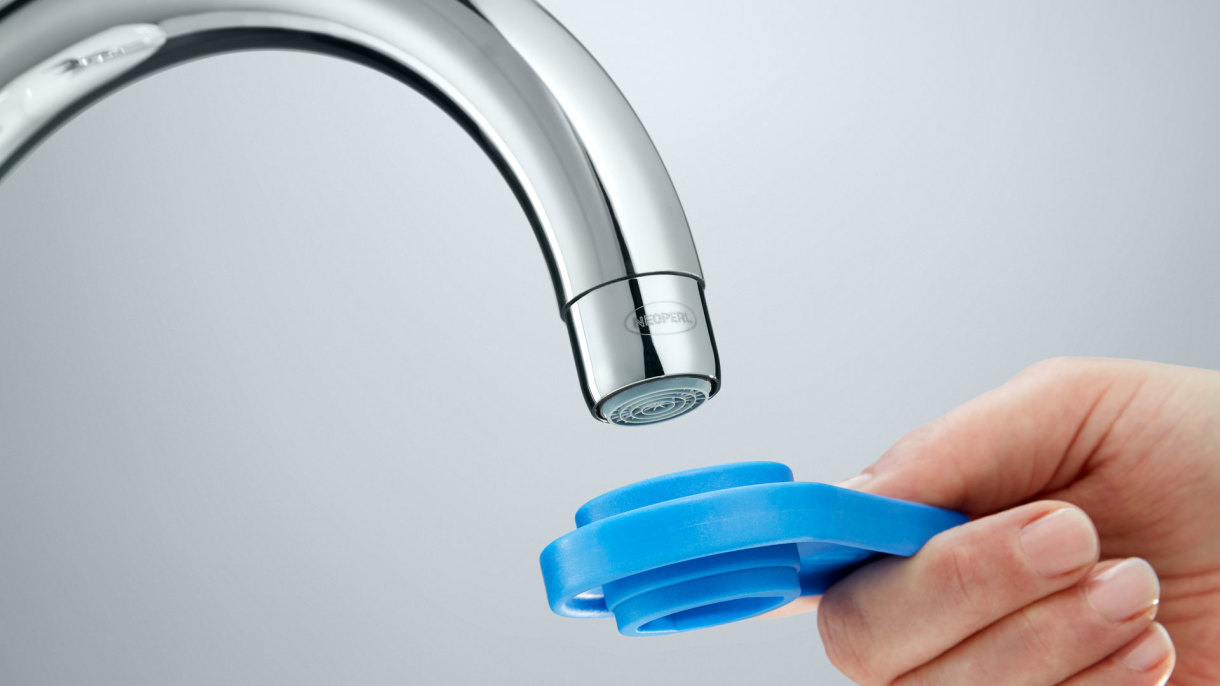
- Press-On Aerator: Press-on aerators do not have visible threads and are usually found on newer faucets. These aerators can be slightly more challenging to remove, as they require a special tool called a rubber strap wrench or a cloth to provide a firm grip.
Take a closer look at your faucet to determine which type of aerator it has. You may need to remove any decorative caps or covers to expose the aerator. Once you have identified the aerator type, you will be better prepared to remove it in the next step.
Note: If you are unsure about the aerator type or having difficulty identifying it, consult the faucet manufacturer’s guide or seek assistance from a professional plumber.
Now that you have assessed the aerator type, you are ready to move on to the next step: removing the aerator using pliers.
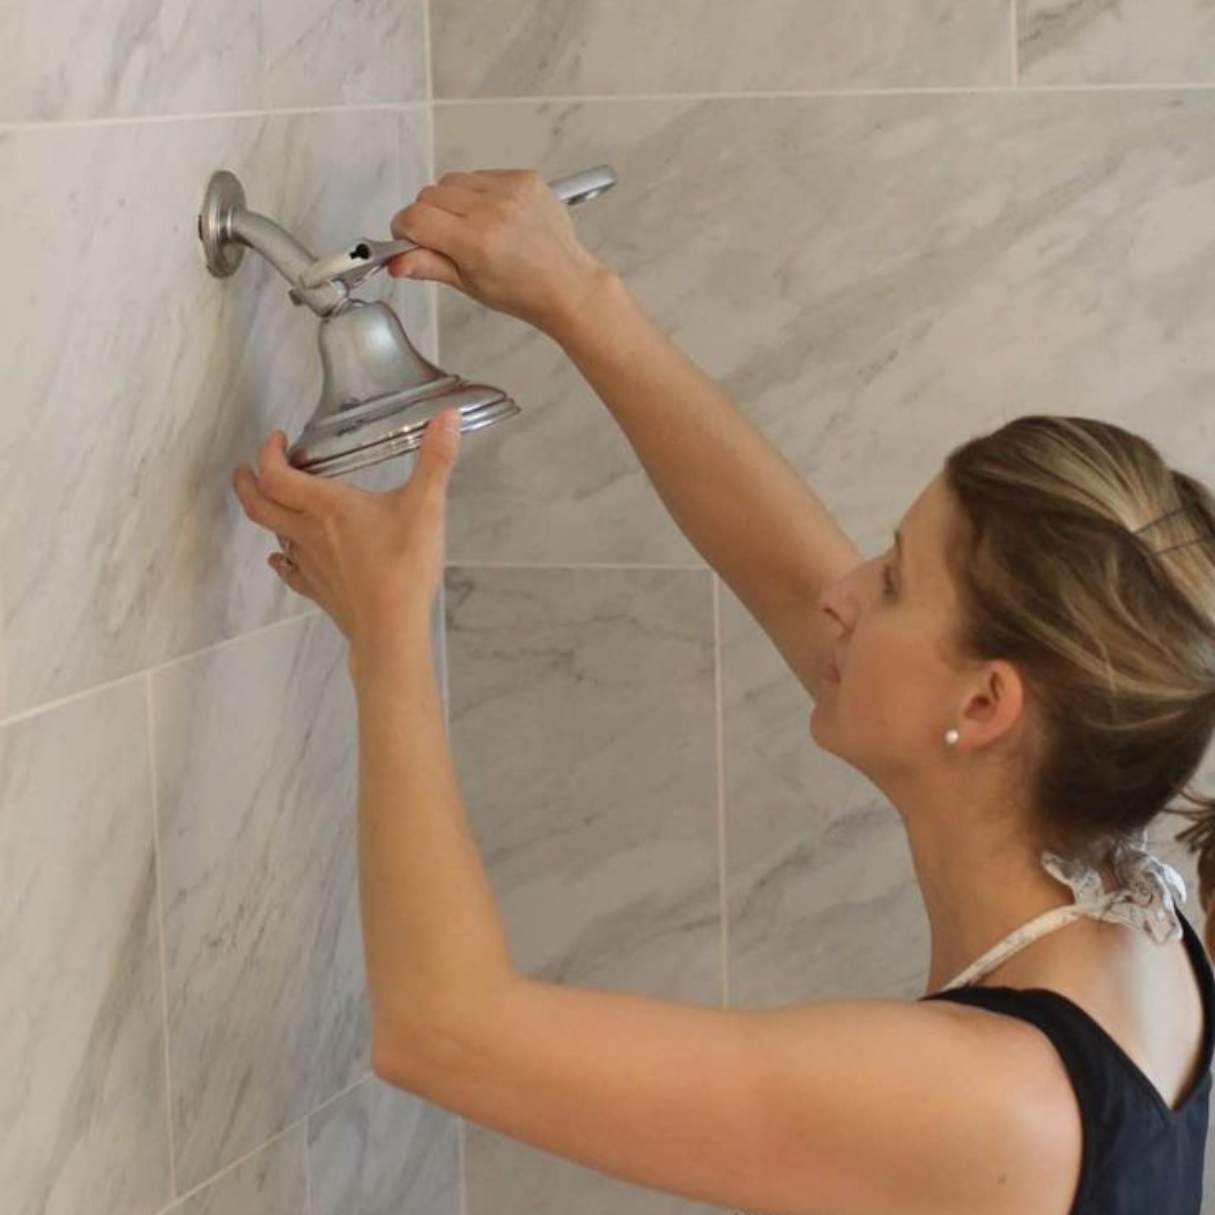
Step 4: Remove the Aerator Using Pliers
With the aerator type assessed, it’s time to remove it from the faucet using pliers. Follow these steps to successfully unscrew the aerator:
- Take your adjustable pliers and adjust them to a size that will provide a secure grip on the aerator. Make sure not to squeeze the pliers too tightly to avoid damaging the aerator or faucet.
- Position the pliers around the aerator, ensuring a firm grip. The jaws of the pliers should be placed on the flat sides of the aerator, where it meets the faucet spout.
- Apply gentle, steady pressure in a counterclockwise direction to unscrew the aerator. If it feels tight, you can use a cloth or towel to enhance the grip and provide more leverage.
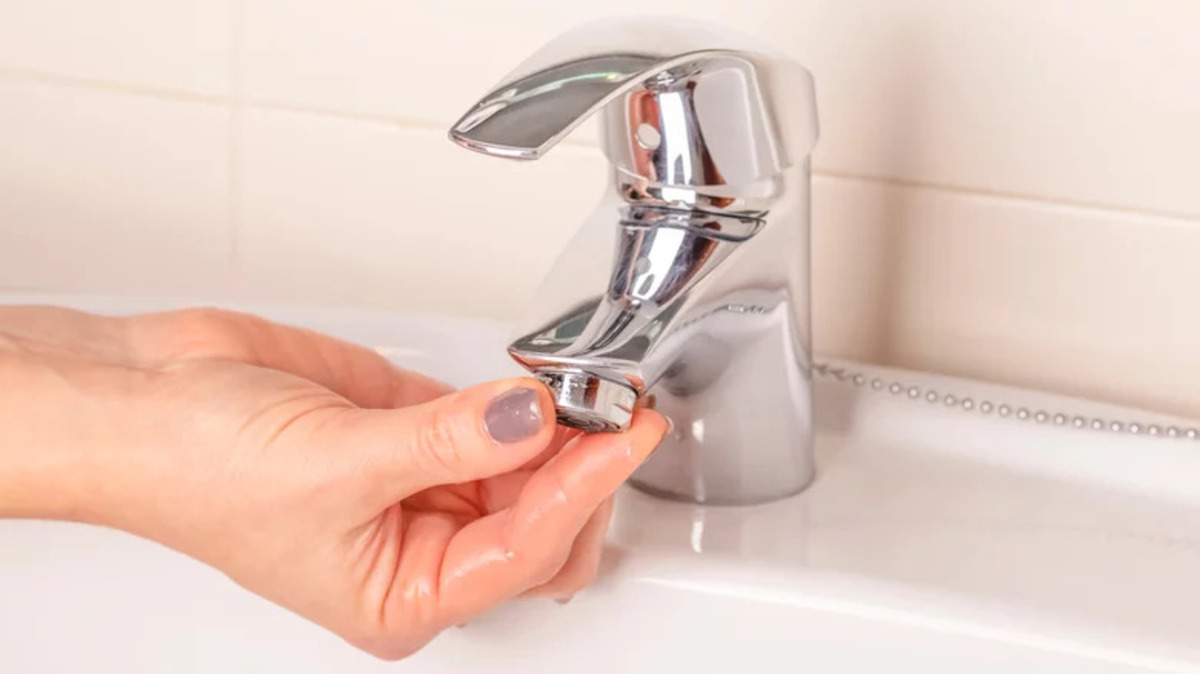
- Continue turning the pliers counterclockwise until the aerator is completely free from the faucet spout. Be cautious not to apply excessive force that can cause damage.
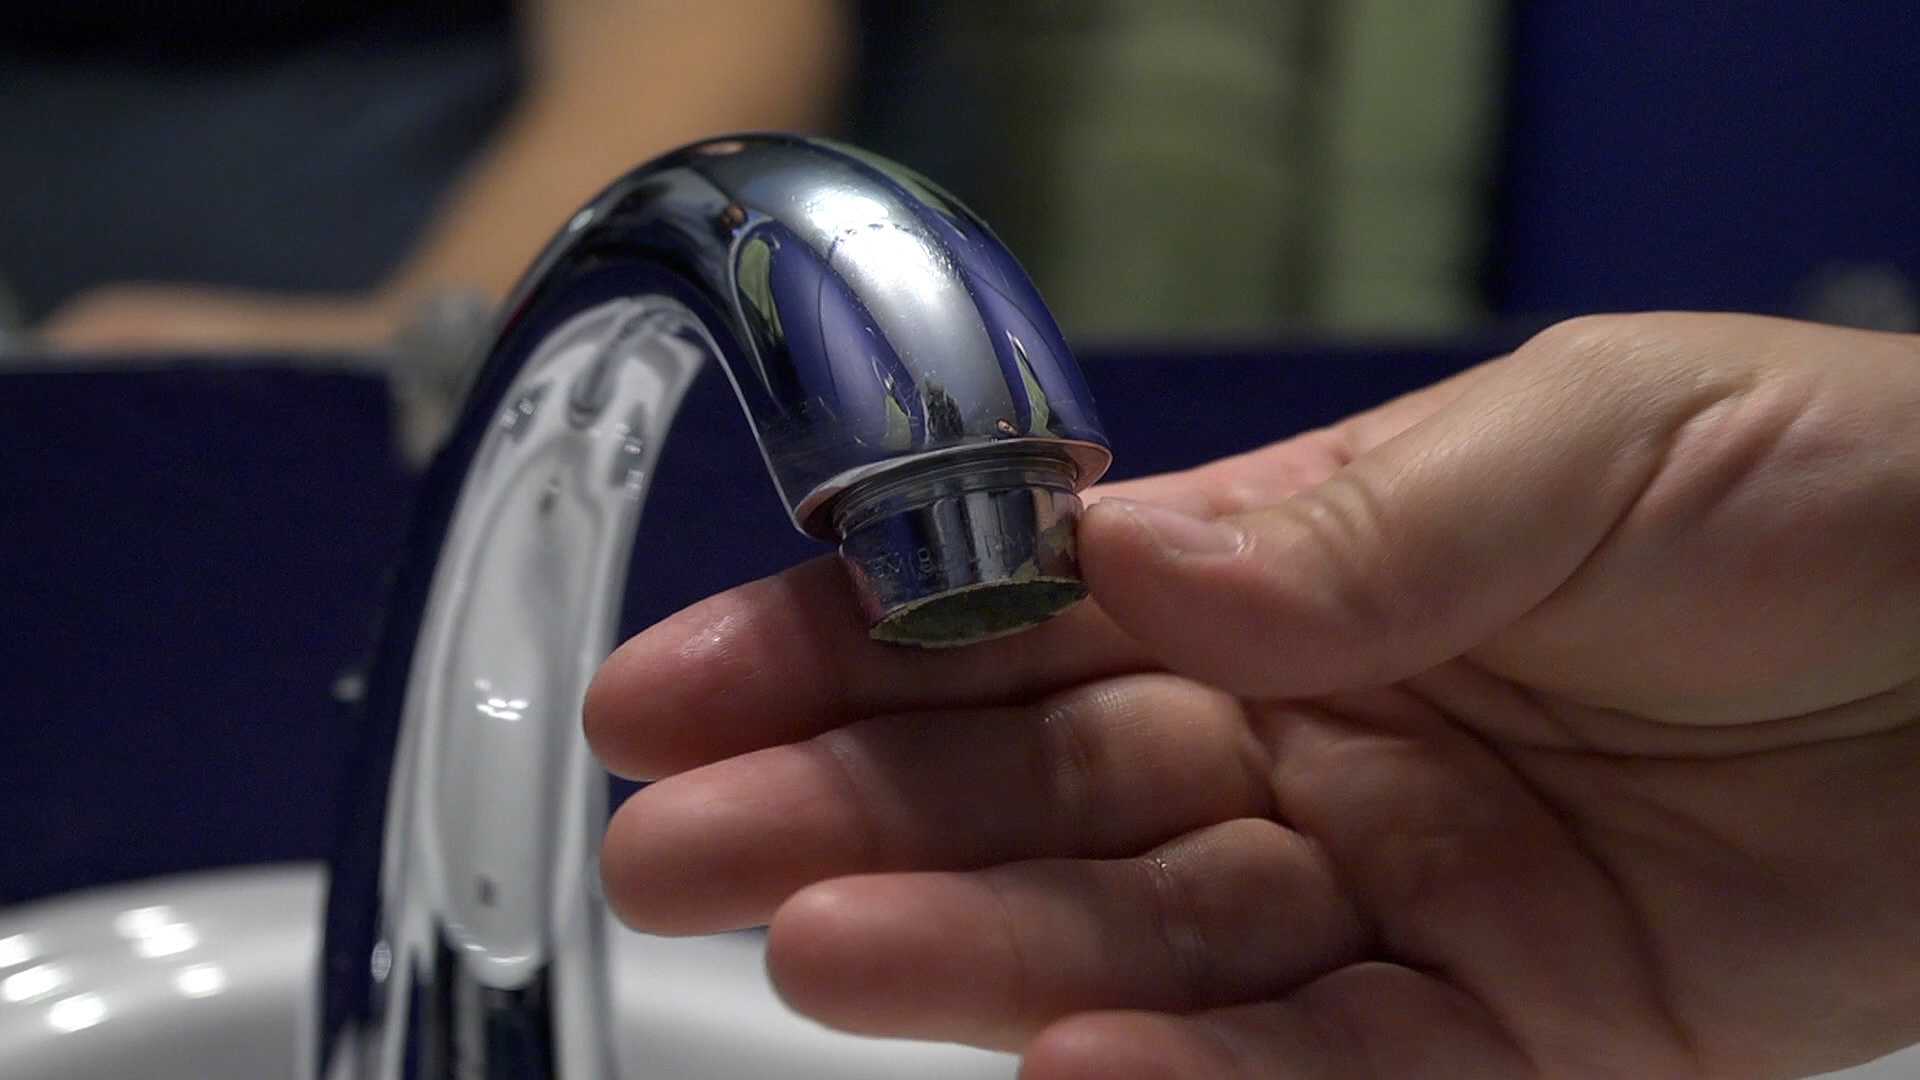
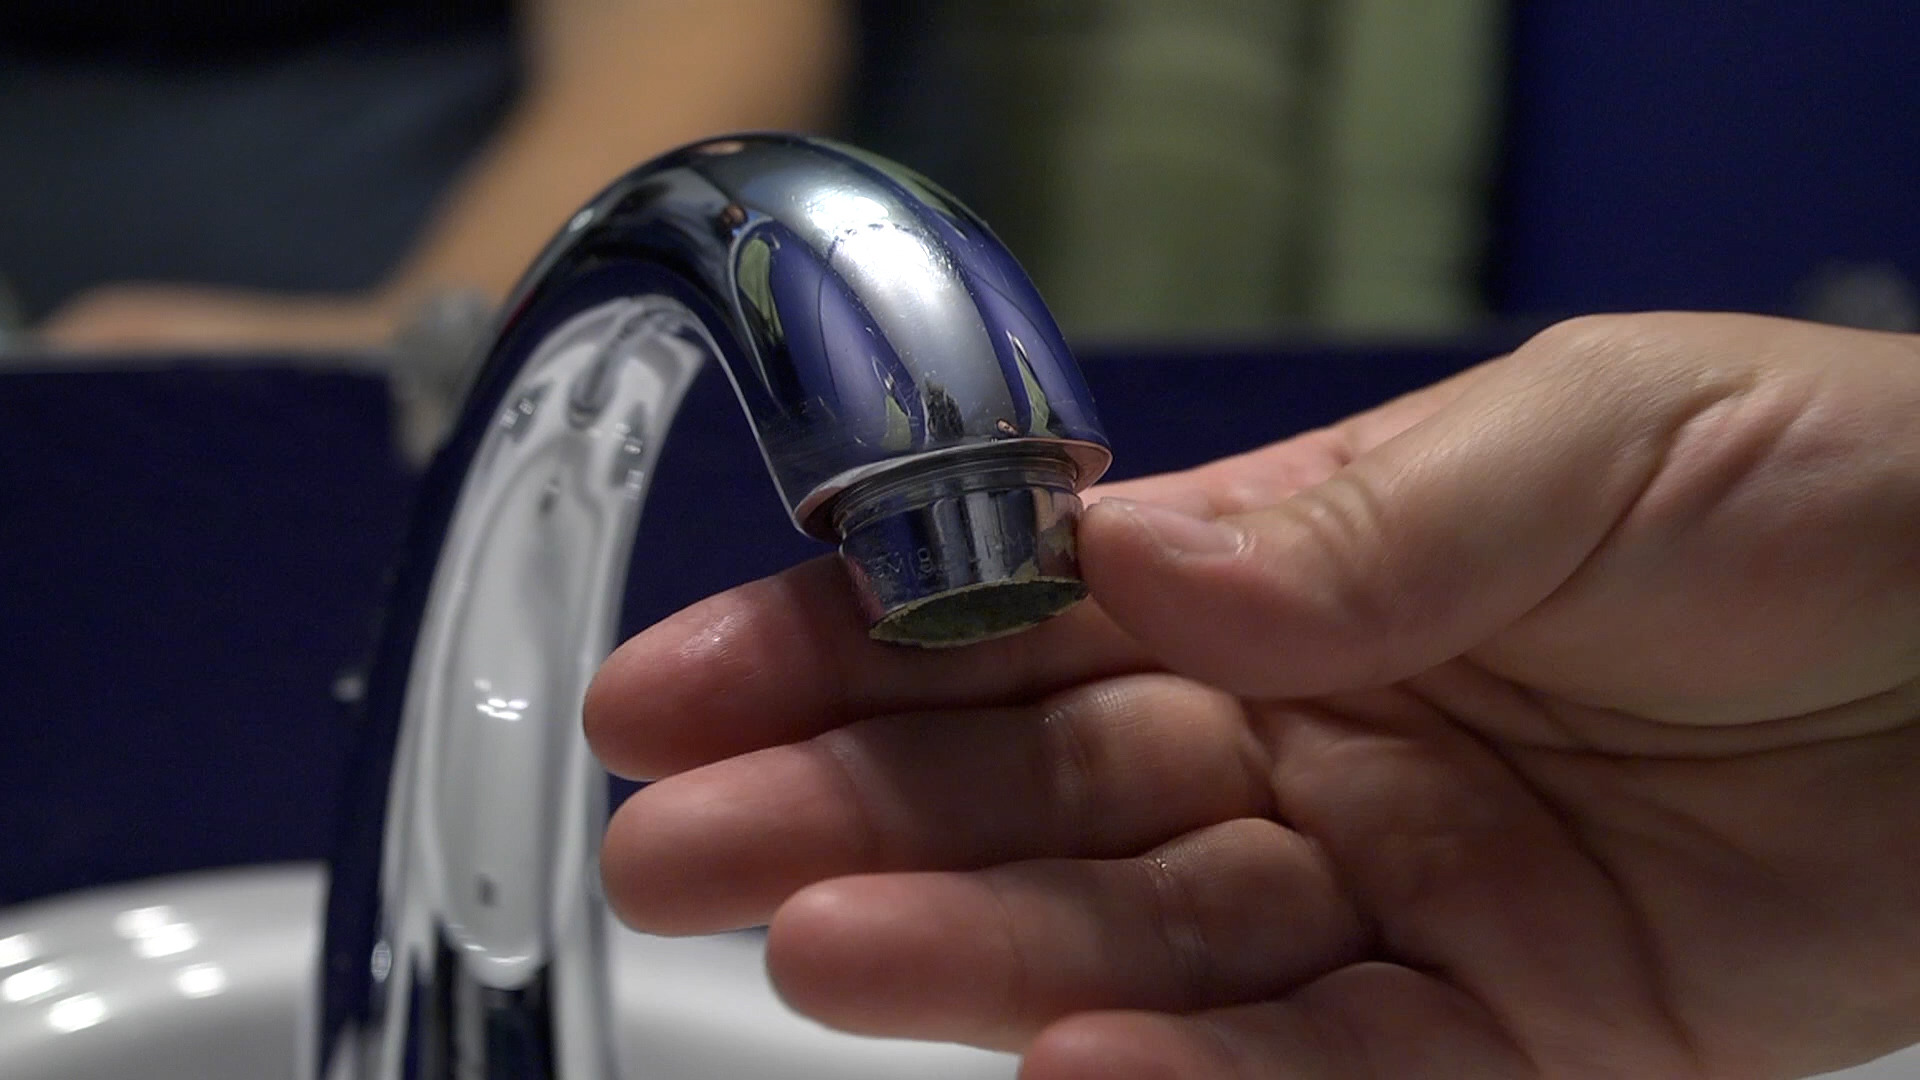
Once the aerator is unscrewed, carefully inspect it for any signs of damage or corrosion. If it appears worn or damaged, it may be a good time to replace it with a new one. If the aerator is still in good condition, proceed to the next step to clean it thoroughly.
Remember to be patient and gentle while removing the aerator to avoid any mishaps or damage. If you encounter any difficulties or the aerator seems stuck, it’s best to seek professional assistance.
In the next step, we will guide you on how to clean the aerator to remove any debris and restore its functionality.
Step 5: Clean the Aerator
Now that you have successfully removed the aerator, it’s time to clean it thoroughly. Over time, mineral deposits, sediment, and debris can accumulate in the aerator, causing it to become clogged and reduce water flow. Cleaning the aerator will help restore its optimal performance. Follow these steps to clean the aerator:
- Inspect the aerator for any visible debris or mineral buildup. Use a small brush or toothbrush to gently scrub away any visible dirt or deposits on the aerator’s mesh screen and internal components.
- Fill a bowl or container with equal parts water and vinegar. If you prefer, you can also use a lime scale remover solution instead of vinegar.
- Submerge the aerator in the vinegar or lime scale remover solution and let it soak for 30 minutes to an hour. This will help dissolve any stubborn mineral deposits that may be clogging the aerator.
- After soaking, use the brush or toothbrush to scrub the aerator again, focusing on the mesh screen and internal components. This will help remove any loosened debris and ensure a thorough cleaning.
- Rinse the aerator with clean water to wash away any remaining vinegar or lime scale remover solution. Make sure to remove all traces of cleaning solution to prevent any unwanted tastes or odors in the water.
- Inspect the aerator once more to ensure it is clean and free of debris. If necessary, repeat the cleaning process or use a needle to remove any stubborn deposits from the mesh screen.
Once the aerator is clean and free of debris, it’s time to move on to the final step: reinstalling the aerator on the faucet.
Cleaning the aerator regularly, every few months or as needed, will help maintain optimal water flow and prevent future clogs. It is a simple but effective step in keeping your faucet functioning at its best.
Step 6: Reinstall the Aerator
After cleaning the aerator, it’s time to reinstall it back onto the faucet spout. Follow these steps to ensure a proper and secure reinstallation:
- Inspect the aerator and faucet spout to ensure they are clean and free of any debris or mineral deposits. Use a cloth or towel to wipe them if necessary.
- Align the aerator with the faucet spout, making sure the threads on the aerator match the threads on the spout.
- Using your hand, gently screw the aerator clockwise onto the faucet spout. Begin by twisting it clockwise to ensure a proper fit and prevent cross-threading.
- Once the aerator is hand-tight, use the adjustable pliers to give it a final snug turn. Be careful not to overtighten as it can potentially damage the aerator or faucet spout.
- Inspect the aerator to ensure it is aligned properly and sits flush on the faucet spout. Adjust it as necessary to achieve a snug fit.
- Turn on the water supply by rotating the water shut-off valve handles in a counterclockwise direction. This will allow the water to flow to the faucet.
- Turn on the faucet and check for any leaks or irregular water flow. If you notice any issues, gently tighten the aerator using the pliers until the problem is resolved.
With the aerator properly installed and the water flowing smoothly, you have successfully completed the process of unscrewing, cleaning, and reinstalling the aerator on your faucet. Regularly cleaning and maintaining the aerator will help ensure optimal water flow, prevent clogs, and extend the lifespan of your faucet.
Remember to periodically check and clean the aerator to keep it in top condition. If you encounter any difficulties or notice persistent issues with your faucet, it’s advisable to consult a professional plumber for further assistance.
Congratulations on completing this DIY task and improving the functionality of your faucet!
Read more: How To Replace A Faucet Aerator
Conclusion
Unscrewing the aerator on your faucet and cleaning it is a simple DIY task that can greatly improve the performance and longevity of your faucet. By following the steps outlined in this guide, you can easily remove the aerator using pliers, clean it thoroughly of any debris or mineral deposits, and reinstall it with confidence.
Regularly cleaning the aerator is essential for maintaining optimal water flow, preventing clogs, and ensuring the efficiency of your faucet. By taking the time to clean the aerator every few months, or as needed, you can enhance the flow of water, reduce splashing, and save water in the long run.
Remember, before you start the process, gather the necessary tools such as adjustable pliers, a soft cloth, vinegar or lime scale remover solution, and a small brush or toothbrush. Assess the type of aerator you have, whether it’s external threaded, internal threaded, or press-on, to determine the appropriate method for removal.
Turn off the water supply to prevent any leaks or water spraying while you work. Carefully unscrew the aerator using pliers, ensuring a firm grip to avoid damaging the aerator or faucet. Clean the aerator thoroughly by removing any debris, soaking it in vinegar or a lime scale remover solution, and scrubbing it with a brush. Rinse the aerator and inspect it to ensure it’s completely clean.
After cleaning, securely reinstall the aerator back on the faucet spout, making sure it is aligned properly and sits flush. Turn on the water supply and check for any leaks or irregular water flow. Adjust the aerator as needed to achieve a snug fit.
Regularly maintaining and cleaning the aerator on your faucet will not only improve water flow and performance but also extend the lifespan of your faucet. It’s a simple yet highly effective way to ensure the smooth operation of your faucet for years to come.
By following the steps outlined in this guide, you can confidently unscrew the aerator on your faucet, clean it thoroughly, and enjoy the benefits of a well-functioning faucet. So roll up your sleeves, gather your tools, and give your faucet the care it deserves!
Frequently Asked Questions about How To Unscrew Aerator On Faucet
Was this page helpful?
At Storables.com, we guarantee accurate and reliable information. Our content, validated by Expert Board Contributors, is crafted following stringent Editorial Policies. We're committed to providing you with well-researched, expert-backed insights for all your informational needs.

0 thoughts on “How To Unscrew Aerator On Faucet”