Articles
How To Remove Moen Faucet Aerator
Modified: August 27, 2024
Learn how to easily remove a Moen faucet aerator with our step-by-step articles. Improve your DIY skills and keep your faucets running smoothly.
(Many of the links in this article redirect to a specific reviewed product. Your purchase of these products through affiliate links helps to generate commission for Storables.com, at no extra cost. Learn more)
Introduction
Removing a faucet aerator can be a daunting task if you don’t know where to start. However, with the right tools and a bit of guidance, you can easily remove a Moen faucet aerator and successfully clean or replace it. The aerator, located at the tip of the faucet spout, is responsible for controlling the flow of water and preventing splashing. Over time, it can get clogged with mineral deposits or debris, affecting the water pressure and quality. Removing and cleaning the aerator regularly can help improve the overall performance of your faucet.
In this article, we will provide step-by-step instructions on how to remove a Moen faucet aerator. We will also discuss the reasons why it’s necessary to remove and clean the aerator, as well as the tools and materials you will need for the task. So, let’s dive in and learn how to remove a faucet aerator from your Moen faucet.
Key Takeaways:
- Regularly removing and cleaning your Moen faucet aerator is crucial for maintaining water flow, quality, and efficiency. It helps prevent clogs, improve performance, and ensure clean, safe water for daily use.
- By using basic tools and materials, such as an adjustable wrench, vinegar, and a toothbrush, you can easily remove, clean, and reassemble your Moen faucet aerator. This simple maintenance task can prolong the lifespan of your faucet and save water.
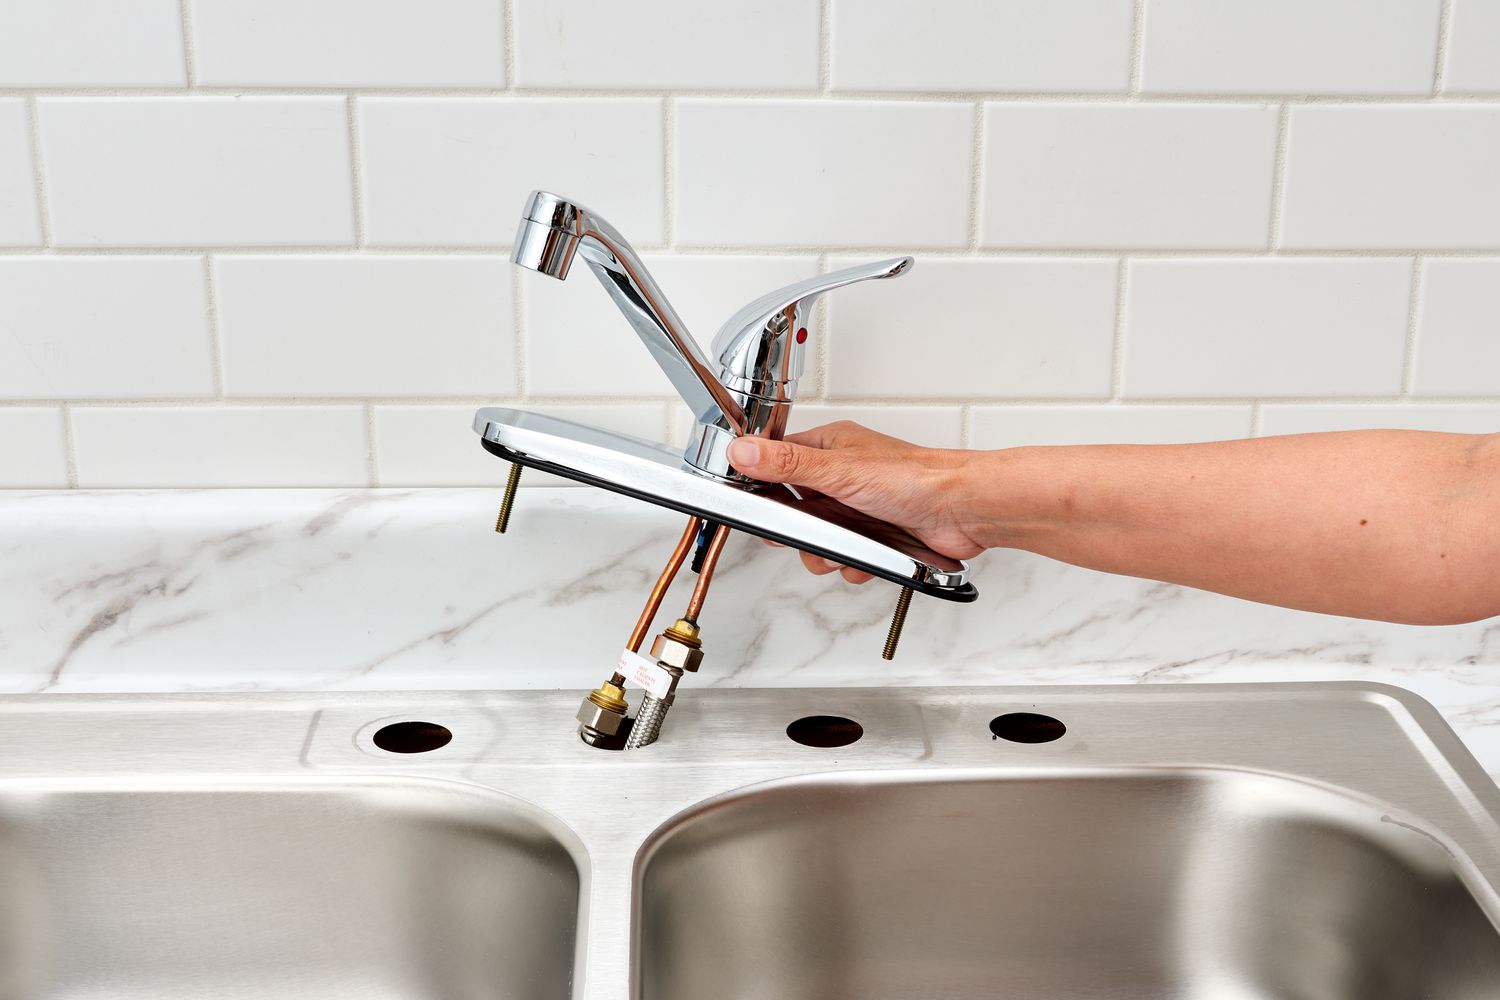
Read more: How To Remove A Moen Kitchen Faucet
Why remove a faucet aerator?
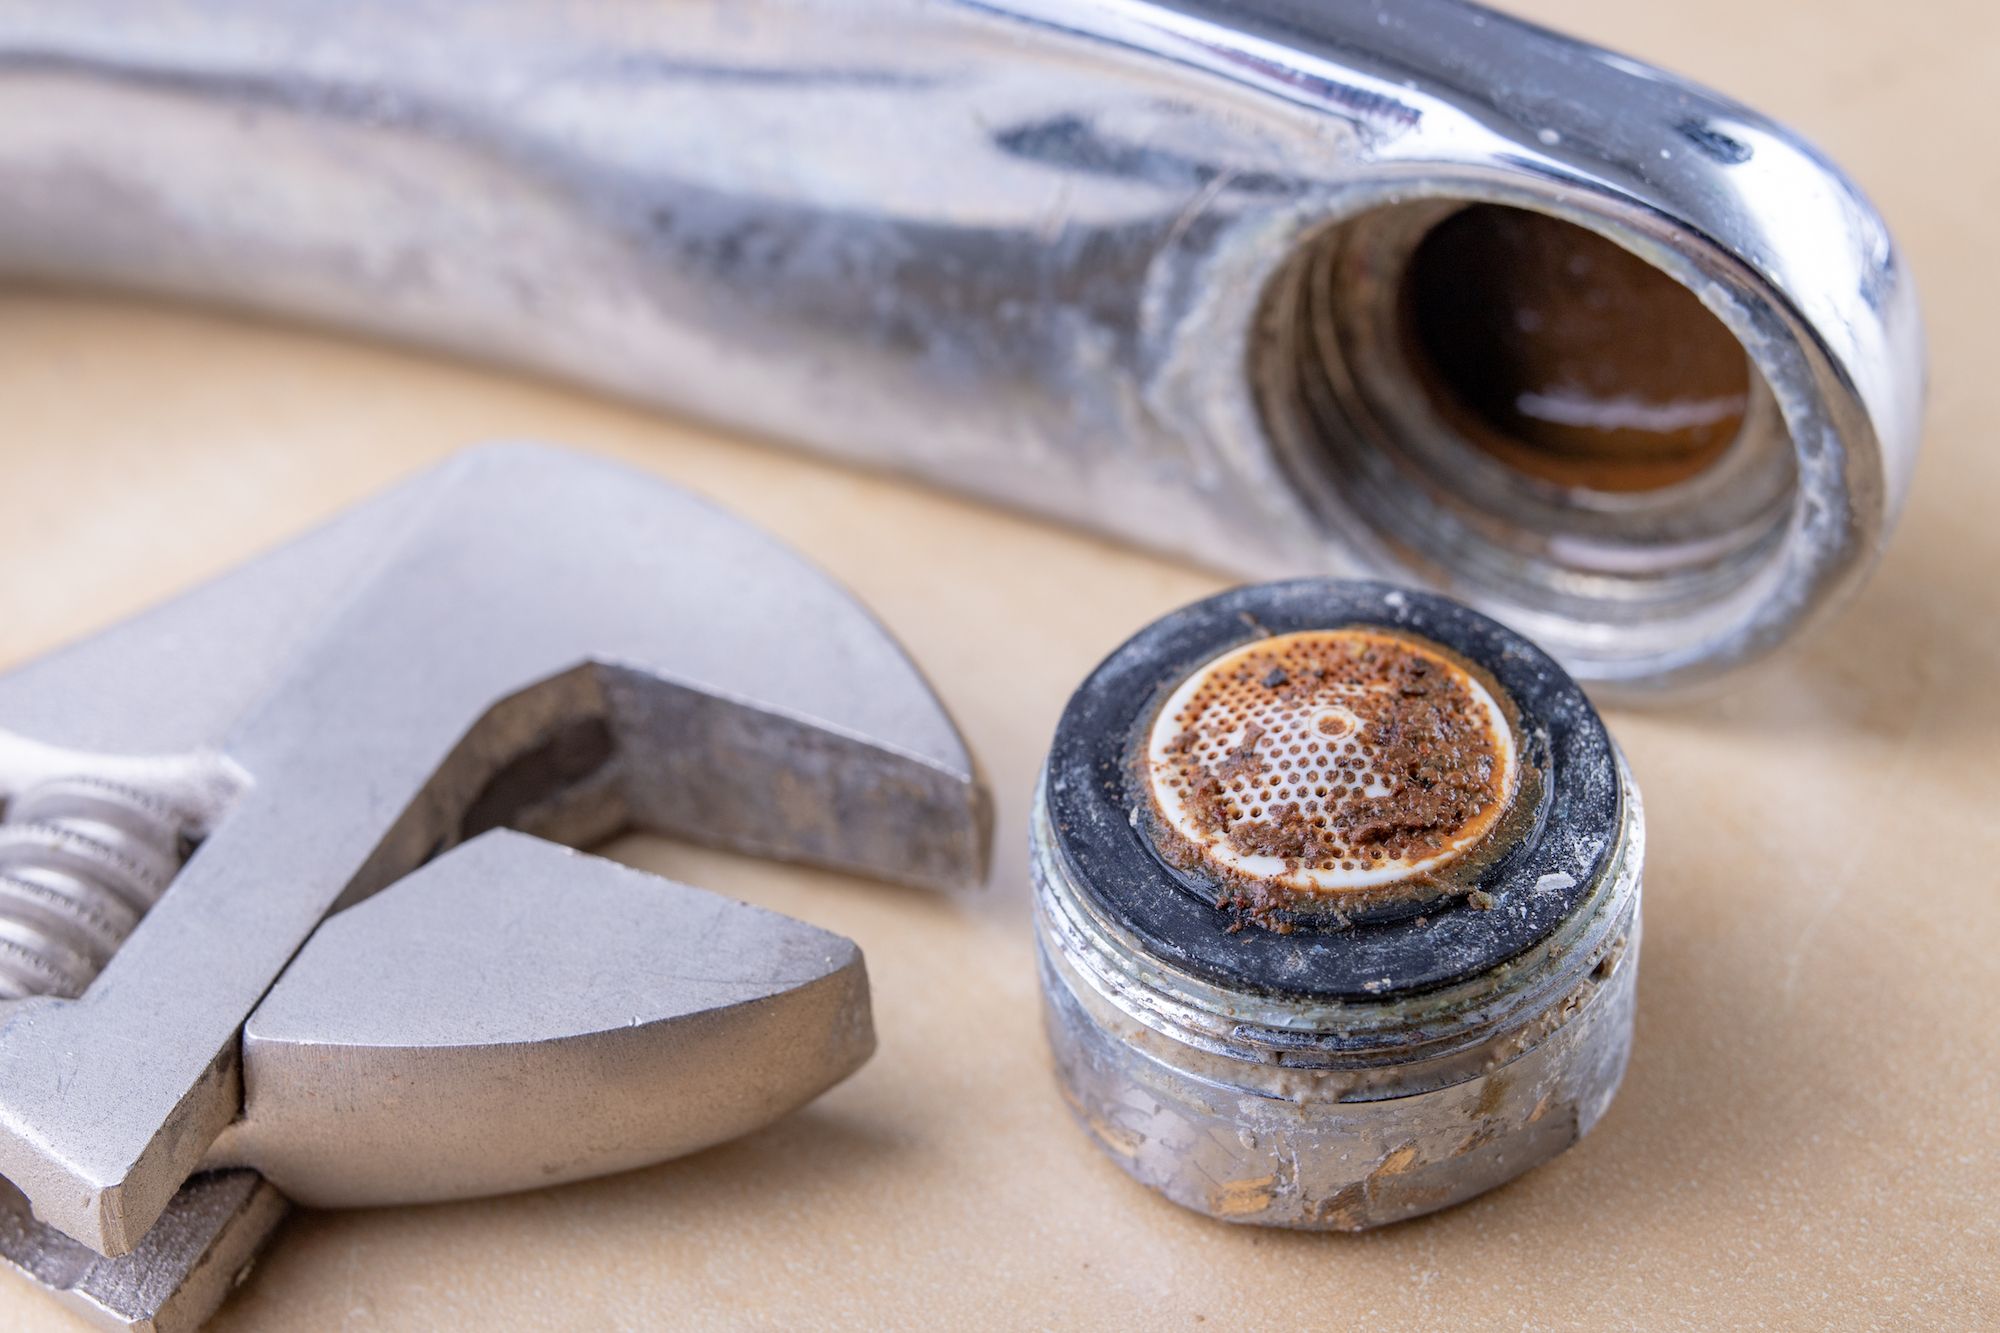
Before we jump into the process of removing a Moen faucet aerator, let’s understand why it’s essential to do so. Over time, mineral deposits from hard water can accumulate and clog the tiny openings in the aerator. This not only reduces the water flow but also affects the water pressure and creates uneven spray patterns. Additionally, debris or sediment can get trapped in the aerator, affecting the water quality. By removing and cleaning the aerator regularly, you can ensure a smooth and consistent water flow, prevent splashing, and maintain the overall performance of your faucet.
Tools and materials needed
To remove a Moen faucet aerator, you will need a few basic tools and materials. Here’s a list of what you will need:
- Adjustable wrench or pliers
- Aerator key or coin
- White vinegar
- Toothbrush or small brush
- Clean cloth or towel
Make sure you have these tools and materials ready before you begin the aerator removal process. It’s also important to shut off the water supply to the faucet before proceeding to avoid any accidents.
Now that you have gathered the necessary tools and materials, let’s move on to the step-by-step process of removing a Moen faucet aerator.
Key Takeaways:
- Regularly removing and cleaning your Moen faucet aerator is crucial for maintaining water flow, quality, and efficiency. It helps prevent clogs, improve performance, and ensure clean, safe water for daily use.
- By using basic tools and materials, such as an adjustable wrench, vinegar, and a toothbrush, you can easily remove, clean, and reassemble your Moen faucet aerator. This simple maintenance task can prolong the lifespan of your faucet and save water.
Read more: How To Remove A Moen Kitchen Faucet
Why remove a faucet aerator?
Before we jump into the process of removing a Moen faucet aerator, let’s understand why it’s essential to do so. Over time, mineral deposits from hard water can accumulate and clog the tiny openings in the aerator. This not only reduces the water flow but also affects the water pressure and creates uneven spray patterns. Additionally, debris or sediment can get trapped in the aerator, affecting the water quality. By removing and cleaning the aerator regularly, you can ensure a smooth and consistent water flow, prevent splashing, and maintain the overall performance of your faucet.
One of the main reasons to remove a faucet aerator is to address low water pressure. If you notice a decrease in water flow or weak water pressure from your Moen faucet, it may be due to a clogged aerator. The mineral deposits present in hard water can build up over time and restrict the flow through the tiny openings in the aerator. This causes the water to trickle out instead of flowing freely. By removing the aerator and cleaning it, you can remove these deposits and restore the proper water flow.
Another reason to remove a faucet aerator is to improve water quality. If you notice a foul odor or tiny particles in the water coming from your Moen faucet, it’s likely that the aerator has trapped debris or sediment. These contaminants can affect not only the taste and smell of the water but also the overall quality. By removing the aerator, you can clean out any accumulated particles and ensure cleaner, fresher water.
Removing the aerator also allows you to maintain your faucet more effectively. The aerator acts as a barrier, preventing larger debris from entering the faucet and causing damage. However, over time, the aerator itself can become clogged, reducing its effectiveness. By regularly removing and cleaning the aerator, you can prevent larger particles from reaching the internal components of your faucet, prolonging its lifespan and reducing the need for repairs.
In addition to addressing water pressure issues, improving water quality, and maintaining the faucet, removing the aerator can also help reduce water consumption. Aerators are designed to mix air with water, creating a steady flow while using less water. However, when the aerator becomes clogged, it can disrupt the balance between air and water, leading to wasted water and higher bills. By cleaning or replacing the aerator, you can restore its efficiency and reduce water usage.
Overall, removing a faucet aerator is crucial for maintaining the performance, water quality, and efficiency of your Moen faucet. Regular cleaning and maintenance of the aerator can save you from low water pressure, clogged openings, and potential plumbing issues. So, don’t neglect this simple yet crucial task and keep your faucet running smoothly.
Tools and materials needed
To remove a Moen faucet aerator, you will need a few basic tools and materials. Here’s a list of what you will need:
– Adjustable wrench or pliers: You will need a tool to provide grip and leverage for loosening and removing the aerator. An adjustable wrench or pliers with a wide jaw opening can be used for this purpose. Make sure the size of the wrench or pliers matches the size of the aerator.
– Aerator key or coin: Some Moen faucets come with aerators that can be easily removed using a specialized aerator key provided by the manufacturer. If you don’t have an aerator key, you can also use a coin, such as a quarter or a dime, to carefully unscrew the aerator. The coin should have enough thickness and size to fit into the slots or notches of the aerator.
– White vinegar: Vinegar is a natural cleaning agent that can effectively dissolve mineral deposits and remove buildup from the aerator. You will need some white vinegar to soak and clean the aerator. It’s recommended to use distilled white vinegar, as it is free from impurities that can potentially damage the aerator.
– Toothbrush or small brush: A toothbrush or small brush will be useful for scrubbing and cleaning the aerator after soaking it in vinegar. The bristles of the brush will help remove any remaining debris or mineral deposits. Make sure to use a brush with soft bristles to avoid damaging the aerator.
– Clean cloth or towel: You will need a clean cloth or towel to dry the aerator after cleaning it. This will ensure that no water residue remains, preventing any potential issues when reassembling the aerator.
Before starting the aerator removal process, make sure you have gathered all the necessary tools and materials. It’s also important to shut off the water supply to the faucet to prevent any accidental water flow during the process. With these tools in hand, you’re ready to successfully remove a Moen faucet aerator and give it a thorough cleaning or replace it if necessary.
To remove a Moen faucet aerator, start by covering the drain to prevent any small parts from falling in. Then, use a pair of pliers to grip the aerator and twist it counterclockwise to unscrew it from the faucet. If it’s stuck, try using a rubber band for better grip.
Read also: 8 Best Moen Faucet Aerators for 2025
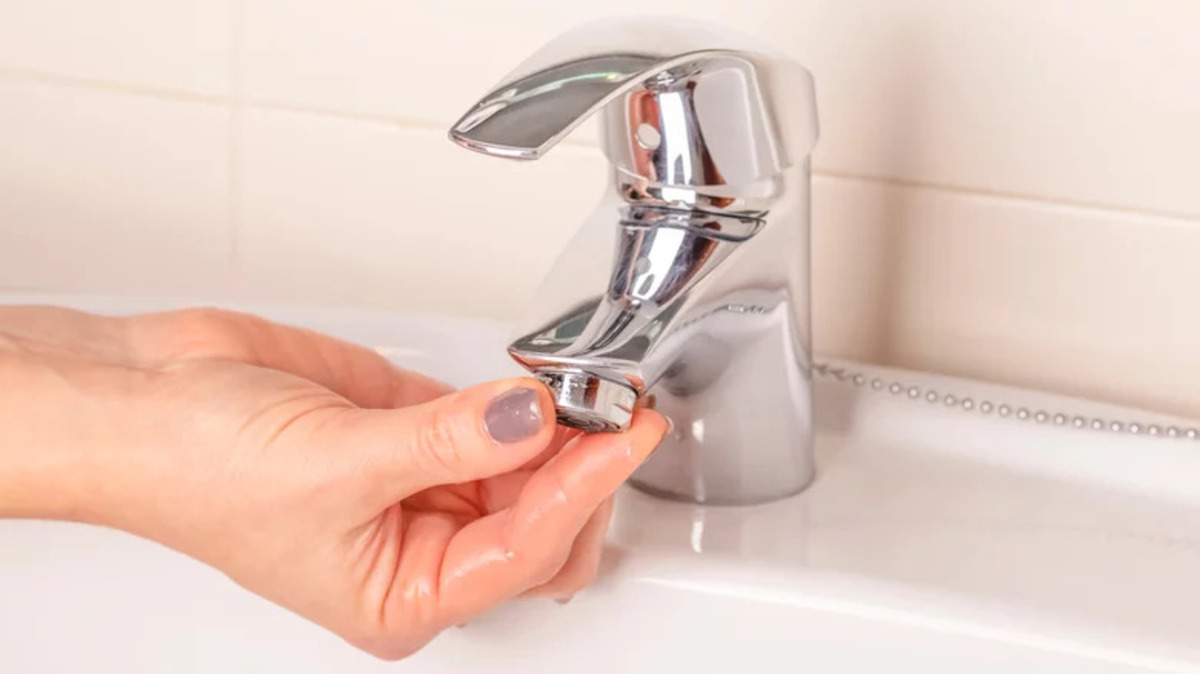
Steps to remove a Moen faucet aerator
Removing a Moen faucet aerator is a relatively simple process that can be done with a few easy steps. Follow these instructions to remove the aerator from your Moen faucet:
1. Prepare the workspace: Before starting, gather all the necessary tools and materials mentioned earlier. Make sure to shut off the water supply to the faucet to avoid any accidental water flow. Place a towel or cloth under the faucet to catch any dripping water and provide a cushioned surface for working.
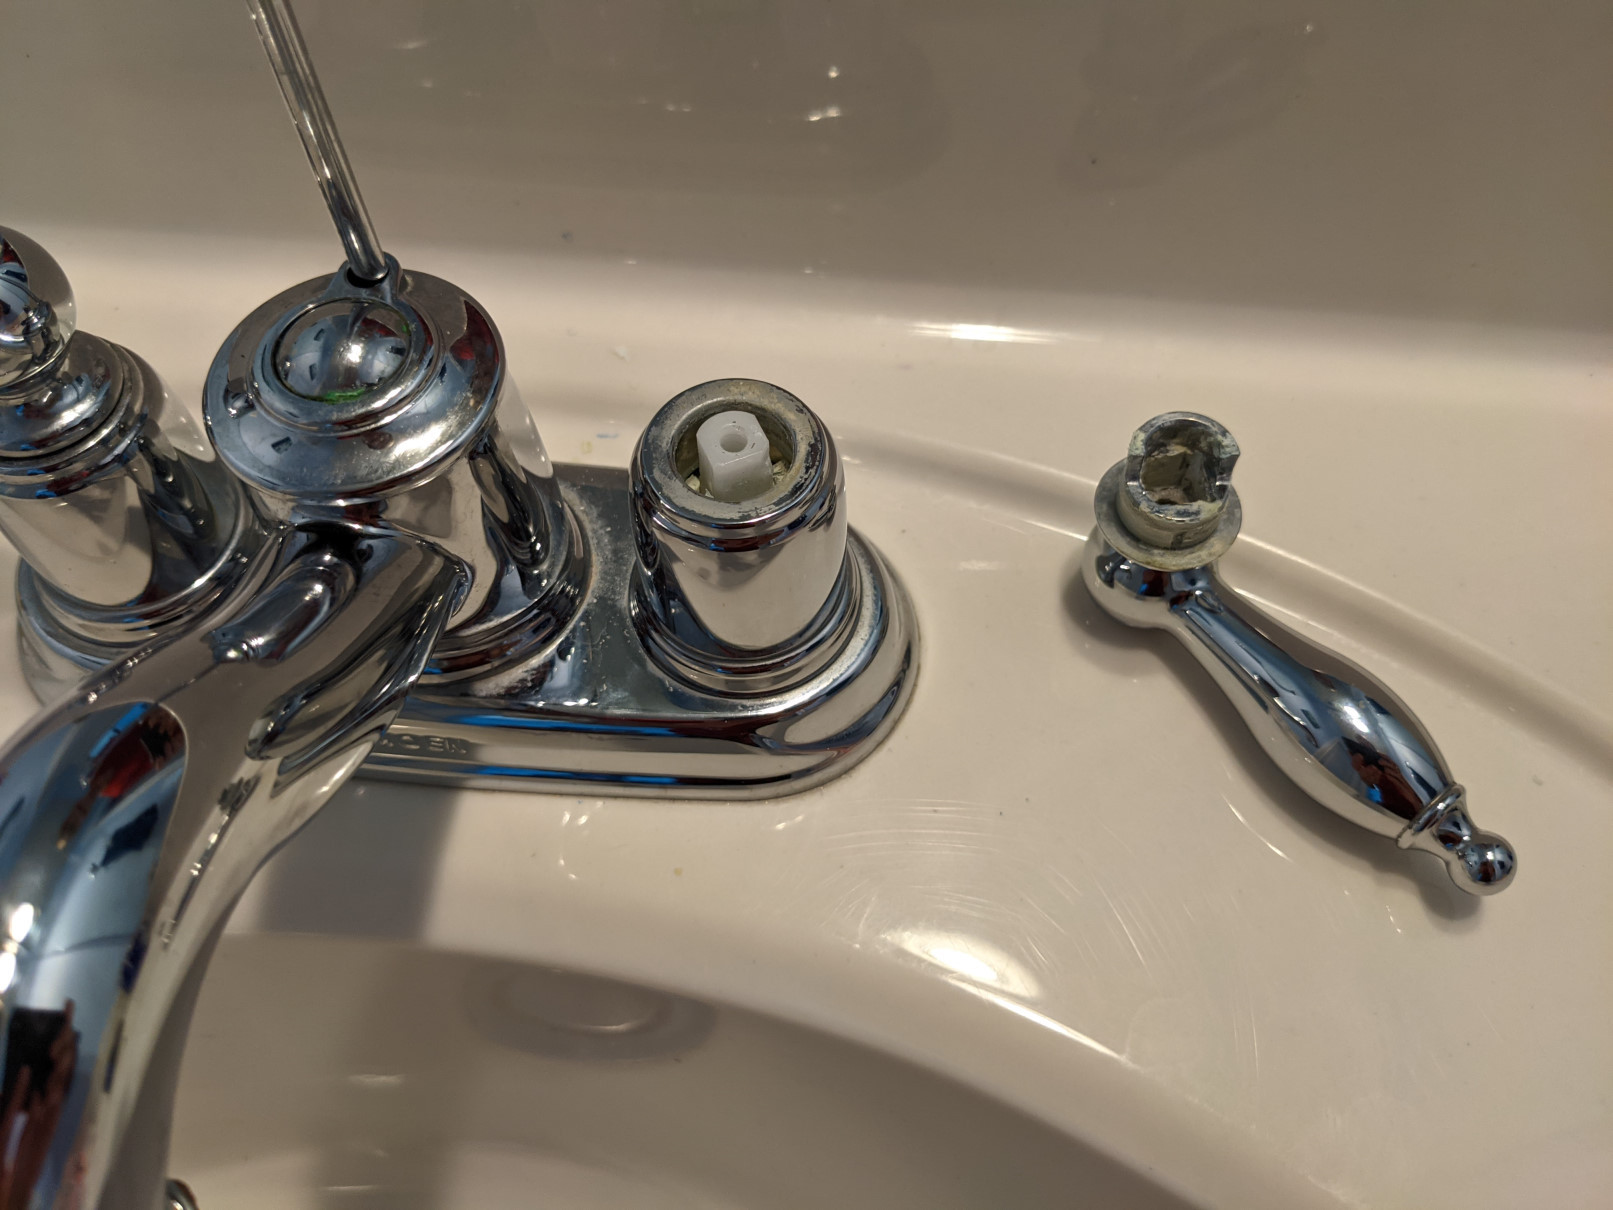
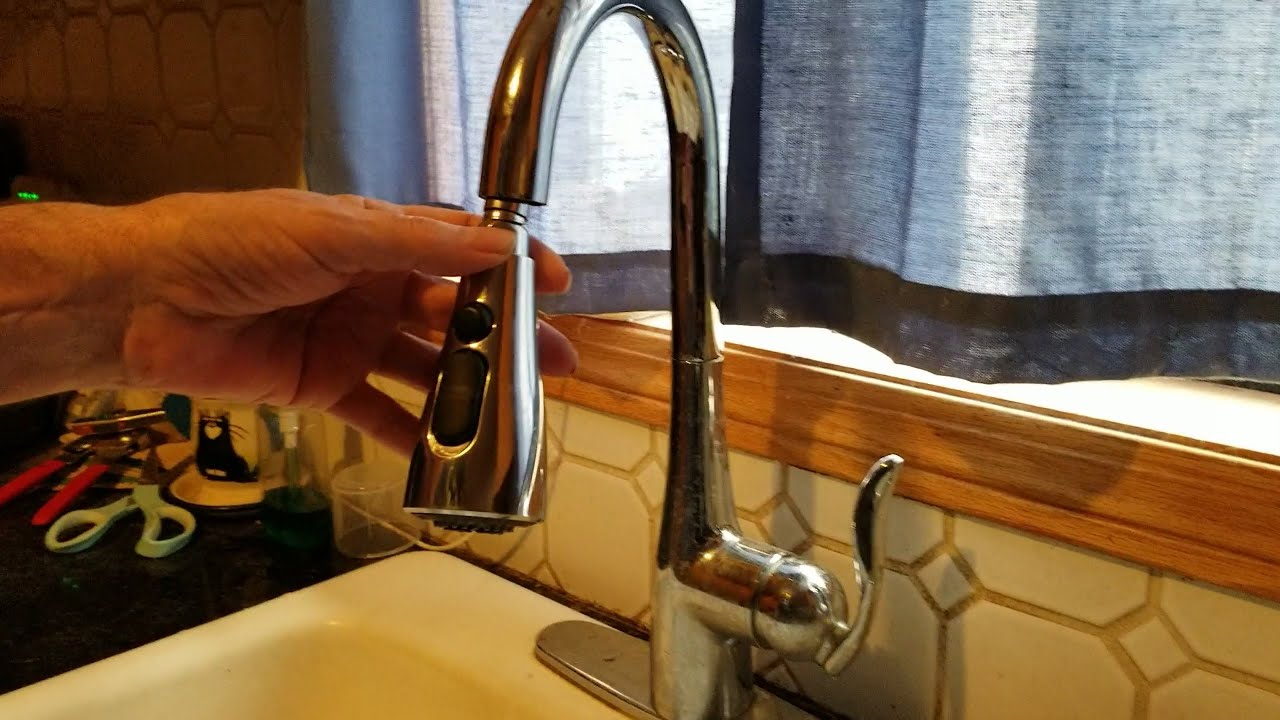
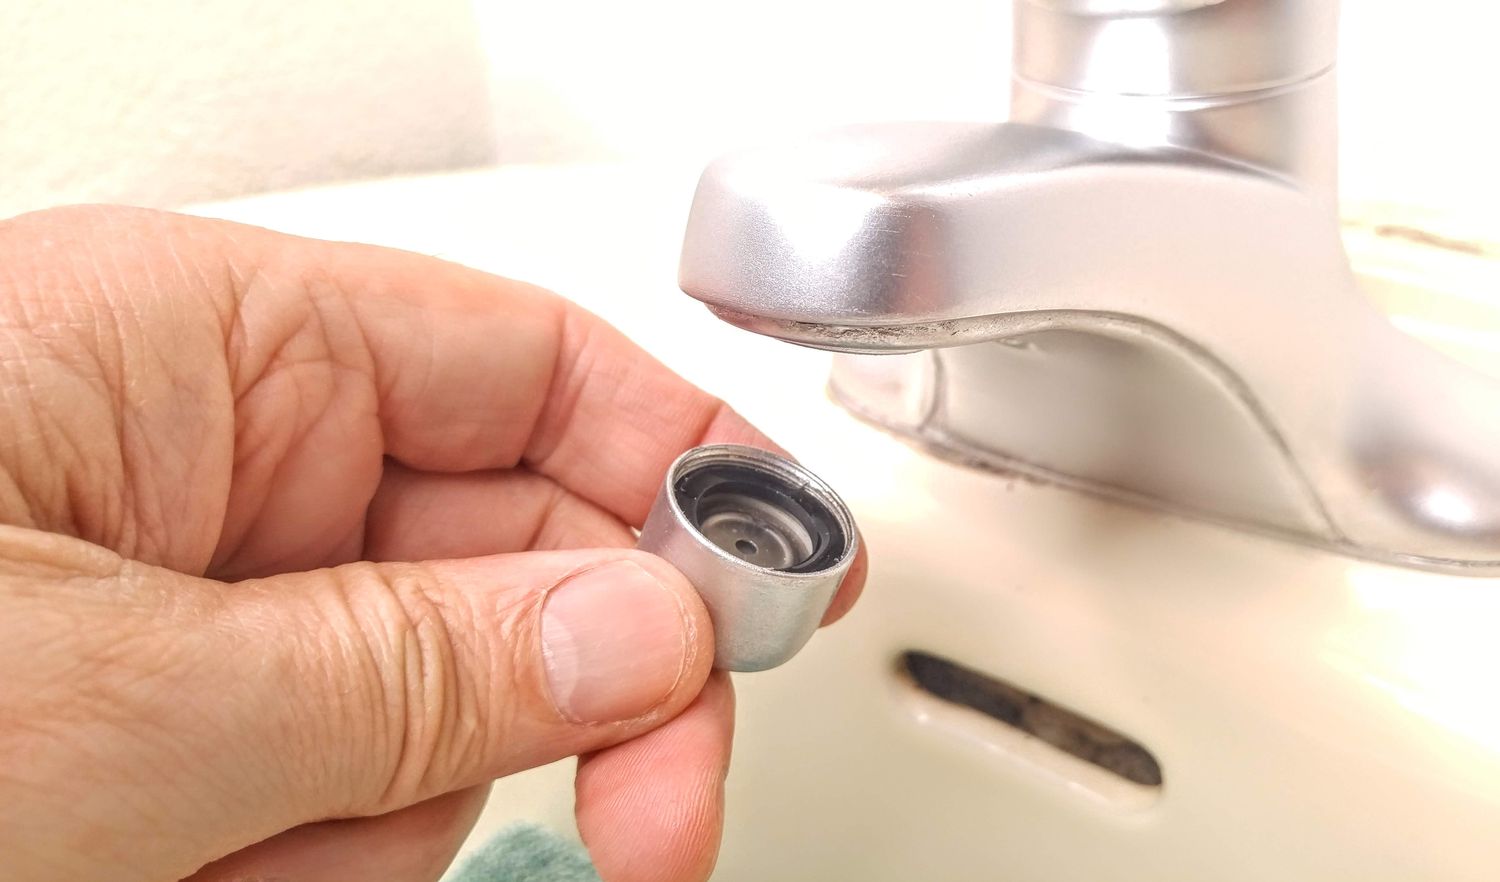
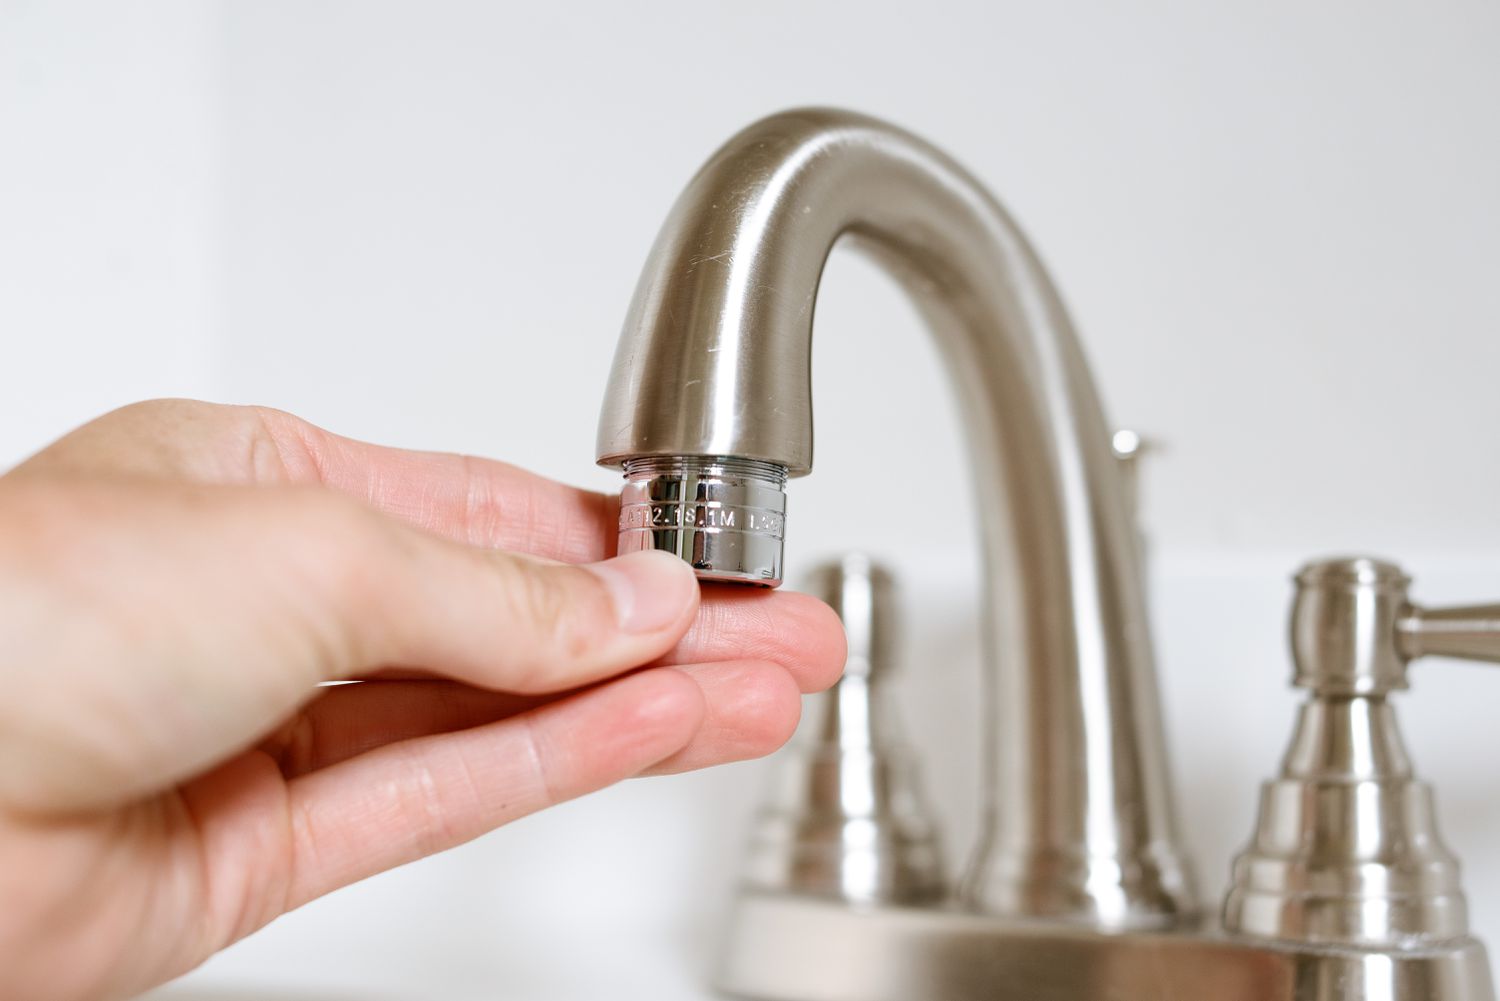
2. Locate the aerator: The aerator is typically located at the end of the faucet spout. It is a small attachment with mesh-like openings. Identify the aerator and examine it to determine the best approach for removal. Some Moen faucets have aerators that can be unscrewed by hand, while others may require the use of an aerator key or a coin.
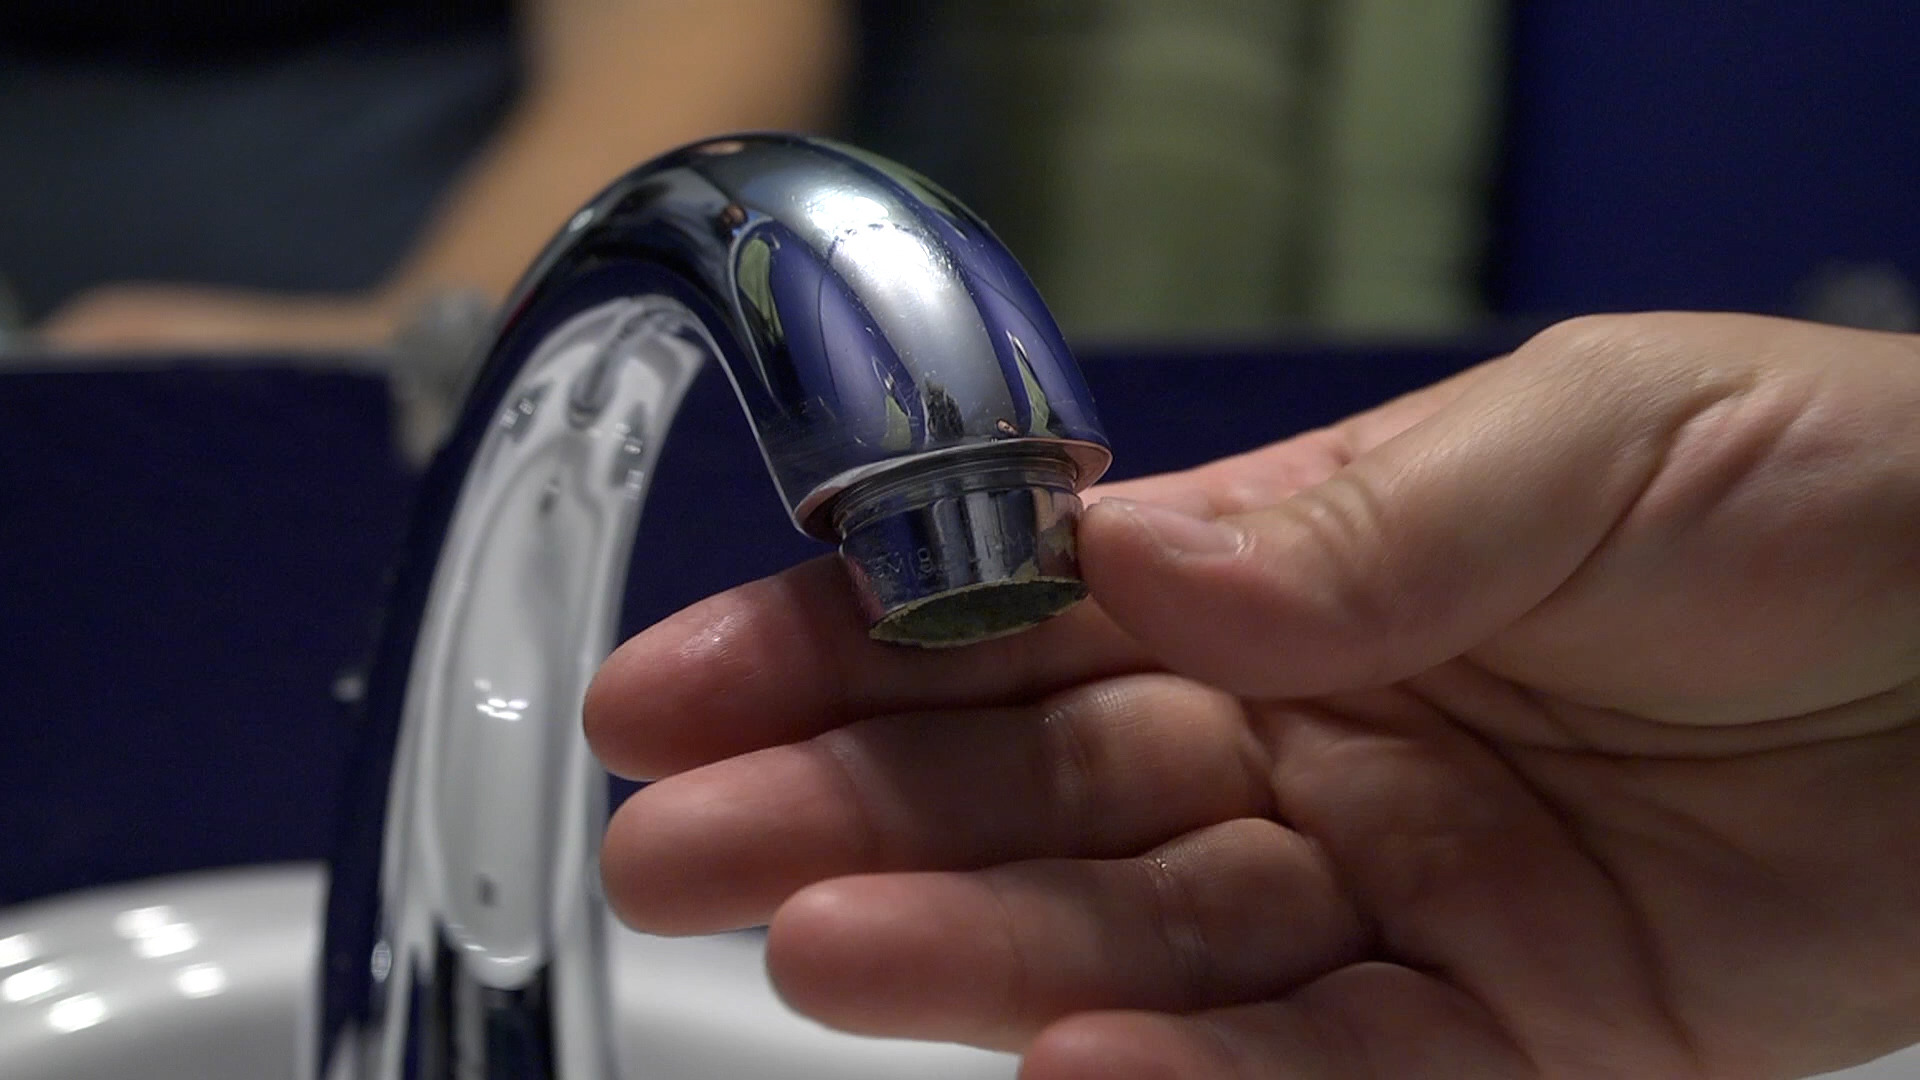
3. Use an aerator key or coin for removal: If your Moen faucet has an aerator key, insert it into the slots or notches on the aerator. Hold the aerator firmly with one hand and turn the key counterclockwise to loosen and remove the aerator. If you don’t have an aerator key, a coin can be used as an alternative. Insert the edge of the coin into one of the slots or notches on the aerator and carefully turn it counterclockwise to unscrew the aerator.
4. Use an adjustable wrench or pliers: If the aerator is tightly secured and cannot be removed by hand or with a coin, you may need to use an adjustable wrench or pliers. Wrap the jaws of the wrench or pliers with a cloth or tape to protect the aerator’s finish. Use the wrench or pliers to grip the aerator tightly and turn it counterclockwise to loosen and remove it from the faucet.
5. Clean the aerator: Once you have successfully removed the aerator, it’s time to clean it. Fill a small bowl or container with white vinegar and place the aerator in it. Allow the aerator to soak in the vinegar for about 15-30 minutes. The vinegar will help dissolve mineral deposits and remove any buildup. After soaking, use a toothbrush or small brush to gently scrub the aerator, ensuring all openings are thoroughly cleaned. Rinse the aerator with water to remove any remaining vinegar and debris.
6. Reassemble the aerator: After cleaning the aerator, dry it with a clean cloth or towel. Inspect the aerator for any damaged or worn-out parts. If necessary, replace any worn-out washers or components. When the aerator is completely dry and in good condition, reassemble it by screwing it back onto the faucet. Use the same technique you used to remove it, but this time turn it clockwise until it is securely tightened.
7. Test the faucet: Once the aerator is reassembled, turn on the water supply and test the faucet to ensure that the water flows smoothly and efficiently. Check for any leaks or issues, and make any necessary adjustments if required.
By following these steps, you can easily remove the aerator from your Moen faucet, clean it, and reassemble it. Regularly cleaning the aerator will help maintain the performance and longevity of your faucet, ensuring a smooth and consistent water flow.
Cleaning the aerator
Cleaning the aerator is an essential step after removing it from your Moen faucet. Over time, mineral deposits, debris, and sediment can accumulate, clogging the tiny openings and affecting the water flow and quality. By properly cleaning the aerator, you can ensure a consistent and efficient water flow. Follow these steps to clean the aerator:
1. Prepare a cleaning solution: Fill a small bowl or container with equal parts white vinegar and water. White vinegar is a natural cleaning agent that effectively dissolves mineral deposits and removes buildup from the aerator. If the aerator is heavily clogged, you can use undiluted white vinegar for a more potent cleaning solution.
2. Disassemble the aerator: Depending on the design of your Moen faucet aerator, it may consist of multiple components. Carefully disassemble the aerator by unscrewing any outer rings or caps. Take note of the order in which the components are placed to ensure proper reassembly later.
3. Soak the components: Place all the disassembled aerator components into the bowl with the vinegar solution. Allow them to soak for about 15-30 minutes. The vinegar will gradually dissolve any mineral deposits and loosen debris or sediment.
4. Scrub the components: After soaking, use a toothbrush or small brush to scrub each component of the aerator. Pay special attention to the mesh or screen, as this is where most of the buildup tends to accumulate. Gently scrub the components, ensuring all the openings and crevices are thoroughly cleaned. If necessary, you can also use a pin or toothpick to remove any stubborn debris.
5. Rinse the components: Once you are satisfied with the cleaning, rinse all the aerator components under running water. Make sure to remove any remaining vinegar and debris. Hold each component up to the light to ensure that the openings are completely clear and free from any blockages.
6. Check for damage: While cleaning the aerator, inspect each component for any signs of damage or wear. Look for cracks, missing washers, or bent parts. If you notice any issues, it’s best to replace the damaged components to ensure proper functioning of the aerator.
7. Dry and reassemble the aerator: After rinsing, dry all the aerator components using a clean cloth or towel. Make sure each piece is completely dry to prevent any water residue. Once dry, reassemble the aerator, following the same order in which you disassembled it. Finger-tighten the outer ring or cap to ensure a secure fit.
8. Test the aerator: Once the aerator is fully assembled, screw it back onto your Moen faucet. Turn on the water supply and test the aerator to ensure a smooth and consistent water flow. If everything appears to be in order, you have successfully cleaned the aerator.
By regularly cleaning the aerator, you can maintain the performance and efficiency of your Moen faucet. It’s recommended to clean the aerator at least once every few months or more frequently if you notice reduced water flow or poor water quality. Proper cleaning not only improves water flow but also prevents the buildup of harmful substances, ensuring clean and safe water for your daily use.
Reassembling the aerator
After cleaning the aerator of your Moen faucet, it is important to properly reassemble it before reinstalling it onto your faucet. Follow these steps to ensure the aerator is reassembled correctly:
1. Gather the cleaned components: Once you have finished cleaning the aerator components, make sure they are all dry and ready for reassembly. Lay them out on a clean surface so you can easily access and arrange them.
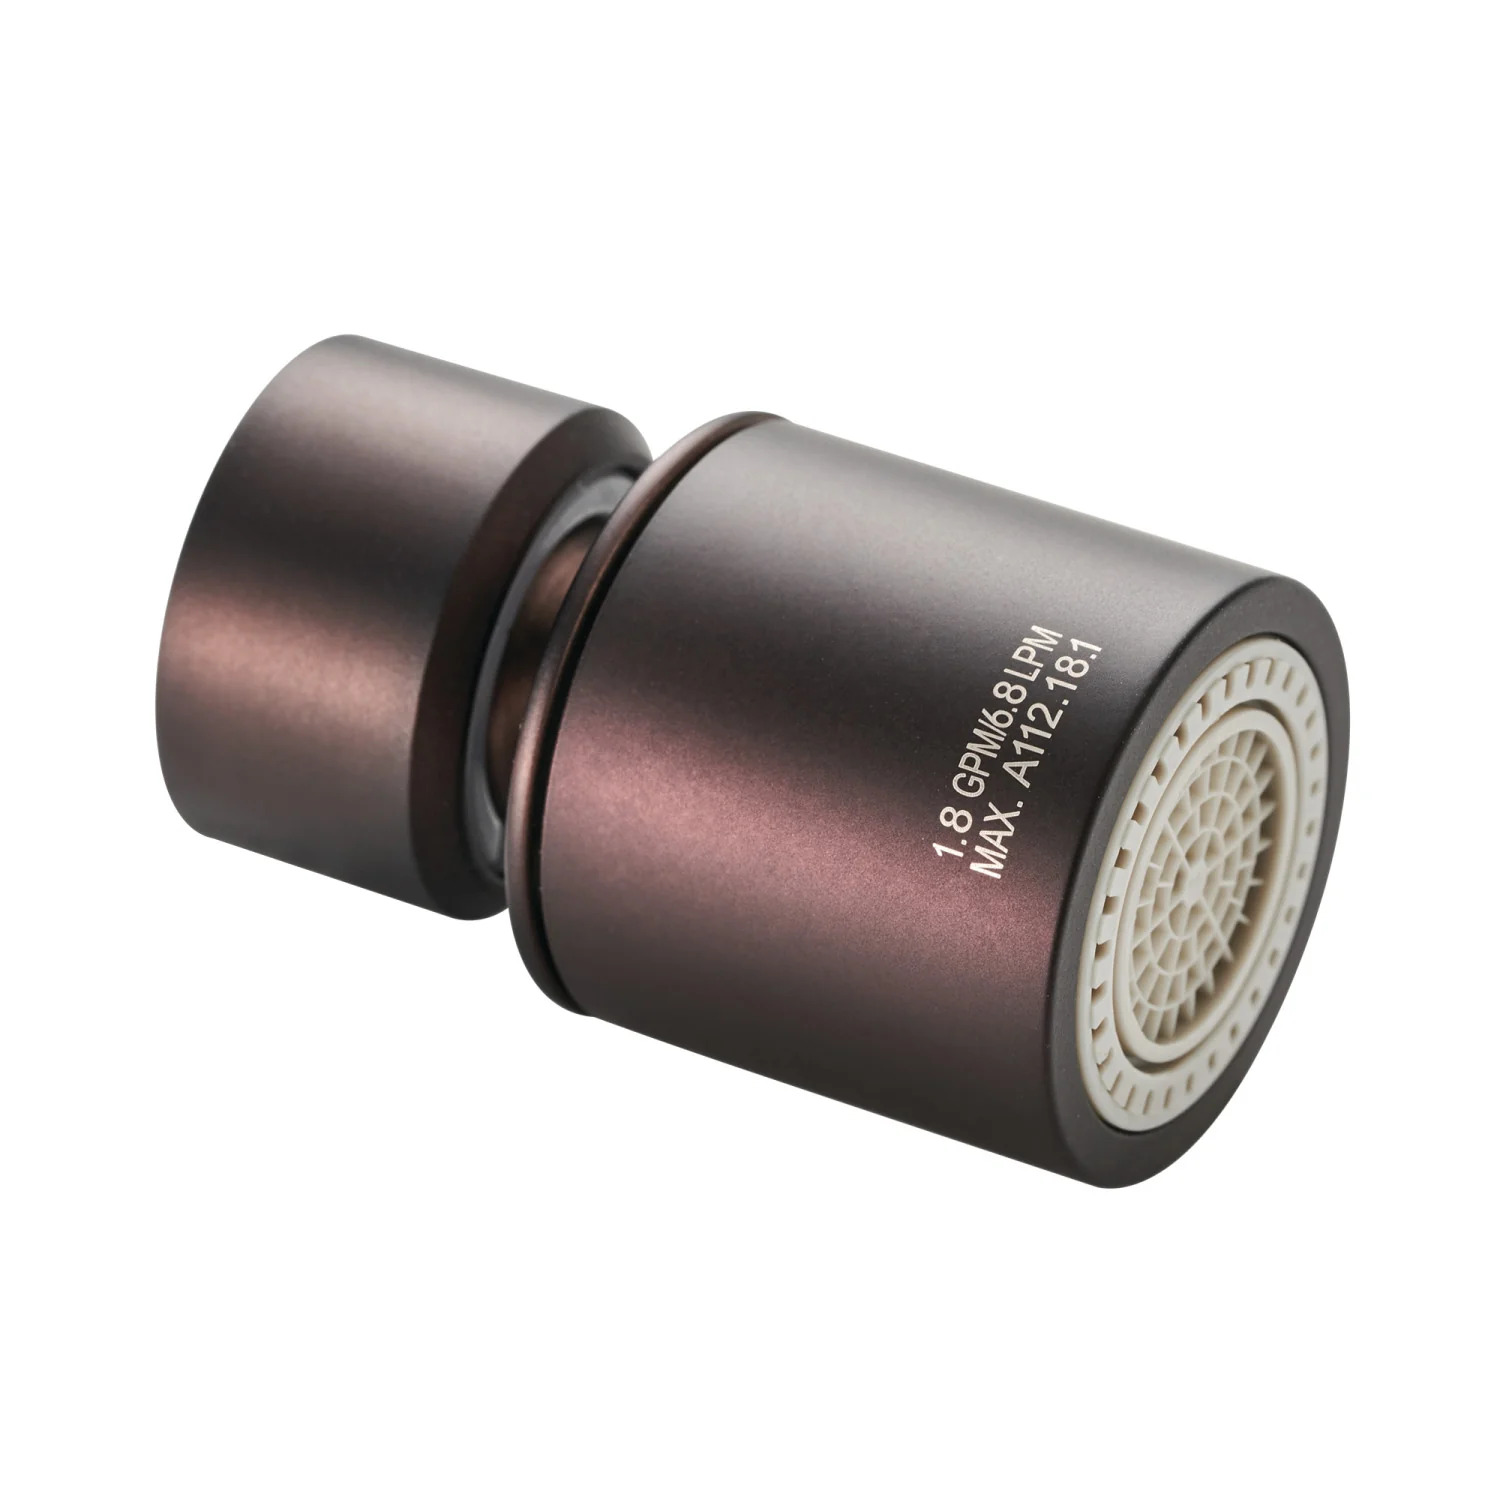
2. Identify the order of components: Take a moment to review the disassembled components and familiarize yourself with their order. Typically, the aerator consists of a mesh or screen, an inner disk or diverter, washers, and an outer ring or cap. Understanding the correct order will ensure that the aerator functions properly.
3. Begin with the mesh or screen: Start the reassembly process by placing the mesh or screen back into the aerator housing. Make sure it fits snugly and covers the entire opening. The mesh or screen is responsible for filtering debris and maintaining the flow of water.
4. Add the inner disk or diverter: If your aerator has an inner disk or diverter, place it on top of the mesh or screen. This disk diverts water flow and assists in creating an even stream.
5. Insert any washers: Depending on the specific design of your aerator, washers may be required. These help create a tight seal and prevent leaks. If your aerator includes washers, carefully place them onto the inner disk or diverter as instructed by the manufacturer.
6. Secure with the outer ring or cap: Once all the necessary components are in place, it’s time to secure the aerator by screwing on the outer ring or cap. Gently thread the ring or cap onto the aerator housing, making sure it aligns properly. Use your fingers to tighten the ring or cap until you reach a firm, secure fit. Be cautious not to overtighten, as this can damage the aerator.
7. Test the assembled aerator: With the aerator fully reassembled, it’s important to test its functionality before reinstalling it. Turn on the water supply to your faucet and observe the water flow. Check for any leaks or irregularities. If everything appears to be working correctly, you have successfully reassembled the aerator.
Properly reassembling the aerator ensures that it functions optimally and provides a consistent flow of water from your Moen faucet. Take your time during the reassembly process to ensure each component is correctly placed and secured. Following these steps will help you maintain the performance and longevity of your faucet.
Conclusion
Removing, cleaning, and reassembling a faucet aerator is a simple yet important maintenance task that can greatly improve the performance and longevity of your Moen faucet. By regularly cleaning the aerator, you can prevent clogs, maintain water flow, and ensure clean and safe water for your daily needs.
Throughout this article, we have discussed the reasons for removing a faucet aerator, which include addressing low water pressure, improving water quality, maintaining the faucet, and reducing water consumption. We’ve also provided a comprehensive guide on how to remove a Moen faucet aerator, including the tools and materials needed and the step-by-step process.
The tools and materials required for removing a Moen faucet aerator are basic and readily available, such as an adjustable wrench or pliers, an aerator key or coin, white vinegar, a toothbrush or small brush, and a clean cloth or towel. These tools, combined with the knowledge of the steps involved, empower you to successfully remove, clean, and reassemble the aerator.
Cleaning the aerator involves soaking the components in a vinegar and water solution to dissolve mineral deposits and scrubbing away any debris. This process helps ensure a consistent water flow and maintain the quality of your water supply.
Once the aerator is cleaned, it is important to reassemble it correctly before reinstalling it onto your faucet. Following the correct order of components – mesh or screen, inner disk or diverter, washers, and outer ring or cap – ensures optimal functionality and a secure fit.
Regularly performing these maintenance tasks and keeping your Moen faucet aerator clean and in good condition will help prolong the lifespan of your faucet, save water, and ensure a smooth and efficient water flow.
In conclusion, taking the time to remove, clean, and reassemble your Moen faucet aerator is a worthwhile endeavor. It is a simple yet effective way to maintain the performance, improve water quality, and prolong the life of your faucet. Embrace this routine maintenance task and enjoy the benefits of a well-functioning faucet for years to come.
Now that you've mastered removing and cleaning your Moen faucet aerator, why not enhance your overall home skills? Our next guide on how to DIY home improvement offers practical tips and tricks to tackle various projects around your house. Whether you're looking to update your living space or just need a few repairs, you'll find easy-to-follow advice that will make any task seem less intimidating. Ready to turn those home improvement plans into reality? Dive into our comprehensive guide and start transforming your home today!
Frequently Asked Questions about How To Remove Moen Faucet Aerator
Was this page helpful?
At Storables.com, we guarantee accurate and reliable information. Our content, validated by Expert Board Contributors, is crafted following stringent Editorial Policies. We're committed to providing you with well-researched, expert-backed insights for all your informational needs.


0 thoughts on “How To Remove Moen Faucet Aerator”