Articles
11 Amazing Delta Faucet Aerator for 2025
Modified: June 10, 2025
Looking to upgrade your faucet aerator? Check out our list of 11 amazing Delta faucet aerators for 2025. Enhance your water flow and save on water consumption.
(Many of the links in this article redirect to a specific reviewed product. Your purchase of these products through affiliate links helps to generate commission for Storables.com, at no extra cost. Learn more)
Are you in search of the perfect faucet aerator to enhance your home 2025? Look no further! Introducing the 11 Amazing Delta Faucet Aerator for 2025. This comprehensive guide will walk you through the top-notch options available in the market, helping you make an informed decision to elevate your faucet experience. With Delta's commitment to innovation and quality, these aerators are designed to provide superior performance, water efficiency, and durability. Whether you're looking for a sleek and modern design or a budget-friendly option, the 11 Amazing Delta Faucet Aerator for 2025 has got you covered. Get ready to transform your everyday water flow into an extraordinary experience!

Overall Score: 8/10
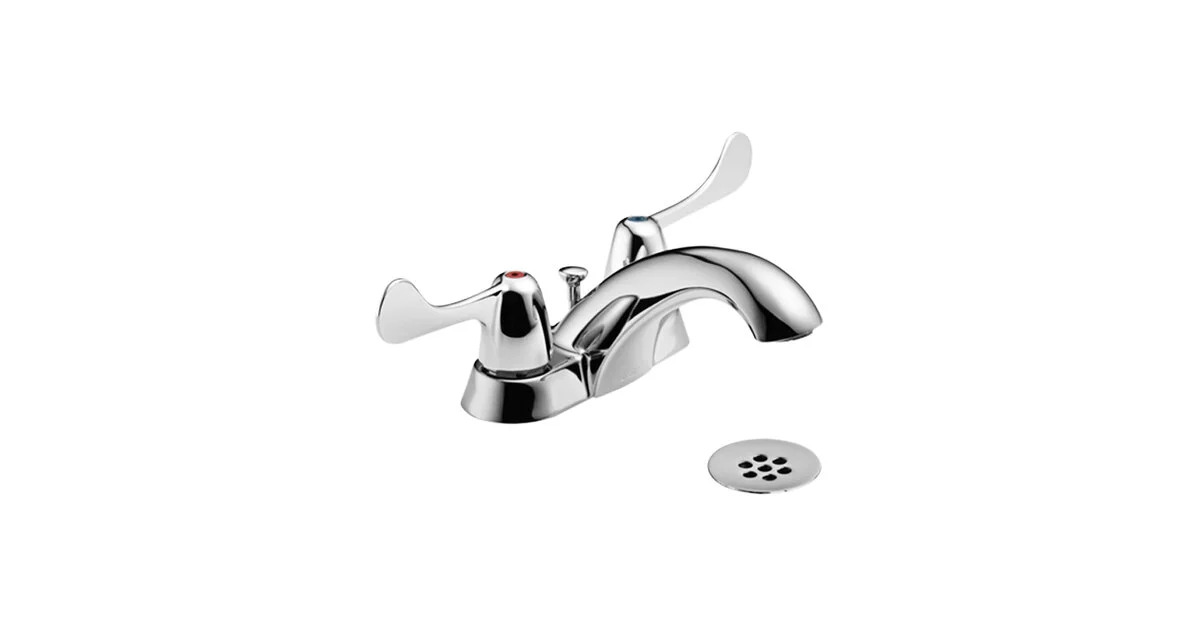
The Delta Faucet RP330 Aerator for 2.2 GPM is a chrome-colored aerator designed for use in Classic kitchen and lavatory faucets. With a 15/16-Inch 27 male thread, this product is a perfect fit for older Delta bathroom vanity sink faucets. It comes with easy installation and provides a nice water flow. Manufactured in China, this aerator adds great value to any faucet. The product dimensions are 0.75Lx0.75Wx0.75H. Although there have been complaints about inaccurate measurements in the product description, this aerator has received positive reviews for its effectiveness and quality. It is especially recommended for those with tankless water heaters as it improves water pressure and shortens hot water delay. Overall, the Delta Faucet RP330 Aerator is a reliable product that solves leaky faucet problems and enhances water flow.
Key Features
- RP330 Delta 15/16 CHR aerator
- Adds great value
- Manufactured in China
- For use in Classic kitchen and lavatory faucets
- 15/16-Inch 27 male thread
- For technical assistance, contact 1.800.345.DELTA
Specifications
- Color: Chrome
- Dimension: 0.75Lx0.75Wx0.75H
- Size: 1 Count (Pack of 1)
Pros
- Perfect fit and easy install
- Improves water flow and pressure
- Fits perfectly on Delta faucets
- Reliable and good quality
Cons
- Inaccurate measurements in product description
- Possible language translation issues
The Delta Faucet RP330 Aerator is a reliable solution for leaky faucets and ensures a nice water flow. It provides a perfect fit for older Delta faucets and improves water pressure, making it especially beneficial for those with tankless water heaters. While the product description may have some inaccuracies, the positive reviews highlight its effectiveness and quality. With easy installation and a reliable performance, this chrome aerator is a worthwhile purchase for anyone in need of a replacement. Overall, the Delta Faucet RP330 Aerator receives a score of 8 out of 10 for its functionality and value.

Overall Score: 8.6/10
The iFealClear 12 Pieces Faucet Cache Aerators with 4 Pieces Removal Wrench Tool is a water-saving flow restrictor set replacement part for bathroom or kitchen sinks. The aerators are made of strong ABS material and come in multiple sizes to meet your needs. The kit also includes four different size removal wrenches for easy installation. With a fine mesh, these aerators prevent water from splashing and shape the water stream. Suitable for various brands, the aerators can be fitted to kitchen sink faucets, bathroom taps, and lavatory faucets spout head. Upgrade your sinks and save money and time with the iFealClear 12 Pieces Faucet Cache Aerators with 4 Pieces Removal Wrench Tool.
Key Features
- Strong Plastic Construction
- 16 Pack with Different Sizes
- Multi Size Aerator Keys
- No Spraying
- Wide Application
Specifications
- Color: Blue
- Dimension: 3.00Lx3.00Wx1.50H
- Size: Male 16.5 18.5 21.5 24
Pros
- Made of strong ABS material for strength and reliability
- Comes in multiple sizes to meet different needs
- Includes four different size removal wrenches for easy installation
- Prevents water from splashing with a fine mesh
- Can be fitted to various brands of faucets
Cons
- Not compatible with all faucet brands
- Some customers experienced a loud whistling sound
The iFealClear 12 Pieces Faucet Cache Aerators with 4 Pieces Removal Wrench Tool is a great solution for improving water flow and saving water in your bathroom or kitchen sinks. Made of strong ABS material, these aerators are reliable and durable. With various sizes and a set of removal wrenches, installation is quick and easy. The fine mesh design prevents water from splashing, and the aerators can be fitted to different faucet brands. However, compatibility issues may arise with certain faucets, and some customers have reported a loud whistling sound. Overall, this product is a cost-effective way to upgrade your sinks and enhance your water flow.

Overall Score: 8.5/10
The 4 Pack Faucet Replacement Part Insert Filter is a practical and effective tool that can ease the impact of water and prevent splashing. With the included removal wrench tool, it is easy to remove and install the aerator in minutes, saving you the cost of hiring a plumber. The aerator keys are made of durable ABS material, ensuring longevity. This set of aerators and tools can be fitted to various types of faucets, providing a smooth flow of water. The package includes 4 different sizes of aerators and wrenches, meeting your different needs. Each aerator has a different flow rate, allowing you to customize your water flow. Upgrade your faucets with this reliable and convenient tool!
Key Features
- Practical and effective water flow restrictor
- Easy to use with removal wrench tool
- Strong and durable aerator keys
- Fits various types of faucets
- Multiple sizes and flow rates included
Specifications
- Color: 4 Pcs Faucet Aerator + 4 Pcs Wrench Tool
- Dimension: 3.94Lx6.30Wx3.15H
- Size: 12 PACK
Pros
- Easy installation and removal
- Durable construction
- Adjustable flow rates
- Compatible with various faucets
Cons
- May not work with some specific faucet models
The 4 Pack Faucet Replacement Part Insert Filter is a reliable and convenient tool for improving water flow in faucets. With its easy installation and removal process, durable construction, and adjustable flow rates, it offers great value for money. However, it may not be compatible with certain faucet models. Overall, it is a practical solution to fix low flow faucets and enhance your water experience.

Overall Score: 8/10
The 12 Pcs Faucet Aerator for Cache Aerators is a versatile kit that includes various sizes of faucet filter cache aerators to accommodate different faucet diameters. The package also includes 6 different sizes of cache tap aerator keys for easy installation and removal. The aerators are made of durable ABS material, ensuring longevity. These aerators can be used in kitchen sink faucets, bathroom faucets, and toilet faucet spout heads, and are compatible with popular brands such as Neoperl, Moen, Kohler, American Standard, Danze, and Groche Cache aerators. They effectively combine water and air to reduce water flow without affecting water pressure, preventing water splashing and saving water. With easy installation and removal, this faucet aerator tool set is great for repairing or cleaning blocked aerators, fixing low flow faucets, and restoring smooth water flow.
Key Features
- Includes 12 pieces of male 16.5mm, 18.5mm, 21.5mm, and 24mm faucet filter cache aerators
- Comes with 6 different sizes of cache tap aerator keys for easy installation and removal
- Made of durable ABS material for long-lasting use
- Compatible with popular faucet brands such as Neoperl, Moen, Kohler, American Standard, Danze, and Groche Cache aerators
- Effectively combines water and air to reduce water flow without lowering water pressure
- Prevents water splashing and helps save water
- Ideal for repairing or cleaning blocked aerators, fixing low flow faucets, and restoring smooth water flow
Specifications
- N/A
Pros
- Versatile kit with various sizes of cache aerators and keys
- Easy installation and removal in just 1 minute
- Made of durable and sturdy material
- Compatible with popular faucet brands
- Prevents water splashing and saves water
- Great for repairing, cleaning, and restoring water flow
Cons
- Doesn't work on all Delta faucets
- Some sizes may not fit properly
- Tools could be heavier duty for better grip
The 12 Pcs Faucet Aerator for Cache Aerators is a handy tool set that provides a variety of cache aerators and keys for easy installation, removal, and repair of faucet aerators. Made of durable material, it ensures long-lasting use. It effectively reduces water flow without affecting water pressure, preventing water splashing and saving water. While it may not work on all Delta faucets and some sizes may not fit properly, it offers a great solution for repairing, cleaning, and restoring water flow in various faucets. Overall, this faucet aerator tool set is a valuable addition to any household, providing convenience and efficiency in maintaining faucet performance.

Overall Score: 9/10
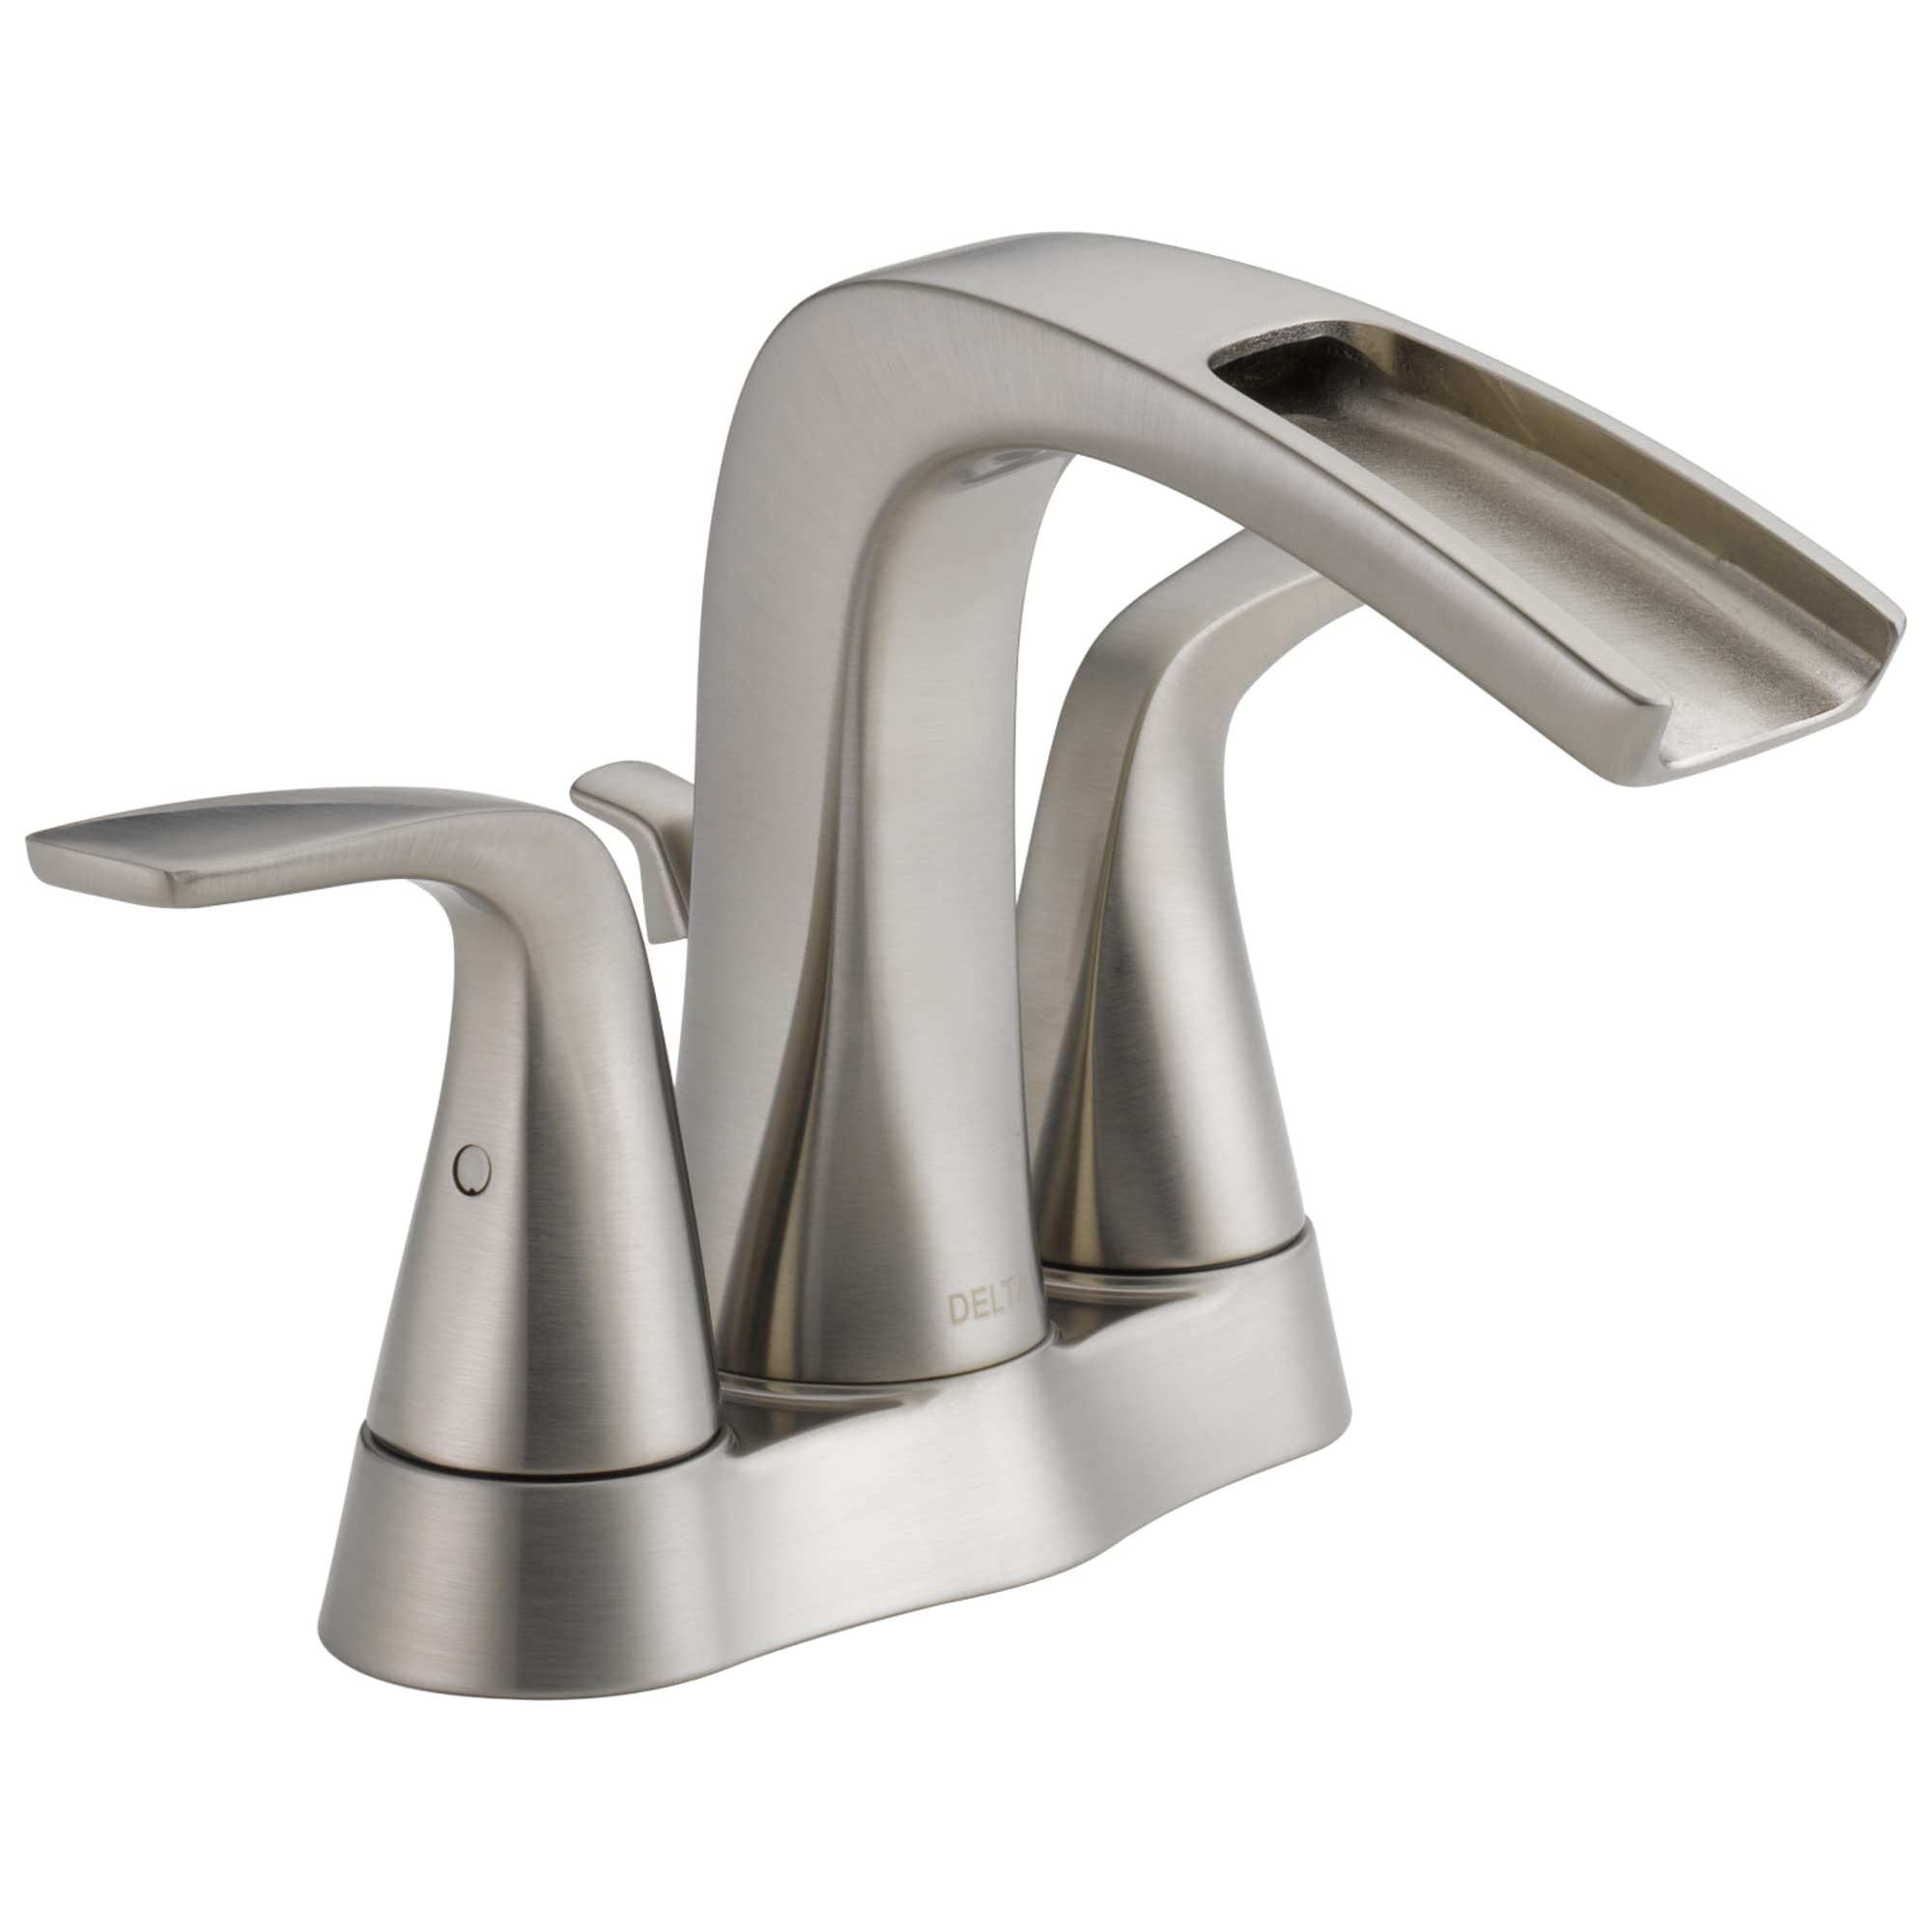
The Delta Faucet RP32529 Aerator is a high-quality product designed exclusively for Delta faucets. It is made to original specifications and rigorously tested to ensure top-notch performance. With a flow rate of 2.2 GPM, this aerator provides excellent water flow for a variety of tasks. Its chrome finish adds a sleek touch to your faucet. It is compatible with Delta Palo, Signature, Waterfall, and Allora pull-out/pull-down and bar/prep kitchen faucets. The aerator has received positive customer reviews for its ability to filter out debris while maintaining a good water flow. Installation is easy, and it is a cost-effective solution for improving water pressure. Overall, the Delta Faucet RP32529 Aerator is a reliable and efficient choice for enhancing your faucet experience.
Key Features
- 2.2 gpm, 8.3 L/min. Overall Height: 9/16. 15/16 inches – 27 male thread
- Designed exclusively for Delta faucets
- Made to original specifications
- Rigorously tested to ensure quality performance
- Plastic
- Use with Delta Palo, Signature, Waterfall & Allora pull-out / pull-down & bar / prep kitche
Specifications
- Color: Chrome
- Dimension: 0.75Lx0.75Wx0.75H
Pros
- Excellent water flow
- Filters out debris effectively
- Easy installation process
- Compatible with various Delta faucet models
- Enhances water pressure
Cons
- Some reports of minor leakage
- Premium price compared to cheaper alternatives
The Delta Faucet RP32529 Aerator is a reliable and efficient solution for enhancing your faucet experience. With its excellent water flow and ability to filter out debris, this aerator ensures a smooth and enjoyable task completion. It is designed exclusively for Delta faucets, making it a perfect fit for Delta Palo, Signature, Waterfall, and Allora models. Although there have been rare reports of minor leakage, the overall customer satisfaction is high due to its ease of installation and the improved water pressure it provides. If you’re looking to upgrade your faucet’s performance, the Delta Faucet RP32529 Aerator is a recommended choice.

Overall Score: 8/10
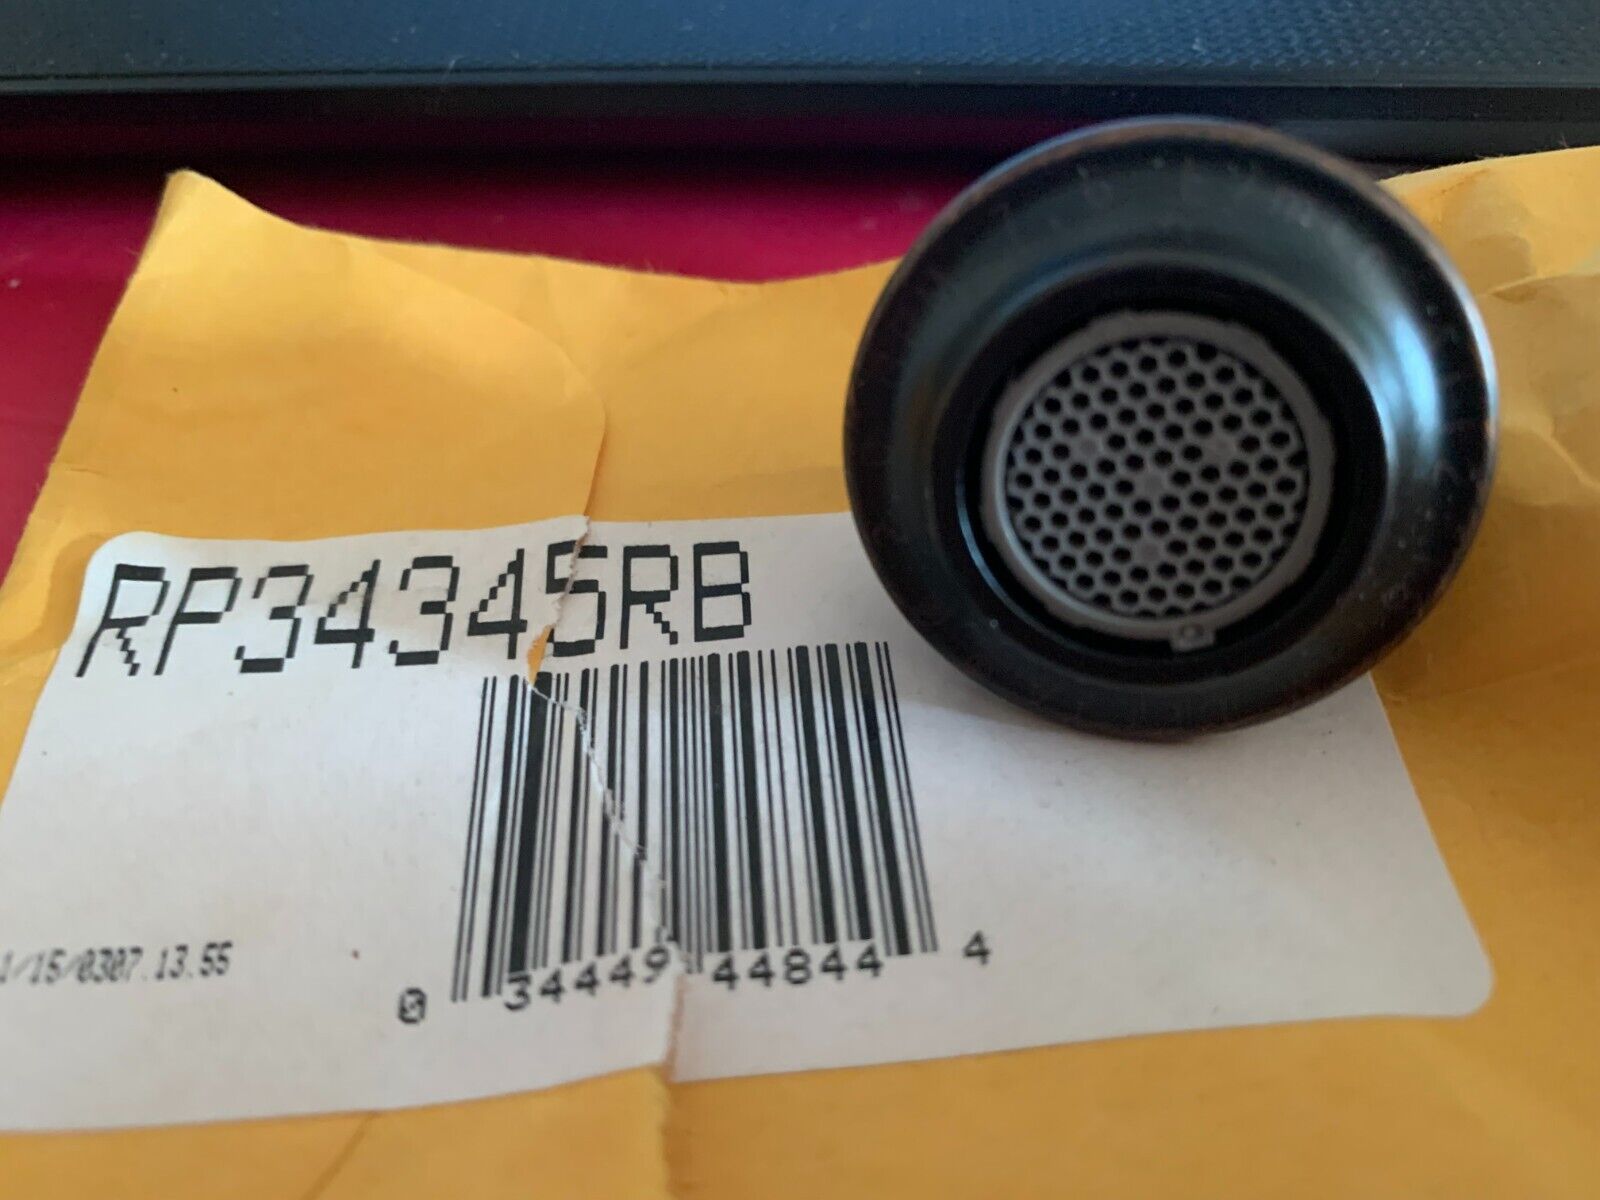
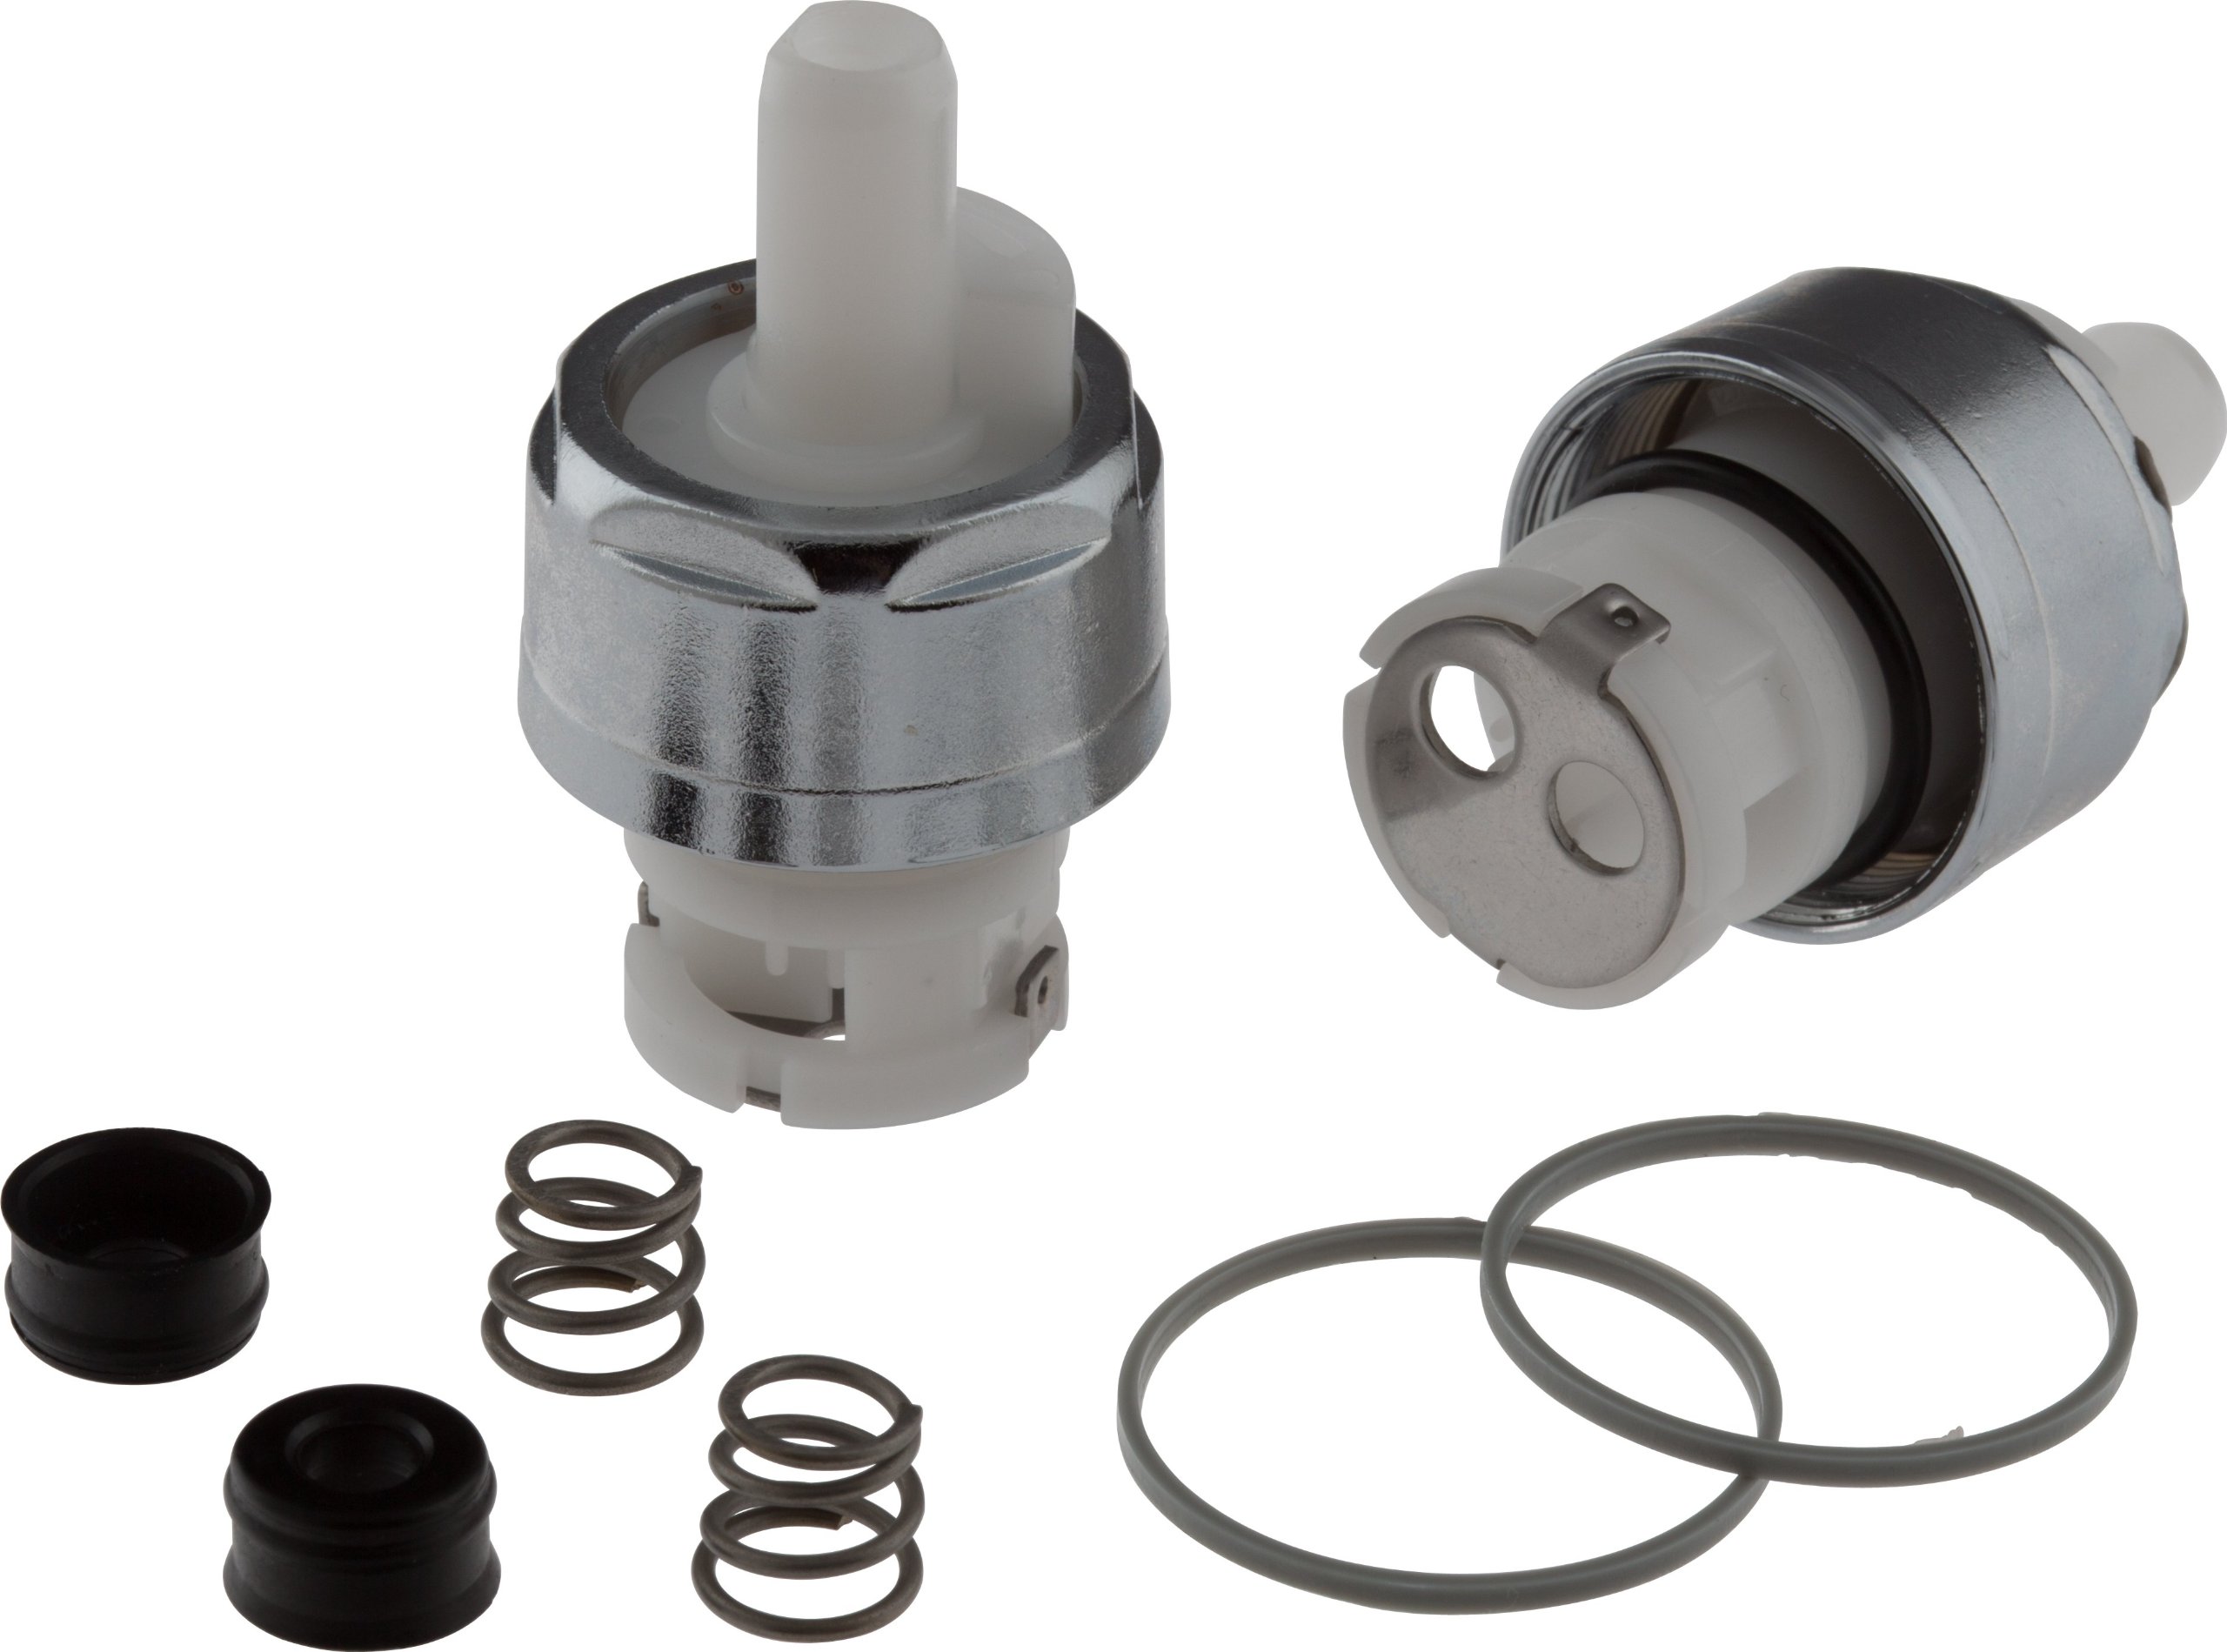
The Delta Faucet RP53998 2.2 Gpm Aerator is an O.E.M. authorized part or authorized aftermarket product. It is an aerator assembly with M24x1 male thread, designed for use with Talbot, Pillar Waterfall, and Victorian single handle kitchen faucets. The aerator comes in a pack of one and is sized at 0.75Lx0.75Wx0.75H. It is easy to clean and maintain, providing proper water pressure. The Delta RP53998 Aerator is a replacement for various Delta faucet models. It fits perfectly on Delta Valdosta and Cassidy RP9197-DST faucet with RP72680 sprayer. It is important to determine the faucet model and consult the specification sheet to ensure compatibility. Overall, it offers a reliable and efficient solution for upgrading or replacing aerators in Delta kitchen faucets.
Key Features
- O.E.M. Authorized part or authorized aftermarket product
- Aerator assembly M24x1 male
- Compatible with Talbot, Pillar Waterfall, and Victorian single handle kitchen faucets
- Easy to install and replace
- Comes in a pack of one
Specifications
- Color: Black
- Dimension: 0.75Lx0.75Wx0.75H
- Size: 1 Count (Pack of 1)
Pros
- Easy to clean and maintain
- Fits perfectly on various Delta faucet models
- Provides proper water pressure
- Quick delivery and install
- Reliable and efficient solution
Cons
- Requires knowledge of faucet model and specification
- Thread size may not fit all Delta Victorian faucets
- High price for some consumers
- Does not include a tool to open the aerator
The Delta Faucet RP53998 2.2 Gpm Aerator offers a reliable and efficient solution for upgrading or replacing aerators in Delta kitchen faucets. It is easy to install and provides the proper water pressure. The aerator fits perfectly on various Delta faucet models, such as Valdosta and Cassidy RP9197-DST with RP72680 sprayer. However, it is important to determine the faucet model and consult the specification sheet to ensure compatibility. While the aerator may not fit all Delta Victorian faucets, it serves as an exact replacement for several other models. Though the price may be on the higher side for some consumers, the quality and performance of the aerator make it worth the investment. Overall, the Delta Faucet RP53998 Aerator is a recommended choice for those looking to enhance their Delta kitchen faucets.

Overall Score: 7/10
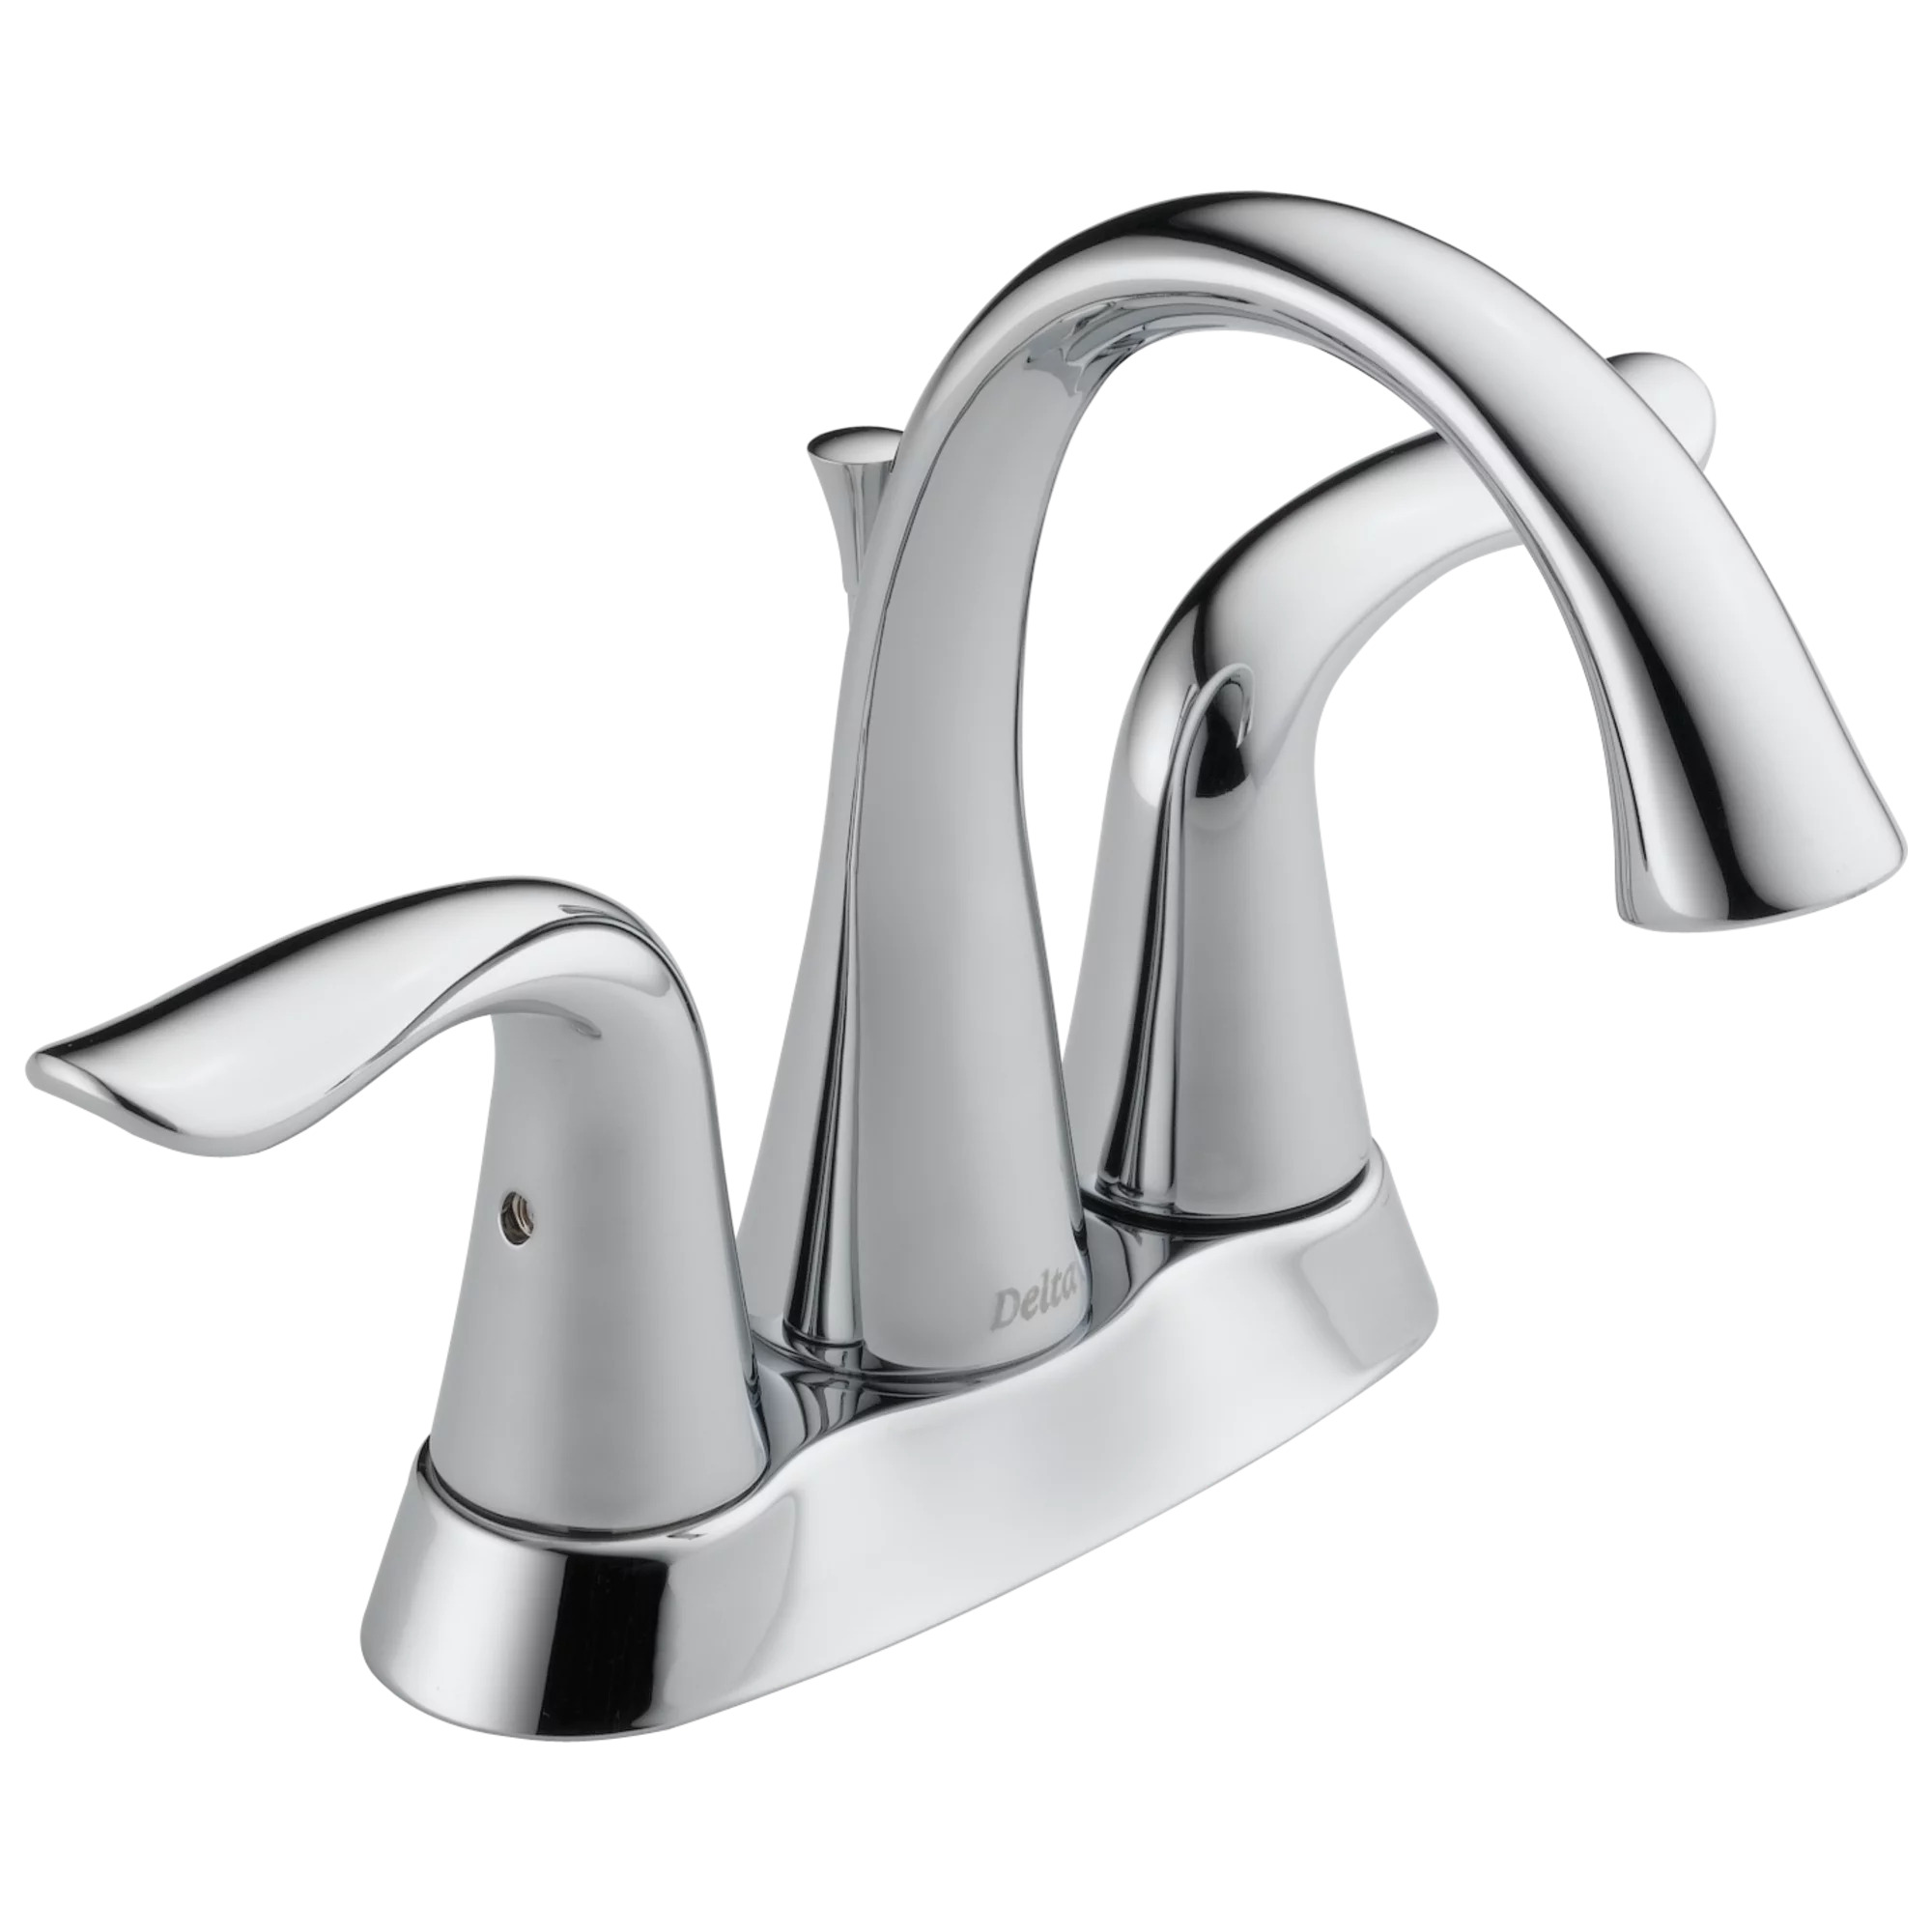
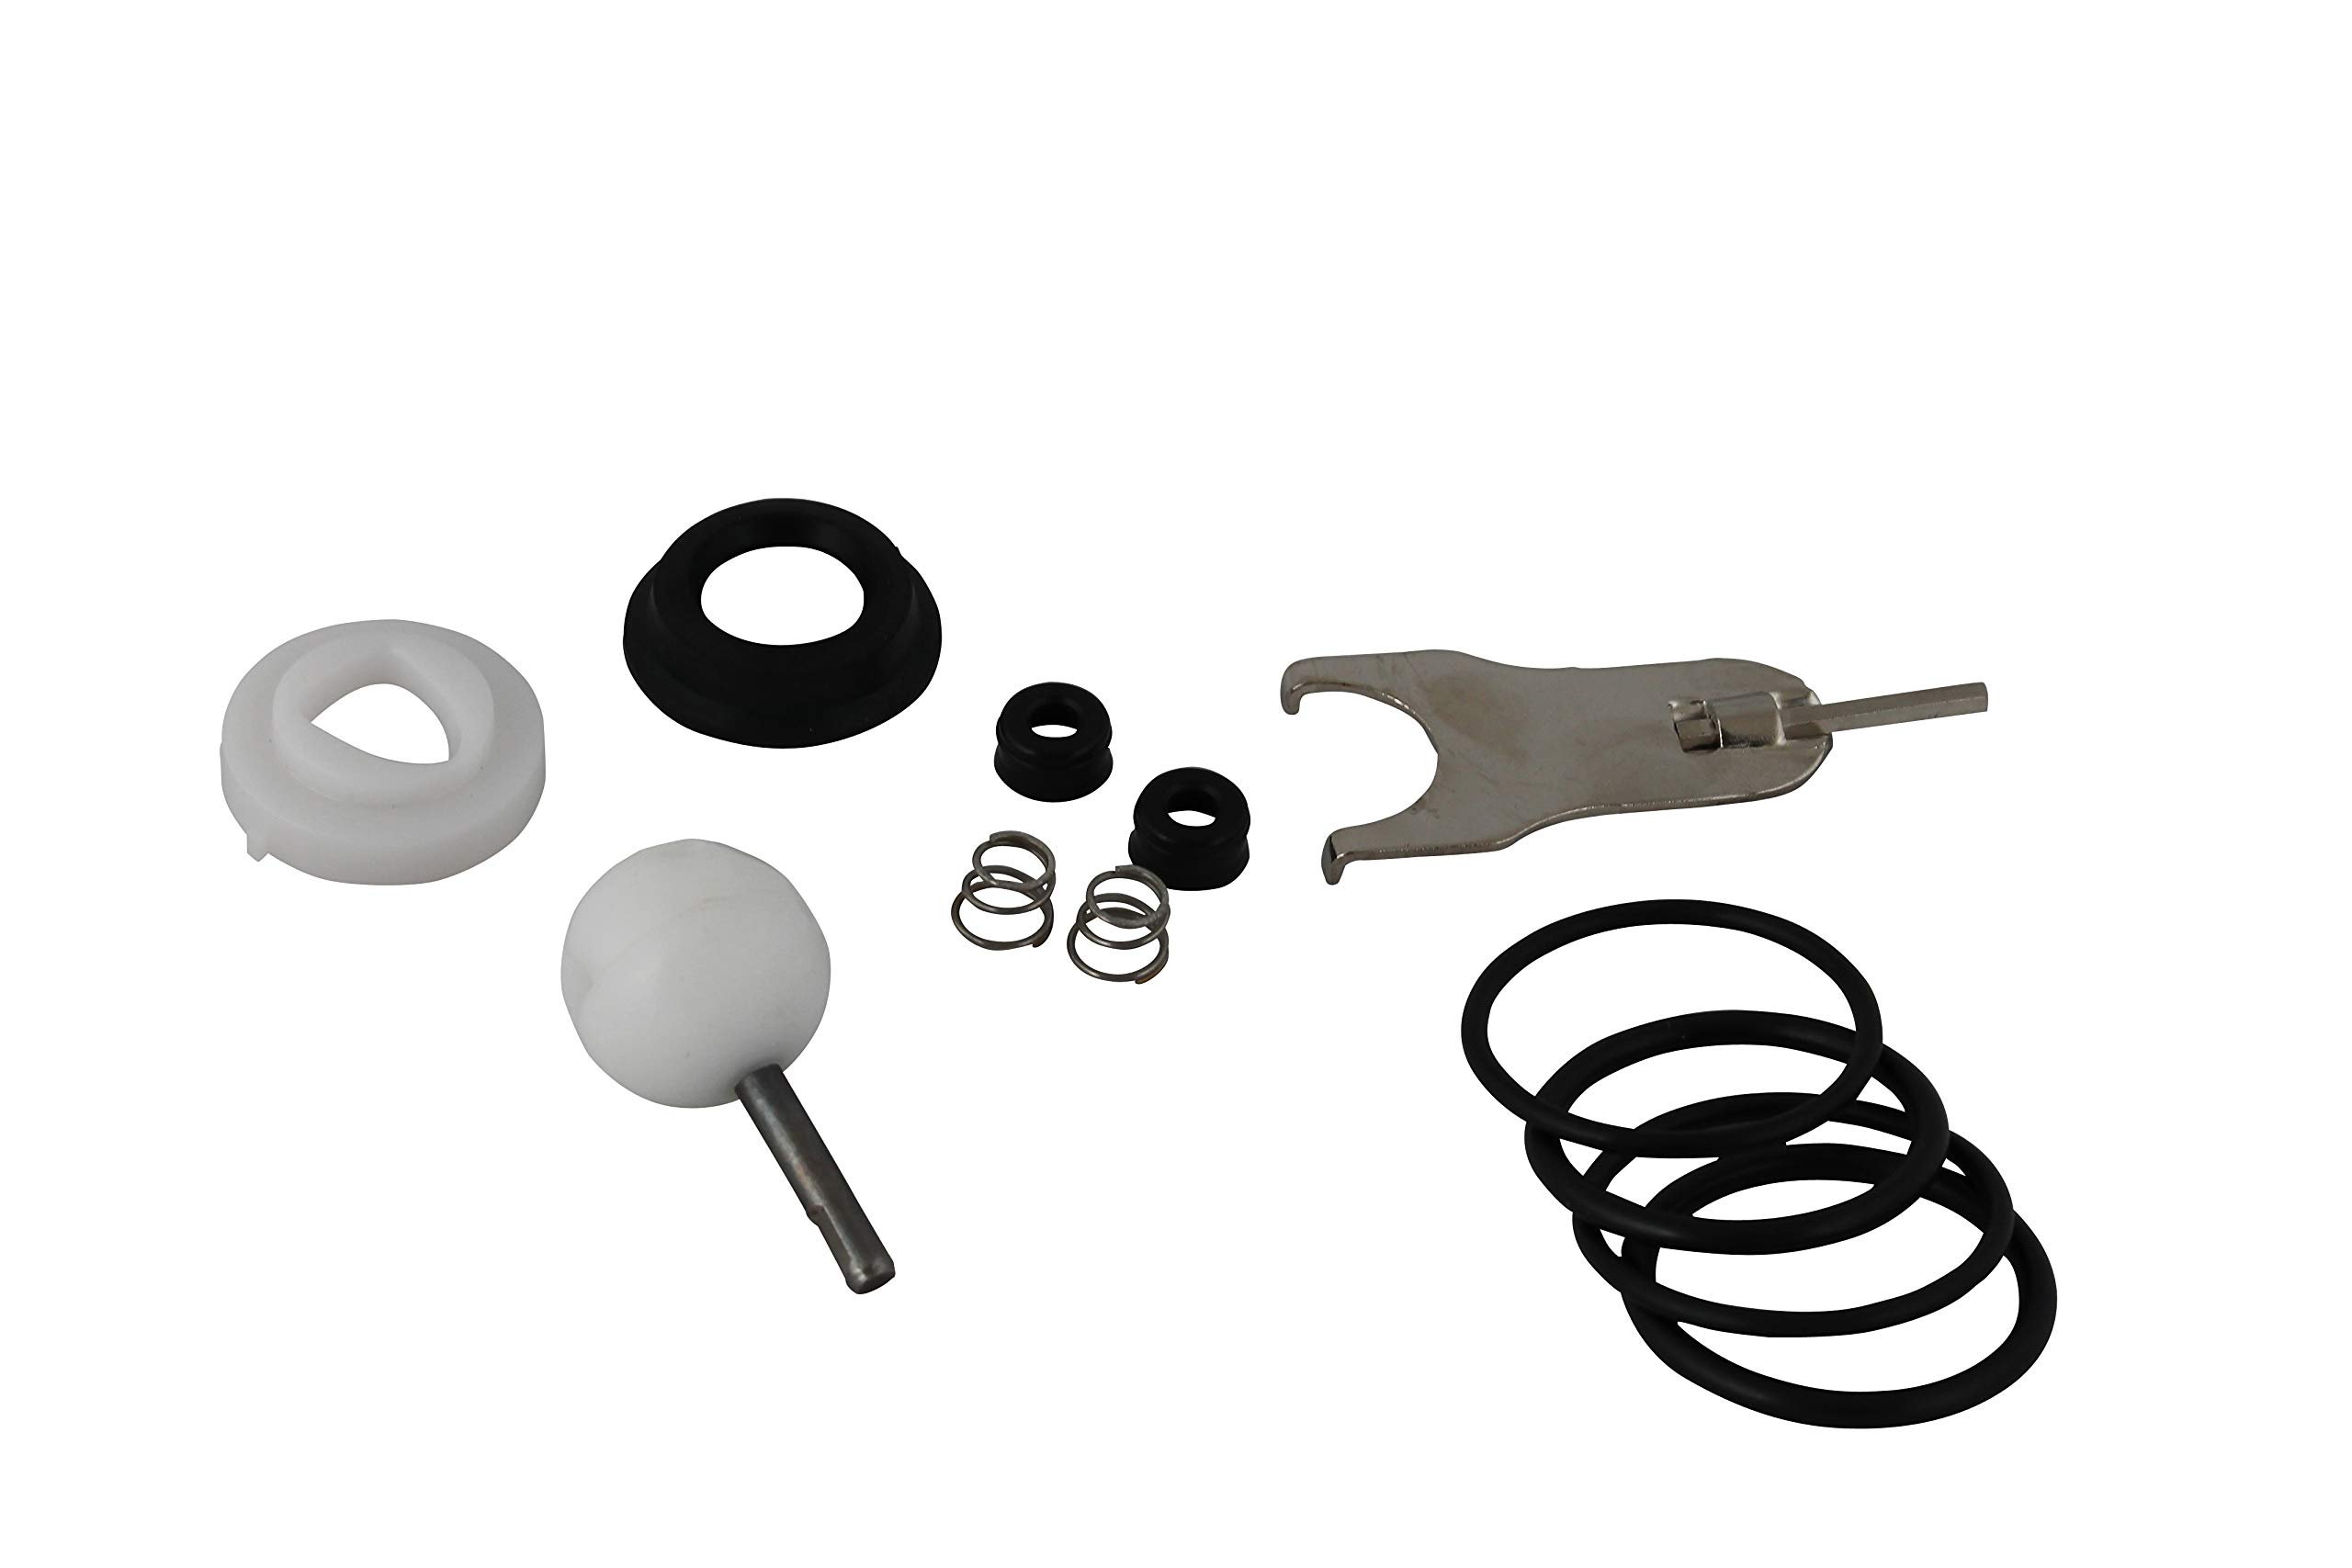
The DELTA FAUCET RP51345 Lahara Aerator is a repair part for Delta Lahara bathroom sink faucets. It is a genuine Delta repair part that meets CAL Green standards for water efficiency. The aerator comes with a wrench for easy installation. The color and design of the wrench may vary. The DELTA FAUCET RP51345 is a chrome aerator with a blue color. It has dimensions of 1.20Lx0.85Wx0.85H and is available in one size. Customer ratings for this product are at 4.4/5.
Key Features
- Repair part for Delta Lahara bathroom sink faucets
- Includes wrench for easy installation
- Genuine Delta repair part
- Water Efficient Product meeting CAL Green standards
- Color of wrench and design may vary
- Chrome
Specifications
- Color: Blue
- Dimension: 1.20Lx0.85Wx0.85H
- Size: One Size
Pros
- Perfect water flow
- Fits faucet well
- Easy to install
- Fast delivery
- Good price
Cons
- Difficult to line up wrench
- Plastic wrench teeth degrade easily
- Expensive for what it is
The DELTA FAUCET RP51345 Lahara Aerator is a reliable and efficient repair part for Delta Lahara bathroom sink faucets. It comes with a wrench for easy installation and meets CAL Green standards for water efficiency. Customers have praised its performance, durability, and easy installation. However, some users have reported difficulties with aligning the wrench and the plastic teeth of the wrench degrading easily. Additionally, some find the product to be expensive for what it offers. Overall, if you are in need of a replacement aerator for your Delta Lahara faucet, the DELTA FAUCET RP51345 is a good choice.

Overall Score: 7.5/10
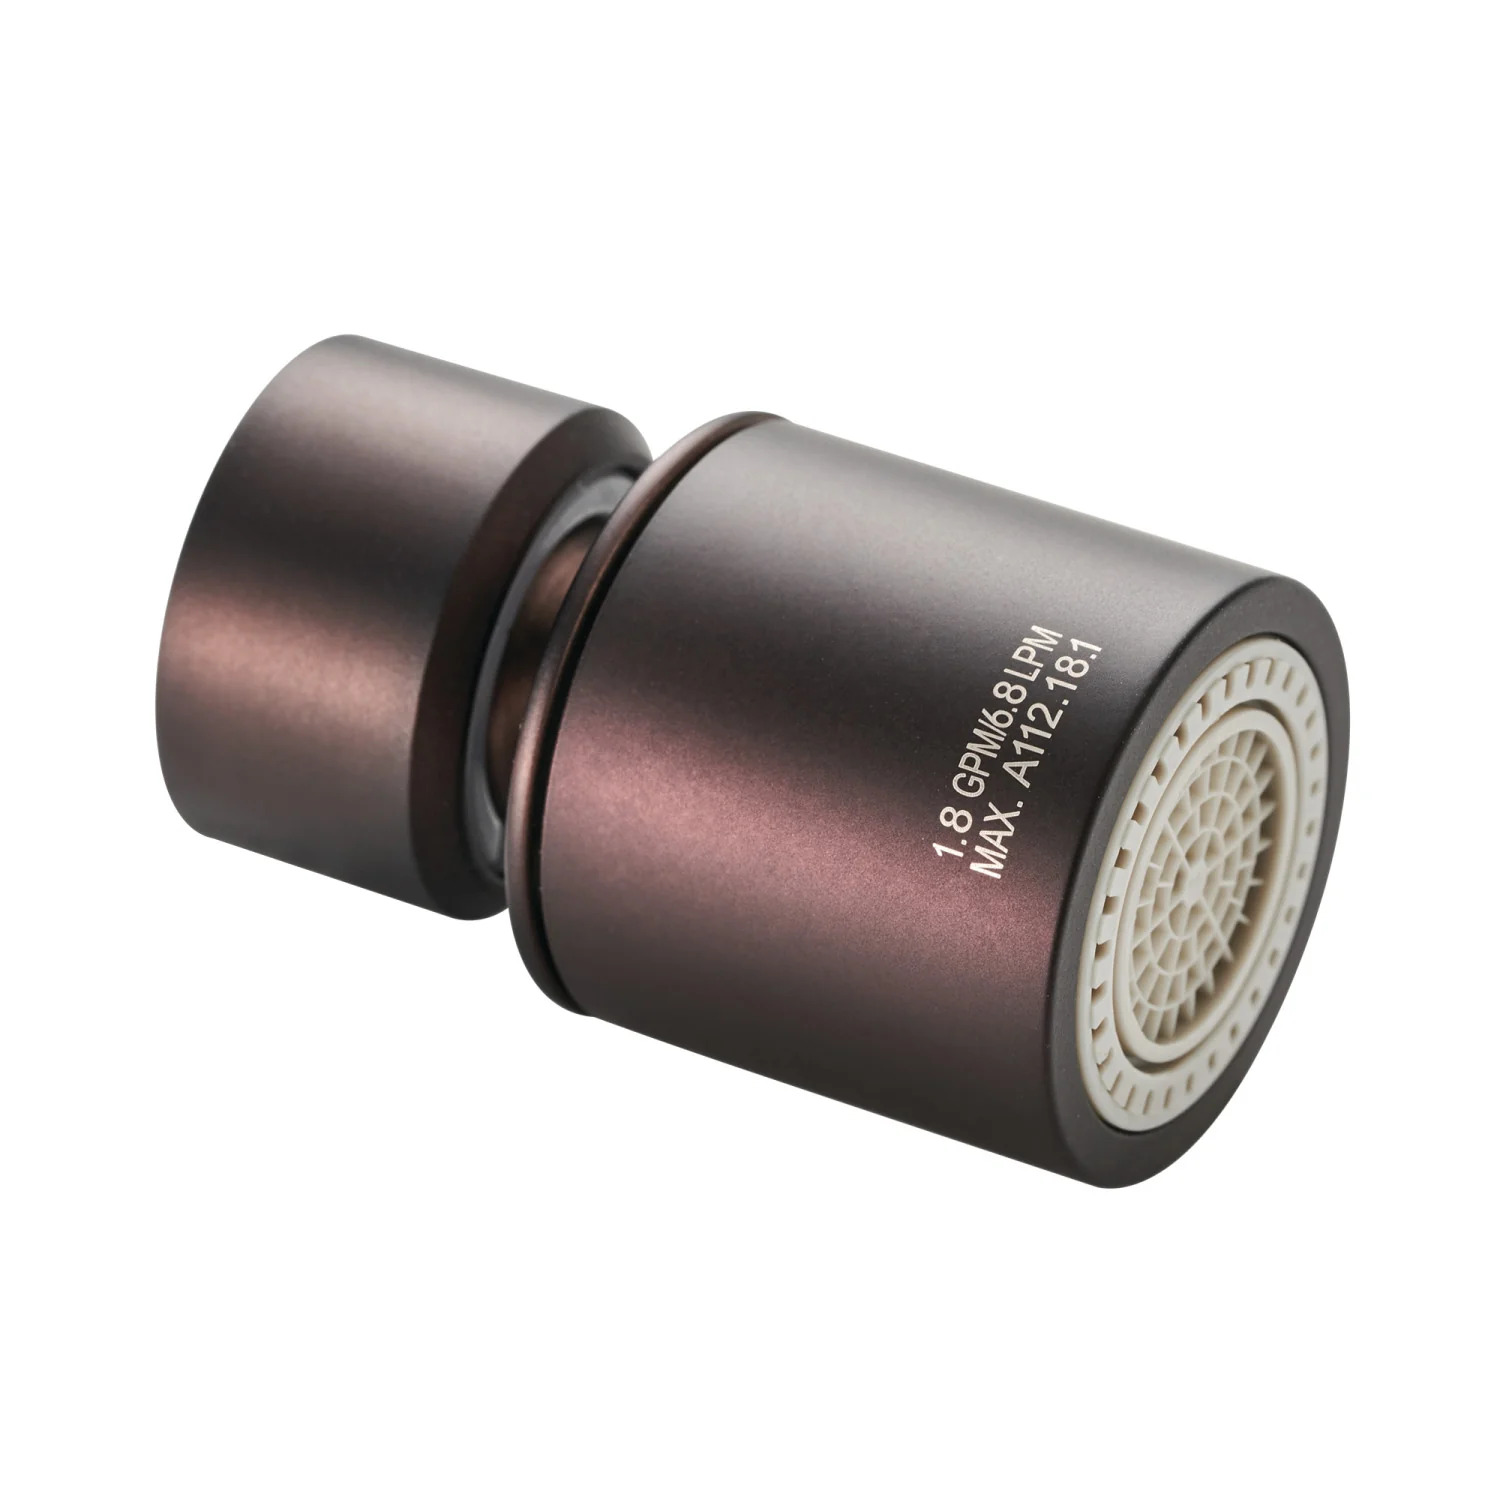
The Delta Faucet RP54977 DELTA AERATOR/WRENCH PLASTIC is a versatile and reliable product that fits various Delta models. With its assorted color and water-efficient design, this aerator meets CAL Green standards. The product dimensions are 5.50Lx2.15Wx0.02H, and it comes with a blue wrench. Customers have praised its usability, ease of installation, and improvement in water flow. However, some users have faced difficulties in removing old aerators and found the design of the tool inconvenient. Overall, the Delta Faucet RP54977 is a cost-effective solution for improving water pressure and ensuring a smooth flow in your Delta faucets.
Key Features
- Fits with various Delta models
- Assorted color
- Water Efficient Product meeting CAL Green standards
Specifications
- Color: Black (Blue Wrench)
- Dimension: 5.50Lx2.15Wx0.02H
Pros
- Fits various Delta models
- Improves water flow
- Easy to install
Cons
- Difficulties in removing old aerators
- Inconvenient design of the tool
The Delta Faucet RP54977 DELTA AERATOR/WRENCH PLASTIC is a reliable product that offers an easy solution for improving water flow in Delta faucets. Its compatibility with various models, water-efficient design, and ease of installation make it a popular choice among users. While some users have faced challenges in removing old aerators, the overall consensus is that this product effectively resolves low water pressure issues. If you own a Delta faucet and are experiencing reduced water flow, the Delta Faucet RP54977 is a cost-effective solution worth considering.

Overall Score: 8.2/10
The 5 Pieces Faucet Aerator is a high-quality replacement part made of durable ABS plastic. It is designed to reduce the impact of water and prevent splashing by generating bubbles. The fine filter screen ensures a constant and stable water flow. It is suitable for installation and replacement in homes, hotels, and public places. The package includes 5 faucet aerators and aerator wrenches, enough to meet various needs. Please ensure the size of your tap before purchasing. With positive customer reviews and ratings, this faucet aerator is a practical and cost-effective choice for improving water flow in your bathroom or kitchen.
Key Features
- Made of durable ABS plastic
- Maintains stable water flow without splashing
- Reduces water impact through bubble generation
- Suitable for installation in homes and public places
- Package includes 5 aerators and wrenches
Specifications
- Color: 5PCS-16.5mm/0.64Inch
- Size: Male 16.5mm
Pros
- Easy to install
- Improves water flow and reduces splashing
- Cost-effective with 5 pieces included
- Suitable for various tap sizes
Cons
- Some users experienced higher flow than 1.2 GPM
The 5 Pieces Faucet Aerator is a reliable and affordable solution for improving water flow in your bathroom or kitchen. Made of durable ABS plastic, it provides a stable and constant water flow without splashing. With the inclusion of 5 aerators and wrenches, it offers excellent value for money. However, some users have reported a higher flow rate than the advertised 1.2 GPM. Overall, if you’re looking to enhance water efficiency and minimize splashing, this faucet aerator is a practical choice.

Overall Score: 8.2/10
The NSBELL 20PCS Faucet Cache Aerators with 4PCS Faucet Aerator Key Removal Wrench is a convenient and practical set that helps you replace or install aerators in your bathroom or kitchen sink. The package includes 20 faucet cache aerators in four different sizes, along with four removal wrench tools. The aerators are made of strong ABS material and have a fine mesh to prevent water splashing. The set also comes with four sizes of aerator keys to easily remove or install the aerators. With this set, you can customize the water stream and save water. It is a cost-effective solution compared to buying individual aerators and wrenches. The NSBELL Faucet Cache Aerators and Removal Wrench set is a reliable and efficient choice for your sink.
Key Features
- Package includes 20pcs faucet cache aerator with 4pcs removal wrench tool
- Size for faucet cache aerator: 16.5mm/18.5mm/21.5mm/24mm, meet your different sizes needs
- 4 Sizes Aerator Keys for easy installation or removal
- Made of strong ABS material for durability
- Fine mesh to prevent water splashing and shape the water stream
Specifications
- Color: Blue
- Dimension: 0.15Lx0.15Wx0.15H
Pros
- Various sizes to fit different faucets
- Convenient set with both aerators and wrenches
- Durable ABS material ensures long-lasting use
- Prevents water splashing and shapes water stream
- Cost-effective compared to buying individual parts
Cons
- No flow restriction in aerators may cause excessive water flow
- May not fit all faucet brands
The NSBELL 20PCS Faucet Cache Aerators with 4PCS Faucet Aerator Key Removal Wrench set is a reliable and efficient solution for upgrading and maintaining your bathroom or kitchen sink. With a variety of sizes and the included removal wrenches, this set offers convenience and versatility. The aerators’ fine mesh design prevents water splashing and allows you to shape the water stream to your preference. However, the lack of flow restriction in the aerators may result in excessive water flow in certain cases. Additionally, compatibility with some faucet brands may vary. Overall, this set provides great value for your money and helps optimize water usage while improving the performance of your sink.

Overall Score: 8.2/10
The Delta Faucet RP73805 Trinsic 1.0 GPM TT Aerator in Chrome is a perfect replacement for Trinsic 559, 3559, and Leland 2575LF models. This water-efficient aerator, made in Germany, ensures a flow rate of 1.0 gallons per minute while conserving water. Its chrome color adds a sleek and modern touch to any bathroom decor. Although some reviewers have mentioned slight differences in appearance and functionality compared to the original Delta parts, this replacement aerator has received positive feedback in terms of performance and ease of installation. It delivers a bubbly stream of water and is priced reasonably. However, potential customers should be aware that the product may vary slightly from the one pictured.
Key Features
- 1.0 Gallons per Minute
- For use with Trinsic 559, 3559, and Leland 2575LF models
- Water Efficient Aerator
- Country of Origin: Germany
Specifications
- Color: Chrome
- Dimension: 3.00Lx1.00Wx3.00H
Pros
- Perfect replacement for faulty aerators
- Easy to install
- Water-efficient design
- Reasonable price
Cons
- Slight variations in appearance and functionality
- Not packaged as an OEM Delta product
The Delta Faucet RP73805 Trinsic 1.0 GPM TT Aerator offers an excellent solution for those seeking a replacement aerator for their Trinsic 559, 3559, or Leland 2575LF models. Despite minor differences in appearance and functionality, this German-made aerator performs well in conserving water while delivering a bubbly stream. Its ease of installation and reasonable pricing make it a practical choice. However, potential buyers should note that the product may vary slightly from the one shown online. Overall, this Delta faucet aerator receives positive feedback from customers, making it a reliable option for improving the functionality and water efficiency of your bathroom faucets.
Buyer's Guide: Delta Faucet Aerator
Looking to purchase a Delta faucet aerator but feeling overwhelmed by the options available? Fret not! We're here to help you find the perfect aerator for your needs. Read on for a comprehensive buyer's guide that will simplify your decision-making process.
Read also: 8 Amazing Delta Faucet for 2025
Why Get a Delta Faucet Aerator?
Delta faucet aerators offer numerous benefits that make them a worthwhile investment. Here are some reasons why you should consider getting one:
- Water Conservation: Delta aerators are designed to help reduce water consumption without compromising on performance. By adding air to the water flow, they lower the volume of water used, making them eco-friendly and cost-effective.
- Improved Water Pressure: If your faucet lacks adequate water pressure, a Delta aerator can enhance the water flow by creating a cohesive, splash-free stream. You'll enjoy a refreshing shower or efficient dishwashing experience.
- Ease of Installation: Installing a Delta aerator is a breeze. With simple screw-on designs, you can easily upgrade your faucet without requiring professional assistance.
- Wide Compatibility: Delta offers a range of aerator models to suit different faucets. Whether you have a kitchen, bathroom, or utility faucet, you'll find Delta aerators specifically designed to fit your needs.
- Enhanced Comfort: Some Delta aerators include features like adjustable spray patterns, water filters, and even touchless operation. These additional features can bring added convenience and customization to your faucet experience.
Factors to Consider Before Purchasing
When searching for the ideal Delta faucet aerator, keep these factors in mind:
- Faucet Compatibility: Ensure that the aerator you choose is compatible with your faucet model. Check the thread size, faucet type (kitchen, bathroom), and brand specifications to find the perfect match.
- Flow Rate: Consider the desired flow rate for your faucet. Delta aerators offer different flow rates, typically ranging from 1.0 to 2.2 gallons per minute (GPM). Choose the flow rate that suits your water conservation goals and usage requirements.
- Spray Patterns: If you prefer versatility, look for aerators with adjustable spray patterns. Some Delta models allow you to switch between aerated and non-aerated streams, vary water pressure, or even provide spray options for specific tasks.
- Water Saving Features: Delta prioritizes water-saving technology, and some of their aerators are specifically designed to optimize water efficiency. Look for aerators with WaterSense certification, denoting a high level of water savings.
- Durability: Consider the construction material of the aerator. Delta offers options like chrome or stainless steel, which not only look sleek but also provide durability. A sturdy aerator will ensure years of reliable usage.
- Cleaning and Maintenance: Check if the aerator is easy to clean or has built-in anti-limescale features. Since aerators come into direct contact with water, it's important to keep them clean for optimal performance.
- Customer Reviews: Don't forget to read customer reviews and ratings for the desired Delta aerator model. Real-life experiences can provide valuable insights into the durability, ease of installation, and overall satisfaction of the product.
Frequently Asked Questions about 11 Amazing Delta Faucet Aerator For 2025
To determine compatibility, check the thread size and faucet type. Most Delta aerators have a universal 15/16-inch male thread, but some faucets may require a different size. Refer to the manufacturer’s specifications or consult a professional if uncertain.
Yes, you can. While Delta aerators are specifically designed for Delta faucets, many models are compatible with non-Delta faucets as well. Ensure that the aerator’s thread matches your faucet’s thread size for proper installation.
An aerator mixes air with the water flow, reducing water consumption while maintaining a steady flow rate. It helps conserve water, improve overall water pressure, and prevent splashing.
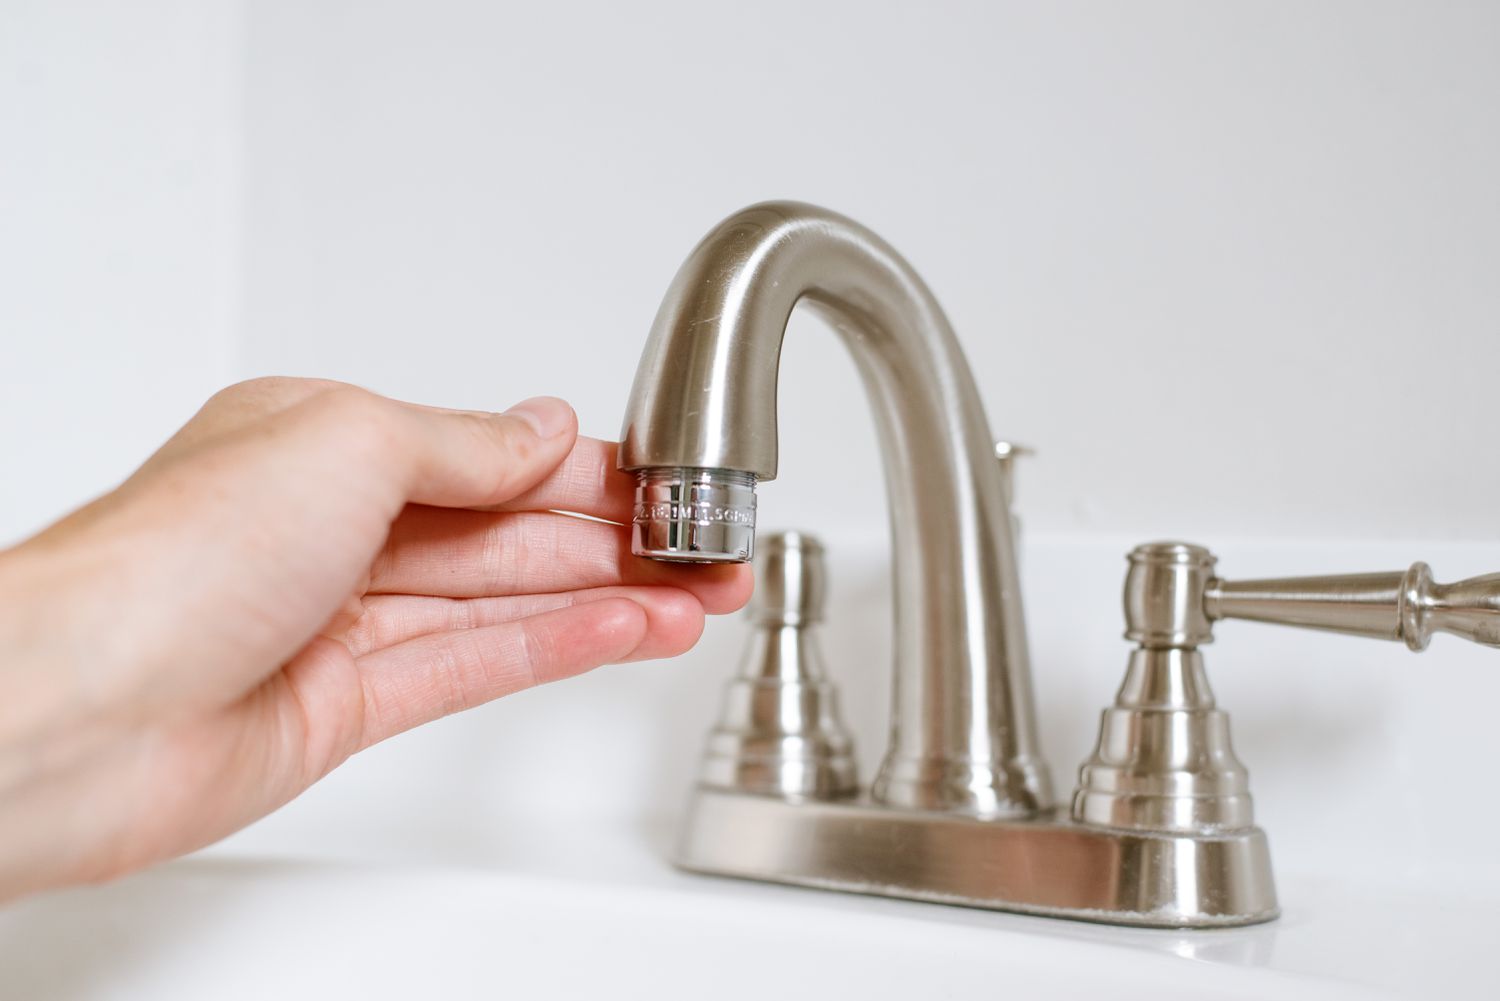
It is recommended to clean your Delta aerator every three to six months to prevent mineral buildup and maintain water flow. Simply unscrew the aerator, gently clean it with a brush and vinegar, then rinse before reattaching.
Delta aerators come with fixed flow rates determined by their design. It is not recommended to modify the aerator to increase flow rate, as this may compromise water conservation efforts or cause damage to the aerator or faucet.
Was this page helpful?
Trust Storables.com for unbiased and honest product reviews. Our reviews are rigorously assessed by our Expert Board Contributors and adhere to strict Editorial Standards. We ensure that each review is transparent and trustworthy, helping you make informed purchasing decisions.

0 thoughts on “11 Amazing Delta Faucet Aerator for 2025”