Articles
How To Clean Aerator On Faucet
Modified: October 20, 2024
Learn how to clean the aerator on your faucet with our informative articles. Keep your water flowing smoothly and eliminate blockages.
(Many of the links in this article redirect to a specific reviewed product. Your purchase of these products through affiliate links helps to generate commission for Storables.com, at no extra cost. Learn more)
Introduction
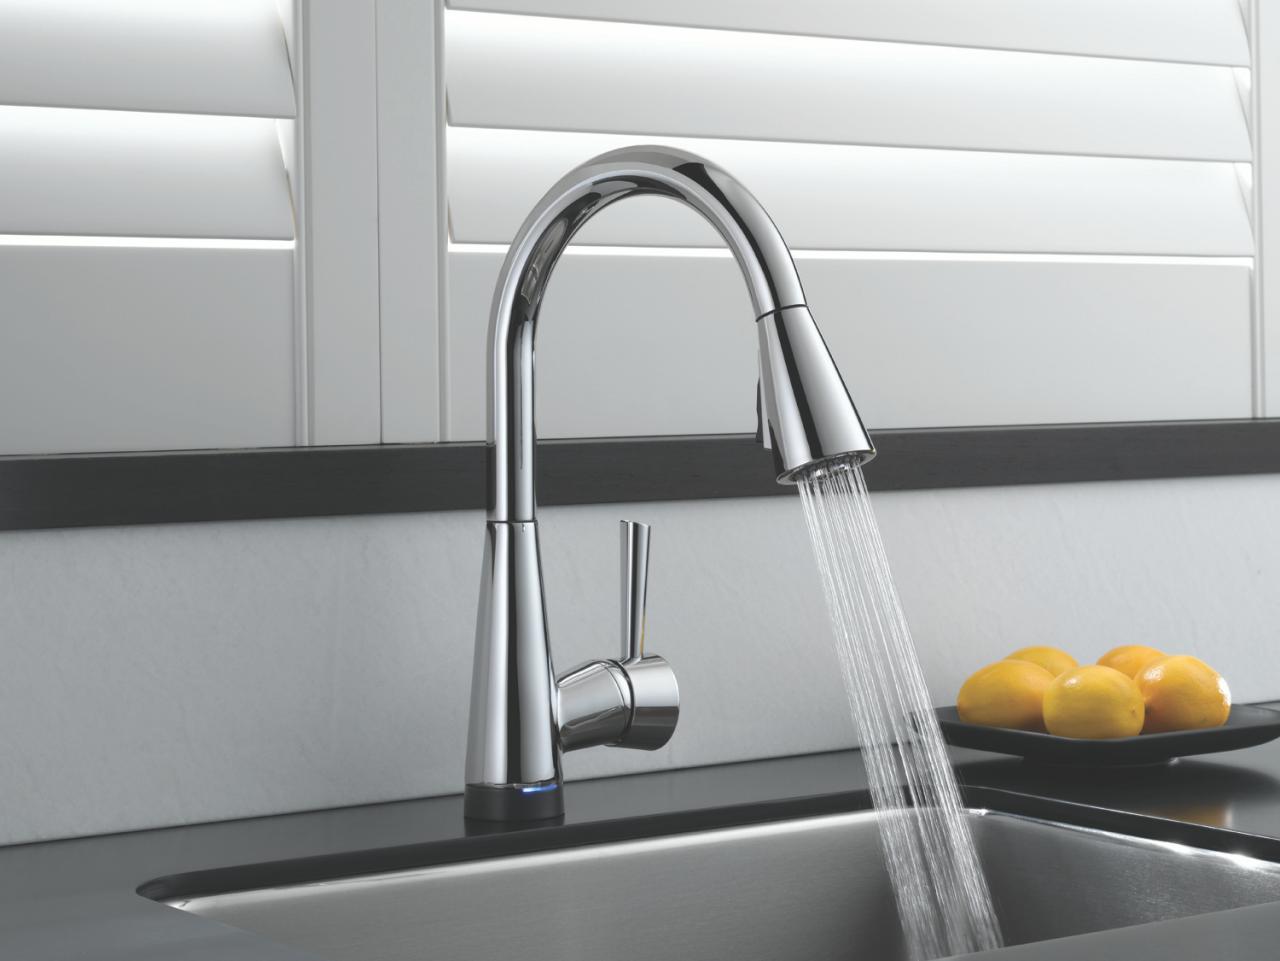
Welcome to our comprehensive guide on how to clean an aerator on a faucet. If you’ve noticed a decrease in water pressure or a build-up of mineral deposits in your sink, it’s likely that the aerator is in need of cleaning. The aerator is a small device attached to the end of a faucet that restricts the flow of water and introduces air into the stream, providing a smooth and even flow.
Over time, however, the aerator can become clogged with debris, sediment, and minerals, which can lead to reduced water pressure and an uneven water flow. Cleaning the aerator not only improves the functionality of your faucet but also ensures optimal water flow and quality. In this article, we will walk you through the process of cleaning the aerator on a faucet, step by step.
Before we proceed, it’s important to note that different faucets may have different types of aerators. While the general cleaning process remains the same, you should consult the manufacturer’s instructions specific to your faucet if available.
To get started, let’s gather the tools and materials you’ll need for this cleaning task.
Key Takeaways:
- Regular cleaning of the aerator on your faucet is essential to restore water flow, improve water quality, and extend the lifespan of your faucet, saving you from costly repairs or replacements.
- Utilizing simple tools and materials, along with step-by-step instructions and effective cleaning tips, ensures a smooth and efficient water flow, contributing to water conservation and energy efficiency.
Read more: How To Replace A Faucet Aerator
What is an aerator on a faucet?
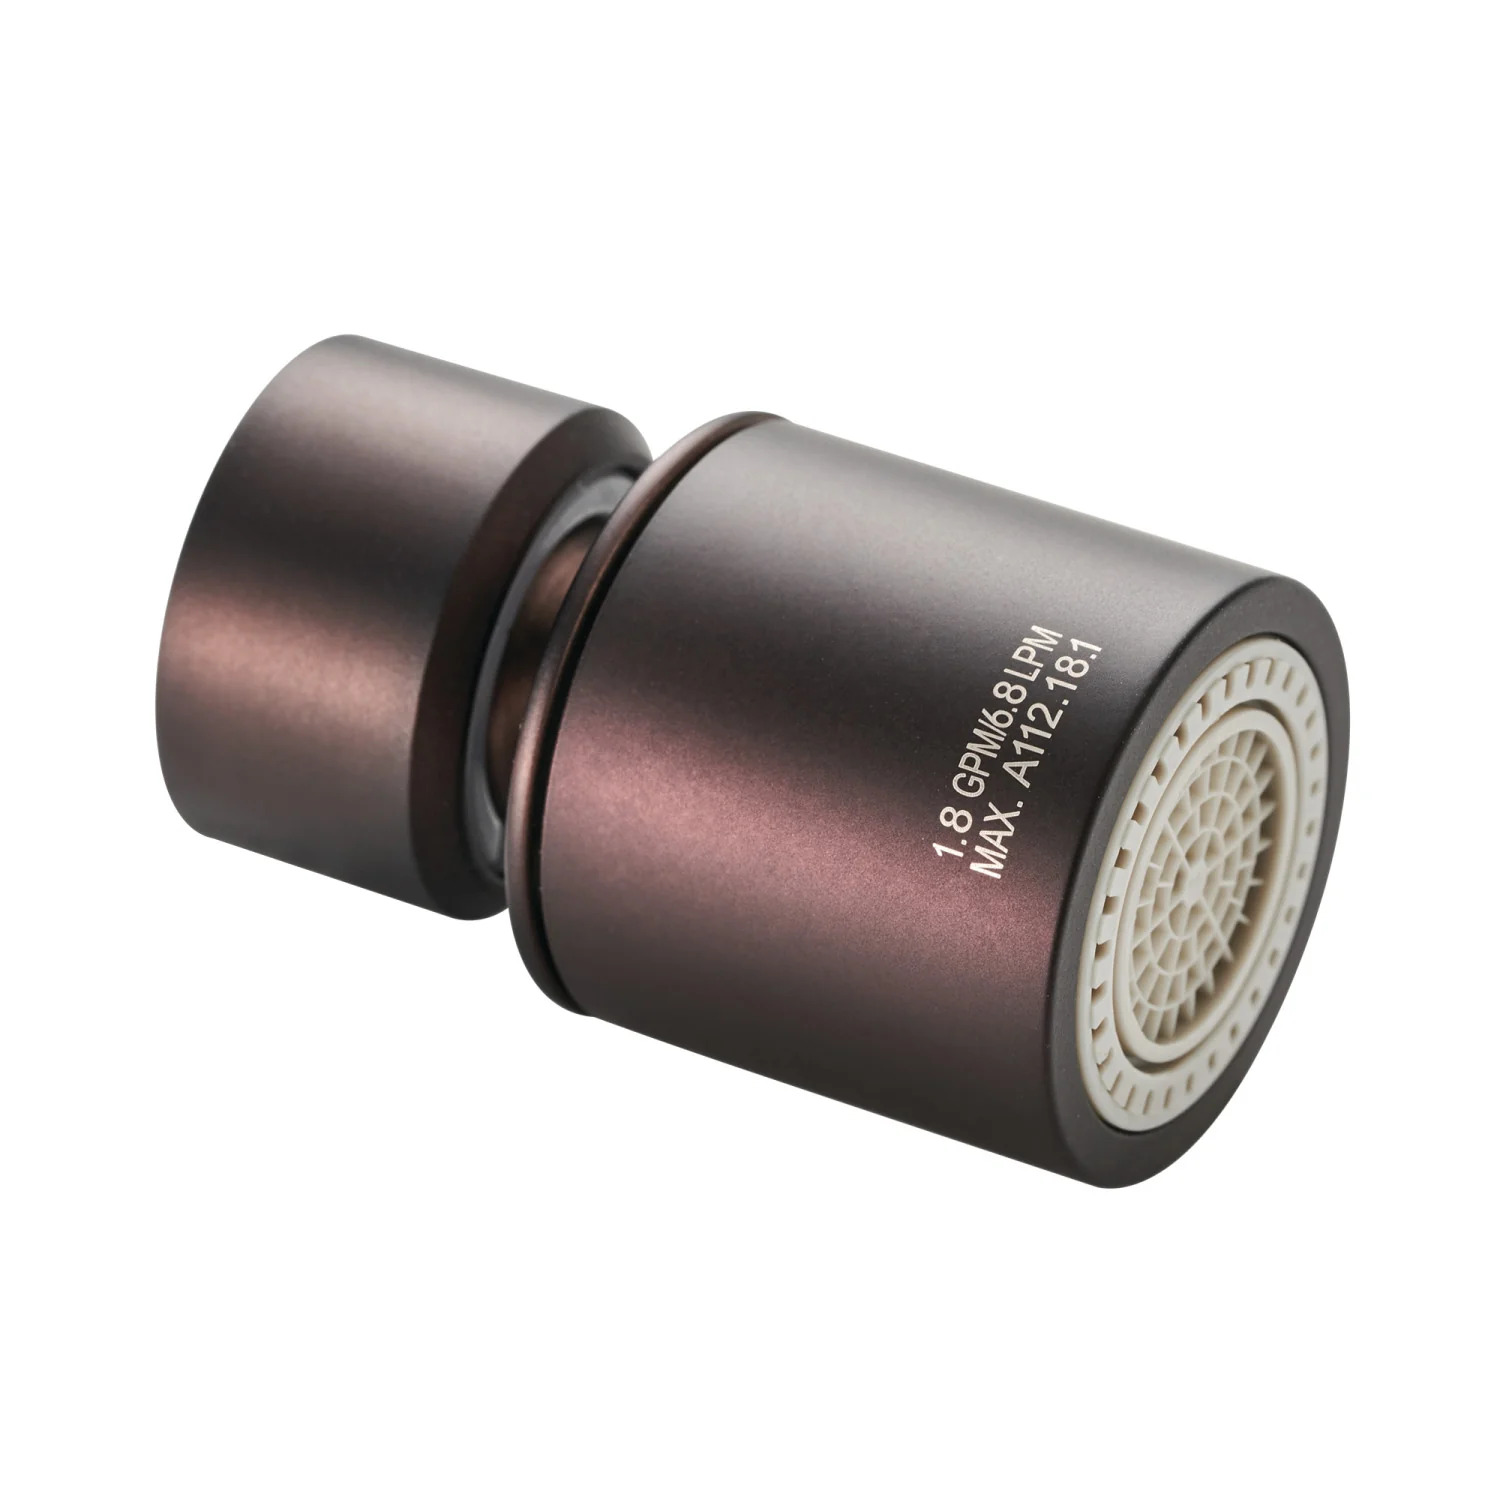
An aerator is a small device attached to the end of a faucet that helps regulate and control the flow of water. Its primary purpose is to mix air with the water, providing a consistent and smooth water stream while also conserving water.
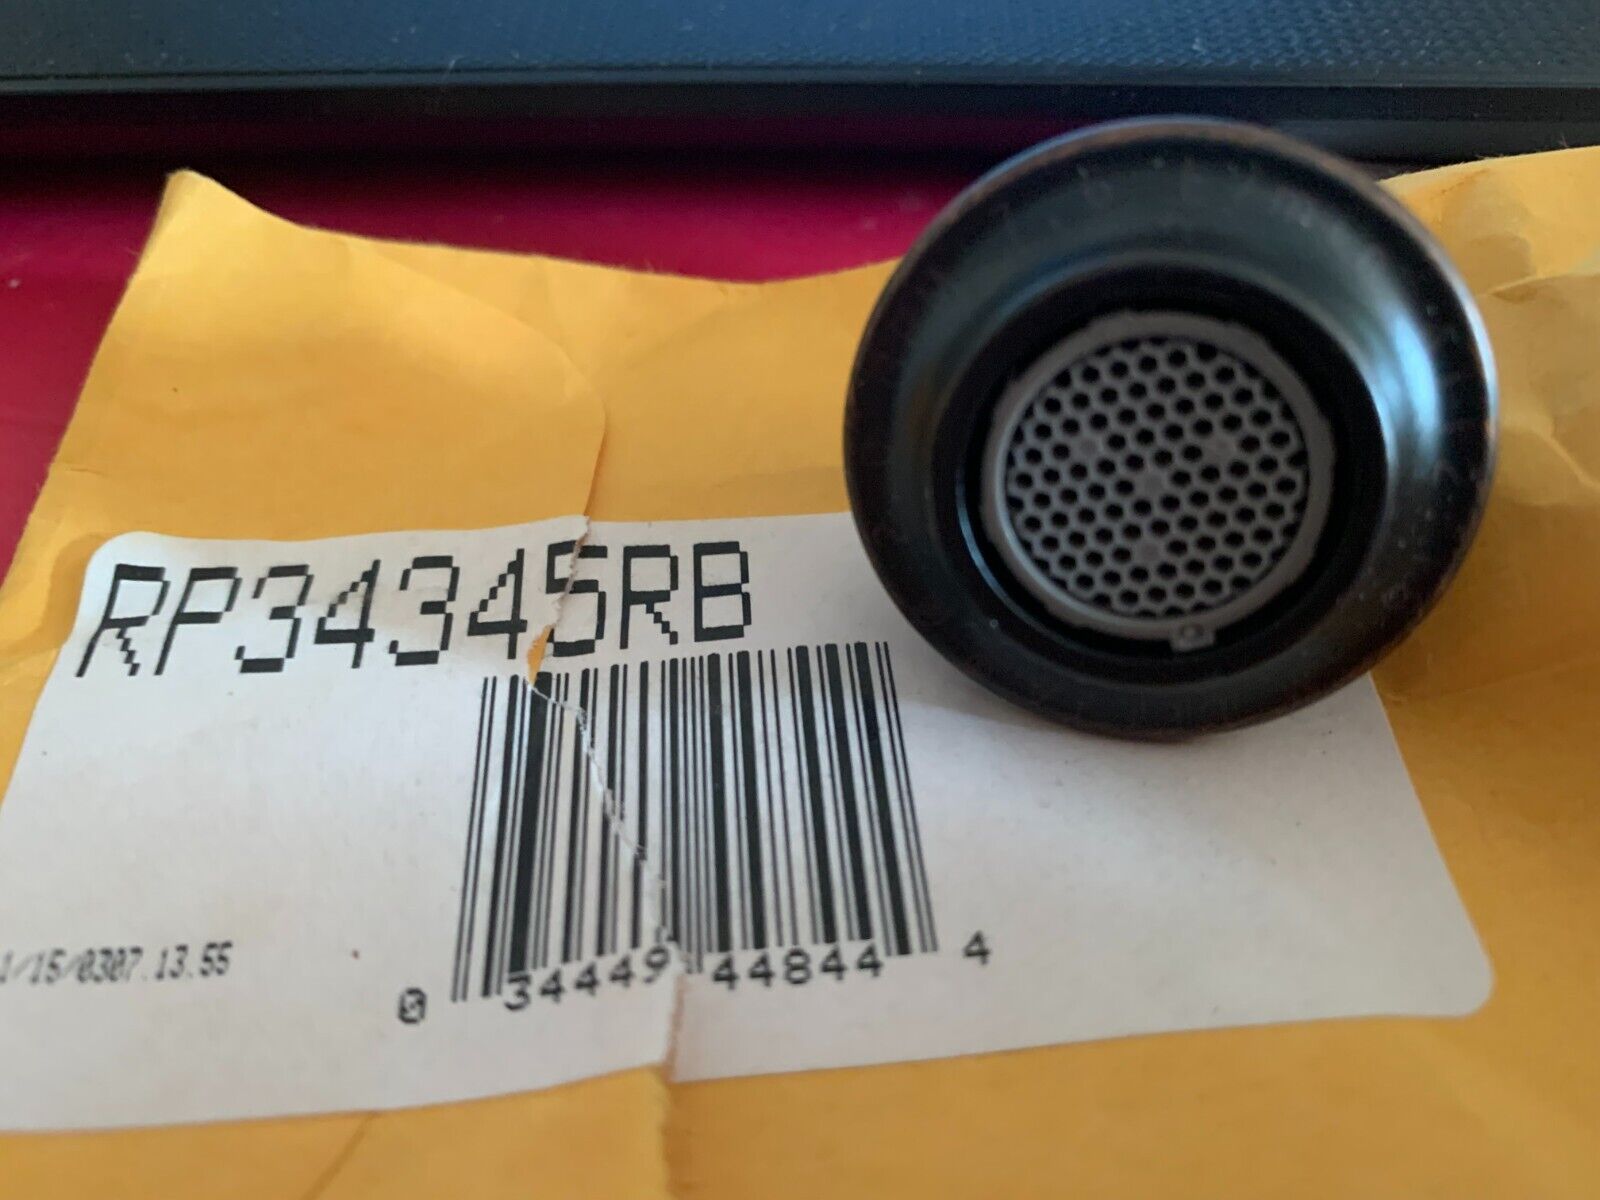
The aerator consists of a metal or plastic housing with a fine mesh screen or multiple perforations that break up the water as it flows through. It is typically screwed on to the tip of the faucet spout, and it can be easily removed and cleaned when necessary.
There are several benefits to having an aerator on your faucet. Firstly, it helps reduce water usage by introducing air into the water stream. The added air bubbles give the impression of a higher water flow, allowing you to use less water while still maintaining adequate pressure for everyday tasks like washing hands or dishes.
Secondly, aerators help prevent splashing and reduce water spray. By breaking up the water into smaller droplets, they minimize the force at which the water hits the sink or your hands, reducing splashing and mess.
Thirdly, aerators can help save energy. Since less hot water is being used, it means less energy is required to heat the water. This can lead to significant cost savings on your utility bills over time.
Apart from these benefits, aerators also play a crucial role in improving the overall water quality. They act as a physical barrier, preventing debris, sediment, and larger particles from coming out of the faucet. This helps to maintain cleaner water for drinking or cooking.
Now that you have a clear understanding of what an aerator is and its importance, let’s move on to why regular cleaning is necessary.
Why is cleaning the aerator important?
Cleaning the aerator on your faucet is essential for several reasons. Over time, mineral deposits, debris, and sediment can accumulate in the aerator, leading to a decrease in water pressure and an uneven water flow. Here are a few key reasons why regular cleaning of the aerator is important:
- Restores water flow: The build-up of mineral deposits and debris can restrict the flow of water through the aerator, resulting in reduced water pressure. Cleaning the aerator helps remove these obstructions and restores the proper water flow, allowing for a steady and efficient water stream.
- Eliminates clogs: Over time, particles such as sediment, rust, and small debris can accumulate in the aerator, leading to clogs. These clogs can cause water to spray in different directions or produce an irregular water stream. By cleaning the aerator, you can prevent clogs from forming and ensure a consistent flow of water.
- Improves water quality: The aerator acts as a filter, preventing larger particles from being released through the faucet. However, when the aerator becomes dirty, it can no longer effectively filter out debris, affecting the quality of the water. Regular cleaning ensures that the water flowing from your faucet remains clean and free from contaminants.
- Reduces energy consumption: A clogged aerator can lead to inefficient water flow, which in turn increases the amount of time you spend running the faucet to accomplish daily tasks. By cleaning the aerator and restoring proper water flow, you can reduce unnecessary water usage and conserve energy.
- Extends the lifespan of your faucet: When debris and mineral deposits build up inside the aerator, they can also cause corrosion or damage to the internal parts of your faucet. Regular cleaning helps prevent this damage, extending the lifespan of your faucet and saving you money on costly repairs or replacements.
By incorporating regular cleaning of the aerator into your household maintenance routine, you can ensure optimal water flow, improve water quality, and prolong the life of your faucet. In the next section, we will discuss the tools and materials you’ll need to clean the aerator on your faucet.
Tools and materials needed
Before you begin the process of cleaning the aerator on your faucet, it’s important to gather the necessary tools and materials. Here’s what you’ll need:
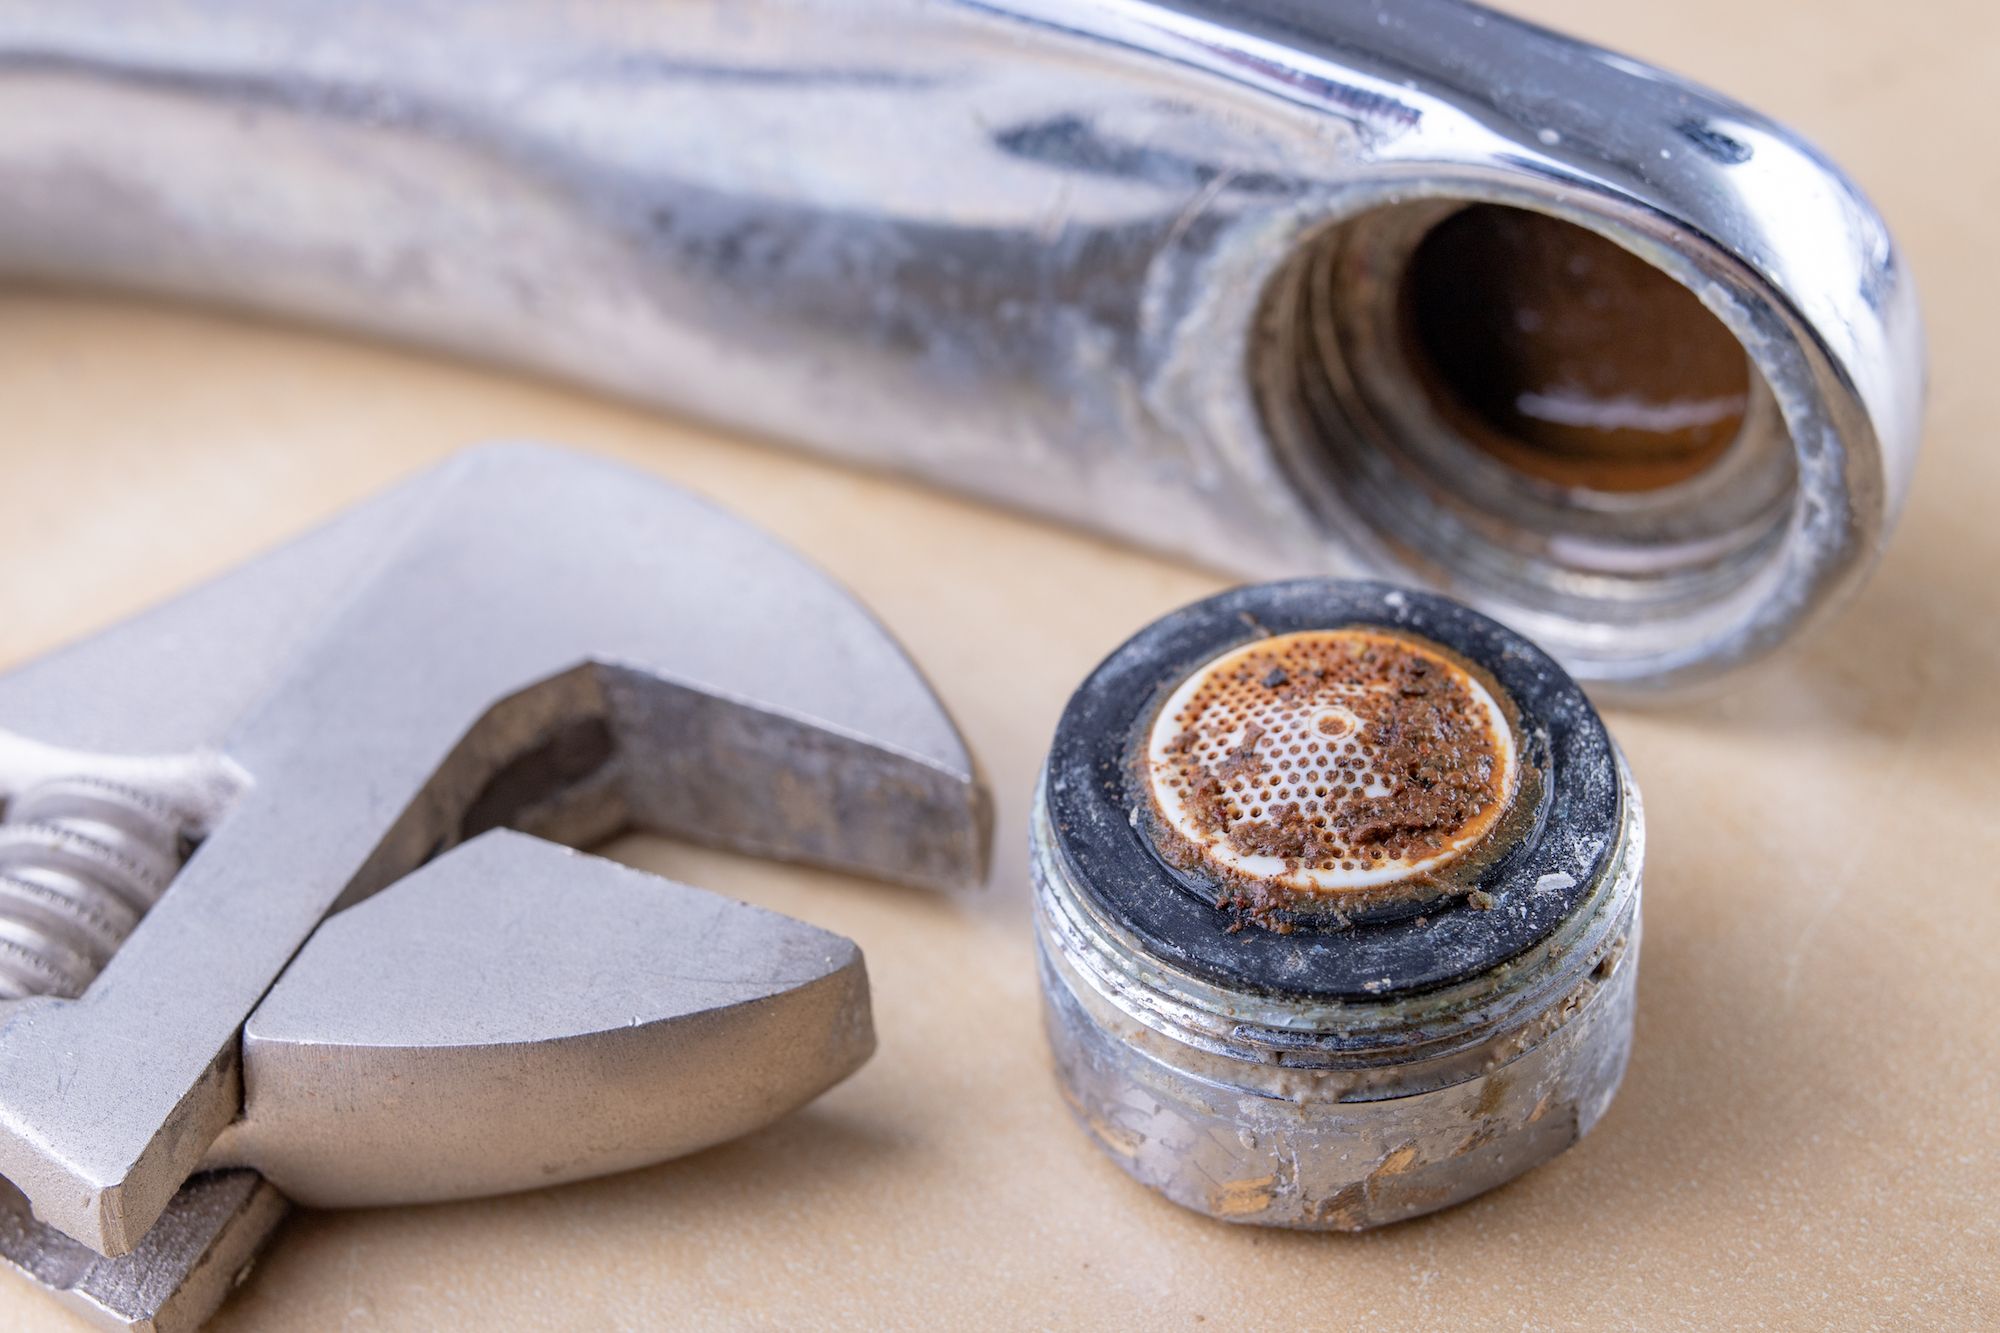
- Adjustable wrench or pliers: You will need a tool to unscrew and remove the aerator from the faucet. An adjustable wrench or a pair of pliers can be used, depending on the type of aerator and the tightness of the connection.
- Bowl or bucket: Having a bowl or bucket to collect water is useful when disassembling and cleaning the aerator. This will help prevent water from splashing and making a mess in your sink or countertop.
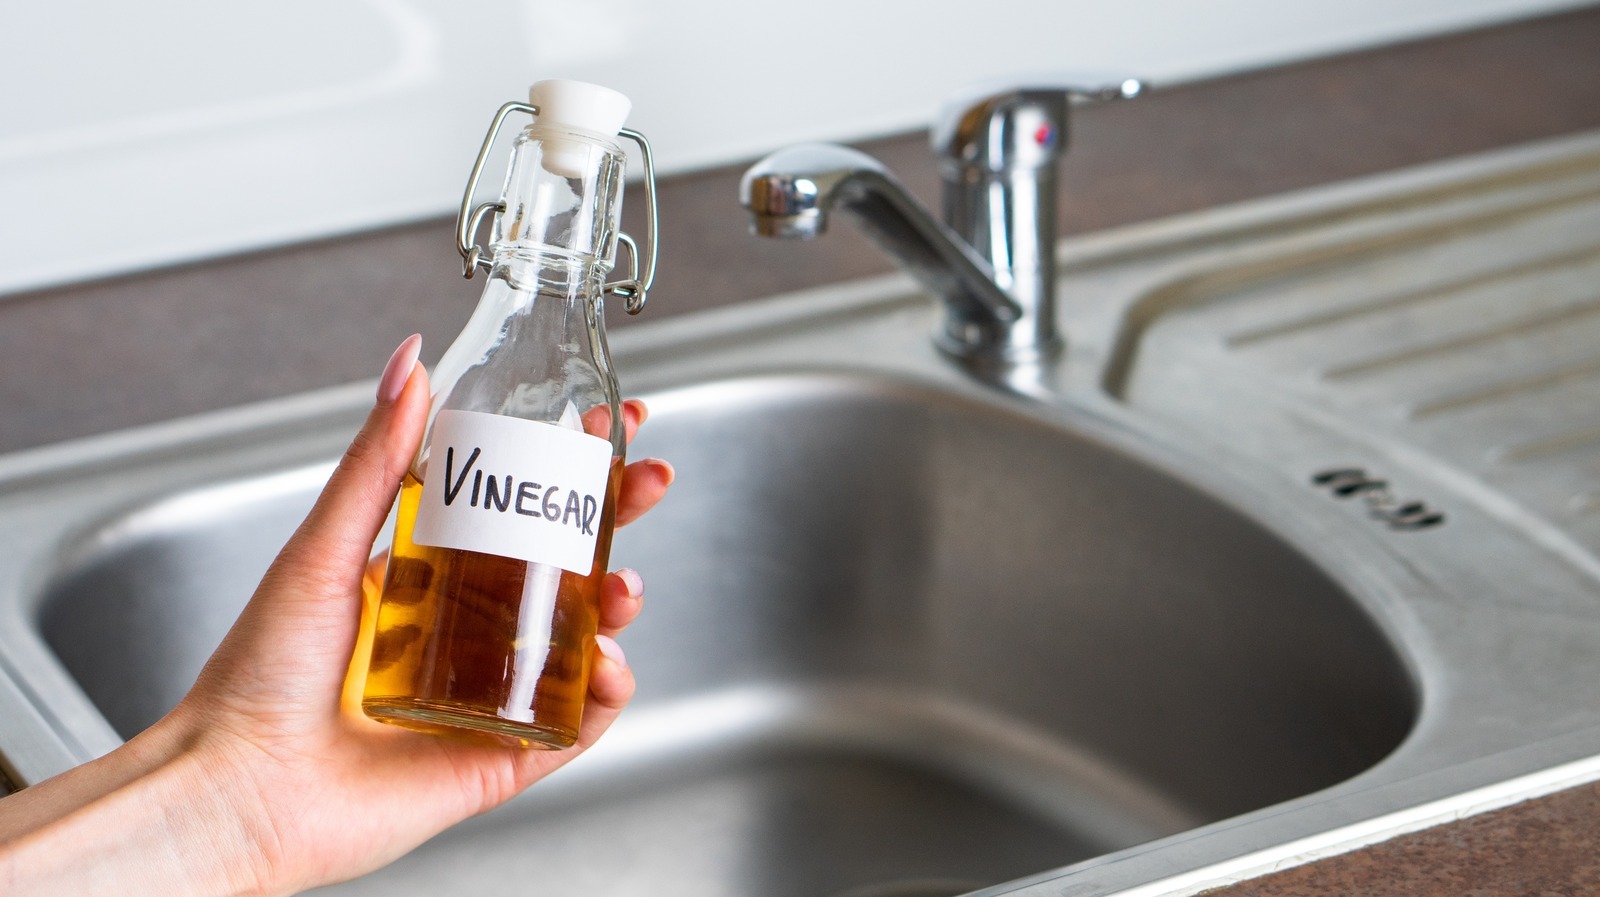
- Vinegar or descaling solution: A common household item like white vinegar can be used to dissolve mineral deposits and clean the aerator. Alternatively, you can also use a commercial descaling solution specifically designed for faucets.
- Old toothbrush or small brush: A toothbrush or small brush will come in handy for scrubbing the aerator and removing any stubborn debris or mineral build-up.
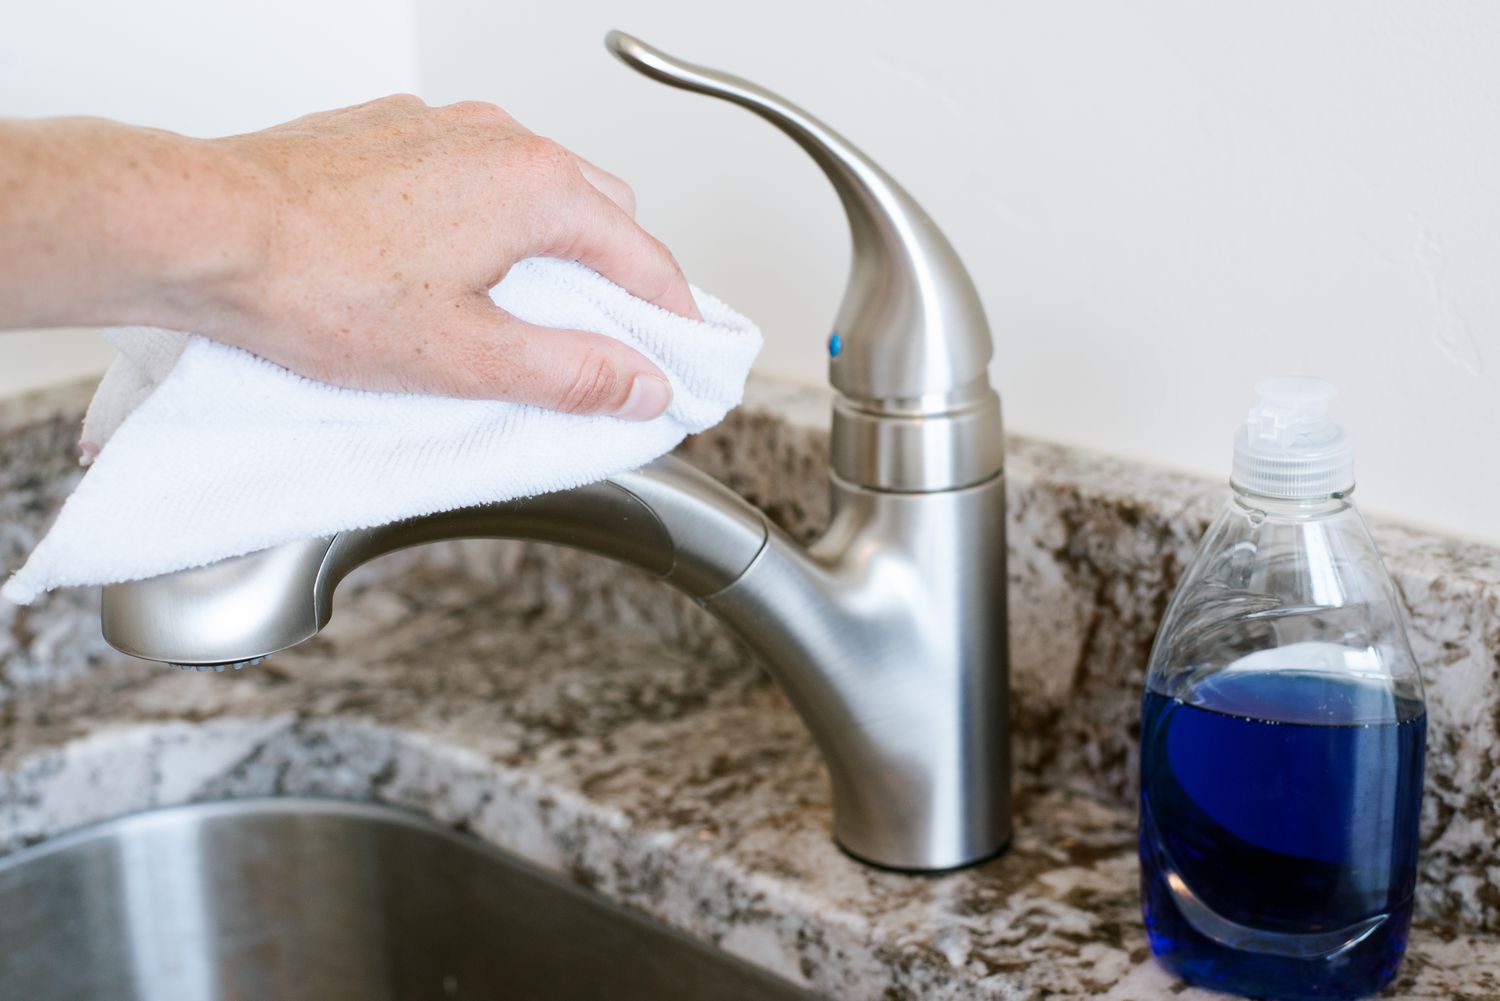
- Clean cloth or towel: Having a clean cloth or towel nearby will help you dry the aerator and faucet components after cleaning.
You may find additional tools or materials useful depending on your specific faucet and cleaning requirements. Some faucets have specialized aerators that require specific tools for removal and cleaning. In such cases, it’s advisable to consult the manufacturer’s instructions or seek professional assistance.
Now that you have all the necessary tools and materials, you’re ready to proceed with cleaning the aerator on your faucet. In the next section, we will guide you through the step-by-step instructions for cleaning the aerator.
To clean the aerator on a faucet, unscrew the aerator from the faucet spout and soak it in vinegar for a few hours to remove any mineral deposits. Then, scrub it with a brush and rinse thoroughly before reattaching.
Step-by-step instructions for cleaning the aerator on a faucet
Follow these simple steps to clean the aerator on your faucet:
- Turn off the water: Before you begin, turn off the water supply to the faucet. This will prevent any potential water leakage or splashing during the cleaning process.
- Prepare the workspace: Place a bowl or bucket beneath the faucet to catch any water that may flow out during disassembly. This will help keep your sink and countertop clean and dry.
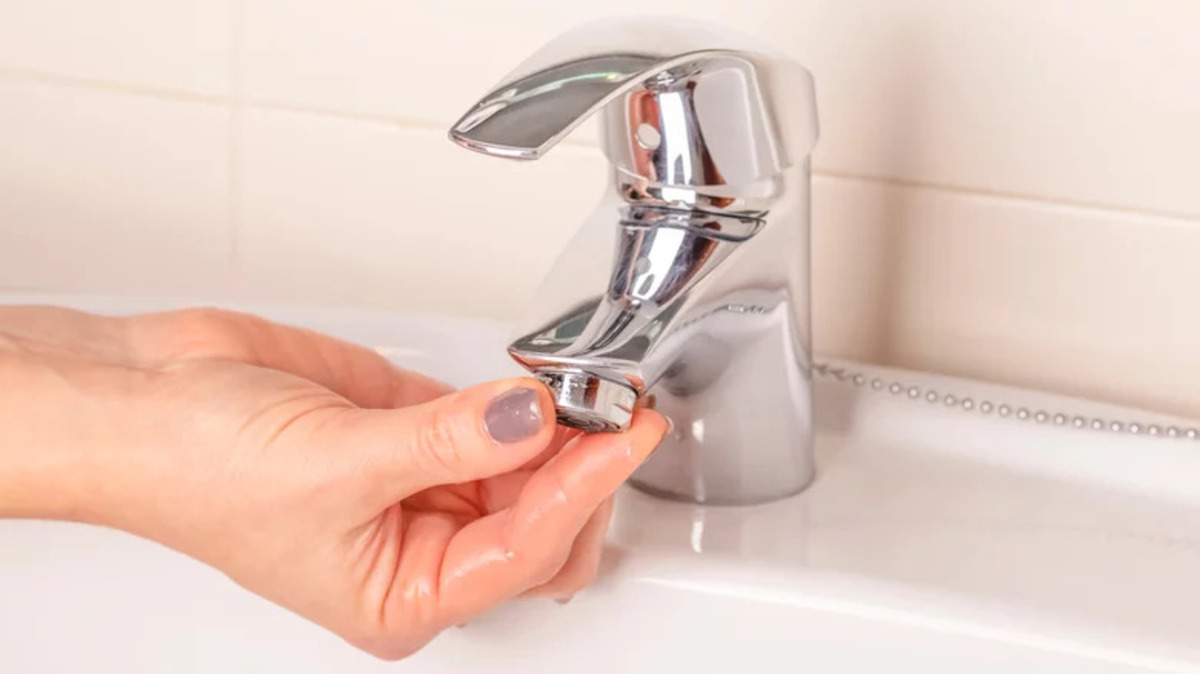
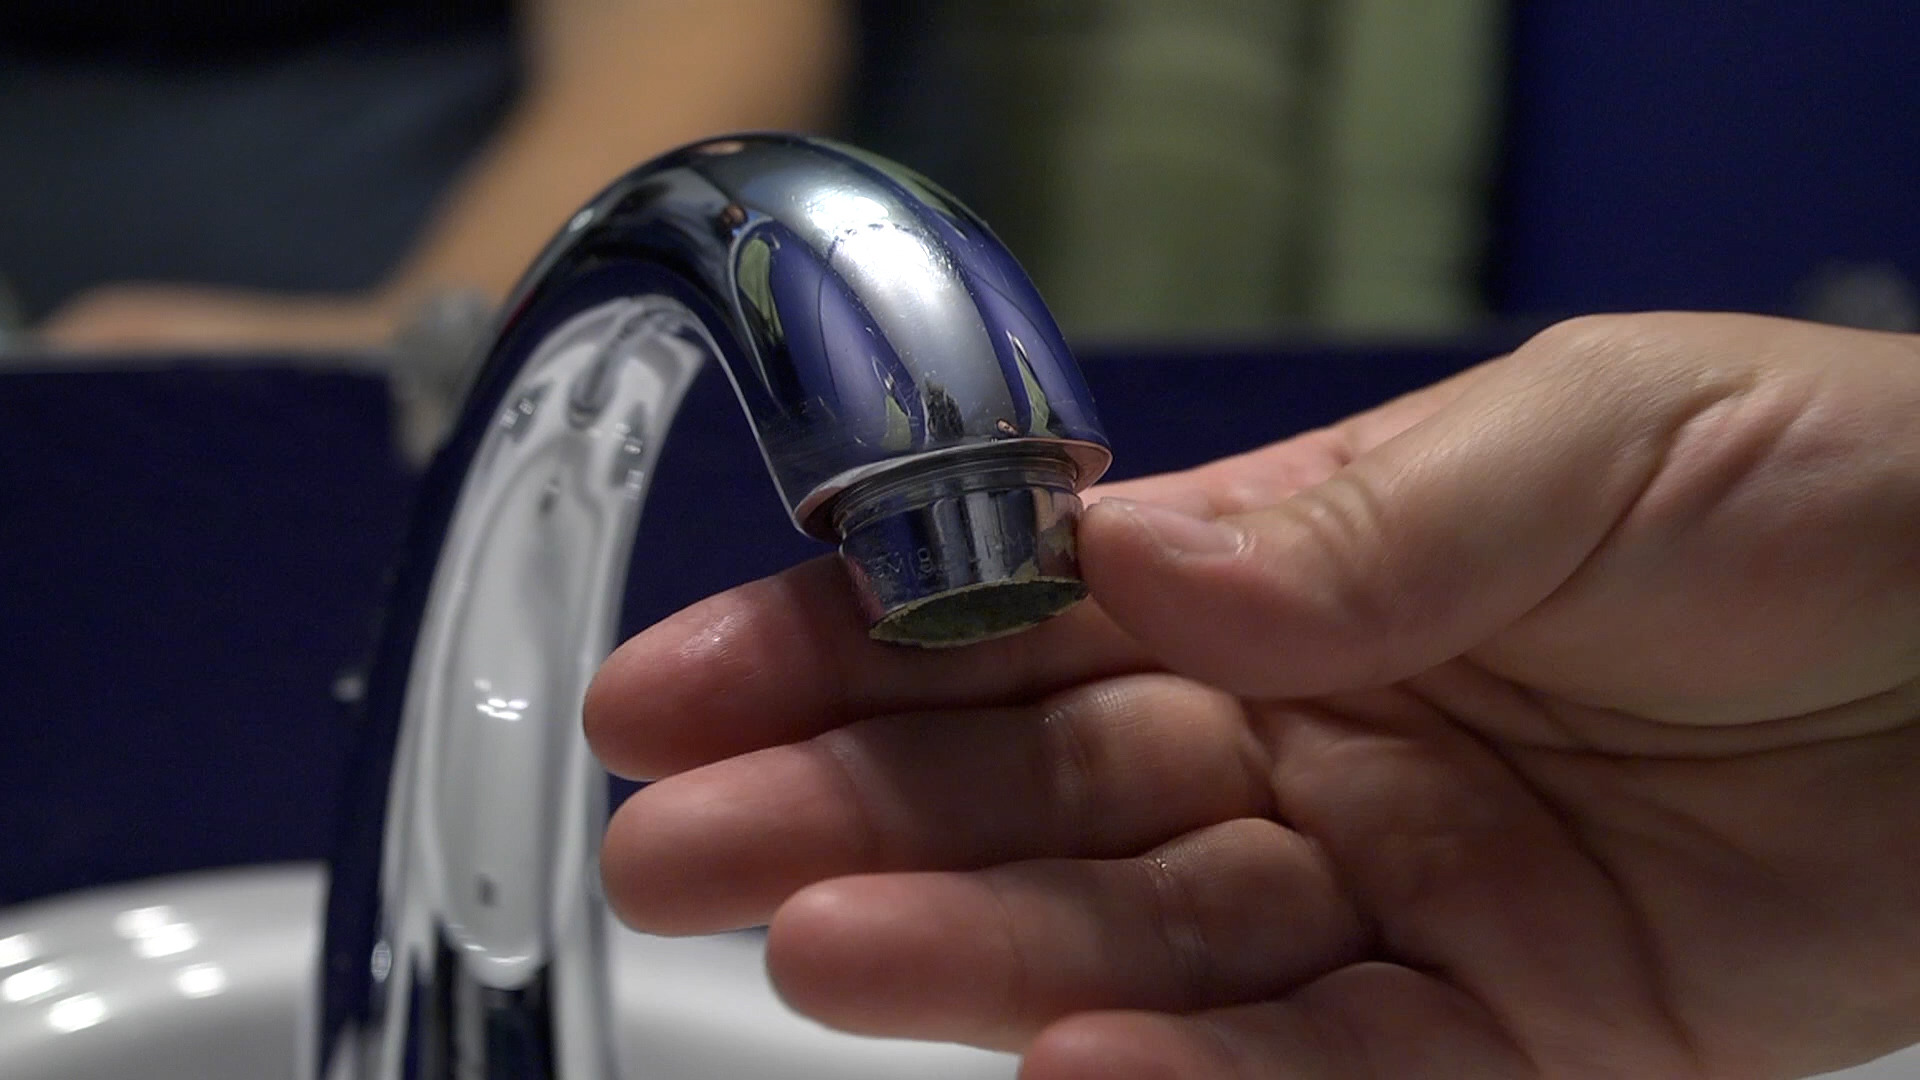
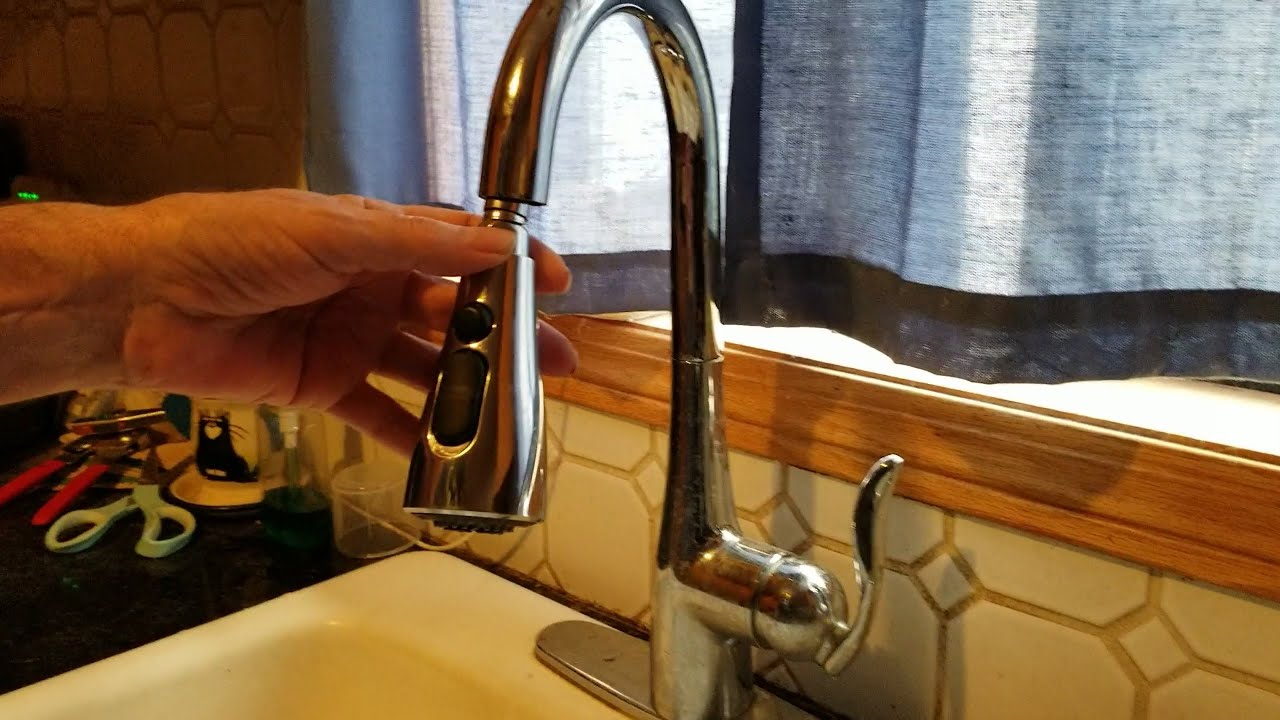
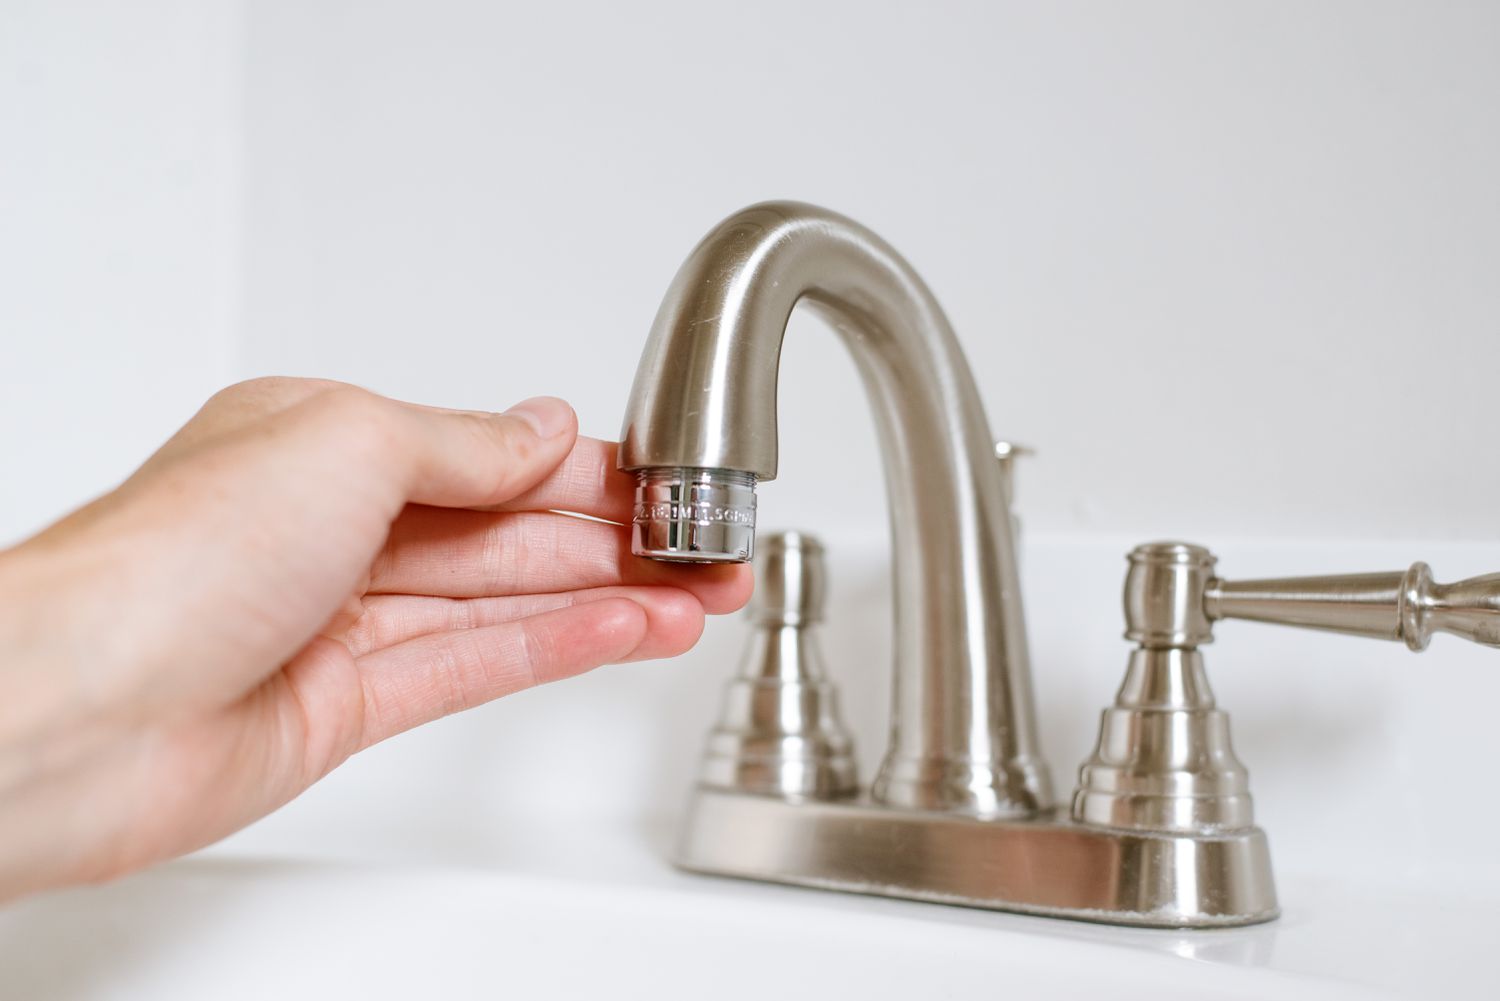
- Remove the aerator: Use an adjustable wrench or pliers to grip and unscrew the aerator from the faucet spout. Turn it counterclockwise to loosen and remove it. Be careful not to use excessive force to avoid damaging the aerator or the faucet.
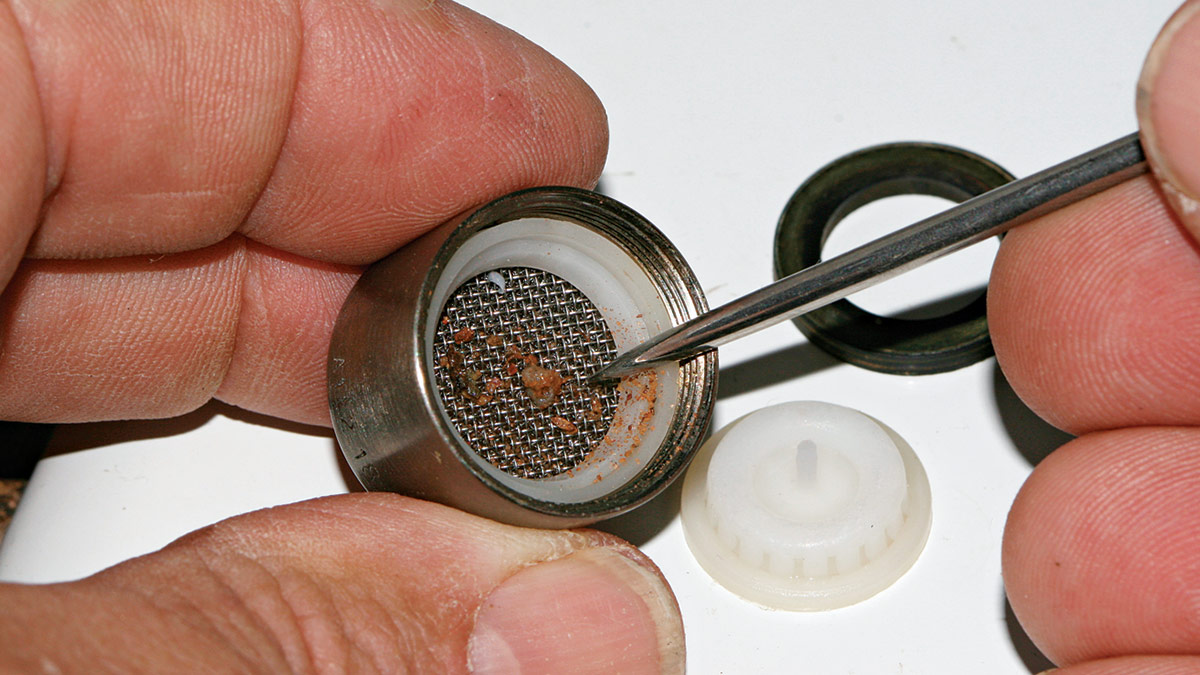
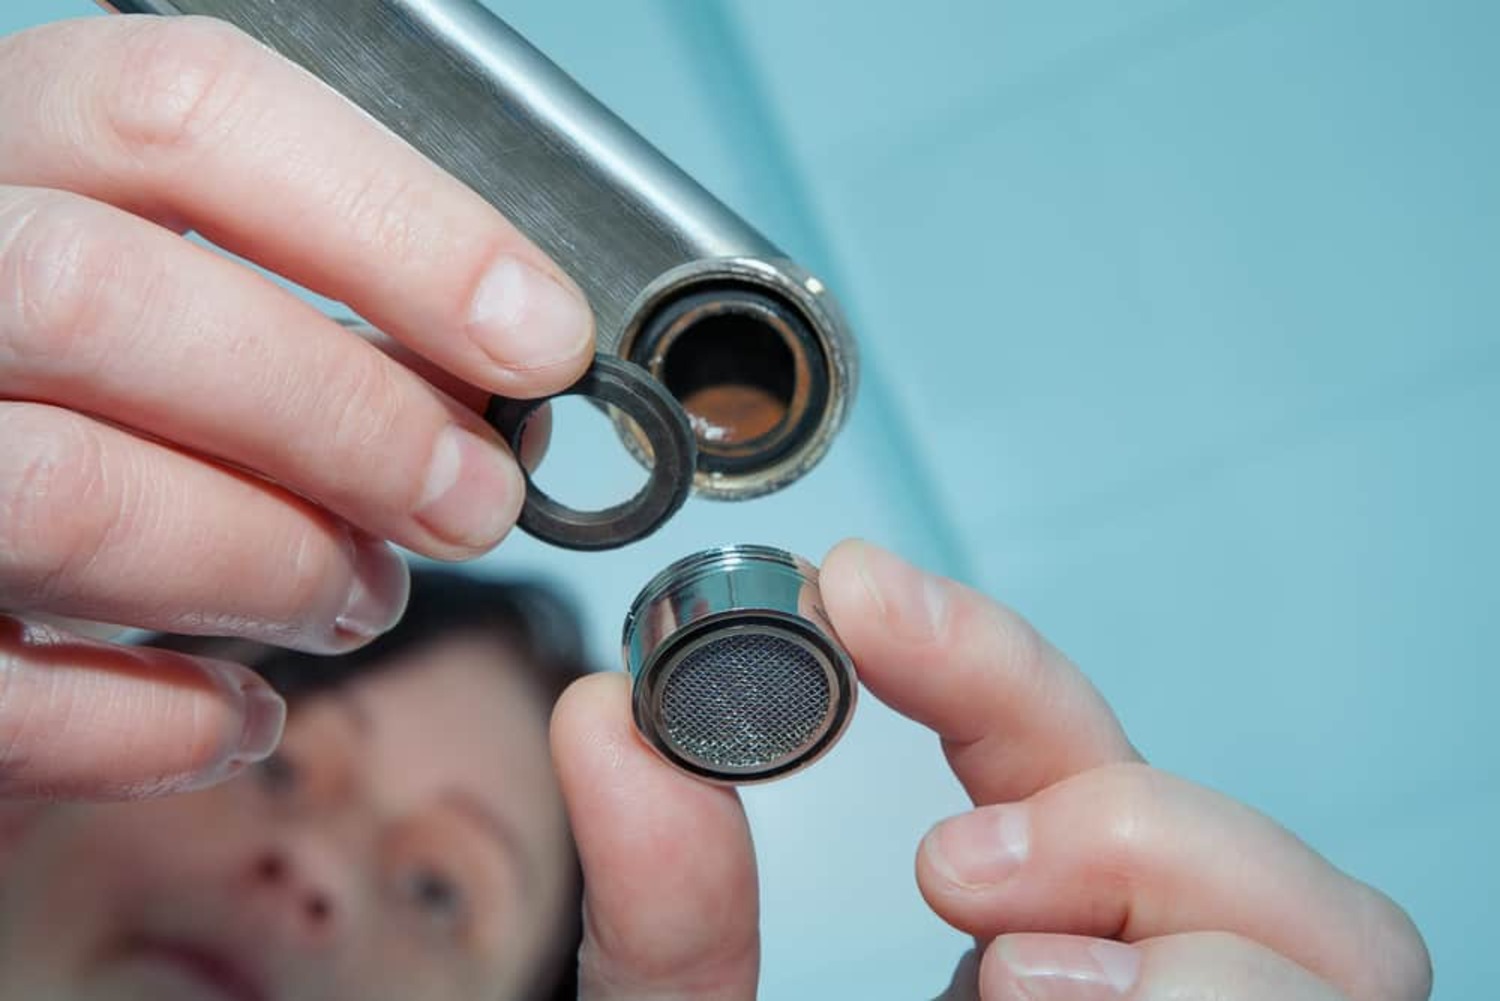
- Disassemble the aerator: Once the aerator is removed, carefully disassemble its components. Depending on the type of aerator, you may need to unscrew different parts or simply remove the mesh screen. Take note of the order in which the parts are removed for easy reassembly later on.
- Clean the aerator components: Fill a bowl or container with equal parts vinegar and water, or follow the instructions on your chosen descaling solution. Submerge the aerator components in the solution and let them soak for 10 to 15 minutes. This will help dissolve any mineral deposits and remove debris. Use an old toothbrush or small brush to gently scrub the components, paying special attention to the mesh screen or perforations.
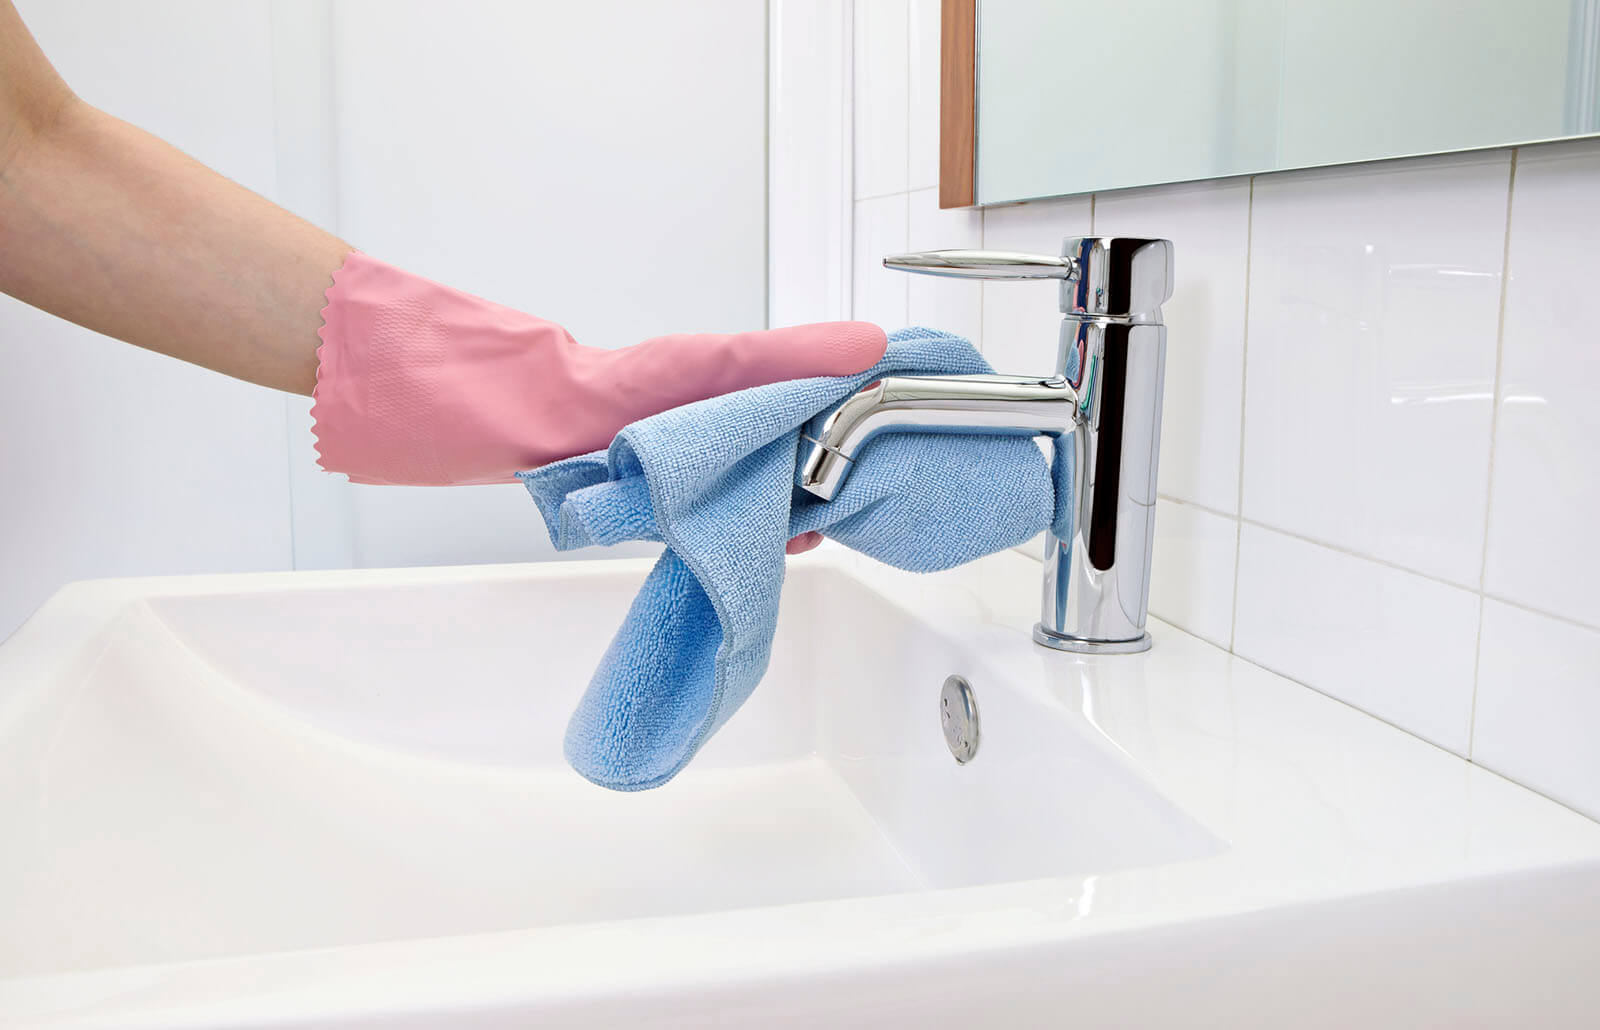
- Rinse and dry the components: After scrubbing, rinse the aerator components thoroughly with clean water to remove any remaining vinegar or cleaning solution. Use a clean cloth or towel to dry the components thoroughly. Make sure they are completely dry before reassembling.
- Reassemble and reinstall the aerator: Once the components are dry, carefully reassemble the aerator in the order they were removed. Ensure that all parts are securely tightened but take care not to overtighten. Screw the aerator back onto the faucet spout in a clockwise direction, using your hands or the adjustable wrench or pliers.
- Turn on the water: With the aerator back in place, turn on the water supply to the faucet and check for any leaks. Turn the faucet on to test the water flow and pressure. It should now be improved and free from any obstructions.
Following these step-by-step instructions will help you effectively clean the aerator on your faucet and restore optimal water flow. However, it’s important to note that some faucets may have different types of aerators or specific cleaning instructions. If you encounter any difficulties or have specific concerns, refer to the manufacturer’s instructions or seek professional assistance.
In the next section, we will provide you with some tips and tricks for effective cleaning and maintenance of your faucet aerator.
Read more: What Is A Faucet Aerator
Tips and tricks for effective cleaning
To ensure effective cleaning and maintenance of your faucet aerator, consider the following tips and tricks:
- Regular cleaning: Make it a habit to clean the aerator on a regular basis to prevent mineral build-up and debris accumulation. Aim for at least once every few months, or more frequently if you live in an area with hard water.
- Soak in vinegar overnight: For stubborn mineral deposits, you can soak the aerator components in vinegar overnight. This prolonged soaking will help dissolve the deposits and make them easier to remove.
- Use a toothpick or needle: If you notice small particles or debris still trapped in the aerator, a toothpick or needle can be used to carefully dislodge them. Be gentle to avoid scratching or damaging the aerator.
- Consider a descaling solution: If you find that vinegar is not effective in removing tough mineral deposits, consider using a commercial descaling solution specifically formulated for faucets. Follow the instructions on the product for best results.
- Inspect and replace worn-out parts: While cleaning the aerator, take the opportunity to inspect other parts of your faucet for any signs of wear or damage. Replace any worn-out washers, gaskets, or seals to prevent leaks and maintain optimal functionality.
- Keep spare parts: It’s a good idea to keep spare washers, gaskets, and an extra aerator on hand. This will come in handy if you need to replace any damaged or worn-out components during the cleaning process.
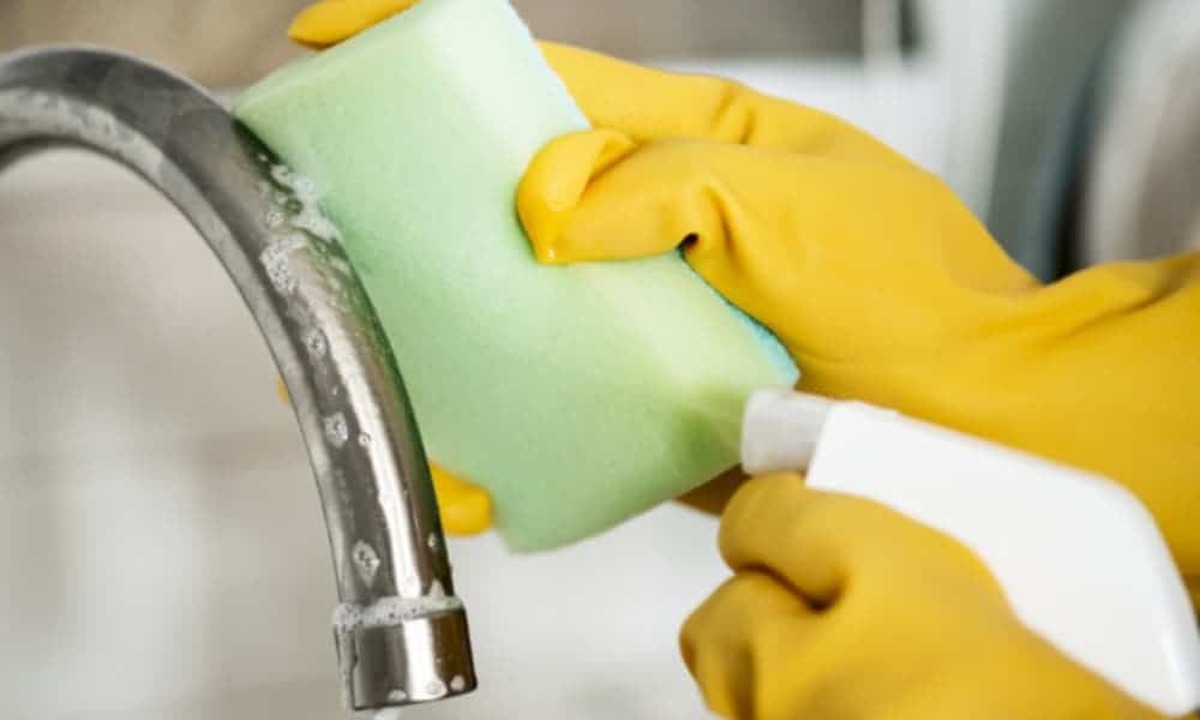
- Avoid using abrasive cleaners: When cleaning the aerator, avoid using harsh and abrasive cleaners or scrubbing pads. These can scratch the surface of the aerator or damage the components. Stick to gentle cleaning methods using vinegar or mild soap.
- Check for leaks after reinstallation: Once you have reinstalled the aerator, ensure there are no leaks. Let the water run for a few minutes and inspect the connections. If you notice any leaks, tighten the aerator slightly or replace any faulty washers or seals.
By following these tips and tricks, you can enhance the effectiveness of cleaning your faucet aerator and prolong its lifespan. Remember to always refer to the manufacturer’s instructions and seek professional help if you have any concerns or difficulties.
Now that you have learned how to clean the aerator on your faucet and how to maintain it properly, let’s address some common issues and troubleshooting methods in the next section.
Common issues and troubleshooting
While cleaning the aerator on your faucet can resolve many common issues, there may be times when additional troubleshooting is required. Here are some common issues you may encounter and some troubleshooting tips:
- Low water pressure: If you notice a significant drop in water pressure even after cleaning the aerator, there may be other factors contributing to the issue. Check if there are any obstructions in the water supply lines or if there are any issues with the faucet valve. Consider seeking professional assistance if the problem persists.
- Leaks from the aerator: After cleaning and reassembling the aerator, if you notice leaks around the connections, it may indicate that the aerator was not properly tightened or that the washers or seals are worn out. Try tightening the aerator slightly or replacing the faulty washers or seals to resolve the issue.
- Broken or damaged aerator: If you encounter a broken or damaged aerator during the cleaning process, it may be necessary to replace it. Make sure to take accurate measurements of your faucet and choose a compatible replacement aerator. Consult the manufacturer or a professional if you need assistance in finding the right aerator for your faucet.
- Rust or corrosion: If you notice rust or corrosion on the aerator or other faucet components, it may be a sign of a larger problem. Rust can result from underlying issues with your plumbing system or the quality of your water. Consider consulting a plumber to identify and address the root cause of the rust or corrosion.
- Dripping faucet: If your faucet continues to drip even after cleaning the aerator, it may be due to issues with the faucet cartridge or valve. In such cases, it’s best to consult a professional plumber who can properly diagnose and repair the issue.
If you encounter any other issues or have concerns specific to your faucet, it is advisable to refer to the manufacturer’s instructions or seek professional assistance. Proper troubleshooting and addressing underlying plumbing issues may be necessary for more complex problems.
By being aware of common issues and troubleshooting methods, you can effectively address any problems that may arise with your faucet aerator. Regular cleaning and maintenance will help prevent issues and ensure the optimal functioning of your faucet.
Now that you have a comprehensive understanding of cleaning and maintaining your faucet aerator, it’s time to put your knowledge into practice and enjoy a clean and efficient water flow.
Conclusion
Cleaning the aerator on your faucet is a simple yet crucial maintenance task that can greatly improve water flow, efficiency, and overall functionality. By following the step-by-step instructions and utilizing the tips and tricks provided in this guide, you can easily clean your aerator and ensure optimal performance.
Regular cleaning of the aerator helps remove mineral deposits, debris, and sediment that can accumulate over time. This prevents clogs, restores water flow, and improves the overall quality of your water. It also extends the lifespan of your faucet and saves you from costly repairs or replacements.
Remember to gather the necessary tools and materials, such as an adjustable wrench, vinegar or descaling solution, and a toothbrush, before beginning the cleaning process. Take care to disassemble the aerator properly and give it a thorough cleaning, paying attention to hard-to-reach areas.
Throughout the cleaning process, keep in mind the importance of regular maintenance and troubleshooting common issues. Address leaks, low water pressure, or other concerns promptly to ensure your faucet functions smoothly.
By making aerator cleaning a part of your regular household maintenance routine, you can enjoy a steady, powerful, and efficient water flow that meets your daily needs. Not only will this enhance your daily activities, but it will also contribute to water conservation and energy efficiency.
We hope this comprehensive guide has provided you with the knowledge and confidence to clean the aerator on your faucet effectively. Remember to consult the manufacturer’s instructions or seek professional assistance if you encounter any difficulties or unique situations.
Now, go ahead and give your faucet aerator the cleaning it deserves, and enjoy the benefits of a clean and smoothly flowing water stream!
Frequently Asked Questions about How To Clean Aerator On Faucet
Was this page helpful?
At Storables.com, we guarantee accurate and reliable information. Our content, validated by Expert Board Contributors, is crafted following stringent Editorial Policies. We're committed to providing you with well-researched, expert-backed insights for all your informational needs.
0 thoughts on “How To Clean Aerator On Faucet”