Home>Furniture & Design>Outdoor Furniture>How To Unscrew Blink Outdoor Camera
Outdoor Furniture
How To Unscrew Blink Outdoor Camera
Modified: September 1, 2024
Learn how to unscrew your Blink outdoor camera with our expert tips and tricks. Find the best outdoor furniture, furniture, and design ideas to elevate your outdoor space. Unlock the potential of your outdoor area today!
(Many of the links in this article redirect to a specific reviewed product. Your purchase of these products through affiliate links helps to generate commission for Storables.com, at no extra cost. Learn more)
Introduction
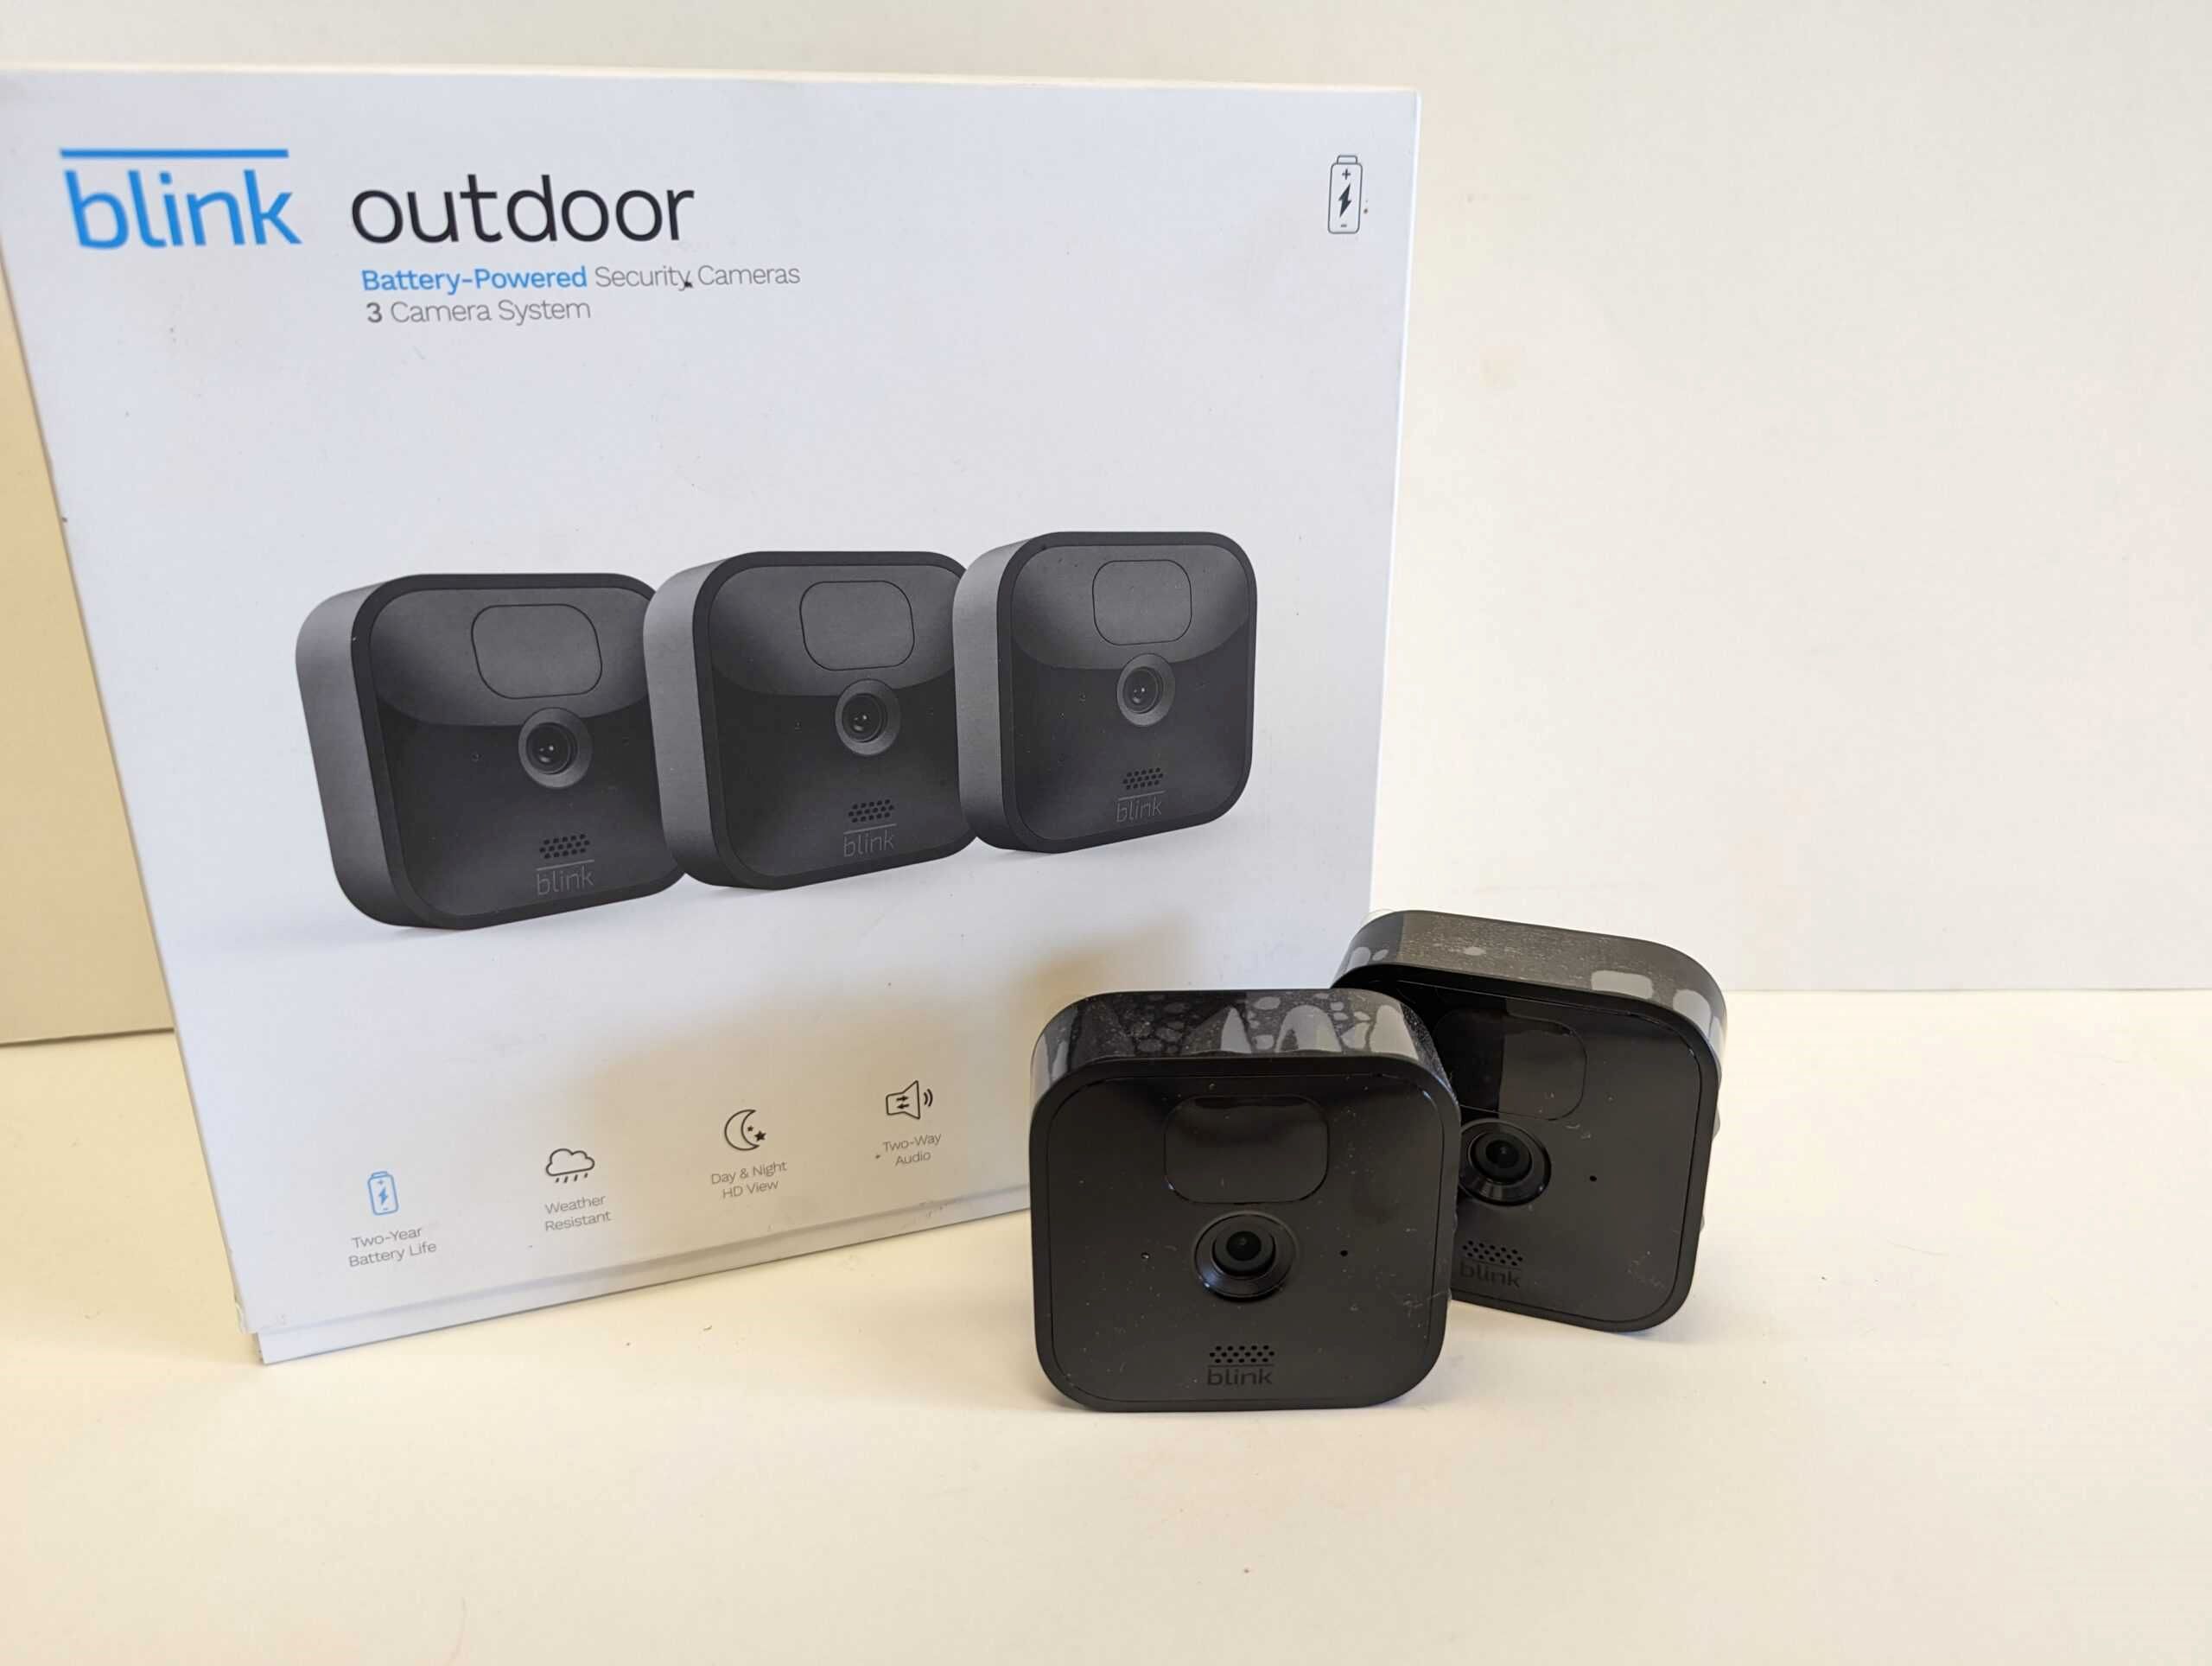
Welcome to the comprehensive guide on how to unscrew a Blink outdoor camera. The Blink outdoor camera is a popular choice for home security, offering a reliable and straightforward way to monitor your property. Whether you're relocating the camera to a new position, troubleshooting an issue, or simply performing maintenance, knowing how to unscrew the camera safely and effectively is essential. In this guide, we'll walk you through the step-by-step process, ensuring that you have the knowledge and confidence to complete the task without any hiccups.
Without further ado, let's dive into the details and equip you with the necessary skills to tackle this task like a pro. Whether you're a seasoned DIY enthusiast or a first-time Blink camera user, this guide is designed to provide clear and actionable instructions for anyone looking to unscrew their Blink outdoor camera. So, grab your tools and let's get started!
Key Takeaways:
- To unscrew a Blink outdoor camera, gather tools like a screwdriver, ladder, work gloves, and flashlight. Follow steps to remove the camera, locate the screw, and use the right screwdriver for a safe and successful process.
- After unscrewing the camera, reattach it carefully to its mount, ensuring stability and alignment. Prioritize safety, follow instructions, and seek professional help if needed for a smooth maintenance experience.
Read more: How To Install Blink Outdoor Cameras
Step 1: Gather the Necessary Tools
Before you begin the process of unscrewing your Blink outdoor camera, it’s essential to gather the necessary tools to ensure a smooth and efficient experience. Here’s a list of the tools you’ll need:
- Screwdriver: Depending on the specific model of your Blink outdoor camera, you may require a Phillips head or a flathead screwdriver. Ensure that you have the appropriate screwdriver on hand to avoid any delays during the unscrewing process.
- Sturdy Ladder or Step Stool: Since the Blink outdoor camera is typically installed at a height, having a sturdy ladder or step stool will enable you to access the camera safely and comfortably.
- Work Gloves: While not mandatory, wearing work gloves can provide added grip and protection for your hands as you handle the camera and tools.
- Flashlight: If the area surrounding your Blink outdoor camera is poorly lit, a flashlight can be immensely helpful in providing visibility and ensuring precision during the unscrewing process.
By ensuring that you have these tools readily available, you’ll be well-prepared to proceed with confidence as you move on to the next steps of unscrewing your Blink outdoor camera.
Step 2: Remove the Camera from Its Mount
Before you can proceed with unscrewing the Blink outdoor camera, you’ll need to remove it from its mount. This step is crucial to gain access to the screws holding the camera in place. Here’s a detailed guide on how to accomplish this:
- Power Off the Camera: To ensure safety and prevent any potential electrical mishaps, start by powering off the camera. If your Blink outdoor camera is battery-powered, remove the batteries. If it’s connected to a power source, unplug it before proceeding.
- Access the Mounting Bracket: Depending on the specific mounting setup, you may need to release the camera from a mounting bracket or a magnetic mount. Carefully examine the area around the camera to identify the method of attachment.
- Release the Camera: Once you’ve identified the mounting mechanism, follow the manufacturer’s instructions to release the camera from its mount. This may involve pressing a release button, sliding the camera off the mount, or using a tool to detach it securely.
- Secure the Camera: As you remove the camera from its mount, ensure that you have a secure grip to prevent any accidental drops or damage to the camera or its components.
By following these steps, you’ll successfully remove the Blink outdoor camera from its mount, setting the stage for the next phase of unscrewing the camera from its current location.
Step 3: Locate the Screw on the Back of the Camera
With the Blink outdoor camera removed from its mount, the next step is to locate the screw on the back of the camera. This screw is typically positioned in a central or easily accessible location, securing the camera to its mounting surface. Follow these guidelines to identify and prepare for the unscrewing process:
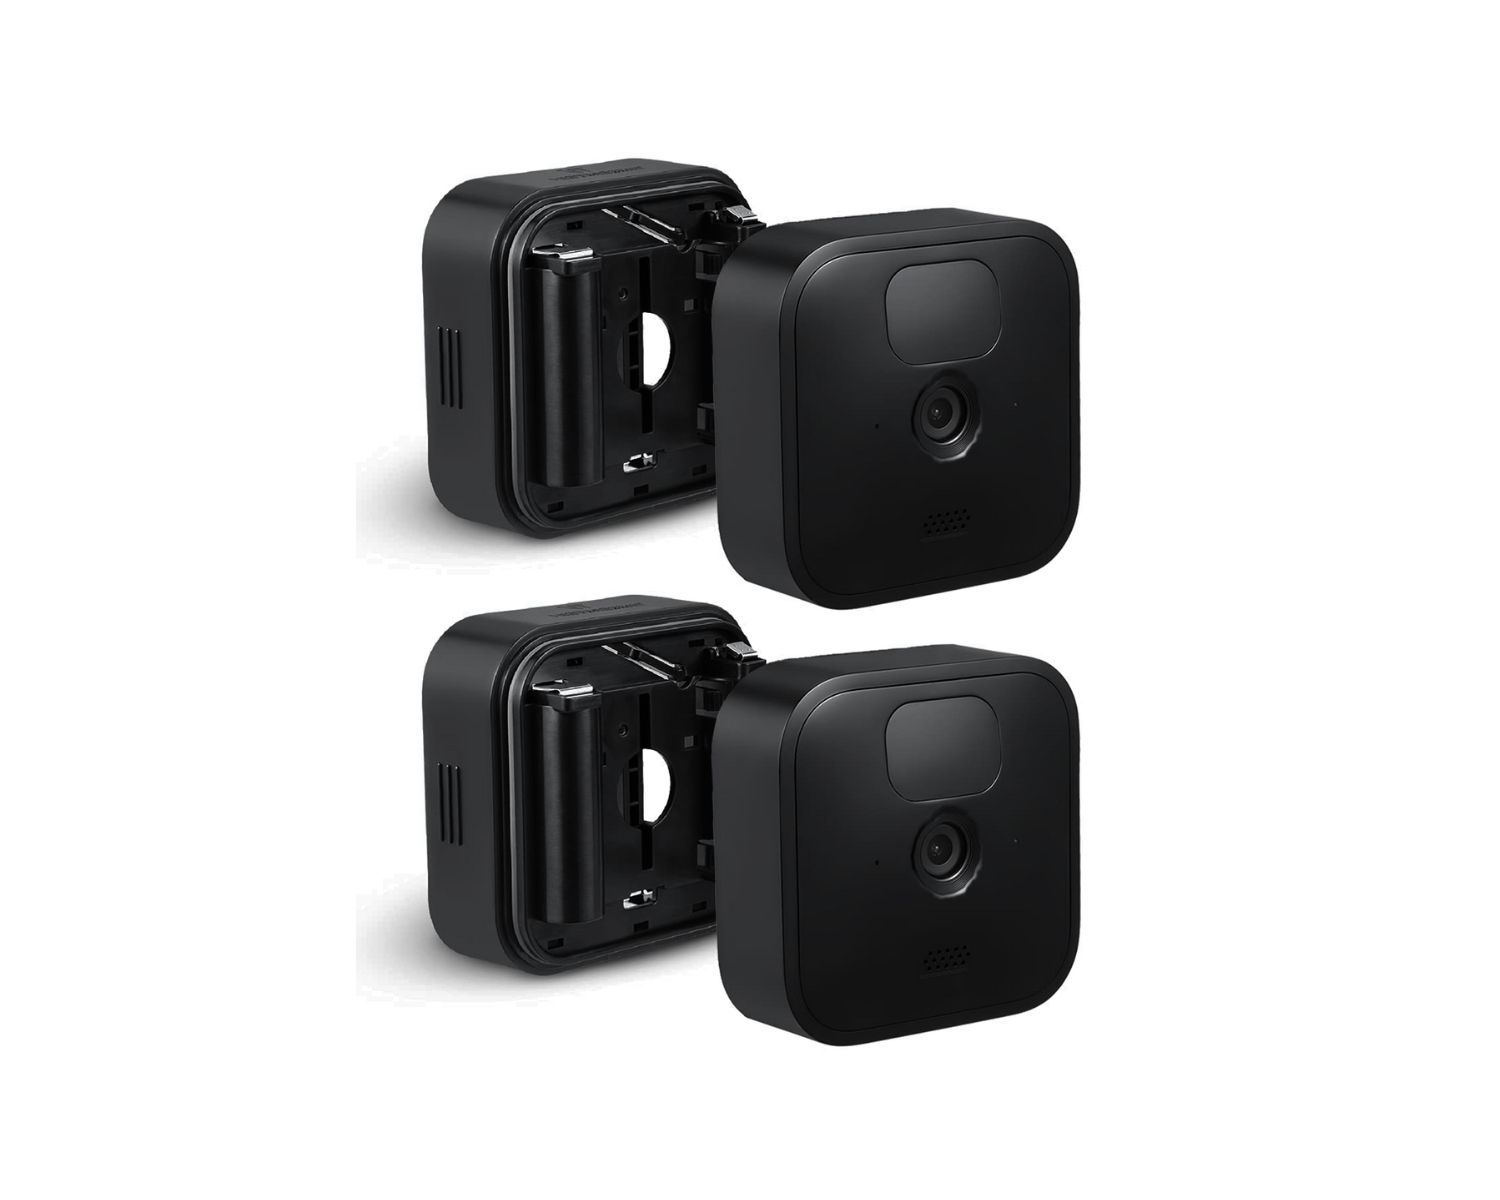
- Inspect the Camera Casing: Take a close look at the back of the Blink outdoor camera to identify the screw that holds it in place. The screw may be situated near the center of the casing or in a designated corner, depending on the specific model.
- Check for Weatherproofing Seal: Some Blink outdoor cameras feature a weatherproofing seal around the screw to protect the internal components from moisture and environmental elements. Ensure that you carefully inspect and, if necessary, gently remove this seal to access the screw.
- Assess the Screw Type: Depending on the model and design of the Blink outdoor camera, the screw may be a standard Phillips head or a specialized screw type. Take note of the screw’s configuration to ensure that you use the appropriate screwdriver for the unscrewing process.
- Prepare the Work Area: Position the camera in a stable and secure location, such as a flat work surface, to facilitate the unscrewing process. This will provide a steady platform for the subsequent steps and prevent any accidental damage to the camera or its components.
By carefully locating and preparing to access the screw on the back of the Blink outdoor camera, you’ll be primed to proceed with confidence and precision in the upcoming steps of unscrewing the camera.
To unscrew a Blink Outdoor camera, use a small Phillips head screwdriver to turn the screw counterclockwise until it is fully loosened. Be careful not to drop the screw while removing it.
Step 4: Use the Appropriate Screwdriver
Once you’ve located the screw on the back of the Blink outdoor camera, the next crucial step is to ensure that you have the appropriate screwdriver for the unscrewing process. The choice of screwdriver is pivotal in achieving a secure grip on the screw and avoiding any potential damage to the camera or its components. Follow these guidelines to select and prepare the right tool for the task:
- Identify the Screw Type: Before proceeding, confirm the type of screw securing the Blink outdoor camera. Whether it’s a standard Phillips head, a flathead, or a specialized screw type, understanding the screw’s configuration is essential in choosing the correct screwdriver.
- Select the Correct Screwdriver: Based on the screw type, choose a screwdriver that fits snugly into the screw’s head, ensuring a secure and precise grip. Using an ill-fitting or incorrect screwdriver can result in slippage, potentially damaging the screw or compromising the camera’s integrity.
- Consider Magnetic Screwdrivers: Opting for a magnetic screwdriver can simplify the unscrewing process by securely holding the screw in place once it’s loosened. This minimizes the risk of dropping the screw and facilitates a smoother and more controlled removal.
- Inspect the Screwdriver Tip: Ensure that the tip of the screwdriver is in optimal condition, free from any wear or damage. A well-maintained screwdriver tip provides superior grip and minimizes the likelihood of slippage during the unscrewing process.
By meticulously selecting the appropriate screwdriver and preparing it for use, you’ll set the stage for a seamless and effective unscrewing process, ensuring that the Blink outdoor camera is handled with precision and care.
Read more: How To Open A Blink Outdoor Camera
Step 5: Unscrew the Camera
With the appropriate screwdriver in hand and the Blink outdoor camera prepared for the unscrewing process, it’s time to carefully and methodically remove the screw securing the camera in place. Follow these detailed steps to execute the unscrewing process with precision:
- Position the Screwdriver: Insert the tip of the screwdriver securely into the screw’s head, ensuring a snug fit and optimal grip. Position the screwdriver perpendicular to the screw, applying gentle pressure to engage the screw’s threads.
- Apply Controlled Rotation: With a steady hand, begin rotating the screwdriver in a counterclockwise direction to loosen the screw. Exercise caution to maintain a controlled and consistent rotation, avoiding sudden movements that may cause slippage or damage to the screw or camera.
- Monitor Resistance: As you unscrew the camera, pay attention to the level of resistance encountered. If the screw feels excessively tight or difficult to turn, refrain from applying excessive force, as this may indicate potential obstructions or issues that require further assessment.
- Secure the Loosened Screw: Once the screw has been sufficiently loosened, ensure that you maintain a firm grip on the screwdriver and the loosened screw to prevent it from falling and getting lost during the final stages of removal.
- Complete the Unscrewing Process: Continue rotating the screwdriver until the screw is fully disengaged from the mounting surface, allowing you to carefully remove and set it aside for safekeeping. With the screw removed, the Blink outdoor camera is now ready to be repositioned or undergo maintenance as needed.
By following these steps attentively and exercising patience and precision, you’ll successfully unscrew the Blink outdoor camera, paving the way for subsequent adjustments or maintenance tasks with ease.
Step 6: Reattach the Camera to Its Mount
After successfully unscrewing the Blink outdoor camera, the final step involves reattaching the camera to its mount. This critical phase ensures that the camera is securely positioned and ready to resume its surveillance duties. Follow these comprehensive steps to reattach the camera with confidence and precision:
- Prepare the Mounting Surface: Ensure that the area where the Blink outdoor camera will be reattached is clean and free from any debris or obstructions. This provides a stable and secure foundation for the camera’s mounting process.
- Position the Camera: Align the back of the camera with the mounting surface, taking care to position it correctly to align with the mounting holes or brackets. This step is crucial in ensuring a seamless and secure reattachment.
- Insert and Align the Screws: If the mounting mechanism requires screws, carefully insert and align them with the corresponding holes on the camera and the mounting surface. Ensure that the screws are positioned correctly to facilitate a smooth and secure reattachment.
- Tighten the Screws: Using the appropriate screwdriver, gently tighten the screws to secure the Blink outdoor camera to its mount. Exercise caution to avoid over-tightening, as this may lead to damage or misalignment of the camera and its mounting components.
- Verify Stability and Alignment: Once the camera is reattached, verify its stability and alignment with the surrounding area. Ensure that the camera is securely fastened and positioned correctly to optimize its surveillance coverage.
- Power On and Test: After reattaching the camera, power it on and perform a brief test to ensure that it’s functioning as expected. Verify the camera’s connectivity and surveillance capabilities to confirm that it’s operational following the reattachment process.
By meticulously following these steps and prioritizing precision and attention to detail, you’ll effectively reattach the Blink outdoor camera to its mount, restoring its functionality and reliability for continued surveillance and security.
Conclusion
Congratulations! You’ve successfully navigated the process of unscrewing and reattaching your Blink outdoor camera. By following the detailed steps outlined in this guide, you’ve gained the knowledge and confidence to perform these essential tasks with precision and efficiency. Whether you’re adjusting the camera’s position, troubleshooting an issue, or conducting routine maintenance, mastering the unscrewing process is a valuable skill for any Blink outdoor camera owner.
Remember, safety should always be a top priority when working with electronic devices and tools. Prior to unscrewing the camera, ensure that it’s powered off and take necessary precautions to prevent accidents or damage during the process. Additionally, if you encounter any unexpected challenges or complexities, don’t hesitate to consult the manufacturer’s instructions or seek professional assistance to address the issue effectively.
By equipping yourself with the right tools, understanding the camera’s mounting and securing mechanisms, and exercising patience and precision throughout the unscrewing process, you’ve demonstrated your ability to tackle maintenance tasks and adjustments with confidence. The skills you’ve acquired will serve you well in maintaining the optimal functionality and positioning of your Blink outdoor camera, contributing to the security and surveillance of your property.
As you continue to explore the capabilities of your Blink outdoor camera and enhance your home security setup, remember that periodic maintenance and adjustments are essential for maximizing its performance and longevity. With the knowledge and expertise you’ve gained from this guide, you’re well-prepared to handle future tasks with ease and proficiency, ensuring that your Blink outdoor camera remains a reliable guardian of your home’s safety and security.
Thank you for embarking on this instructional journey to master the art of unscrewing your Blink outdoor camera. Your dedication to learning and applying these essential skills is a testament to your commitment to maintaining a secure and vigilant home environment.
Frequently Asked Questions about How To Unscrew Blink Outdoor Camera
Was this page helpful?
At Storables.com, we guarantee accurate and reliable information. Our content, validated by Expert Board Contributors, is crafted following stringent Editorial Policies. We're committed to providing you with well-researched, expert-backed insights for all your informational needs.

0 thoughts on “How To Unscrew Blink Outdoor Camera”