Home>Gardening & Outdoor>Outdoor Structures>How To Put Air Vents In A Shed
Outdoor Structures
How To Put Air Vents In A Shed
Modified: August 28, 2024
Learn how to properly install air vents in your outdoor structures with our step-by-step guide. Ensure proper ventilation for your shed to prevent moisture and heat buildup.
(Many of the links in this article redirect to a specific reviewed product. Your purchase of these products through affiliate links helps to generate commission for Storables.com, at no extra cost. Learn more)
Introduction
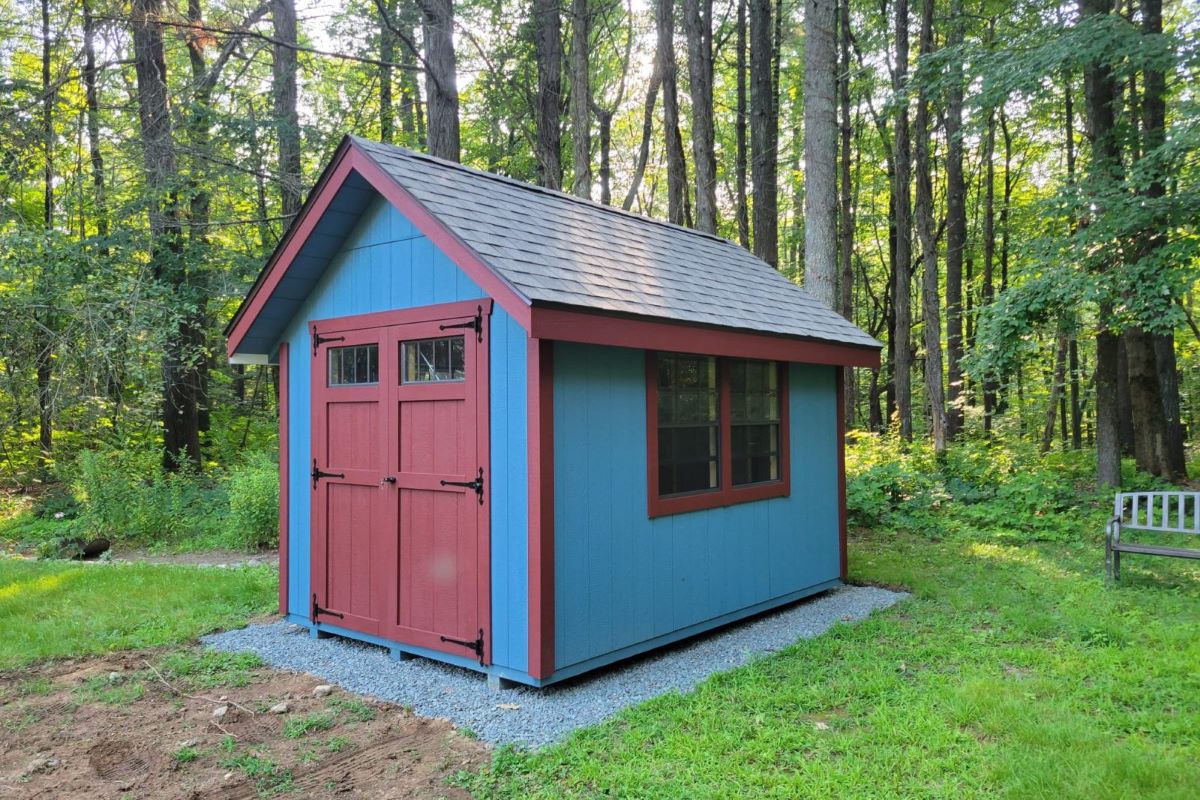
When it comes to maintaining a shed, proper ventilation is crucial for preserving the integrity of the structure and protecting the items stored inside. Without adequate airflow, a shed can become a breeding ground for mold, mildew, and musty odors, which can compromise the condition of tools, equipment, and other belongings. To prevent these issues and ensure a well-ventilated shed, installing air vents is essential.
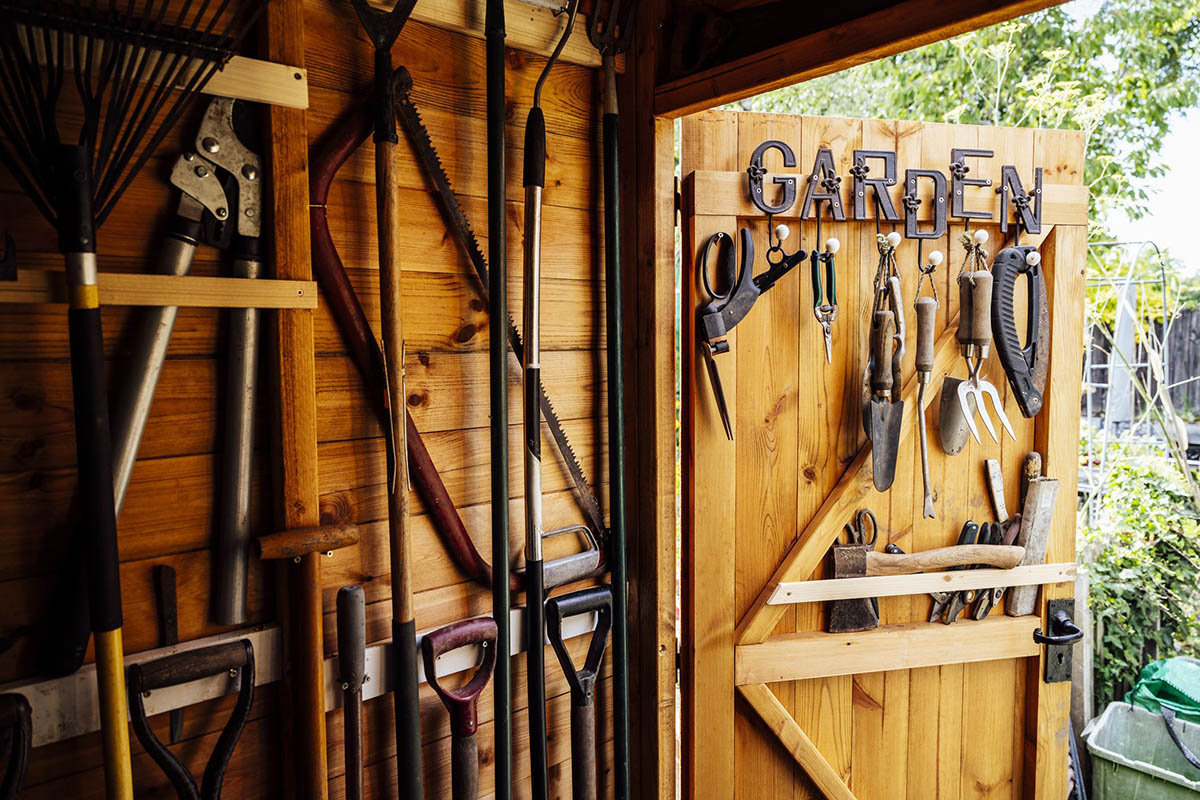
By incorporating air vents into your shed, you can regulate temperature and humidity levels, reduce moisture buildup, and promote air circulation. This not only safeguards your possessions but also extends the lifespan of the shed itself. Whether you're using the shed for storage, as a workshop, or for other purposes, proper ventilation is a fundamental aspect of maintenance and functionality.
In this comprehensive guide, we'll walk you through the process of installing air vents in your shed. From planning and selecting the right type of vents to measuring, cutting, and installing, we'll cover each step in detail. By the end of this article, you'll have the knowledge and confidence to enhance your shed's ventilation system effectively and efficiently. Let's dive in and explore the essential steps to ensure your shed remains well-ventilated and conducive to its intended use.
Key Takeaways:
- Proper ventilation is crucial for preserving a shed’s integrity and protecting stored items. Installing air vents regulates temperature, reduces moisture, and extends the shed’s lifespan.
- Planning, selecting the right vents, measuring, cutting, and installing are essential steps for effective shed ventilation. Proper airflow safeguards belongings and ensures shed longevity.
Read more: Where To Put Vents For Forced Air Heating
Planning for Air Vents
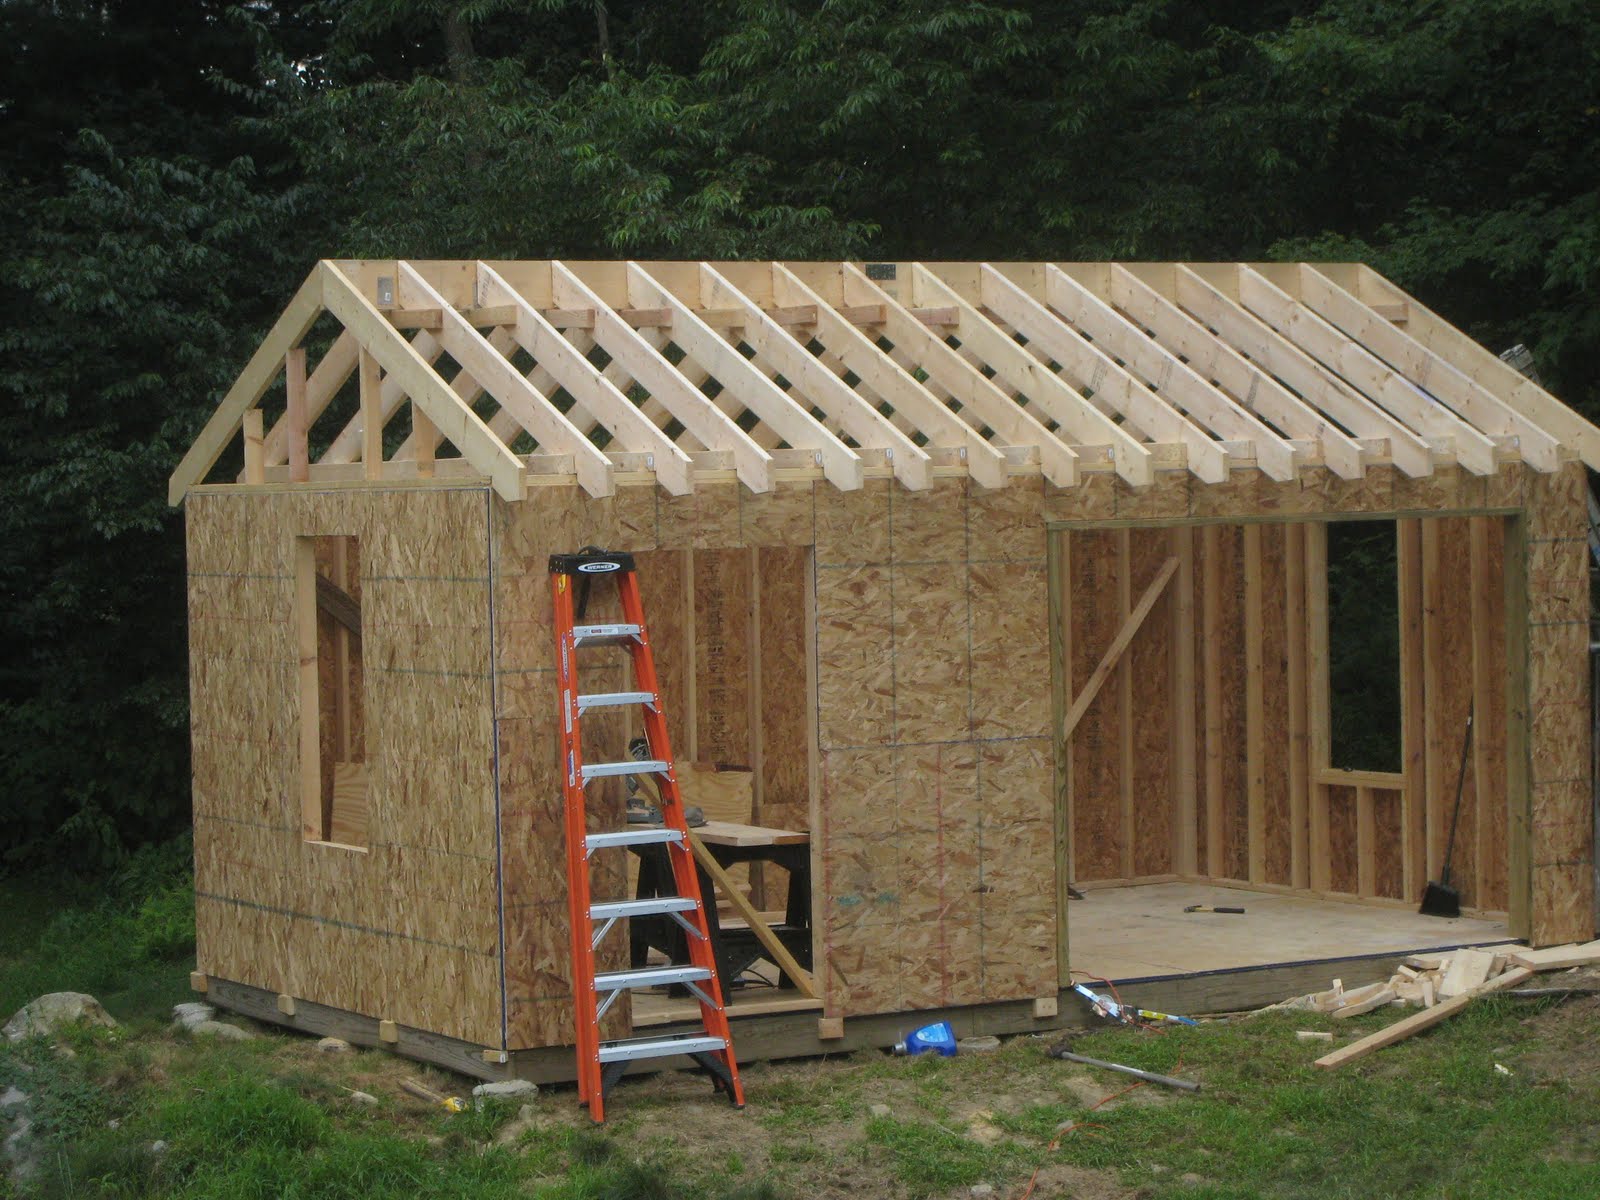
Before embarking on the installation of air vents in your shed, it’s essential to strategize and plan the process meticulously. Start by assessing the size of your shed and the existing airflow patterns. Consider the prevailing wind direction and the orientation of the shed to determine the most effective placement for the vents. Additionally, factor in the local climate and weather conditions, as these elements can influence the ventilation requirements.
Another crucial aspect of the planning phase is deciding on the number and size of air vents needed. This is contingent on the dimensions of the shed, as well as the intended purpose of the structure. A larger shed or one used for activities requiring increased airflow, such as woodworking, may necessitate multiple vents or larger openings to facilitate optimal ventilation.
Furthermore, take into account the various types of air vents available, such as louvered vents, soffit vents, gable vents, and ridge vents. Each type offers distinct advantages and may be more suitable based on your shed’s design and ventilation needs. By evaluating these factors and considering the specific requirements of your shed, you can make informed decisions during the planning phase, setting the stage for a successful installation process.
Additionally, it’s important to adhere to any local building codes or regulations related to shed ventilation. Some areas may have specific ventilation requirements based on the size and purpose of the structure. By familiarizing yourself with these guidelines, you can ensure that your ventilation installation complies with the necessary standards, avoiding potential issues in the future.
By thoroughly planning for air vents in your shed, you can lay the groundwork for a well-executed installation that optimizes airflow and contributes to the longevity and functionality of the structure. With a clear plan in place, you’ll be ready to move on to the next steps in the installation process, equipped with the knowledge needed to make informed choices and achieve effective shed ventilation.
Choosing the Right Type of Air Vents
When it comes to selecting air vents for your shed, it’s essential to consider the specific characteristics and benefits of each type. The choice of air vents can significantly impact the shed’s ventilation efficiency and overall performance. Here are some common types of air vents to consider:
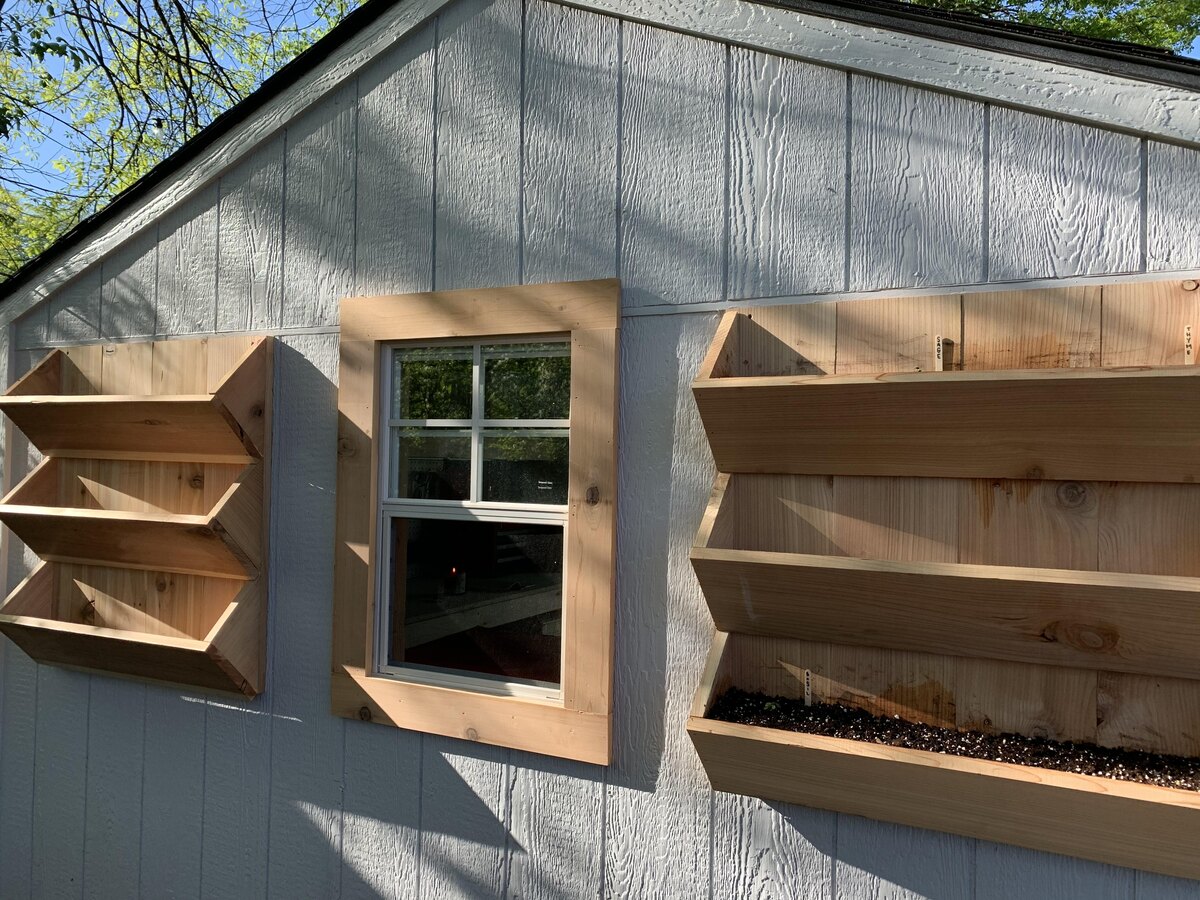
- Louvered Vents: These vents feature angled slats or louvers, which allow air to flow in while preventing water and debris from entering. They are available in various sizes and materials, offering versatility in design and functionality. Louvered vents are ideal for providing consistent airflow and are suitable for both wall and roof installations.
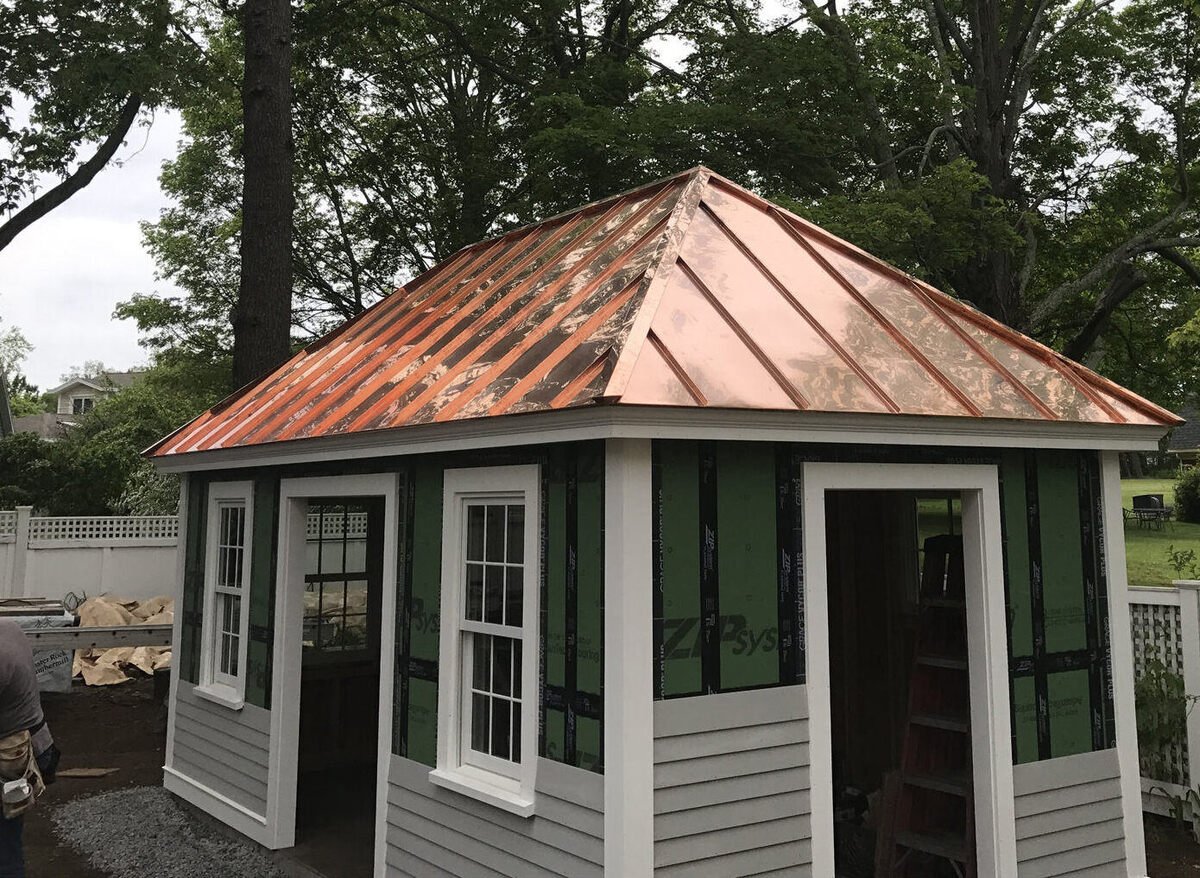
- Soffit Vents: Installed along the eaves of the shed, soffit vents facilitate air intake from the lower portion of the structure. They work in conjunction with other exhaust vents, such as ridge or gable vents, to create a balanced airflow system. Soffit vents are particularly effective in regulating temperature and reducing moisture buildup.
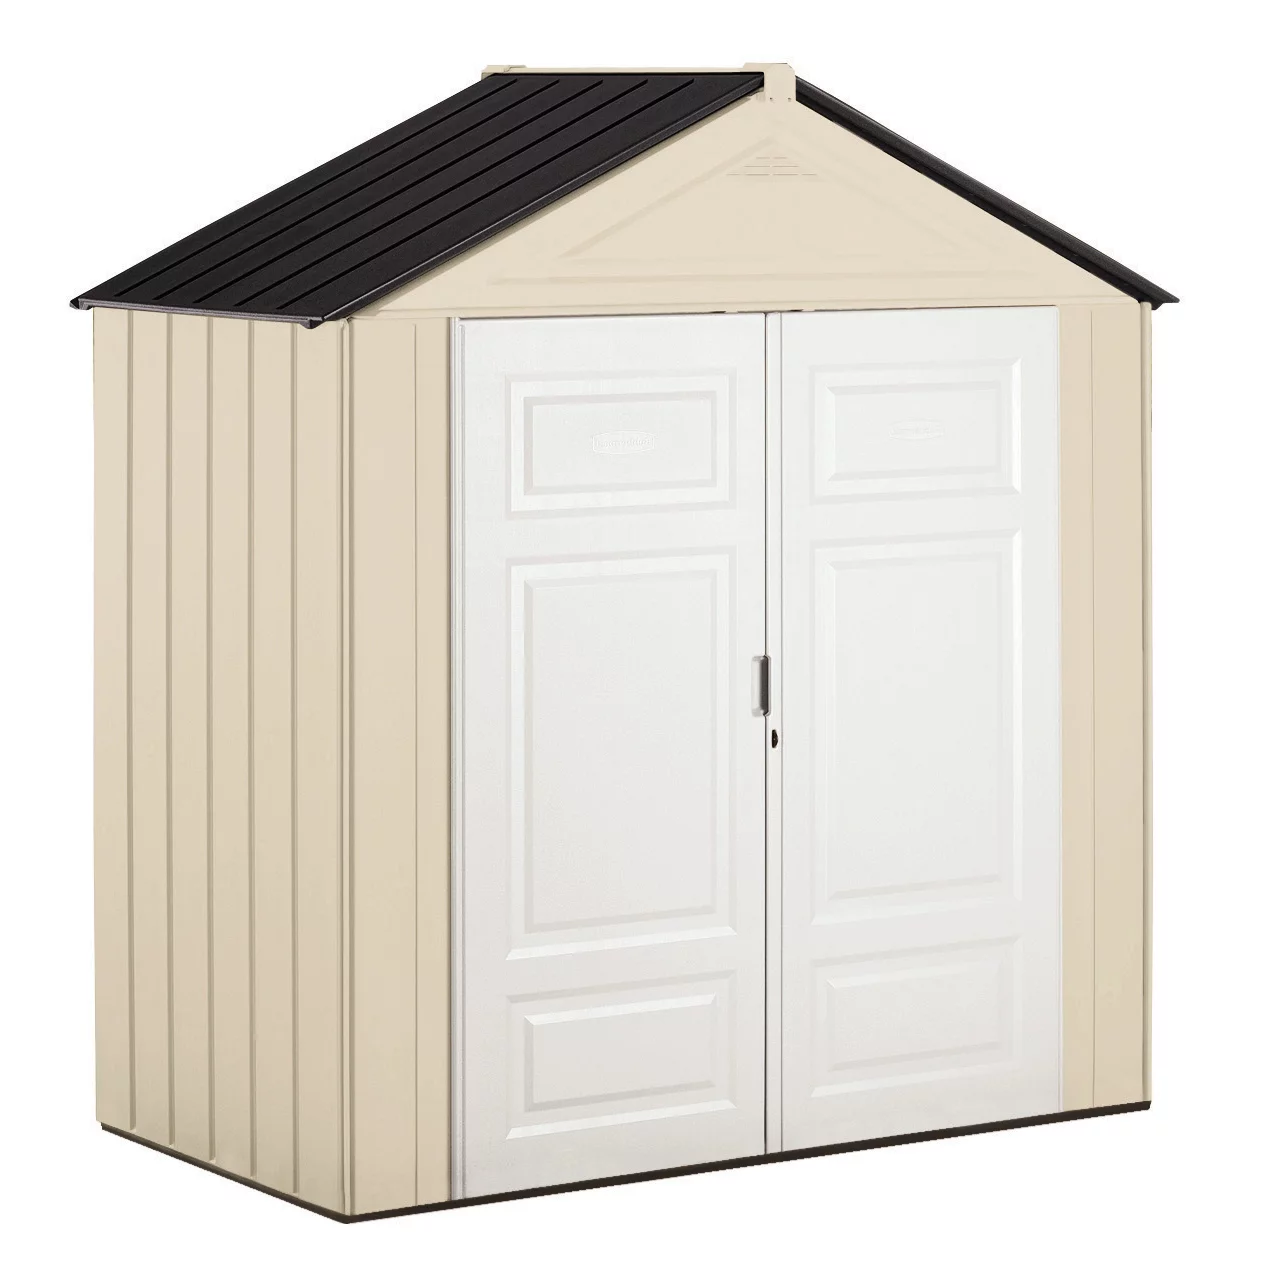
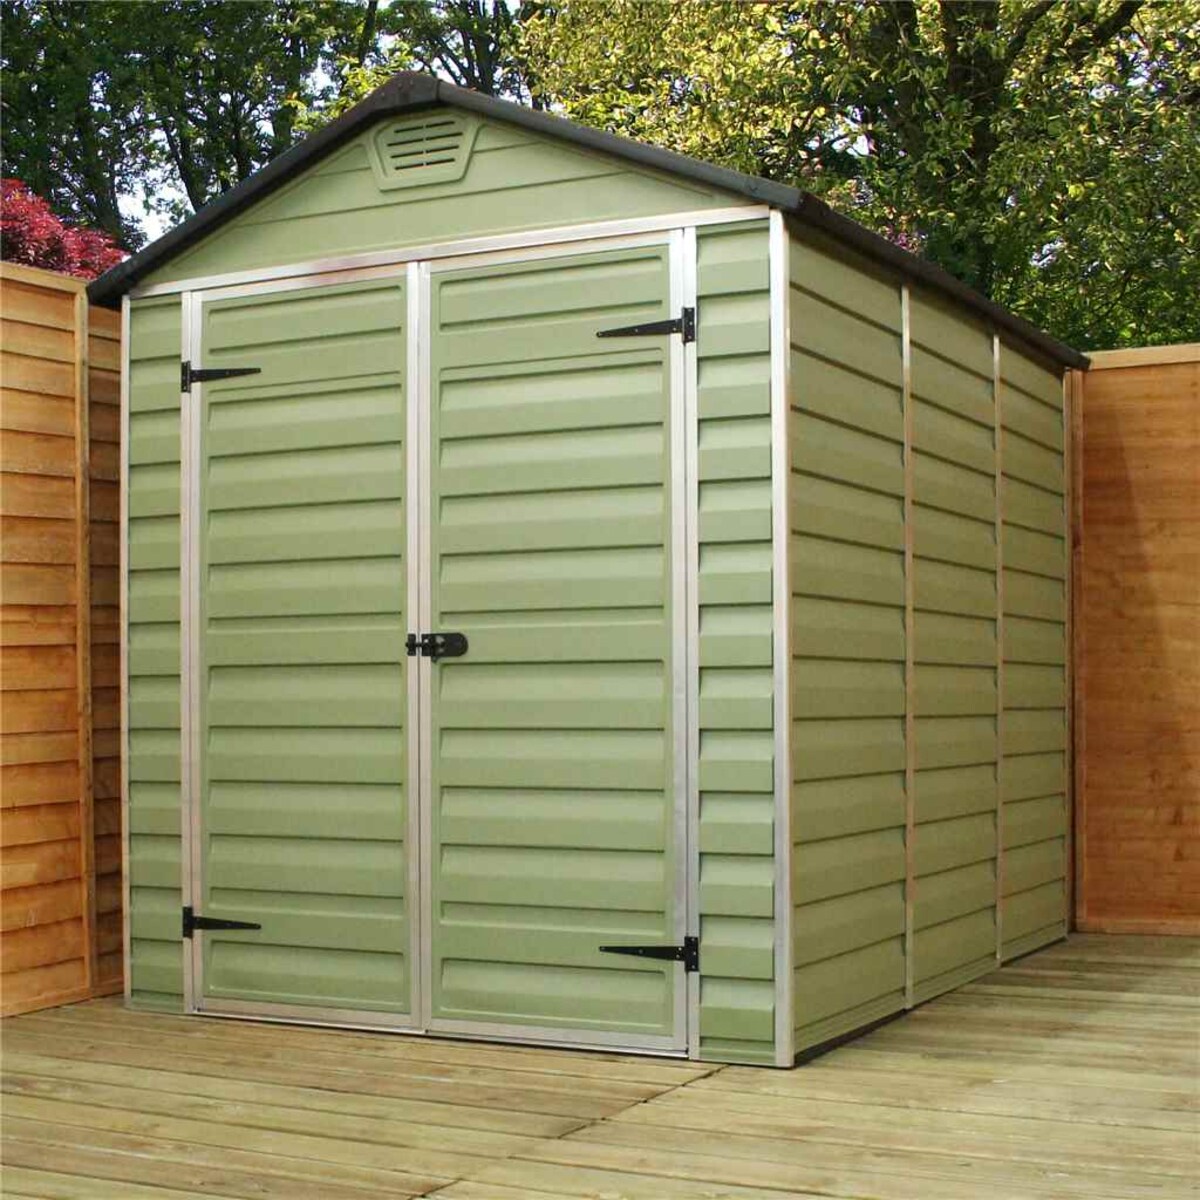
- Gable Vents: Positioned on the gable ends of the shed, these vents promote air circulation and heat dissipation. They are available in a variety of shapes and designs, allowing for customization based on the shed’s aesthetic and ventilation requirements. Gable vents are instrumental in preventing overheating and maintaining proper ventilation within the shed.
- Ridge Vents: Installed along the peak of the roof, ridge vents provide continuous airflow along the entire length of the shed. They are designed to blend seamlessly with the roofline, offering a discreet and effective ventilation solution. Ridge vents are particularly beneficial in releasing hot, stagnant air from the shed’s interior.
When choosing the right type of air vents, consider factors such as the shed’s size, roof configuration, and the desired airflow pattern. Additionally, assess the prevailing weather conditions in your area to determine the most suitable vents for promoting efficient ventilation and moisture control.
By carefully evaluating the characteristics and benefits of each type of air vent, you can make an informed decision that aligns with your shed’s ventilation needs and contributes to a well-ventilated and functional space. With the appropriate vents selected, you’ll be prepared to proceed to the next steps of measuring and marking the placement for installation, ensuring that your shed receives optimal airflow and ventilation.
Measuring and Marking the Placement
Prior to cutting into the structure of your shed to install air vents, it’s crucial to accurately measure and mark the placement of the vents. This preparatory step sets the foundation for a precise and effective installation process. Here’s how to approach the measuring and marking phase:
1. Assessing Ventilation Requirements: Begin by determining the optimal number and placement of air vents based on the size and layout of your shed. Consider the airflow dynamics and aim to create a balanced ventilation system that promotes consistent air circulation throughout the interior space.
2. Measuring Ventilation Openings: Once you’ve identified the locations for the vents, measure the dimensions of the ventilation openings accurately. Whether you’re installing louvered vents, soffit vents, gable vents, or ridge vents, precise measurements are essential to ensure a proper fit and effective airflow management.
3. Marking Cut Lines: Using a pencil or marker, carefully mark the cut lines on the shed’s exterior surface where the ventilation openings will be created. Double-check the markings to ensure they align with the intended placement and dimensions of the vents. It’s advisable to use a level and measuring tape to maintain accuracy during this process.
4. Considering Obstructions: Take into account any potential obstructions, such as internal framing, electrical wiring, or plumbing, that may impact the installation of the vents. Adjust the placement as needed to accommodate these obstructions and ensure a seamless installation without compromising the shed’s structural integrity.
5. Verifying Alignment: Before proceeding with the actual cutting of the vent openings, verify the alignment and placement of the marked lines to confirm that they correspond to the intended ventilation locations. This step helps prevent errors and ensures that the vents are positioned optimally for efficient airflow.
By meticulously measuring and marking the placement of the air vents, you establish a solid framework for the subsequent steps of cutting holes and installing the vents. This careful preparation minimizes the likelihood of errors and contributes to a successful ventilation enhancement for your shed.
When putting air vents in a shed, make sure to place them high on the walls to allow hot air to escape. Use a jigsaw to cut the vent holes and install the vents to improve air circulation.
Cutting Holes for Air Vents
With the ventilation openings marked and the measurements finalized, the next crucial step in the installation process is cutting the holes for the air vents. This task requires precision and attention to detail to ensure that the vents fit seamlessly and facilitate optimal airflow. Here’s a systematic approach to cutting the holes for air vents in your shed:
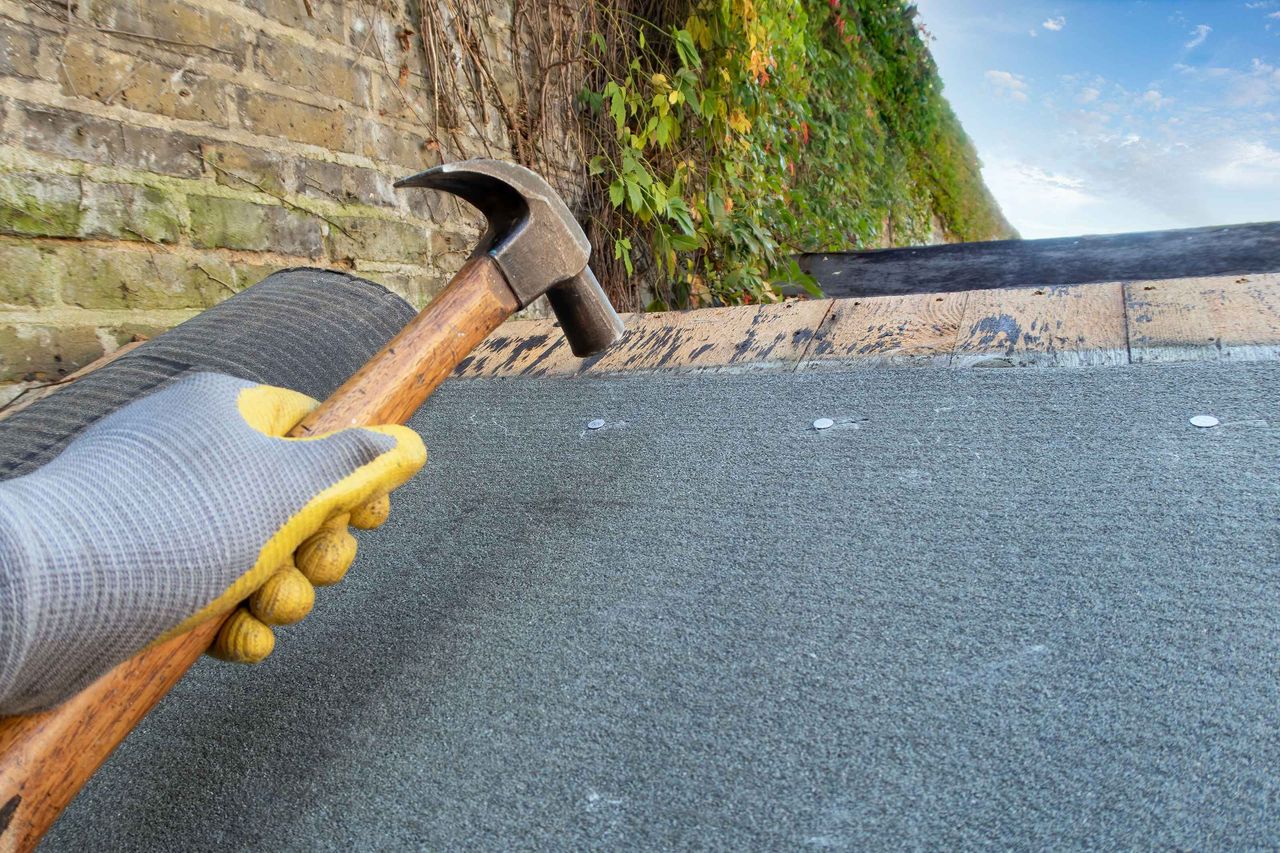
1. Gathering the Necessary Tools: Before commencing the cutting process, gather the essential tools required, such as a jigsaw, reciprocating saw, or hole saw, based on the type of vent and the material of the shed. Additionally, ensure that you have appropriate safety gear, including eye protection and gloves, to safeguard against potential hazards during the cutting procedure.
2. Following Marked Guidelines: Use the marked cut lines as a guide to commence cutting the ventilation openings. Exercise caution and precision to stay within the designated boundaries, ensuring that the holes are aligned with the intended placement and dimensions of the vents. Take your time to achieve clean and accurate cuts that accommodate the selected air vents.
3. Adhering to Safety Measures: Prioritize safety throughout the cutting process by maintaining a steady hand and using the appropriate cutting tools for the shed’s material, whether it’s wood, metal, or another composition. Be mindful of any electrical wiring, plumbing, or structural elements within the shed to prevent accidental damage while cutting the ventilation openings.
4. Removing Cut-Out Sections: Once the holes are cut, carefully remove the sections of the shed’s exterior that correspond to the ventilation openings. Clean the edges of the cut holes to ensure a smooth and even surface for installing the air vents. This step contributes to a professional and secure fit for the vents within the shed’s structure.
5. Verifying Fit and Alignment: After cutting the holes, verify that the dimensions and alignment of the openings are compatible with the selected air vents. Test-fit the vents to confirm that they align accurately with the cut holes and that they sit flush against the shed’s exterior. This verification process ensures that the vents will function optimally and contribute to effective shed ventilation.
By meticulously executing the process of cutting holes for air vents, you pave the way for the final phase of installing the vents, bringing you one step closer to achieving enhanced airflow and ventilation within your shed. With the holes prepared, you’re ready to proceed to the installation stage, where the chosen air vents will be integrated into the shed’s structure to optimize its ventilation capabilities.
Read more: How To Put Siding On A Shed
Installing Air Vents
With the ventilation openings cut and the preparatory work completed, the installation of air vents is the pivotal final step in enhancing the shed’s ventilation system. Proper installation ensures that the vents function effectively, promoting airflow and maintaining optimal conditions within the shed. Here’s a comprehensive guide to installing air vents in your shed:
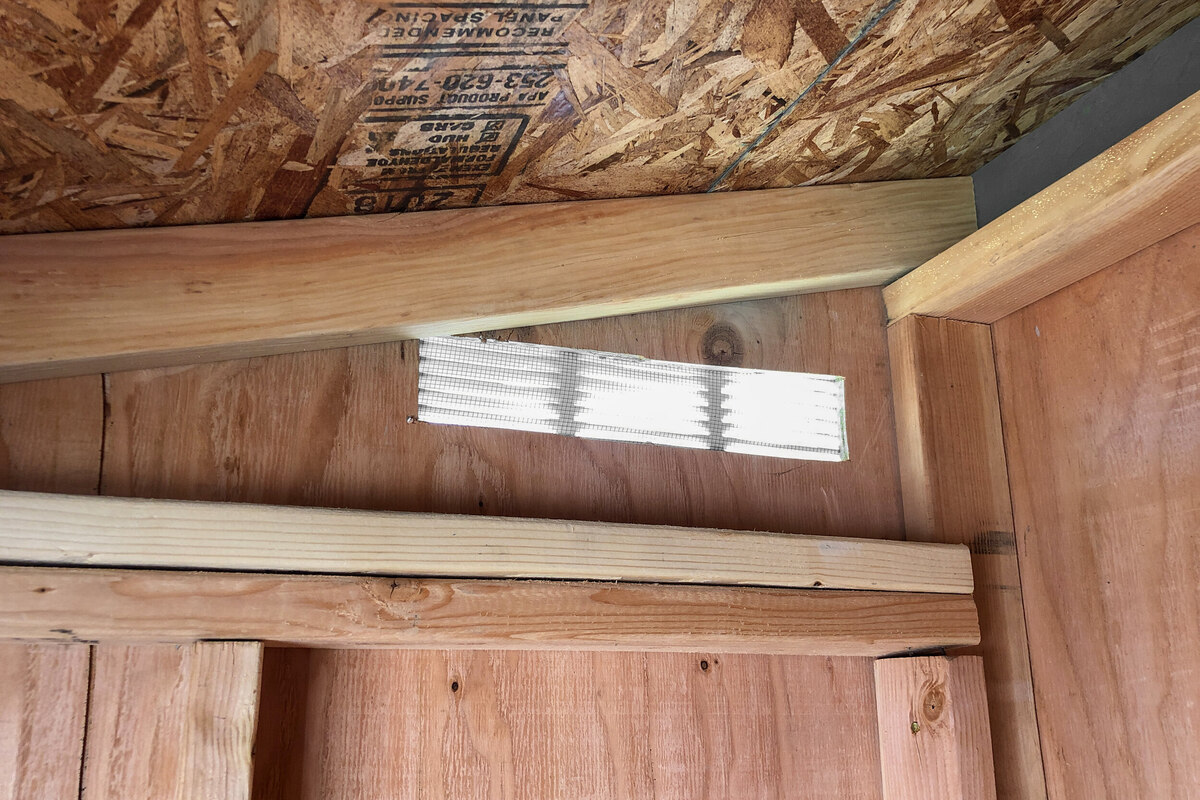
1. Applying Sealant: Before placing the vents, apply a suitable sealant around the perimeter of the ventilation openings. This helps create a weatherproof seal and prevents water infiltration, safeguarding the shed’s interior from moisture and potential damage.
2. Positioning the Vents: Carefully position the selected air vents within the cut holes, ensuring a snug and secure fit against the shed’s exterior. Align the vents according to the manufacturer’s instructions, maintaining consistency across multiple vents if applicable, to achieve a uniform and professional appearance.
3. Securing the Vents: Once the vents are positioned, secure them in place using the recommended fasteners or mounting hardware. Ensure that the vents are firmly anchored to the shed’s structure, providing stability and resistance to external elements such as wind and inclement weather.
4. Verifying Functionality: After installing the vents, verify their functionality by assessing the airflow and conducting a visual inspection to confirm that the vents are unobstructed and operational. This step ensures that the ventilation system is fully functional and contributes to maintaining a well-ventilated shed environment.
5. Conducting a Final Inspection: Once the vents are installed, conduct a final inspection to assess the overall appearance and functionality of the ventilation system. Check for any gaps or inconsistencies in the sealant, fastenings, or vent alignment, and make any necessary adjustments to achieve a seamless and effective installation.
6. Maintaining Regular Inspections: Following the installation of air vents, incorporate regular inspections into your shed maintenance routine. Periodically check the vents for any signs of damage, blockages, or deterioration, and address any issues promptly to uphold the efficiency of the ventilation system.
By meticulously executing the installation of air vents in your shed, you enhance its ventilation capabilities, contributing to a conducive environment for storage, work, or leisure activities. With the vents securely in place, your shed is equipped to maintain optimal airflow and regulate temperature and moisture levels, ensuring the longevity and functionality of the structure and its contents.
Conclusion
Installing air vents in your shed is a fundamental step in preserving the structural integrity of the building and creating a conducive environment for various activities, including storage, woodworking, and DIY projects. By following the comprehensive process outlined in this guide, you’ve gained the knowledge and insights necessary to enhance your shed’s ventilation system effectively and efficiently.
From the initial planning and selection of the right type of air vents to the meticulous measuring, marking, cutting, and installation phases, each step contributes to the overall improvement of the shed’s ventilation. By prioritizing proper airflow and moisture control, you’re safeguarding the contents of the shed and prolonging the lifespan of the structure itself.
Effective shed ventilation not only regulates temperature and reduces moisture buildup but also mitigates the risk of mold, mildew, and musty odors, creating a clean and healthy environment for your belongings and activities. With the installation of air vents, you’ve taken a proactive approach to maintaining the functionality and longevity of your shed.
As you admire the newly installed air vents, take pride in knowing that your shed is now equipped with a reliable ventilation system that promotes airflow, regulates temperature, and protects against the adverse effects of stagnant air and moisture accumulation. Regular maintenance and inspections will further ensure that the ventilation system continues to operate optimally, contributing to the overall well-being of your shed and its contents.
By investing the time and effort to install air vents in your shed, you’ve made a valuable contribution to its longevity and functionality. Whether it’s a storage space, a workshop, or a hobby area, a well-ventilated shed provides an inviting and conducive environment for your pursuits. With proper ventilation in place, your shed is poised to serve its intended purpose effectively and remain a dependable asset on your property for years to come.
Frequently Asked Questions about How To Put Air Vents In A Shed
Was this page helpful?
At Storables.com, we guarantee accurate and reliable information. Our content, validated by Expert Board Contributors, is crafted following stringent Editorial Policies. We're committed to providing you with well-researched, expert-backed insights for all your informational needs.


0 thoughts on “How To Put Air Vents In A Shed”