Articles
How To Use A Usb To Hdmi Adapter
Modified: December 7, 2023
Learn how to connect your devices using a USB to HDMI adapter. Read our informative articles and step-by-step guides to make the process hassle-free.
(Many of the links in this article redirect to a specific reviewed product. Your purchase of these products through affiliate links helps to generate commission for Storables.com, at no extra cost. Learn more)
Introduction
With the ever-increasing need for connectivity and convenience, USB to HDMI adapters have become an essential tool for many individuals and businesses. These adapters provide a simple and efficient way to connect your computer or laptop to an HDMI-enabled display, such as a monitor or television. Whether you want to stream movies, give presentations, or extend your desktop onto a larger screen, a USB to HDMI adapter offers a versatile solution.
In this article, we will explore what exactly a USB to HDMI adapter is, discuss the benefits of using one, identify compatible devices, and provide step-by-step instructions on how to connect and set up a USB to HDMI adapter on both Windows and Mac operating systems. Additionally, we will address common troubleshooting issues that you may encounter along the way.
So, if you’re ready to unlock the full potential of your computer and enjoy a seamless visual experience, let’s dive in and learn more about USB to HDMI adapters!
Key Takeaways:
- USB to HDMI adapters offer a cost-effective, plug-and-play solution for expanding display options, providing high-quality audio and video, and enhancing multimedia experiences for both professionals and casual users.
- Troubleshooting tips for common issues, such as display connectivity problems and unsupported resolutions, can help users maximize the performance of their USB to HDMI adapters and overcome potential challenges.
Read more: How To Use Onn Hdmi Adapter
What is a USB to HDMI Adapter?
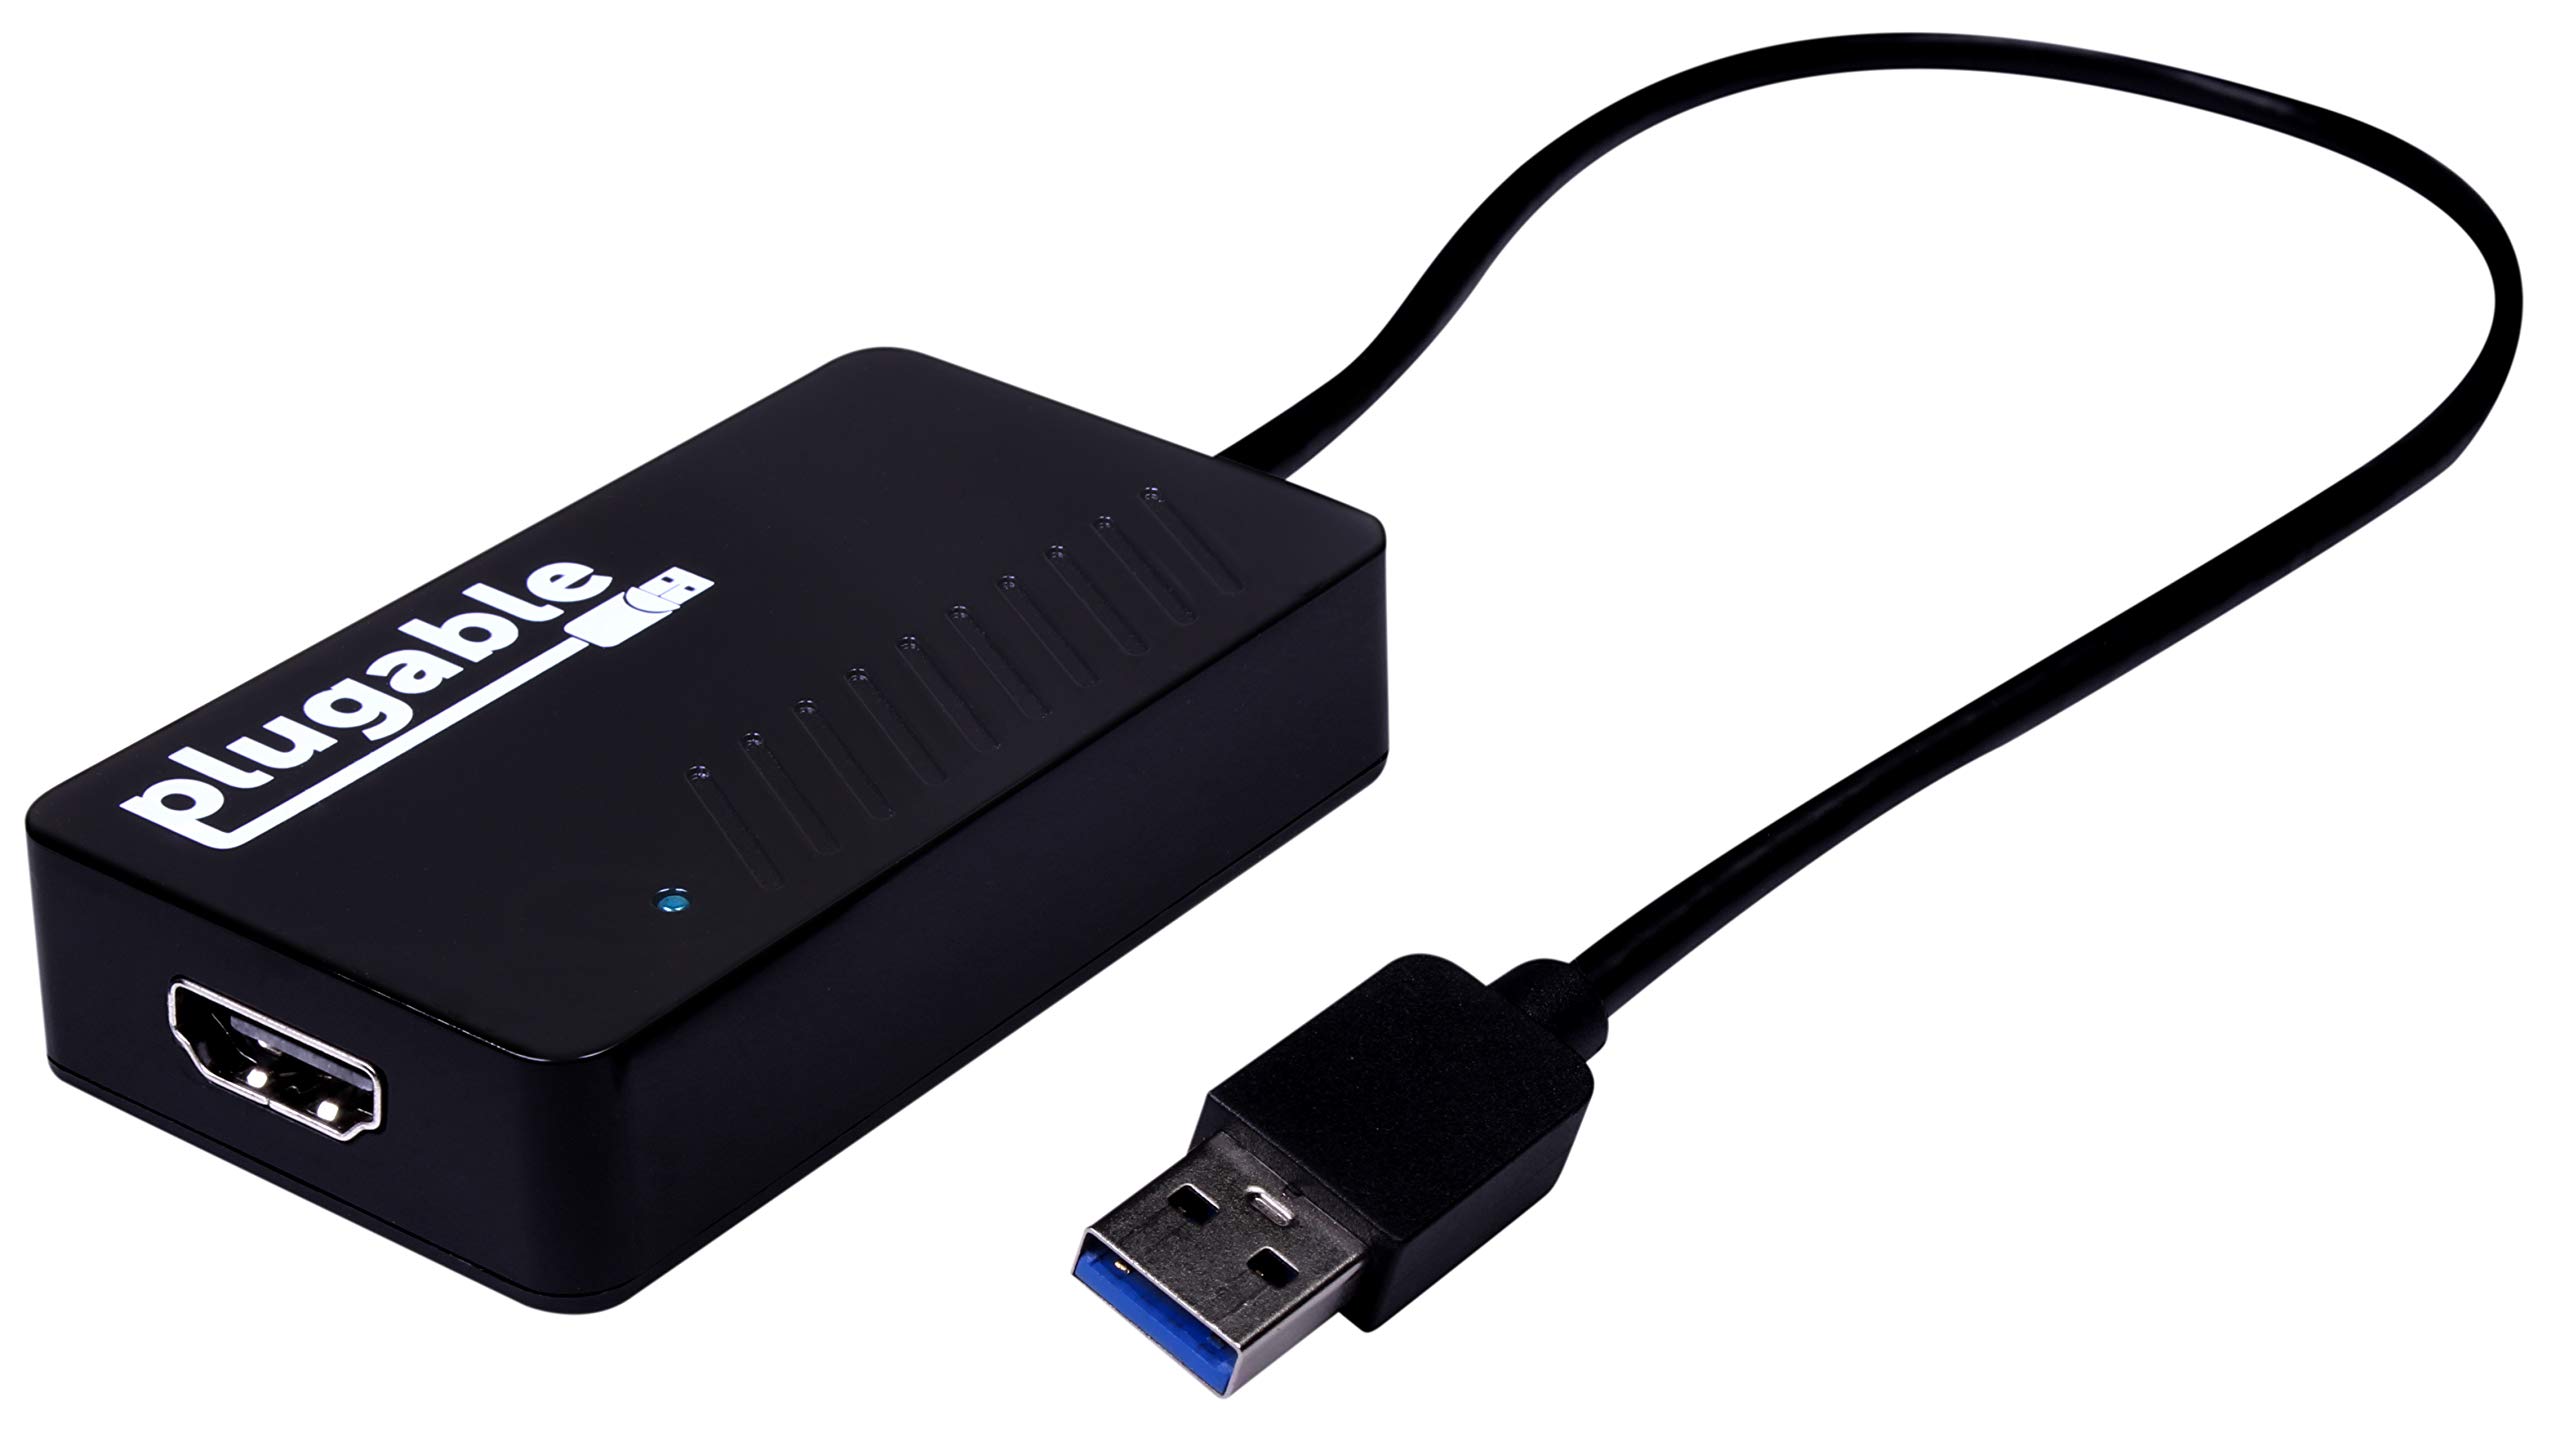
A USB to HDMI adapter is a compact device that allows you to connect your computer or laptop to an HDMI-enabled display. It acts as an interface between the USB port on your computer and the HDMI port on your display, transforming digital signals from your computer into high-definition audio and video output.
Unlike traditional VGA or DVI cables, which can only transmit video signals, USB to HDMI adapters transmit both audio and video signals, ensuring a truly immersive multimedia experience. They are widely used for a variety of purposes, including gaming, multimedia presentations, video editing, and even streaming content from your computer to your television.
USB to HDMI adapters employ advanced technology to convert the digital signals from your computer into a format that can be recognized by your HDMI display. The adapter typically consists of a USB connector on one end and an HDMI connector on the other, with a small circuit board in between. Some adapters also include additional ports for connecting other peripherals, such as USB flash drives or audio devices.
It’s worth noting that USB to HDMI adapters require both hardware and software support. Your computer must have a USB port capable of sending video output, and the operating system must be compatible with the adapter. Most modern computers and laptops, as well as recent versions of Windows and macOS, offer native support for USB to HDMI adapters, making them easy to set up and use.
Overall, a USB to HDMI adapter provides a flexible and convenient solution for extending your computer’s display to a larger screen or connecting it to an HDMI-enabled display. Whether you’re a professional looking to deliver impactful presentations or a casual user seeking an enhanced multimedia experience, a USB to HDMI adapter is a valuable tool to have in your arsenal.
Benefits of Using a USB to HDMI Adapter
USB to HDMI adapters offer numerous benefits that make them a valuable addition to any computer setup. Here are some of the key advantages of using a USB to HDMI adapter:
- Expanded Display Options: With a USB to HDMI adapter, you can connect your computer or laptop to multiple displays, extending your workspace and increasing productivity. This is particularly useful for professionals who need to work with multiple applications simultaneously or for gamers who want to enjoy a larger viewing area.
- High-Quality Video and Audio: USB to HDMI adapters support high-definition video and audio output, allowing you to enjoy crisp visuals and immersive sound. Whether you’re watching movies, playing games, or giving presentations, the adapter ensures a smooth and stunning multimedia experience.
- Plug-and-Play Convenience: Setting up a USB to HDMI adapter is incredibly simple and straightforward. Just plug the adapter into your computer’s USB port and connect the HDMI cable to your display. Most modern operating systems automatically detect the adapter and configure the display settings accordingly. No additional drivers or software installation is usually required.
- Compatibility: USB to HDMI adapters are compatible with a wide range of devices, including laptops, desktop computers, and even some tablets. As long as your device has a USB port capable of video output and the necessary operating system support, you can easily connect it to an HDMI-enabled display.
- Portability: USB to HDMI adapters are lightweight and compact, making them highly portable. They are the perfect companion for business travelers, allowing you to connect your laptop to a projector or an external monitor for presentations on the go. Furthermore, their small size means they take up little space in your bag or backpack.
- Cost-Effective Solution: USB to HDMI adapters offer an affordable alternative to purchasing expensive dedicated graphics cards or additional displays. They provide a cost-effective way to expand your setup and enjoy the benefits of multiple screens without breaking the bank.
With their versatility, ease of use, and multitude of benefits, USB to HDMI adapters have become a popular choice for individuals and businesses alike. Whether you’re a professional in need of a flexible work environment or a casual user looking to enhance your multimedia experience, a USB to HDMI adapter is a valuable tool that delivers convenience and performance.
Compatible Devices for USB to HDMI Adapter
USB to HDMI adapters are designed to work with a wide range of devices, as long as they meet the necessary requirements. Here are the main compatible devices for USB to HDMI adapters:
- Laptops and Desktop Computers: USB to HDMI adapters are commonly used with laptops and desktop computers. Most modern computers come equipped with a USB port that supports video output, making them compatible with USB to HDMI adapters. Whether you have a Windows laptop or a MacBook, you can easily connect it to an HDMI-enabled monitor or TV using a USB to HDMI adapter.
- Some Tablets and 2-in-1 Devices: While not all tablets and 2-in-1 devices are compatible with USB to HDMI adapters, some models do support video output through USB. Before purchasing an adapter for your tablet, ensure that it has the necessary hardware capabilities and operating system support. This information can usually be found in the device’s specifications or user manual.
- HDMI-Enabled Displays: USB to HDMI adapters are designed to connect your computer to HDMI-enabled displays, such as monitors, TVs, and projectors. As long as your display has an HDMI input, you can use a USB to HDMI adapter to connect it to your computer and extend or mirror your desktop.
- Operating System Compatibility: USB to HDMI adapters are compatible with various operating systems, including Windows, macOS, and some Linux distributions. However, it’s essential to ensure that your operating system has the necessary driver support for the specific USB to HDMI adapter you’re using. Most modern operating systems have built-in drivers and automatic detection for USB to HDMI adapters.
- Hardware Requirements: In addition to operating system compatibility, your computer or device must meet certain hardware requirements to use a USB to HDMI adapter. This includes having an available USB port capable of video output, as well as meeting the minimum system requirements specified by the adapter manufacturer.
It’s important to note that compatibility can vary depending on the specific USB to HDMI adapter model and the devices you’re using. Before purchasing an adapter, it’s recommended to check the manufacturer’s guidelines and ensure that it is compatible with your computer or device.
Overall, USB to HDMI adapters offer a versatile solution for connecting a wide range of devices to HDMI-enabled displays. They provide flexibility and convenience, allowing you to extend or mirror your desktop onto a larger screen and enjoy a seamless multimedia experience.
How to Connect a USB to HDMI Adapter
Connecting a USB to HDMI adapter is a straightforward process that only requires a few simple steps. Here’s a general guide on how to connect a USB to HDMI adapter:
- Check compatibility: Make sure that your computer or device is compatible with the USB to HDMI adapter. Check if your computer has a USB port capable of video output and if your operating system supports the adapter.
- Power off your devices: Before making any connections, it’s recommended to power off your computer or laptop, as well as the HDMI-enabled display you’ll be connecting to. This ensures a safe and clean connection.
- Insert the USB to HDMI adapter: Insert the USB connector of the adapter into an available USB port on your computer or device. Ensure that the connector is securely plugged in.
- Connect the HDMI cable: Take one end of the HDMI cable and plug it into the HDMI port on the USB to HDMI adapter. Then, connect the other end of the HDMI cable to the HDMI input on your display.
- Power on your devices: Once the USB to HDMI adapter and HDMI cable are connected, power on your computer or laptop, followed by your HDMI-enabled display. The devices should detect each other and automatically configure the display settings.
- Adjust display settings (if necessary): In some cases, you may need to adjust the display settings manually. On your computer or laptop, go to the display settings and select the desired resolution and display mode (extend or duplicate). Follow the on-screen instructions to apply the changes.
- Test the connection: To ensure that the USB to HDMI adapter is working correctly, open a video or any content that you want to display on the HDMI-enabled display. Play the content and verify that it is being shown on the connected display.
- Disconnecting the adapter: When you’re finished using the USB to HDMI adapter, it’s important to follow the correct procedure for disconnecting it. Before unplugging the adapter, ensure that you close any applications or content that are being displayed on the HDMI-enabled display. Then, safely remove the USB to HDMI adapter by unplugging the USB connector from your computer or device.
These steps provide a general guideline for connecting a USB to HDMI adapter. However, it’s important to note that the specific steps and requirements may vary depending on the adapter model and the devices you’re using. Consult the user manual or manufacturer’s instructions for detailed guidance tailored to your specific adapter.
By following these simple steps, you can easily set up and connect your USB to HDMI adapter, expanding your display options and enhancing your multimedia experience.
When using a USB to HDMI adapter, make sure to install the necessary drivers for the adapter on your computer before connecting it. This will ensure that the adapter functions properly and your device recognizes the external display.
Read more: What Is A Hdmi To Vga Adapter
Steps to Set Up USB to HDMI Adapter on Windows
Setting up a USB to HDMI adapter on Windows is a straightforward process that involves a few simple steps. Here’s a guide on how to set up a USB to HDMI adapter on a Windows computer:
- Ensure compatibility: Confirm that your USB to HDMI adapter is compatible with your Windows operating system version. Check the manufacturer’s specifications or website for compatibility information.
- Connect the adapter: Insert the USB connector of the adapter into an available USB port on your Windows computer. Ensure that the connector is securely plugged in.
- Connect the HDMI cable: Take one end of the HDMI cable and plug it into the HDMI port on the USB to HDMI adapter. Then, connect the other end of the HDMI cable to the HDMI input on your display.
- Power on your devices: Power on your Windows computer and the HDMI-enabled display that you connected the adapter to.
- Configure display settings: On your Windows computer, right-click on the desktop and select “Display settings” from the drop-down menu.
- Select the connected display: In the display settings, you should see multiple displays listed. Locate the display that is connected through the USB to HDMI adapter and select it.
- Set the display mode: Choose the desired display mode for the USB to HDMI-connected display. You can select “Extend desktop” to use the connected display as an extension of your main screen or choose “Duplicate desktop” to mirror the content on both screens.
- Adjust display settings (if desired): If necessary, you can further adjust the resolution, orientation, and other display settings for the USB to HDMI-connected display in the display settings.
- Apply the changes: Once you have configured the display settings, click “Apply” and then “OK” to save the changes and enable the USB to HDMI-connected display.
- Test the connection: To ensure that the USB to HDMI adapter is working correctly, open a video or any content that you want to display on the HDMI-enabled display. Play the content and verify that it is being shown on the connected display.
- Disconnecting the adapter: When you’re finished using the USB to HDMI adapter, safely remove it by unplugging the USB connector from your Windows computer.
These steps should help you set up and connect your USB to HDMI adapter on a Windows computer. However, keep in mind that the specific steps may vary depending on the adapter model and your Windows version. Refer to the adapter’s user manual or the manufacturer’s instructions for detailed guidance tailored to your specific setup.
By following these steps, you can easily harness the power of your USB to HDMI adapter and enjoy an extended display or mirrored content on your HDMI-enabled display.
Steps to Set Up USB to HDMI Adapter on Mac
If you have a Mac computer and want to set up a USB to HDMI adapter, the process is relatively simple. Here are the steps to set up a USB to HDMI adapter on a Mac:
- Ensure compatibility: Check that the USB to HDMI adapter is compatible with your Mac computer model and the version of macOS you are using. Refer to the manufacturer’s specifications or website for compatibility information.
- Connect the adapter: Insert the USB connector of the adapter into an available USB port on your Mac computer. Ensure that the connector is securely plugged in.
- Connect the HDMI cable: Take one end of the HDMI cable and plug it into the HDMI port on the USB to HDMI adapter. Then, connect the other end of the HDMI cable to the HDMI input on your display.
- Power on your devices: Power on your Mac computer and the HDMI-enabled display that you connected the adapter to.
- Access System Preferences: Click on the Apple menu in the top left corner of your Mac’s screen and select “System Preferences” from the drop-down menu.
- Select Displays: In the System Preferences window, click on the “Displays” icon to access the display settings.
- Identify the connected display: The display settings window will show multiple displays. Locate the display that is connected through the USB to HDMI adapter, and it should be identified by its model or a generic name.
- Choose display arrangement: If you want to extend your desktop to the USB to HDMI-connected display, ensure that the “Arrangement” tab is selected. Drag the white bar to position the displays according to your desired arrangement.
- Adjust display settings (if desired): You can further adjust the resolution, brightness, and other display settings for the USB to HDMI-connected display by selecting the “Display” or “Color” tabs in the display settings.
- Apply the changes: Once you have configured the display settings, close the System Preferences window to apply the changes and enable the USB to HDMI-connected display.
- Test the connection: To ensure that the USB to HDMI adapter is functioning properly, open a video or any content you wish to display on the HDMI-enabled display. Play the content and verify that it is being shown on the connected display.
- Disconnect the adapter: Safely remove the USB to HDMI adapter by unplugging the USB connector from your Mac computer when you are done using it.
These steps should guide you through setting up a USB to HDMI adapter on your Mac. However, please note that the exact steps may vary depending on the adapter model, macOS version, and your specific Mac computer. Refer to the user manual or instructions provided by the adapter manufacturer for detailed guidance tailored to your setup.
By following these steps, you’ll be able to make the most of your USB to HDMI adapter and enjoy an extended display or mirrored content on your HDMI-enabled monitor or TV with your Mac.
Troubleshooting Common Issues with USB to HDMI Adapter
While USB to HDMI adapters are generally straightforward to use, you may encounter some common issues along the way. Here are a few troubleshooting tips to help you resolve potential problems:
- No Signal on Display: If your HDMI-enabled display shows no signal when using the USB to HDMI adapter, ensure that the adapter is securely connected to your computer or device. You may also try reconnecting the HDMI cable or using a different HDMI port on the display. Additionally, check that your display is set to the correct input source.
- Unsupported Resolution: If you experience an unsupported resolution or display issue, verify that your computer or device supports the resolution you are trying to use with the USB to HDMI adapter. Adjust the display settings in your operating system’s settings to a compatible resolution or try updating the graphics drivers for your computer.
- No Audio Output: If you can see the video but there is no audio output through the HDMI-enabled display, make sure that the audio settings on your computer are properly configured. Check the sound settings to ensure that the default audio output is set to the HDMI device. You may also try restarting your computer or reconnecting the USB to HDMI adapter.
- Display Flickering or Lagging: If you experience display flickering or noticeable lag, first ensure that you are using a high-quality HDMI cable. Lower-quality or damaged cables can result in display issues. Additionally, try updating your graphics drivers to the latest version. Adjusting the display settings, such as the refresh rate, may also help resolve the issue.
- Driver Issues: In some cases, you may encounter driver compatibility issues with the USB to HDMI adapter. Check the manufacturer’s website for any available driver updates or software patches specifically designed for your adapter model. Installing the latest drivers can help ensure smooth operation and compatibility with your computer or device.
- Power and Connectivity: Ensure that your USB to HDMI adapter is receiving sufficient power. Some adapters may require additional power through an external power source or a USB port with higher power output. If possible, try connecting the adapter to a different USB port on your computer or use a powered USB hub. Also, check the cable connections to make sure they are securely and correctly plugged in.
- System Requirements: Double-check that your computer or device meets the system requirements for the USB to HDMI adapter. Insufficient system resources or incompatible hardware may cause issues with the adapter’s performance. Consult the adapter’s documentation or manufacturer’s website for the specific system requirements.
- Compatibility Issues: If you are experiencing compatibility issues with your USB to HDMI adapter, ensure that your computer or device is compatible with the adapter and the operating system you are using. Confirm that you have the correct adapter model for your device and that it supports your specific operating system version.
If you are still experiencing difficulties, it may be helpful to consult the user manual or reach out to the support team of the USB to HDMI adapter manufacturer for further assistance. They can provide specific troubleshooting steps or offer guidance tailored to your specific setup.
By following these troubleshooting tips, you can overcome common issues that may arise when using a USB to HDMI adapter and enjoy a seamless and enhanced display experience.
Conclusion
USB to HDMI adapters provide a convenient and versatile solution for connecting your computer or laptop to an HDMI-enabled display. With these adapters, you can extend or mirror your desktop onto a larger screen, enjoy high-quality audio and video, and enhance your multimedia experience.
In this article, we’ve explored what USB to HDMI adapters are and discussed their numerous benefits. We’ve learned that these adapters are compatible with various devices, including laptops, desktop computers, and some tablets, and that they offer plug-and-play convenience with no additional software installation required.
We’ve also provided step-by-step instructions on how to connect and set up a USB to HDMI adapter on both Windows and Mac operating systems. By following these instructions, you can easily harness the power of your adapter and enjoy a seamless display experience.
To ensure smooth operation, we’ve addressed common troubleshooting issues that you may encounter, such as display connectivity problems, unsupported resolutions, audio output issues, and driver compatibility. By following the troubleshooting tips provided, you can overcome these challenges and maximize the performance of your USB to HDMI adapter.
USB to HDMI adapters offer a cost-effective and portable solution for expanding your display options and enjoying a better multimedia experience. Whether you’re a professional seeking a flexible work environment or a casual user looking to optimize your entertainment setup, a USB to HDMI adapter is a valuable addition to your toolkit.
As technology continues to advance, USB to HDMI adapters are only expected to improve in terms of compatibility, performance, and ease of use. With their versatility and convenience, these adapters will undoubtedly remain an essential tool for individuals and businesses alike.
So, why wait? Grab your USB to HDMI adapter, connect your devices, and take your computing experience to the next level.
Frequently Asked Questions about How To Use A Usb To Hdmi Adapter
Was this page helpful?
At Storables.com, we guarantee accurate and reliable information. Our content, validated by Expert Board Contributors, is crafted following stringent Editorial Policies. We're committed to providing you with well-researched, expert-backed insights for all your informational needs.

0 thoughts on “How To Use A Usb To Hdmi Adapter”