Articles
How To Install Usb Wifi Adapter Without Cd
Modified: December 7, 2023
Learn how to install a USB WiFi adapter without the need for a CD. Our comprehensive articles provide step-by-step instructions for a hassle-free setup.
(Many of the links in this article redirect to a specific reviewed product. Your purchase of these products through affiliate links helps to generate commission for Storables.com, at no extra cost. Learn more)
Introduction
Welcome to the world of wireless connectivity! With the rapid advancement of technology, wireless internet has become an essential part of our daily lives. Whether you’re at home, in the office, or on the go, having a reliable internet connection is crucial. However, what do you do if your computer doesn’t have built-in WiFi? That’s where USB WiFi adapters come to the rescue!
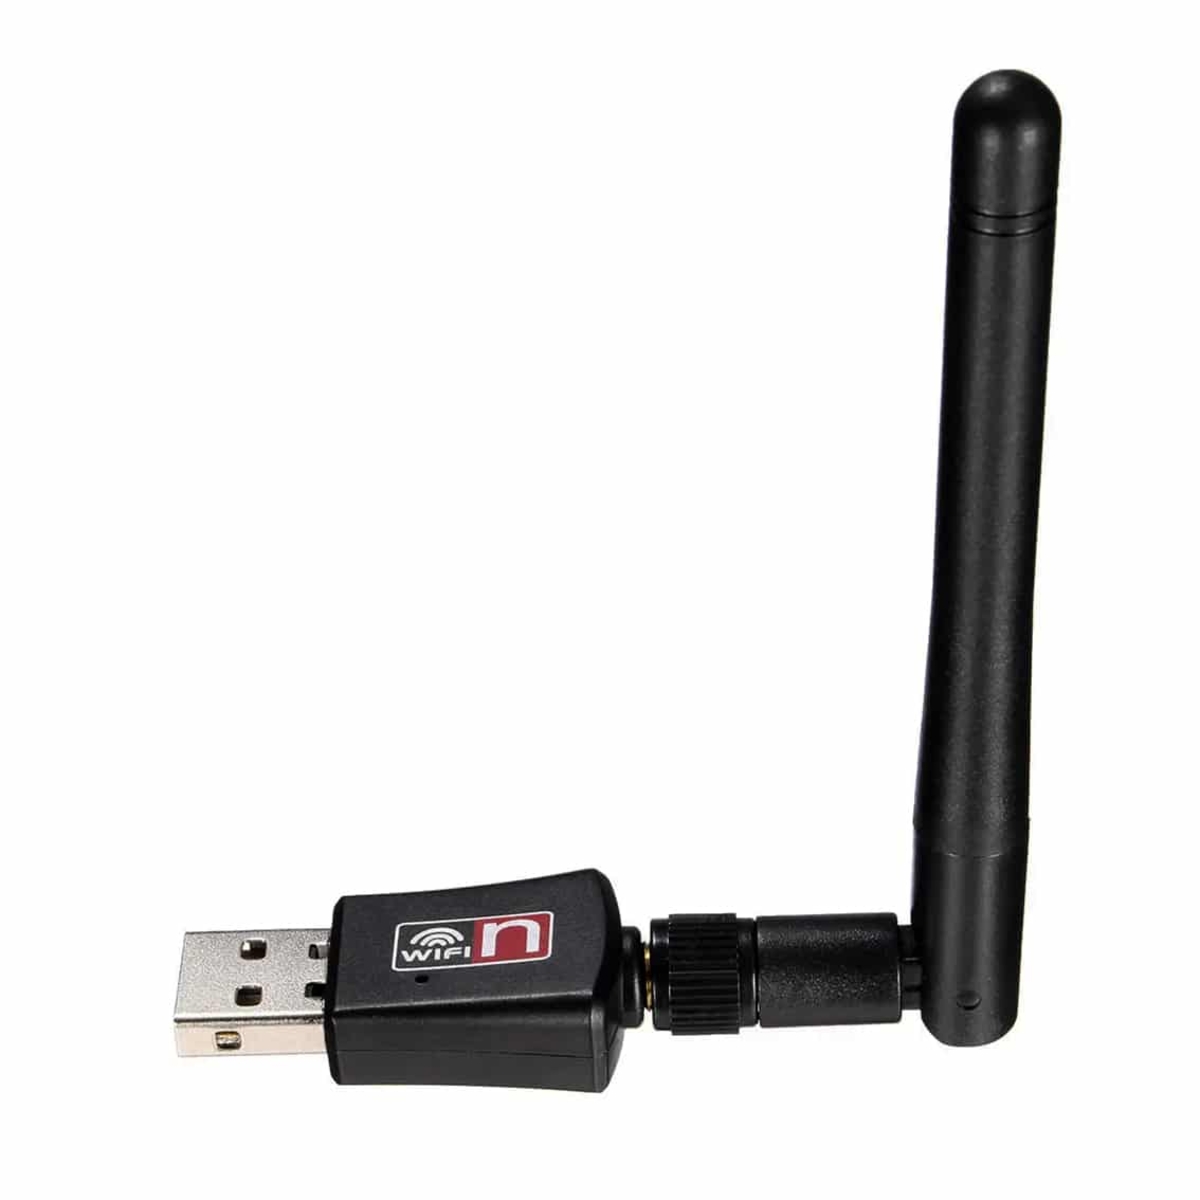
A USB WiFi adapter allows you to connect your computer to a wireless network, giving you the freedom and flexibility to access the internet without the need for a wired connection. These adapters are compact, portable, and easy to install, making them an ideal solution for those who don’t have a built-in WiFi card or for upgrading to a faster and more reliable internet connection.
In this article, we will guide you through the process of installing a USB WiFi adapter without a CD. Whether you’re a novice or a tech-savvy individual, this step-by-step guide will help you get your adapter up and running in no time.
Before diving into the installation process, let’s quickly go over why you might need a USB WiFi adapter. There could be various reasons why your computer doesn’t have built-in WiFi – it could be an older model, a desktop that wasn’t designed with wireless connectivity in mind, or you simply want to upgrade your existing WiFi card for better performance.
Now that you’re familiar with the purpose of a USB WiFi adapter and the reasons why you may need one, let’s move on to the installation process. We’ll cover everything from checking compatibility to configuring WiFi settings. So, grab your USB WiFi adapter and let’s get started!
Key Takeaways:
- Embrace the freedom of wireless internet by installing a USB WiFi adapter without a CD. Check compatibility, download the latest driver, and configure WiFi settings to enjoy seamless connectivity.
- Say goodbye to wired constraints and hello to wireless convenience! Follow the step-by-step guide to successfully install and test your USB WiFi adapter, unlocking the power of wireless connectivity.
Read more: How To Install Netgear Wifi Adapter
Step 1: Check compatibility of your USB WiFi adapter
Before diving into the installation process, it’s crucial to ensure that your USB WiFi adapter is compatible with your computer. While most USB WiFi adapters are designed to work with a variety of operating systems, it’s always a good idea to double-check to avoid any compatibility issues.
The first thing you need to do is identify the make and model of your USB WiFi adapter. This information can usually be found on the packaging or on the adapter itself. Once you have the make and model, visit the manufacturer’s website to look for any specific operating system requirements.
On the manufacturer’s website, navigate to the support section or downloads page. Here, you should be able to find a list of drivers and software for different operating systems. Look for your operating system (such as Windows, macOS, or Linux) and see if there are any specific drivers listed for your USB WiFi adapter.
If there are no drivers available for your operating system, it’s likely that your USB WiFi adapter is not compatible. In that case, you may need to consider purchasing a different adapter that is compatible with your computer.
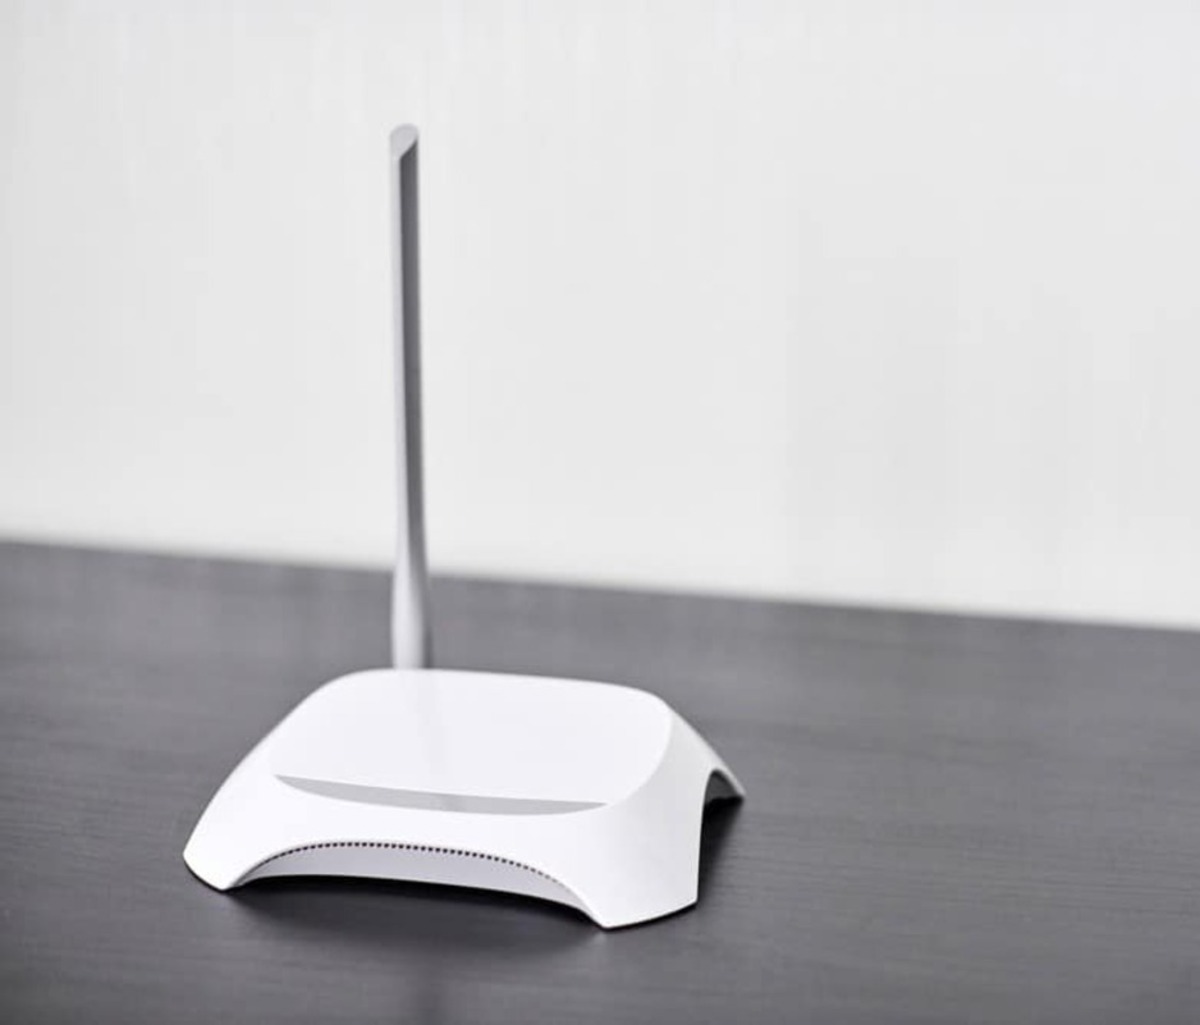
Additionally, it’s important to check whether your USB WiFi adapter supports the WiFi standards that your router uses. WiFi standards, such as 802.11ac or 802.11n, determine the speed and range of the wireless connection. If your router uses a newer WiFi standard, make sure that your USB WiFi adapter supports it for optimal performance.
Once you have confirmed the compatibility of your USB WiFi adapter with your computer and operating system, you’re ready to move on to the next step: downloading the driver.
Step 2: Download the latest driver from the manufacturer’s website
Now that you have verified the compatibility of your USB WiFi adapter, it’s time to download the latest driver from the manufacturer’s website. Drivers are software programs that allow your computer to communicate with the USB WiFi adapter and establish a connection to the wireless network.
Start by visiting the manufacturer’s website and navigate to the support or downloads section. Look for the drivers or software section specifically for your USB WiFi adapter model. Manufacturers often provide a search bar or a list of products to make it easier for you to find the driver you need.
Once you have found the driver page for your USB WiFi adapter, select the appropriate driver for your operating system. Make sure you choose the latest version available to ensure compatibility and access to any new features or improvements.
Depending on the manufacturer, you may be required to provide some basic information, such as your name, email address, and the serial number of your USB WiFi adapter, before you can download the driver. Fill in the necessary information accurately and proceed to download the driver.
Most drivers are available in the form of an executable file (.exe) or a compressed file (.zip). If it’s a compressed file, extract its contents to a location on your computer where you can easily access it.
You are now ready to move on to the next step: connecting the USB WiFi adapter to your computer.
Step 3: Connect the USB WiFi adapter to your computer
Now that you have downloaded the driver for your USB WiFi adapter, it’s time to physically connect it to your computer. Before you begin, make sure your computer is powered off to avoid any potential damage to the USB ports.
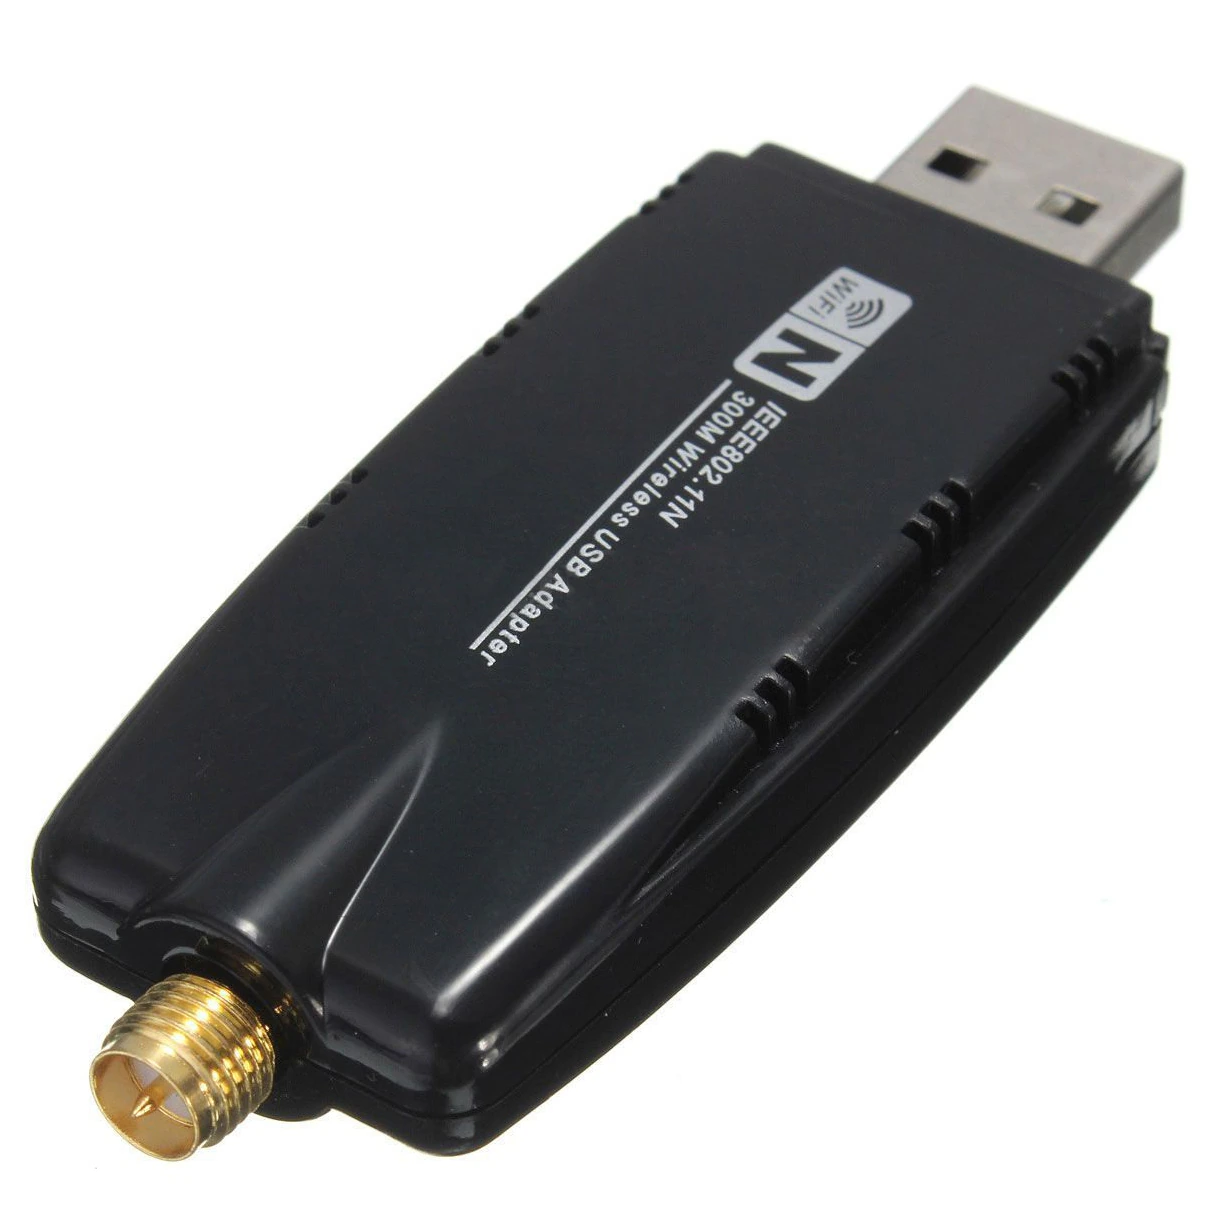
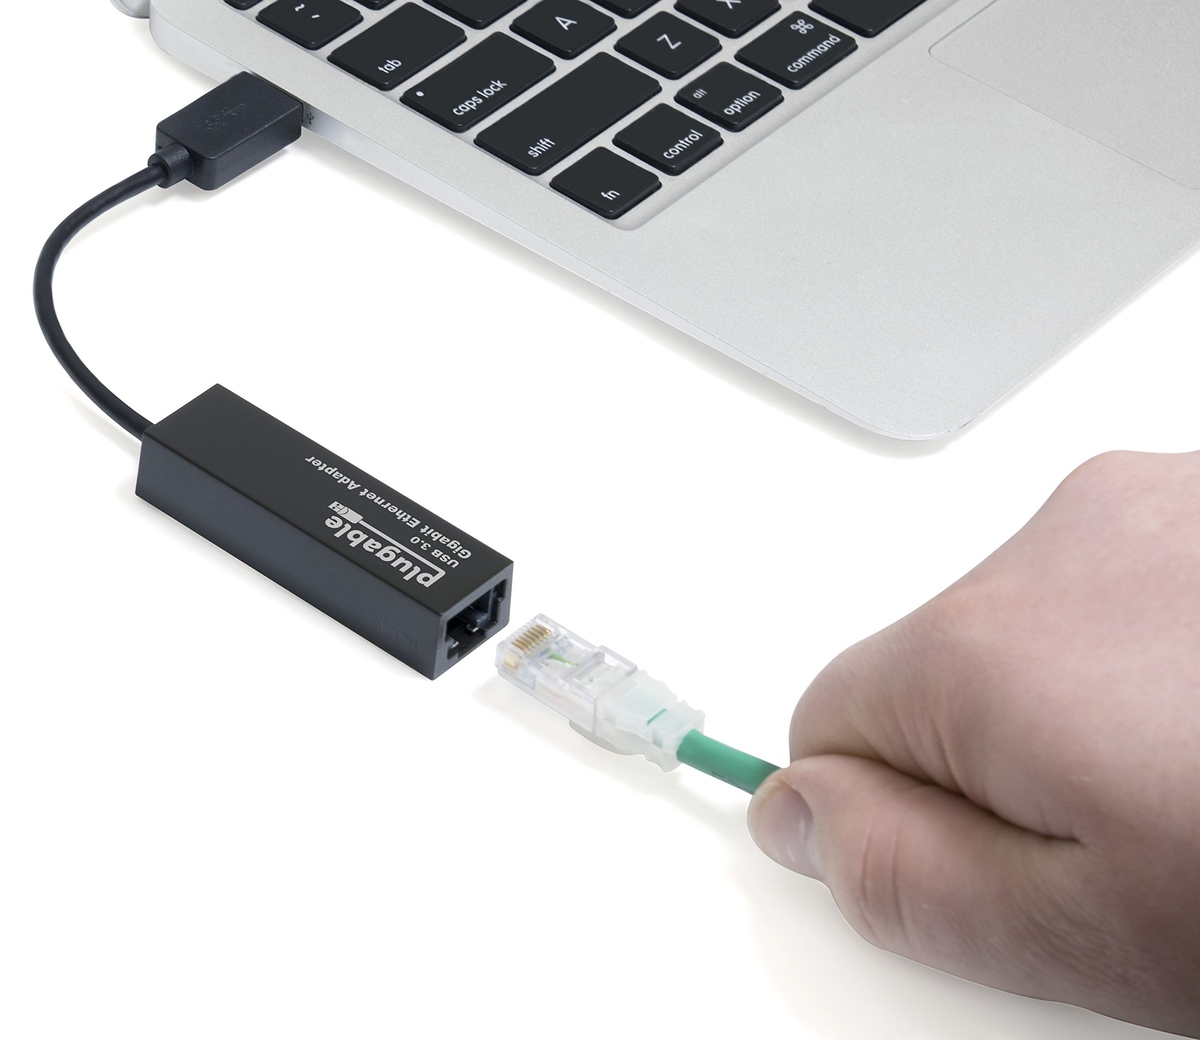
Locate an available USB port on your computer. USB ports are typically located on the back or front panel of the desktop computer or on the sides of a laptop. The USB WiFi adapter usually has a USB connector on one end, which you will plug into the USB port.
Gently insert the USB WiFi adapter into the USB port, ensuring that it is fully inserted. It should fit snugly, but be careful not to force it. If there is any resistance or it doesn’t fit, double-check that you have inserted it correctly.
Once the USB WiFi adapter is connected, you can power on your computer if it was previously off. The operating system will detect the new hardware and attempt to install the necessary drivers automatically. However, it’s recommended to manually install the drivers you downloaded in the previous step to ensure a successful installation.
Before moving on to the driver installation process, it’s important to note that some USB WiFi adapters may come with additional accessories, such as a USB extension cable or an antenna. If your adapter includes any extras, follow the instructions provided by the manufacturer to attach them correctly.
Now that your USB WiFi adapter is physically connected to your computer, let’s proceed to the next step: installing the driver.
You can usually download the necessary drivers for your USB WiFi adapter from the manufacturer’s website. Just search for your adapter model and download the drivers for your operating system. Then, install the drivers and follow the setup instructions.
Step 4: Install the driver
With your USB WiFi adapter connected to your computer, it’s time to install the driver that you downloaded in Step 2. Installing the driver will allow your computer to recognize and utilize the USB WiFi adapter for wireless connectivity.
Locate the driver file that you downloaded from the manufacturer’s website in the previous step. If it is a compressed file, extract its contents to a location on your computer where you can easily access it.
Double-click on the driver file to start the installation process. You may be prompted with a security warning, asking for your permission to proceed with the installation. Click “Yes” or “Run” to continue.
The installation wizard will guide you through the process. Follow the on-screen instructions, reading each step carefully to ensure a successful installation. If prompted, review and accept any end-user license agreements (EULAs) or terms of use.
During the installation process, the driver will be installed onto your system, and any necessary configurations or settings will be applied. This process may take a few minutes, so be patient and let the installation complete.
Once the driver installation is complete, you may be prompted to restart your computer. If prompted, save any unsaved work and proceed with the restart. Restarting your computer will ensure that the driver is fully integrated into the system and ready for use.
After the restart, your USB WiFi adapter should be recognized and ready to establish a connection to a wireless network. Proceed to the next step to configure the WiFi settings.
Congratulations! You have successfully installed the driver for your USB WiFi adapter. Now, let’s move on to the next step: configuring the WiFi settings.
Read more: How To Install A Wifi Adapter In Pc
Step 5: Configure the WiFi settings
Now that you have installed the driver for your USB WiFi adapter, it’s time to configure the WiFi settings to establish a connection to a wireless network. Here’s how you can do it:
- Click on the WiFi icon in your computer’s system tray (typically located at the bottom right corner of the screen). This will display a list of available wireless networks in your area.
- Select the network you want to connect to from the list. If the network is password-protected, you will be prompted to enter the network password. Type in the password and click “Connect.”
- Your USB WiFi adapter will now attempt to connect to the selected network. You may see a spinning icon or progress indicator indicating the connection process.
- Once the connection is established, you will see a notification confirming that you are connected to the network. You may also see signal strength bars indicating the quality of the connection.
Congratulations! You have successfully configured the WiFi settings for your USB WiFi adapter. You can now start enjoying the benefits of wireless internet connectivity.
If you encounter any issues during the configuration process, make sure that the WiFi network you are trying to connect to is within range and that you have entered the correct password. You can also try restarting your computer and reconnecting to the network.
It’s worth noting that some USB WiFi adapters come with additional software or utilities that allow you to further customize and manage your wireless connections. You may find these utilities on the manufacturer’s website or included on a CD in the adapter’s packaging. Feel free to explore and utilize these tools to enhance your wireless experience.
Now that your WiFi settings are configured, let’s move on to the final step: testing the connection.
Step 6: Test the connection
After configuring the WiFi settings for your USB WiFi adapter, it’s important to test the connection to ensure that everything is working properly. Here’s how you can test your connection:
- Open a web browser, such as Google Chrome or Mozilla Firefox, on your computer.
- Type in a website URL, such as www.google.com, in the address bar and press Enter.
- If the page loads successfully, it means that your USB WiFi adapter is connected to the internet and working correctly.
- Try visiting multiple websites to ensure that the connection is stable and reliable.
- Additionally, you can run a speed test to measure your internet speed. There are various online speed test tools available that can provide information about your upload and download speeds.
- If you encounter any issues, such as slow internet speed or inability to load web pages, double-check your WiFi settings and ensure that you are connected to the correct network.
- You can also try restarting your computer and reconnecting to the network to troubleshoot any connectivity problems.
By testing the connection, you can confirm that your USB WiFi adapter is functioning properly and that you are able to access the internet wirelessly. If you are satisfied with the results and the connection is stable, congratulations! You have successfully installed and tested your USB WiFi adapter.
If you continue to experience issues with your connection or if the test results are not satisfactory, it’s recommended to consult the manufacturer’s support resources or contact their customer service for further assistance. They will be able to provide more specific troubleshooting steps or guide you through any potential issues.
Now that you have tested the connection, you can enjoy the convenience and flexibility of wireless internet access provided by your USB WiFi adapter. Happy browsing!
Conclusion
Congratulations on successfully installing and setting up your USB WiFi adapter! You have unlocked the power of wireless connectivity, enabling you to access the internet without the constraints of a wired connection. Installing a USB WiFi adapter without a CD may seem daunting at first, but by following the step-by-step guide outlined in this article, you have overcome any challenges and now have the freedom to connect to WiFi networks wherever you go.
In this article, we covered the essential steps to install your USB WiFi adapter:
- Checking compatibility to ensure that your adapter is compatible with your computer and operating system.
- Downloading the latest driver from the manufacturer’s website to have the most up-to-date software.
- Connecting the USB WiFi adapter to your computer, ensuring a secure connection.
- Installing the driver, allowing your computer to recognize and utilize the adapter for wireless connectivity.
- Configuring the WiFi settings to establish a connection to a wireless network.
- Testing the connection to ensure everything is working properly.
By following these steps, you have successfully installed your USB WiFi adapter and are now ready to enjoy the benefits of wireless internet access. Whether you’re working, streaming, or simply browsing the web, you can now do it without the limitations of a wired connection.
Keep in mind that different USB WiFi adapters may have unique installation processes, so it’s always a good idea to refer to the instructions provided by the manufacturer. Additionally, regular driver updates and firmware upgrades can enhance the performance and security of your adapter, so periodically check the manufacturer’s website for any available updates.
Now that you are a WiFi connectivity expert, feel free to explore and experience the world of wireless internet access. Stay connected, stay productive, and enjoy the convenience of wireless technology!
Frequently Asked Questions about How To Install Usb Wifi Adapter Without Cd
Was this page helpful?
At Storables.com, we guarantee accurate and reliable information. Our content, validated by Expert Board Contributors, is crafted following stringent Editorial Policies. We're committed to providing you with well-researched, expert-backed insights for all your informational needs.


0 thoughts on “How To Install Usb Wifi Adapter Without Cd”