Articles
How To Use Gamecube Adapter For Pc
Modified: January 19, 2024
Learn how to use a Gamecube adapter for PC with our informative articles. Explore step-by-step guides and tips to enhance your gaming experience.
(Many of the links in this article redirect to a specific reviewed product. Your purchase of these products through affiliate links helps to generate commission for Storables.com, at no extra cost. Learn more)
Introduction
Welcome to the world of gaming! If you’re a fan of the Gamecube console and want to enjoy its classic games on your PC, then you’re in luck. With a Gamecube adapter for PC, you can connect your Gamecube controller to your computer and relive the nostalgia of your favorite games.
A Gamecube adapter is a handy device that allows you to use your Gamecube controller as an input device for your PC. Whether you’re playing emulated Gamecube games, PC games, or even using it to control other applications, the Gamecube adapter provides a seamless and familiar control scheme.
In this article, we will guide you through the process of setting up a Gamecube adapter for your PC. We’ll cover everything from the compatibility of the adapter with different operating systems to the required materials and step-by-step instructions for installation and configuration. So, let’s dive in and get started on this exciting gaming journey!
Key Takeaways:
- Relive the nostalgia of Gamecube gaming on your PC by setting up a Gamecube adapter. Enjoy seamless control, retro gaming, and enhanced PC gaming experience with the familiar Gamecube controller.
- Ensure a smooth setup by checking compatibility, gathering necessary materials, and following step-by-step instructions. Troubleshoot common issues and optimize your gaming experience with the Gamecube adapter for PC.
What is a Gamecube Adapter?
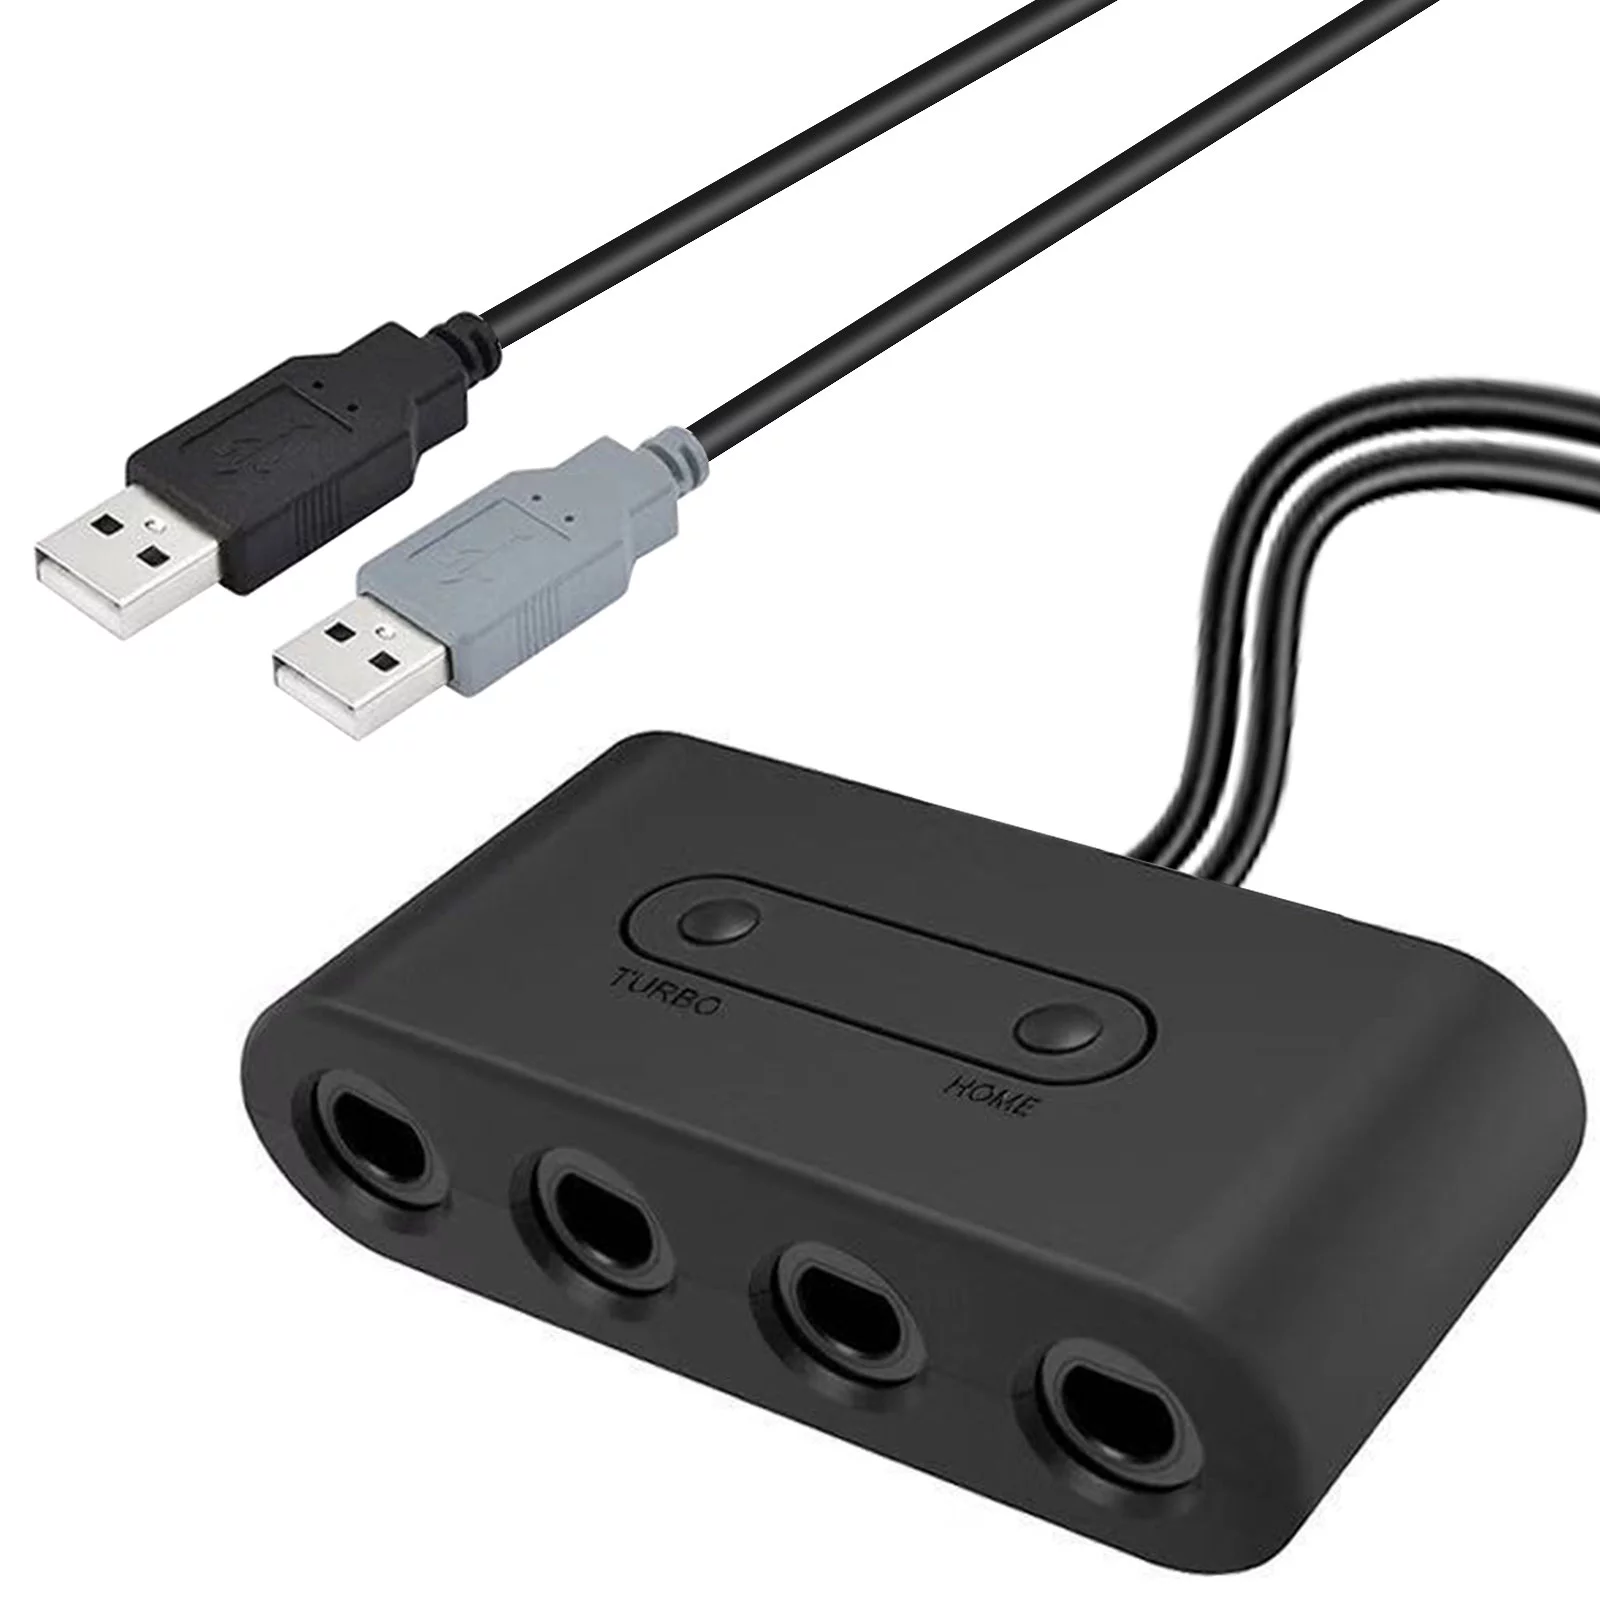
A Gamecube adapter is a device that allows you to connect a Gamecube controller to your PC. Originally designed for use with the Nintendo Gamecube console, this adapter enables you to use the familiar and ergonomic Gamecube controller to play games on your computer.
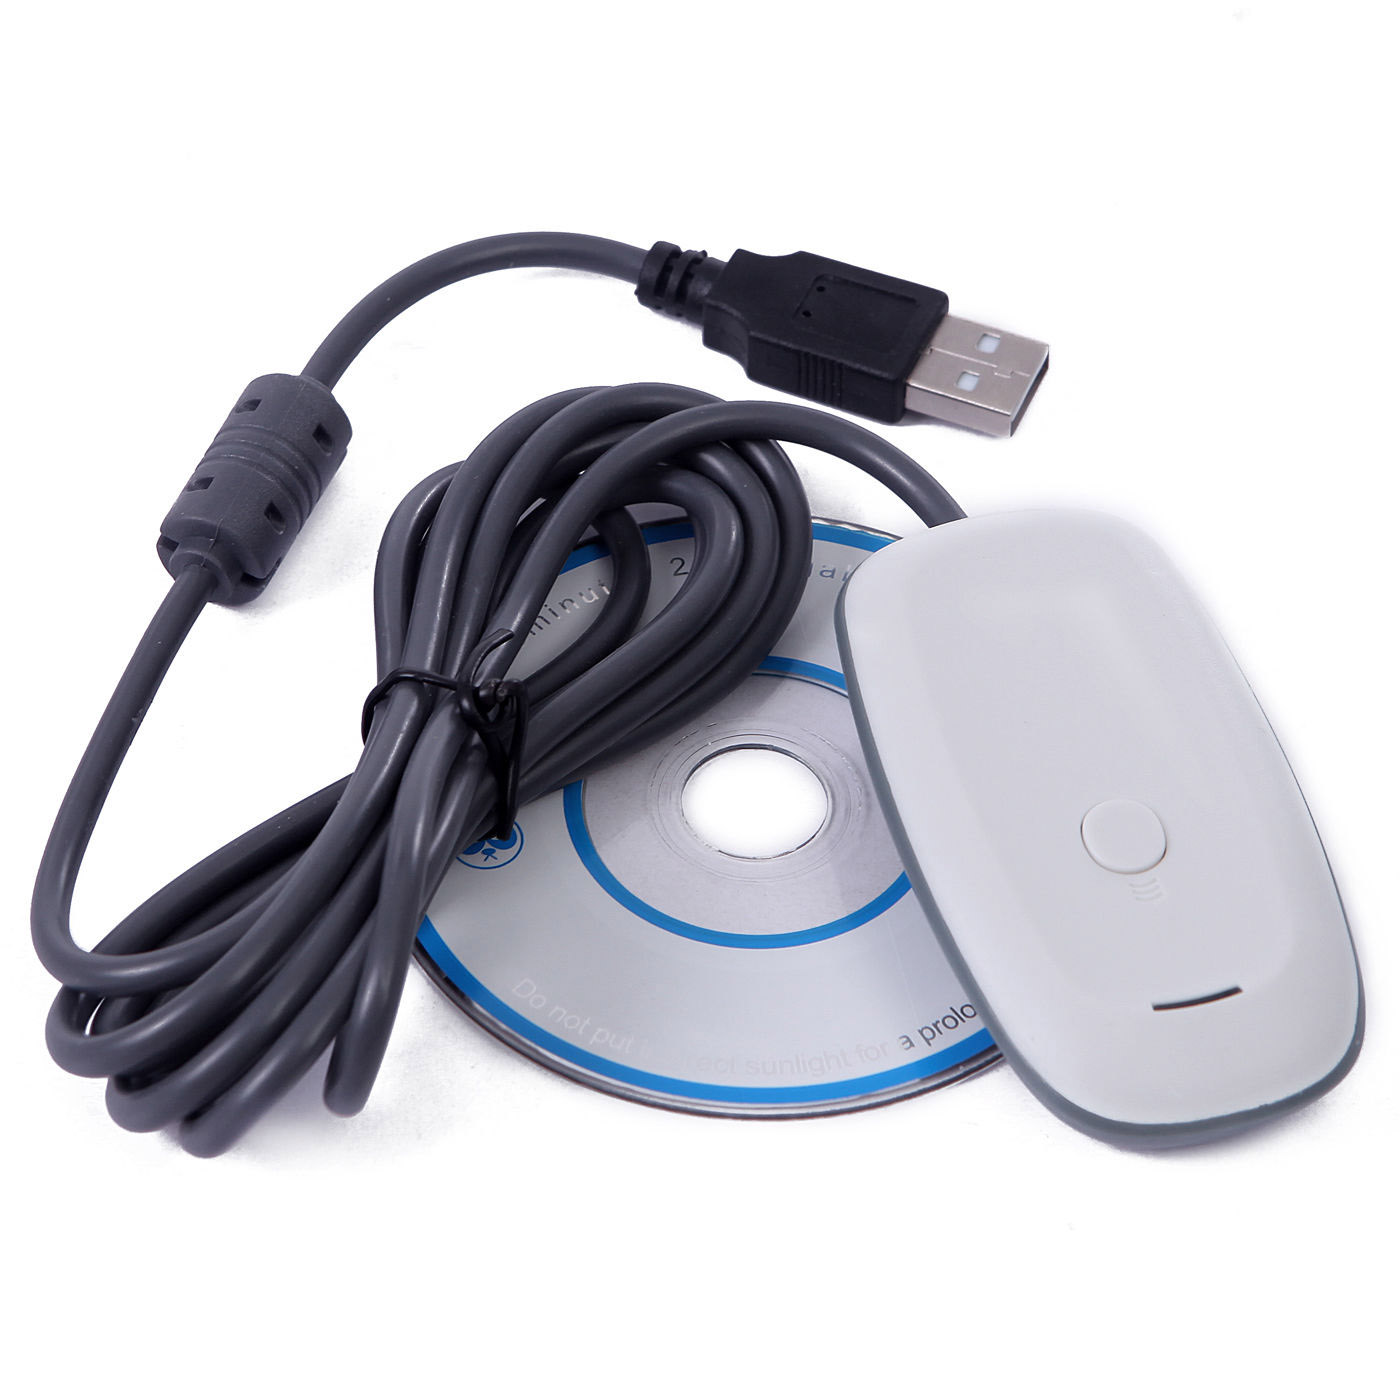
The Gamecube adapter typically consists of a USB cable that connects to your PC and multiple controller ports where you can plug in your Gamecube controllers. These adapters come in various models and designs, but they all serve the same purpose of bridging the compatibility between the Gamecube controller and your PC.
Using a Gamecube adapter provides several advantages. Firstly, it allows you to play games on your PC with the Gamecube controller, which is highly praised by many gamers for its comfortable grip and intuitive button layout. The Gamecube controller is known for its precise analog sticks, responsive buttons, and durable build quality, making it a favorite among gaming enthusiasts.
Additionally, the Gamecube adapter opens up a world of possibilities for playing retro Gamecube games on your PC. By using emulation software, you can run Gamecube games on your computer and experience them with the authentic Gamecube controller. This brings back the nostalgia of playing your favorite Gamecube titles, but with the added benefits of higher resolutions, widescreen support, and other enhancements offered by PC gaming.
Furthermore, a Gamecube adapter is not limited to gaming alone. It can also be used as a controller for various PC applications, such as media players and productivity software. The familiar layout and tactile feedback of the Gamecube controller can provide a more immersive and intuitive experience when navigating through menus or controlling multimedia playback on your PC.
Overall, a Gamecube adapter is a valuable accessory for gamers who want to use their Gamecube controllers on their PCs. It allows you to enjoy the comfort and precision of the Gamecube controller, play retro games, and enhance your overall gaming and computing experience. Now that we understand what a Gamecube adapter is, let’s move on to the compatibility with different operating systems.
Compatibility with PC
Before purchasing a Gamecube adapter for your PC, it’s important to ensure that it is compatible with your operating system. The compatibility of the adapter can vary depending on the model and manufacturer, so it’s crucial to do some research beforehand to avoid any potential compatibility issues.
Most Gamecube adapters are designed to work with major operating systems such as Windows, macOS, and Linux. However, it’s important to note that some adapters may have limited or no support for certain operating systems. Therefore, it’s recommended to check the product specifications or contact the manufacturer to confirm compatibility with your particular operating system.
When it comes to Windows, most Gamecube adapters have good compatibility. They typically work seamlessly with Windows 7, 8, and 10 without requiring any additional drivers. Windows will automatically detect the adapter as a standard USB gamepad, allowing you to use your Gamecube controller without much hassle. However, in some cases, you may need to install additional drivers or software provided by the adapter’s manufacturer.
For macOS users, compatibility can be a bit more limited. Not all Gamecube adapters have native support for macOS, which means you may need to rely on third-party software or drivers. Some popular software options for macOS include the OpenEmu emulator, which offers built-in support for Gamecube adapters, and the Mayflash GameCube Controller Adapter Driver for macOS.
If you’re using a Linux-based operating system, compatibility may vary depending on the distribution and kernel version. However, many Gamecube adapters are compatible with popular Linux distributions such as Ubuntu, Fedora, and Mint. Linux users may need to install additional drivers or configure the system to recognize the Gamecube adapter as a standard HID (Human Interface Device) gamepad.
It’s worth noting that some Gamecube adapters are compatible with multiple operating systems, making them a versatile choice for gamers who use different platforms. These adapters often come with cross-platform support and provide easy setup and configuration options for Windows, macOS, and Linux.
Before purchasing a Gamecube adapter, make sure to read user reviews and check compatibility information provided by the manufacturer. This will help you make an informed decision and ensure that the adapter will work seamlessly with your PC and operating system of choice.
Now that we have a better understanding of the compatibility of Gamecube adapters with different operating systems, let’s move on to the materials you’ll need to set up the adapter on your PC.
Required Materials
Setting up a Gamecube adapter for your PC requires a few essential materials to ensure a smooth and successful installation. Before you begin, make sure you have the following items ready:
- Gamecube Adapter: The core component of this setup is, of course, the Gamecube adapter itself. Choose a reliable and compatible adapter that suits your needs and preferences. There are various models available on the market, so take the time to research and select the one that best fits your requirements.
- Gamecube Controller: You’ll also need a Gamecube controller to use with the adapter. Ideally, use authentic Nintendo Gamecube controllers for the best experience. However, some third-party controllers may also work well with the adapter. Make sure the controller is in good condition and has a functional cable.
- USB Cable: The Gamecube adapter connects to your PC via USB. Depending on the specific adapter model, the cable may be attached or detachable. Ensure that the USB cable is in good condition and has a sufficient length to reach your PC comfortably.
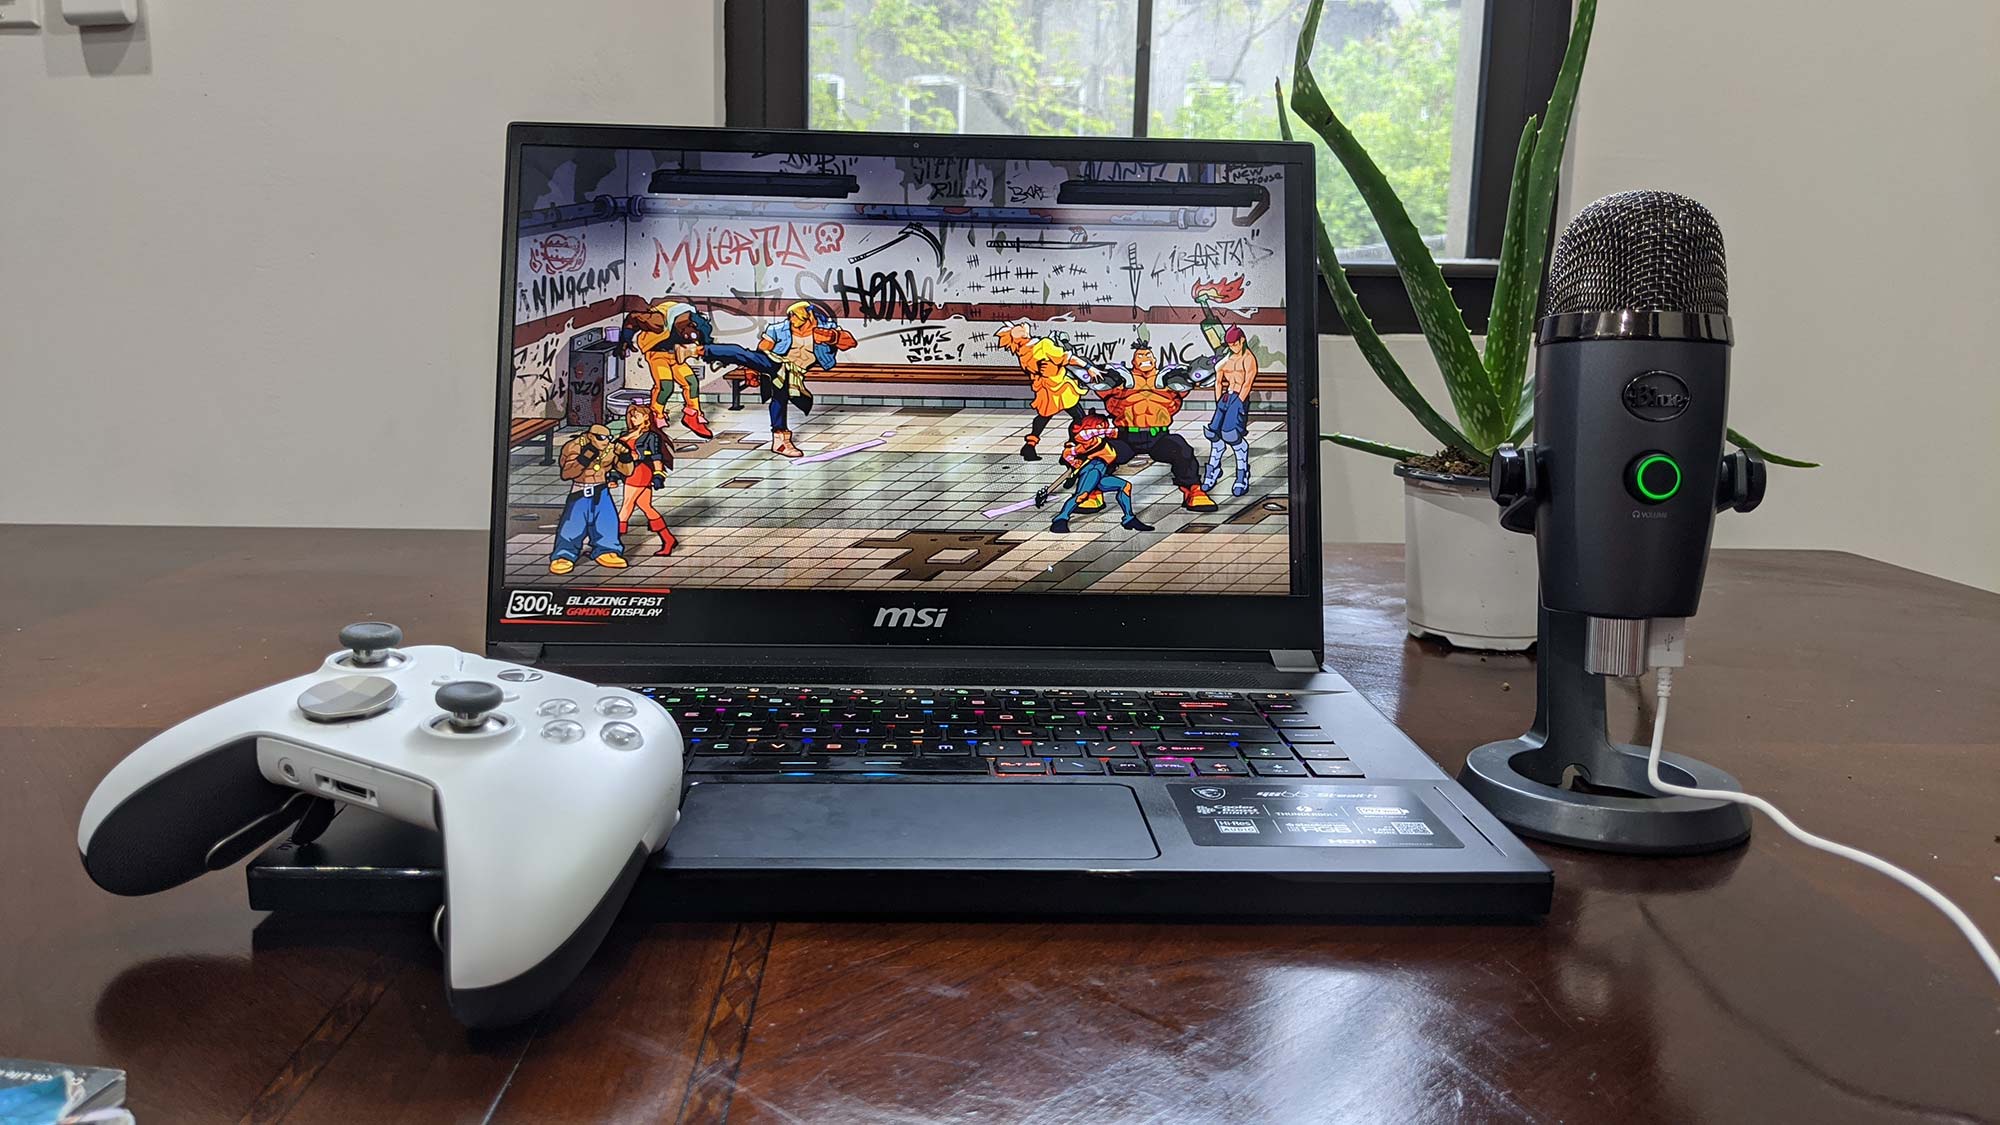
- PC or Laptop: You’ll obviously need a PC or laptop to connect the Gamecube adapter. Ensure that your computer meets the minimum system requirements for the games or applications you plan to use. Additionally, make sure your PC has available USB ports to connect the adapter.
- Operating System: Different Gamecube adapter models have varying levels of compatibility with different operating systems. Make sure your PC is running a compatible operating system, such as Windows, macOS, or Linux. Check the adapter’s specifications or contact the manufacturer for information on supported operating systems.
- Internet Connection: While not mandatory, having an internet connection during the setup process can be beneficial. It allows you to quickly download any necessary drivers, updates, or third-party software required for the adapter or games.
Having these materials ready before you start the setup process will ensure a smooth and hassle-free experience. Double-check that you have everything on the list, and now we can move on to the next section: setting up the Gamecube adapter for your PC.
Setting Up Gamecube Adapter for PC
Now that you have all the necessary materials, it’s time to set up the Gamecube adapter for your PC. Follow the step-by-step instructions below to get everything up and running:
- Connect the Gamecube Adapter: Start by plugging the USB cable of the Gamecube adapter into an available USB port on your PC or laptop. Ensure a secure connection, and make sure the adapter is recognized by your computer.
- Plug in the Gamecube Controller: Once the adapter is connected, plug your Gamecube controller(s) into the controller ports on the adapter. You can connect up to four controllers at once, depending on the adapter’s specifications.
- Confirm Adapter Recognition: Check that your PC recognizes the Gamecube adapter and controller(s) by going to the device manager or checking the game controller settings in your operating system. If everything is working correctly, you should see the adapter and controller(s) listed as connected devices.
- Install Necessary Drivers: Depending on your specific Gamecube adapter model, you may need to install additional drivers to ensure proper functionality. These drivers are usually provided by the adapter manufacturer and can be downloaded from their website. Follow the installation instructions provided by the manufacturer to install the drivers on your PC.
- Configure Controller Mapping: Once the necessary drivers are installed, you may need to configure the controller mapping settings. This allows your PC to recognize the Gamecube controller inputs correctly. You can typically customize the button mapping and adjust sensitivity settings using the software or driver package that came with the adapter. Follow the instructions provided by the manufacturer to configure the controller mapping as per your preference.
- Calibrate the Controller: To ensure optimal performance, it’s recommended to calibrate your Gamecube controller. This process may vary depending on the software or driver you are using. Usually, the calibration can be done through the controller settings or calibration option in the software. Follow the on-screen instructions to complete the calibration process.
- Test the Controller: After completing the setup process, it’s important to test your Gamecube controller to ensure that it’s working correctly. Open a game or a controller testing software and check if all the buttons, analog sticks, and triggers are responding accurately. Make any necessary adjustments in the controller settings if needed.
By following these steps, you should now have your Gamecube adapter set up and ready to use with your PC. Remember to keep the necessary drivers and software up to date for optimal performance. Enjoy the classic Gamecube gaming experience on your PC with the familiarity and comfort of the Gamecube controller!
In the next section, we’ll delve deeper into installing the drivers specific to your Gamecube adapter. This is an essential step to ensure compatibility and proper functionality between the adapter and your PC.
Make sure to download the necessary drivers for the Gamecube adapter and configure the controller settings in the emulator or game you are using on your PC. This will ensure that the adapter is recognized and the controller functions properly.
Read more: How To Use A Bluetooth Adapter On Pc
Installing the Drivers
Installing the correct drivers for your Gamecube adapter is crucial to ensure compatibility and proper functionality between the adapter and your PC. The process may vary depending on the specific model and manufacturer of your adapter. Here’s a general guide on how to install the drivers:
- Check the Manufacturer’s Website: Start by visiting the manufacturer’s website for your Gamecube adapter. Look for a dedicated section or support page that provides drivers or software for your specific model.
- Download the Latest Drivers: Locate the drivers specific to your operating system and download the latest version available. It’s important to ensure that you download the correct drivers for your adapter and operating system combination.
- Run the Installer: Once the drivers are downloaded, locate the installer file and run it. Follow the on-screen instructions to complete the driver installation process. In some cases, you may need to extract the downloaded file first before running the installer.
- Accept the Terms and Conditions: During the installation process, you may be prompted to accept the terms and conditions of the driver software. Read through the terms and conditions, and if you agree, proceed with accepting them to continue the installation.
- Connect the Adapter: Before or after installing the drivers, make sure your Gamecube adapter is connected to your PC via USB and that your Gamecube controllers are plugged into the adapter’s controller ports.
- Follow the Installation Wizard Steps: The driver installation process may involve an installation wizard. Follow the steps provided by the wizard, which may include selecting the installation location, choosing additional components to install, or confirming the installation process.
- Reboot the System: After the driver installation is complete, it’s a good practice to reboot your PC to ensure that the changes are fully implemented and the drivers are loaded correctly.
- Verify Driver Installation: After rebooting, check the device manager or the game controller settings in your operating system to verify that the Gamecube adapter and controllers are recognized and listed as connected devices. This step ensures that the drivers were installed successfully.
Following these steps should help you successfully install the necessary drivers for your Gamecube adapter. If you encounter any issues during the installation process or the adapter is not functioning correctly after installation, refer to the manufacturer’s documentation or support resources for troubleshooting assistance. Remember to keep your drivers up to date for optimal performance.
In the next section, we will explore how to configure the gamepad settings, allowing you to customize the controller mapping and sensitivity according to your preferences.
Configuring Gamepad Settings
Configuring the gamepad settings for your Gamecube adapter is an important step to ensure that the controller inputs are recognized correctly by your PC. By customizing the controller mapping and sensitivity, you can optimize the gaming experience and adapt the controls to your preferences. Here’s a general guide on how to configure the gamepad settings:
- Open the Gamepad Settings: Start by opening the software or driver package that came with your Gamecube adapter. This software allows you to configure the gamepad settings and customize the controller mapping.
- Select the Gamepad: If you have multiple gamepads connected to your PC, select the specific Gamecube controller you want to configure from the available options. This ensures that the settings are applied to the correct controller.
- Customize Button Mapping: In the gamepad settings, you’ll usually find a section where you can customize the button mapping. This allows you to assign specific functions or keystrokes to each button on the Gamecube controller. Click on the desired button on the software interface and select the corresponding function or keystroke you want to assign.
- Adjust Sensitivity Settings: Depending on the software or driver, you may have the option to adjust the sensitivity settings of the analog sticks and triggers on the Gamecube controller. Fine-tuning the sensitivity allows you to achieve more precise control over the in-game movements.
- Save and Apply Settings: After customizing the button mapping and sensitivity settings, don’t forget to save your changes. Look for a “Save” or “Apply” button in the gamepad settings interface to store your custom settings.
- Test the Configuration: To ensure that your gamepad settings are working correctly, open a game or a controller testing software and verify that the assigned functions or keystrokes respond accurately to the controller inputs. Make any necessary adjustments in the gamepad settings if needed.
- Create Multiple Profiles (Optional): Some gamepad configuration software allows you to create multiple profiles. This is useful if you want to have different settings for different games or applications. You can switch between profiles depending on your needs, ensuring that each game or application has its customized controller setup.
Remember, the steps to configure the gamepad settings may vary depending on the software or driver you’re using with your Gamecube adapter. Refer to the documentation provided by the manufacturer for specific instructions related to your adapter model.
By configuring the gamepad settings according to your preferences, you can enhance your gaming experience and enjoy seamless control with your Gamecube adapter. In the next section, we will explore how to test the Gamecube controller to ensure that it’s working correctly with your PC.
Testing the Gamecube Controller
After setting up and configuring your Gamecube controller with the adapter on your PC, it’s important to test the controller to ensure that it’s functioning correctly. By performing a controller test, you can verify that all the buttons, analog sticks, and triggers on the Gamecube controller are working as intended. Here’s how you can test the Gamecube controller:
- Open a Game or Controller Testing Software: Start by opening a game that supports gamepad input or use a dedicated controller testing software. These programs allow you to check the input from your Gamecube controller and ensure that all the buttons and features are functioning properly.
- Verify Button Inputs: Press each button on the Gamecube controller one by one and observe on the screen or software interface if the corresponding button input is registered. Ensure that all the buttons are responsive and register inputs accurately. This includes the A, B, X, Y, D-pad, triggers, and shoulder buttons.
- Test Analog Sticks: Move both analog sticks on the Gamecube controller in all directions and check if the corresponding movements are reflected in the game or software interface. The analog sticks should be smooth, accurate, and responsive to ensure precise control over in-game movements.
- Check Trigger Inputs: Squeeze and release both triggers on the Gamecube controller and verify if the respective trigger inputs are recognized by the game or controller testing software. The triggers should have a smooth and consistent response when pressed.
- Ensure Proper Functioning of Special Features: If your Gamecube controller has any special features, such as rumble functionality or a built-in microphone, test these features as well to ensure that they are working correctly. Check if the rumble effects are felt in the controller and if the microphone input is detected by the game or software.
- Make Necessary Adjustments: If you encounter any issues during the controller test, such as unresponsive buttons or stick drift, you may need to go back to the gamepad settings or adjust the controller sensitivity settings to rectify the problem. Consult the documentation or support resources provided by the manufacturer for troubleshooting assistance.
By thoroughly testing your Gamecube controller, you can identify any potential issues or malfunctions early on and take appropriate actions to address them. This ensures that you have a fully functional and reliable controller for gaming on your PC.
In the next section, we will discuss some common troubleshooting tips to help you overcome any issues that may arise during the setup or usage of your Gamecube adapter.
Troubleshooting Common Issues
While setting up and using a Gamecube adapter for PC is relatively straightforward, you may encounter some common issues along the way. Here are some troubleshooting tips to help you overcome these issues:
1. Connection Problems:
- Make sure that the USB cable of the Gamecube adapter is securely connected to your PC.
- Check that the Gamecube controller is properly plugged into the adapter’s controller ports.
- Try connecting the adapter to a different USB port on your PC.
- Restart your PC and try reconnecting the adapter.
2. Driver Issues:
- Ensure that you have installed the latest drivers for your specific Gamecube adapter model.
- Uninstall any conflicting drivers or software that may interfere with the functioning of the adapter.
- Check the manufacturer’s website for any firmware updates for the adapter.
- Reinstall the drivers if necessary.
3. Controller Not Working or Recognized:
- Verify that the Gamecube controller is in good condition and the cable is not damaged.
- Disconnect and reconnect the controller to the adapter.
- Check the device manager or game controller settings in your operating system to see if the controller is recognized.
- Try using a different Gamecube controller if available to isolate the issue.
4. Button Mapping or Sensitivity Issues:
- Review the gamepad settings or driver software to ensure that the button mapping is correctly configured.
- Check if the sensitivity settings for the analog sticks and triggers need adjustment.
- Calibrate the controller to ensure accurate input detection.
- Consult the manufacturer’s documentation for specific instructions on customizing the button mapping and sensitivity.
5. Compatibility Issues:
- Confirm that the Gamecube adapter you have is compatible with your operating system.
- Check for any compatibility updates or patches for your specific adapter model.
- Search online forums or communities for others experiencing similar compatibility issues and possible solutions.
- Contact the manufacturer’s support for further assistance.
If you have exhausted these troubleshooting tips and are still experiencing issues with your Gamecube adapter, it’s recommended to reach out to the manufacturer’s support for more specialized guidance. They can provide you with specific troubleshooting steps tailored to your adapter model and assist you in resolving the problem.
Remember, patience and persistence are key when troubleshooting. With the right approach, you can overcome any issues and fully enjoy the Gamecube controller experience on your PC.
Now that we have covered troubleshooting, let’s wrap up this article.
Read more: How To Plug Gamecube Adapter Into Switch
Conclusion
Setting up a Gamecube adapter for PC allows you to enjoy the immersive gaming experience of the Gamecube console on your computer. With the familiar and ergonomic Gamecube controller, you can relive the nostalgia of your favorite games and enhance your PC gaming experience.
In this article, we’ve discussed what a Gamecube adapter is and its compatibility with different operating systems. We’ve also covered the necessary materials required for setup, the process of setting up the adapter, installing the drivers, configuring gamepad settings, testing the controller, and troubleshooting common issues that may arise.
By following the steps outlined in this article, you can have your Gamecube adapter connected and configured properly, ensuring a seamless gaming experience with the Gamecube controller on your PC. Remember to stay up to date with the latest drivers and firmware for your adapter to optimize performance.
Whether you’re playing retro Gamecube games or using the Gamecube controller for other applications, the versatility of the Gamecube adapter provides you with a comfortable, intuitive control scheme.
Now, it’s time to dive into the world of gaming and enjoy the countless hours of fun that the Gamecube adapter for PC can bring. So grab your Gamecube controller, connect it to your PC, and let the gaming journey begin!
Frequently Asked Questions about How To Use Gamecube Adapter For Pc
Was this page helpful?
At Storables.com, we guarantee accurate and reliable information. Our content, validated by Expert Board Contributors, is crafted following stringent Editorial Policies. We're committed to providing you with well-researched, expert-backed insights for all your informational needs.


0 thoughts on “How To Use Gamecube Adapter For Pc”