Articles
How To Use An Indoor Grill
Modified: August 20, 2024
Learn how to use an indoor grill with these helpful articles. Discover tips, techniques, and recipe ideas to make your indoor grilling experience a success.
(Many of the links in this article redirect to a specific reviewed product. Your purchase of these products through affiliate links helps to generate commission for Storables.com, at no extra cost. Learn more)
Introduction
Welcome to the world of indoor grilling! Whether you’re a seasoned grilling enthusiast or a beginner just dipping your toes into the world of cooking, using an indoor grill can be a game-changer. Gone are the days of waiting for the perfect weather to fire up the outdoor grill – with an indoor grill, you can enjoy deliciously grilled food anytime, regardless of the season or weather conditions.
Indoor grilling offers a convenient and efficient way to cook your favorite meats, vegetables, and even fruits. Not only does it bring out the natural flavors of the food, but it also allows for healthier cooking as excess fats and oils drip away during the grilling process. Whether you live in an apartment, have limited outdoor space, or simply prefer the convenience of cooking indoors, an indoor grill is a versatile kitchen appliance that will elevate your culinary adventures.
In this article, we’ll explore the benefits of using an indoor grill, provide tips on choosing the right one for your needs, and guide you through the steps of preparing and maintaining your indoor grill. Additionally, we’ll share grilling techniques for different types of foods, cleaning and maintenance tips, and safety precautions to ensure a pleasant and safe grilling experience.
So, let’s turn up the heat and dive into the world of indoor grilling!
Key Takeaways:
- Enjoy the convenience, versatility, and healthier cooking options of indoor grilling, allowing you to savor the flavors of succulent steaks, juicy burgers, and grilled vegetables all year round.
- Prioritize safety, proper maintenance, and seasoning for optimal indoor grilling experiences, ensuring delicious results and a safe, enjoyable cooking environment.
Read more: How To Use An Indoor Grill
Benefits of Using an Indoor Grill
Using an indoor grill offers a range of benefits that make it a popular choice for cooking enthusiasts. Here are some of the key advantages:
- Convenience: One of the primary benefits of an indoor grill is the convenience it offers. Unlike outdoor grills, you don’t have to worry about weather conditions or setting up an outdoor cooking area. Indoor grills are compact and easily accessible in your kitchen, allowing you to grill your favorite foods whenever you want, regardless of the time of year.
- Versatility: Indoor grills are incredibly versatile and allow you to cook a wide range of foods. From succulent steaks and juicy burgers to grilled vegetables and even sandwiches, the possibilities are endless. Most indoor grills come with adjustable temperature controls, giving you the flexibility to cook different types of food to perfection.
- Healthier Cooking: Grilling is often associated with healthier cooking methods, and indoor grills are no exception. The design of indoor grills allows excess fats and oils to drain away from the food while it cooks, resulting in lower fat content. This makes it a great option for those looking to reduce their intake of unhealthy fats.
- Quick and Efficient: Indoor grills heat up quickly, allowing you to start cooking almost immediately. They also provide consistent heat distribution, ensuring that your food cooks evenly. With an indoor grill, you can enjoy sizzling, delicious meals in a fraction of the time it would take with other cooking methods.
- Flavorful Results: Grilling brings out the natural flavors of the food, resulting in deliciously charred and smoky tastes. Indoor grills are designed to seal in the moisture of the food, making it juicier and more flavorful. The grill marks you achieve on your food not only enhance its visual appeal but also add a depth of rich flavor.
- Ease of Cleanup: Cleaning up after grilling can be a daunting task, but indoor grills are designed to make the process easier. Many indoor grills come with removable grill plates that are dishwasher-safe, making it convenient to clean up after use. Additionally, the contained cooking environment of an indoor grill minimizes the mess and makes cleanup a breeze.
These are just a few of the many benefits you can enjoy when using an indoor grill. Whether you’re grilling for a small family meal or hosting a gathering with friends, an indoor grill is an excellent addition to any kitchen, offering convenience, versatility, and flavorful results.
Choosing the Right Indoor Grill
When it comes to selecting the right indoor grill for your needs, there are a few factors to consider. Here are some key points to keep in mind:
- Size and Cooking Surface: The size of the grill and its cooking surface are important considerations. Determine how much space you have available in your kitchen and consider the number of people you typically cook for. If you have a small kitchen or limited countertop space, a compact grill with a smaller cooking surface may be more suitable.
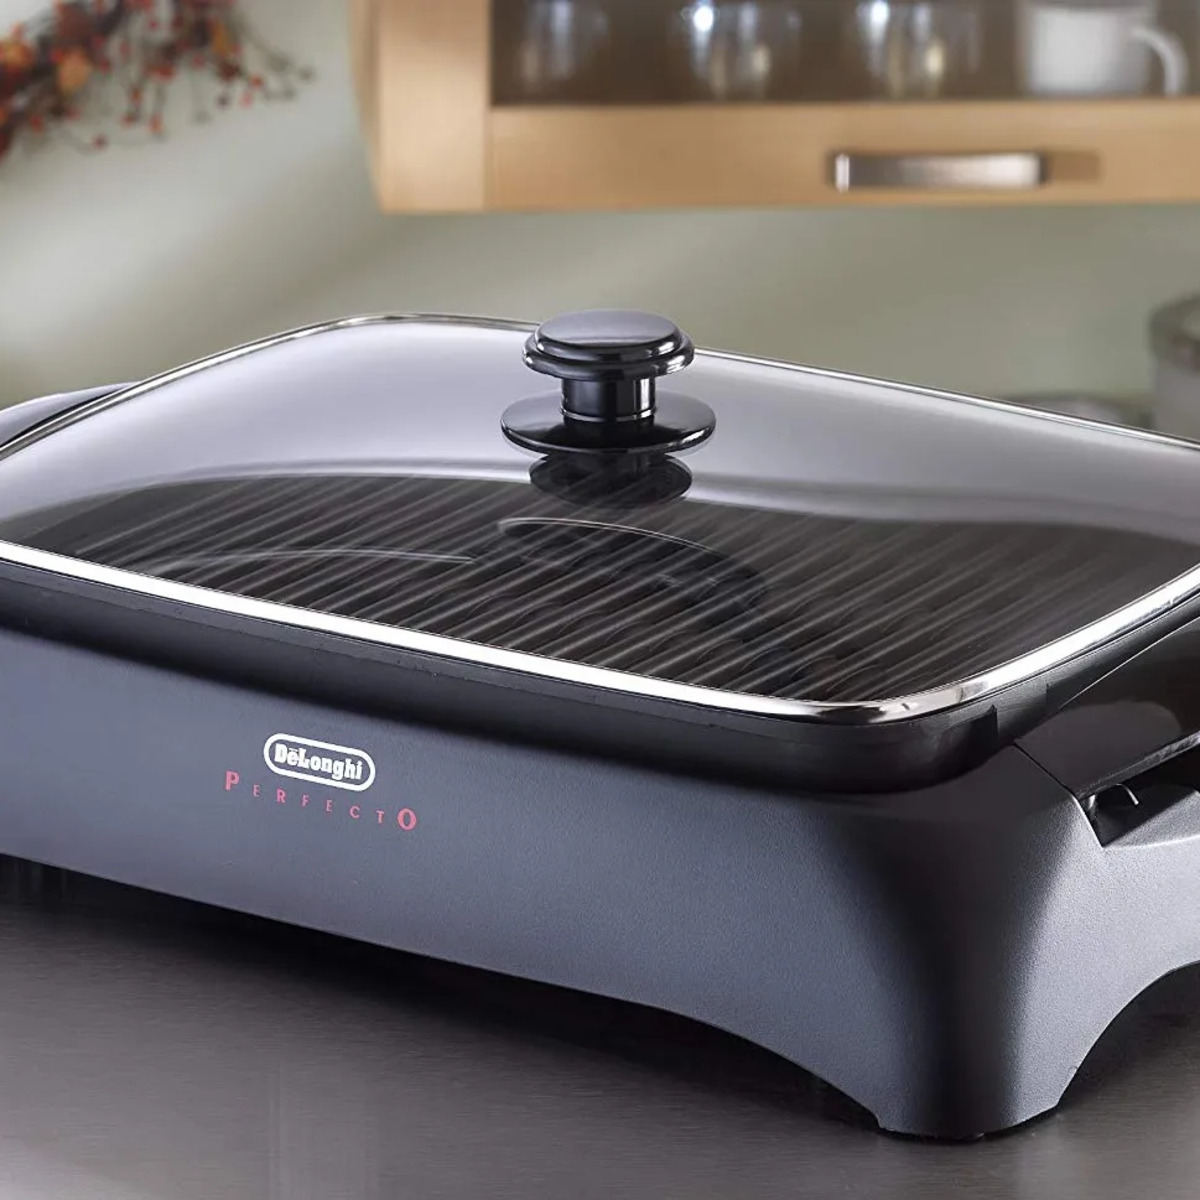
- Type of Indoor Grill: There are different types of indoor grills available, including open grills, contact grills, and griddle-style grills. Open grills resemble traditional outdoor grills and provide a larger cooking surface. Contact grills have both top and bottom plates that come together to cook food on both sides simultaneously. Griddle-style grills have a flat cooking surface ideal for cooking pancakes, eggs, and similar foods.
- Temperature Control: Look for an indoor grill with adjustable temperature controls. This allows you to have more control over the cooking process and ensures that you can adjust the heat according to the type of food you’re grilling. Temperature control is especially important when grilling more delicate foods that require lower heat.
- Non-stick Surface: A non-stick cooking surface makes grilling easier and aids in cleanup. Look for an indoor grill that features a durable and high-quality non-stick coating. This will prevent your food from sticking to the grill plates and make it easier to remove any residue after cooking.
- Heat Source: Indoor grills typically use one of two heat sources – electric or stovetop. Electric grills are more common and convenient to use, as they can be plugged into any electrical outlet. Stovetop grills require a stovetop burner and are often used in conjunction with a grill pan or griddle.
- Additional Features: Consider any additional features that may be important to you. Some indoor grills come with removable grill plates that are dishwasher-safe, making cleanup a breeze. Others may have a lid for trapping heat and smoke, mimicking the outdoor grilling experience. Take note of these features and choose an indoor grill that aligns with your preferences.
Ultimately, the right indoor grill for you will depend on your specific needs and preferences. Take the time to research and read reviews to find a grill that is well-built, reliable, and suited to your cooking style. With the right indoor grill, you will be able to enjoy delicious grilled meals in the comfort of your own home.
Preparing the Indoor Grill
Before you start grilling on your indoor grill, it’s important to properly prepare it to ensure optimal cooking results. Here are some steps to follow:
- Read the Instruction Manual: Start by familiarizing yourself with the instruction manual that comes with your indoor grill. This will provide specific guidance on how to assemble, use, and maintain your grill.
- Inspect the Grill: Before each use, inspect your indoor grill for any signs of wear or damage. Check the power cord, control knobs, and grill plates to ensure everything is in proper working order. If you notice any damage, contact the manufacturer for assistance.
- Wash Removable Parts: If your indoor grill has removable parts, such as grill plates or drip trays, wash them thoroughly with warm soapy water. This will remove any dust or residues that may have accumulated during storage or previous use.
- Check Power Supply: Ensure that your indoor grill is properly connected to a power source. If it is an electric grill, plug it into a grounded electrical outlet. For stovetop grills, ensure that the grill pan or griddle is securely placed on the stovetop burner.
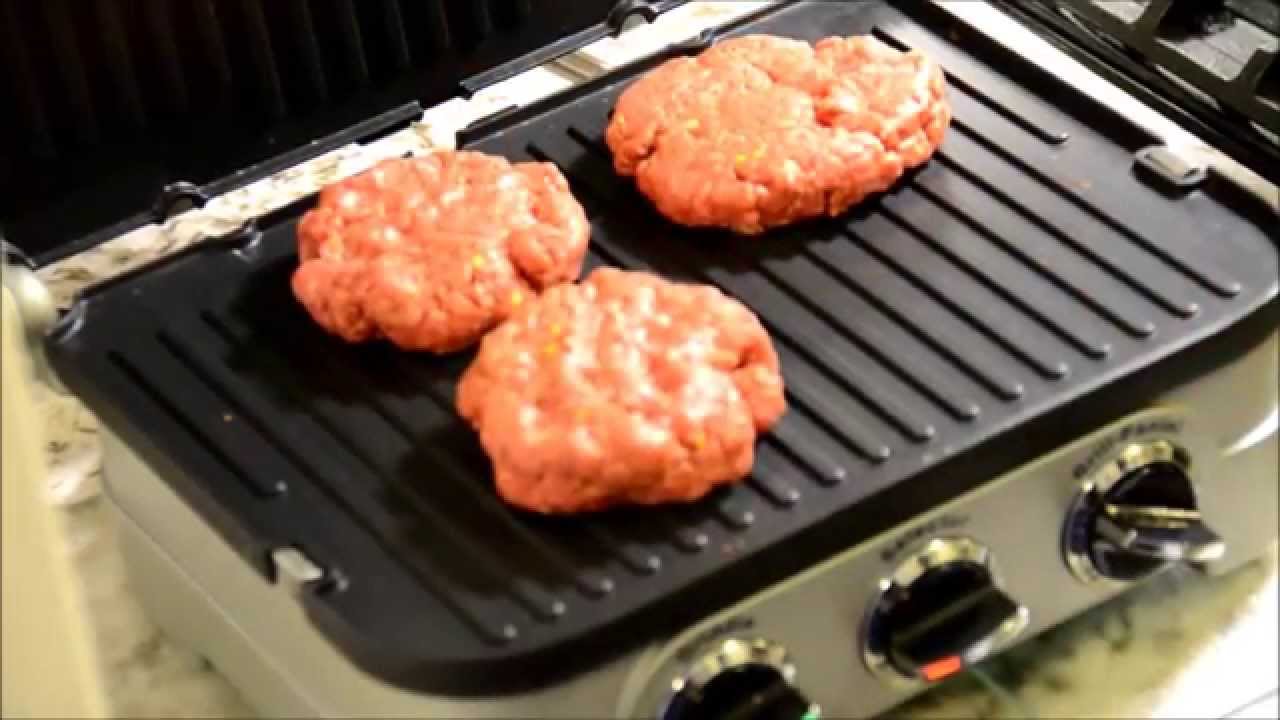
- Preheat the Grill: Preheating your indoor grill is essential for achieving optimal cooking results. Turn on the grill and let it heat up according to the manufacturer’s instructions. This typically takes a few minutes, and you’ll know it’s ready when the indicator light or thermometer indicates the desired temperature.
- Season the Grill Plates: Seasoning the grill plates helps to create a non-stick surface and enhances the flavor of your food. Brush or spray a small amount of cooking oil onto the plates while they are still hot. Use a heat-resistant brush or a paper towel to spread the oil evenly across the surface.
- Allow Time to Cool: After grilling, allow your indoor grill to cool down before cleaning it. This will prevent any accidental burns and make the cleaning process safer and more efficient. Follow the manufacturer’s instructions regarding cooling times.
By following these steps for preparing your indoor grill, you’ll ensure that it functions properly and delivers deliciously grilled meals. Taking the time to properly prepare your grill will result in a more enjoyable cooking experience and fantastic grilled flavors.
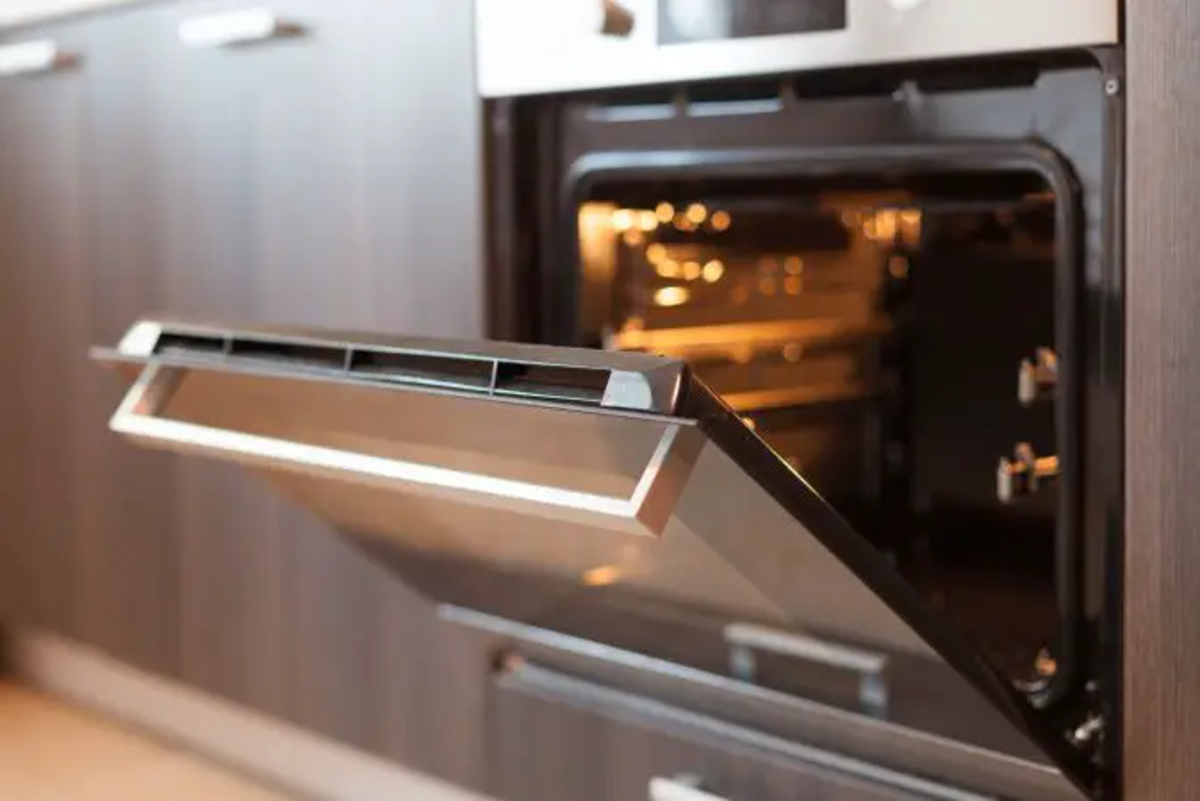
Preheating the Indoor Grill
Preheating your indoor grill is a crucial step in the grilling process that helps to ensure even and consistent cooking results. Here’s a step-by-step guide on how to preheat your indoor grill:
- Clean the Grill Plates: Before preheating, make sure that the grill plates are clean. If there are any food residues or grease from previous use, gently scrub them off using a soft brush or sponge. This will prevent any unwanted flavors or particles from affecting the taste of your food.
- Turn on the Grill: Depending on the type of indoor grill you have, turn it on and select your desired temperature setting. Electric grills usually have temperature control knobs or buttons, while stovetop grills should be set to medium-high heat. Refer to your grill’s instruction manual for specific temperature recommendations.
- Allow Sufficient Heating Time: Preheating times may vary depending on the type and model of your indoor grill. Typically, it takes around 5 to 10 minutes for the grill to reach the desired temperature. Refer to your grill’s instruction manual for more accurate preheating time recommendations.
- Monitor the Indicator: Many indoor grills have built-in temperature indicators, such as indicator lights or thermometers, which let you know when the grill has reached the desired temperature. Keep an eye on these indicators as your grill heats up to ensure it’s preheated correctly.
- Assess the Temperature: To check if your indoor grill is adequately preheated, you can perform a simple test. Sprinkle a few drops of water onto the grill plates. If the water immediately sizzles and evaporates, the grill is ready. If the water pools and doesn’t sizzle, allow the grill more time to heat up.
- Adjust as Needed: If the grill plates are not evenly heating or if the temperature seems too low or high, you may need to adjust the temperature control accordingly. Experiment with different settings to find the right temperature that suits your cooking needs.
By following these steps, you’ll ensure that your indoor grill is properly preheated and ready to cook your favorite foods. Preheating helps to sear the food quickly, lock in flavors, and achieve those delightful grill marks. Don’t rush the preheating process, as it plays a significant role in the overall cooking performance of your indoor grill.
Adjusting Temperature Settings
Adjusting the temperature settings on your indoor grill is essential for achieving the desired level of doneness and ensuring that your food is cooked to perfection. Here are some tips on how to effectively adjust the temperature settings:
- Refer to Recipe Guidelines: When grilling different types of foods, it’s helpful to consult recipe guidelines or cooking charts that specify the recommended temperature settings and cooking times. This will give you a starting point for adjusting the heat on your indoor grill.
- Start with Medium Heat: As a general rule, medium heat is a good starting point for most grilling tasks. This heat setting allows for even cooking without burning the exterior of the food while ensuring that the interior is cooked through. Adjust the temperature up or down as needed based on your specific recipe or desired results.
- Consider Thickness and Type of Food: The thickness and type of food you’re grilling will impact the temperature settings. Thicker cuts of meat, such as steaks or pork chops, may require higher heat to sear the outside while keeping the inside tender. Delicate foods like fish or vegetables may need lower heat to prevent overcooking or scorching.
- Use the Lid: If your indoor grill has a lid, using it can help regulate the temperature and trap heat, creating more consistent cooking conditions. The lid helps to retain moisture and intensifies the smoky flavors resulting from the grill’s heat. However, be cautious not to overcrowd the grill, as this can affect the cooking time and temperature.
- Monitor and Adjust as Needed: Keep a close eye on your food as it grills and adjust the temperature settings as necessary. If the food is cooking too quickly or browning too much, lower the heat or move it to a cooler part of the grill. On the other hand, if the food is taking too long to cook or lacks browning, increase the temperature slightly.
- Consider the Desired Doneness Level: Different foods have different recommended internal temperatures for various levels of doneness. For example, a medium-rare steak requires a lower cooking temperature than a well-done steak. Use a meat thermometer to monitor the internal temperature of your food and ensure that it reaches the desired level of doneness.
Adjusting the temperature settings on your indoor grill may require a bit of experimentation to find the perfect balance. With practice, you’ll become more familiar with how your specific grill performs and the ideal temperature settings for different foods. Remember, patience and attention to detail are key to achieving fantastic grilling results.
Preheat your indoor grill for at least 10 minutes before cooking to ensure it reaches the optimal temperature for searing and grilling your food.
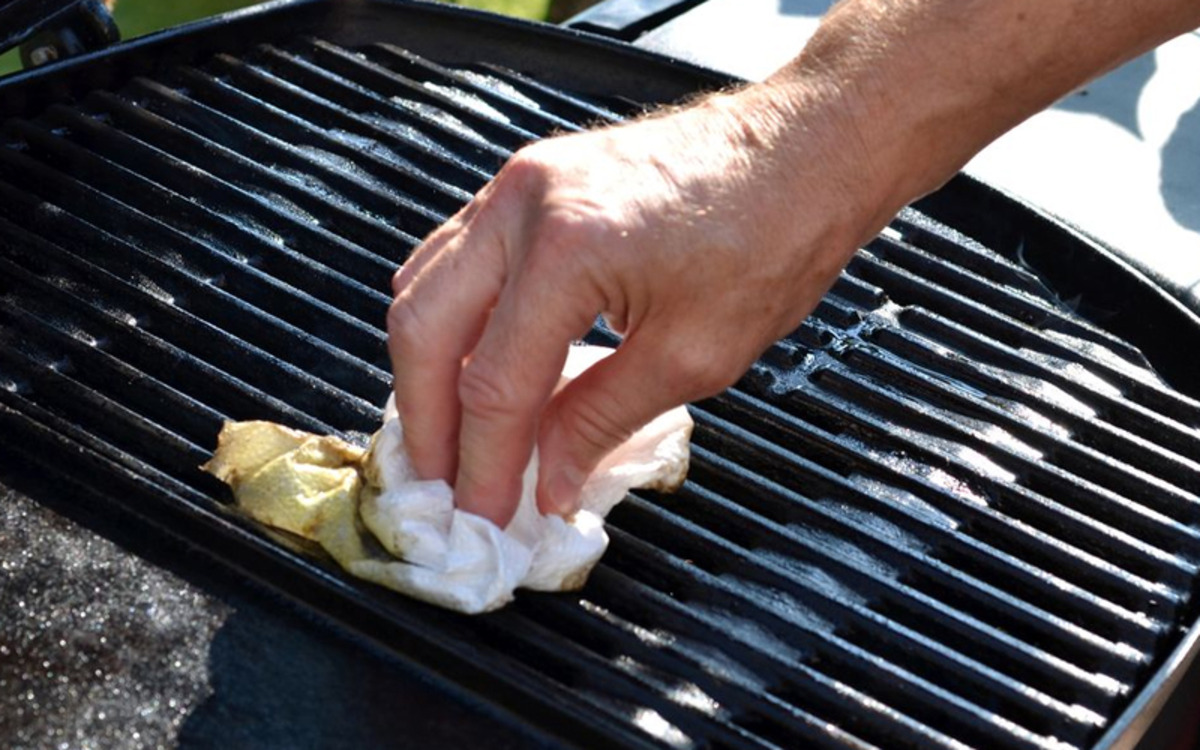
Properly Seasoning the Grill Plates
Properly seasoning your indoor grill plates is essential for creating a non-stick surface and adding flavor to your grilled foods. Here are the steps to effectively season your grill plates:
- Clean the Grill Plates: Before seasoning, ensure that the grill plates are clean. Remove any food residue or debris by gently scrubbing the plates with warm soapy water. Rinse thoroughly and dry with a clean cloth or paper towel.
- Preheat the Grill: Begin by preheating the grill according to the manufacturer’s instructions. Heating the grill plates will help open up the pores of the metal and allow the seasoning to penetrate and adhere effectively.
- Apply Cooking Oil: Using a heat-resistant brush or a spray bottle, apply a thin layer of cooking oil to the grill plates. Use an oil with a high smoke point, such as canola or vegetable oil. Ensure that the entire surface of the plates is coated evenly.
- Spread the Oil Evenly: Use a heat-resistant brush or a paper towel to spread the oil evenly across the grill plates. Make sure to cover every inch of the cooking surface, including the ridges or grooves. This will help create a non-stick coating and prevent your food from sticking to the grill.
- Wipe Off Excess Oil: After spreading the oil, take a clean paper towel or cloth and gently wipe off any excess oil from the grill plates. The goal is to create a thin and even layer of oil. Be careful not to remove all the oil, as it is necessary for seasoning and maintaining a non-stick surface.
- Heat for Additional Time: Once the oil has been applied and excess wiped off, allow the grill plates to heat for an additional few minutes. This will help the oil penetrate the metal and form a protective layer.
- Repeat the Process: It’s recommended to repeat the seasoning process a few times to build up a durable non-stick surface. After each grilling session, reapply a thin layer of oil and repeat steps 3-6. Over time, this will enhance the non-stick properties of the grill plates and improve the overall grilling experience.
Properly seasoning your indoor grill plates will prevent food from sticking and make cleaning easier. It also helps to enhance the flavor of the grilled foods. With regular seasoning and proper maintenance, your indoor grill plates will provide you with many delicious and hassle-free grilling sessions.
Grilling Techniques for Different Foods
Grilling is not limited to just meats – it’s a versatile cooking method that works wonders for a variety of foods. Here are some grilling techniques and tips for different types of foods:
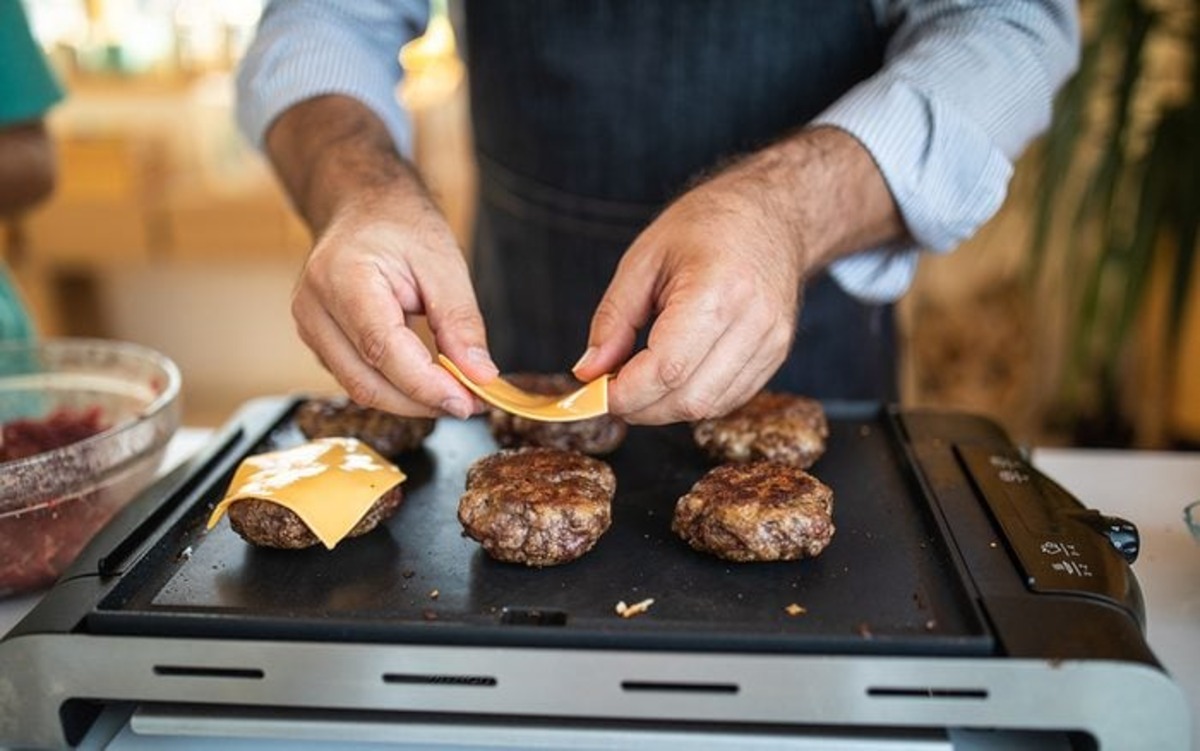
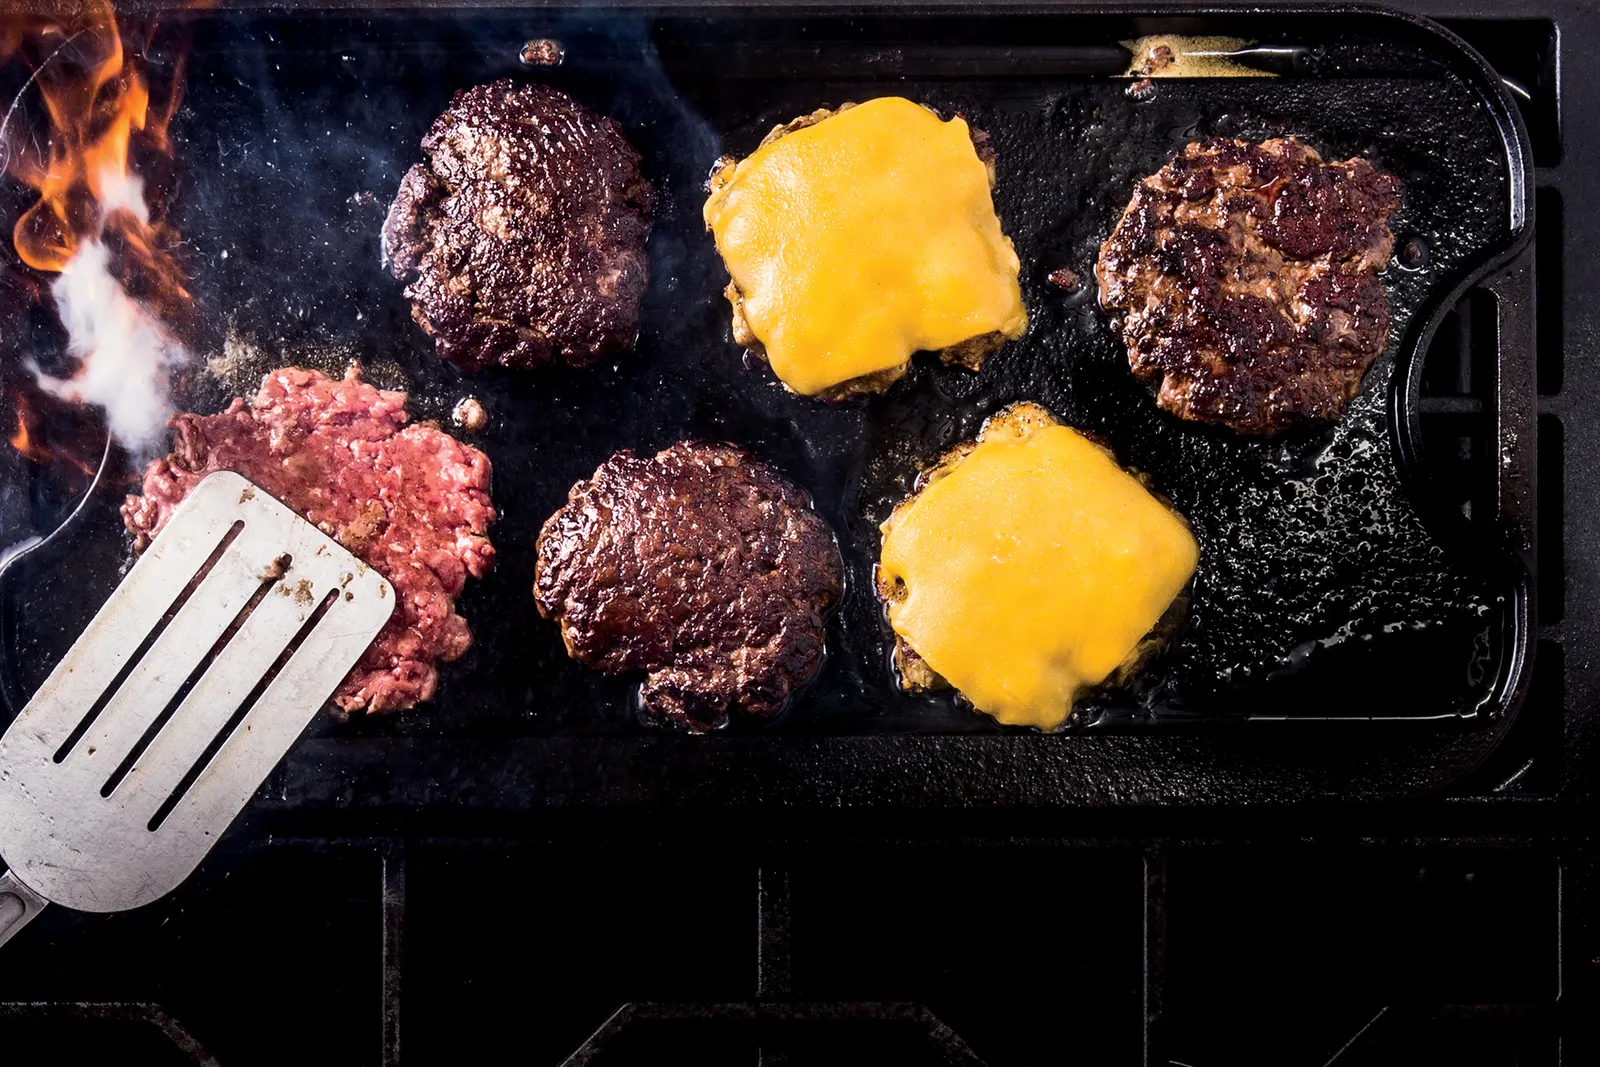
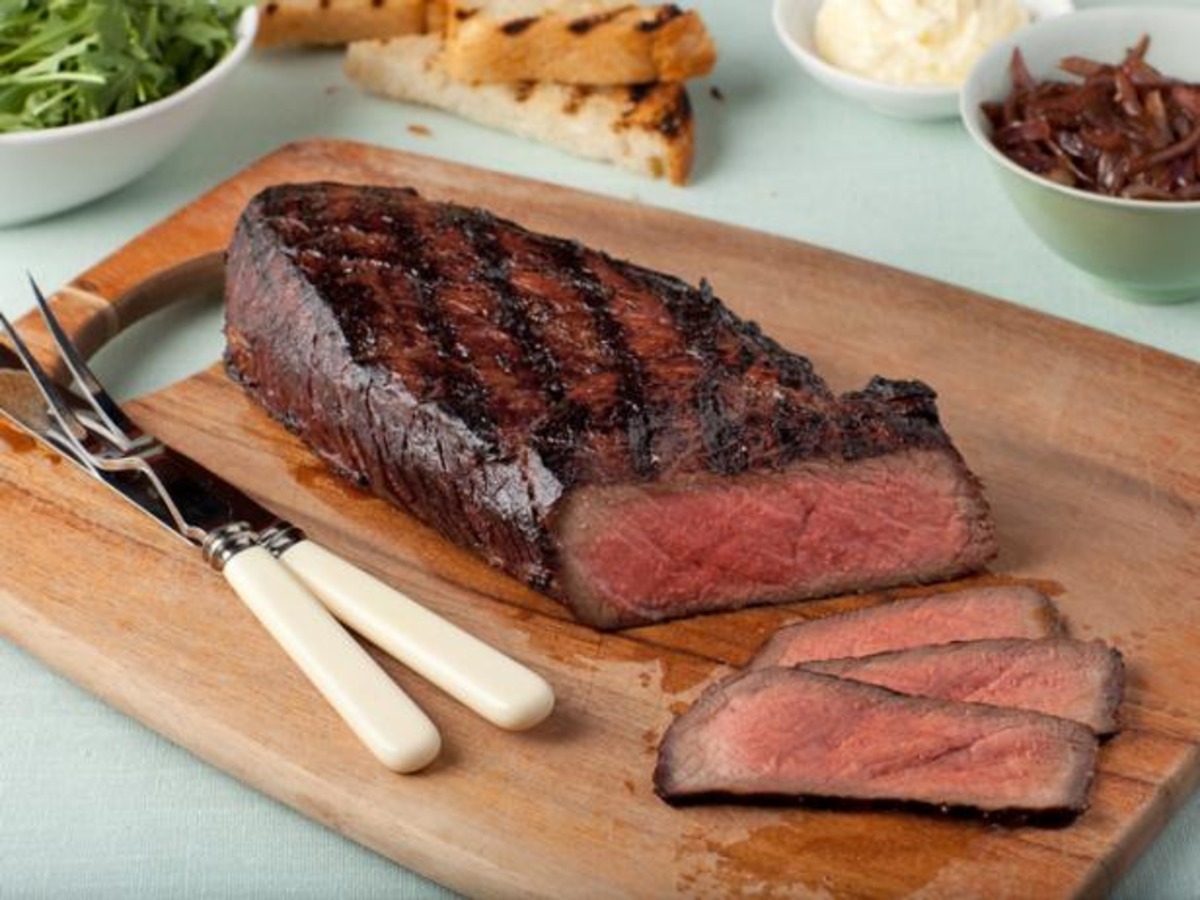
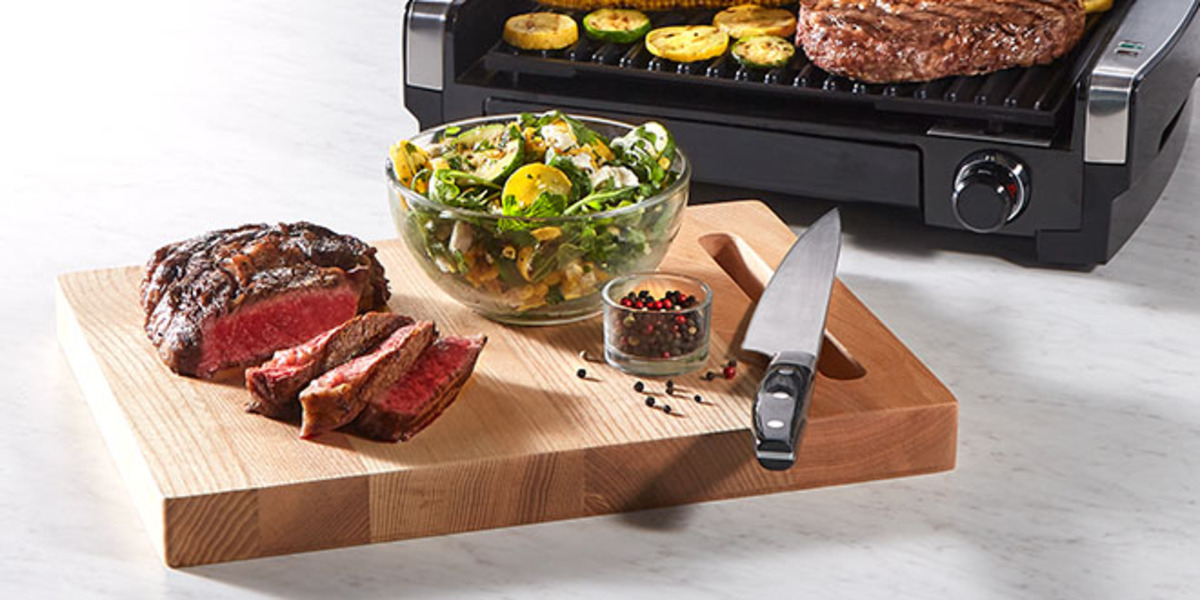
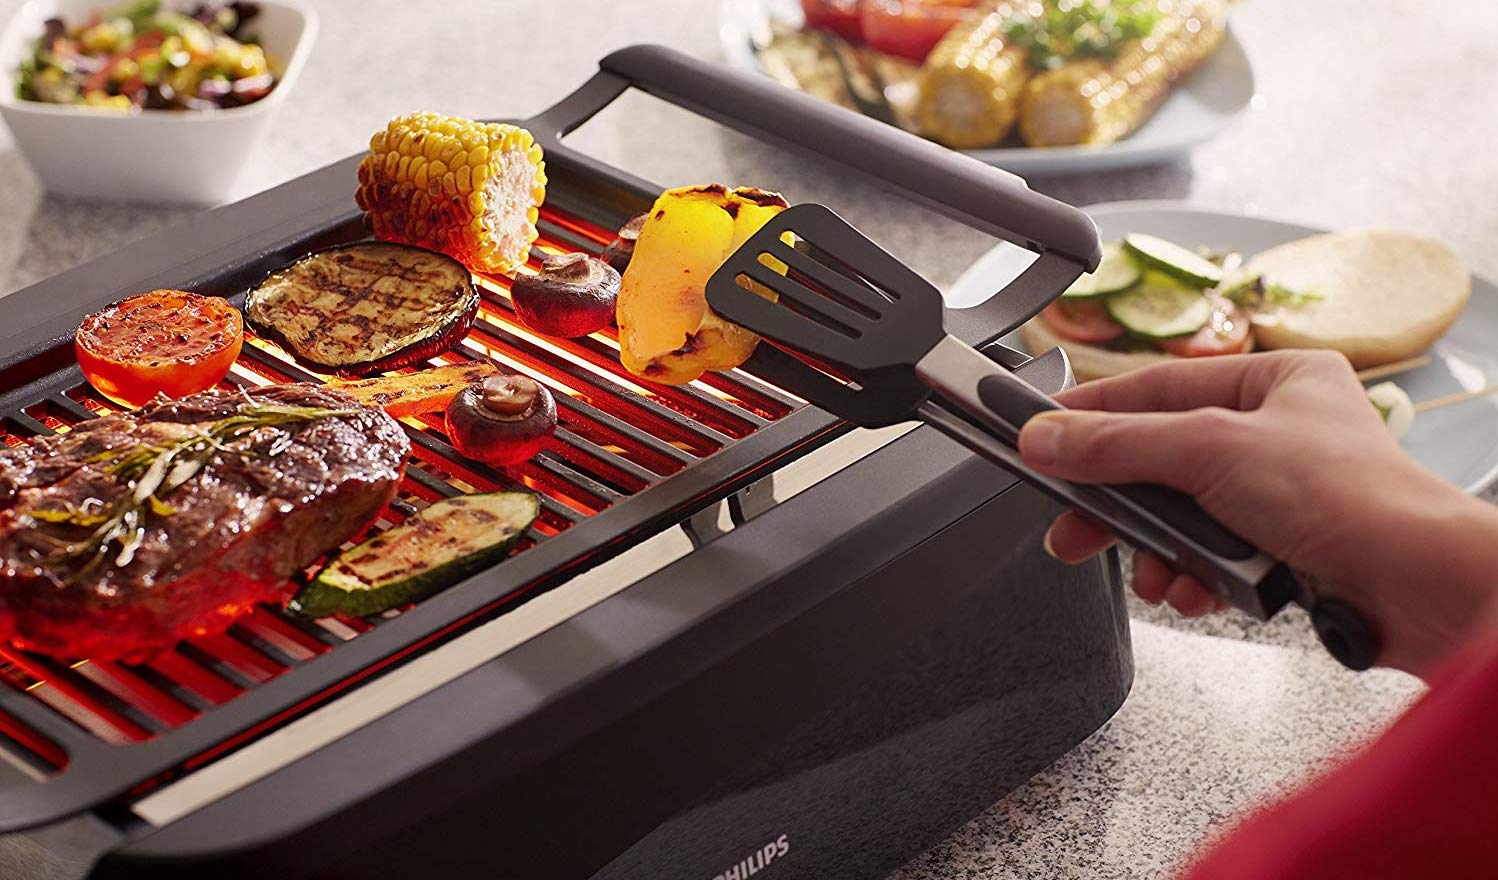
- Steaks and Burgers: For juicy and flavorful steaks and burgers, preheat the grill to high heat. Sear the meat on each side for a few minutes to lock in the juices, then reduce the heat to medium and continue grilling to the desired level of doneness. Let the meat rest for a few minutes before serving to allow the juices to redistribute.
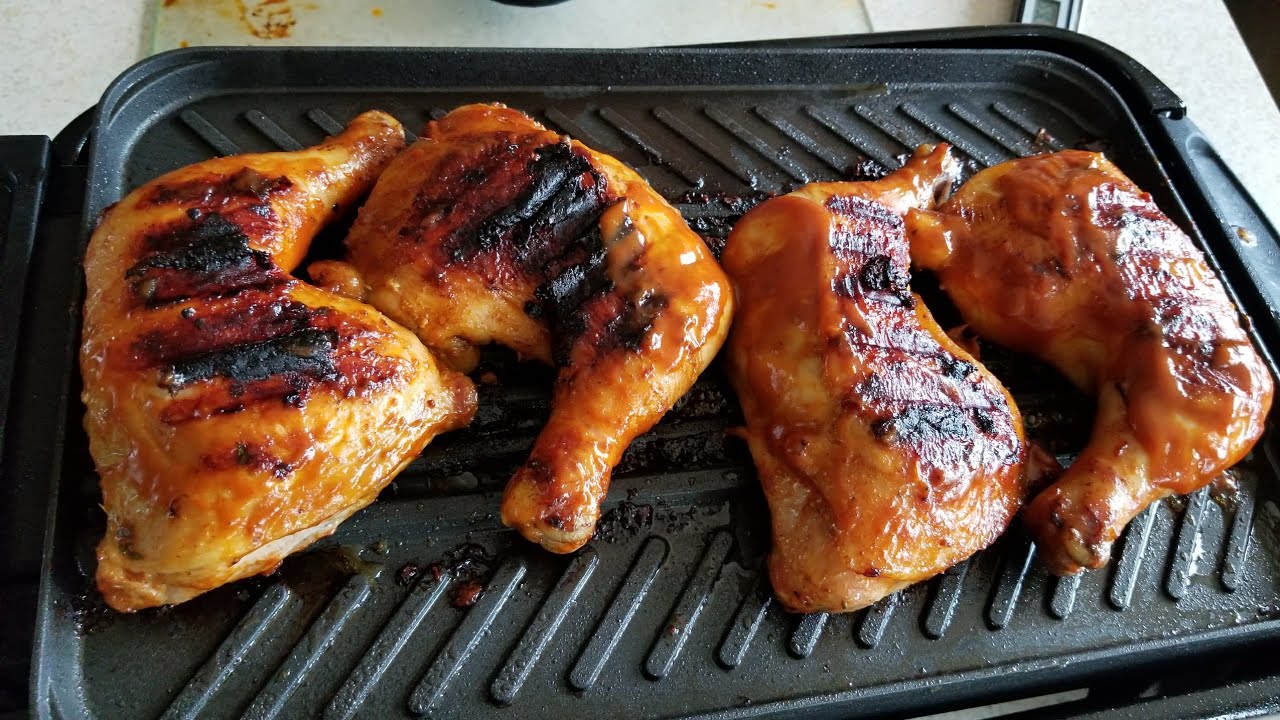
- Poultry: When grilling poultry, such as chicken or turkey, it’s important to use medium heat to prevent burning. Indirect heat can be helpful to cook the poultry thoroughly without charring the outside. Use a meat thermometer to ensure that the internal temperature reaches 165°F (74°C) for safe consumption.
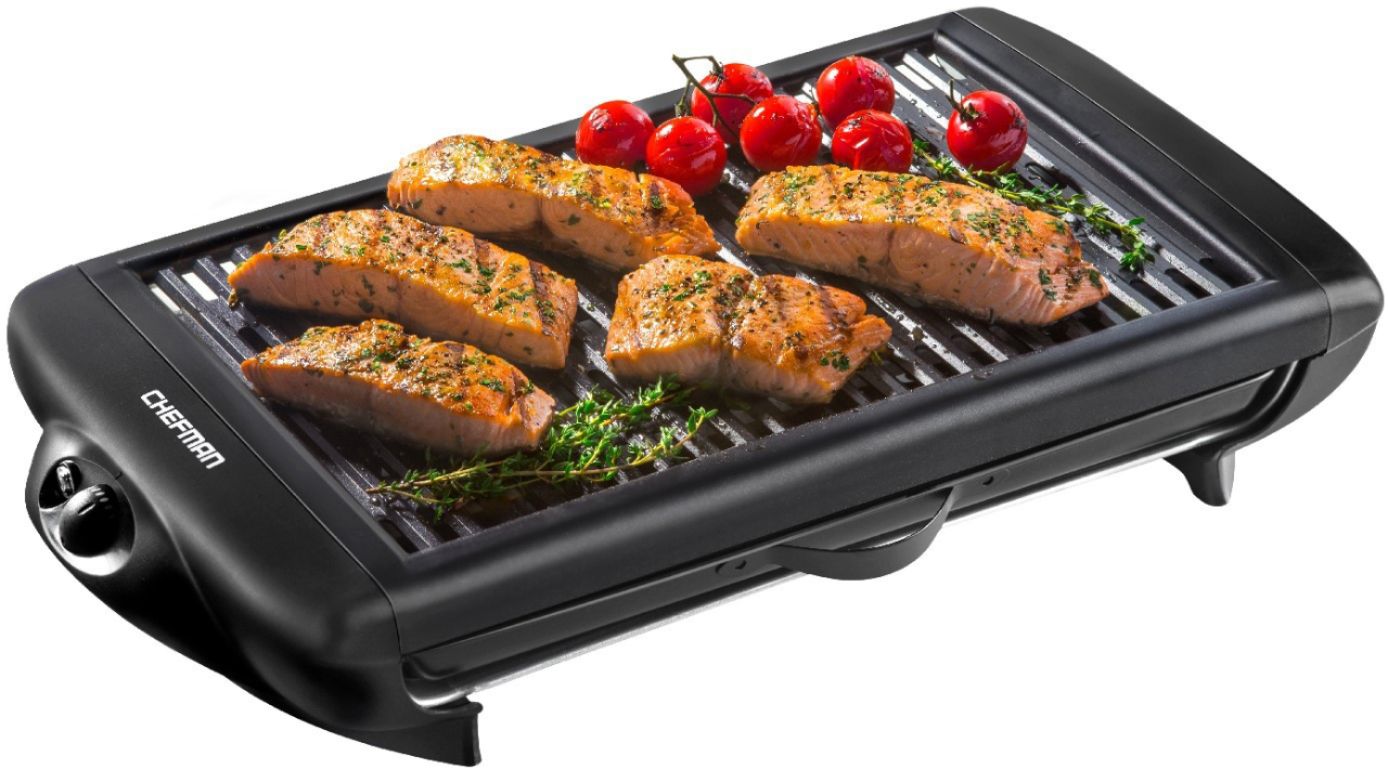
- Fish and Seafood: Use medium to medium-high heat when grilling fish and seafood. To prevent sticking, lightly coat the grill plates with oil or use a fish basket. For delicate fillets, grilling time is usually short, so keep a close eye on them to avoid overcooking. Fish is done when it flakes easily with a fork.
- Vegetables: Grilling vegetables adds a delicious smoky flavor. For softer veggies like bell peppers and asparagus, place them directly on the grill. For smaller or more delicate vegetables, like cherry tomatoes or mushrooms, skewer them or use a grilling basket. Brush the vegetables with oil, season with salt and pepper, and grill over medium heat until tender and nicely charred.
- Fruits: Grilling fruits can enhance their natural sweetness and create a delightful caramelized flavor. Choose firmer fruits like pineapple, peaches, or watermelon. Cut the fruit into desired shapes, brush lightly with oil or honey to prevent sticking, and grill over medium heat until grill marks appear. Serve on their own, with ice cream, or as a topping for salads or desserts.
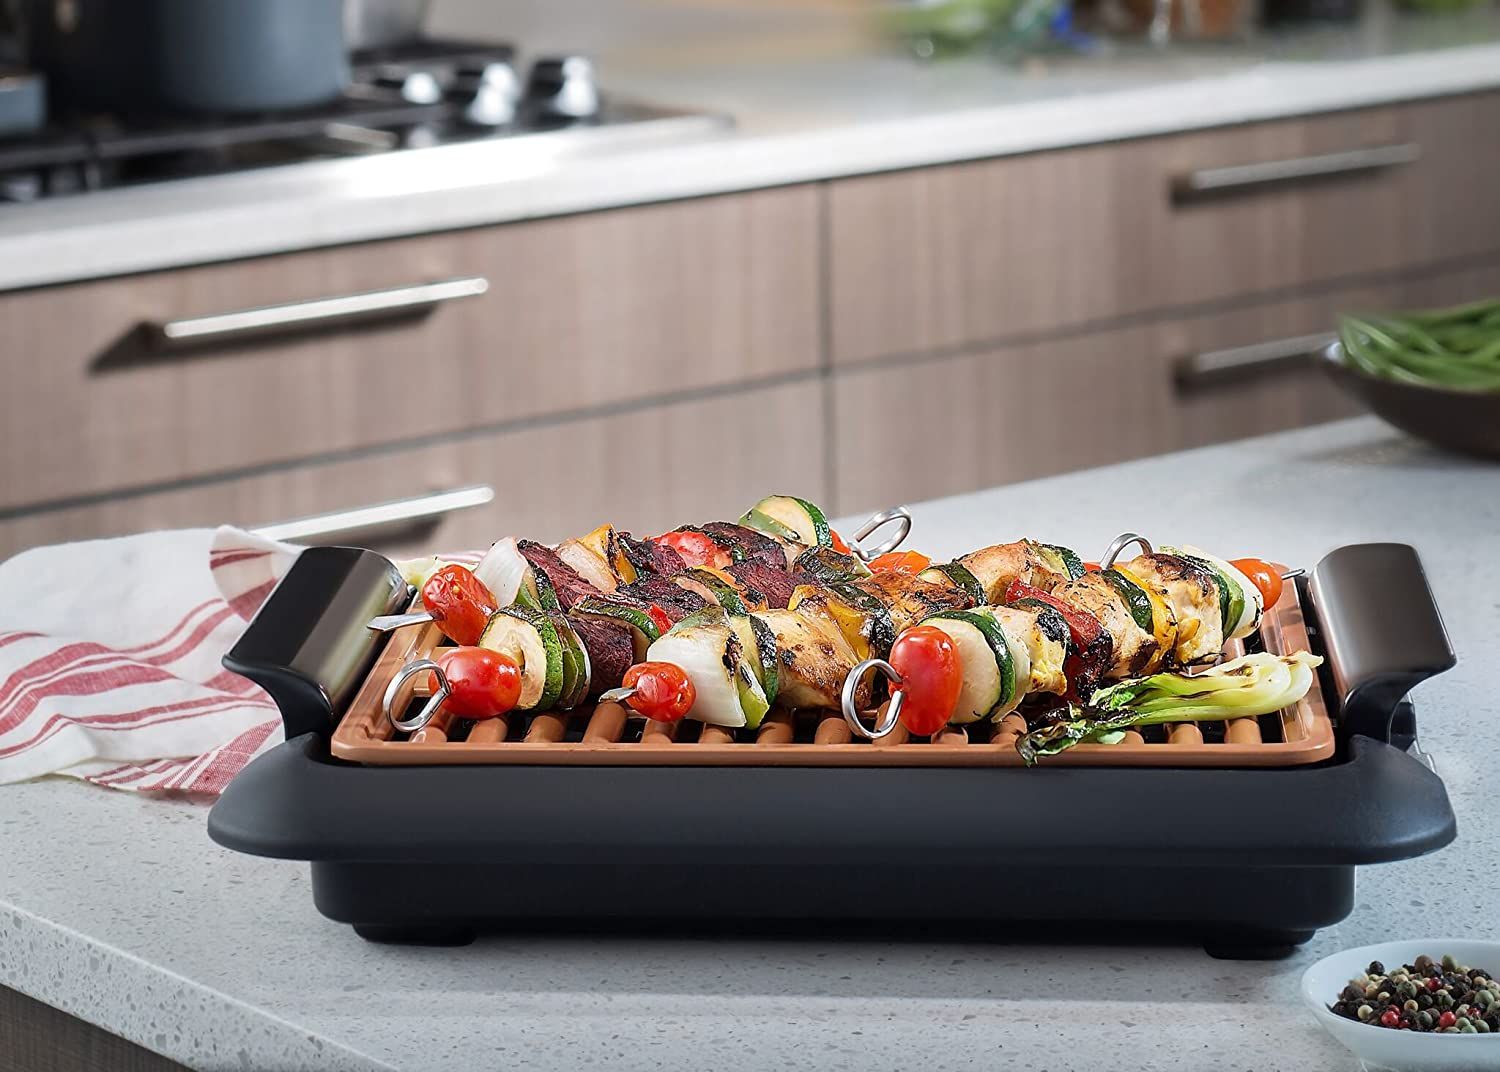
- Kabobs: Kabobs are a fun and versatile way to grill a variety of foods. Thread meat, poultry, seafood, vegetables, and fruits onto skewers and grill over medium-high heat, turning occasionally, until everything is cooked through. Brush with marinade or sauce for added flavor.
Remember to adjust cooking times depending on the thickness and size of the food. The key to successful grilling is monitoring the heat, paying attention to doneness levels, and experimenting with different flavor combinations and seasonings. With these grilling techniques, you can prepare a range of delicious and satisfying dishes that will impress your family and friends.
Cleaning and Maintenance Tips
Proper cleaning and maintenance of your indoor grill are crucial for its longevity and optimal performance. Here are some tips to help you keep your grill in great shape:
- Clean After Each Use: It’s important to clean your indoor grill after every use to remove any food particles or residue. Let the grill cool down completely before cleaning.
- Remove Grill Plates: If your grill has removable grill plates, take them out and wash them with warm soapy water. Use a sponge or soft brush to scrub away any tough residue. Rinse thoroughly and allow them to air dry completely before reassembling.
- Clean the Exterior: Wipe down the exterior of the grill with a damp cloth or sponge. If there are any stubborn stains or grease spots, use a mild detergent or a non-abrasive cleaner. Avoid using harsh cleaning agents or abrasive scrubbers, as they can damage the surface of your grill.
- De-Grease Drip Trays: For grills with built-in drip trays, remove and empty them regularly. Use a degreasing solution or warm soapy water to clean them thoroughly. Rinse and dry before placing them back in the grill.
- Keep the Grill Plates Seasoned: After cleaning the grill plates, re-season them by applying a thin layer of cooking oil. This will help maintain the non-stick coating and prevent food from sticking during future grilling sessions.
- Check for Any Wear or Damage: Regularly inspect your indoor grill for any signs of wear or damage. Pay attention to the power cord, control knobs, and grill plates. If you notice any issues, contact the manufacturer for assistance or to inquire about replacement parts.
- Store Properly: When not in use, store your indoor grill in a clean and dry location. Make sure it is properly covered or stored away from any moisture or dust that may cause damage.
- Follow Manufacturer’s Guidelines: Always refer to the manufacturer’s instructions for specific cleaning and maintenance recommendations for your particular indoor grill model. They will provide the most accurate information and ensure that you are correctly caring for your grill.
By following these cleaning and maintenance tips, you will not only keep your indoor grill in excellent condition but also ensure that it continues to deliver delicious grilled meals for years to come. Regular cleaning and maintenance will also prevent any build-up of dirt or debris that could affect the taste and safety of your food.
Read more: How To Clean An Indoor Grill
Safety Precautions
Grilling can be a fun and enjoyable cooking method, but it’s important to prioritize safety to prevent accidents and ensure a pleasant grilling experience. Here are some essential safety precautions to keep in mind:
- Read the Instruction Manual: Familiarize yourself with the instruction manual that comes with your indoor grill. It contains important safety information specific to your grill model and usage guidelines provided by the manufacturer.
- Use in a Well-Ventilated Area: Indoor grilling can produce smoke and fumes, so ensure that you use your grill in a well-ventilated area. Open windows or use exhaust fans to remove any smoke or odors. This will help maintain good air quality in your kitchen.
- Keep a Fire Extinguisher Handy: Have a fire extinguisher readily available in case of emergencies. Familiarize yourself with how to use it properly and ensure it is easily accessible in case of a fire. It’s always better to be prepared.
- Never Leave the Grill Unattended: It’s important to stay with your indoor grill at all times when it’s in use. This allows you to monitor the cooking process, prevent potential accidents, and react quickly if anything goes wrong.
- Keep Children and Pets Away: Keep children and pets at a safe distance from the grill to prevent accidents. The grill and surrounding area can become hot during and after cooking, so establish a designated safe zone to ensure everyone’s safety.
- Use Heat-Resistant Utensils: When handling food on the grill, always use heat-resistant utensils to avoid burns. Tongs, spatulas, and oven mitts designed for high heat are ideal for flipping and removing food from the grill.
- Avoid Water Contact: Do not spray water on a hot grill or attempt to cool it down with water. The sudden temperature change can cause the grill to crack or shatter, potentially resulting in injury. Allow the grill to cool naturally before cleaning.
- Turn Off and Unplug After Use: Once you have finished cooking, turn off the grill and unplug it from the power source. Let it cool down completely before cleaning or storing. This will prevent any accidental burns or electric hazards.
- Follow Food Safety Guidelines: Ensure that you follow proper food safety guidelines when grilling. That includes storing and marinating food at appropriate temperatures, keeping raw and cooked foods separate, and using a meat thermometer to ensure meats reach the safe internal temperature.
By following these safety precautions, you can enjoy the grilling experience with peace of mind, knowing that you are taking the necessary steps to protect yourself, your loved ones, and your home. Remember, safety should always be the top priority when cooking with an indoor grill.
Conclusion
Using an indoor grill opens up a world of culinary possibilities and allows you to enjoy the flavors and experience of grilling regardless of the season or weather conditions. The benefits of using an indoor grill are numerous – it offers convenience, versatility, and healthier cooking options. With the right indoor grill, you can create succulent steaks, juicy burgers, grilled vegetables bursting with flavor, and even experiment with grilling fruits for a delightful twist.
When choosing an indoor grill, consider factors such as size, cooking surface, temperature control, and additional features that suit your needs. Preparing the grill properly by cleaning it, preheating, and seasoning the grill plates helps to ensure optimal cooking results. Adjusting the temperature settings according to the type of food being grilled is key to achieving the desired level of doneness.
Proper cleaning and maintenance of your indoor grill will prolong its lifespan and ensure it continues to perform at its best. Following safety precautions, such as staying present while grilling, keeping children and pets at a safe distance, and using heat-resistant utensils, is essential to prevent accidents and ensure a safe grilling experience.
In conclusion, using an indoor grill allows you to indulge in the joy of grilling all year round. Whether you’re hosting a barbecue party or simply craving some grilled goodies for dinner, an indoor grill provides convenience, versatility, and mouthwatering results. With the tips and techniques outlined in this article, you’ll be well-equipped to become a grilling pro in your own kitchen. So grab your ingredients, fire up the grill, and savor the delicious flavors that indoor grilling has to offer!
Frequently Asked Questions about How To Use An Indoor Grill
Was this page helpful?
At Storables.com, we guarantee accurate and reliable information. Our content, validated by Expert Board Contributors, is crafted following stringent Editorial Policies. We're committed to providing you with well-researched, expert-backed insights for all your informational needs.

0 thoughts on “How To Use An Indoor Grill”