Articles
How To Use Kalorik Waffle Iron
Modified: August 27, 2024
Learn everything you need to know about using the Kalorik waffle iron and discover helpful articles for mastering the art of waffle-making.
(Many of the links in this article redirect to a specific reviewed product. Your purchase of these products through affiliate links helps to generate commission for Storables.com, at no extra cost. Learn more)
Introduction
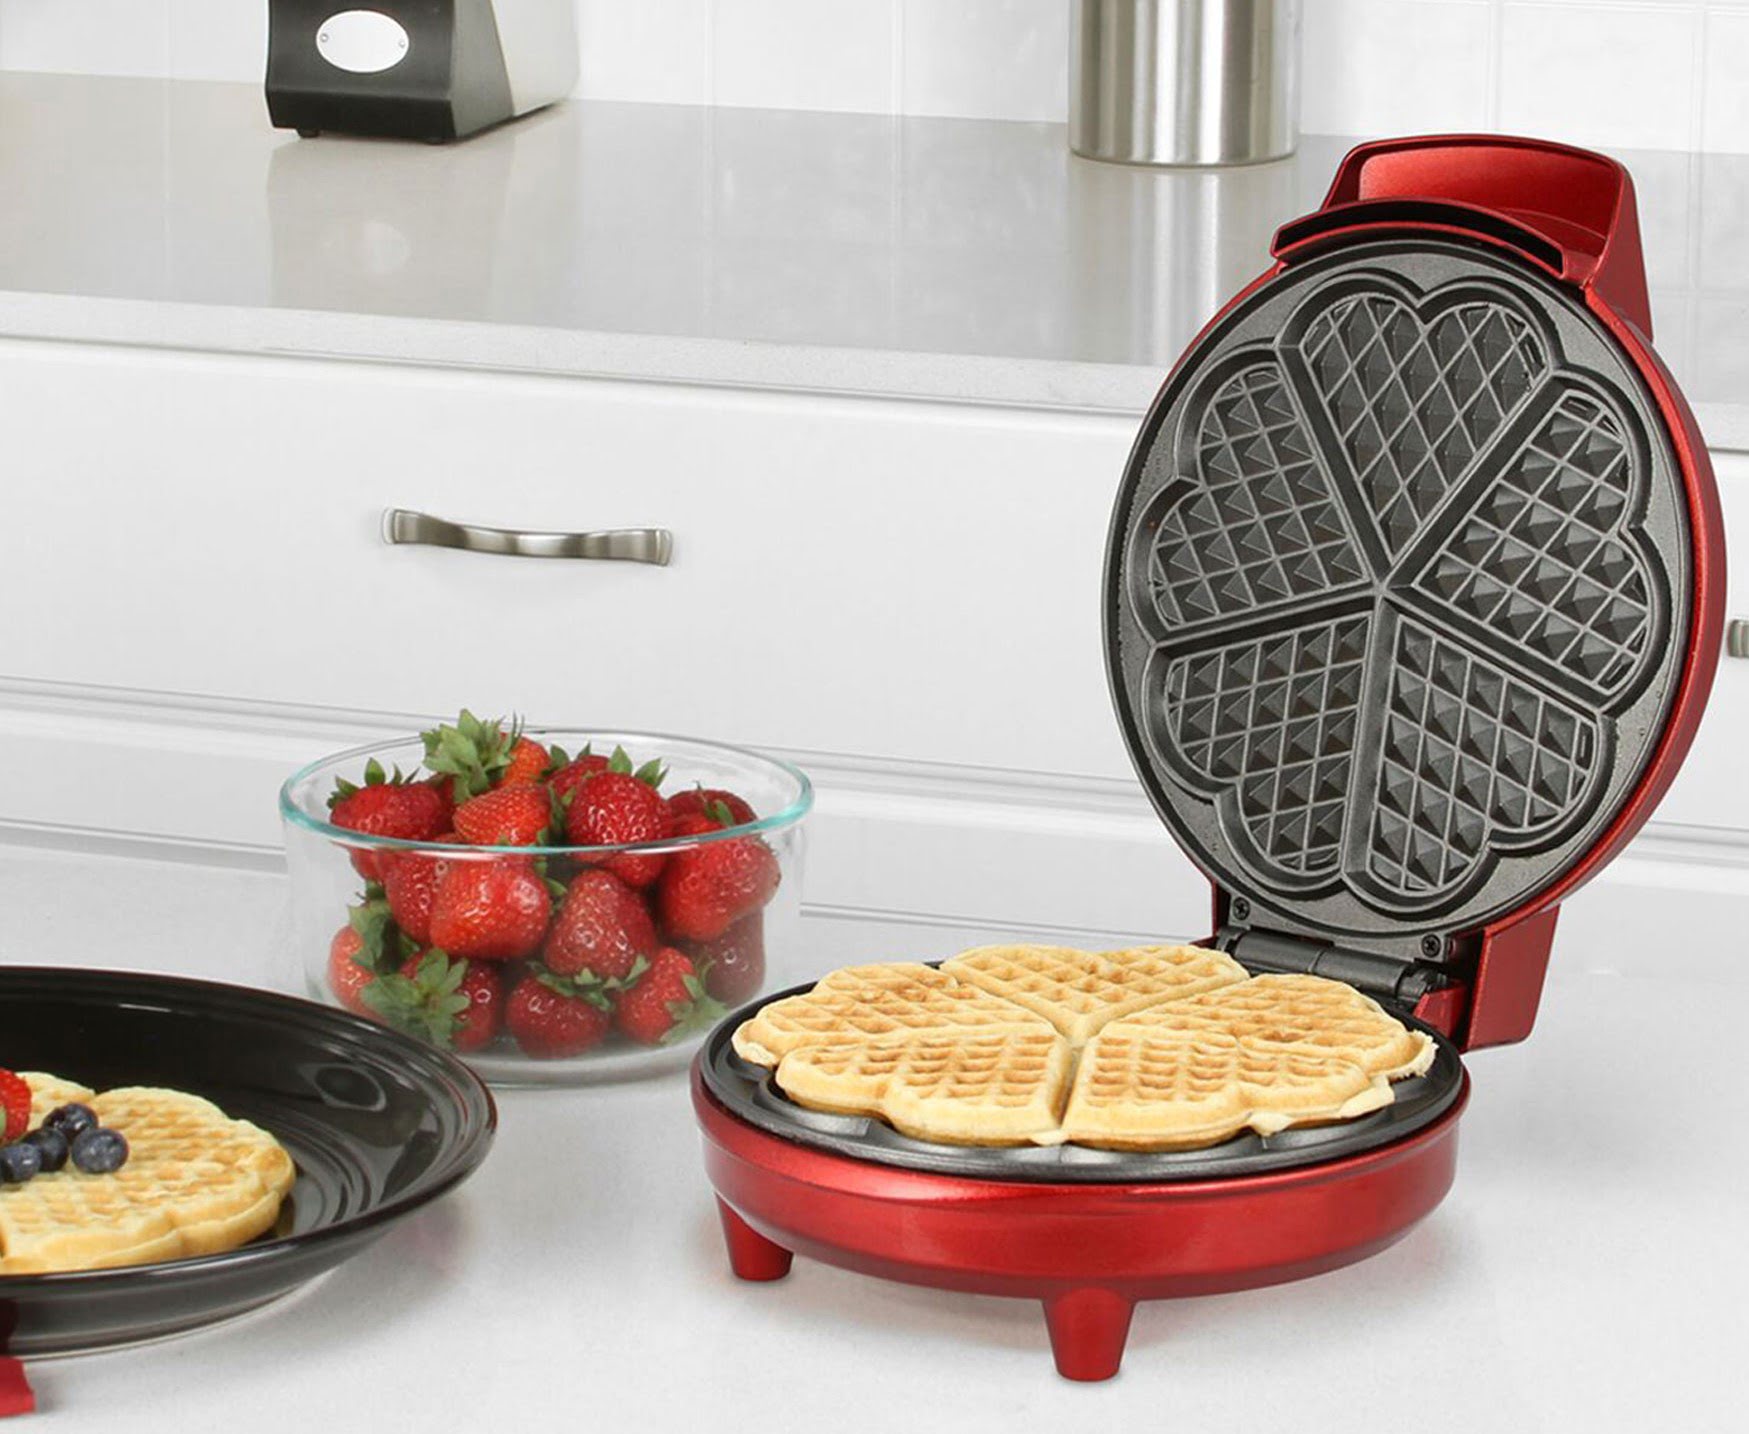
Welcome to the world of waffle making! If you’re a fan of delicious, crispy, and fluffy waffles, then you’re in for a treat with the Kalorik Waffle Iron. This versatile kitchen appliance allows you to effortlessly create mouthwatering waffles in the comfort of your own home.
With its modern design and advanced features, the Kalorik Waffle Iron is the perfect addition to any kitchen. Whether you’re a seasoned chef or a beginner cook, this appliance makes it easy for anyone to achieve professional-quality waffles every time.
In this guide, we’ll walk you through the steps of how to use the Kalorik Waffle Iron to create perfect waffles. From unboxing to cleaning and everything in between, we’ll cover each aspect in detail to ensure that you have a seamless waffle-making experience.
So, let’s get started and dive into the world of waffle making with the Kalorik Waffle Iron!
Key Takeaways:
- Unbox, clean, and season your Kalorik Waffle Iron before use to ensure perfect waffles. Familiarize yourself with its parts and temperature settings for a seamless waffle-making experience.
- Experiment with batter recipes, toppings, and presentation to personalize your waffle-making experience. Practice and perfect the art of making delicious homemade waffles with your Kalorik Waffle Iron.
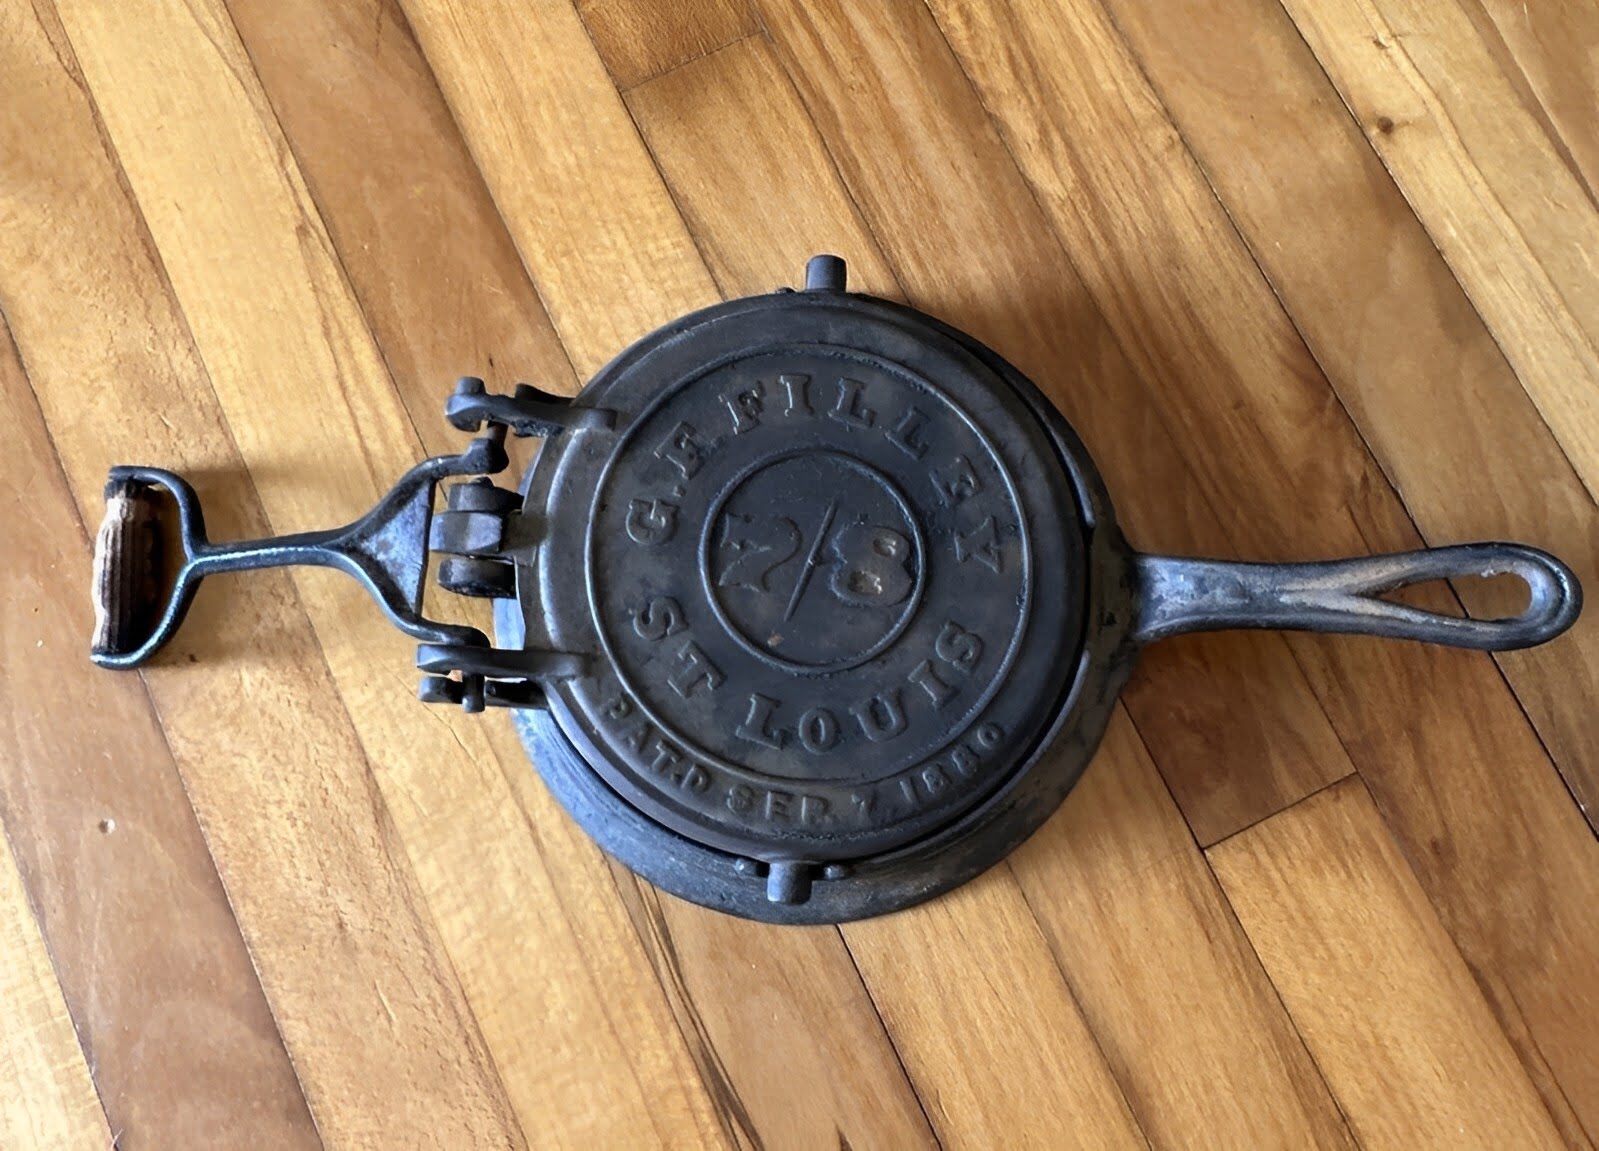
Read more: How To Use A Cast Iron Waffle Iron
Getting Started
Before you can dive into making scrumptious waffles with your Kalorik Waffle Iron, it’s important to start by unboxing the appliance and familiarizing yourself with its components. Here’s a step-by-step guide to get you started:
1. Unboxing the Kalorik Waffle Iron:
Remove the waffle iron from its packaging with care. Make sure to keep the packaging materials in case you need to store or transport the appliance in the future.
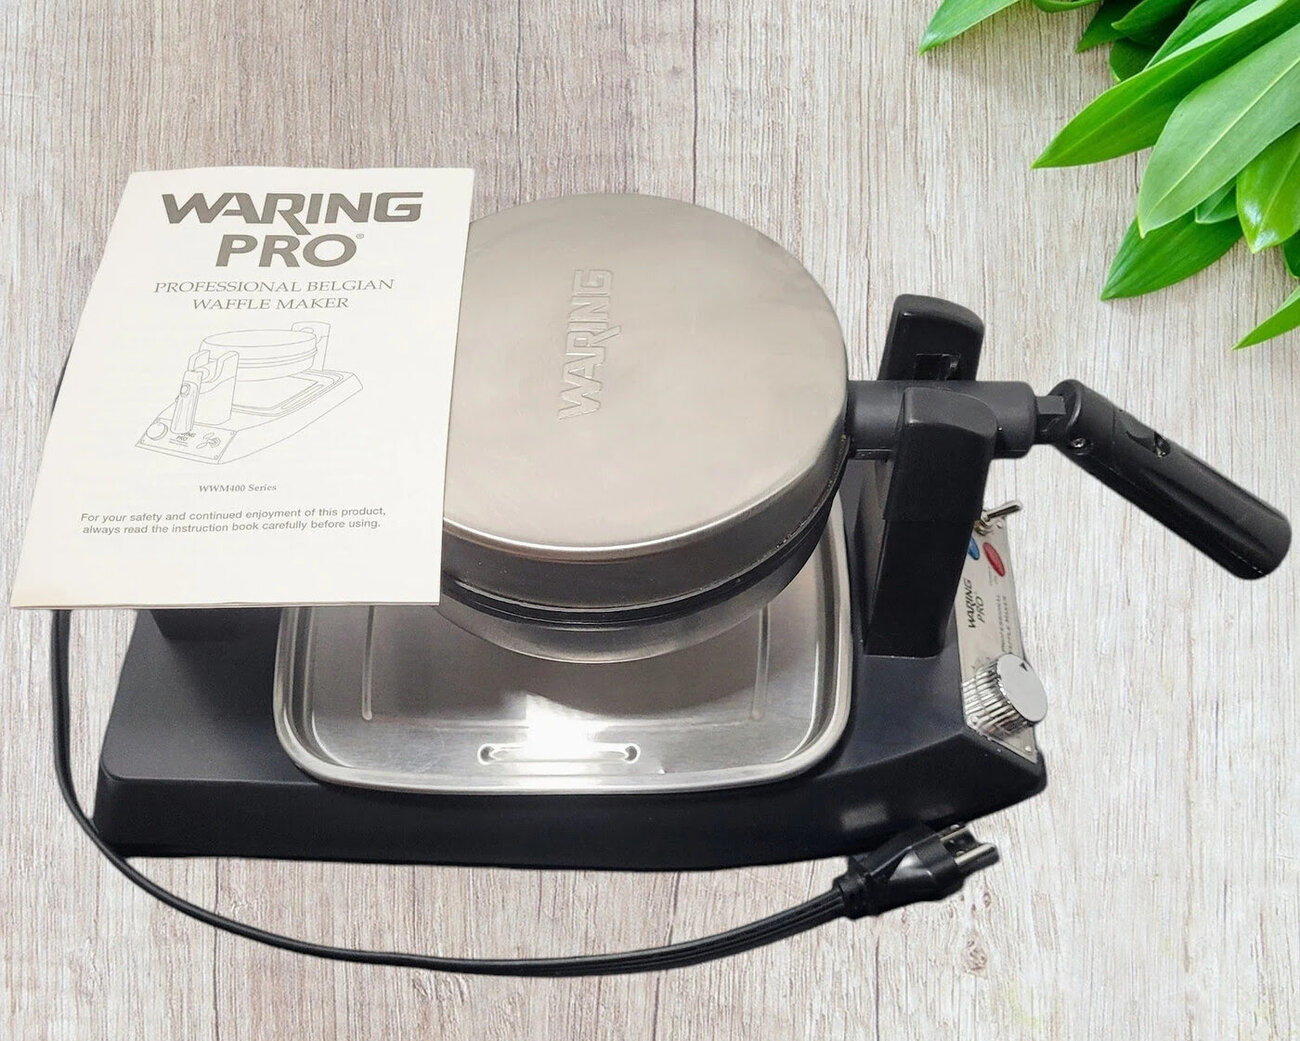
2. Checking the package contents:
Once you’ve unboxed the waffle iron, take a moment to check that all the necessary components are included. This typically includes the main waffle iron unit, a user manual with instructions, a power cord, and any additional attachments or accessories that may come with your specific model.
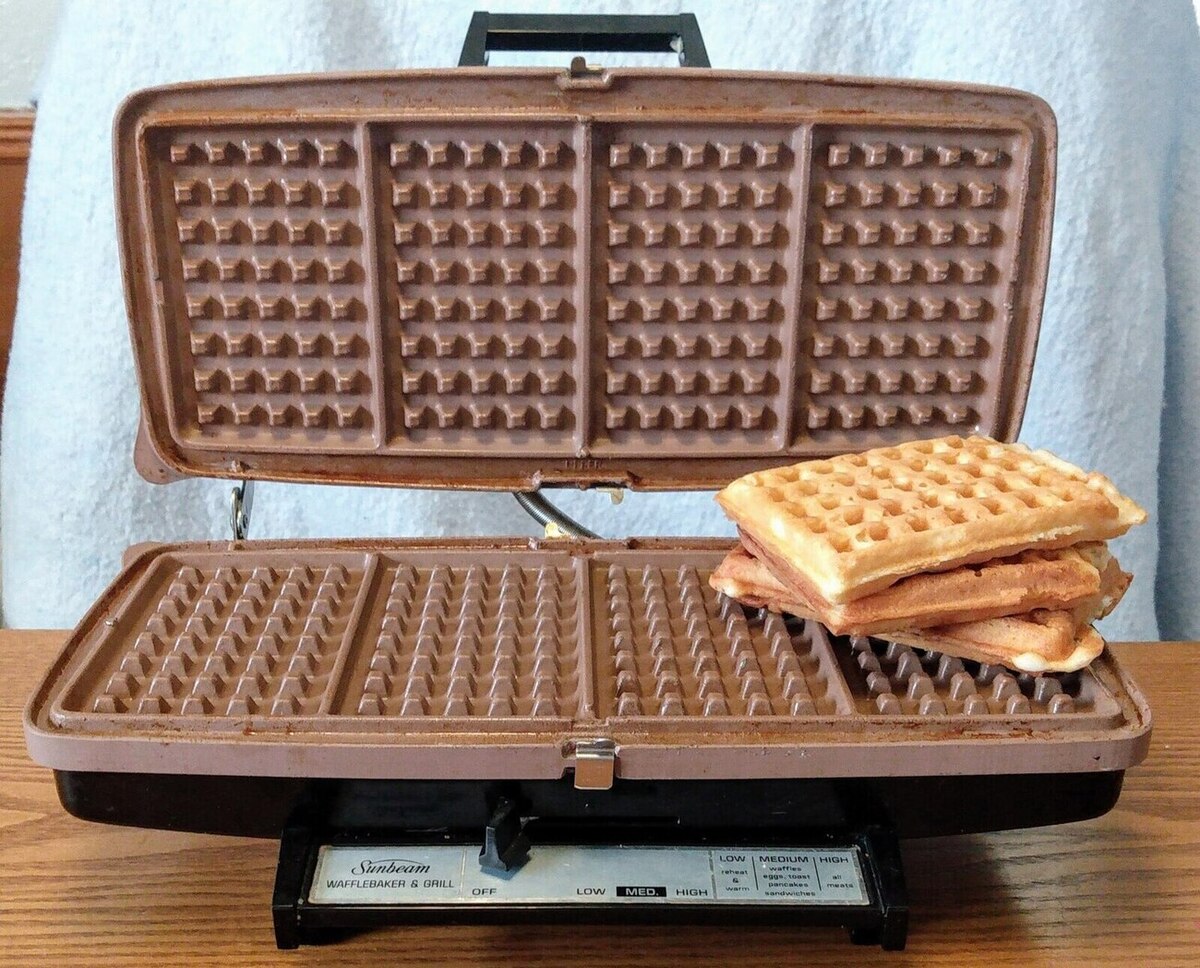
3. Familiarizing yourself with the waffle iron parts:
Take a closer look at the waffle iron and identify its different parts. This will help you understand how to use the appliance effectively. Some common components you may find are:
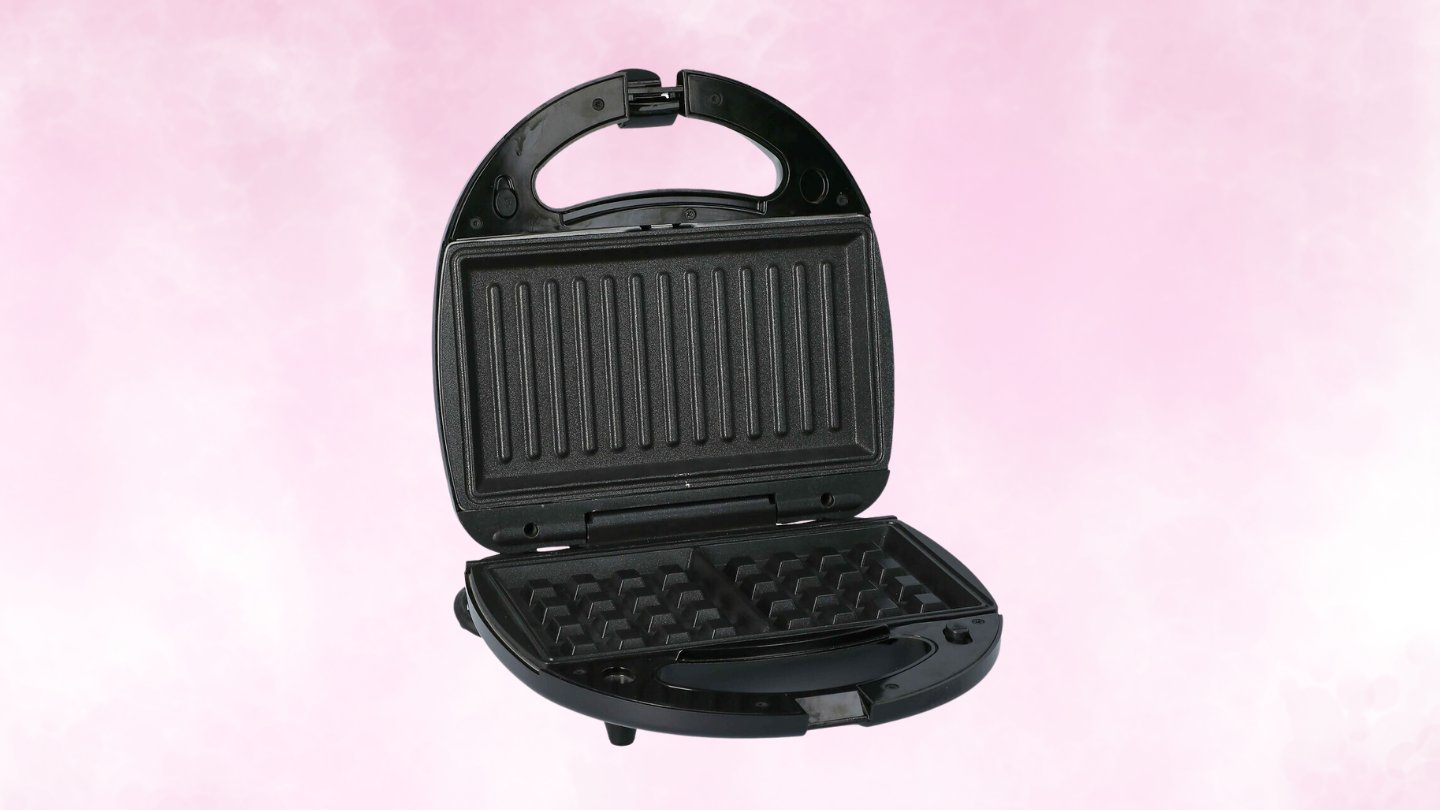
- Waffle Plates: These are the removable cooking plates that have the waffle pattern to create your waffles. They are usually ceramic or non-stick coated for easy release and cleaning.
- Handle: The handle is used to open and close the waffle iron. It should stay cool to the touch during operation.
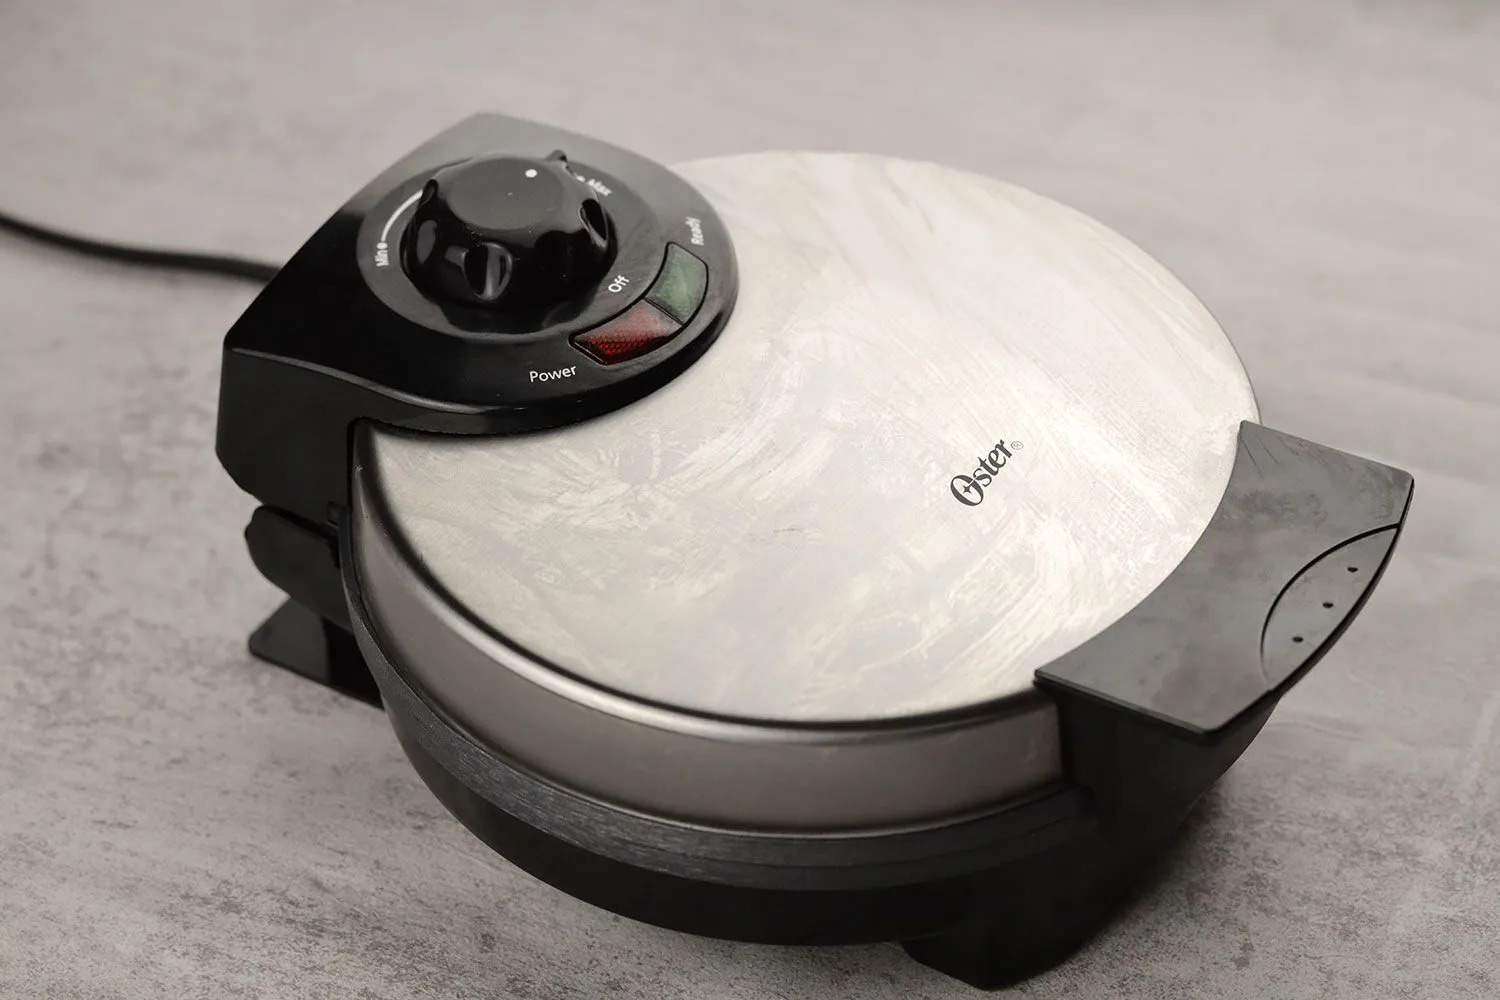
- Temperature Control: This allows you to adjust the temperature according to your desired waffle texture and crispiness.
- Power and Ready Indicator Lights: These lights indicate whether the waffle iron is powered on and when it has reached the optimal temperature for cooking.
- Drip Tray: Some models come with a removable drip tray to catch any excess batter that may overflow, making it easier to clean up.
Make sure to read the user manual that comes with your specific model of the Kalorik Waffle Iron. The manual will provide detailed instructions on how to assemble and operate the appliance.
Now that you’re familiar with the waffle iron and its parts, you’re ready to move on to the next step: preparing the waffle iron for use.
Preparing the Waffle Iron
Before you can start making delicious waffles with your Kalorik Waffle Iron, it’s essential to properly prepare the appliance. This involves cleaning it before first use, seasoning the plates, and understanding the temperature settings. Let’s go through each step in detail:
1. Cleaning the waffle iron before first use:
Before using the waffle iron for the first time, it’s crucial to clean it thoroughly. Wipe the cooking plates and exterior surface with a damp cloth to remove any dust or residue that may have accumulated during storage or transportation. Make sure to dry the plates completely before proceeding to the next step.
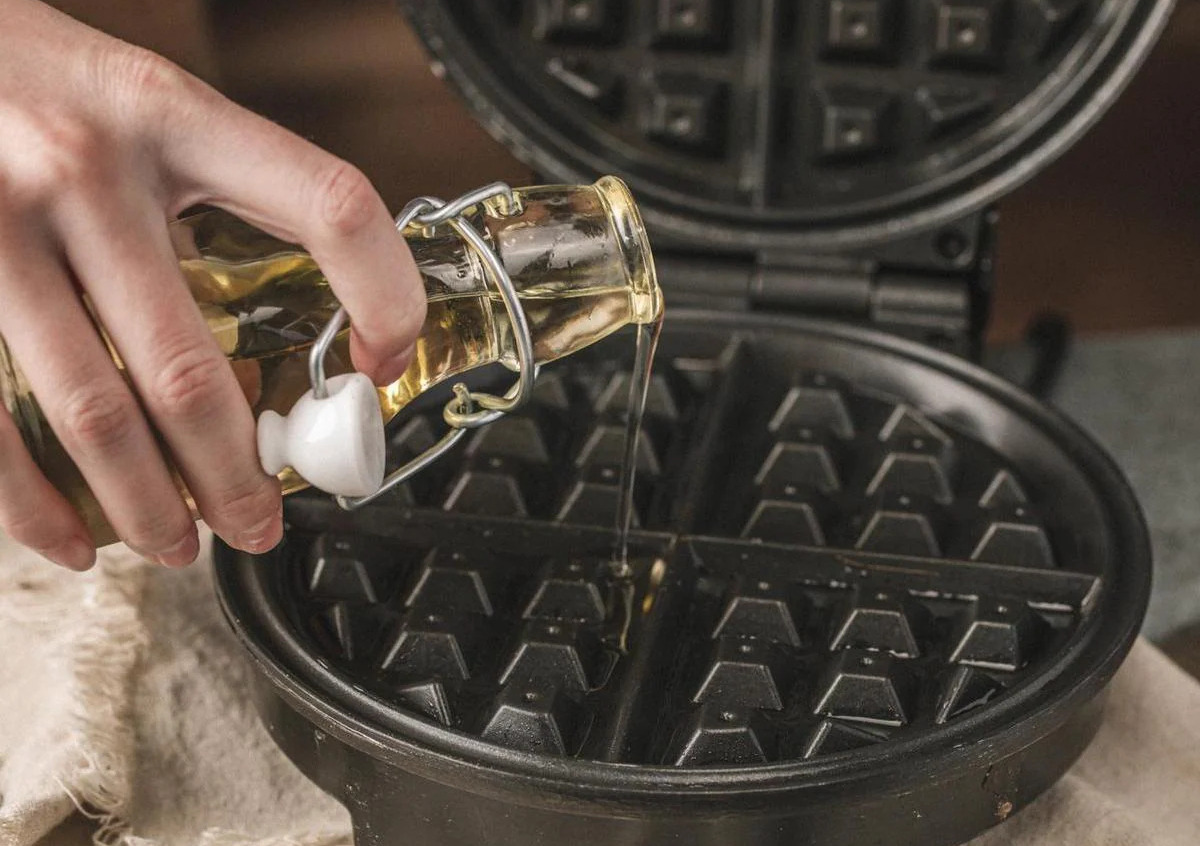
Seasoning the waffle iron is an important step that helps in ensuring optimal waffle release and preventing sticking. To season the plates, lightly brush them with a thin coating of vegetable oil or use a cooking spray. Close the waffle iron and preheat it for a few minutes to allow the oil to penetrate and create a non-stick surface. Open the waffle iron and wipe away any excess oil with a paper towel. This process should be done before the first use and occasionally thereafter, as needed.
3. Understanding the temperature settings:
The Kalorik Waffle Iron usually comes with adjustable temperature controls, allowing you to customize the cooking temperature according to your preference. The temperature range may vary depending on the model, but generally, the lower temperature settings produce softer, lighter waffles, while higher settings result in crispier waffles. It’s advisable to start with a medium temperature setting and adjust as needed to achieve your desired waffle texture.
It’s important to note that it may take a few tries to find the perfect temperature setting and cooking time for your waffles. Factors such as the consistency of your batter and personal preference can affect the outcome. Don’t be discouraged if the first batch of waffles doesn’t turn out as expected. It’s all part of the learning process, and with a little practice, you’ll soon become a waffle-making pro!
Now that your Kalorik Waffle Iron is cleaned, seasoned, and ready to go, it’s time to move on to the next exciting step: making the perfect waffle.
Making the Perfect Waffle
Now that your Kalorik Waffle Iron is prepared, it’s time to move on to the most exciting part: making the perfect waffle! Follow these steps to create delicious and fluffy waffles that will delight your taste buds:
1. Preparing the waffle batter:
Start by preparing your favorite homemade waffle batter or by using a pre-made mix. Follow the recipe instructions and make sure the batter is smooth and free of lumps. You can also experiment with different flavors or add-ins to personalize your waffles.
2. Preheating the waffle iron:
Plug in your Kalorik Waffle Iron and preheat it according to the manufacturer’s instructions. The ready indicator light will let you know when the iron has reached the desired temperature. Preheating ensures that the waffles cook evenly and achieve the desired crispness.
3. Pouring the batter onto the iron:
Open the waffle iron and pour a ladleful of batter onto the center of the lower cooking plate. Depending on the size of the waffle iron and the desired thickness of the waffle, you may need to adjust the amount of batter used. Aim to cover about two-thirds of the lower cooking plate with batter, as it will spread and fill the rest of the plate during cooking.
4. Properly closing and locking the waffle iron:
Gently close the lid of the waffle iron, and make sure it is properly aligned with the lower plate. Use the handle to press down firmly, ensuring that both plates make full contact with the batter. Lock the waffle iron securely to prevent any leaking or opening during cooking.
5. Timing the cooking process:
The cooking time can vary depending on your waffle iron and personal preference. It usually takes about 3 to 5 minutes for the waffle to cook to a golden brown color. Avoid opening the waffle iron during cooking, as this can affect the even cooking process. Instead, rely on the time provided by the manufacturer or refer to the indicator light that signifies when the waffle is ready.
Remember, practice makes perfect when it comes to determining the ideal cooking time for your waffles. It’s a good idea to start with a shorter cooking time and adjust accordingly to achieve your preferred level of crispness.
Once your waffle is cooked to perfection, it’s time to move on to the next step: removing and serving the waffles.
Before using the Kalorik waffle iron, make sure to preheat it according to the manufacturer’s instructions. This will ensure that your waffles cook evenly and come out perfectly crispy.
Removing and Serving the Waffles
After patiently waiting for your waffle to cook in the Kalorik Waffle Iron, it’s time to remove it and indulge in its deliciousness. Follow these steps to safely remove and serve your perfectly cooked waffles:
1. Opening the waffle iron safely:
Before opening the waffle iron, make sure to turn off the appliance and unplug it from the power source. This will ensure your safety and prevent any accidents. Wait for a few seconds to allow the steam to dissipate, as the inside of the waffle iron can be very hot.
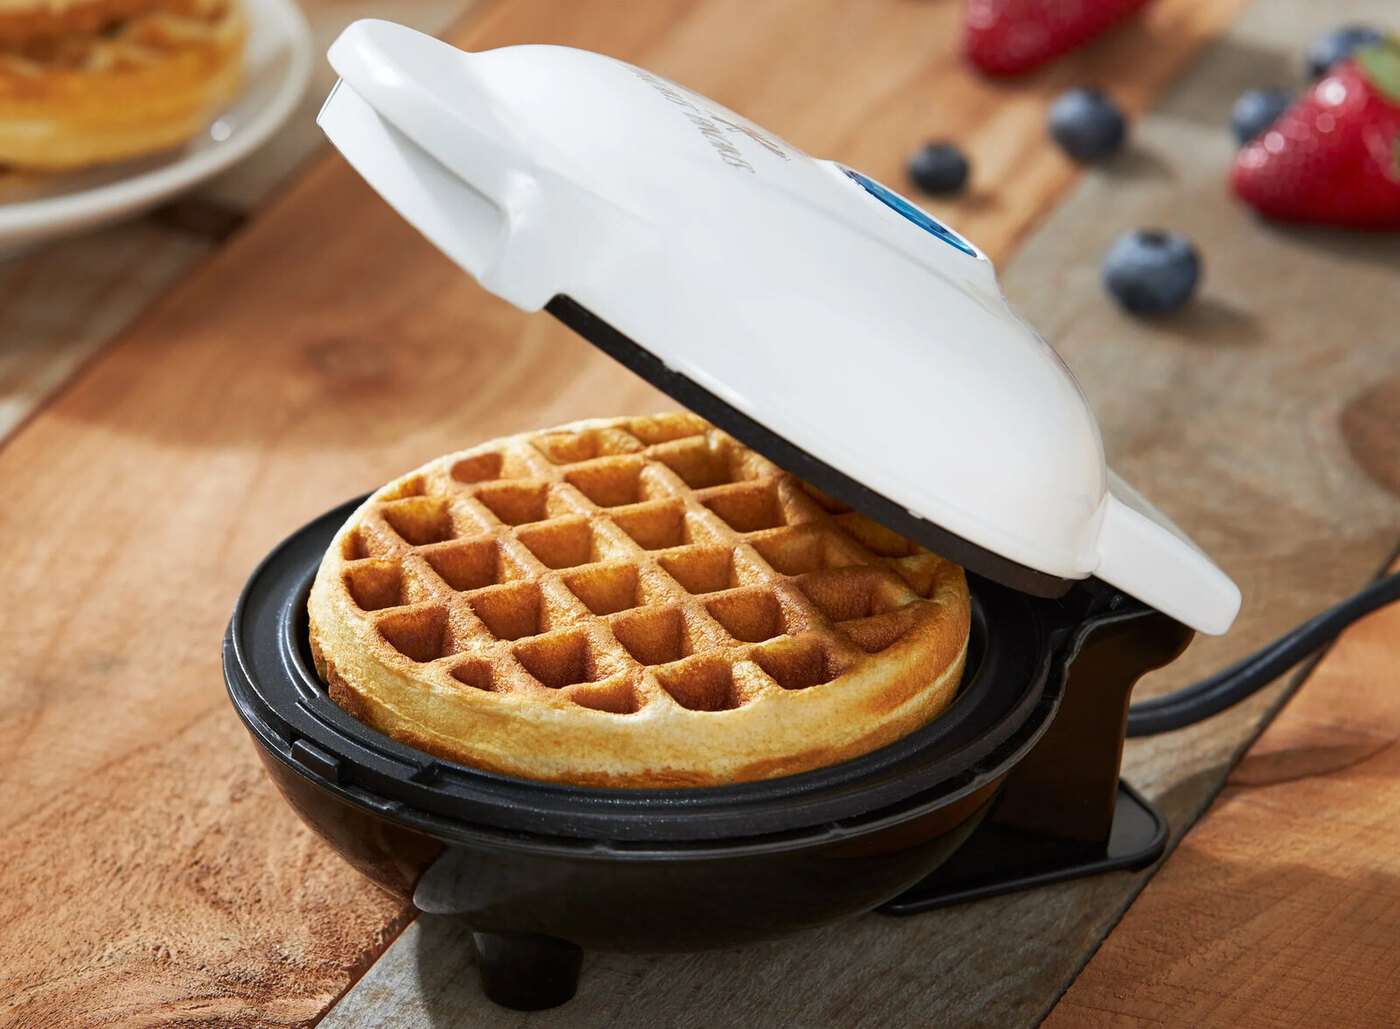
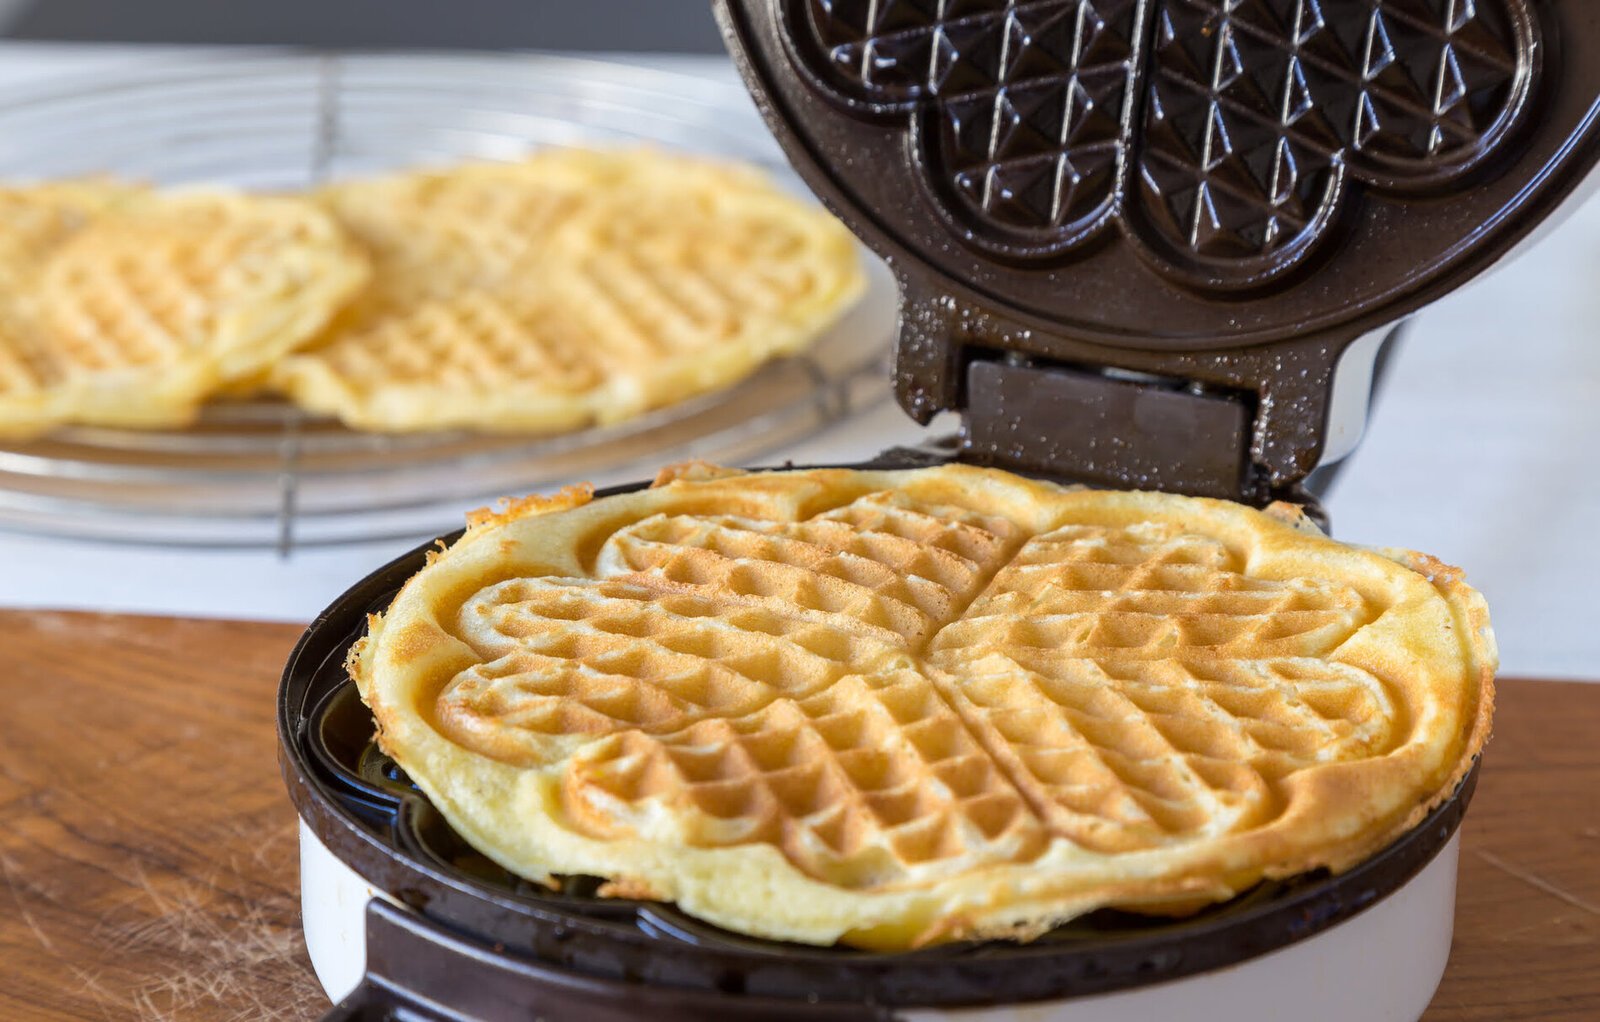
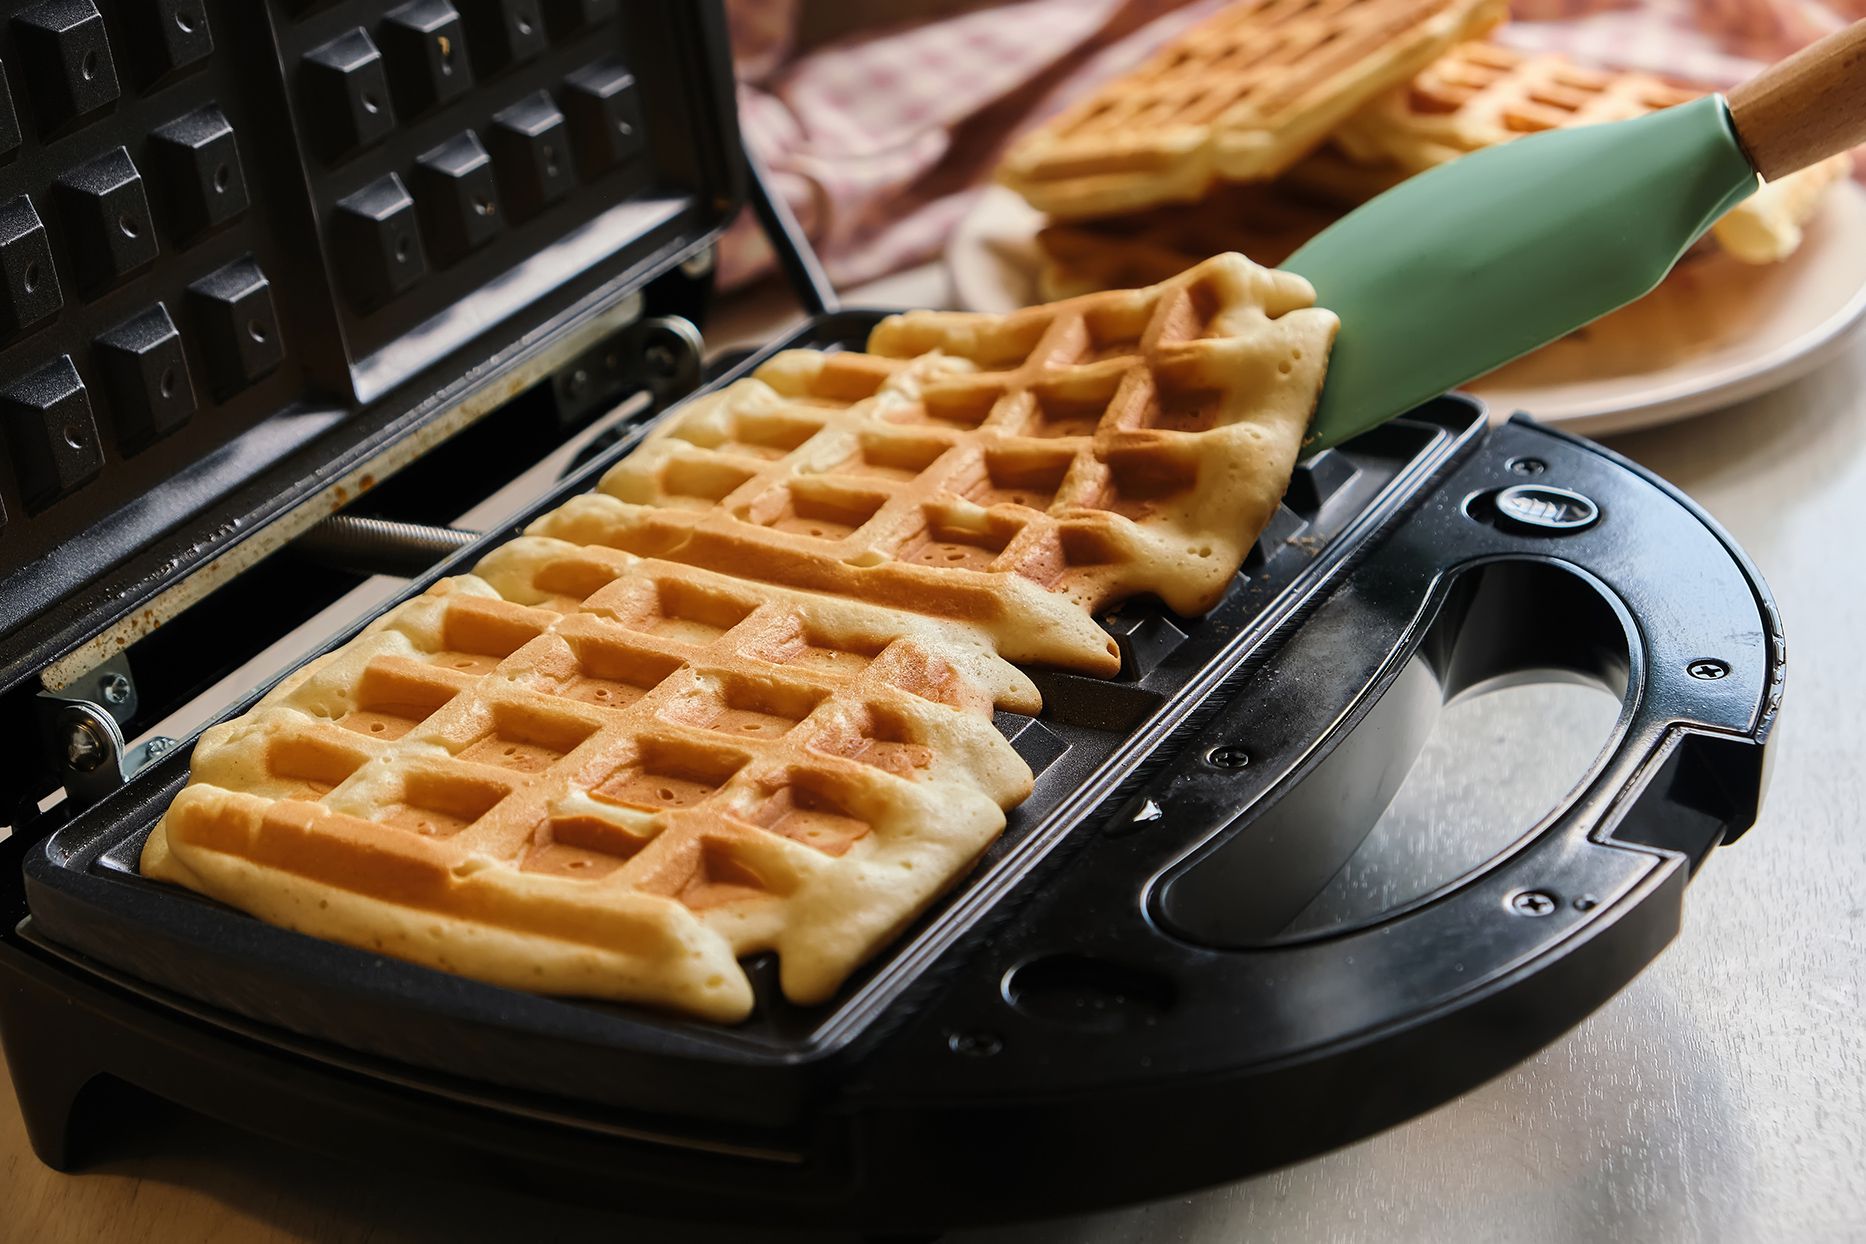
2. Removing the cooked waffle:
Once you’ve ensured that it’s safe to open the waffle iron, unlock and lift the lid using the handle. Gently lift the cooked waffle from the lower cooking plate using a non-metallic utensil, such as a silicone spatula or tongs. Be careful not to scratch the non-stick surface of the waffle iron with metal utensils.
3. Tips for serving and garnishing the waffle:
Now comes the fun part – serving and garnishing your waffles! Here are some tips to make your waffles even more enticing:
- Top it off: Add your favorite toppings such as fresh berries, sliced bananas, whipped cream, chocolate sauce, maple syrup, or honey. The possibilities are endless, so get creative and customize your waffles to your liking.
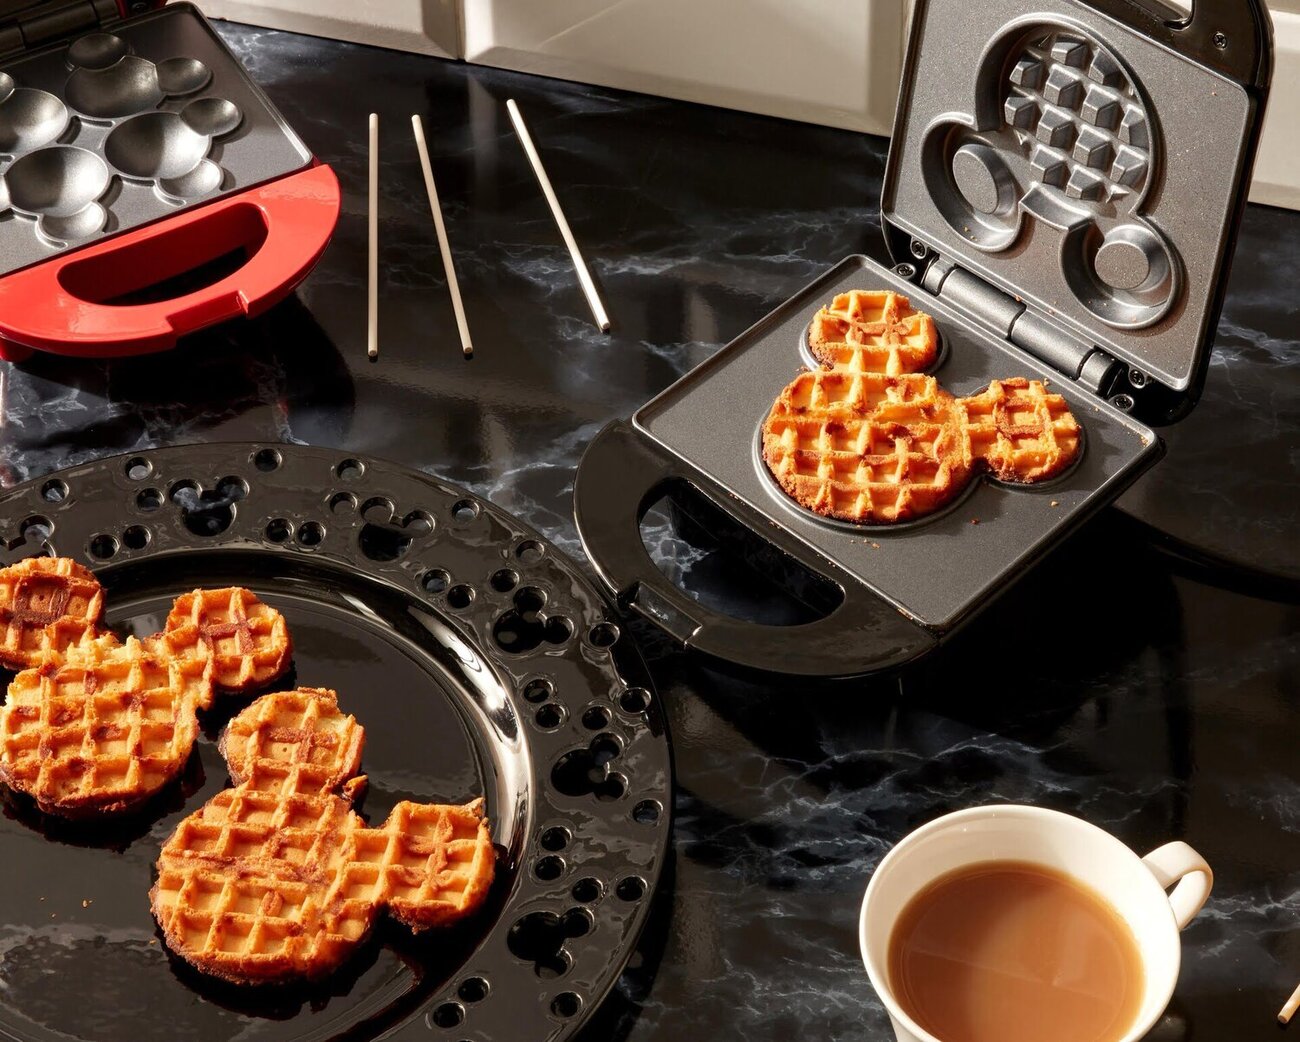
- Get creative with presentation: Arrange the waffles on a plate in an appealing way. You can stack them, fold them into triangles, or roll them up for a unique presentation.
- Experiment with flavors: Add a twist to your waffles by incorporating different flavors into the batter. You can try adding cinnamon, vanilla extract, cocoa powder, or even a hint of citrus zest for a burst of flavor.
Remember, the joy of waffles lies not only in their taste but also in their presentation. Don’t hesitate to let your creativity shine when serving and garnishing your waffles.
With your waffles now beautifully presented and ready to be enjoyed, it’s time to tackle the final step: cleaning and maintaining your Kalorik Waffle Iron for future use.
Read more: How To Use A Waffle Iron
Cleaning and Maintenance
To keep your Kalorik Waffle Iron in excellent condition and ensure its longevity, proper cleaning and maintenance are crucial. Here are some guidelines to follow for cleaning, storing, and troubleshooting common issues:
1. Cleaning the waffle iron after each use:
After removing the cooked waffle, allow the waffle iron to cool down completely. Once cooled, use a damp cloth or sponge to wipe down the cooking plates and the exterior of the waffle iron. For any stubborn residue, lightly scrub with a non-abrasive brush or sponge. Avoid using sharp objects or abrasive cleaners that may scratch the non-stick coating. For a more thorough clean, refer to the manufacturer’s instructions on how to remove and clean the cooking plates if they are detachable.
2. Storing the waffle iron:
Ensure that the waffle iron is completely dry before storing. Once dry, you can close and lock the appliance to keep it securely stored. If possible, store the waffle iron upright to save space and prevent any potential damage to the cooking plates or other parts.
3. Troubleshooting common issues:
If you encounter any issues with your Kalorik Waffle Iron, here are a few troubleshooting tips:
- Waffles sticking to the plates: Make sure to properly season the plates before the first use and occasionally as needed. Using a non-stick cooking spray or brushing the plates with a thin layer of oil can help prevent sticking. Also, avoid opening the waffle iron too early during cooking, as this can cause the waffle to stick to the plates.
- Uneven cooking: Ensure that the waffle iron is properly preheated before pouring the batter. It’s also a good idea to spread the batter evenly across the plates and close the waffle iron firmly to ensure even cooking. Adjust the cooking time or temperature if needed to achieve consistent results.
- Excessive batter overflow: Be careful not to overfill the waffle iron with batter, as this can cause it to overflow. Follow the instructions regarding the recommended amount of batter for your specific model. If the batter does overflow, clean it up carefully to prevent any damage to the waffle iron.
- Power or heating issues: If you experience any power or heating problems, make sure the waffle iron is properly plugged in and that the power source is working correctly. If the issue persists, consult the user manual or contact customer support for further assistance.
By following these cleaning and maintenance practices and addressing common issues promptly, you can enjoy delicious waffles with your Kalorik Waffle Iron for years to come.
Now that you’re equipped with the knowledge to care for your waffle iron, it’s time to savor the delightful flavors and textures of perfectly made waffles. Enjoy your culinary creations and happy waffle-making!
Conclusion
Congratulations! You’ve learned how to use the Kalorik Waffle Iron to create mouthwatering waffles from the comfort of your own home. With proper unboxing, preparation, and cooking techniques, you can achieve the perfect balance of crispy exteriors and fluffy interiors that make waffles so irresistible.
Remember to start by unboxing the Kalorik Waffle Iron and familiarizing yourself with its components. Clean and season the plates before your first use, and understand the temperature settings to achieve your desired waffle texture. Once you’ve prepared the waffle iron, it’s time to make the perfect waffle by preparing the batter, preheating the iron, pouring the batter, and timing the cooking process.
When it’s time to remove and serve the waffles, make sure to open the waffle iron safely, remove the cooked waffle with care, and have fun experimenting with various toppings and garnishes. Lastly, clean and store the waffle iron properly to ensure its longevity.
Remember that making waffles is a delightful and creative process. Don’t be afraid to try different batter recipes, toppings, and presentation techniques to personalize your waffle-making experience. The more you practice and experiment, the more you’ll perfect the art of making delicious homemade waffles.
So, get ready to enjoy fluffy, golden-brown waffles with your Kalorik Waffle Iron. It’s time to savor the moments of joy and delight as you indulge in the delectable treats you’ve prepared with love.
Thank you for joining us on this waffle-making journey. We hope you have an amazing time creating memories and satisfying your cravings with your Kalorik Waffle Iron!
Frequently Asked Questions about How To Use Kalorik Waffle Iron
Was this page helpful?
At Storables.com, we guarantee accurate and reliable information. Our content, validated by Expert Board Contributors, is crafted following stringent Editorial Policies. We're committed to providing you with well-researched, expert-backed insights for all your informational needs.


0 thoughts on “How To Use Kalorik Waffle Iron”