Articles
How To Use A Small Waffle Iron
Modified: August 26, 2024
Learn how to use a small waffle iron with our informative articles and step-by-step guides. Enhance your breakfast routine and create delicious waffles today!
(Many of the links in this article redirect to a specific reviewed product. Your purchase of these products through affiliate links helps to generate commission for Storables.com, at no extra cost. Learn more)
Introduction
Welcome to the wonderful world of waffles! There’s nothing quite like the aroma of freshly-made waffles wafting through your kitchen. Whether you’re a seasoned cook or a novice in the culinary realm, using a small waffle iron is a fun and easy way to create delicious breakfast or brunch treats.
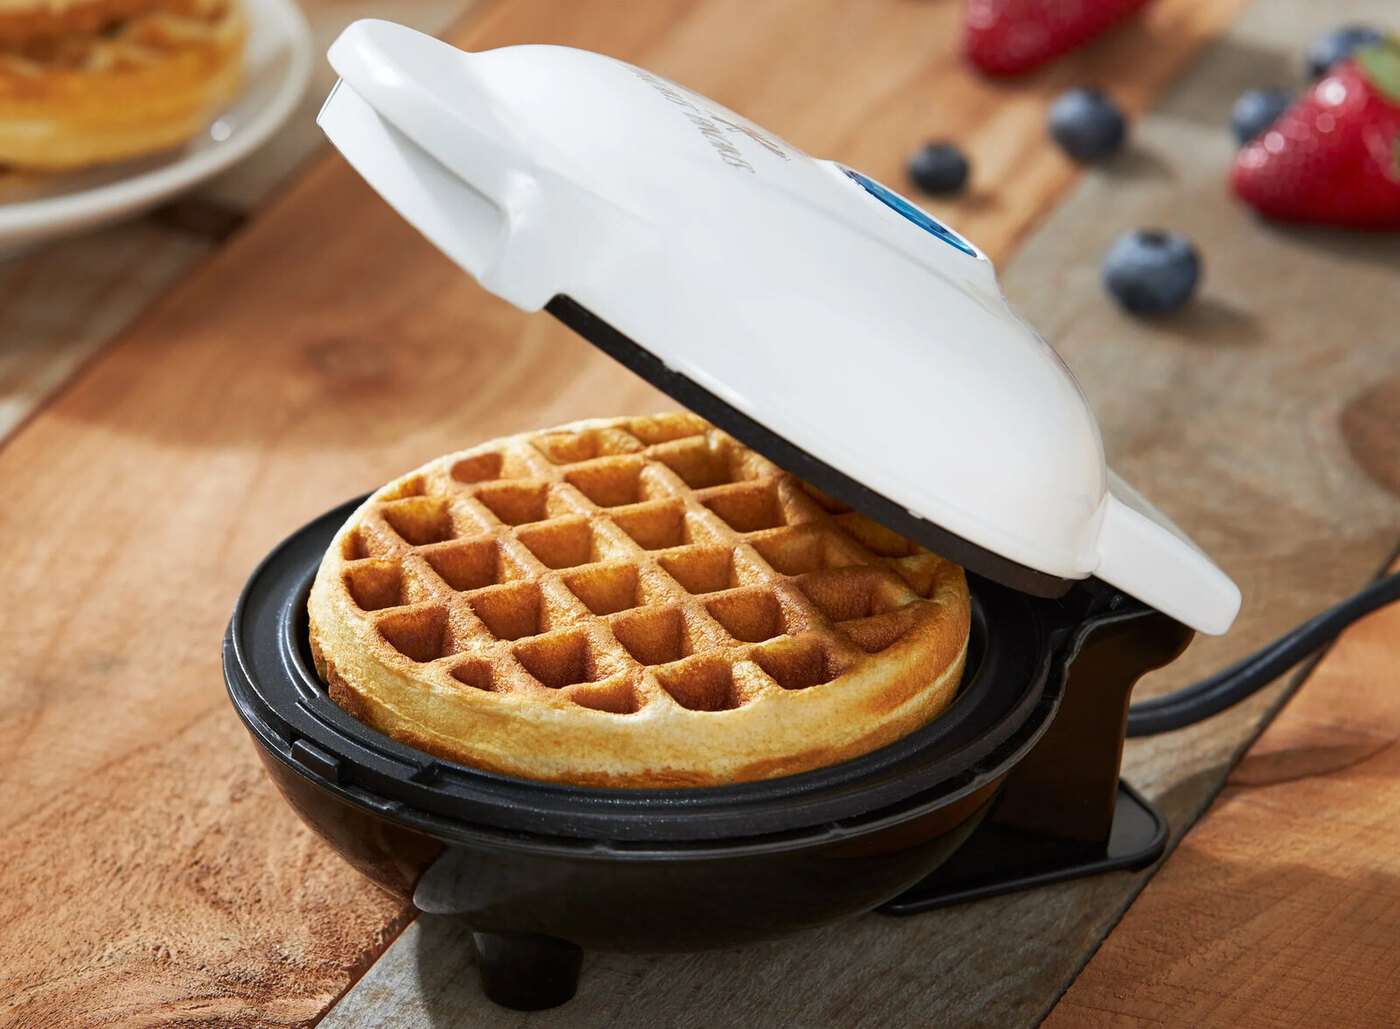
A small waffle iron is perfect for those who have limited kitchen space or prefer making smaller portions. Despite its compact size, a small waffle iron can still produce crispy, golden waffles that are just as delightful as their larger counterparts.
In this article, we will guide you through the process of using a small waffle iron. From choosing the right waffle iron to preparing the batter, cooking the waffles, and serving them with delectable toppings, we’ll cover everything you need to know to become a waffle-making pro.
So, dust off your waffle iron and get ready to embark on a culinary adventure filled with deliciousness!
Key Takeaways:
- Choose a small waffle iron that suits your kitchen space and personal preferences, considering factors like size, shape, material, and features to enhance your waffle-making experience.
- Master the art of waffle-making by properly preparing your waffle iron, mixing the perfect batter, preheating the iron, and cooking until golden brown. Enjoy endless topping and serving possibilities for delightful homemade waffles.
Read more: How To Use A Cast Iron Waffle Iron
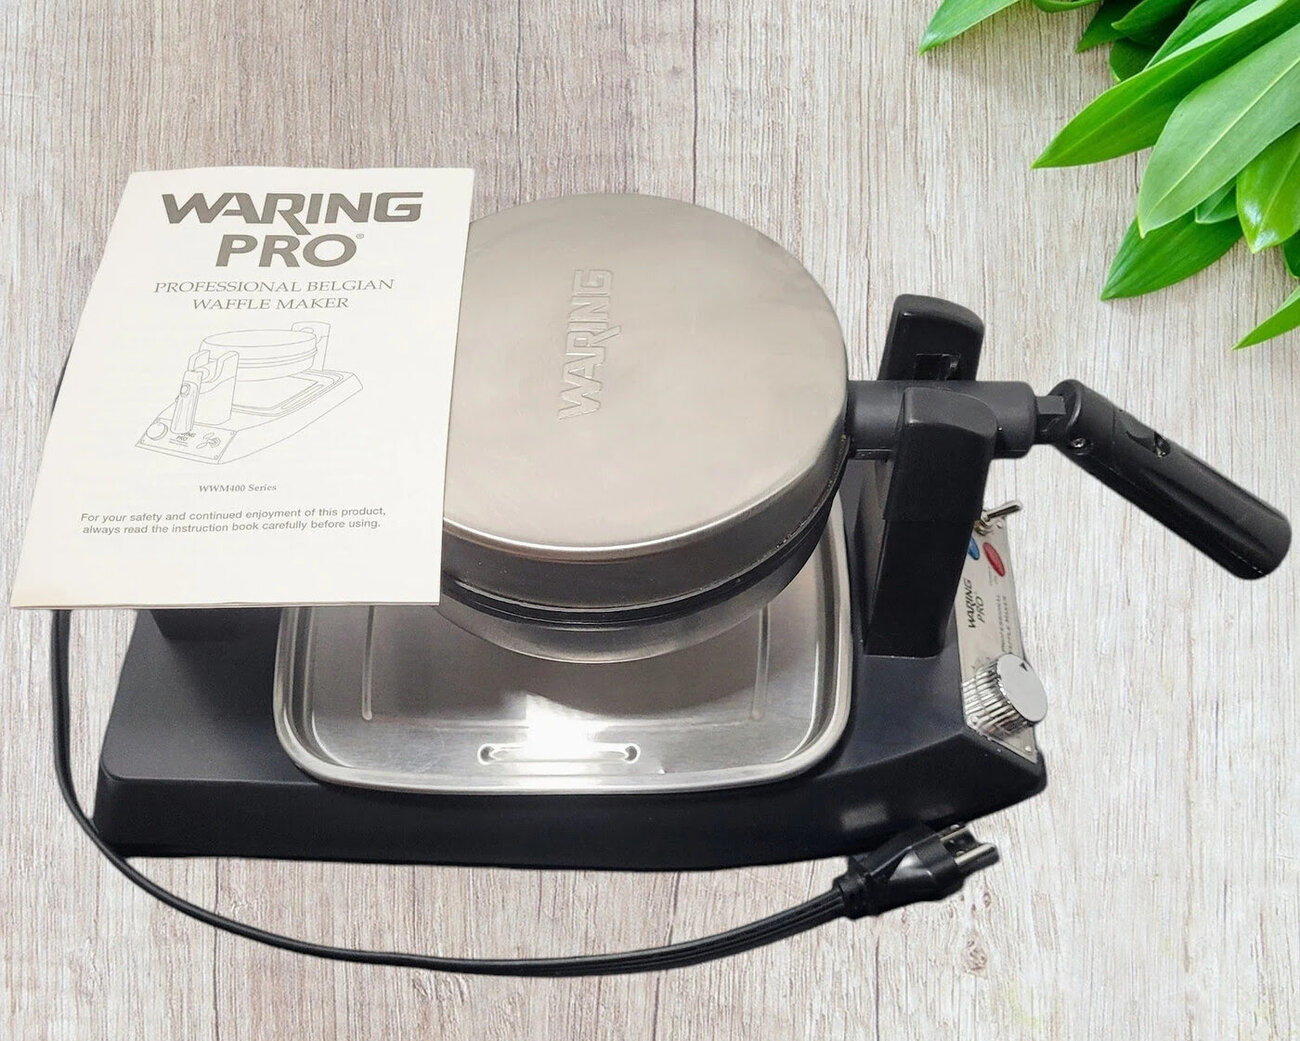
Choosing the Right Small Waffle Iron
When it comes to choosing a small waffle iron, there are a few key factors to consider. The right waffle iron can make all the difference in ensuring evenly cooked and perfectly crispy waffles. Here are some things to keep in mind:
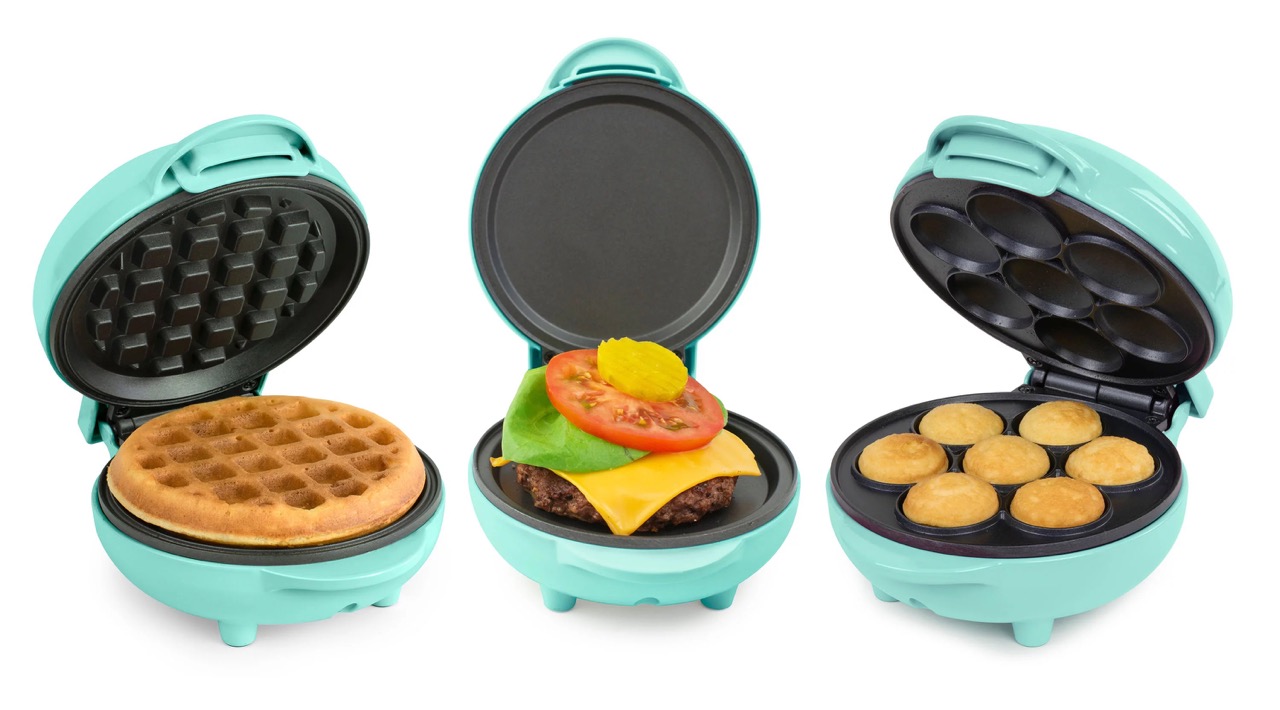
- Size: As the name suggests, small waffle irons are compact in size. However, there are variations in their dimensions. Consider the available space in your kitchen and your desired waffle size to determine the ideal size for your needs.
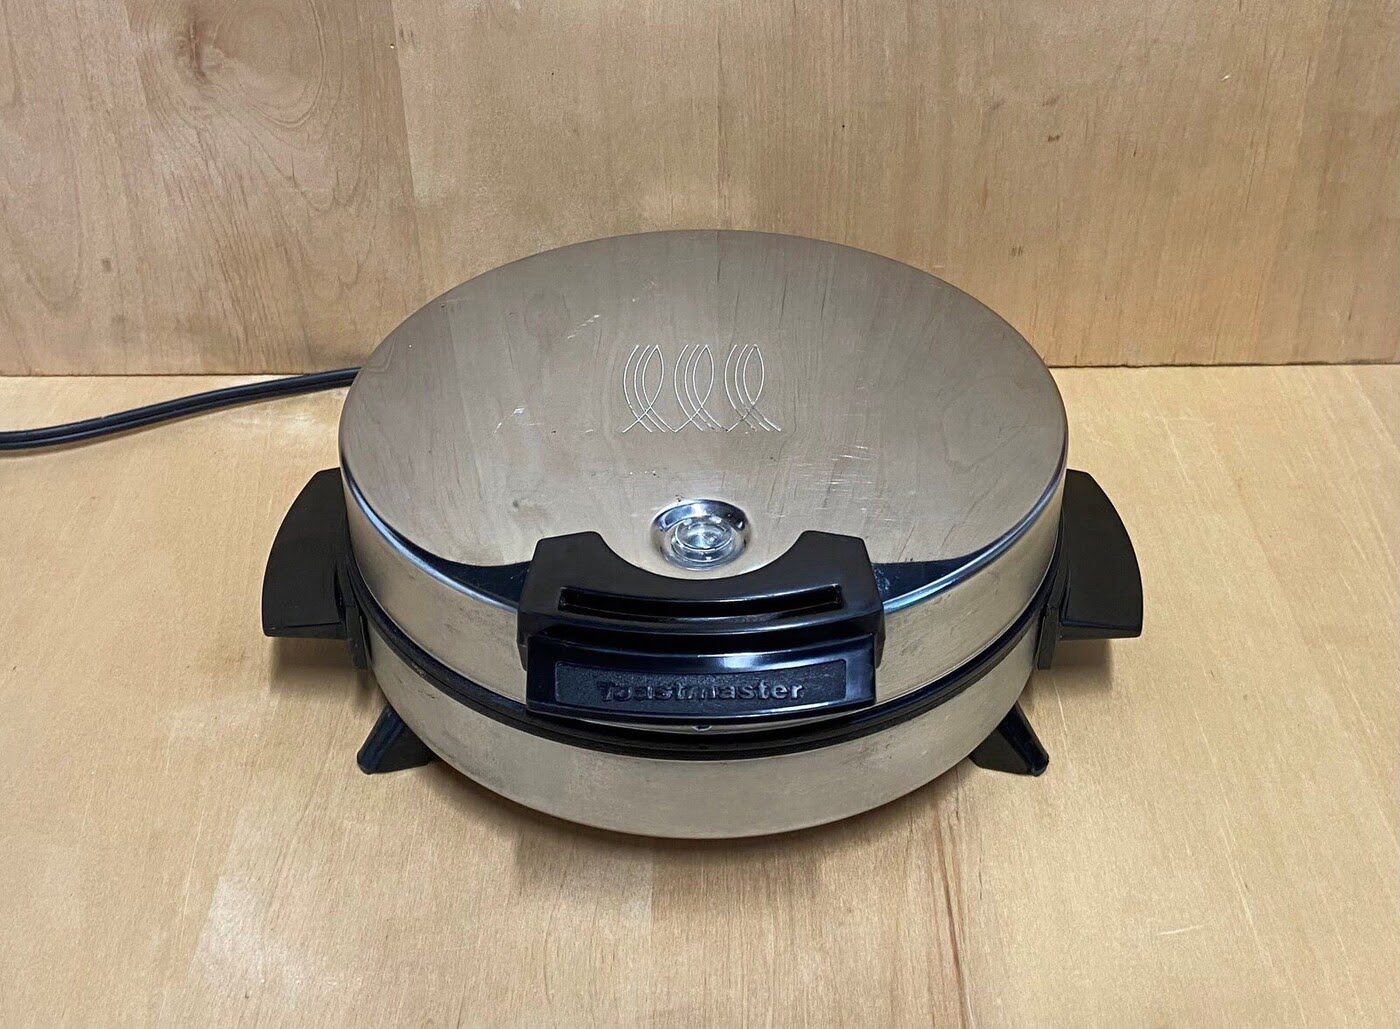
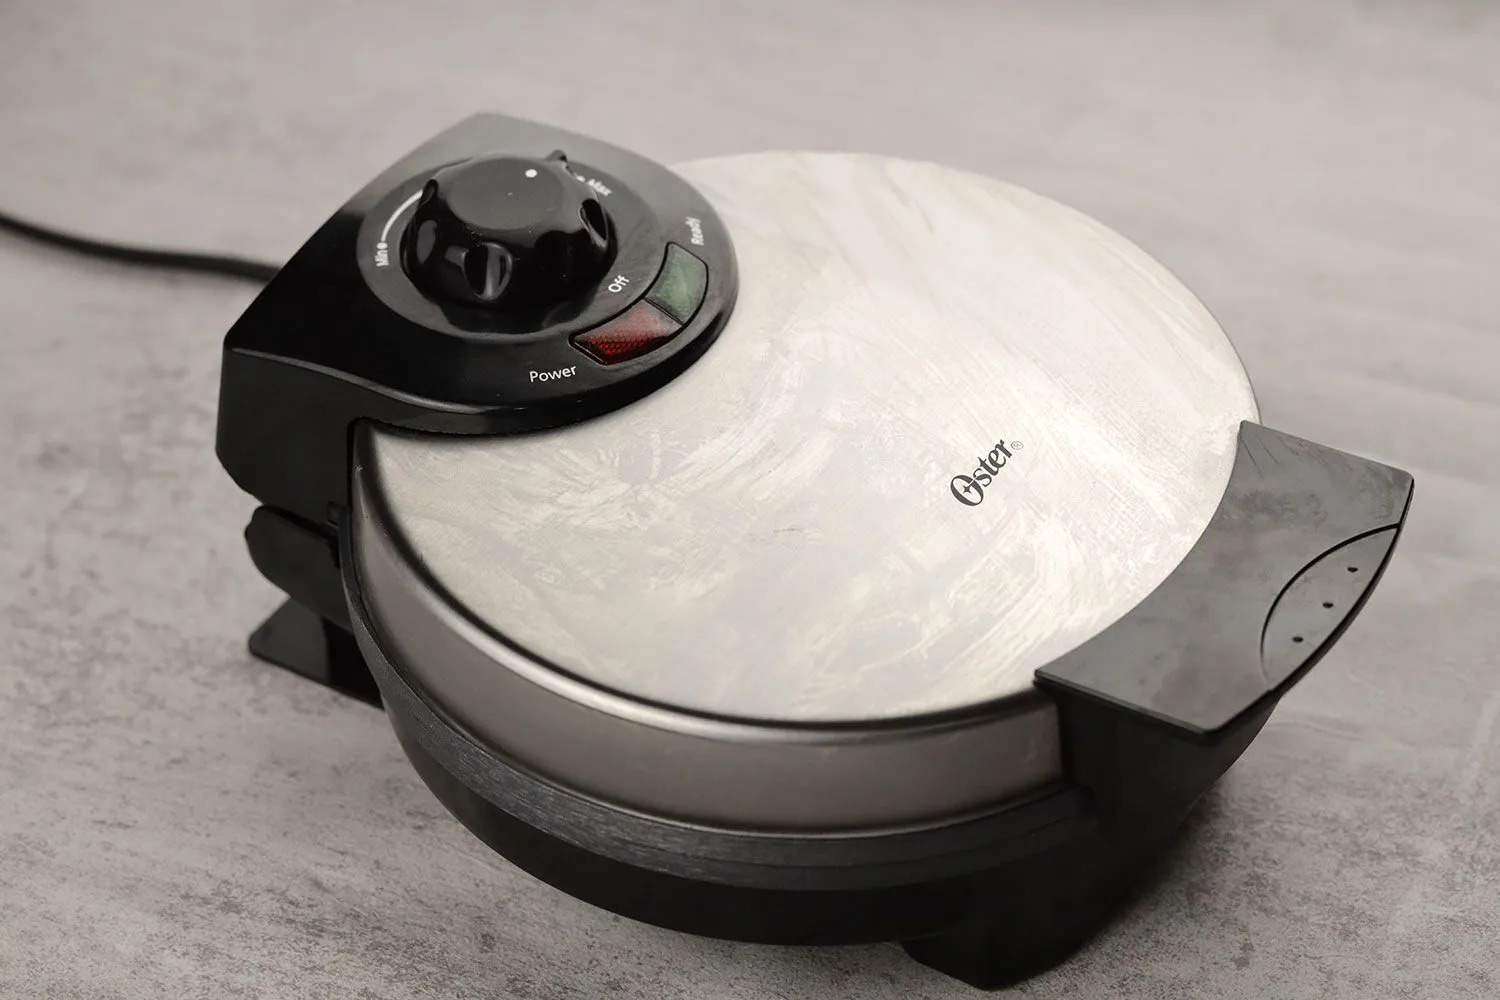
- Shape: Small waffle irons come in different shapes, such as round, square, or even novelty shapes like hearts or animals. Choose a shape that appeals to you and matches your personal preferences or the occasion you plan to serve waffles for.
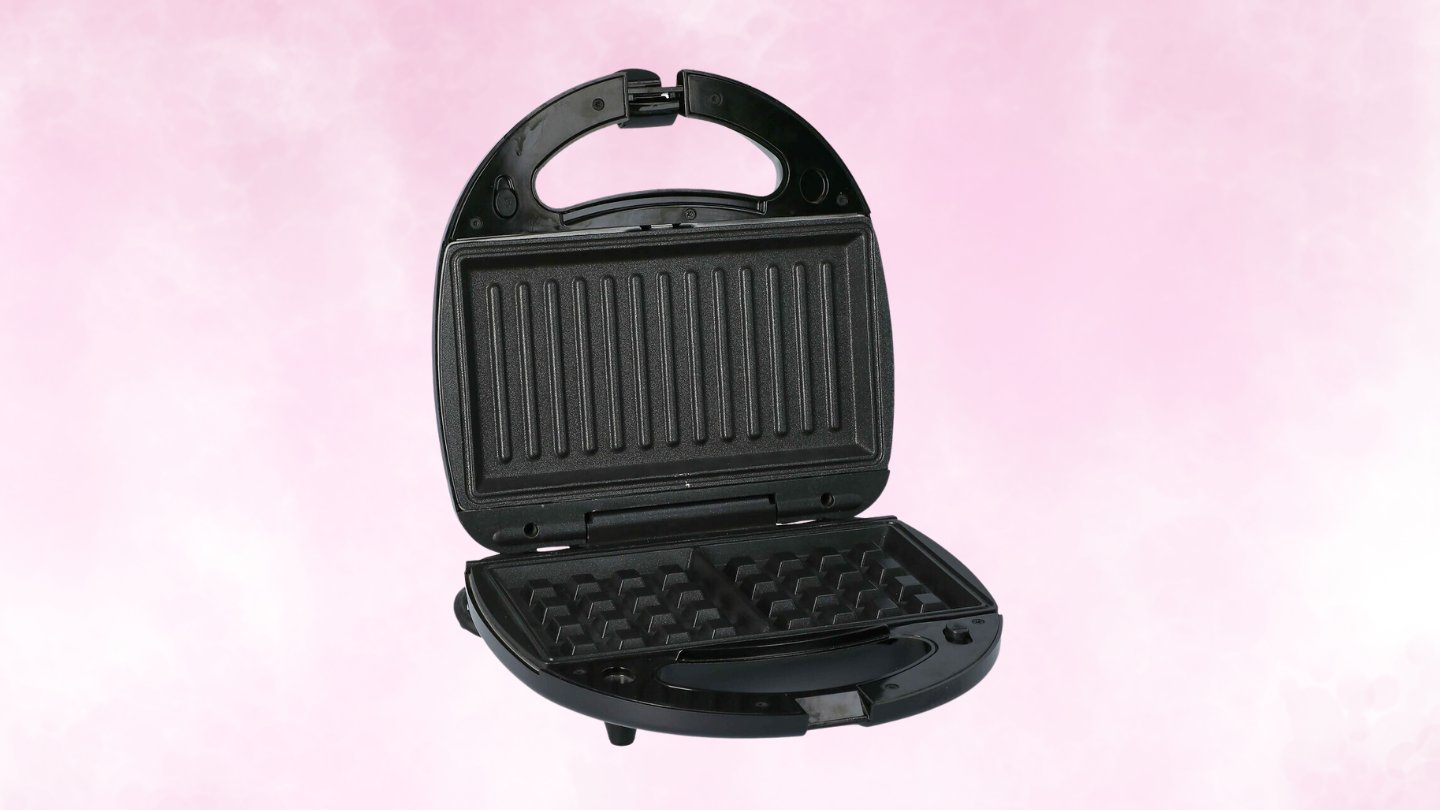
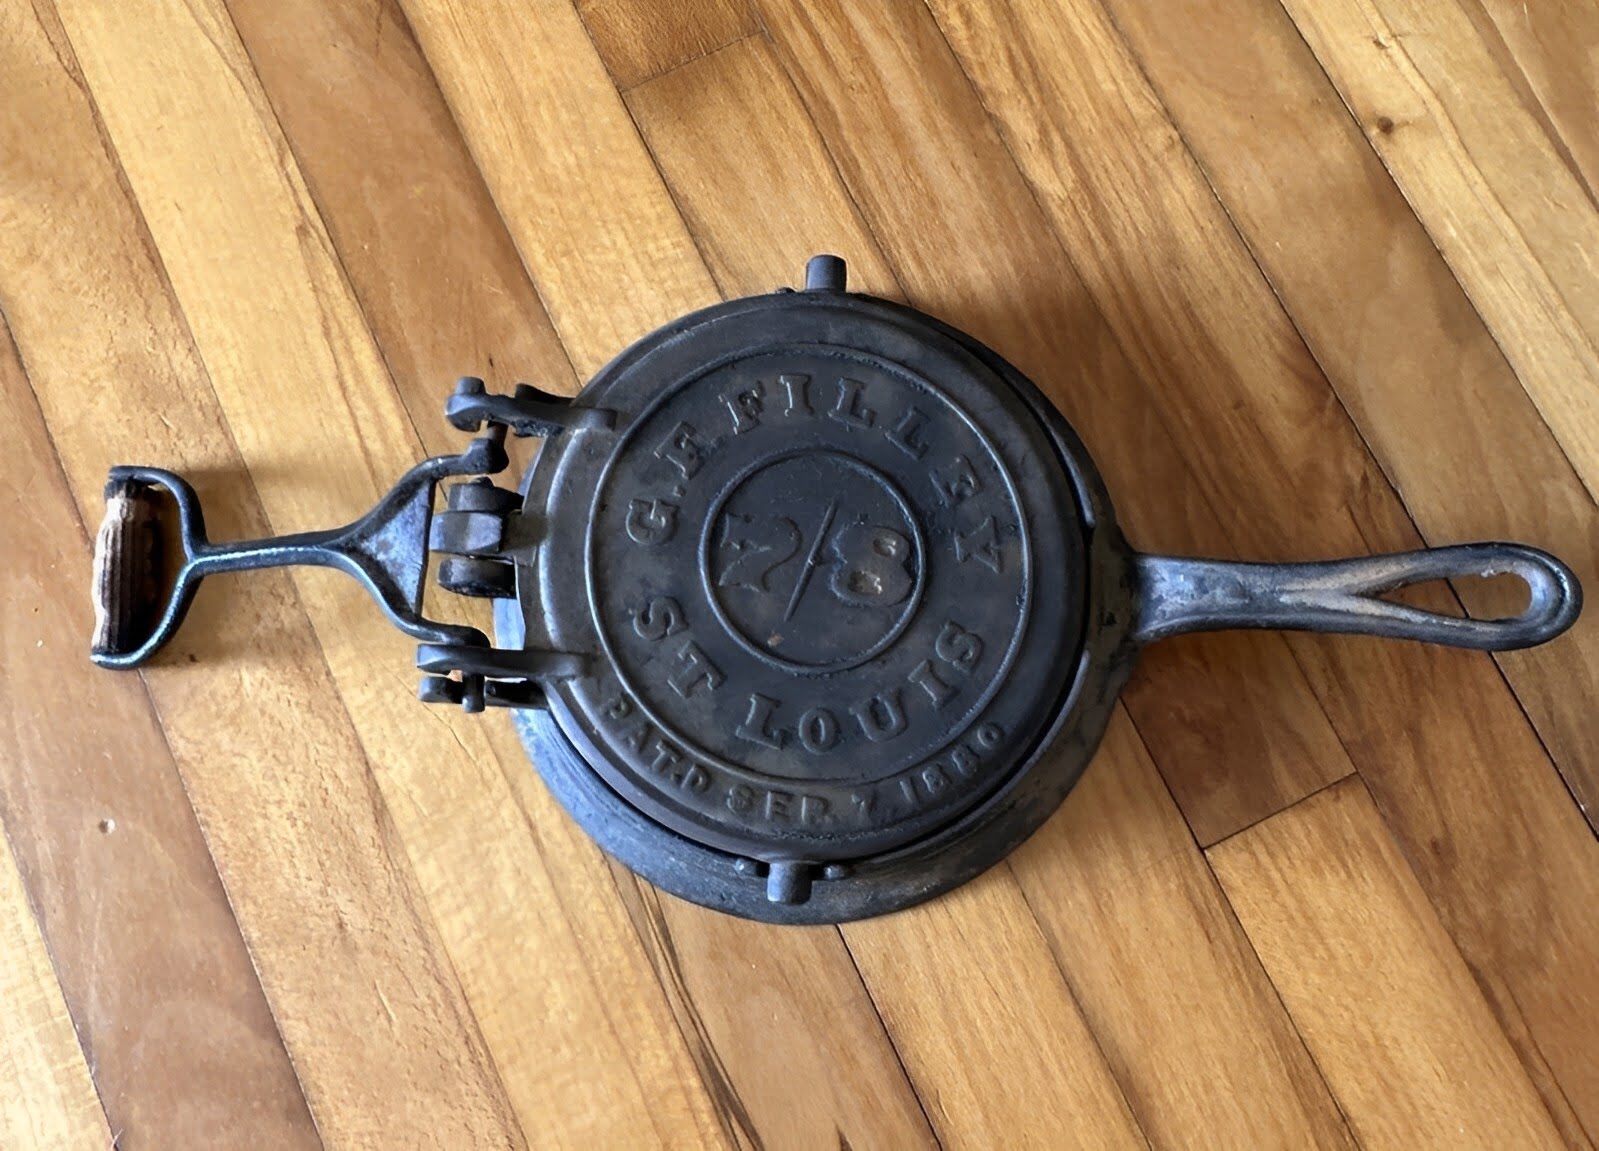
- Material: Most small waffle irons are made of either nonstick-coated plates or cast iron. Nonstick-coated plates are convenient as they prevent sticking and are easier to clean. On the other hand, cast iron irons provide superior heat distribution and often last longer.
- Features: Look for features that enhance your waffle-making experience. This could include adjustable temperature settings, indicator lights to alert you when the iron is ready, or audible alerts to indicate when the waffles are done.
- Reviews: Before making a purchase, check online reviews and ratings for different small waffle iron models. Pay attention to feedback regarding durability, performance, and overall customer satisfaction.
By considering these factors, you’ll be able to choose a small waffle iron that suits your needs and helps you create delicious waffles time and time again.
Preparing Your Waffle Iron
Before you start making waffles, it’s essential to properly prepare your small waffle iron. This ensures that the waffles cook evenly and don’t stick to the surface. Follow these steps to prepare your waffle iron:
- Clean the Iron: If it’s your first time using the waffle iron or it has been a while since the last use, make sure to clean it thoroughly. Use a damp cloth or sponge with mild detergent to wipe down the plates and remove any dust or residue.
- Season the Iron: If you’re using a cast iron waffle iron, it’s important to season it before use. This helps create a natural nonstick surface and improves the overall cooking performance. Follow the manufacturer’s instructions or coat the iron with a thin layer of cooking oil and bake it in the oven for an hour at a low temperature.
- Preheat the Iron: Turn on your waffle iron and allow it to preheat according to the manufacturer’s instructions. Heating it to the proper temperature ensures that the waffles cook evenly and achieve the desired level of crispness.
By properly preparing your waffle iron, you’ll create the optimal cooking surface for your waffles and prevent them from sticking.
Mixing the Waffle Batter
Now that your waffle iron is prepped and ready, it’s time to mix up the waffle batter. The right waffle batter can make all the difference in creating light and fluffy waffles. Here’s how to mix the waffle batter:
- Gather the Ingredients: You’ll need some basic ingredients to make the waffle batter, including flour, sugar, baking powder, salt, milk, eggs, and oil or melted butter. Refer to your chosen waffle recipe for the specific measurements.
- Combine the Dry Ingredients: In a large mixing bowl, whisk together the flour, sugar, baking powder, and salt. Mixing the dry ingredients first helps ensure they are evenly distributed throughout the batter.
- Beat the Eggs: In a separate bowl, beat the eggs until they are well mixed. This helps incorporate air into the batter, resulting in lighter waffles.
- Add the Wet Ingredients: Slowly pour the milk and oil or melted butter into the beaten eggs while continuing to whisk. This helps create a smooth and consistent batter.
- Combine the Dry and Wet Ingredients: Pour the wet ingredients into the bowl with the dry ingredients. Use a whisk or spoon to gently fold the ingredients together until just combined. Be careful not to overmix, as this can lead to dense and tough waffles.
Once the waffle batter is mixed, it should have a slightly thick but pourable consistency. If it’s too thick, you can add a little more milk a tablespoon at a time until the desired consistency is reached.
A well-mixed and properly balanced waffle batter is the foundation for delicious waffles. Take your time and ensure all the ingredients are incorporated to create the perfect texture.
Preheating Your Waffle Iron
Preheating your waffle iron is a crucial step to ensure that your waffles cook evenly and achieve that desirable golden-brown color. Here’s how to preheat your small waffle iron:
- Turn on the Iron: Plug in your waffle iron and turn it on, following the manufacturer’s instructions. Most waffle irons have an indicator light that will let you know when the iron is preheated and ready to use.
- Adjust the Temperature: If your waffle iron has an adjustable temperature setting, set it to the recommended temperature for the type of waffles you’re making. Generally, a medium heat setting works well for most waffle recipes.
- Wait for the Indicator Light: Give your waffle iron a few minutes to reach the desired temperature. The indicator light will typically turn on or change color when the iron is hot enough to start cooking the waffles.
- Check for Consistent Heat: It’s essential to ensure that the heat is distributed evenly across the waffle iron’s cooking plates. You can do this by gently touching the surface of the iron. It should feel uniformly warm and not have any cool spots.
Preheating your waffle iron is a crucial step that allows the batter to cook evenly and ensures the waffles come out fully cooked and delicious. Skipping this step may result in undercooked or inconsistently cooked waffles.
Once your small waffle iron is preheated and ready, it’s time to pour in your delicious waffle batter and start creating mouthwatering waffles!
Read more: How To Use A Waffle Iron
Pouring the Batter into the Waffle Iron
Now that your small waffle iron is preheated and ready to go, it’s time to pour the batter and start creating those delightful waffles. Here’s how to pour the batter into the waffle iron effectively:
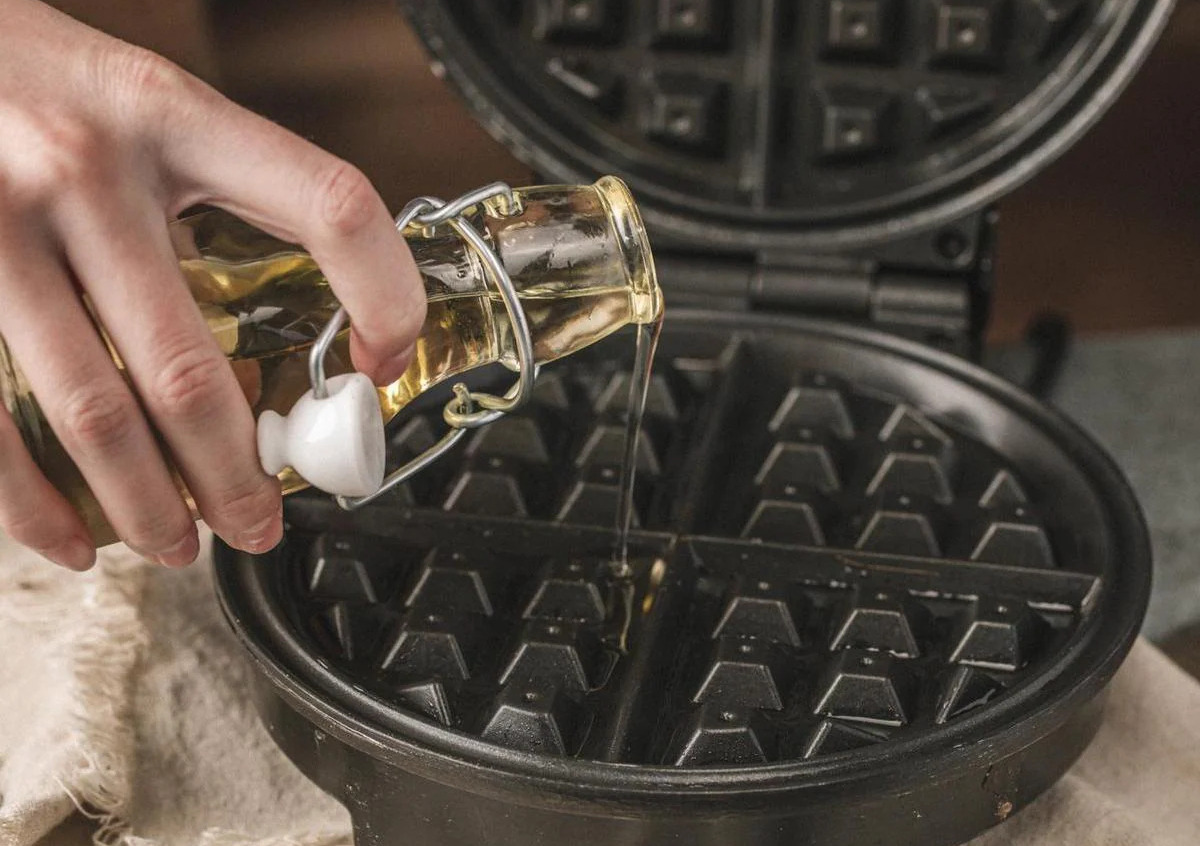
- Grease the Plates: Depending on the type of waffle iron you have, you may need to lightly grease the cooking plates to prevent sticking. Refer to the manufacturer’s instructions to determine if greasing is necessary and what type of oil or cooking spray to use.
- Open the Waffle Iron: Lift the lid of the waffle iron and carefully position it in an open, upright position. This will expose the cooking plates and allow you to pour the batter onto them.
- Pour the Batter: Using a ladle or measuring cup, slowly pour the waffle batter onto the center of the bottom cooking plate. The amount of batter needed will depend on the size of your waffle iron and the desired thickness of the waffles.
- Spread the Batter: Once the batter is poured, use a spatula or the bottom of the ladle to spread it evenly across the cooking plate, making sure to cover the entire surface. Be careful not to overfill or spread the batter too close to the edges, as it may overflow when the lid is closed.
- Close the Waffle Iron: Gently close the lid of the waffle iron, taking care not to push it down forcefully. The lid should close easily and come into contact with the batter, pressing it between the cooking plates.
Remember to follow any additional instructions provided by the waffle iron’s manufacturer to ensure the proper pouring technique for your specific model.
Once the batter is poured and the waffle iron is closed, it’s time for the magic to happen. The batter will start to cook, transforming into delicious waffles with a crispy exterior and a tender interior. So, sit back and enjoy the tantalizing aroma filling your kitchen!
Preheat the small waffle iron before adding the batter to ensure even cooking and a crispy exterior. Use a small amount of batter to avoid overflow and follow the manufacturer’s instructions for cooking time.
Cooking the Waffles
Now comes the exciting part: cooking the waffles! This is where your small waffle iron works its magic, transforming the batter into delectable delights. Follow these steps to ensure perfectly cooked waffles:
- Wait for the Indicator Light: Once the waffle iron is closed and the batter is inside, wait for the indicator light (if your waffle iron has one) to turn on or change color. This indicates that the cooking process has begun.
- Don’t Lift the Lid Too Soon: It’s common to feel tempted to peek at the waffles while they cook, but resist the urge! Opening the lid prematurely can disrupt the cooking process and result in waffles that are undercooked or may stick to the plates.
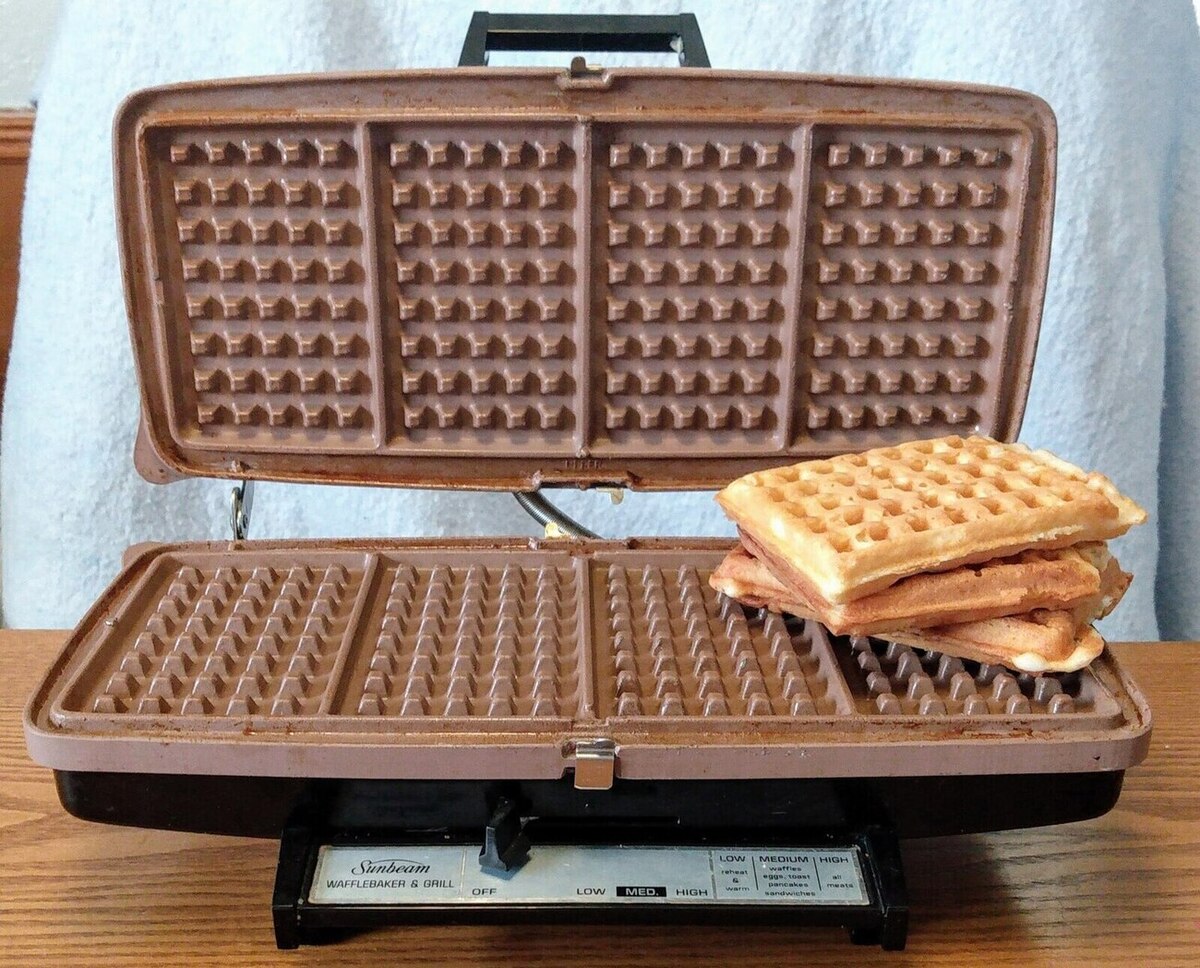
- Cook Until Golden Brown: The cooking time will vary depending on your waffle iron and the desired crispness of the waffles. As a general guideline, cook the waffles for about 3-5 minutes, or until they are golden brown and no longer sticking to the plates.
- Pay Attention to Steam and Steam Release: As the waffles cook, you may notice steam escaping from the sides of the waffle iron. This is normal and indicates that the batter is cooking. Once the amount of steam significantly decreases or stops, it’s a good indication that the waffles are almost done.
- Use a Timer: If your waffle iron doesn’t have a built-in timer, use a kitchen timer or set a timer on your phone to ensure you don’t forget about the waffles. Overcooking can lead to burnt waffles that are less enjoyable.
Remember, cooking times may vary, so it’s essential to become familiar with your specific waffle iron and adjust accordingly. With practice, you’ll develop a sense of timing that yields consistently delicious waffles.
Once the waffles are cooked to perfection, it’s time to remove them from the waffle iron and get ready to enjoy the fruits of your labor.
Removing the Waffles from the Iron
As you eagerly anticipate the first bite of your freshly cooked waffles, it’s important to know how to safely and efficiently remove them from the waffle iron. Here’s how:
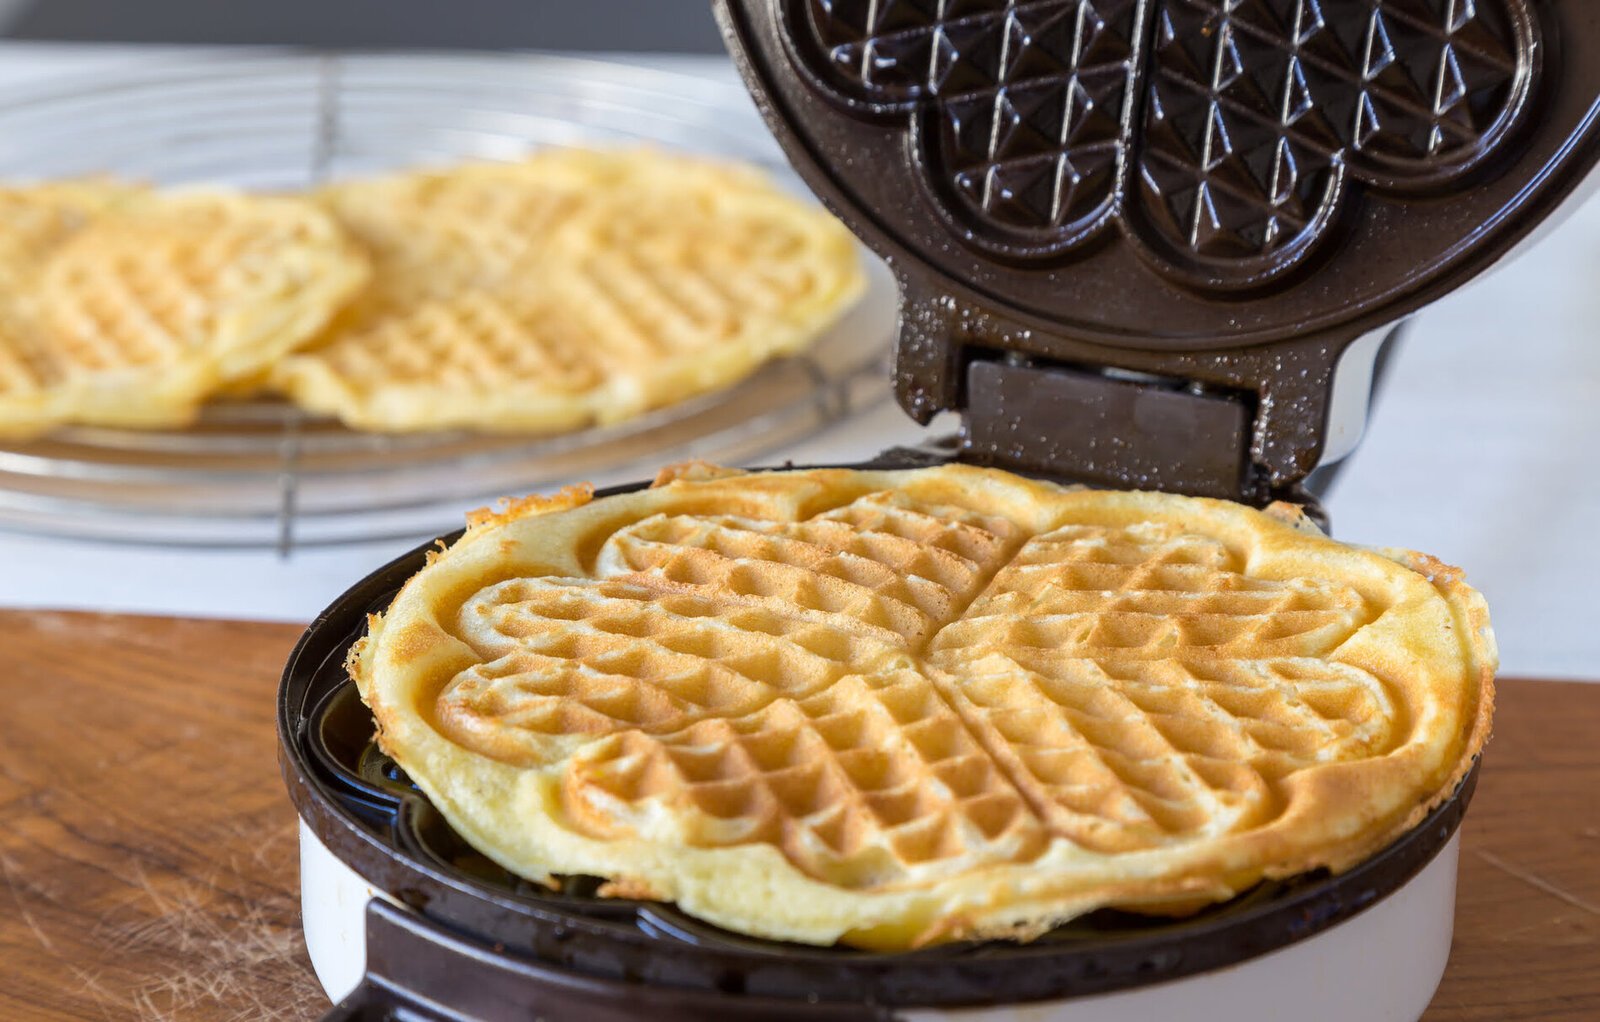
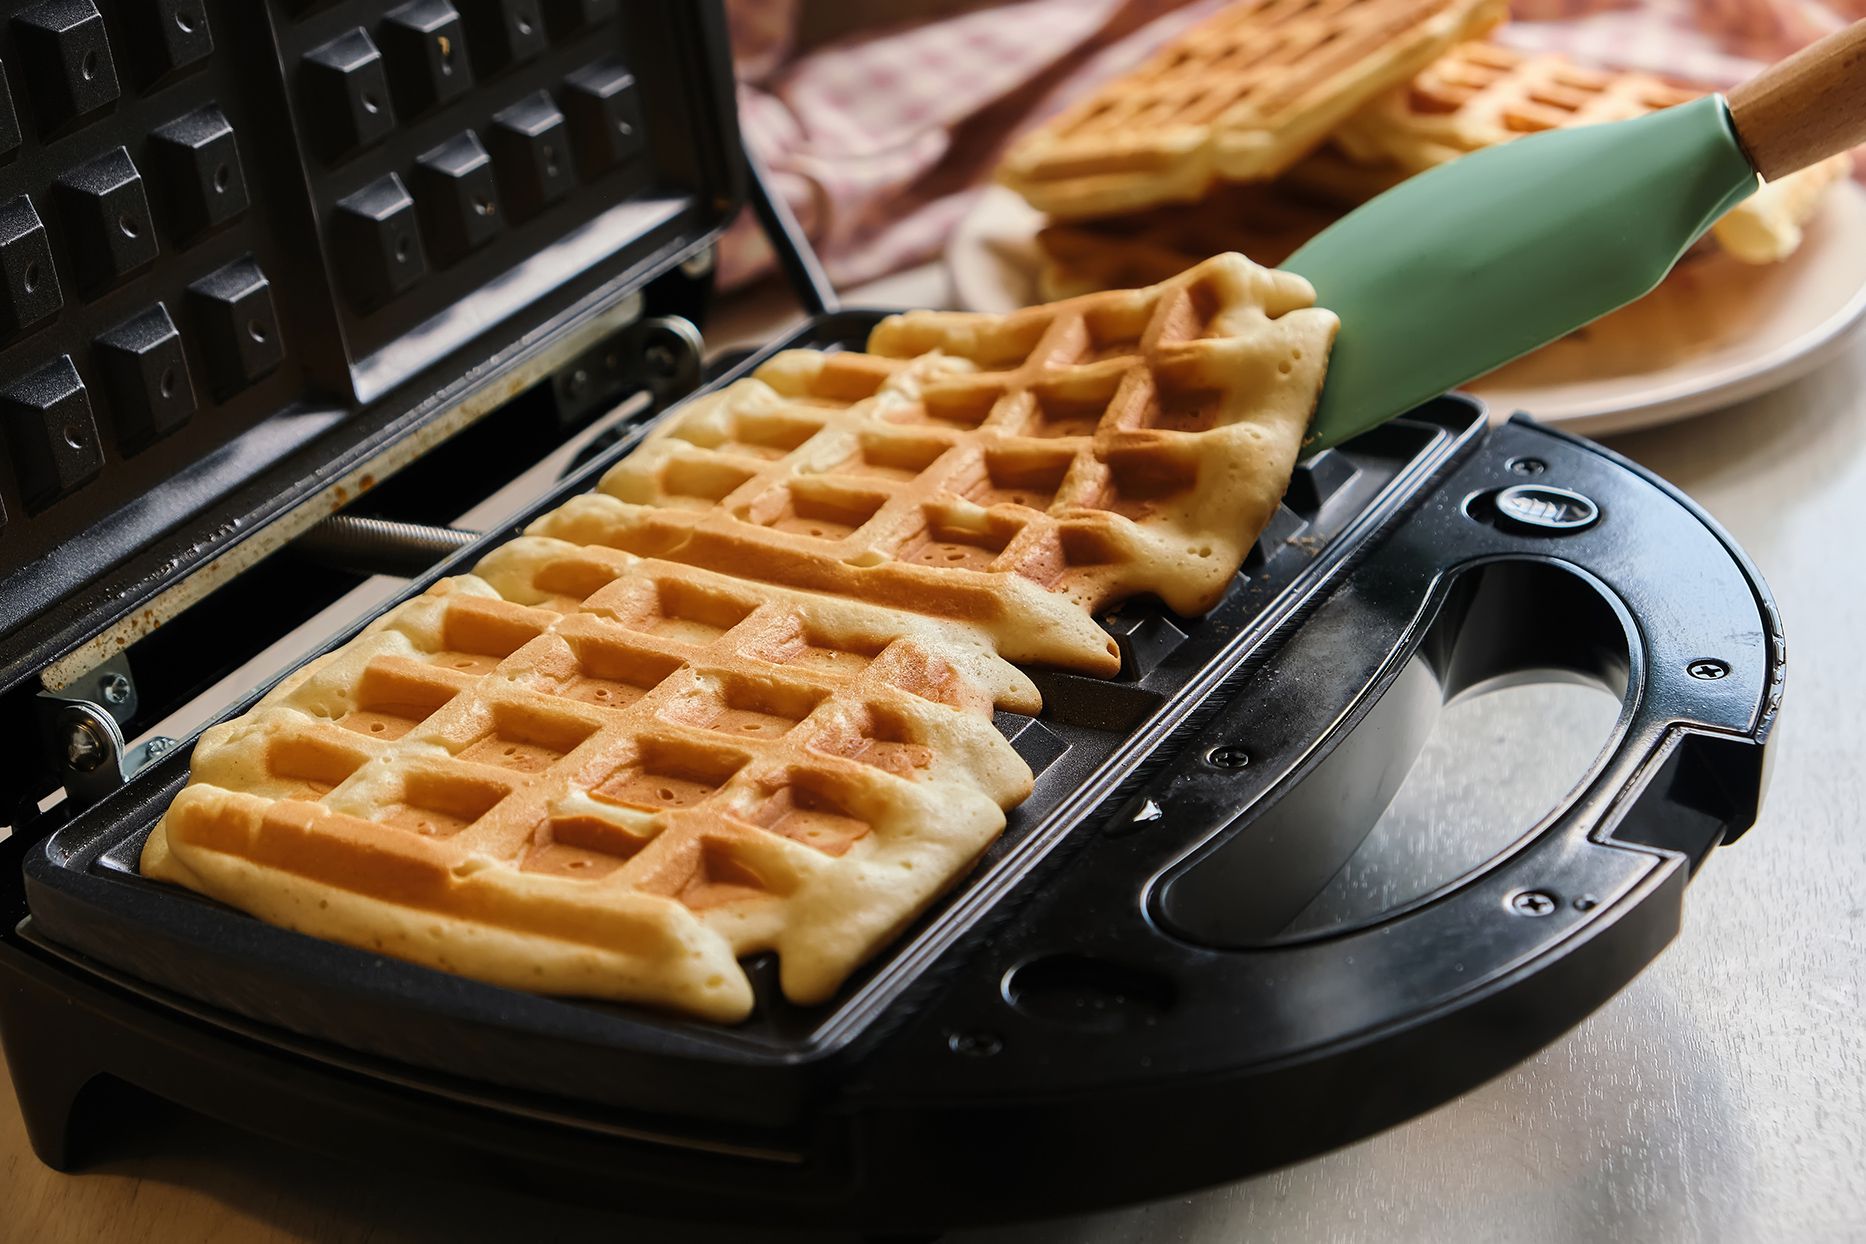
- Open the Waffle Iron: Once you believe the waffles are cooked to your desired level of crispness, carefully open the lid of the waffle iron. Be cautious as steam may escape, and the plates can be hot.
- Lift with a Utensil: To prevent your fingers from getting burned, use a heat-resistant spatula or tongs to gently lift the waffles from the cooking plates. Slide the utensil under the waffle, being careful not to scrape or damage the nonstick coating (if applicable).
- Transfer to a Plate: Once the waffle is lifted, place it directly onto a plate or a wire rack. Avoid stacking the waffles on top of each other immediately, as this can cause them to become soggy. Instead, lay them out in a single layer to cool slightly and maintain their crispy texture.
- Continue with the Remaining Waffles: If you have more batter remaining, close the waffle iron and repeat the cooking process. Remember to re-grease the plates if necessary before pouring in the next batch of batter.
As you become more experienced, you’ll develop a rhythm for removing the waffles and may even be able to lift them with your hands. However, it’s always best to err on the side of caution and use utensils to prevent any accidents or burns.
Now that your waffles are successfully removed from the waffle iron, it’s time to get creative with toppings and serving suggestions.
Cleaning and Maintenance Tips
Proper cleaning and maintenance of your small waffle iron are essential to ensure its longevity and optimal performance. Here are some tips to keep your waffle iron in top shape:
- Cool Down Completely: Before cleaning your waffle iron, always allow it to cool down completely. The plates can remain hot even after turning off the appliance, so exercise caution.
- Wipe with a Damp Cloth: After each use, wipe the cooking plates with a damp cloth or sponge to remove any residual batter or oil. Avoid using abrasive materials or harsh chemicals, as they can damage the nonstick coating or other surfaces.
- Remove Stubborn Stains: If you encounter stubborn stains or residue on the plates, create a paste using baking soda and water. Apply the paste to the stained areas and gently scrub with a soft brush or cloth. Rinse thoroughly and dry.
- Handle with Care: Avoid using sharp utensils or metal scouring pads that can scratch the plates. Always use non-metallic tools, such as silicone or wooden spatulas, when working with the waffle iron.
- Store Properly: When not in use, store your waffle iron in a clean and dry place. Ensure the cord is neatly wrapped and secured to prevent damage or tangling.
- Follow Manufacturer’s Instructions: Always refer to the manufacturer’s instructions for specific cleaning and maintenance guidelines. Different waffle iron models may have unique care requirements.
By following these cleaning and maintenance tips, you’ll keep your small waffle iron in excellent condition, ensuring many more batches of delicious waffles to come.
Read more: How To Use Kalorik Waffle Iron
Delicious Toppings and Serving Suggestions
Now that you have cooked your mouthwatering waffles, it’s time to elevate them with delectable toppings and serving suggestions. Here are some ideas to inspire your waffle creations:
- Classic Maple Syrup: Drizzle warm maple syrup generously over your waffles for a traditional and comforting sweet touch.
- Fresh Fruits: Top your waffles with an assortment of fresh fruits like sliced strawberries, blueberries, bananas, or raspberries. The natural sweetness and vibrant colors create an irresistible combination.
- Whipped Cream: Add a dollop of fluffy whipped cream on top of your waffles for an indulgent treat. You can also dust it with powdered sugar for an extra touch of elegance.
- Nut Butter: Spread a layer of creamy peanut butter, almond butter, or hazelnut spread on your waffles. The rich and nutty flavors complement the crispy texture perfectly.
- Chocolate Sauce: Drizzle warm chocolate sauce over your waffles and watch as it melts into every crevice. Add a sprinkle of chopped nuts or chocolate shavings for an extra decadent touch.
- Yogurt and Honey: For a lighter option, top your waffles with a spoonful of Greek yogurt and a drizzle of honey. The tanginess of the yogurt balances the sweetness of the waffles beautifully.
- Savory Options: Waffles don’t always have to be sweet! Explore savory toppings like scrambled eggs, crispy bacon, melted cheese, or avocado slices for a delightful brunch twist.
Get creative and experiment with different combinations of flavors and textures to suit your preferences. Don’t be afraid to add a personal touch to your waffles by incorporating your favorite ingredients and unique twists.
Finally, serve your waffles with a side of crispy bacon, a refreshing glass of orange juice, or a steaming cup of coffee to complete the breakfast or brunch experience.
Enjoy your waffles as a special treat for yourself, or gather family and friends to share in the delicious joy of homemade waffles. The possibilities for delightful waffle creations are limited only by your imagination.
Conclusion
Congratulations! You have now mastered the art of using a small waffle iron to create mouthwatering waffles. By following the steps outlined in this article, you can confidently prepare and cook delicious waffles that will delight your taste buds and impress your family and friends.
Remember to start by choosing the right small waffle iron that suits your needs and preferences. Take into account the size, shape, material, and features that will make the waffle-making process enjoyable for you.
Once you have your waffle iron, prepare it by cleaning and seasoning it (if necessary) before each use. Preheat the iron to the recommended temperature, ensuring even heat distribution for perfectly cooked waffles.
Mix your waffle batter with care, combining the dry and wet ingredients until just combined. Pour the batter onto the preheated waffle iron, spreading it evenly with a utensil. Close the iron and allow the waffles to cook until golden brown and cooked through.
After cooking, remove the waffles from the iron using a spatula or tongs. Serve them with an array of delightful toppings and serving suggestions. From classic maple syrup to fresh fruits, whipped cream, or savory options, there are unlimited possibilities to customize your waffles.
Lastly, don’t forget to properly clean and maintain your waffle iron, following the manufacturer’s instructions. By taking care of your waffle iron, you’ll ensure its longevity and continued performance.
Now it’s time to enjoy the fruits of your labor. Sit down, savor each bite of the crispy, golden waffles, and relish in the joy of creating a delicious breakfast or brunch indulgence.
So, go ahead and embrace your inner waffle connoisseur. Get creative, experiment with flavors, and share the joy of homemade waffles with loved ones. May your waffle-making adventures be filled with delight and satisfaction.
Frequently Asked Questions about How To Use A Small Waffle Iron
Was this page helpful?
At Storables.com, we guarantee accurate and reliable information. Our content, validated by Expert Board Contributors, is crafted following stringent Editorial Policies. We're committed to providing you with well-researched, expert-backed insights for all your informational needs.


0 thoughts on “How To Use A Small Waffle Iron”