Articles
How To Use A Waring Waffle Iron
Modified: August 27, 2024
Learn how to properly use a waffle iron with our informative articles. Discover tips, tricks, and recipes to make delicious waffles at home.
(Many of the links in this article redirect to a specific reviewed product. Your purchase of these products through affiliate links helps to generate commission for Storables.com, at no extra cost. Learn more)
Introduction
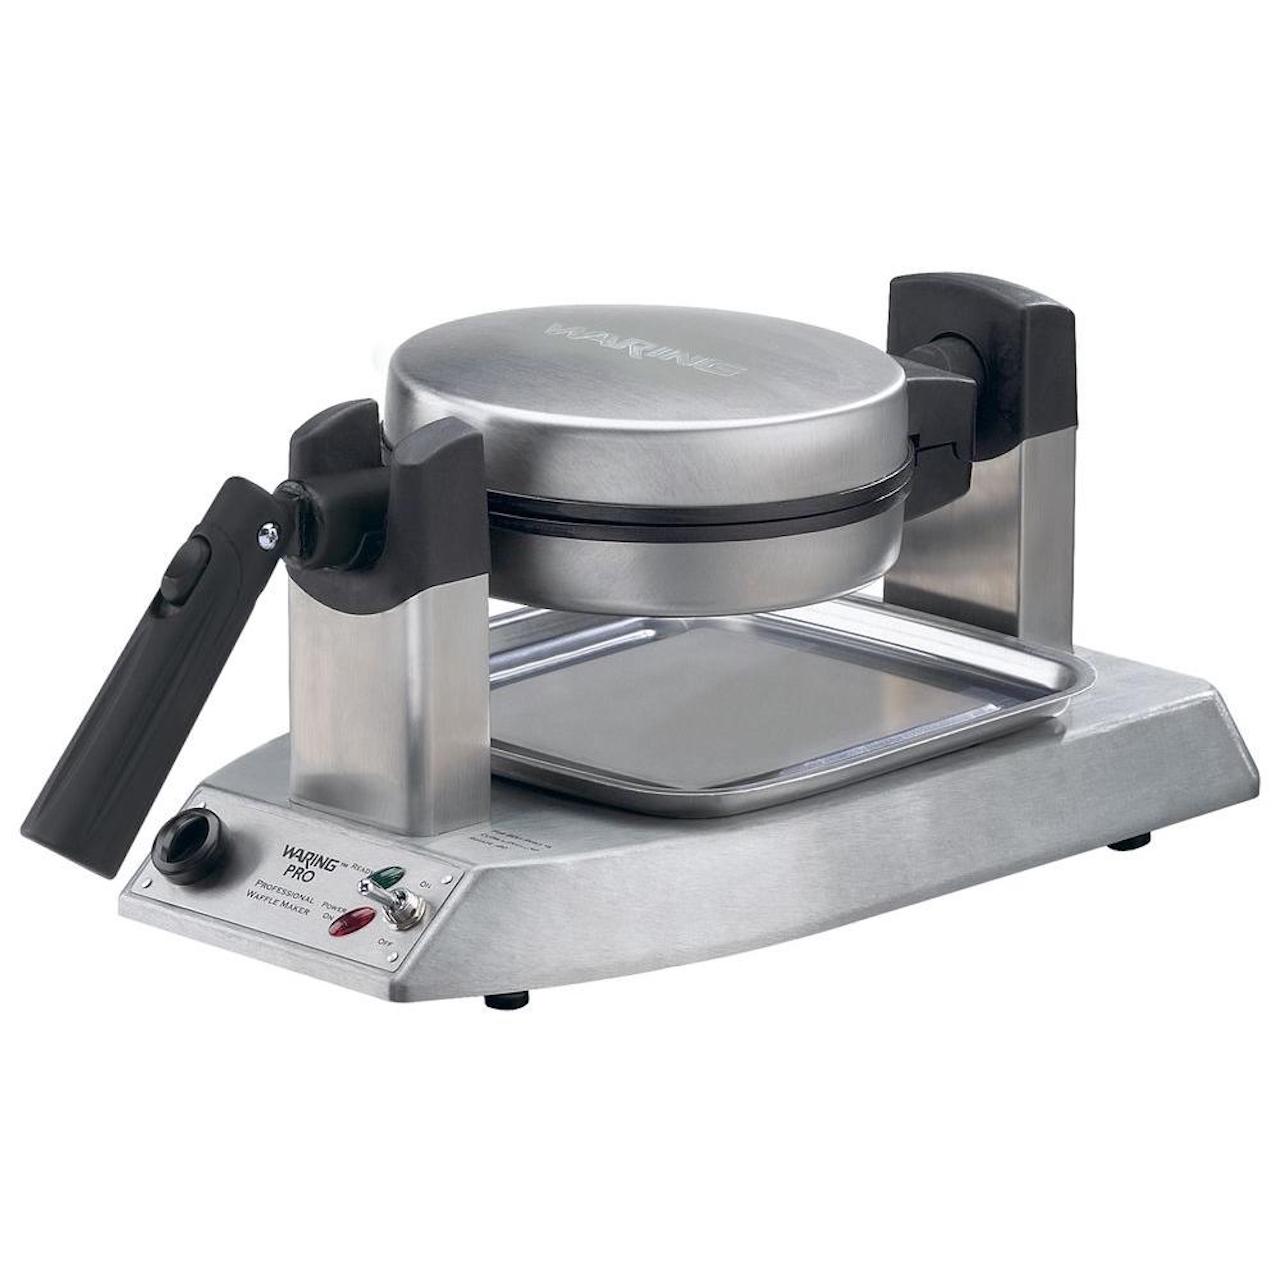
Are you craving the golden, crispy perfection of a homemade waffle? Look no further than the versatile and user-friendly warning waffle iron. With its innovative design and advanced features, the warning waffle iron allows you to create delicious waffles with ease. Whether you are a seasoned chef or a novice in the kitchen, this article will guide you through the step-by-step process of using a warning waffle iron to achieve waffle-making mastery.
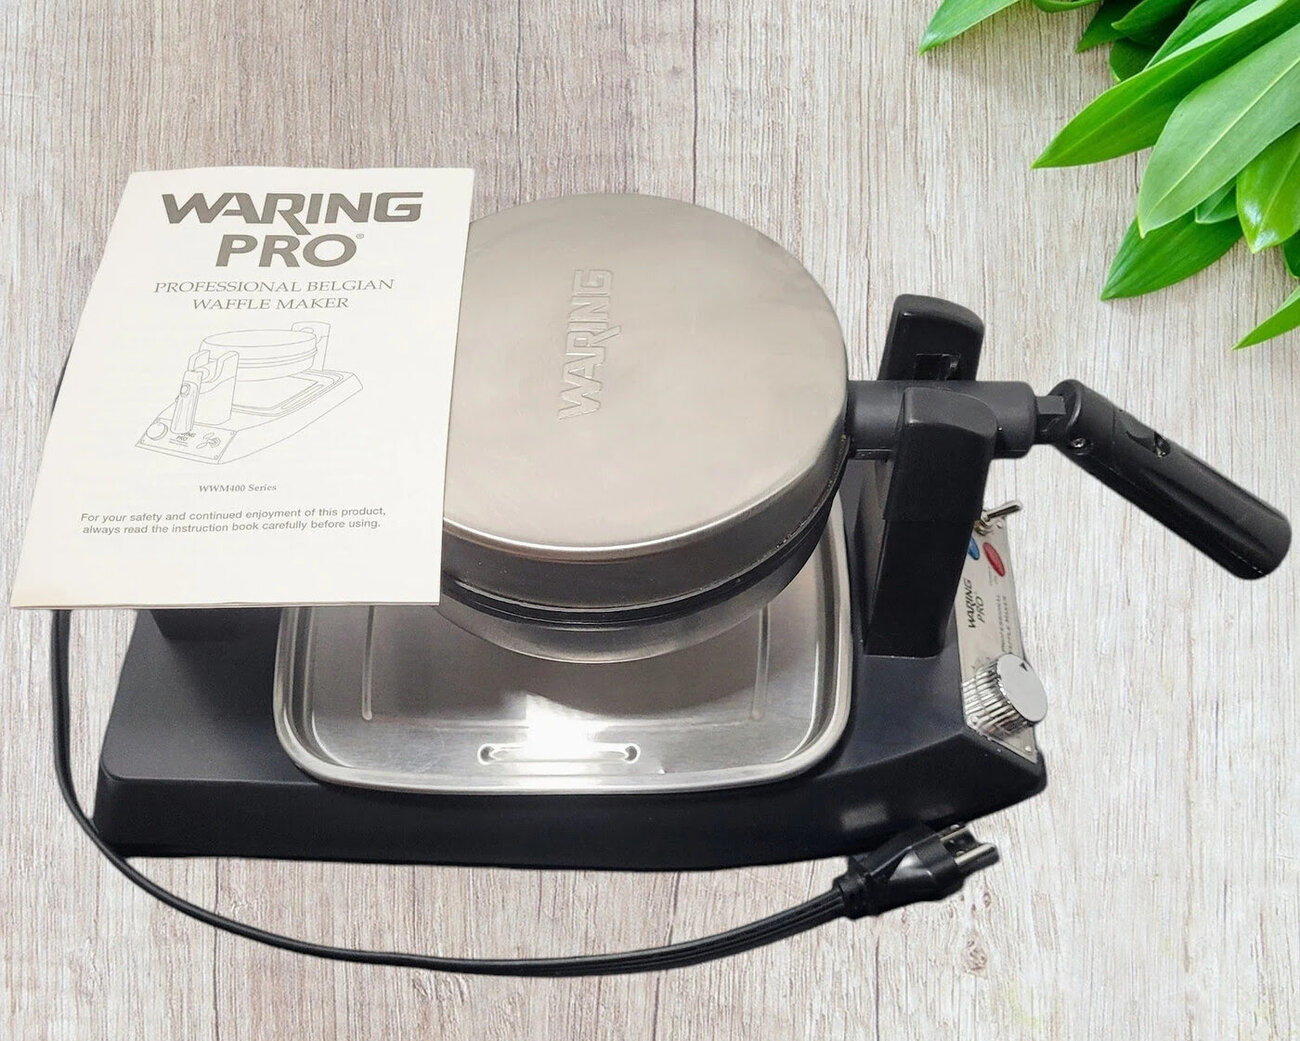
The warning waffle iron is a kitchen appliance that makes waffle preparation a breeze. Its unique construction ensures even heat distribution, resulting in waffles that are perfectly cooked every time. By following the instructions provided and making use of some essential tips and tricks, you can create mouthwatering waffles that will impress even the most discerning taste buds.
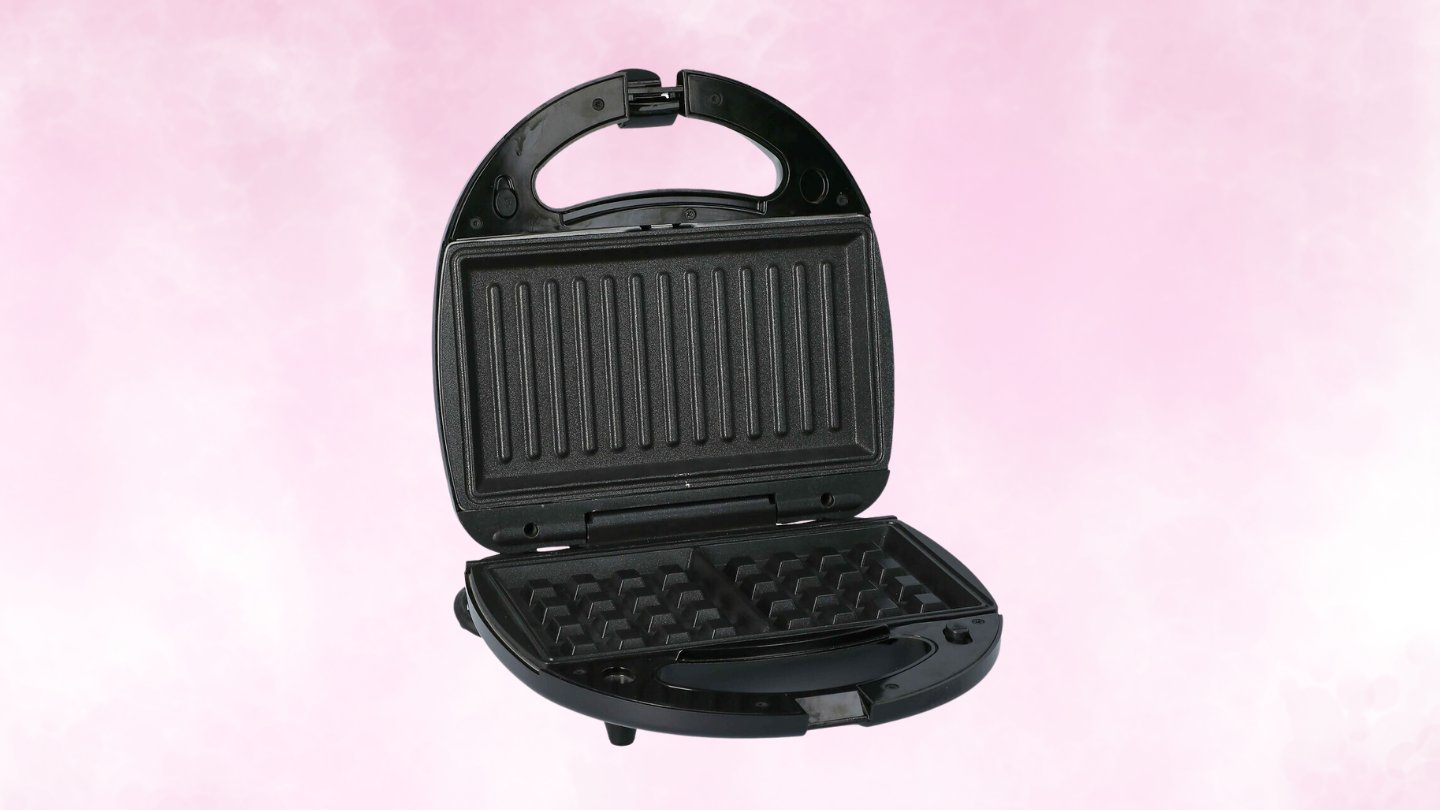
Before diving into the waffle-making process, it is important to familiarize yourself with the different components of the warning waffle iron. Most models consist of two hinged plates, between which the waffle batter is poured. These plates are coated with a non-stick surface that prevents the waffle from sticking and facilitates easy removal. Additionally, the warning waffle iron is equipped with indicator lights and an adjustable temperature control feature, allowing you to customize the cooking process to suit your preferences.
Now that you have a basic understanding of the warning waffle iron, let us delve into the step-by-step guide on how to use it. From preparing the waffle iron to cleaning it after use, each step is essential in creating delectable waffles. So, without further ado, let’s embark on this waffle journey and unlock the delicious possibilities of the warning waffle iron.
Key Takeaways:
- Master the art of using a warning waffle iron to create perfect, golden, and crispy waffles with ease. From preparation to cooking and cleaning, follow the step-by-step guide for waffle-making mastery.
- Embrace the joy of homemade waffles with the versatile and user-friendly warning waffle iron. Experiment with flavors, toppings, and recipes to create delicious waffles that will impress every palate.
Read also: 15 Amazing Waring Waffle Iron For 2025
Step 1: Preparing the Waffle Iron
Before you begin using your warning waffle iron, it is crucial to ensure that it is clean and ready for use. Follow these steps to properly prepare the waffle iron:
- Start by unplugging the waffle iron and allowing it to cool if it was previously in use.
- Check the manufacturer’s instructions for any specific cleaning recommendations or restrictions.
- Using a damp cloth or sponge, wipe down the surface of the waffle iron to remove any residual batter or debris.
- For stubborn residue, you can also use a soft-bristled brush or a non-abrasive sponge to scrub the surface gently.
- After cleaning, rinse the waffle iron with water and dry it thoroughly with a clean cloth or allow it to air dry.
- Inspect the waffle iron for any signs of damage, such as cracks or loose parts. If you notice any issues, refrain from using the appliance and contact the manufacturer for assistance.
Once you have ensured that the waffle iron is clean and in good condition, you are ready to move on to the next step: heating the waffle iron.
Remember, proper preparation of the waffle iron is essential to maintain its performance and longevity. By following these steps, you can ensure that your warning waffle iron is ready to create the perfect waffles.
Step 2: Heating the Waffle Iron
Now that you have prepared the warning waffle iron, it’s time to heat it up before adding the batter. Follow these simple steps to ensure the waffle iron reaches the optimal temperature:
- Make sure the waffle iron is plugged into a power source.
- Locate the heat control knob or setting on the waffle iron. This knob allows you to adjust the temperature according to your preferred level of crispiness.
- Turn the heat control knob to the desired temperature. If you are unsure, start with medium heat and adjust accordingly for future batches.
- Allow the waffle iron to heat up for a few minutes, typically around 5 minutes, although this may vary depending on the model.
- While the waffle iron is heating up, take this time to gather your ingredients and prepare the waffle batter.
Heating the waffle iron ensures that the batter cooks evenly and achieves that signature golden brown color. It is important to note that the indicator lights or beeping sound on the waffle iron will indicate when it has reached the desired temperature. Make sure to familiarize yourself with the specific features of your warning waffle iron.
In the next step, we will cover the importance of using cooking spray to prevent the waffle from sticking to the iron.
Remember, patience is key when it comes to heating the waffle iron. Taking the time to preheat it properly will result in waffles that are perfectly cooked and irresistibly delicious.
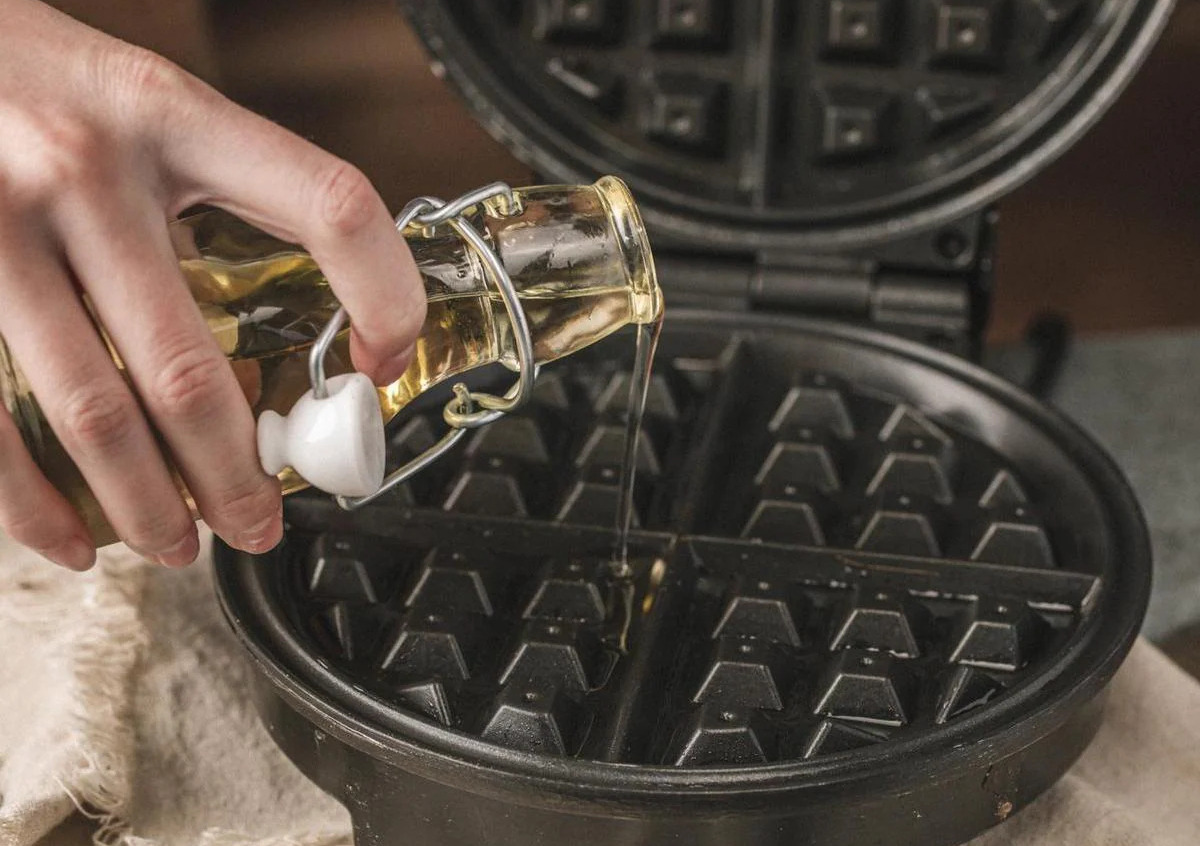
Step 3: Applying Cooking Spray
One of the crucial steps in using a warning waffle iron is applying a thin layer of cooking spray to prevent the waffle from sticking to the iron. Here’s how to properly apply the cooking spray:
- Make sure the waffle iron is still hot after the preheating process.
- Using a non-stick cooking spray, hold the canister a few inches away from the waffle iron.
- Spray a thin, even layer of cooking spray onto the top and bottom plates of the waffle iron.
- If you prefer a brush application, you can use a pastry brush to evenly distribute the cooking spray on both sides.
- Be sure to coat the entire surface of the waffle iron to ensure easy release of the waffle.
By applying cooking spray, you create a barrier between the batter and the waffle iron, preventing the waffle from sticking and ensuring a smooth removal. This step is particularly essential for waffle irons that do not have a non-stick surface.
It is important to note that excessive use of cooking spray can lead to excess oil or residue on the waffle. Therefore, make sure not to oversaturate the waffle iron with cooking spray. A light, even coating is sufficient to achieve the desired non-stick effect.
With the cooking spray applied, you are now ready to move on to the next step: preparing the waffle batter.
Remember, a thin layer of cooking spray goes a long way in preventing your waffles from sticking to the waffle iron. Mastering this step will result in perfectly cooked waffles that effortlessly slide off the plates.
Step 4: Preparing the Batter
Now that your warning waffle iron is heated and the cooking spray is applied, it’s time to prepare the waffle batter. Follow these steps to ensure a delicious and well-mixed batter:
- Gather all the ingredients needed for the waffle batter, including flour, sugar, baking powder, salt, eggs, milk, melted butter, and any additional flavorings you desire.
- In a large mixing bowl, whisk together the dry ingredients, including flour, sugar, baking powder, and salt. This step ensures that the dry ingredients are evenly distributed throughout the batter.
- In a separate bowl, crack the eggs and whisk them lightly to break up the yolks.
- Add the milk to the bowl with the whisked eggs and continue to whisk until well combined.
- Pour the wet ingredients into the bowl with the dry ingredients, along with the melted butter. Stir gently until the ingredients are just combined. Be careful not to overmix, as this can result in tough waffles.
- If desired, add any additional flavorings, such as vanilla extract, cinnamon, or chocolate chips, and stir to incorporate them into the batter.
By following these steps, you will create a smooth and well-mixed batter that will result in light and fluffy waffles. Remember to read the recipe instructions carefully to ensure the correct measurements and proportions of the ingredients.
Now that the batter is prepared, it’s time to move on to the next step: pouring the batter onto the waffle iron.
Remember, the quality of the batter plays a vital role in the outcome of your waffles. Taking the time to properly mix the ingredients will result in waffles that are irresistibly delicious and perfectly textured.
Read also: 15 Best Waffle Iron Waring For 2025
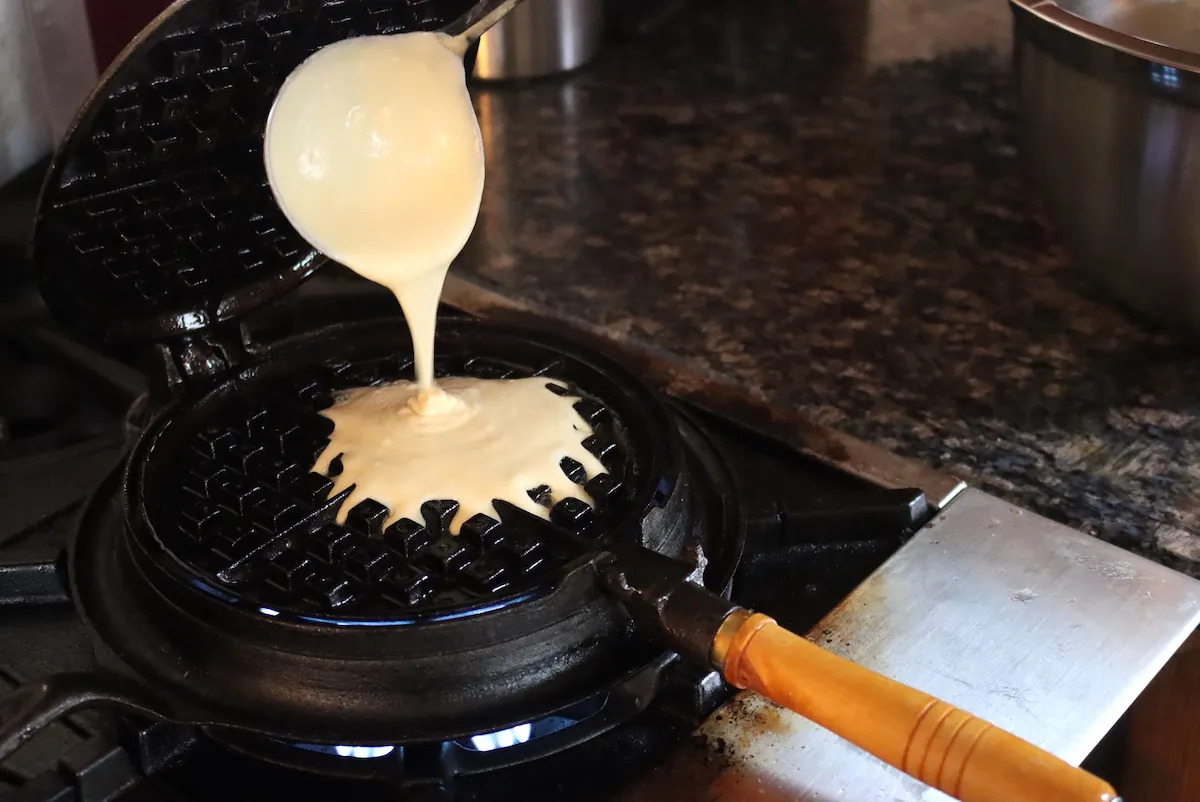
Step 5: Pouring the Batter onto the Waffle Iron
With your waffle batter prepared, it’s time to pour it onto the warning waffle iron. Follow these steps to ensure an even distribution of batter and a perfectly shaped waffle:
- Ensure that the warning waffle iron is still hot and properly preheated.
- Open the waffle iron and position it with the top plate fully raised.
- Using a ladle or measuring cup, pour the prepared batter onto the center of the bottom plate of the waffle iron. The amount of batter will depend on the size and shape of your waffle iron, so refer to the manufacturer’s instructions or recipe for guidance.
- Quickly close the top plate of the waffle iron, applying gentle pressure to evenly distribute the batter.
- Avoid overfilling the waffle iron, as the batter may overflow and create a mess. Start with a smaller amount of batter and adjust accordingly for future batches.
By pouring the batter onto the waffle iron in a controlled and even manner, you ensure that the waffle cooks evenly and maintains its desired shape. Remember that the exact cooking time will vary depending on the recipe and the heat of your warning waffle iron.
In the next step, we will cover how to determine the cooking time for your waffles, ensuring they are cooked to perfection.
Remember, the key to pouring the batter onto the waffle iron is to do so in a steady and controlled manner to achieve waffles that are evenly cooked and visually appealing.
Preheat the waffle iron before adding the batter to ensure even cooking and a crispy exterior. Also, lightly grease the iron to prevent sticking.
Step 6: Closing the Waffle Iron
After pouring the batter onto the warning waffle iron, the next step is to close the waffle iron and begin the cooking process. Follow these steps to ensure that the waffle iron is closed properly:
- With the batter evenly distributed on the bottom plate of the waffle iron, lower the top plate until it gently rests on the batter.
- Apply slight pressure to ensure that the top and bottom plates are in contact with the batter, but be careful not to press too hard, as this can cause the batter to spread too thin.
- Make sure that the waffle iron is securely closed and locked in place. This will ensure that the batter is cooked evenly on both sides.
- Some warning waffle irons have a latch or a locking mechanism to keep the plates closed. If your waffle iron has this feature, engage the latch to prevent the waffle iron from accidentally opening during cooking.
Closing the waffle iron properly is crucial as it allows for even cooking and ensures that the batter is shaped into a perfect waffle. As the batter cooks, the heat will evenly distribute, resulting in a golden and crispy exterior with a fluffy interior.
It is important to note that the cooking time may vary depending on the specific waffle iron model and recipe instructions. In the next step, we will discuss how to determine the cooking time for your waffles.
Remember, take care when closing the waffle iron to ensure that the batter is properly enclosed and evenly cooked. A securely closed waffle iron will result in a perfectly shaped and delicious waffle.
Step 7: Determining Cooking Time
Once the warning waffle iron is closed, it’s important to determine the appropriate cooking time for your waffles. Follow these steps to ensure that your waffles are cooked to perfection:
- Refer to the recipe or manufacturer’s instructions for an estimated cooking time. This will provide a general guideline for how long to cook the waffles.
- Pay attention to the indicator lights or audio signals on your waffle iron. Many models have built-in features that indicate when the waffles are cooked.
- Keep an eye on the steam escaping from the waffle iron. As the batter cooks, steam will be released. Once the steam decreases significantly, it is a good indication that the waffles are close to being done.
- If your waffle iron has an adjustable temperature control feature, experiment with different heat settings to achieve your desired level of crispiness. Cooking the waffles for a slightly longer time on a lower heat setting can result in a crispier exterior.
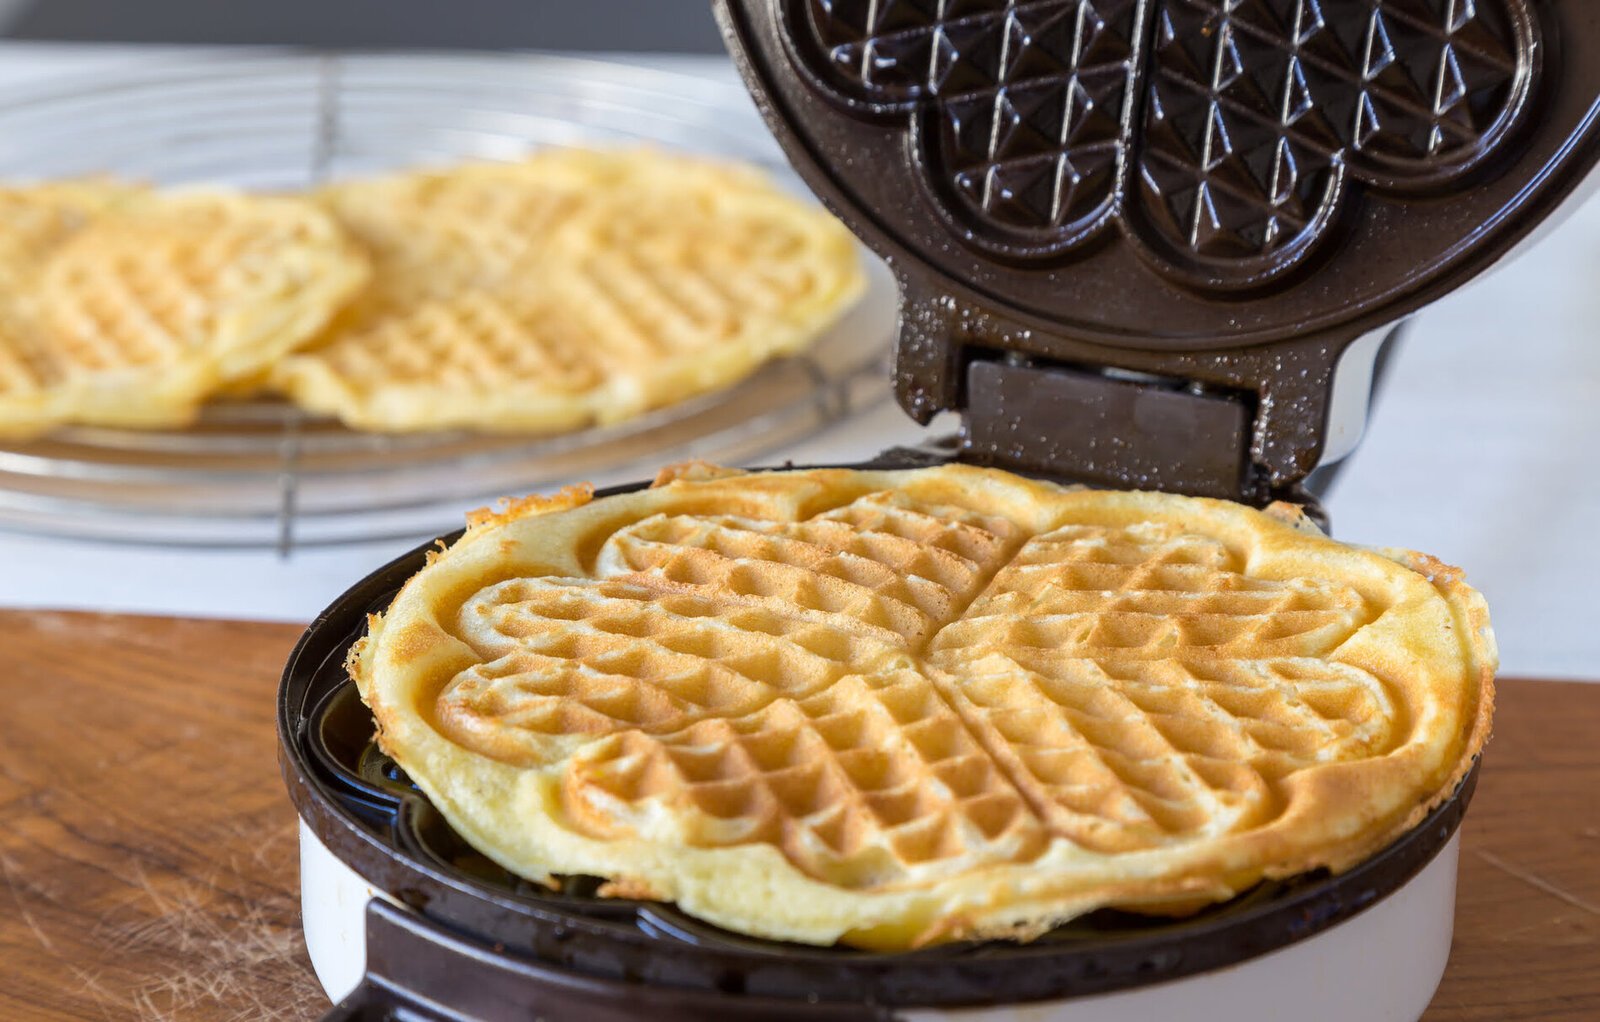
- Open the waffle iron slightly and check the color and texture of the waffle. A golden-brown coloring and a slightly crisp outer layer are signs that the waffle is cooked to perfection.
- Use a fork or a wooden skewer to gently lift the edge of the waffle. If it releases easily without sticking to the plates, it is likely cooked through. If the waffle sticks, close the waffle iron and continue cooking for a little longer.
Keep in mind that practice makes perfect when it comes to determining the cooking time for your waffles. As you gain experience with your specific warning waffle iron and become familiar with the recipe, you will be able to adjust the cooking time to suit your preferences.
Now that you have determined the cooking time for your waffles, it’s time to move on to the next step: opening the waffle iron to check the doneness of the waffles.
Remember, finding the perfect cooking time for your waffles may require some experimentation. With practice, you will be able to create waffles that are cooked to your desired level of crispiness and deliciousness.
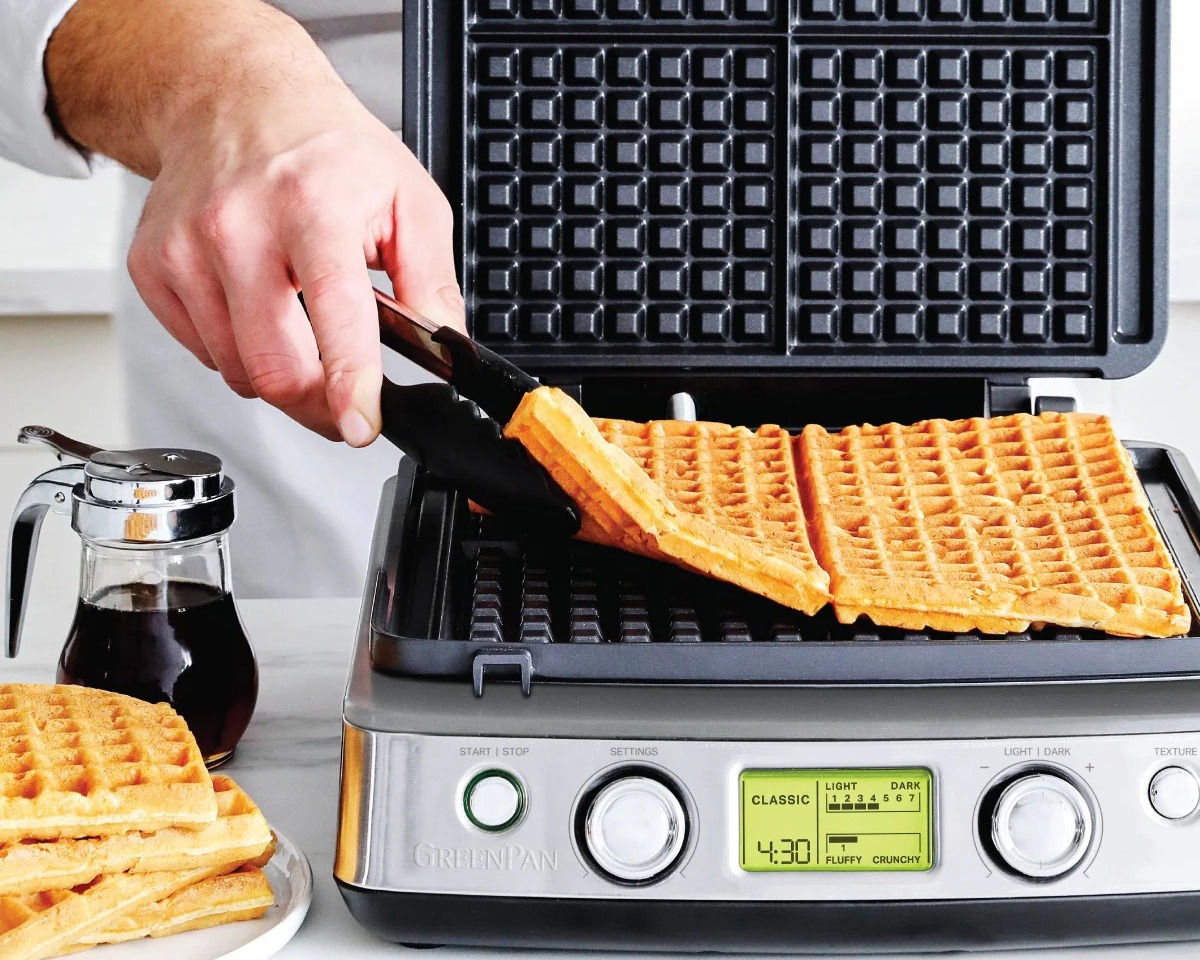
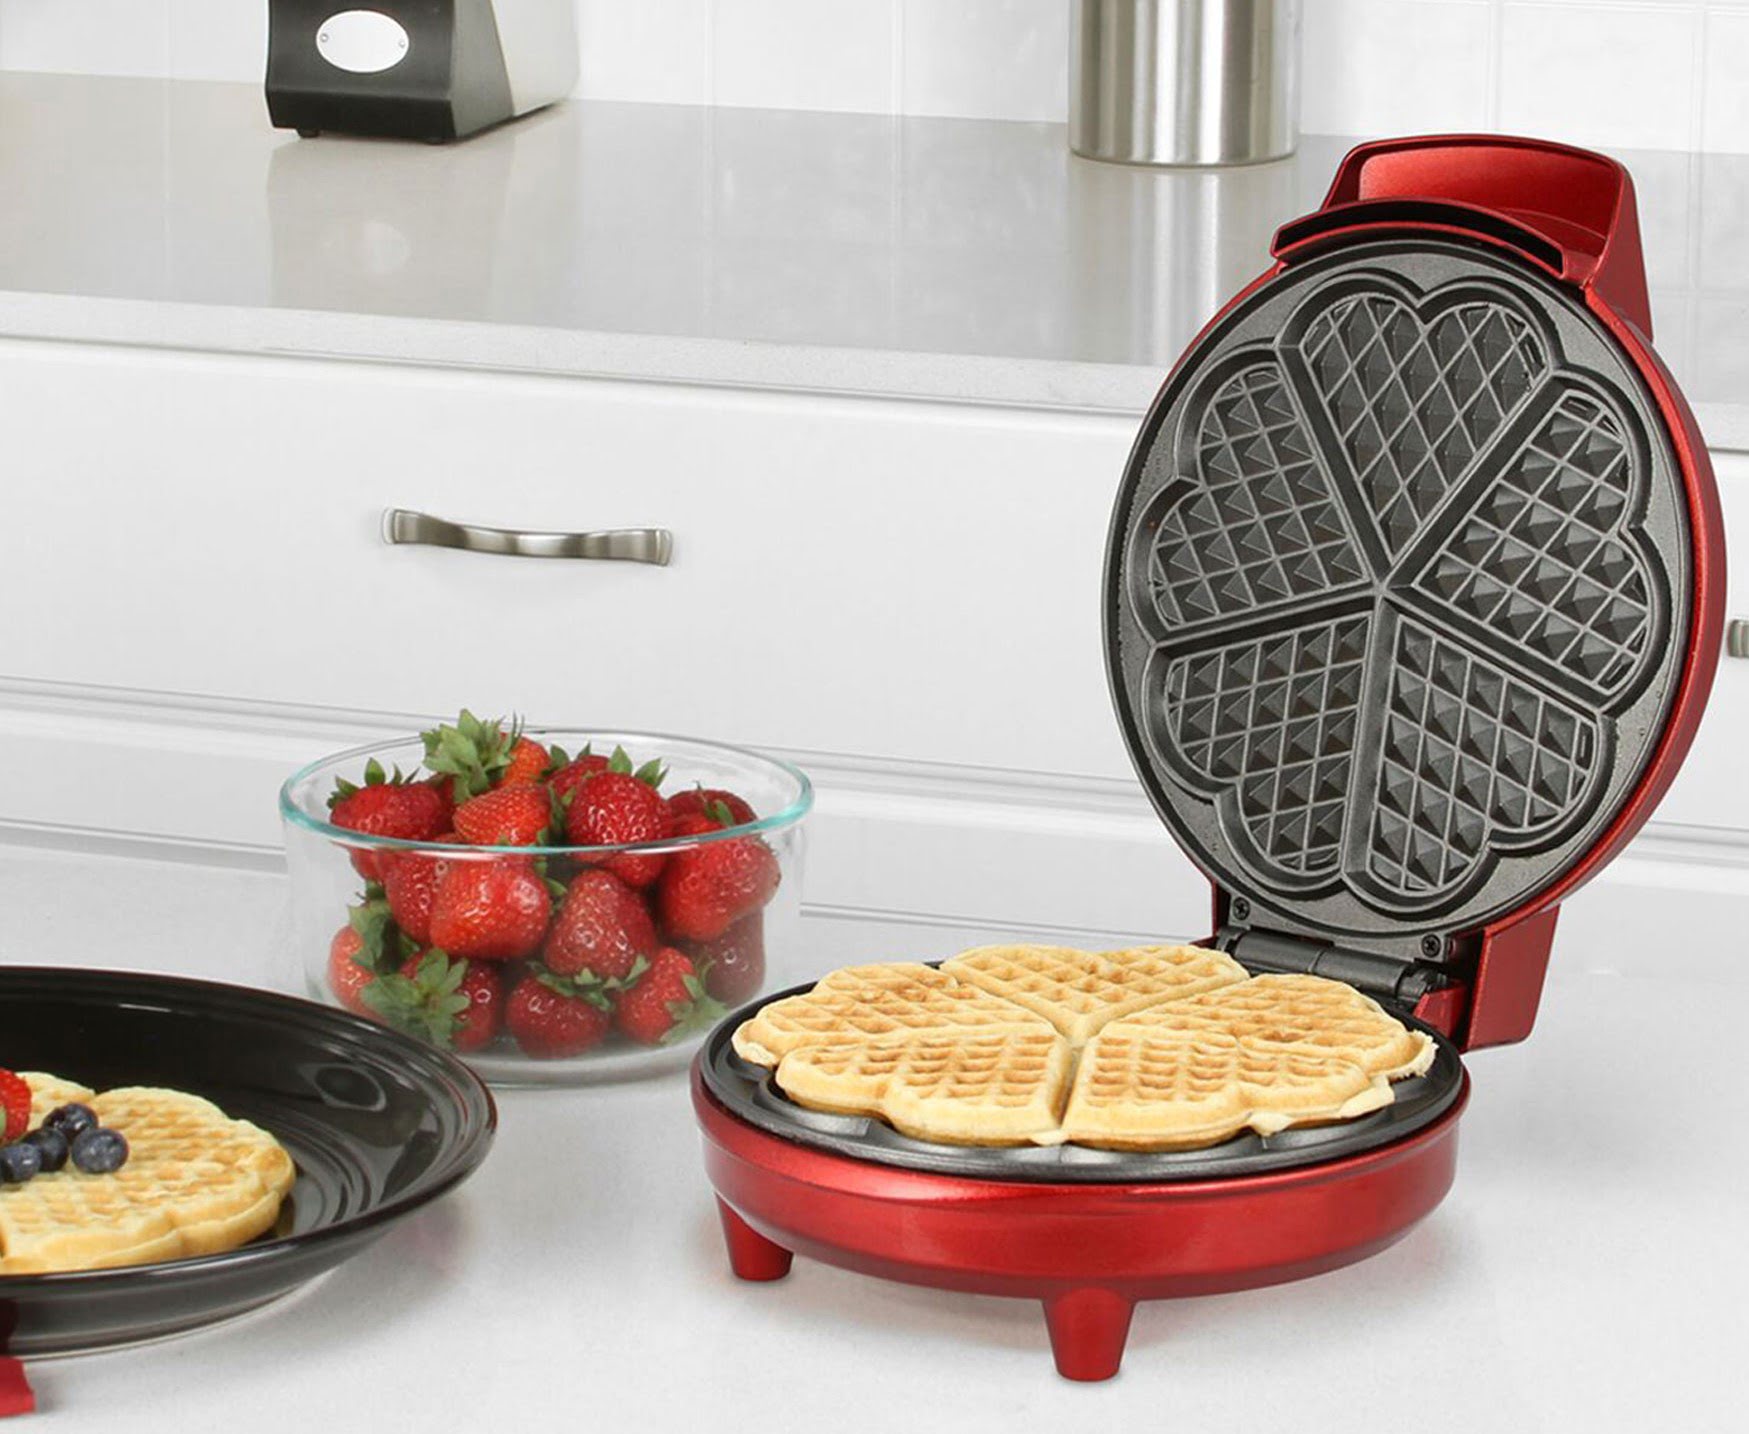
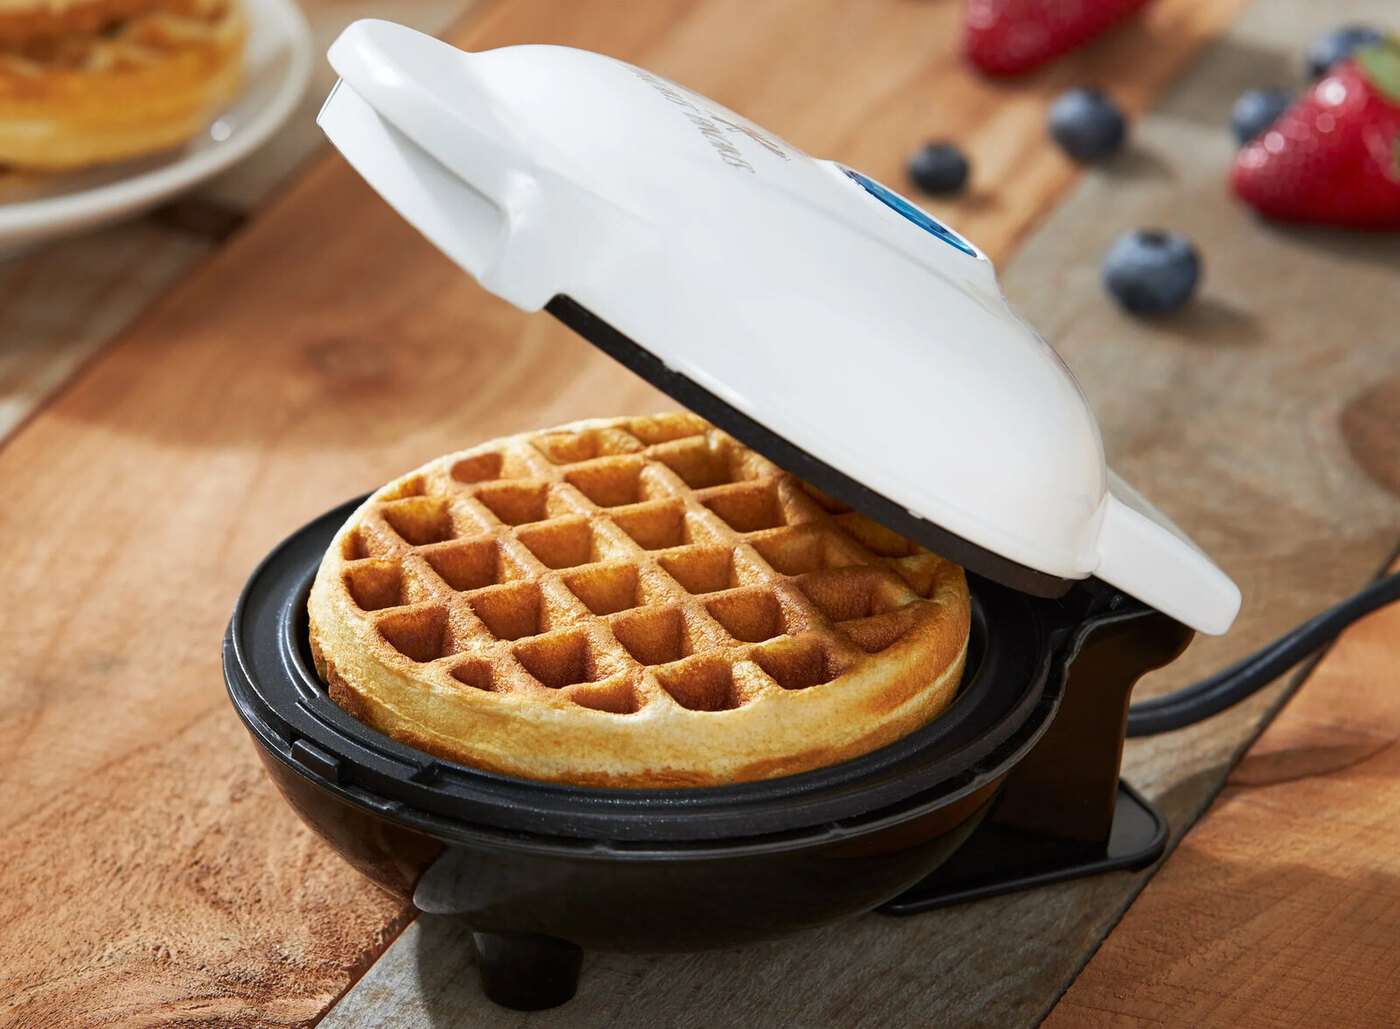
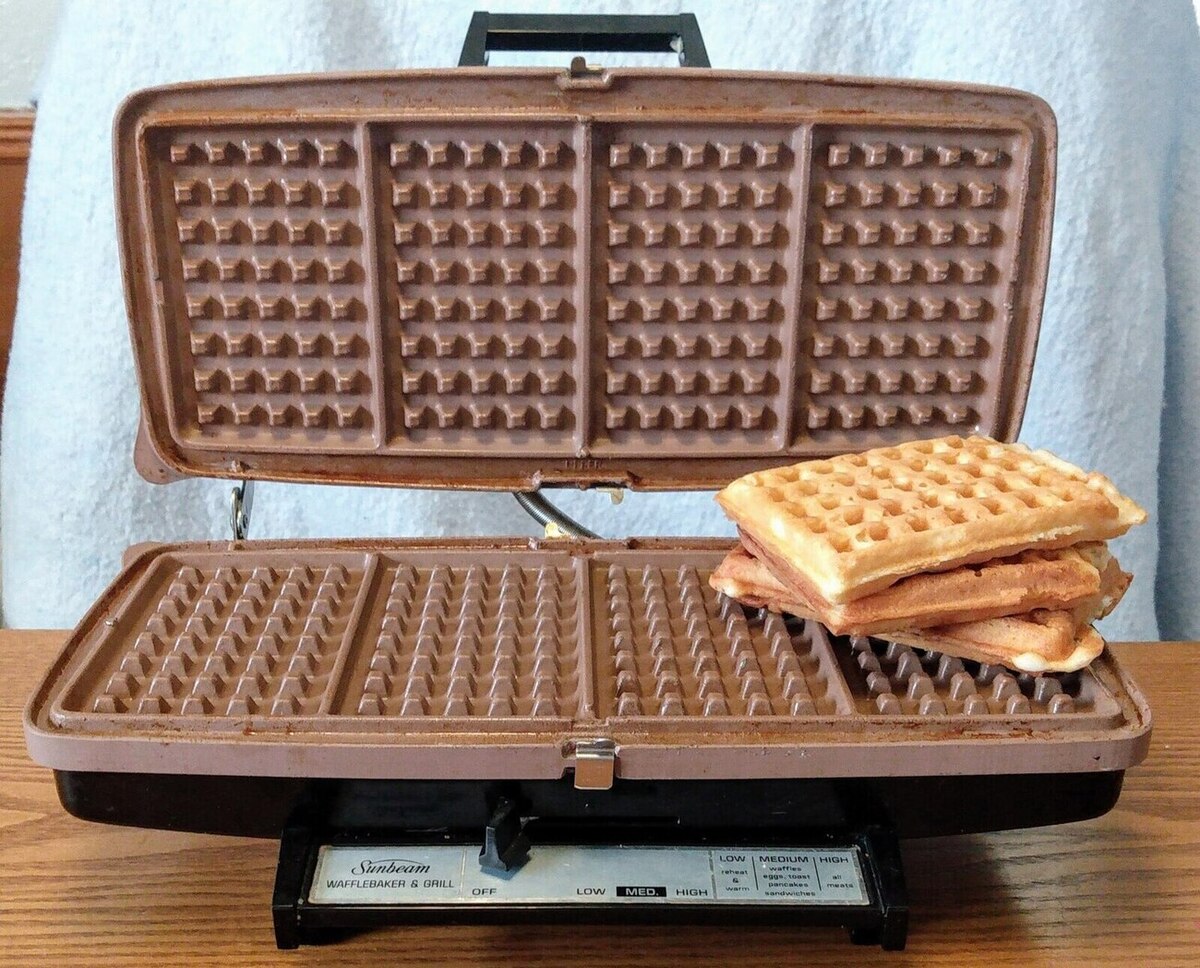
Step 8: Opening the Waffle Iron
Once you have determined that your waffles are cooked to perfection, it’s time to open the warning waffle iron and marvel at the delicious results. Follow these steps to safely open the waffle iron:
- Ensure that the waffle iron is unplugged or turned off, ensuring your safety while handling the appliance.
- Slowly lift the top plate of the waffle iron, using oven mitts or heat-resistant gloves to protect your hands from the hot surfaces.
- Avoid opening the waffle iron fully in one swift motion, as the steam released during the cooking process can cause burns. Instead, lift it slightly and pause for a few seconds to allow the steam to dissipate.
- Gently lift the waffle from the bottom plate using a silicone or wooden spatula, ensuring that it fully releases without sticking to the plates.
- Place the cooked waffle on a wire rack or a heat-resistant plate to cool slightly before serving.
- Before closing the waffle iron for the next batch, wipe any excess crumbs or residue from the plates using a soft cloth or paper towel.
Opening the warning waffle iron can be an exciting moment as you reveal the beautifully cooked waffles. Take care to avoid any potential burns and handle the hot surfaces with caution.
Once the waffle is safely removed from the waffle iron, it’s time to enjoy the fruits of your labor. Serve the freshly cooked waffle with your favorite toppings, such as maple syrup, fresh fruit, whipped cream, or a sprinkle of powdered sugar.
Remember, safety should always be a priority when opening the waffle iron. By taking the necessary precautions, you can savor the satisfaction of perfectly cooked waffles without any accidents or mishaps.
Read more: How To Clean A Nordic Ware Waffle Iron
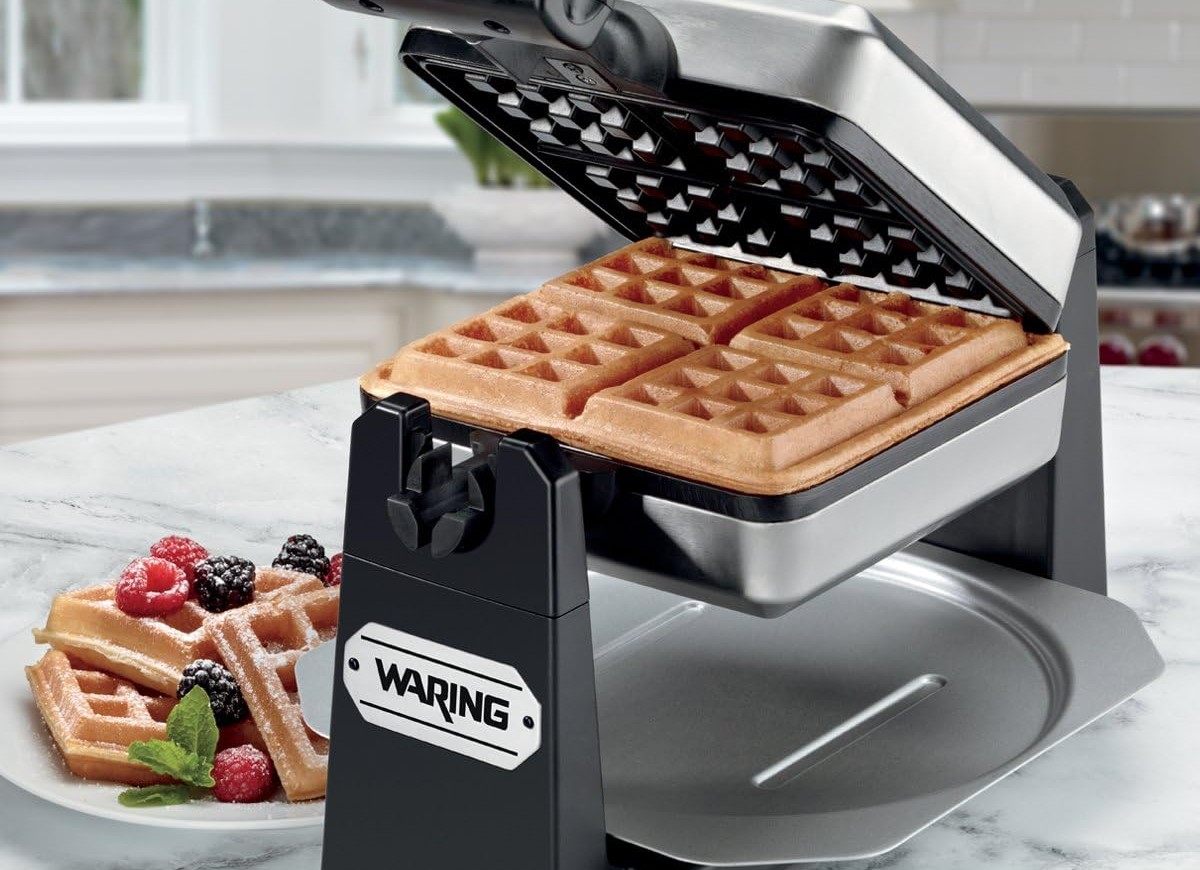
Step 9: Removing the Waffle
Now that you have opened the warning waffle iron and admired your beautifully cooked waffle, it’s time to remove it from the plate and transfer it to a serving plate. Follow these steps to safely remove the waffle:
- Ensure that the waffle iron is still unplugged or turned off to avoid any accidental burns.
- Using a silicone or wooden spatula, gently loosen the edges of the waffle from the plates. Start from one side and work your way around until the entire waffle is free.
- Slowly slide the spatula under the waffle, lifting it from the plate with care to prevent it from tearing or breaking.
- Transfer the waffle to a serving plate, placing it with the golden-brown side facing up for a visually appealing presentation.
- If you are cooking multiple waffles, place the freshly cooked waffle in a preheated oven set to low heat (around 200°F or 93°C) to keep it warm while you cook the remaining waffles.
Removing the waffle from the warning waffle iron requires a gentle touch to prevent any damage to the delicate structure. By following these steps, you can ensure that your waffle remains intact and ready to be enjoyed.
Now that your waffle is removed and placed on a serving plate, it’s time to indulge in the deliciousness. Add your favorite toppings, such as butter, syrup, fruit, or whipped cream, to personalize the waffle according to your taste preferences.
Remember, patience and care are essential when removing the waffle from the warning waffle iron. With a gentle touch and the right tools, you can savor the moment of triumph as you enjoy your perfectly cooked waffle.
Step 10: Cleaning the Waffle Iron
After enjoying your delicious waffles, it’s important to properly clean the warning waffle iron to maintain its performance and longevity. Follow these steps to effectively clean the waffle iron:
- Ensure that the waffle iron is unplugged and has cooled down completely before cleaning.
- Using a damp cloth or sponge, wipe down the surface of the waffle iron to remove any batter or residue. Be gentle to avoid scratching the non-stick coating.
- If there are hardened bits of batter stuck on the plates, you can gently scrape them off using a non-abrasive brush or a plastic scraper. Avoid using sharp objects or abrasive materials that can damage the surface.
- If the waffle iron plates are removable, carefully detach them according to the manufacturer’s instructions and clean them separately in warm, soapy water. Rinse thoroughly and dry them before reattaching.
- If the waffle iron plates are not removable, wipe them with a clean, damp cloth or sponge to remove any remaining residue. Use caution to avoid getting any water near the electrical components.
- If there are stubborn stains or residue on the plates, mix a solution of equal parts water and white vinegar. Apply the mixture to the affected areas and let it sit for a few minutes before wiping clean.
- Once the plates are clean, wipe down the exterior of the waffle iron with a damp cloth and dry it thoroughly.
- Store the warning waffle iron in a cool, dry place, ensuring that the cord is neatly wrapped and secured.
Regular cleaning is essential to remove any buildup or residue that can affect the performance of your waffle iron. By following these steps, you can maintain a clean and well-maintained waffle iron for many delicious waffle-making sessions to come.
Remember, proper maintenance and cleaning will prolong the lifespan of your warning waffle iron, ensuring that it continues to create perfect waffles with ease.
Conclusion
Congratulations! You have now mastered the art of using a warning waffle iron to create mouthwatering waffles from the comfort of your own home. By following the step-by-step guide outlined in this article, you are well-equipped to achieve waffle-making perfection.
We began by introducing you to the innovative features and design of the warning waffle iron, highlighting its ease of use and ability to consistently produce delicious waffles. We then guided you through each step of the waffle-making process, from preparing the waffle iron to cleaning it after use.
From preparing the waffle iron and applying cooking spray to pouring the batter, closing the waffle iron, and determining the cooking time, each step plays a critical role in creating waffles that are golden, crispy, and irresistibly delicious. Properly opening the waffle iron and removing the waffle ensures that your creations maintain their shape and presentation, while cleaning the waffle iron keeps it in top condition for future use.
Remember, practice makes perfect when it comes to using a warning waffle iron. As you gain experience and familiarity with your specific waffle iron model, recipe, and personal preferences, you can adjust and customize each step to achieve your desired level of crispiness, flavor, and texture.
So, gather your ingredients, preheat your warning waffle iron, and let your culinary creativity run wild. Whether you prefer classic waffles with a simple drizzle of syrup or you enjoy experimenting with unique flavor combinations and toppings, the warning waffle iron is your key to waffle-making success.
Embrace the joy of creating homemade waffles for yourself, family, and friends. Explore different recipes, experiment with various batters, and don’t be afraid to add your own personal touch to these delightful treats.
Now, armed with your newfound knowledge, it’s time to embark on your waffle-making adventure. Enjoy the delicious rewards and savor every bite of your homemade waffles. Happy waffle-making!
Frequently Asked Questions about How To Use A Waring Waffle Iron
Was this page helpful?
At Storables.com, we guarantee accurate and reliable information. Our content, validated by Expert Board Contributors, is crafted following stringent Editorial Policies. We're committed to providing you with well-researched, expert-backed insights for all your informational needs.

0 thoughts on “How To Use A Waring Waffle Iron”