
Articles
How To Put Together A Food Processor
Modified: January 5, 2024
Discover how to easily assemble a food processor with this informative article. Learn step-by-step instructions and tips for putting together your new kitchen gadget.
(Many of the links in this article redirect to a specific reviewed product. Your purchase of these products through affiliate links helps to generate commission for Storables.com, at no extra cost. Learn more)
Introduction
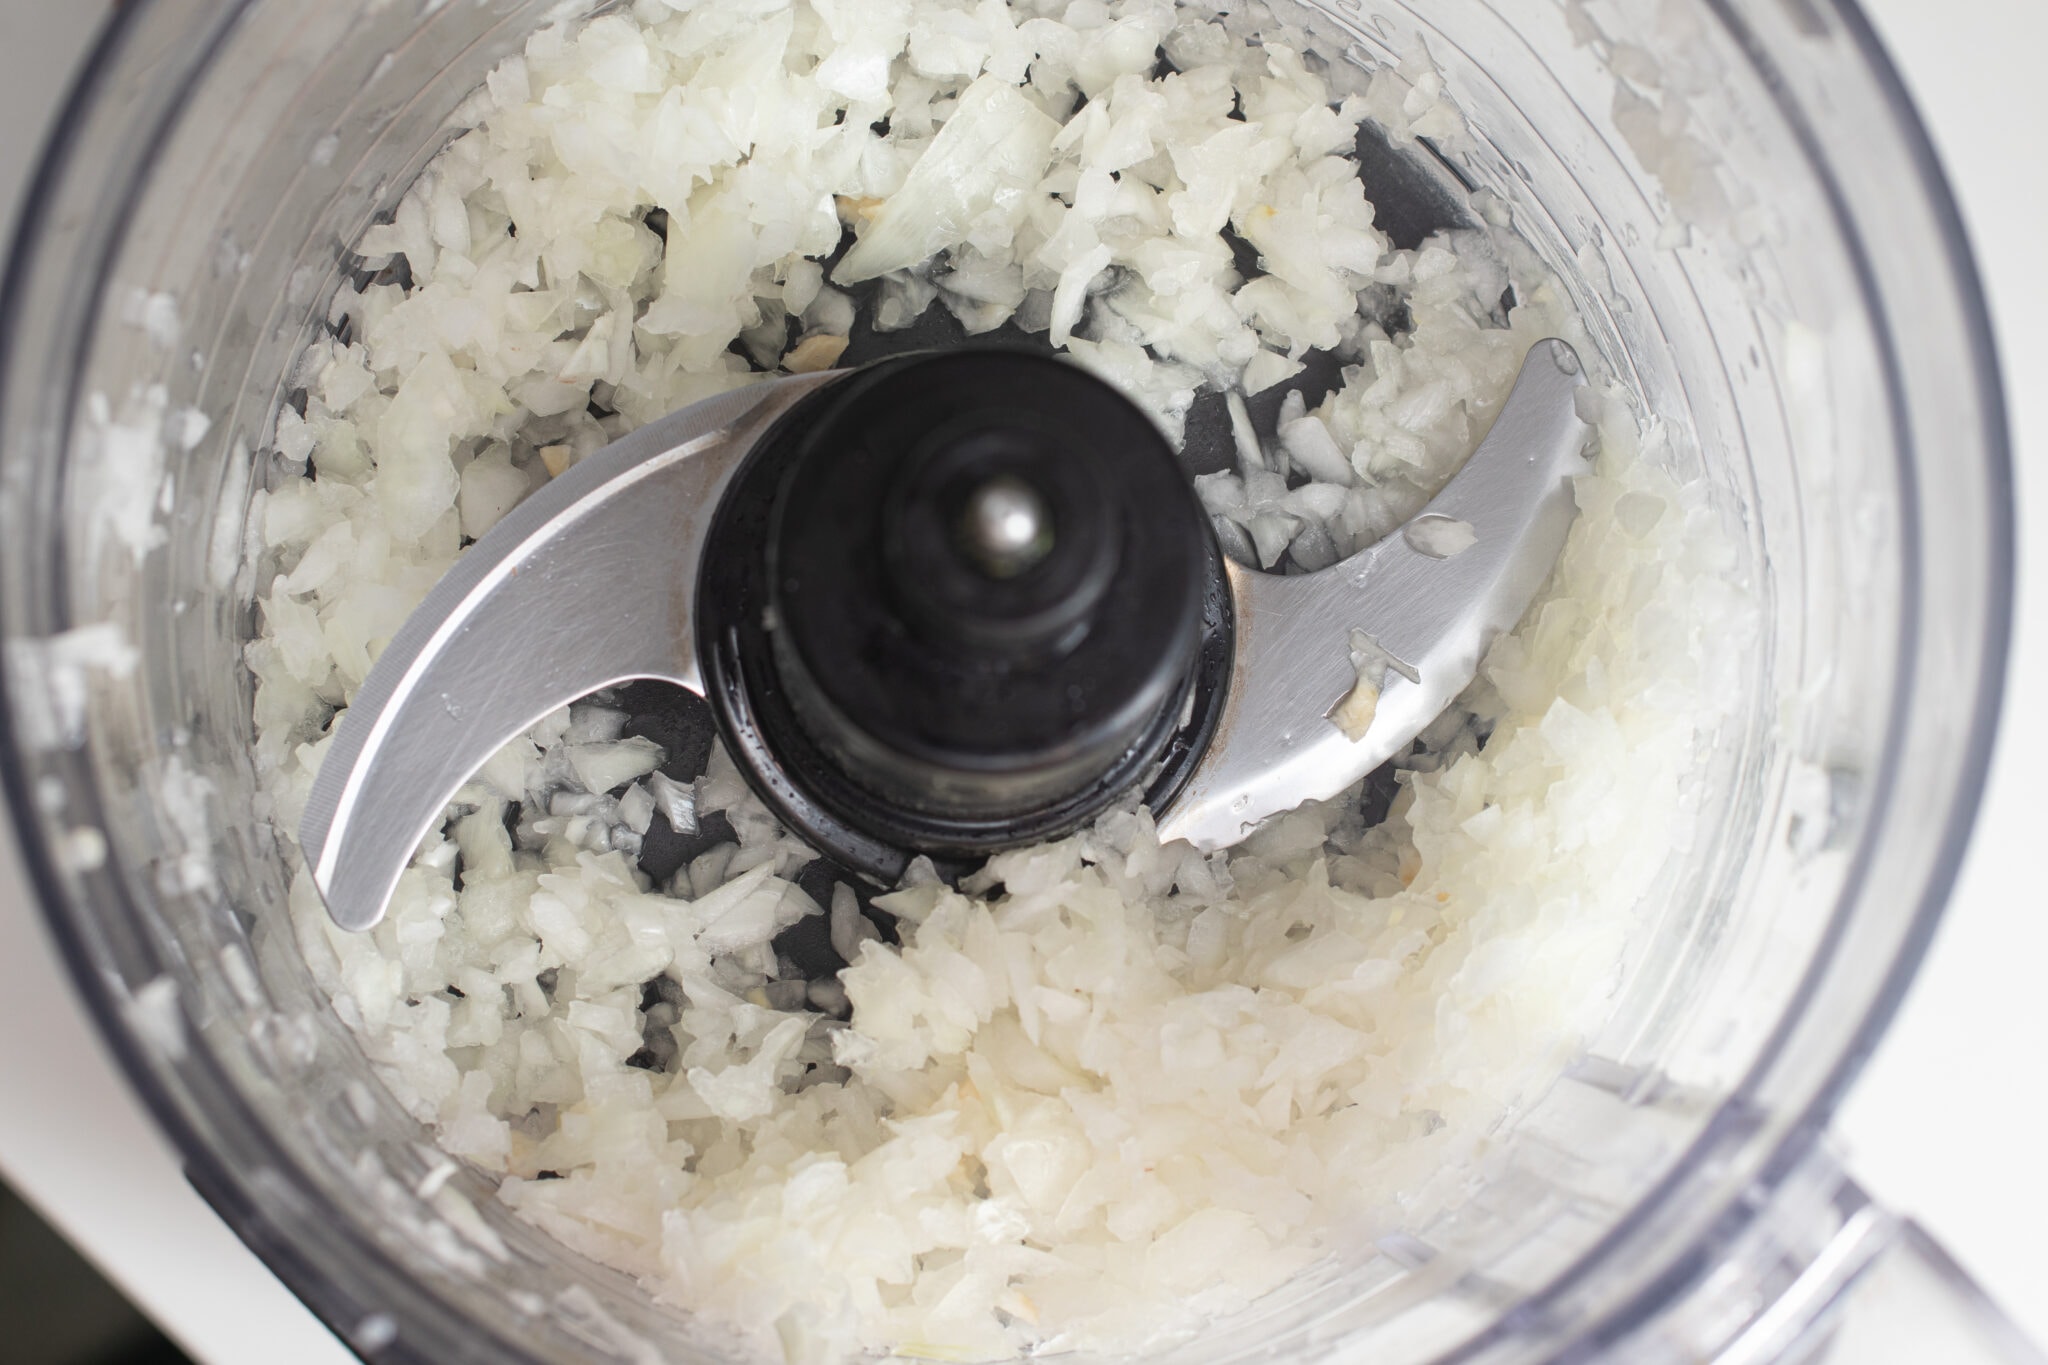
Welcome to the world of food processors! These versatile kitchen appliances are a must-have for any cooking enthusiast or professional chef. With their ability to chop, dice, slice, puree, and blend ingredients with ease, food processors can save you valuable time and effort in the kitchen.
However, if you’ve just purchased a new food processor and are unsure of how to put it together, don’t worry! In this article, we will guide you through the step-by-step process of assembling and operating your food processor, ensuring that you can take full advantage of its functionality.
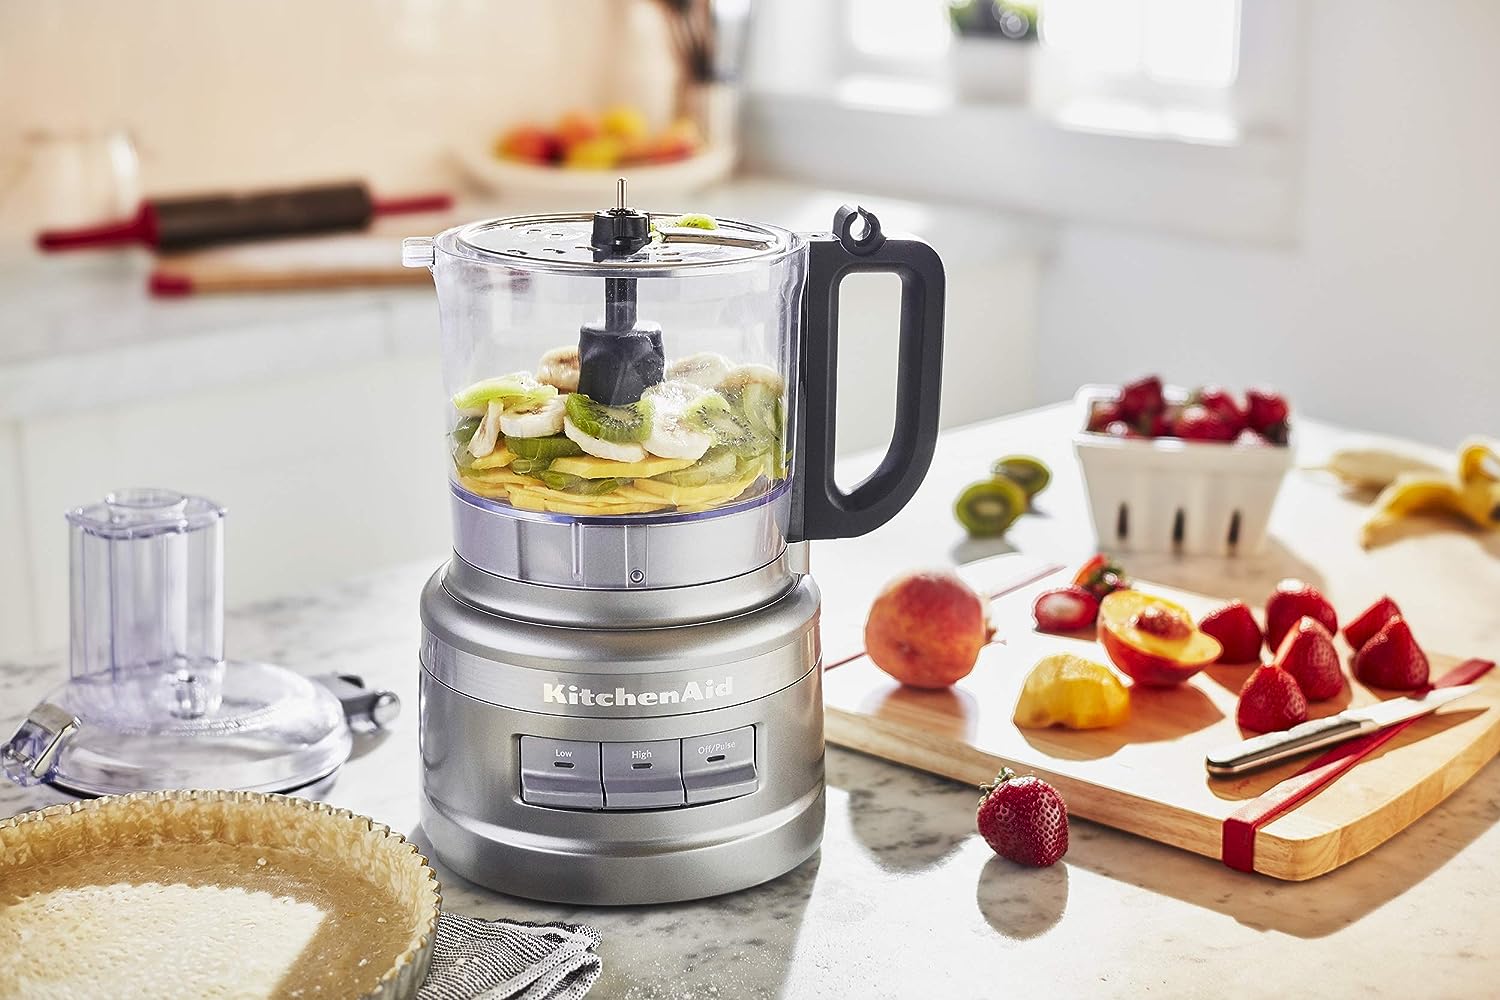
Before we jump into the nitty-gritty details, let’s take a moment to understand the basic components of a food processor. Most food processors consist of a motorized base, a large mixing bowl, a variety of blades and attachments, and a control panel. These parts work together to carry out different food processing tasks, providing you with endless possibilities in the kitchen.
Ready to get started? Let’s dive into the exciting world of food processors and learn how to put one together!
Key Takeaways:
- Assembling a food processor involves unpacking, assembling the main components, attaching blades, understanding the control panel, operating the machine, and cleaning and maintaining it. This versatile kitchen appliance streamlines culinary tasks and opens up endless possibilities for creativity.
- Prioritize safety when using a food processor, familiarize yourself with the manufacturer’s instructions, handle sharp blades with caution, and always securely attach the bowl and lid before operating the machine. Enjoy the convenience, efficiency, and versatility that a food processor brings to your kitchen!
Step 1: Unpacking the Food Processor
Congratulations on your new food processor! Before you can start using it, you need to unpack it carefully. Start by finding a clean and spacious area on your kitchen counter or table to work with. Make sure you have enough space to lay out all the components and accessories.
Begin by removing the packaging materials, such as cardboard and plastic wrap, from the box. Take out the main unit, which is the motorized base of the food processor. Place it on the counter and inspect it for any visible damage. If you notice any, contact the manufacturer or retailer for assistance.
Next, locate the mixing bowl and lid. These are essential components that will hold the ingredients you’ll be processing. Remove them from their packaging and place them near the main unit. Check the bowl and lid for any signs of damage or cracks.
Now, it’s time to unwrap the various blades and attachments. These are the tools that will help you achieve different food processing tasks. Take them out of their packaging one by one and organize them on the counter. Make sure to check each blade and attachment for any imperfections or signs of wear.
Lastly, check if your food processor comes with any additional accessories, such as a spatula, a storage case, or a recipe book. These add-ons can enhance your food processing experience and provide you with useful guidelines and ideas.
Once you have carefully unpacked all the components and accessories, take a moment to familiarize yourself with them. Read the instruction manual, if provided, to gain a better understanding of each part and its purpose. This will ensure a smooth and efficient assembly process in the next steps.
With your food processor unpacked and ready for assembly, you’re now one step closer to experiencing the wonders of this amazing kitchen appliance. Let’s move on to the next step: assembling the food processor!
Step 2: Assembling the Food Processor
Now that you’ve unpacked all the components of your food processor, it’s time to put them together. Assembly may vary slightly depending on the make and model of your food processor, so be sure to refer to the instruction manual for specific guidelines. However, here are the general steps to follow:
- Begin by placing the motorized base on a stable and level surface. This is the main unit that houses the motor and controls.
- Next, take the mixing bowl and ensure it is clean and dry. Locate the corresponding slots or tabs on the base of the bowl and align them with the connectors on the motorized base.
- Gently twist the bowl clockwise until you feel it lock into place. It should fit snugly and securely on the base.
- Now, take the lid and examine its design. Look for any tabs or locking mechanisms that will align with the bowl and ensure a proper fit.
- Position the lid on top of the bowl, making sure it is centered. Press down firmly until you hear or feel it click into place.
- Double-check that the bowl and lid are securely attached to the motorized base. Give them a gentle tug to ensure they are properly locked in.
With the main components assembled, your food processor is now ready for the next step: attaching the blades and attachments. This is where the magic happens, as these parts will determine the specific food processing tasks you can accomplish. Let’s move on to the next step to explore further!
Step 3: Attaching the Blades and Attachments
With the food processor assembled, it’s time to attach the blades and attachments that will enable you to achieve different food processing tasks. Most food processors come with a variety of blades and attachments for chopping, slicing, grating, and more. Here’s how to attach them:
- Start by identifying the specific blade or attachment you want to use. Refer to the instruction manual for guidance on which blade or attachment is suitable for your desired task.
- Hold the chosen blade or attachment by its handle, ensuring that it is clean and dry. Take note of any tabs or notches on the blade that will align with the food processor’s shaft.
- Locate the shaft on the motorized base of your food processor. It is usually located in the center and may be covered by a protective cap.
- Align the tabs or notches on the blade or attachment with the shaft on the base.
- Insert the blade or attachment onto the shaft and press down firmly until it clicks into place. You may need to twist it slightly to secure it properly.
- Give it a gentle tug to ensure that it is securely attached and won’t come loose during operation.
Repeat these steps if you have multiple blades or attachments to attach. Each blade or attachment will serve a specific purpose, allowing you to accomplish a wide range of food processing tasks with ease and precision.
It’s important to note that when handling the blades, it’s crucial to exercise caution. They are sharp and can cause injury if not handled properly. Always use the provided handles or protective covers when attaching or removing blades to minimize the risk of accidents.
With the blades and attachments securely attached, your food processor is now ready for the next step: securing the bowl and lid. Let’s move on to learn how to do that!
Step 4: Securing the Bowl and Lid
Once you’ve attached the blades and attachments to your food processor, it’s time to secure the bowl and lid. This step ensures that the ingredients you’ll be processing stay contained and that the machine operates safely and effectively. Follow these steps to secure the bowl and lid:
- Check that the mixing bowl and lid are properly aligned and securely attached to the motorized base.
- Ensure that the bowl is empty and clean, and that the lid is free from any obstructions or debris.
- With one hand holding the bowl in place, use the other hand to position the lid over the bowl.
- Align any tabs or notches on the lid with the corresponding slots or connectors on the bowl.
- Gently press down on the lid until it clicks or locks into place.
- Gently tug on the lid to make sure it is securely attached and won’t come loose during operation.
It’s important to note that most food processors are equipped with safety features that prevent them from operating if the bowl and lid are not properly secured. This ensures that you can safely use the machine without the risk of any accidents.
If you encounter any difficulties in securing the bowl and lid, refer to the instruction manual for further guidance. Each food processor may have its own unique locking mechanism, so it’s essential to follow the manufacturer’s instructions to ensure proper operation.
With the bowl and lid securely attached, your food processor is almost ready for action. But before we dive into operating it, let’s take a moment to understand the control panel. Move on to the next step to learn more!
When assembling a food processor, make sure to align the arrows on the bowl and lid before twisting to lock them in place. This ensures a secure fit and prevents any leaks or spills during use.
Step 5: Understanding the Control Panel
Now that you have your food processor fully assembled, it’s time to familiarize yourself with the control panel. Understanding the different buttons and settings will allow you to operate the machine efficiently and achieve the desired results. Here are some common features you may find on the control panel:
- On/Off Switch: This button turns the food processor on or off. It’s usually located towards the front or side of the machine.
- Pulse Function: The pulse button allows you to manually control the processing speed. When pressed, the food processor will operate at a high speed for as long as you hold the button down. This feature is useful for achieving precise cuts or textures.
- Speed Settings: Many food processors come with multiple speed settings, ranging from low to high. These buttons or knobs allow you to adjust the processing speed according to the specific task or recipe you’re working on.
- Timer Function: Some food processors have a built-in timer that allows you to set a specific processing time. This feature ensures that you don’t over-process or under-process your ingredients.
- Safety Lock Mechanism: To prevent accidental operation, food processors often have a safety lock mechanism. This may involve aligning specific markings or twisting the lid into place to engage the lock.
Take the time to read the instruction manual that came with your food processor. It will provide you with detailed information on how to use the control panel and any additional features specific to your model. Familiarize yourself with the different buttons, their functions, and any recommended settings for various food processing tasks.
Understanding the control panel will empower you to utilize your food processor to its full potential, ensuring that you can efficiently process a wide range of ingredients and achieve desired results in your recipes.
Now that you know how to navigate the control panel, it’s time to move on to the exciting part: operating the food processor. Let’s explore the next step together!
Step 6: Operating the Food Processor
With the components assembled and the control panel understood, it’s time to start operating your food processor. Operating a food processor typically involves a few simple steps. Here’s how to get started:
- Ensure that the food processor is securely placed on a stable surface and that the bowl and lid are properly attached.
- Place your desired ingredients into the bowl. Make sure not to exceed the maximum capacity indicated by the manufacturer to avoid any spills or malfunctions.
- If your food processor has speed settings, select the appropriate speed based on the type of ingredient you’re processing. For softer ingredients, a lower speed may suffice, while denser or tougher ingredients may require higher speeds.
- If your food processor has a pulse function, press and hold the pulse button to achieve quick, intermittent bursts of processing. This is useful when you want more control over the texture or consistency of the ingredients.
- Engage the safety lock mechanism, if applicable, to ensure that the food processor operates only when properly secured. This may involve twisting the lid or aligning specific markings.
- Once you’re ready to start processing, press the on/off switch or the designated power button on the control panel.
- Observe the ingredients as they are being processed. Keep an eye on the desired texture or consistency, and adjust the processing time or speed as needed.
- When you’re satisfied with the results, turn off the food processor by pressing the on/off switch or power button.
- Unplug the food processor from the power source and carefully remove the lid.
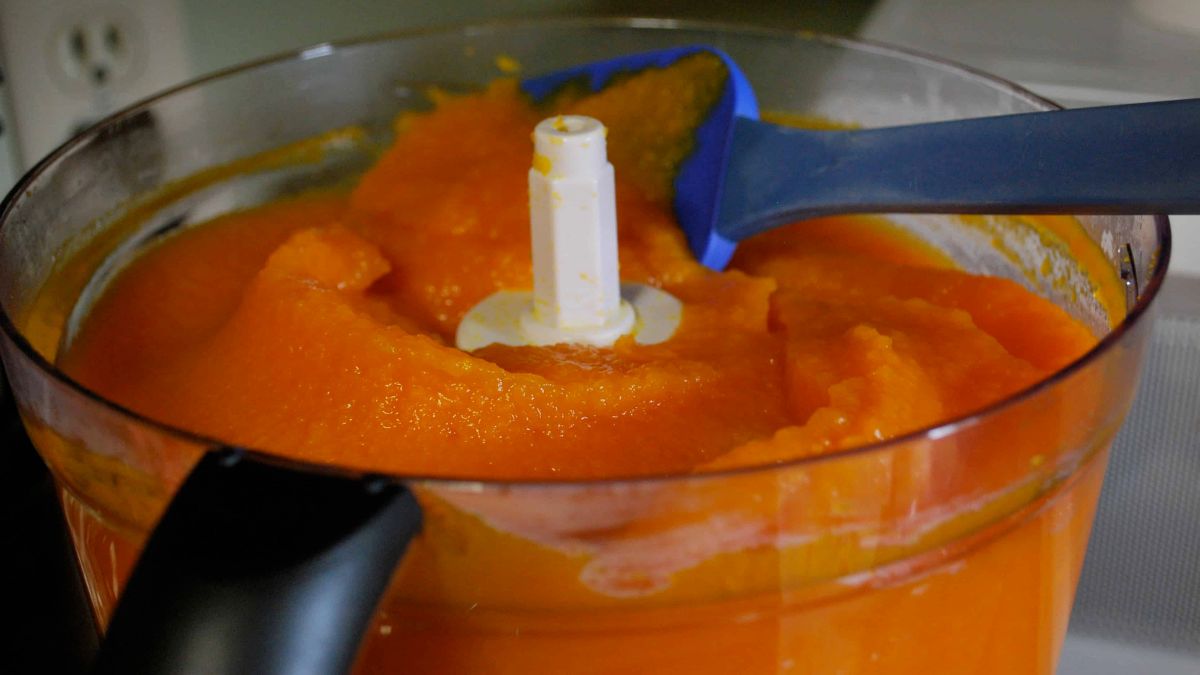
- Use a spatula or other utensil to transfer the processed ingredients to another container or continue with the remaining steps of your recipe.
It’s essential to follow the manufacturer’s guidelines and recommendations regarding operating the food processor. Additionally, be cautious when handling sharp blades and hot ingredients, and always prioritize safety while using the machine.
Experiment with different processing techniques, speeds, and durations to achieve the desired results in your recipes. The more you use your food processor, the more familiar you will become with its capabilities and how it can simplify your cooking and baking endeavors.
Now that you have successfully operated your food processor, it’s time for the final step: cleaning and maintenance. Let’s move on to ensure that your appliance stays in excellent condition for years to come.
Step 7: Cleaning and Maintenance
Cleaning and properly maintaining your food processor are crucial for ensuring its longevity and optimal performance. Here’s how you can keep your appliance in top shape:
- Before cleaning, make sure to unplug the food processor from the power source to avoid any accidents.
- Begin by disassembling the food processor. Remove the bowl, lid, and any attachments or blades that can be detached.
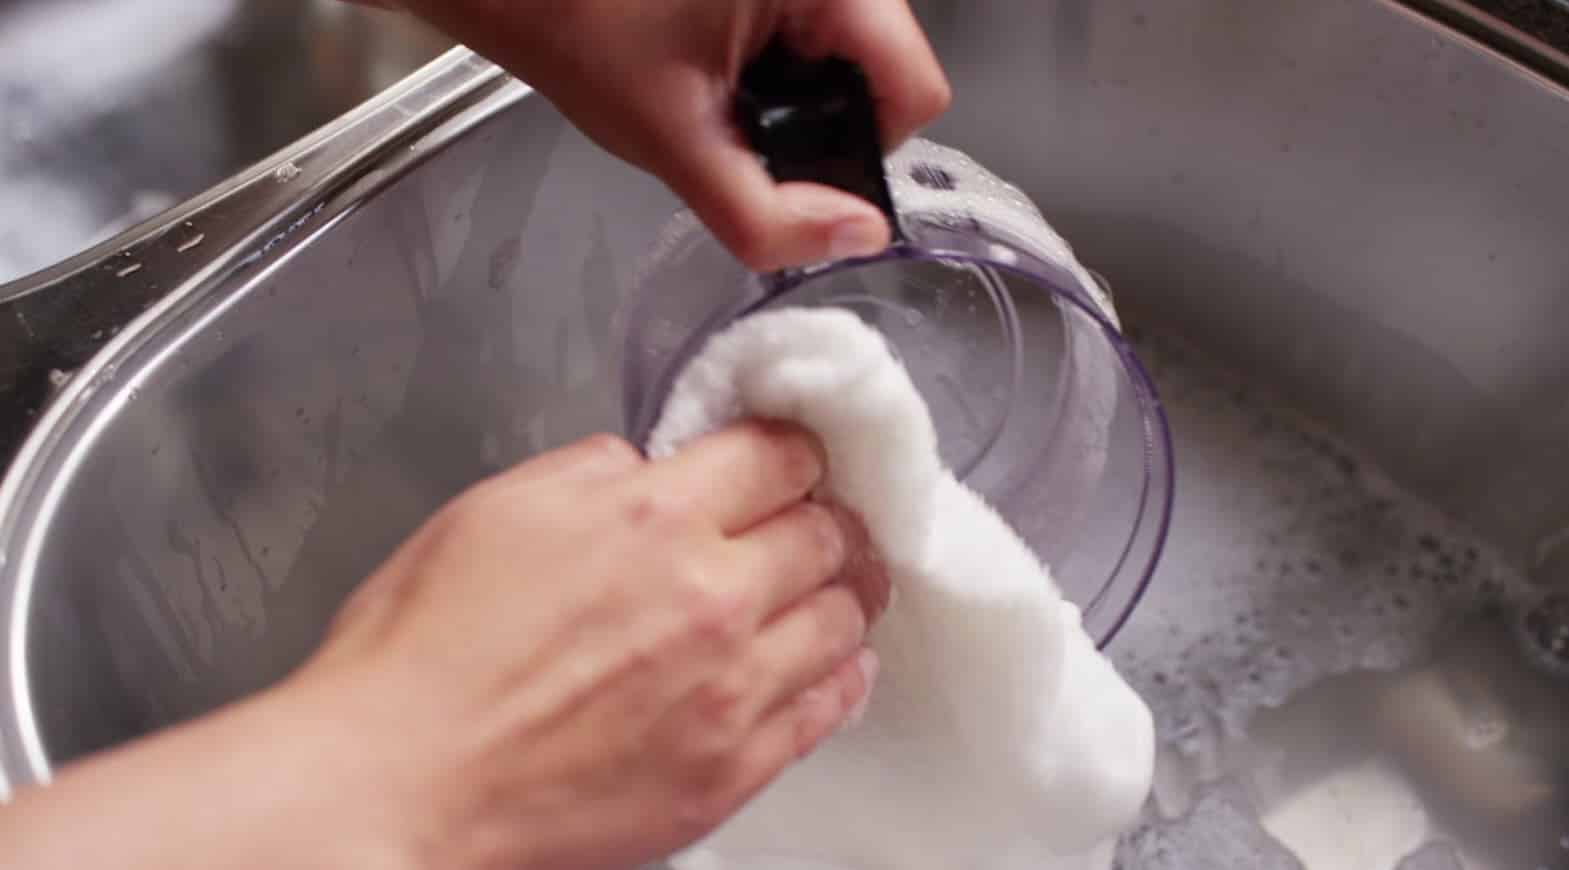
- Start by rinsing the removable parts with warm water and mild dish soap. Use a sponge or brush to gently scrub away any stuck-on food particles.
- Pay special attention to the blades and attachments, as they may have crevices that can trap food. Carefully clean these areas with a brush or toothbrush.
- Dry all the parts thoroughly after washing to prevent moisture buildup and potential damage. You can let them air dry or use a clean towel to pat them dry.
- Clean the motorized base of the food processor by wiping it down with a damp cloth. Be cautious and avoid getting the base excessively wet.
- Keep in mind that some parts, such as blades and attachments, may be dishwasher safe. Check the instruction manual for specific details on which parts are dishwasher safe.
- To maintain the sharpness of blades, it’s recommended to hand wash them and avoid using abrasive materials or harsh chemicals that could damage them.
- Regularly inspect the food processor for any signs of wear or damage. If you notice any issues, contact the manufacturer for professional assistance or replacement parts.
- Store the food processor in a clean and dry location when not in use. Keep the cords neatly wrapped and secure to avoid tangling or damage.
By maintaining the cleanliness and functionality of your food processor, you’ll not only extend its lifespan but also ensure that your processed food remains safe and hygienic.
Remember to consult the instruction manual for specific cleaning instructions and recommendations as different food processor models may have their unique care requirements.
With regular cleaning and proper maintenance, your food processor will continue to be a valuable tool in your kitchen for years to come, helping you create delicious meals with ease.
Congratulations! You have successfully learned how to put together a food processor and operate it effectively. With your new knowledge, you can now confidently delve into the world of food processing and explore the endless culinary possibilities!
Conclusion
Congratulations on successfully learning how to put together and operate a food processor! This versatile kitchen appliance is sure to become your go-to tool for various food processing tasks, saving you time and effort in the kitchen.
We covered the step-by-step process of unpacking and assembling the food processor, attaching the blades and attachments, securing the bowl and lid, understanding the control panel, operating the machine, and cleaning and maintaining it. By following these instructions and guidelines, you can ensure that your food processor functions optimally and remains in excellent condition for years to come.
As you experiment with your food processor, you’ll find yourself unlocking a whole new world of possibilities in the kitchen. Whether you’re chopping vegetables, pureeing sauces, or grinding nuts, the food processor will streamline your culinary tasks and open up endless opportunities for creativity.
Remember to always prioritize safety while using the food processor. Familiarize yourself with the manufacturer’s instructions, take precautions when handling sharp blades, and never operate the machine without securely attaching the bowl and lid.
Now that you have the knowledge and skills to confidently use your food processor, it’s time to start exploring and experimenting with different recipes. From dips and spreads to doughs and desserts, your food processor will become an invaluable tool in your cooking adventures.
Enjoy the convenience, efficiency, and versatility that a food processor brings to your kitchen. Embrace the joy of effortless food preparation and embrace your newfound culinary creativity!
Happy food processing!
Frequently Asked Questions about How To Put Together A Food Processor
Was this page helpful?
At Storables.com, we guarantee accurate and reliable information. Our content, validated by Expert Board Contributors, is crafted following stringent Editorial Policies. We're committed to providing you with well-researched, expert-backed insights for all your informational needs.



0 thoughts on “How To Put Together A Food Processor”