
Articles
How To Open A Ninja Blender
Modified: August 28, 2024
Learn how to open a Ninja Blender with our helpful articles. Discover easy tips and tricks to unlock the full potential of your blender.
(Many of the links in this article redirect to a specific reviewed product. Your purchase of these products through affiliate links helps to generate commission for Storables.com, at no extra cost. Learn more)
Introduction
So, you've just unboxed your brand-new Ninja blender, and you're eager to start blending up a storm in your kitchen. Whether you're a smoothie enthusiast, a culinary adventurer, or a health-conscious individual, a Ninja blender can be a game-changer in your culinary repertoire. In this comprehensive guide, we'll walk you through everything you need to know about opening, assembling, and utilizing your Ninja blender to its fullest potential.
From unboxing to troubleshooting, we've got you covered. By the end of this article, you'll be ready to unleash the full power of your Ninja blender and create a wide array of delicious and nutritious concoctions. So, grab your blender and let's dive into the exciting world of Ninja blending!
Key Takeaways:
- Assembling and using your Ninja blender is like unwrapping a present of culinary creativity. Understand its functions, prepare ingredients thoughtfully, and unleash its blending prowess for delectable results.
- Maintain and troubleshoot your Ninja blender to ensure uninterrupted blending experiences. Embrace experimentation and creativity to craft moments of culinary bliss with each blend.
Read more: How To Start The Ninja Blender
Unboxing and Assembling Your Ninja Blender
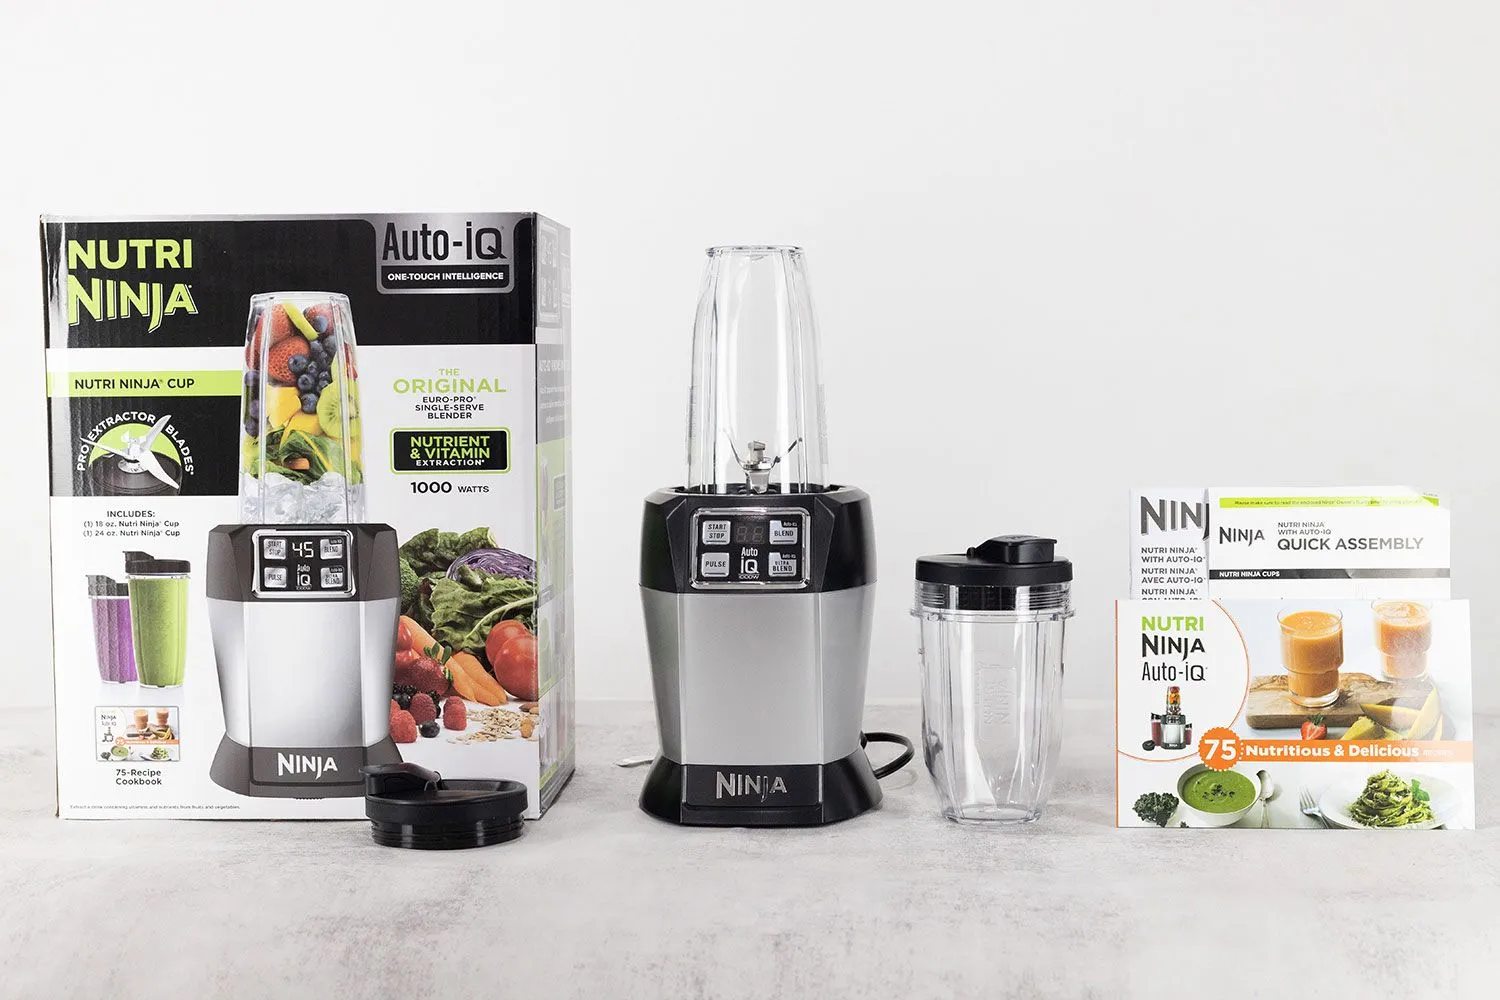
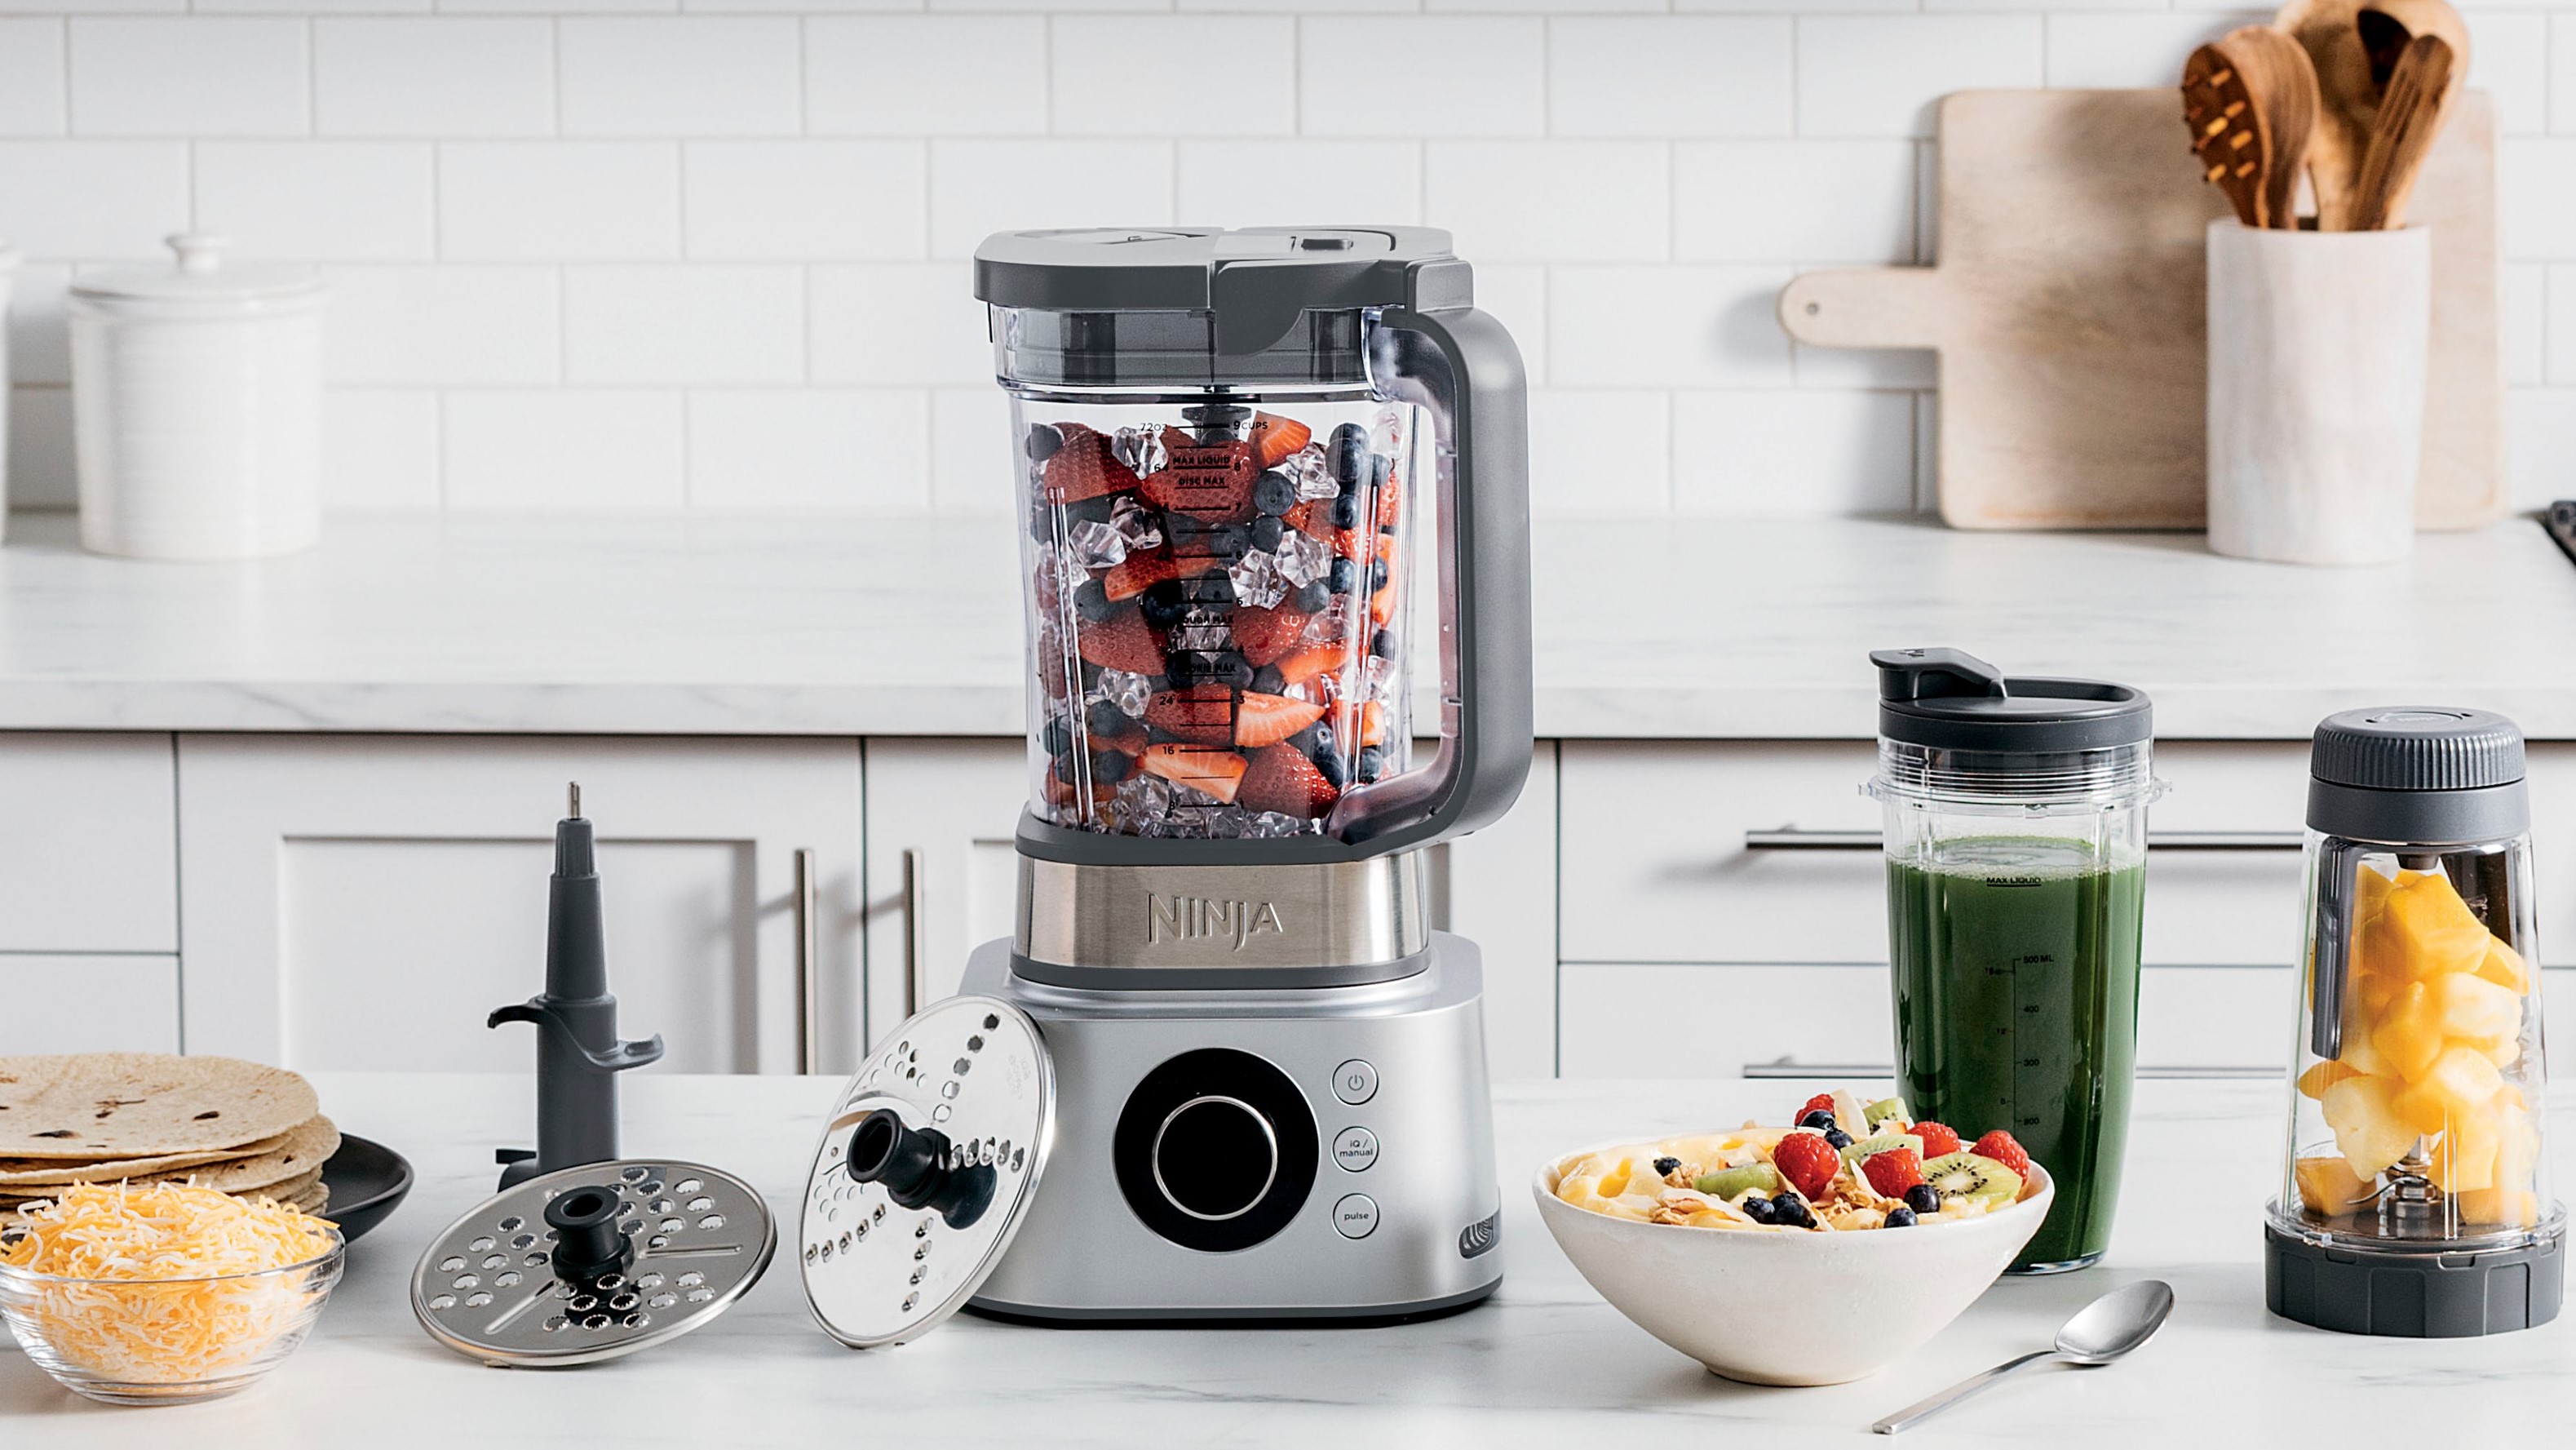
Unboxing your new Ninja blender is like unwrapping a present that holds the promise of culinary creativity and convenience. As you carefully open the packaging, you’ll find the main base unit, blending pitcher, blade assembly, and various accessories neatly nestled within. Take a moment to appreciate the sleek design and robust construction of your new kitchen companion.
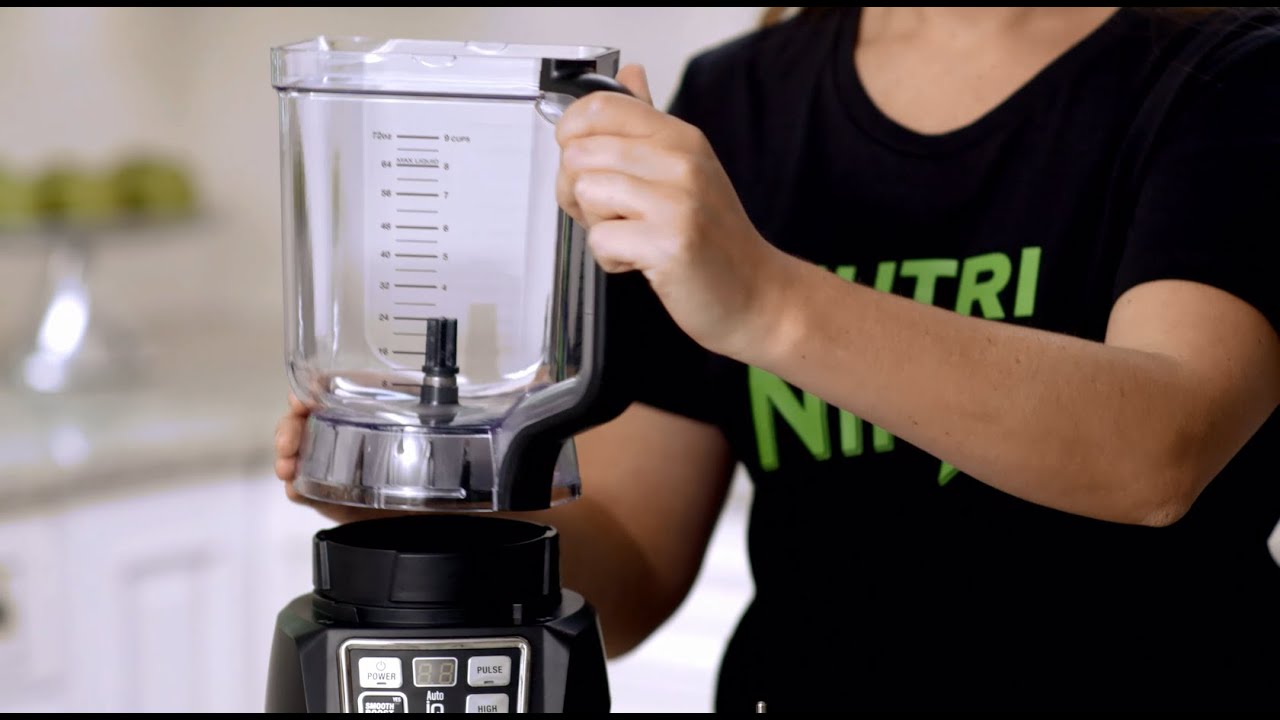
Once you’ve marveled at the contents, it’s time to start assembling your Ninja blender. Begin by placing the base unit on a clean, flat surface within easy reach of a power outlet. Next, carefully attach the blade assembly to the bottom of the blending pitcher, ensuring a secure fit. Then, align the pitcher onto the base unit, making sure it locks into place with a satisfying click. Depending on the model, you may need to attach the lid and other accessories, so consult the user manual for specific instructions.
As you complete the assembly, take a moment to appreciate the intuitive design and thoughtful engineering that make the Ninja blender a joy to use. The precision-fit components and user-friendly interface set the stage for seamless blending experiences, whether you’re creating silky smoothies, creamy soups, or decadent sauces.
With your Ninja blender assembled and ready to go, you’re one step closer to unlocking its full potential. In the next sections, we’ll delve into the functionality of your blender and explore the myriad ways you can harness its power to elevate your culinary endeavors.
Understanding the Functionality of Your Ninja Blender
Before diving into the culinary adventures that await, it’s essential to familiarize yourself with the functionality of your Ninja blender. Understanding the various settings, features, and capabilities will empower you to harness its full potential and achieve the desired consistency in your creations.
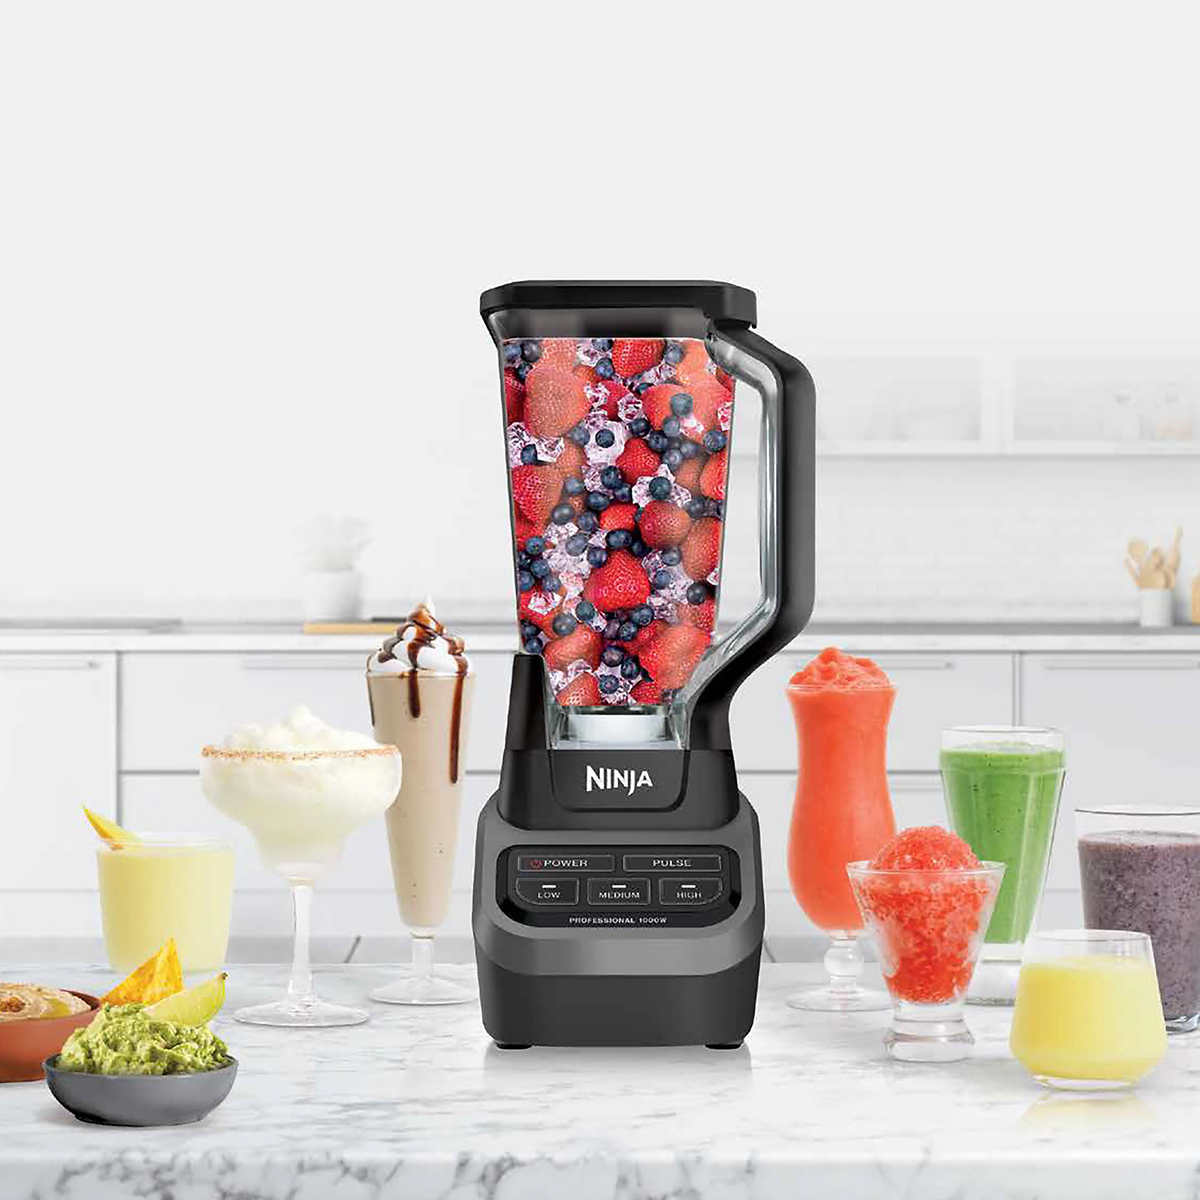
Most Ninja blenders are equipped with a range of blending modes, such as pulse, blend, and ultra-blend, each tailored to different ingredients and textures. The pulse function allows for quick bursts of blending, ideal for achieving a coarse texture or breaking down stubborn ingredients. The blend mode provides a standard blending speed for most recipes, while the ultra-blend setting delivers maximum power for achieving velvety smooth results.
Additionally, some models feature preset programs designed for specific tasks, such as creating smoothies, crushing ice, or blending frozen ingredients. These convenient presets streamline the blending process, ensuring consistent results with minimal effort. Familiarize yourself with these presets to take advantage of their time-saving benefits.
Furthermore, many Ninja blenders boast innovative blade systems designed to pulverize ingredients with precision and efficiency. The arrangement of stacked blades and the pitcher’s unique design create a powerful vortex that draws ingredients towards the blades, ensuring thorough blending and smooth textures.
Understanding the functionality of your Ninja blender goes beyond the controls and blades. It also involves recognizing its capacity and limitations. Whether you have a personal-sized blender or a professional-grade powerhouse, knowing the maximum fill line and recommended blending durations will help maintain optimal performance and prevent overfilling mishaps.
By comprehending the intricacies of your Ninja blender’s functionality, you’ll be equipped to tackle a diverse range of recipes with confidence. In the following sections, we’ll explore the exciting realm of ingredient preparation and the art of blending with finesse.
Preparing Your Ingredients
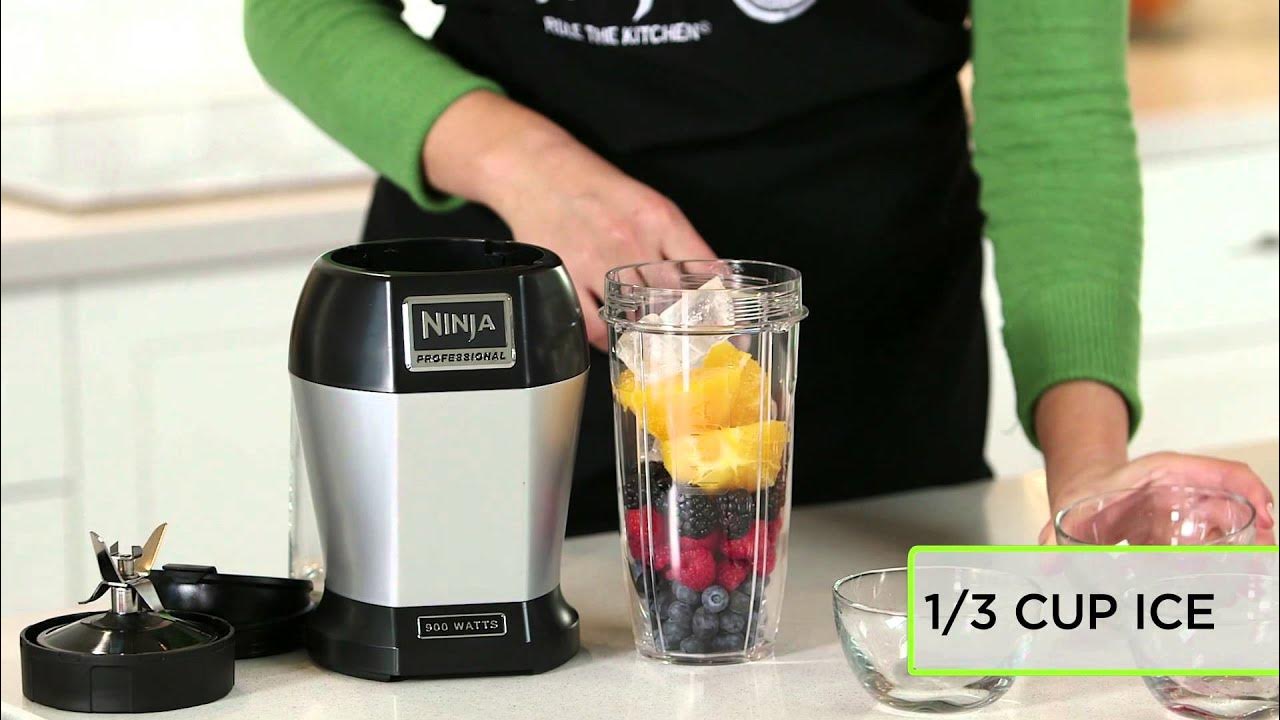
Before embarking on your blending journey, it’s crucial to prepare your ingredients thoughtfully to ensure optimal blending results. Whether you’re crafting a vibrant smoothie, whipping up a creamy dip, or concocting a velvety soup, the quality and preparation of your ingredients play a pivotal role in the final outcome.
Start by selecting fresh, high-quality produce and other ingredients that align with your recipe. Wash and thoroughly dry fruits, vegetables, and herbs to remove any dirt or residue, thereby enhancing their flavor and nutritional value. For frozen ingredients, such as berries or bananas, ensure they are appropriately thawed to facilitate smooth blending and prevent strain on the blender’s motor.
When dealing with solid ingredients, such as nuts, seeds, or hard vegetables, consider pre-chopping or grinding them to a manageable size. This preparatory step eases the blending process, reduces strain on the blades, and promotes uniform blending, resulting in a consistent texture throughout the mixture.
For recipes requiring liquids, such as soups or beverages, accurately measuring and incorporating the liquids is crucial for achieving the desired consistency. Whether it’s water, juice, milk, or broth, the right balance of liquids ensures proper circulation within the pitcher, aiding in thorough blending and achieving the ideal texture.
Furthermore, incorporating flavor enhancers, such as spices, sweeteners, or nutritional supplements, should be done thoughtfully. Distributing these additives evenly throughout the mixture before blending ensures a harmonious fusion of flavors and nutrients, elevating the overall taste and nutritional profile of your creations.
By meticulously preparing your ingredients, you set the stage for seamless blending and delectable results. With your ingredients primed and ready, it’s time to explore the art of using your Ninja blender to transform these elements into culinary masterpieces.
Before opening a Ninja Blender, make sure it is unplugged for safety. Then, twist the blender jar counterclockwise to unlock it from the base. Lift the jar straight up to remove it from the base.
Using Your Ninja Blender
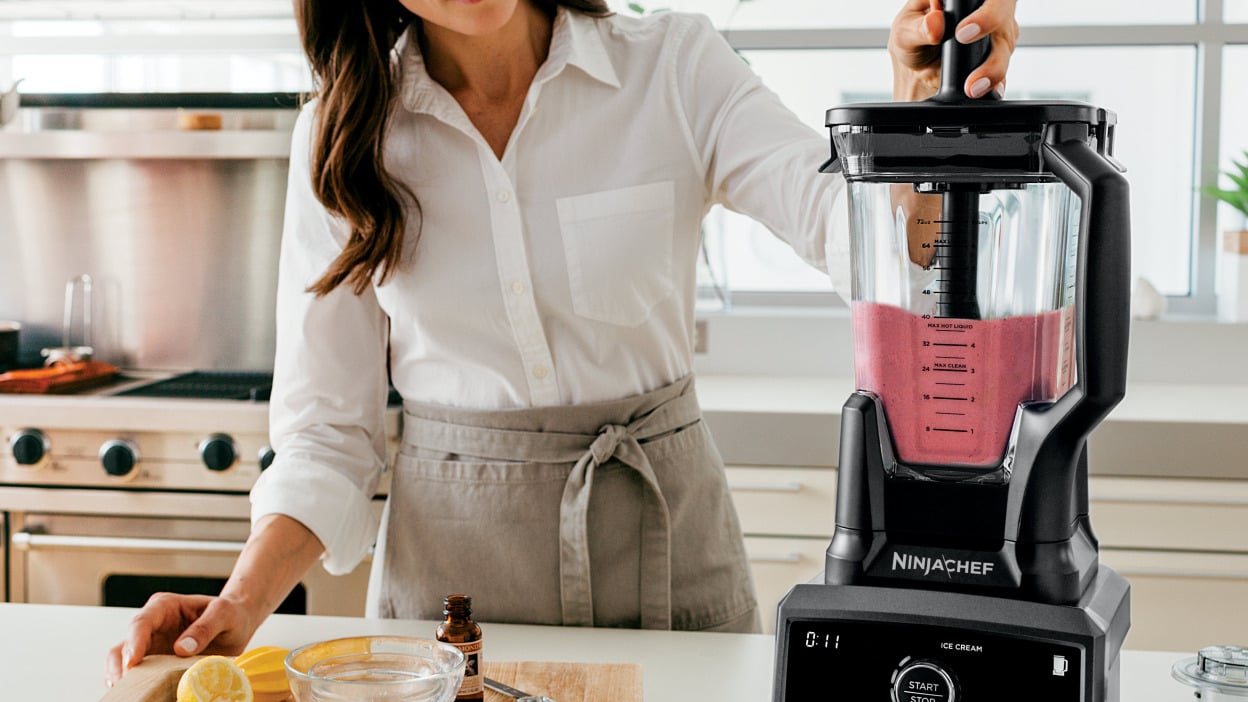
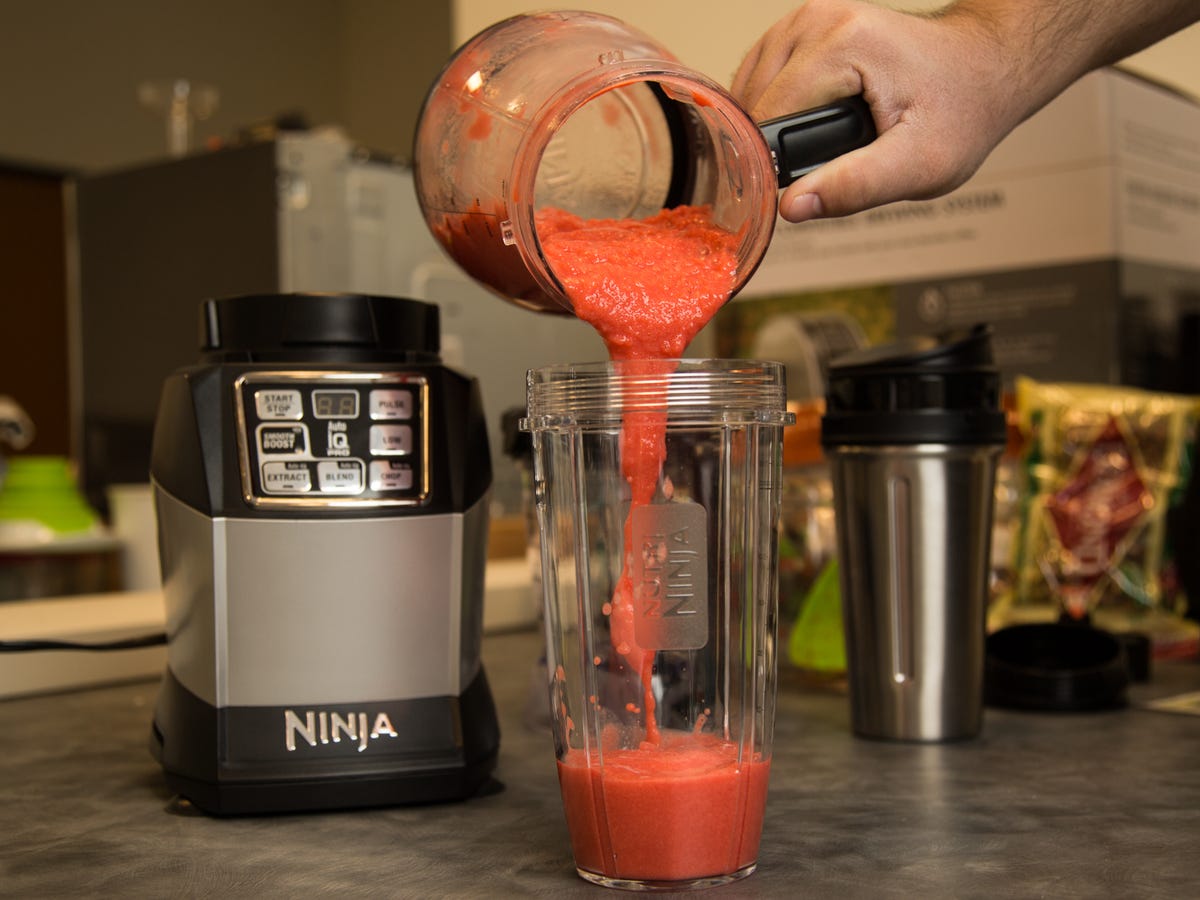
With your ingredients prepared and your Ninja blender assembled, it’s time to unleash its blending prowess and bring your culinary visions to life. Whether you’re aiming to whip up a refreshing beverage, craft a silky puree, or create a decadent sauce, understanding the art of using your Ninja blender is key to achieving exceptional results.
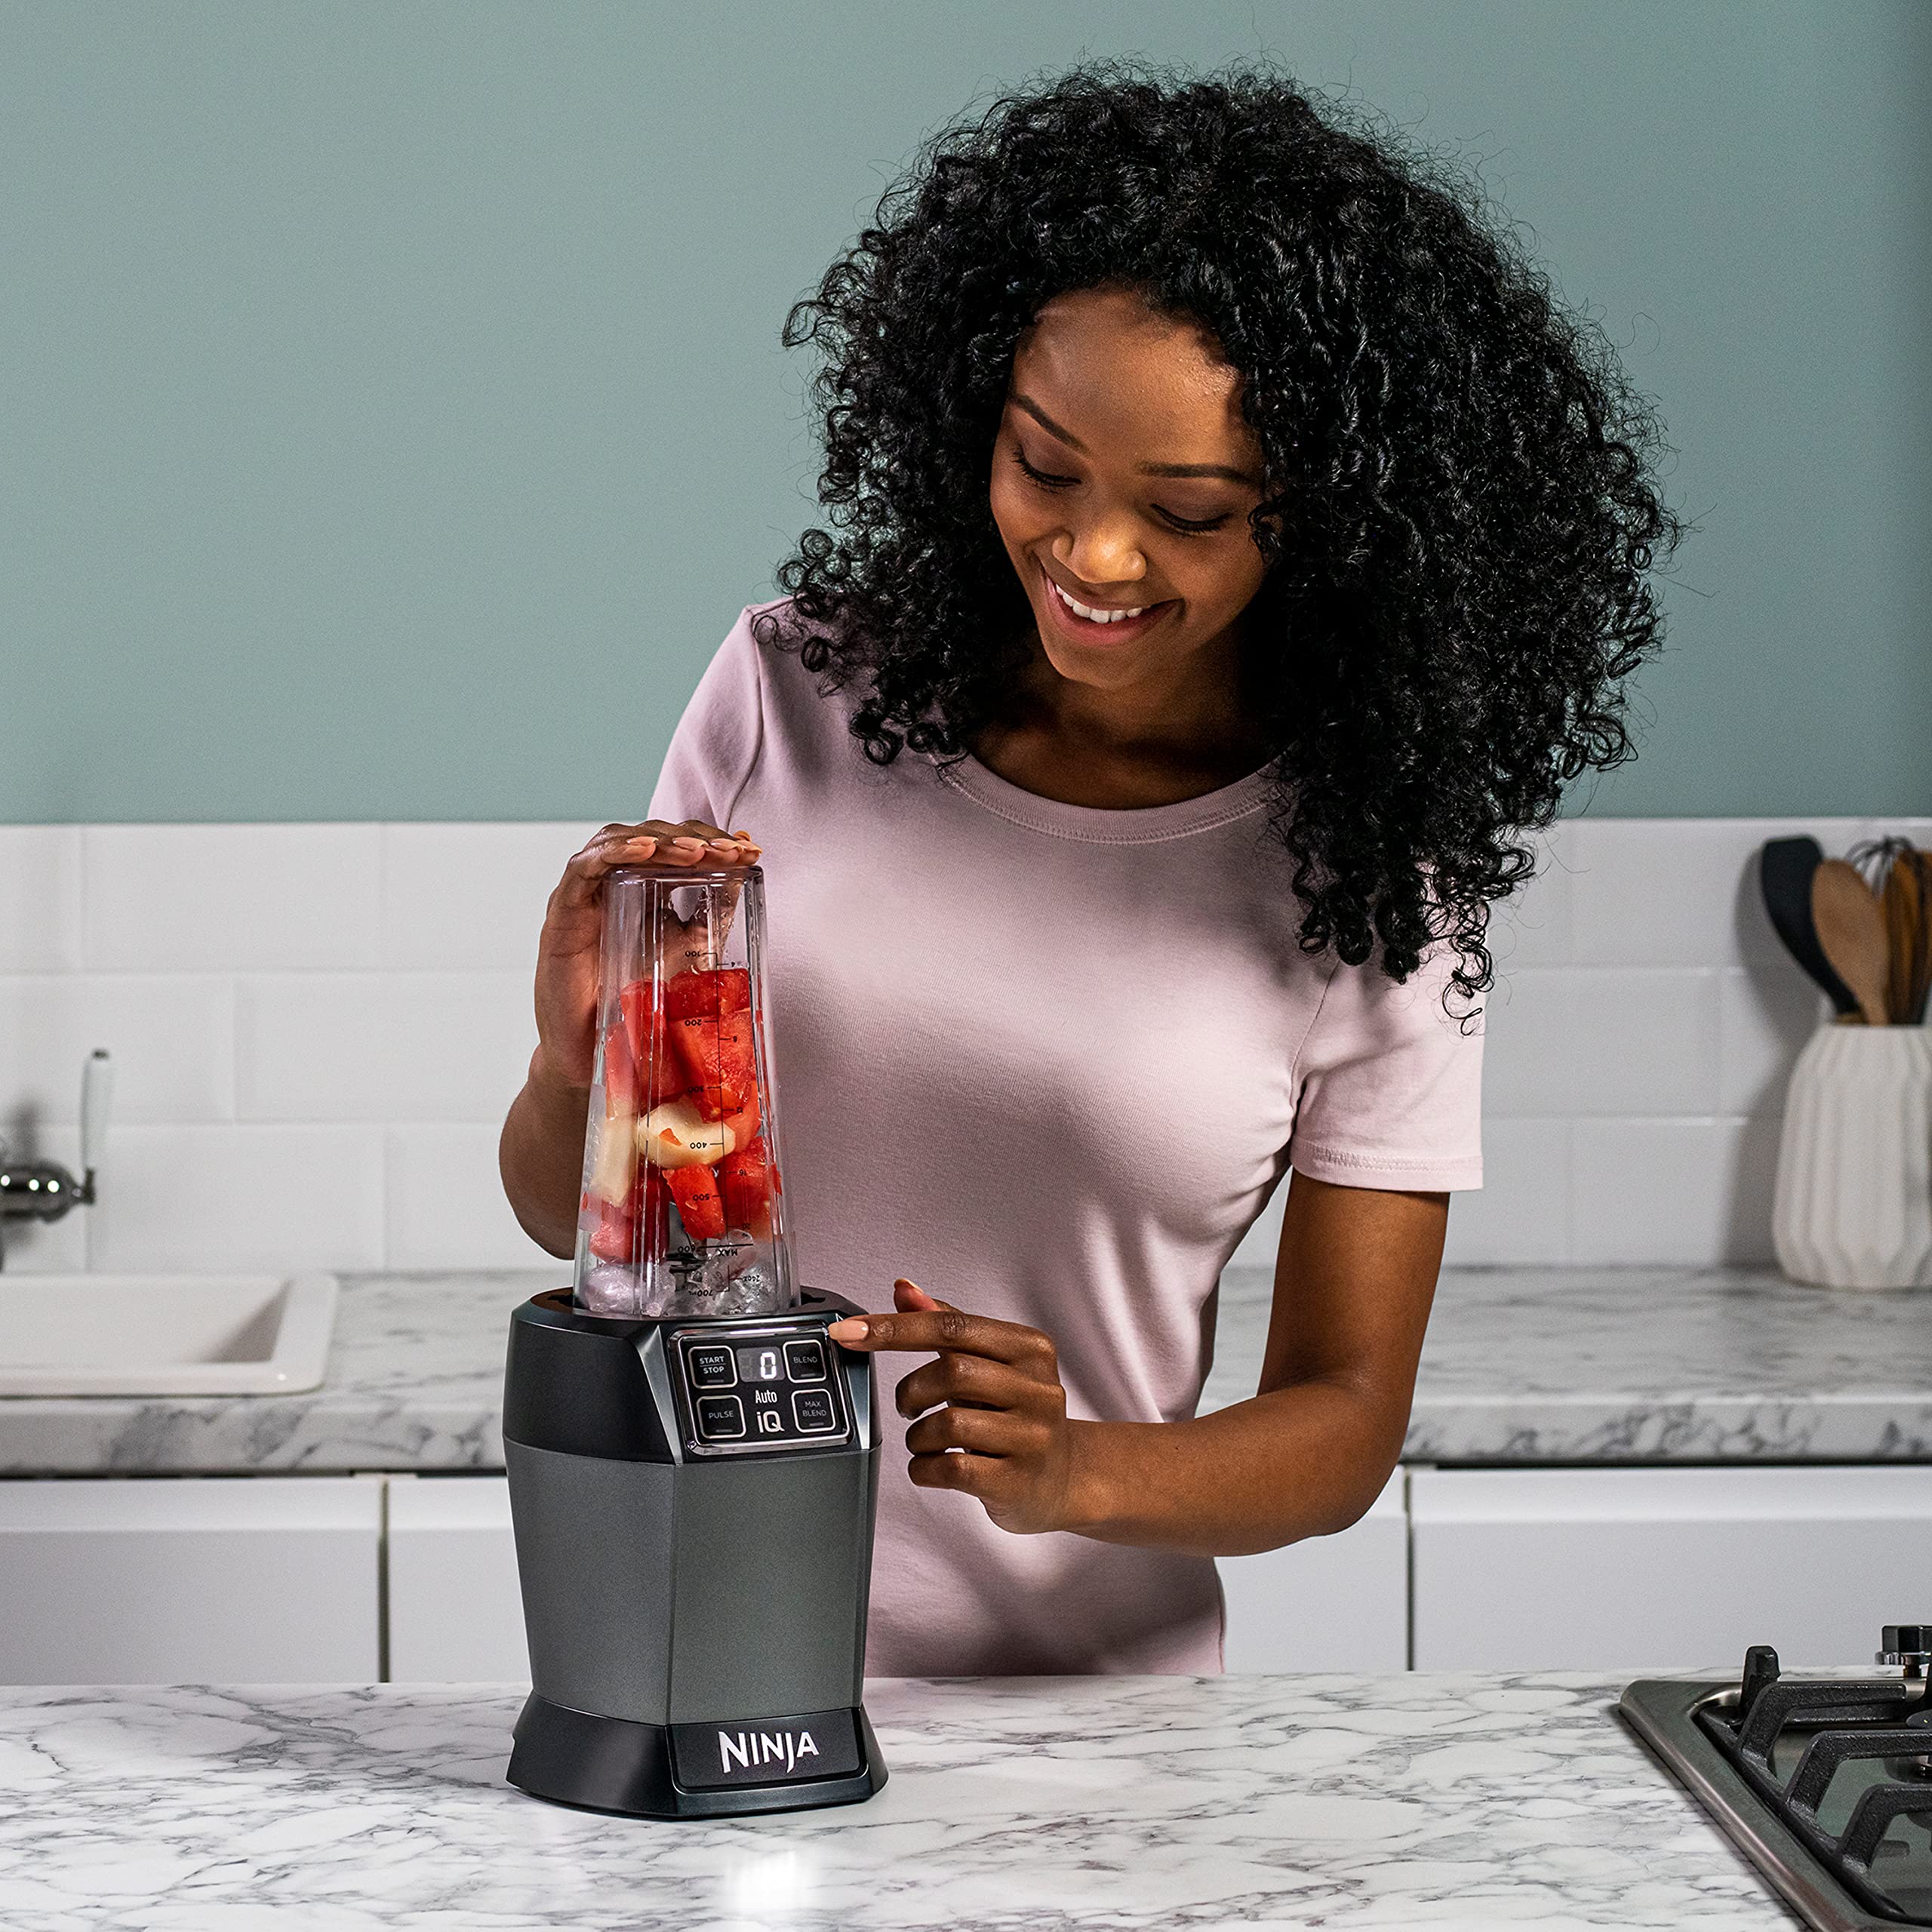
Begin by carefully placing the prepared ingredients into the blending pitcher, ensuring that you adhere to the recommended fill level to prevent overfilling. Consider layering the ingredients strategically, starting with liquids or soft components at the bottom to facilitate the blending process and promote even distribution of flavors and textures.
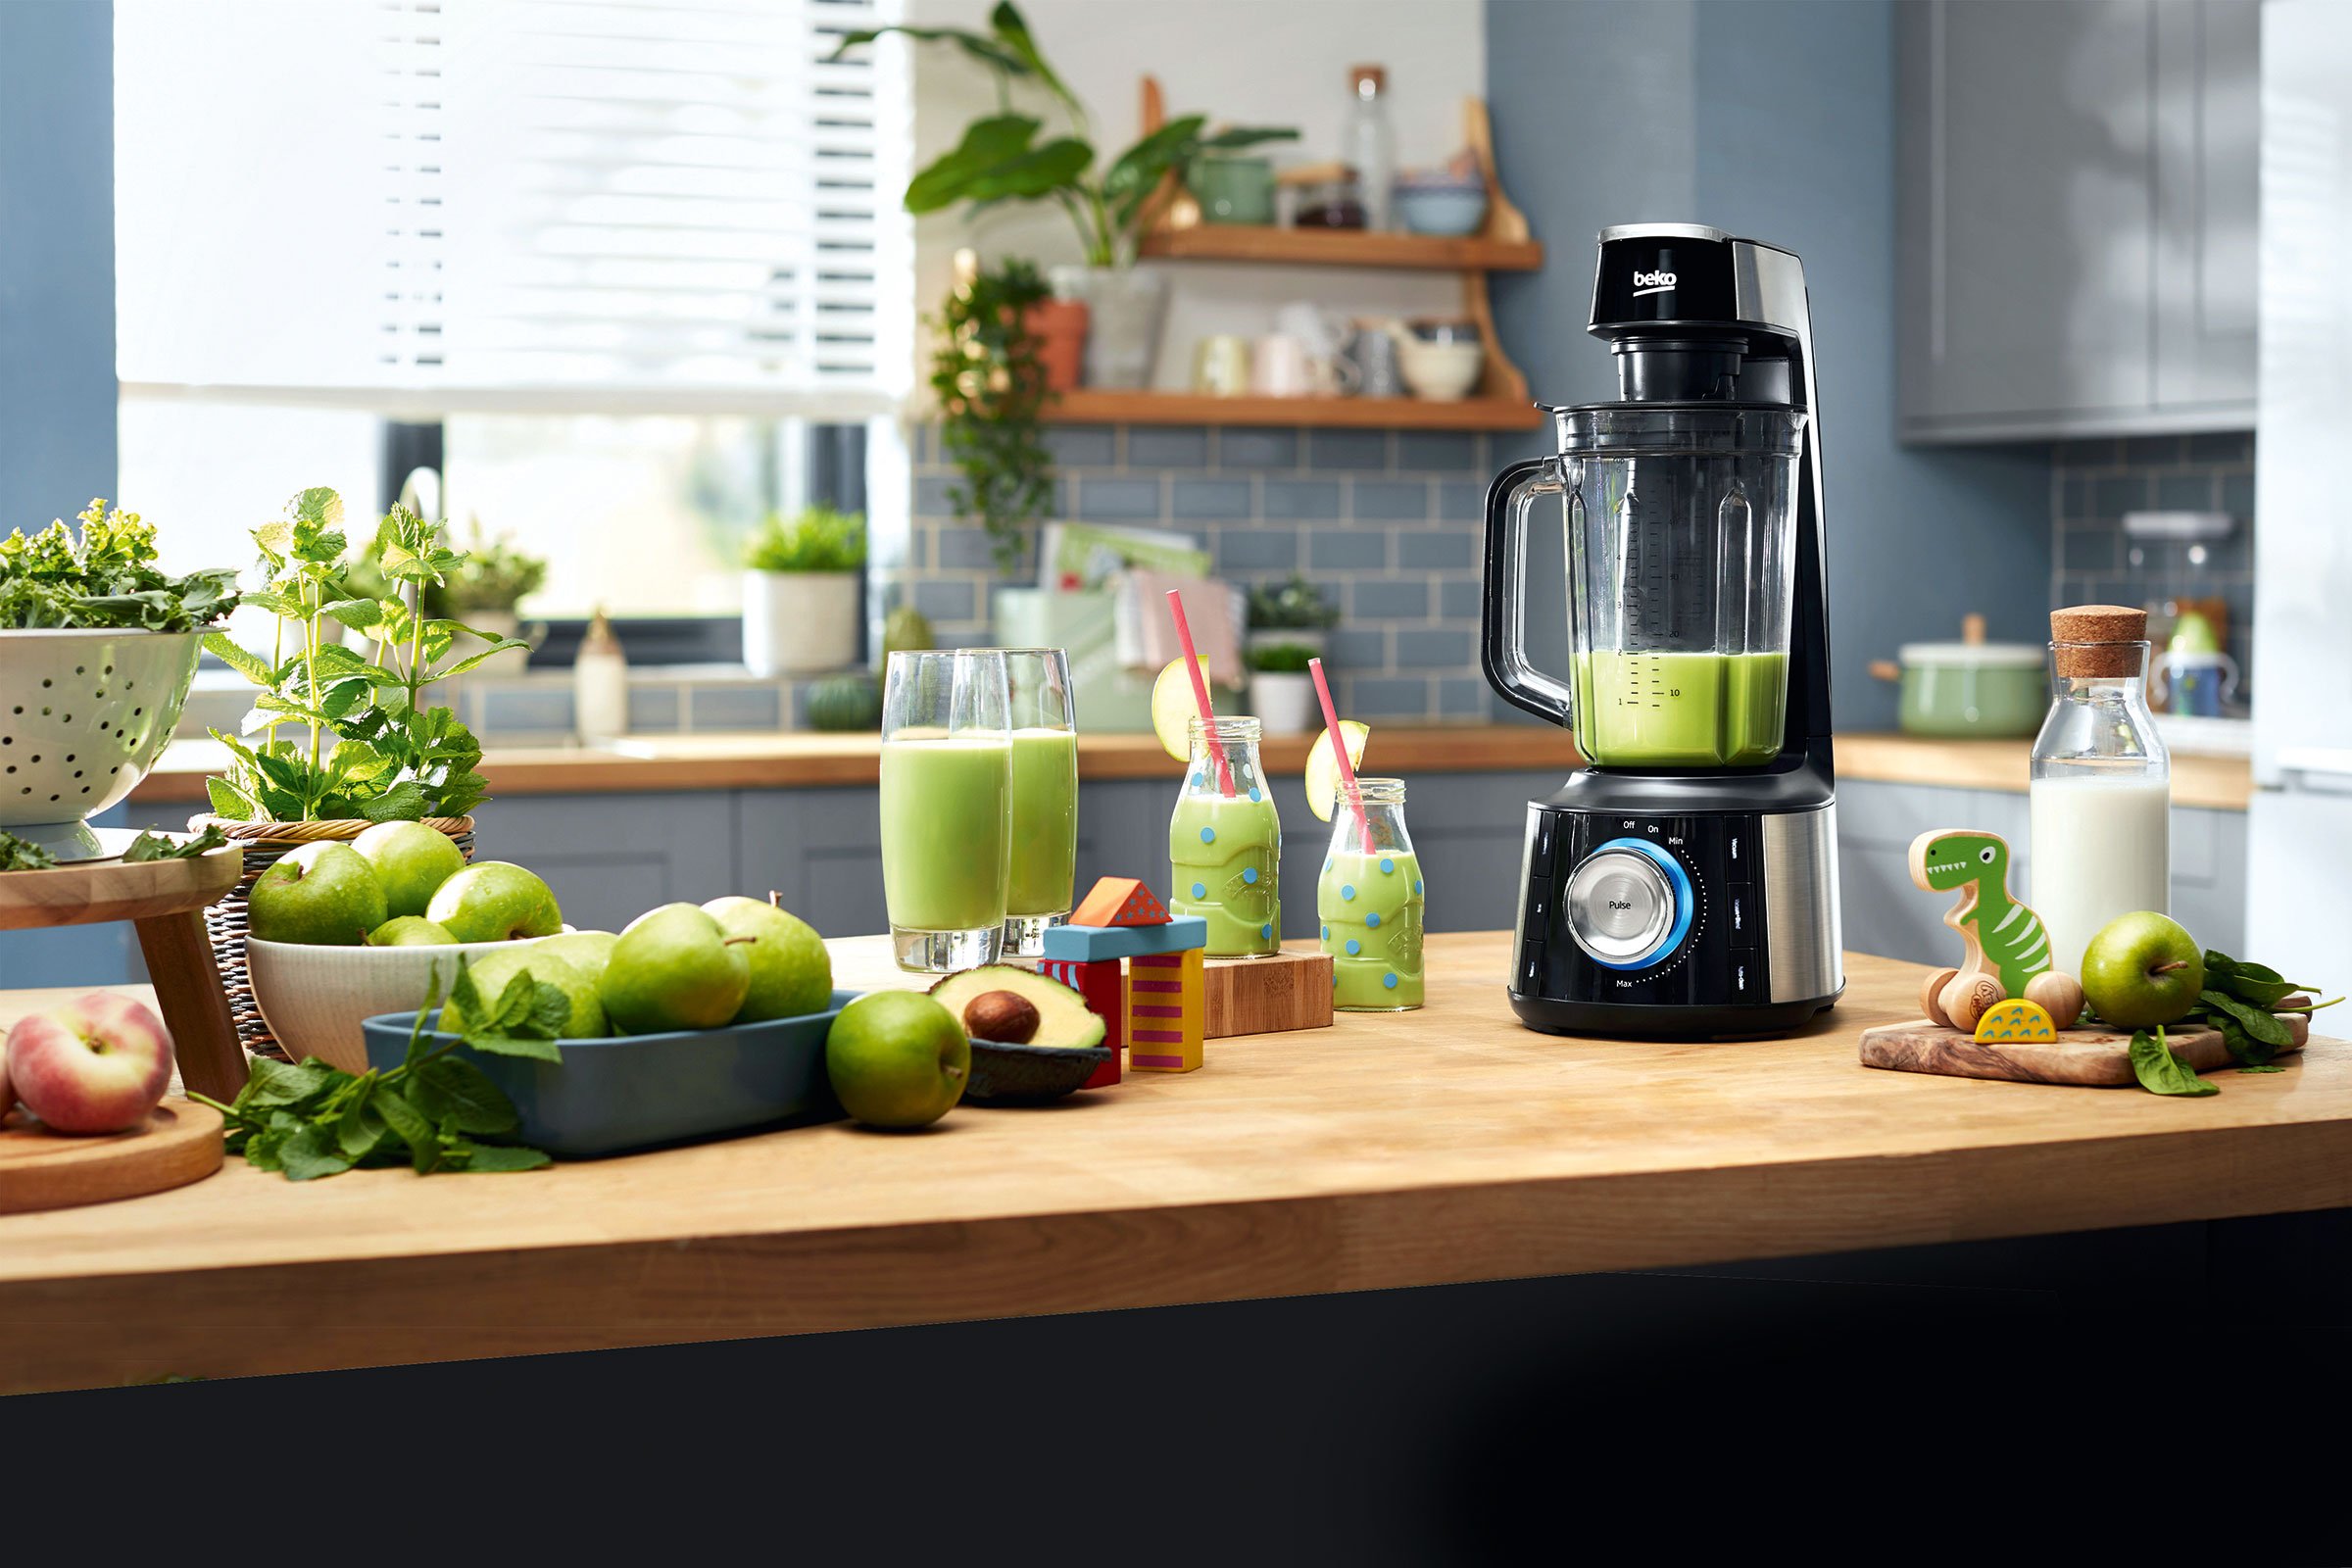
Once the ingredients are in place, secure the lid onto the pitcher, ensuring a snug fit to prevent any potential leaks during blending. Depending on your recipe and desired texture, select the appropriate blending mode or preset program that aligns with your culinary endeavor. Whether it’s the pulse function for a coarse texture, the blend mode for standard blending, or a preset program tailored to your recipe, the right selection sets the stage for blending success.
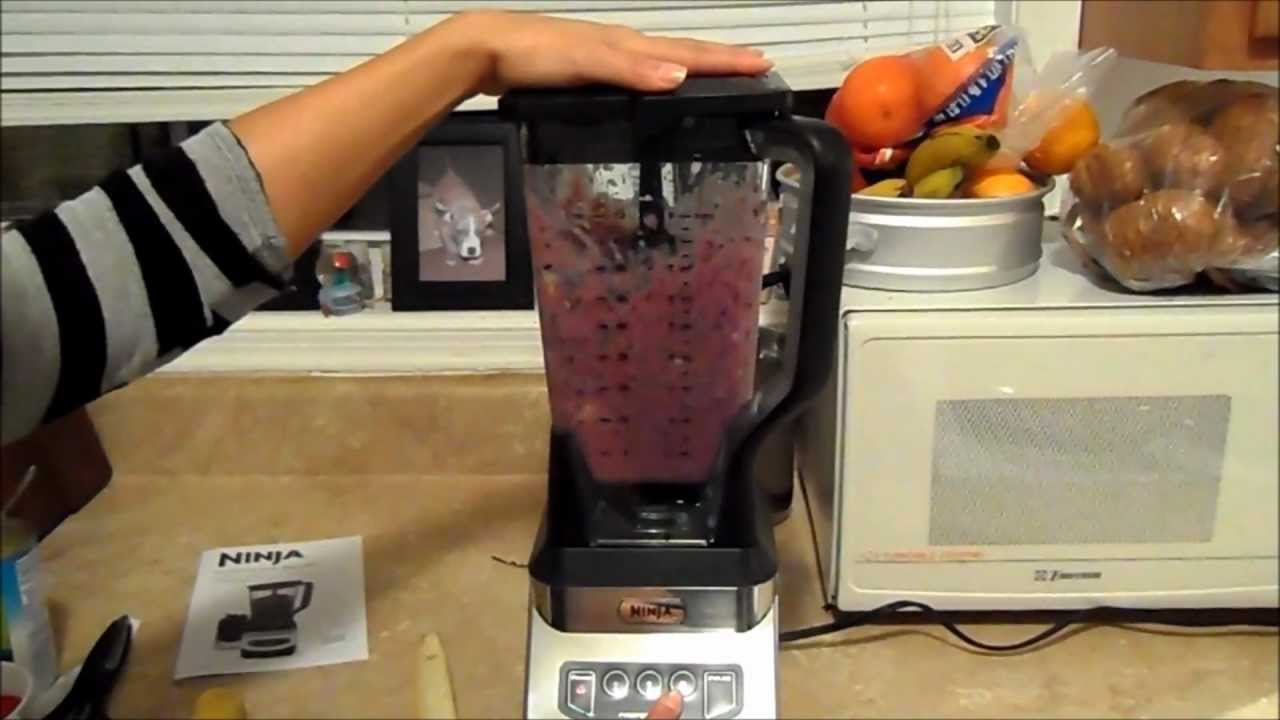
As the blender springs to life, observe the mesmerizing vortex that forms within the pitcher, signifying the thorough mingling and pulverization of the ingredients. Depending on the recipe and desired outcome, you may need to pause and scrape down the sides of the pitcher with a spatula to ensure that all components are incorporated and blended evenly.
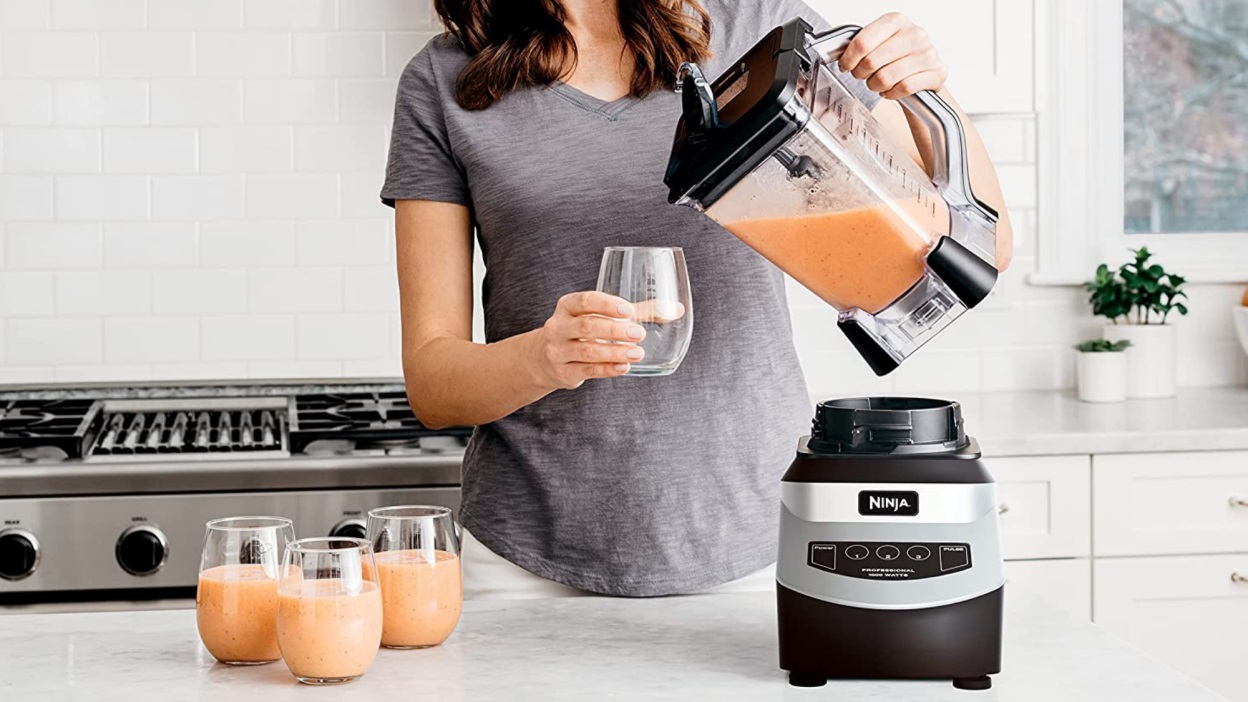
Once the blending process is complete, carefully remove the pitcher from the base unit and marvel at the luscious creation you’ve conjured. Whether it’s a velvety smoothie, a creamy dip, or a vibrant sauce, the transformative power of your Ninja blender has turned your carefully prepared ingredients into a delectable masterpiece.
After savoring the fruits of your blending prowess, it’s time to turn your attention to the essential task of cleaning and maintaining your Ninja blender, ensuring its longevity and continued performance. In the following section, we’ll explore the best practices for maintaining your blender and troubleshooting common issues that may arise.
Read more: How To Turn On A Ninja Blender
Cleaning and Maintenance
After the exhilarating blending experience, it’s essential to embark on the crucial task of cleaning and maintaining your Ninja blender. By adhering to proper cleaning practices and routine maintenance, you’ll prolong the lifespan of your blender and ensure its continued performance in crafting culinary delights.
Begin by unplugging the base unit and carefully disassembling the blender, separating the pitcher, lid, blade assembly, and any additional accessories. Depending on the model, some components may be dishwasher-safe, while others require hand washing. Refer to the user manual for specific cleaning instructions tailored to your blender’s components.
For hand washing, use a mild dish soap and warm water to cleanse the pitcher, lid, and blade assembly thoroughly. Pay special attention to the blade assembly, using a brush or sponge to remove any residual food particles and ensuring that no remnants compromise the blades’ functionality during future use.
After cleaning, thoroughly rinse the components to remove any soap residue, and allow them to air dry completely before reassembling the blender. Once dry, carefully reattach the blade assembly to the pitcher, ensuring a secure fit, and position the pitcher onto the base unit, ready for future blending endeavors.
Additionally, it’s important to maintain the base unit by wiping it with a damp cloth to remove any spills or splatters and prevent the accumulation of debris. Pay attention to the control panel and the area surrounding the pitcher’s base, ensuring that no residual liquids or food particles compromise the unit’s functionality.
Regular maintenance also involves inspecting the blender for any signs of wear, such as frayed power cords or damaged components. Address any issues promptly and consult the manufacturer’s guidelines for replacement parts or professional servicing if necessary.
By incorporating these cleaning and maintenance practices into your blending routine, you’ll safeguard the performance and longevity of your Ninja blender, ensuring that it remains a steadfast ally in your culinary pursuits. However, in the event of any operational hiccups, it’s valuable to be equipped with troubleshooting knowledge, which we’ll explore in the following section.
Troubleshooting Common Issues
While your Ninja blender is designed to deliver seamless blending experiences, occasional hiccups may arise. Understanding common issues and their remedies empowers you to swiftly address any challenges that may impede your blending endeavors.
If you encounter blending inefficiency or uneven texture, it’s essential to assess the ingredient distribution within the pitcher. Pausing the blending process to scrape down the sides with a spatula ensures that all components are thoroughly incorporated, promoting a uniform texture throughout the mixture.
In the event of excessive noise or vibration during blending, verify that the pitcher is securely locked onto the base unit and that the lid is tightly sealed. Any loose components can contribute to disruptive vibrations and noise, potentially compromising the blending process.
Should your blender exhibit power issues, such as failure to start or sudden shutdowns, first ensure that the power cord is securely plugged into a functional outlet. Additionally, check for any obstructions in the blade assembly or pitcher that may impede the blending process, and inspect the base unit for any signs of overheating or electrical malfunctions.
In cases of leakage or spills during blending, carefully inspect the pitcher’s seal and the integrity of the lid to identify any potential gaps or damage. Ensuring a proper seal and intact components is crucial for containing the contents during blending and preventing any messes or safety hazards.
If you encounter persistent issues that cannot be resolved through basic troubleshooting, consider consulting the user manual for model-specific guidance or reaching out to the manufacturer’s customer support for expert assistance. It’s important to address any operational concerns promptly to maintain the optimal performance of your Ninja blender.
By familiarizing yourself with these common issues and their remedies, you’ll be well-equipped to navigate any potential challenges that may arise during your blending adventures. With a blend of preparation, maintenance, and troubleshooting knowledge, you’re poised to make the most of your Ninja blender and unlock its full potential in your culinary pursuits.
Conclusion
Congratulations on embarking on your Ninja blending journey! As you’ve discovered, opening, assembling, and utilizing your Ninja blender is a gateway to a world of culinary creativity and convenience. From crafting refreshing smoothies to preparing decadent sauces, your Ninja blender empowers you to elevate your culinary repertoire and embrace a healthier, more flavorful lifestyle.
By understanding the functionality of your blender and meticulously preparing your ingredients, you’ve laid the foundation for seamless blending experiences and delectable results. The art of using your Ninja blender involves a harmonious interplay of ingredients, settings, and techniques, culminating in a symphony of flavors and textures.
Furthermore, the commitment to cleaning and maintaining your blender ensures its longevity and sustained performance, safeguarding its role as an indispensable ally in your kitchen. By incorporating routine maintenance into your blending routine, you preserve the transformative power of your Ninja blender for countless culinary adventures to come.
In the event of any operational challenges, the ability to troubleshoot common issues equips you with the confidence to address potential hiccups swiftly and effectively, ensuring uninterrupted blending experiences.
As you continue to explore the endless possibilities with your Ninja blender, remember that experimentation and creativity are key ingredients in the recipe for culinary mastery. Whether you’re concocting innovative smoothie combinations, experimenting with homemade nut butters, or crafting velvety soups, your Ninja blender is a versatile canvas for your culinary aspirations.
So, savor the joy of blending, embrace the art of culinary creation, and let your Ninja blender be your steadfast companion in your quest for delectable, nutritious delights. With each blend, you’re not just creating recipes – you’re crafting moments of culinary bliss that enrich your life and those of your loved ones.
Here’s to countless blending adventures and the boundless creativity that awaits. May your Ninja blender continue to inspire and delight, turning your kitchen into a stage for culinary magic.
Frequently Asked Questions about How To Open A Ninja Blender
Was this page helpful?
At Storables.com, we guarantee accurate and reliable information. Our content, validated by Expert Board Contributors, is crafted following stringent Editorial Policies. We're committed to providing you with well-researched, expert-backed insights for all your informational needs.


0 thoughts on “How To Open A Ninja Blender”