Articles
How To Lock A Ninja Blender
Modified: January 19, 2024
Learn the step-by-step process of locking a Ninja Blender with this informative article. Ensure the safety and stability of your blender with these easy instructions.
(Many of the links in this article redirect to a specific reviewed product. Your purchase of these products through affiliate links helps to generate commission for Storables.com, at no extra cost. Learn more)
Introduction
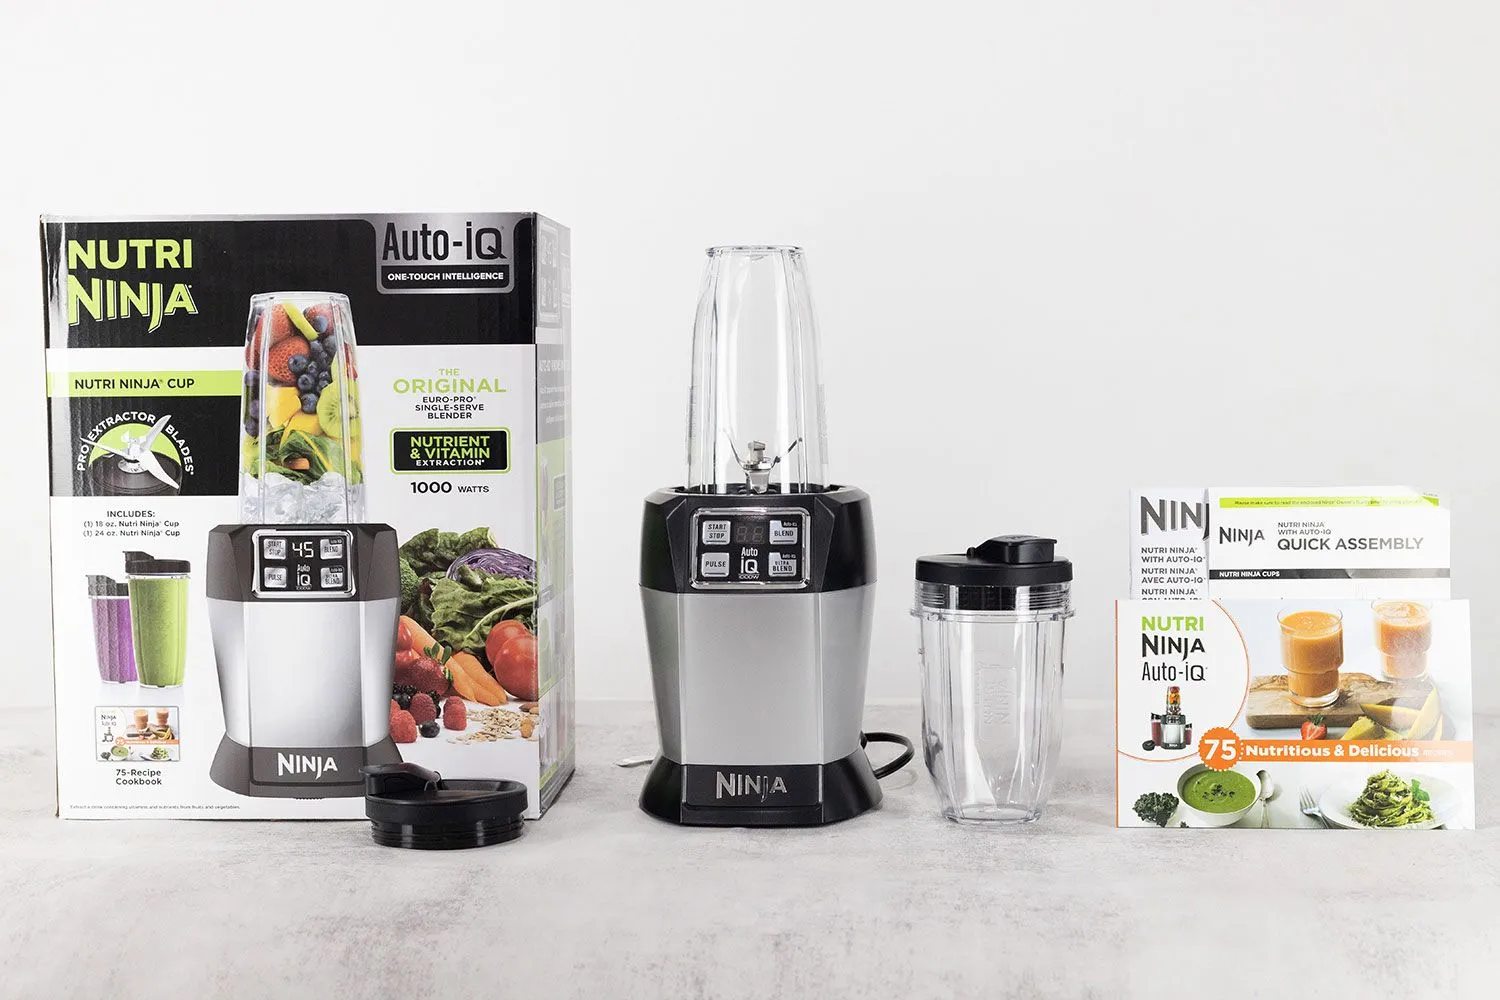
Welcome to our guide on how to lock a Ninja Blender! The Ninja Blender is a popular kitchen appliance known for its powerful blending capabilities and sleek design. However, sometimes you may encounter issues with the blender not locking properly, which can result in leaks or spills during blending. In this article, we will walk you through the process of properly locking your Ninja Blender to ensure a secure and seamless blending experience.
Locking your Ninja Blender is essential to prevent any accidents or mishaps while blending. Whether you’re a seasoned blender user or just starting out, it’s important to understand how the locking mechanism of your Ninja Blender works. By following a few simple steps, you’ll be able to ensure that your blender is securely locked and ready to go.
Before we dive into the step-by-step process of locking a Ninja Blender, let’s first take a look at the locking mechanism and how it functions. Understanding the mechanism will help you better grasp the importance of properly locking your blender.
Key Takeaways:
- Properly locking your Ninja Blender is crucial for a secure and hassle-free blending experience. Understanding the locking mechanism and preparing the blender are essential steps to ensure a tight and leak-free lock.
- After locking your Ninja Blender, always perform a quick test to check for movement or leaks. Properly unlocking the blender is also important for safe and easy removal of the blending jar.
Read more: How To Start The Ninja Blender
Step 1: Understanding the Locking Mechanism
Before you can effectively lock your Ninja Blender, it’s crucial to have a clear understanding of how the locking mechanism operates. The locking mechanism is designed to secure the blending jar to the base of the blender, ensuring stability and preventing any accidental spills or leaks.
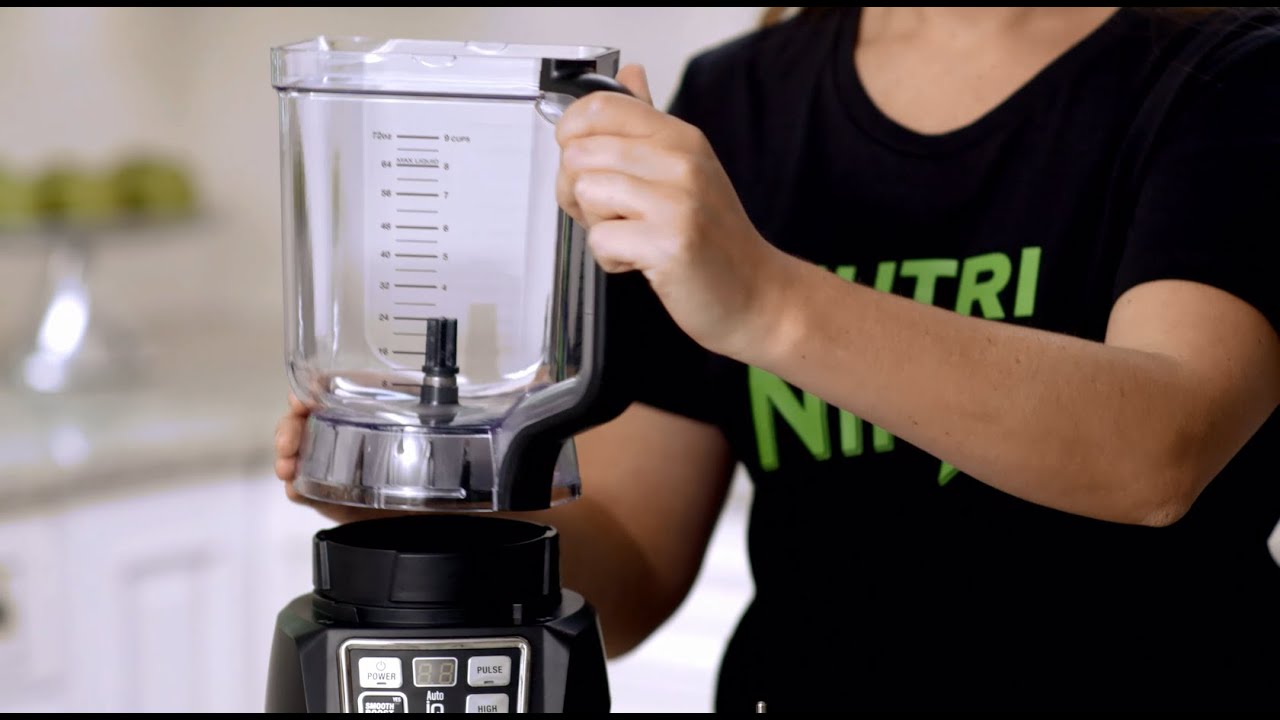
Most Ninja Blenders have a twist-locking system. This means that the blending jar is placed on top of the base and twisted clockwise until it aligns with the locking tabs on the base. Once aligned, the blending jar is locked into place, indicating that it’s secure and ready for use.
It’s important to note that the locking mechanism may vary slightly depending on the model of your Ninja Blender. So, before proceeding with the locking process, refer to the user manual that came with your blender for specific instructions.
Now that you have a basic understanding of the locking mechanism, let’s move on to the next step: preparing the blender for locking.
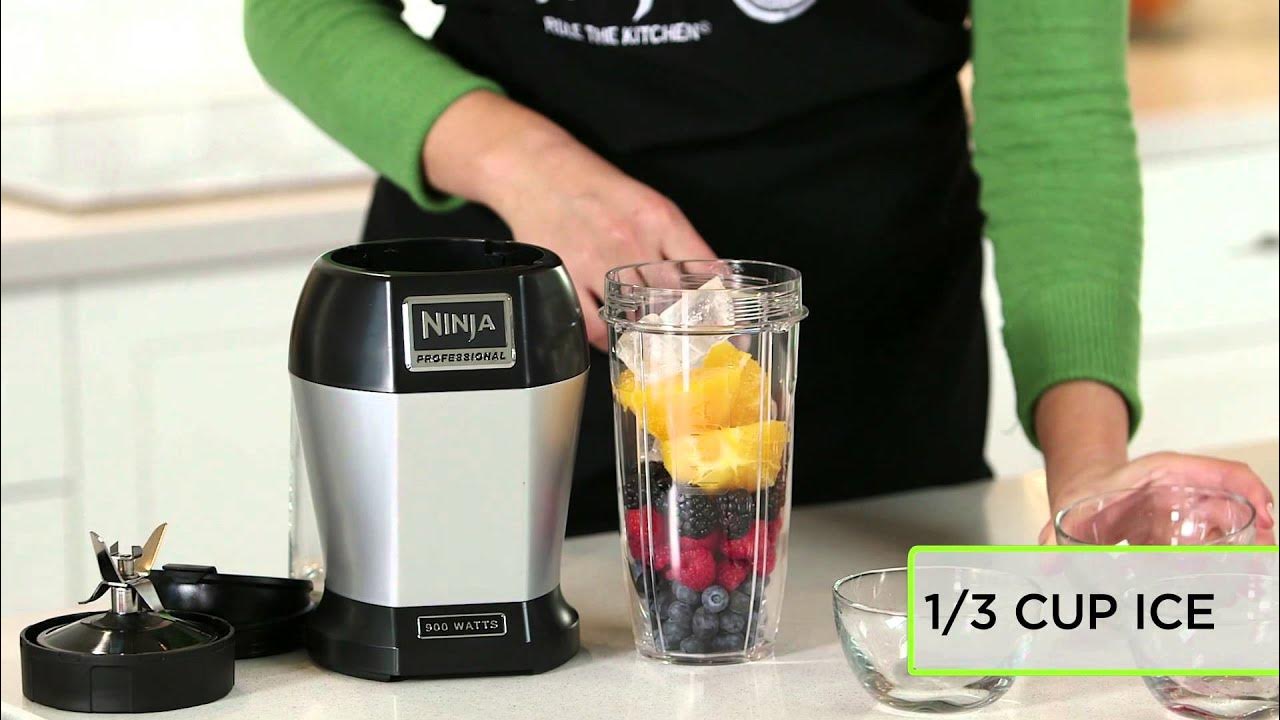
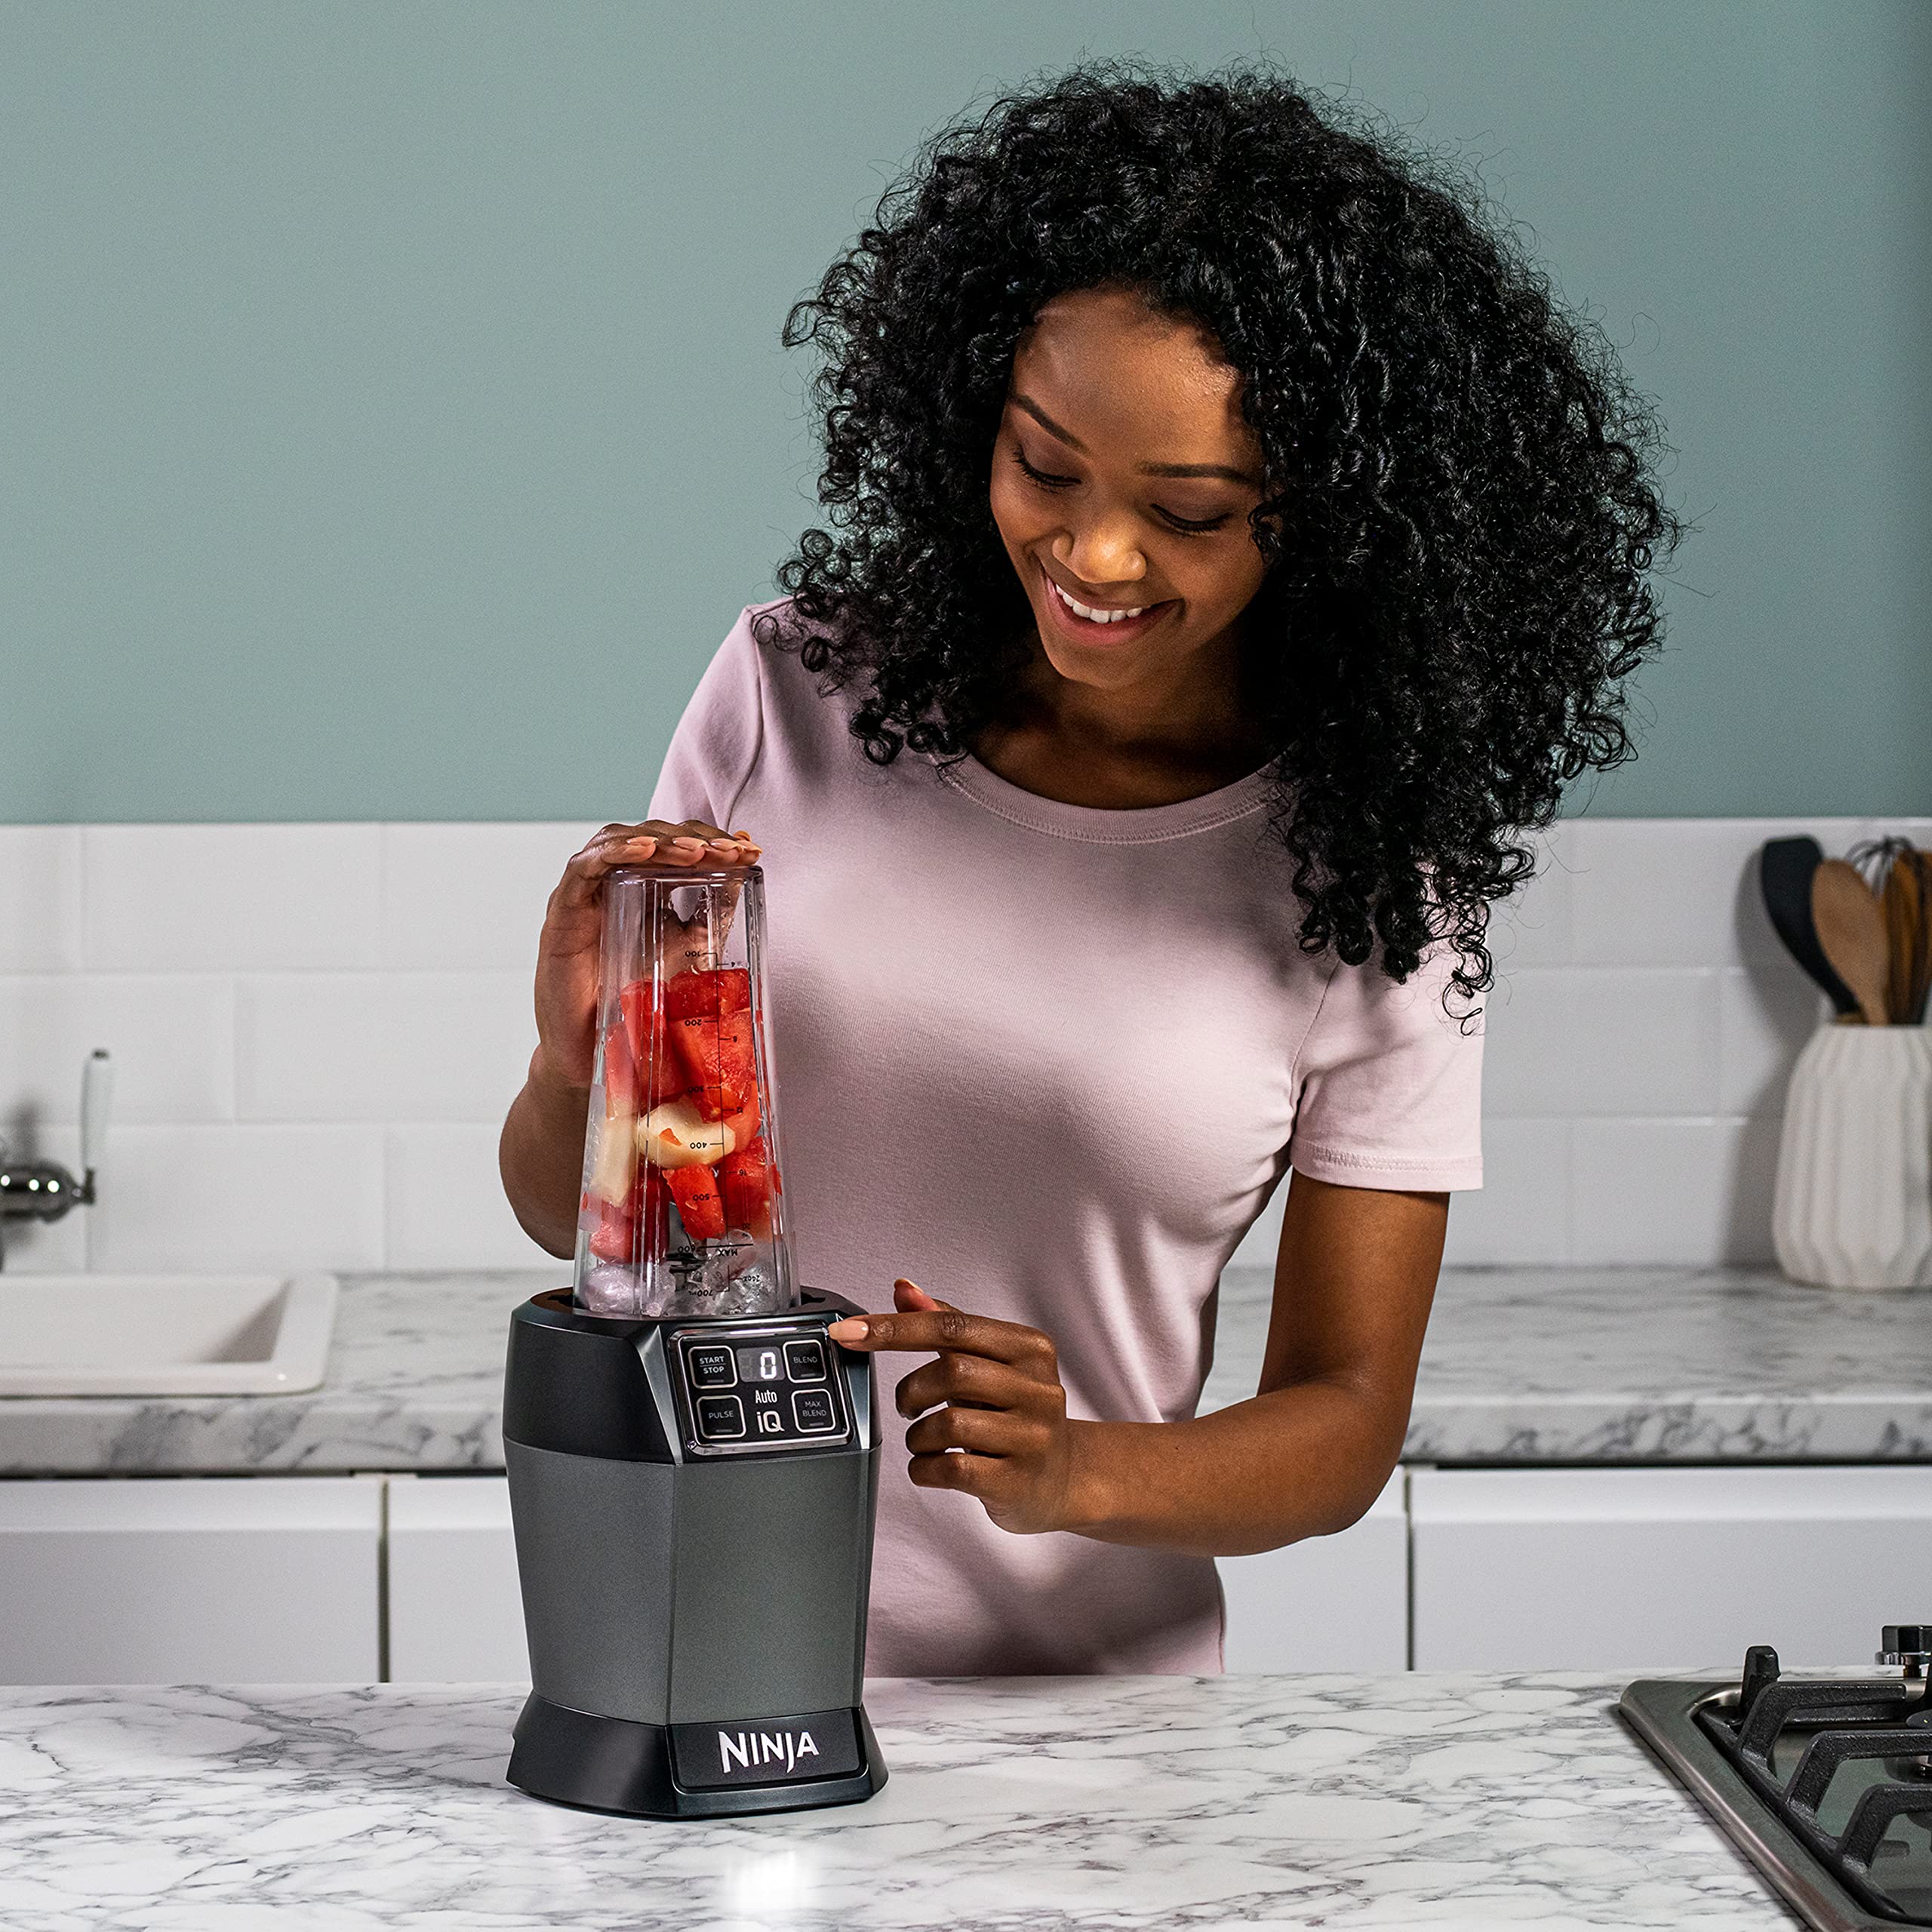
Step 2: Preparing the Blender for Locking
Before you can lock your Ninja Blender, it’s important to prepare it for the locking process. Follow these steps to ensure that your blender is ready to be securely locked:
- Clean the blender: Make sure that the blender and the blending jar are clean and free from any residue or food particles. This will prevent any interference with the locking mechanism and ensure a smooth and secure lock.
- Inspect the sealing ring: Take a look at the sealing ring located on the bottom of the blending jar. Ensure that it’s intact and in good condition. If you notice any cracks or damage, it’s recommended to replace the sealing ring to maintain a proper seal and prevent leaks during blending.
- Check the base: Examine the base of the blender for any debris or obstructions that may hinder the locking process. Wipe the base clean to ensure a proper fit with the blending jar.
By taking these preparatory steps, you’ll create an optimal environment for locking your Ninja Blender and minimize the chances of any issues or leaks during blending. Now that you’re ready, let’s move on to the next step: locking the Ninja Blender.
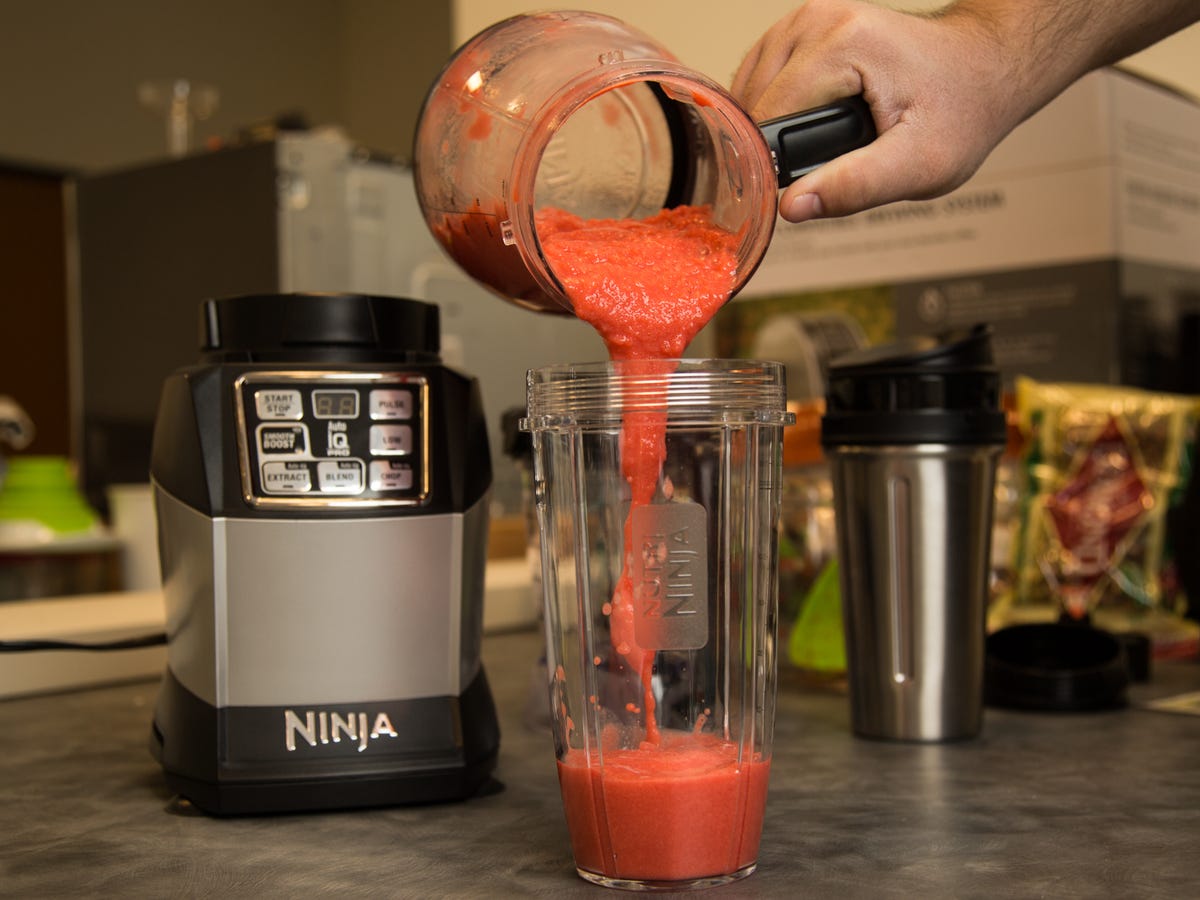
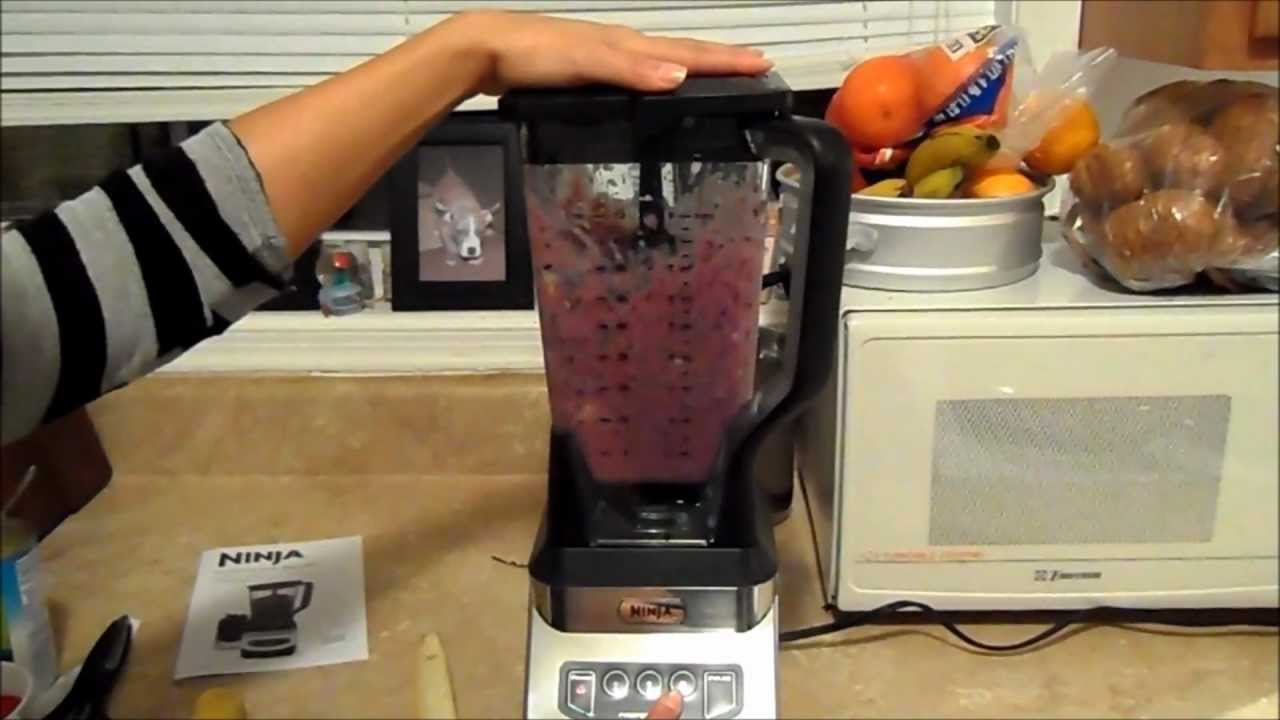
Step 3: Locking the Ninja Blender
Now that you’ve prepared your Ninja Blender for locking, it’s time to securely lock the blending jar onto the base. Follow these steps to ensure a proper lock:
- Place the blending jar: Position the blending jar on top of the base, ensuring that it’s aligned with the center of the base.
- Twist the jar clockwise: With a firm grip on the blending jar, twist it clockwise until it aligns with the locking tabs on the base. Apply gentle pressure as you twist to ensure a secure lock.
- Listen for the click: As you twist the blending jar, you should hear a clicking sound. This indicates that the blending jar is securely locked into place.
- Check the indicator marks: Some Ninja Blenders feature indicator marks on the blending jar and the base. Ensure that the marks align to verify that the blender is properly locked. If the marks don’t align, gently twist the blending jar until they do.
By following these steps, you’ll be able to lock your Ninja Blender securely, preventing any potential leaks or accidents during blending. With the blender locked, you can proceed to the next step: testing the lock.
To lock a Ninja blender, make sure the pitcher is properly aligned with the base and the handle is facing the front. Then, twist the pitcher clockwise until it clicks into place.
Step 4: Testing the Lock
Once you’ve successfully locked your Ninja Blender, it’s important to perform a quick test to ensure that the lock is secure. This step will give you peace of mind and confirm that your blender is ready to use without any issues. Follow these steps to test the lock:
- Hold the blending jar: Grab the blending jar firmly by the handle, ensuring a secure grip.
- Gently wiggle the jar: With the blending jar in hand, give it a gentle wiggle from side to side and front to back. Pay close attention to any movement or looseness.
- Check for leaks: While holding the blending jar, inspect the bottom to make sure there are no signs of leaking. Look for any seepage or liquid leakage, which could indicate a faulty lock.
If you experience any movement or detect any leaks during the testing process, it may indicate an issue with the lock. In such cases, repeat the locking steps, making sure to twist the blending jar firmly and align the indicator marks. If the problem persists, refer to the troubleshooting section of your Ninja Blender’s user manual or contact customer support for further assistance.
If the testing confirms that the lock is secure and there are no leaks, you’re ready to move on to the final step: unlocking the Ninja Blender.
Read more: How To Open A Ninja Blender
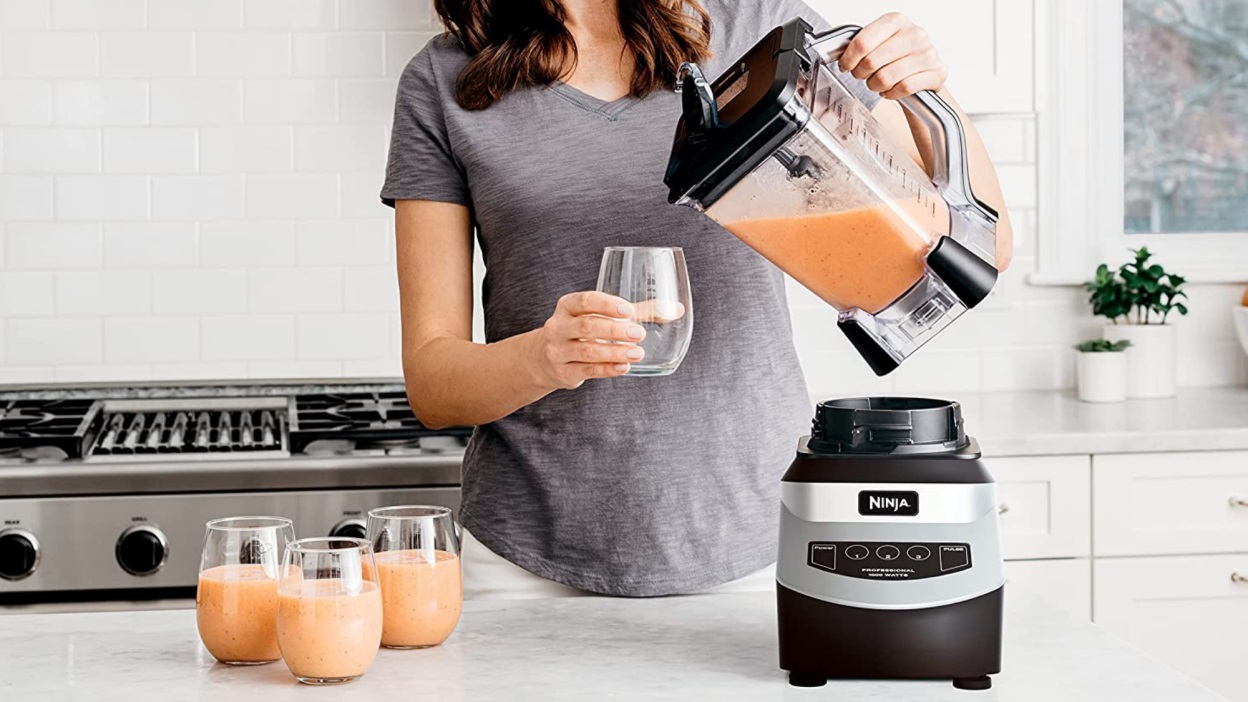
Step 5: Unlocking the Ninja Blender
When you’re finished using your Ninja Blender, it’s important to properly unlock it to safely remove the blending jar. Follow these steps to unlock your Ninja Blender:
- Ensure the blender is switched off: Before unlocking the blender, make sure that it is powered off and unplugged from the electrical outlet for safety.
- Hold the blending jar: Firmly grasp the blending jar by the handle, ensuring a secure grip.
- Twist the jar counterclockwise: With the blending jar in hand, twist it counterclockwise in the opposite direction of the lock. Apply slight pressure as you twist to loosen the jar from the base.
- Remove the blending jar: Once the blending jar is loosened, lift it upward to detach it from the base. Be cautious as you remove the jar to avoid any spills or accidents.
With the blending jar successfully removed, you have now unlocked your Ninja Blender. Remember to clean the blending jar and any accessories thoroughly before storing or reusing them.
By following these steps, you can safely and efficiently unlock your Ninja Blender after each use. Properly unlocking the blender ensures that you can remove the blending jar without any difficulty or risk of spills. Now that you’ve learned the steps to unlock your blender, let’s summarize the process.
Conclusion
Locking and unlocking your Ninja Blender is an essential skill to ensure safe and hassle-free blending. By following the steps outlined in this guide, you can confidently lock and unlock your blender, preventing any leaks or accidents during use.
Remember, understanding the locking mechanism and properly preparing your Ninja Blender are crucial steps to guaranteeing a secure lock. Take the time to clean the blender, inspect the sealing ring, and remove any debris from the base before starting the locking process.
Once you’ve prepared the blender, carefully twist the blending jar clockwise to lock it into place. Listen for the click and check the indicator marks to confirm a secure lock. Then, perform a quick test to ensure that the blender is locked and there are no leaks.
When you’re finished using the blender, always power it off and unplug it before unlocking. Twist the blending jar counterclockwise to release it from the base, and gently lift it to remove it from the blender.
Following these steps will help you maintain the longevity of your Ninja Blender and ensure a smooth and efficient blending experience every time.
Now that you’re equipped with the knowledge of how to lock and unlock your Ninja Blender, you can confidently use this versatile kitchen appliance to create delicious and nutritious blends!
Frequently Asked Questions about How To Lock A Ninja Blender
Was this page helpful?
At Storables.com, we guarantee accurate and reliable information. Our content, validated by Expert Board Contributors, is crafted following stringent Editorial Policies. We're committed to providing you with well-researched, expert-backed insights for all your informational needs.


0 thoughts on “How To Lock A Ninja Blender”