Home>Articles>How To Use Ryobi Wood Door Lock Installation Kit
Articles
How To Use Ryobi Wood Door Lock Installation Kit
Modified: August 16, 2024
Learn how to install wood door locks using the Ryobi Wood Door Lock Installation Kit with our step-by-step articles. Upgrade your home security today!
(Many of the links in this article redirect to a specific reviewed product. Your purchase of these products through affiliate links helps to generate commission for Storables.com, at no extra cost. Learn more)
Introduction
Installing a wood door lock may seem like a daunting task, but with the right tools and guidance, it can be a straightforward process. One valuable tool to have in your arsenal is the Ryobi Wood Door Lock Installation Kit. This kit is designed to make the installation of door locks efficient and precise, ensuring that you can secure your doors with ease.
In this article, we will guide you through the step-by-step process of using the Ryobi Wood Door Lock Installation Kit. From preparing the door to testing the lock installation, we will provide you with all the necessary information to successfully complete the project.
By following these instructions, you can save time and effort by avoiding common mistakes and achieving professional-quality results. So, let’s gather our tools and get ready to install a wood door lock using the Ryobi Wood Door Lock Installation Kit!
Key Takeaways:
- Installing a wood door lock using the Ryobi Wood Door Lock Installation Kit is made easy with step-by-step guidance and the right tools. From preparing the door to testing the lock, achieve professional-quality results and enhanced security with ease.
- Thoroughly testing the lock installation is crucial for ensuring its proper functionality and security. With attention to detail and the use of the Ryobi Wood Door Lock Installation Kit, confidently install a wood door lock and enjoy improved security and peace of mind.
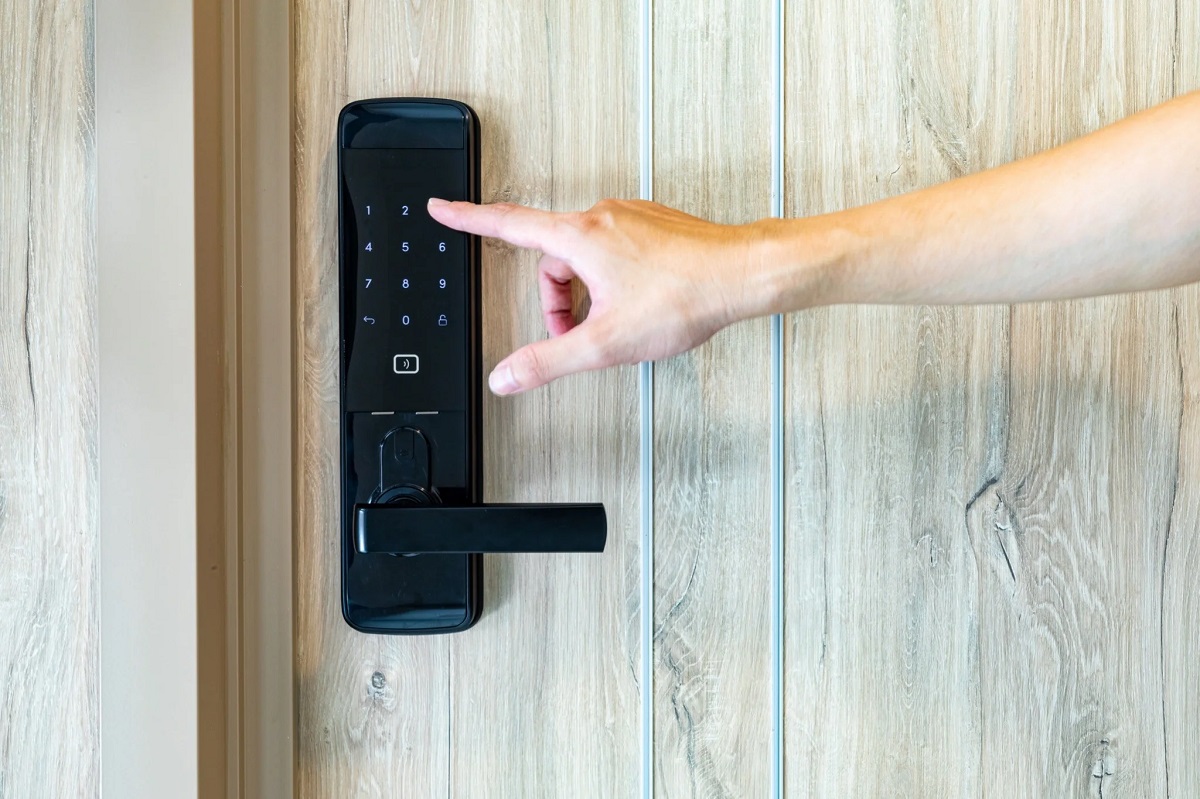
Read more: How To Install A Smart Door Lock
Tools and Materials Needed
Before getting started, make sure you have the following tools and materials ready:
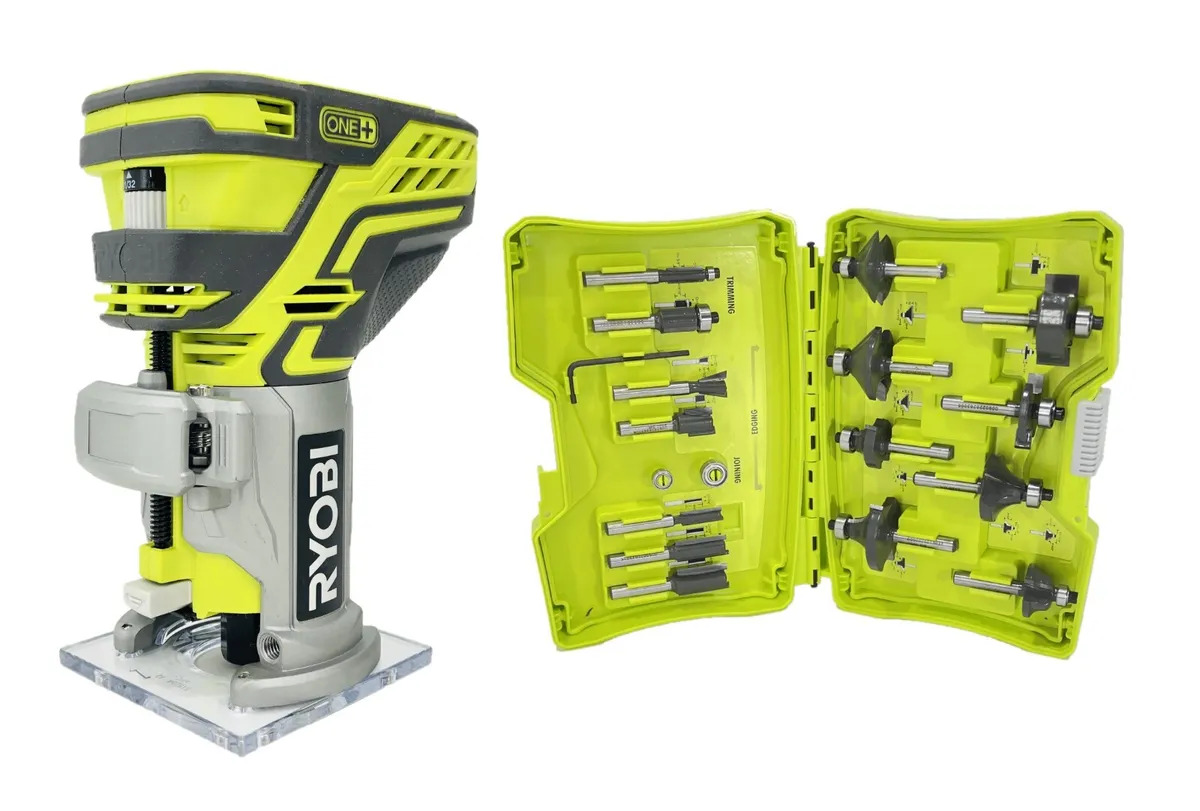
- Ryobi Wood Door Lock Installation Kit
- Drill
- Hammer
- Chisel
- Tape Measure
- Pencil
- Screwdriver
- Wood Door with Pre-drilled Holes
- Door Lock Set
- Door Strike Plate
- Wood Screws
The Ryobi Wood Door Lock Installation Kit contains all the necessary bits and accessories to ensure a precise installation. It includes hole saws of various sizes, a router template, a router bit, and an installation guide. This kit will be your go-to resource throughout the installation process.
The drill will be used to create the lock hole, while the hammer and chisel will assist in creating the faceplate mortise. The tape measure and pencil will be used for marking the location of the lock and aligning the template. The screwdriver will help with attaching the door strike plate and securing the lockset in place.
Ensure that you have a wood door with pre-drilled holes. If your door doesn’t have pre-drilled holes, you’ll need a separate drill and drill bits to create them. Additionally, you’ll need a door lock set that matches your door’s thickness and style. Lastly, have wood screws available for securing the various components of the lockset and strike plate to the door.
Having all these tools and materials prepared before starting the installation process will save you time and allow for a smooth and efficient installation of your wood door lock.
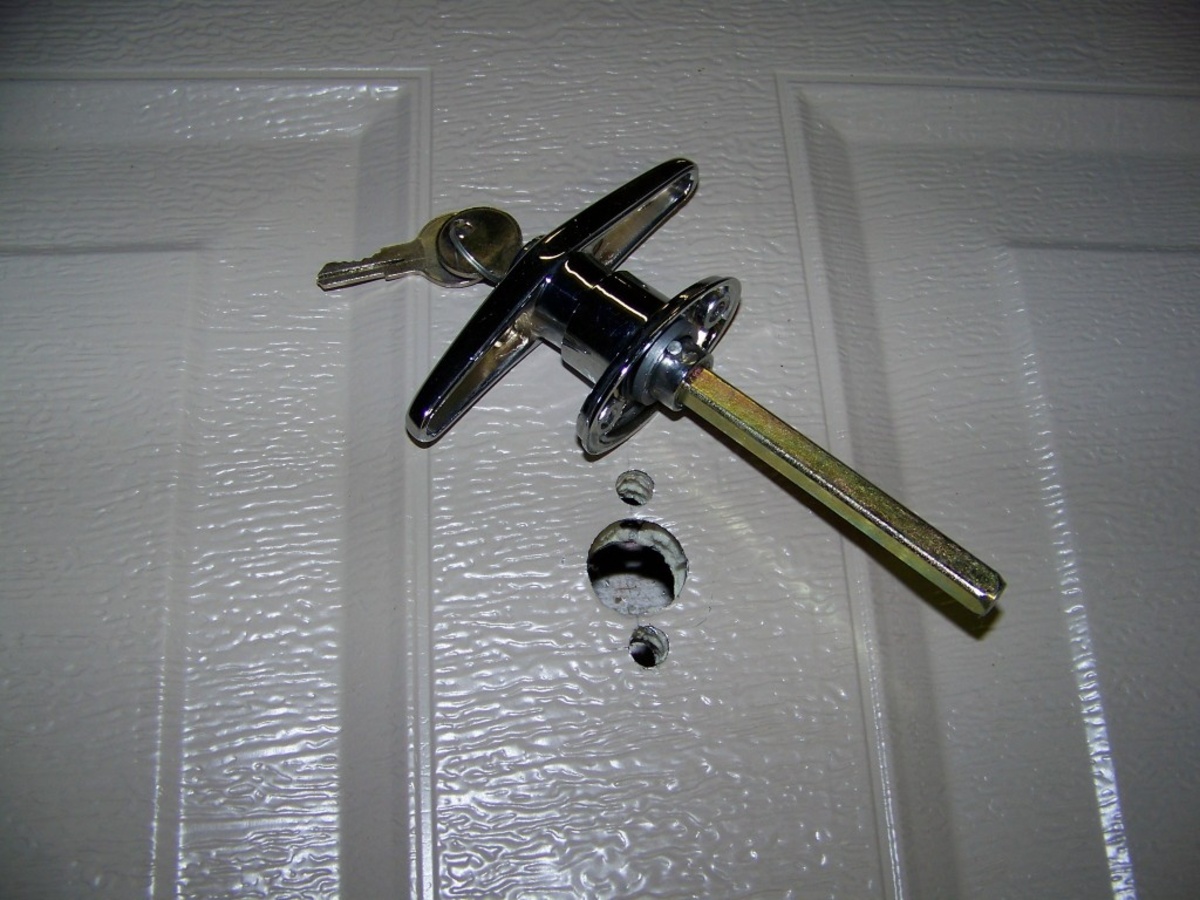
Step 1: Preparing the Door
Before you can begin installing the wood door lock, it’s important to properly prepare the door itself. Follow these steps to ensure a clean and secure installation:
- Remove the existing lock: If there’s already a lock installed on the door, use a screwdriver to remove the screws and detach the lock from the door. Ensure that the area is clean and free from any debris or residue.
- Measure and mark the lock location: Use a tape measure to determine the ideal height for the lock. Usually, it should be around 40 to 44 inches from the bottom of the door. Mark the location with a pencil.
- Align the template: Place the router template from the Ryobi Wood Door Lock Installation Kit on the door, matching it with the marked location. Ensure that the template is properly aligned and level. Use clamps to secure the template in place if necessary.
- Double-check the alignment: Take a moment to ensure that the template is aligned correctly before proceeding. Any misalignment at this stage can result in an inaccurate lock installation.
By following these steps, you’ll prepare the door for the next steps of the installation process. Taking the time to remove the existing lock, measure and mark the lock location, and align the template properly will set a solid foundation for a successful wood door lock installation.
Step 2: Marking the Location of the Lock
Once you have prepared the door, the next step in installing a wood door lock using the Ryobi Wood Door Lock Installation Kit is marking the precise location for the lock. Follow these steps to ensure accurate placement:
- Align the hole saw: Take the appropriate hole saw from the Ryobi kit that matches your lockset, and insert it into the drill. Line up the hole saw with the center of the template’s lock opening.
- Mark the center point: Place the tip of the hole saw against the template and drill a shallow pilot hole into the door. This will serve as the center point for the lock hole.
- Remove the template: Carefully remove the template from the door, ensuring not to disrupt the center point marking.
- Expand the center hole: Use the hole saw to enlarge the center hole by applying steady pressure. Take your time to avoid damaging the surrounding area.
- Mark the faceplate mortise: Once the center hole is created, place the faceplate of the lockset against the door edge. Trace around the faceplate to create an outline for the mortise.
It’s crucial to take your time during this step to ensure accurate marking. The center point for the lock hole determines the overall alignment of the lockset, while the faceplate mortise ensures a proper fit for the lock components.
By following these steps and using the Ryobi Wood Door Lock Installation Kit, you can confidently mark the precise location for the lock on your wood door, setting the stage for a seamless installation.
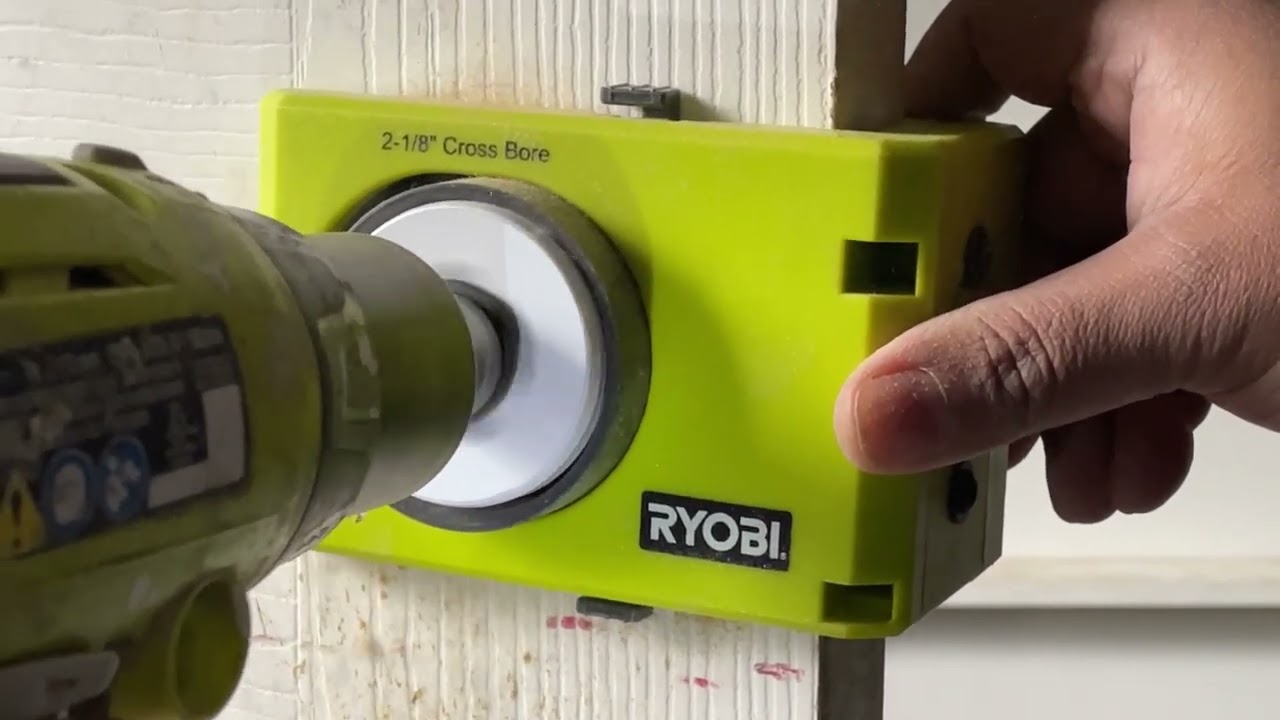
Step 3: Drilling the Lock Hole
With the location of the lock accurately marked, it’s time to move on to drilling the lock hole. Follow these steps to ensure a clean and precise hole:
- Secure the door: Place the door on a stable surface or secure it in a vice to prevent any movement during the drilling process.
- Choose the appropriate hole saw: Select the hole saw from the Ryobi Wood Door Lock Installation Kit that matches the size required for your lockset.
- Align the hole saw: Insert the hole saw into the drill, ensuring that it is securely attached. Align the pilot bit with the center point marking made in the previous step.
- Drill the lock hole: Start drilling the lock hole using a slow and steady motion. Apply firm and even pressure to prevent the drill from slipping or causing damage to the door surface.
- Monitor the depth: Continuously check the depth of the hole while drilling to ensure that it matches the requirements of your lockset. Use the depth gauge on the hole saw or a separate measuring tool to guide you.
- Remove wood debris: As you drill, periodically pull the drill out of the hole to clear away any wood debris. This will help prevent clogging and ensure a clean hole.
- Test the lock fit: Once the hole is drilled, test the fit of the lockset by inserting it into the hole. Ensure that it fits snugly and aligns properly with the door surface.
By following these steps and paying attention to detail, you can ensure a precise and accurate lock hole. This will provide a secure and seamless fit for your lockset, allowing for smooth operation and enhanced door security.
When using the Ryobi Wood Door Lock Installation Kit, make sure to carefully measure and mark the door for accurate placement of the lock. Use the included hole saws and spade bits to create clean and precise holes for the lock and latch. Always follow the manufacturer’s instructions for best results.
Read more: How To Use A Door Lock
Step 4: Creating the Faceplate Mortise
With the lock hole drilled, the next step in installing a wood door lock using the Ryobi Wood Door Lock Installation Kit is creating the faceplate mortise. This step ensures that the lock components sit flush with the door edge. Follow these steps to create the faceplate mortise:
- Secure the door: Place the door on a stable surface or secure it in a vice to prevent any movement during the mortising process.
- Insert the chisel: Take a sharp chisel and insert it into the faceplate mortise outline created in Step 2.
- Make shallow cuts: Begin by making shallow cuts along the outline. This will help prevent any wood splintering or damage to the surrounding area.
- Gradually deepen the cuts: Gradually increase the depth of the chisel cuts, working towards the desired depth for the faceplate mortise. Take small, controlled increments to ensure accuracy.
- Smooth and level: Once the majority of the material is removed, smooth and level the mortise using the chisel. Take care to maintain the squareness and alignment of the mortise to ensure a proper fit.
- Check the fit: Test the fit of the lock’s faceplate in the mortise. It should sit flush with the door edge without any gaps or unevenness.
Creating the faceplate mortise is essential for the proper installation and operation of the lockset. Taking your time to carefully chisel the mortise will ensure a seamless fit and enhance the overall aesthetics and functionality of the wood door lock.
Step 5: Installing the Door Strike Plate
Now that the lock components are prepared, it’s time to install the door strike plate. The strike plate is attached to the door frame and provides a secure latch point for the lock. Follow these steps to install the door strike plate:
- Align the strike plate: Place the strike plate on the door frame, ensuring that it aligns with the latch mechanism of the lockset.
- Mark the screw holes: Use a pencil or a small nail to mark the screw hole locations on the door frame through the holes in the strike plate.
- Drill pilot holes: Use a drill bit slightly smaller than the diameter of the screws provided with the strike plate. Drill pilot holes at the marked locations to help guide the screws in later.
- Secure the strike plate: Position the strike plate on the door frame again, lining up the holes with the pilot holes. Attach the strike plate using the screws provided, using a screwdriver or a drill with a screwdriver bit.
- Test the latch: Close the door and test the latch mechanism. Ensure that it smoothly and securely engages with the strike plate. Make any necessary adjustments if the latch doesn’t align properly.
The installation of the door strike plate is crucial for the proper functioning of the lock. It provides a solid and secure latch point, enhancing the overall security and reliability of the wood door lock. Take your time to align and secure the strike plate accurately to ensure optimal performance.
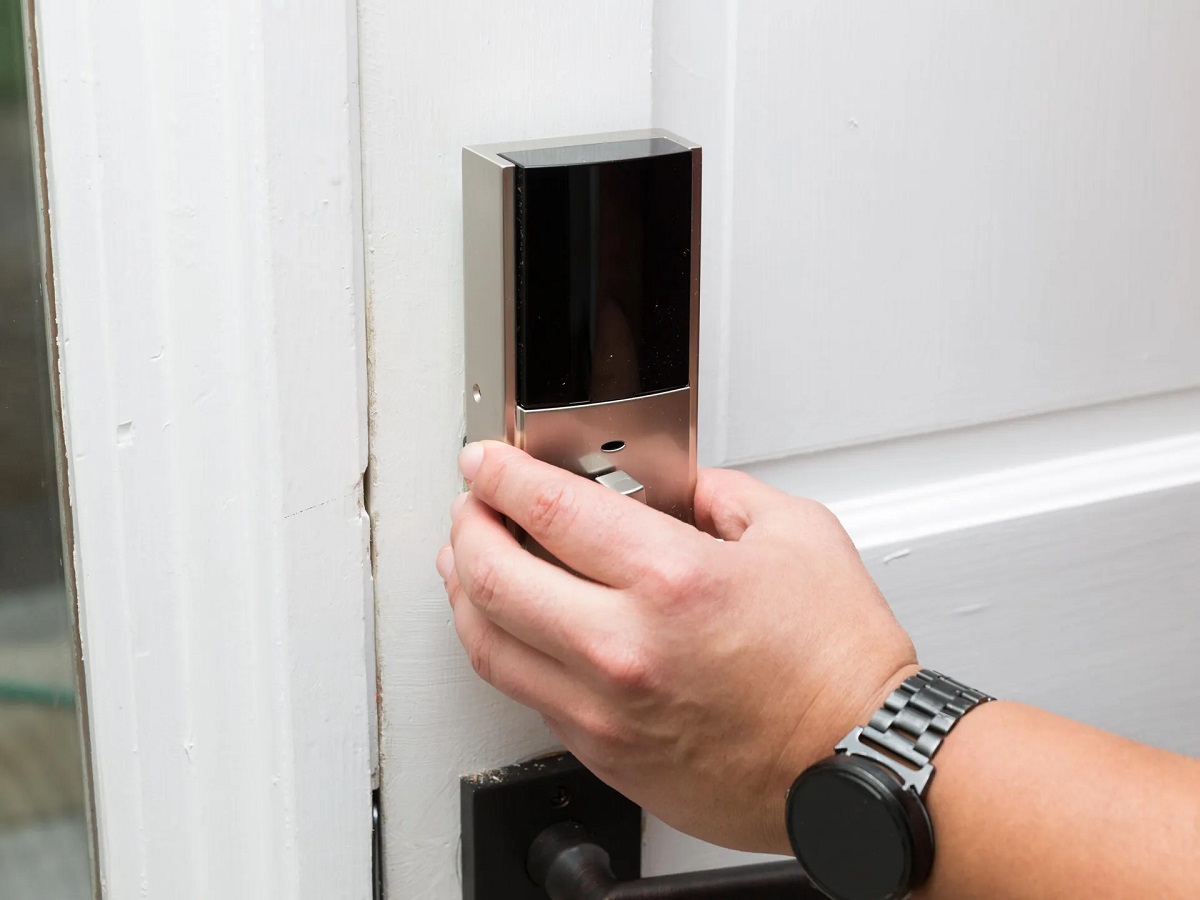
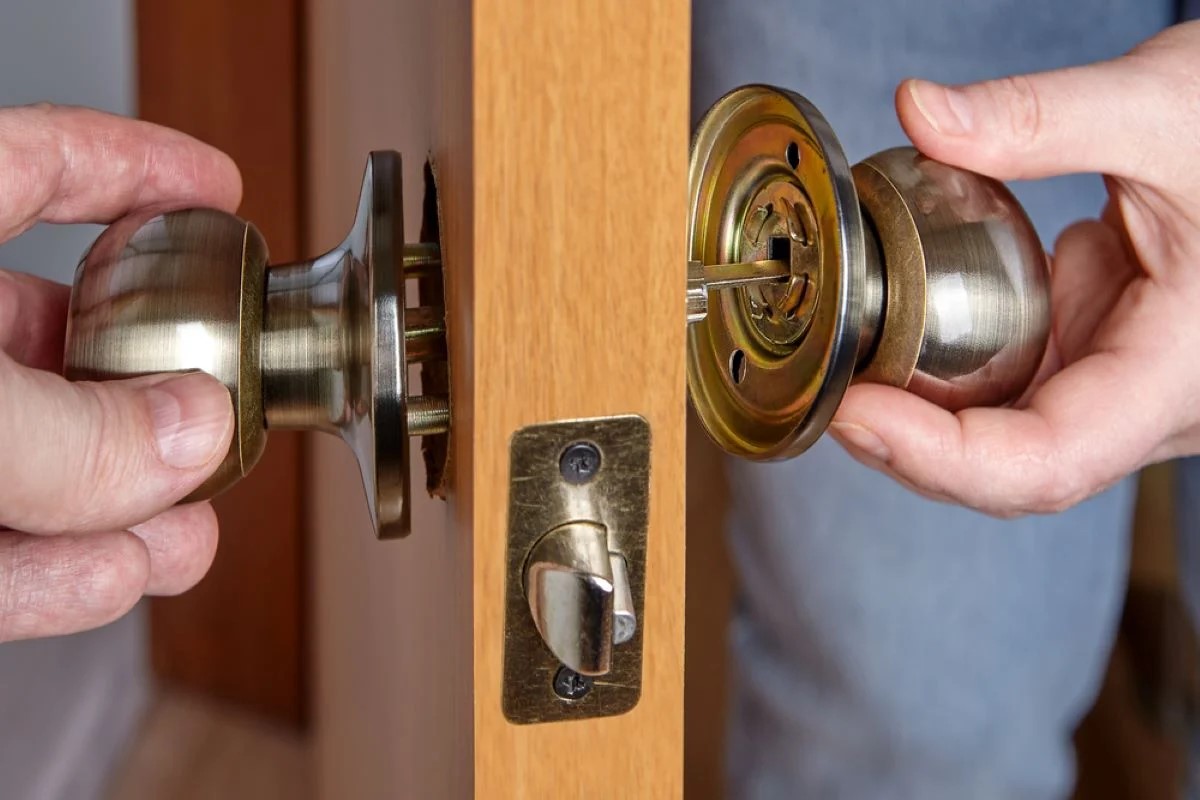
Step 6: Attaching the Door Handle
After installing the door strike plate, the next step in completing the wood door lock installation is attaching the door handle. The door handle includes both the knob or lever and the accompanying hardware. Follow these steps to attach the door handle:
- Prepare the door handle: Gather all the components of the door handle set, including the knob or lever, latch mechanism, and accompanying screws.
- Insert the latch mechanism: Place the latch mechanism into the hole on the edge of the door, ensuring that it aligns with the lock hole created earlier.
- Secure the latch mechanism: Attach the latch mechanism to the door using the screws provided. Use a screwdriver or a drill with a screwdriver bit, but be careful not to overtighten the screws.
- Attach the door handle: Depending on the type of door handle you have, follow the manufacturer’s instructions to install the knob or lever. Typically, this involves inserting the spindle or attaching the handles with screws provided.
- Test the door handle: Operate the door handle to ensure that the latch mechanism is functioning correctly. Make sure the knob or lever turns smoothly and engages with the latch when the door is closed.
Attaching the door handle is the final step in the wood door lock installation. A proper installation ensures easy and reliable access to your secured space. Take your time to carefully follow the instructions and test the functionality of the door handle for optimal performance.
Step 7: Testing the Lock Installation
After completing the installation of the wood door lock, it’s crucial to perform a thorough test to ensure its proper functionality and security. Follow these steps to test the lock installation:
- Close the door: Shut the door completely to engage the lock and simulate a locked state.
- Test the latch: Turn the door handle or knob to verify that the latch mechanism smoothly extends and retracts with ease. The door should securely close and latch without any resistance or issues.
- Check for misalignment: Ensure that the door and lock components are properly aligned. The latch should align with the strike plate on the door frame, allowing for seamless operation.
- Lock the door: Engage the lock mechanism using the key or thumbturn, depending on the type of lockset. Turn the key or thumbturn to verify that the locking mechanism smoothly moves into place.
- Test the lock’s security: Attempt to force the door open while it is locked to test the lock’s security. The lock should withstand reasonable pressure and remain securely locked.
- Repeat the process: Perform these tests multiple times to ensure consistent and reliable performance. Note any issues or concerns that may require adjustments or further attention.
By thoroughly testing the lock installation, you can identify any issues early on and correct them accordingly. This step is crucial for ensuring the security and functionality of your wood door lock.
If you encounter any problems during the testing phase, refer to the manufacturer’s instructions or seek the assistance of a professional locksmith for troubleshooting and resolution.
Read more: How To Install Sliding Door Lock
Conclusion
Installing a wood door lock may initially seem like a complex task, but with the Ryobi Wood Door Lock Installation Kit and proper guidance, it can be accomplished with ease. By following the step-by-step instructions outlined in this article, you can successfully install a wood door lock and enhance the security of your doors.
The Ryobi Wood Door Lock Installation Kit provides the necessary tools and accessories to ensure accurate measurements, precise drilling, and seamless installation. With the right tools and materials on hand, you can save time and effort while achieving professional-quality results.
From preparing the door by removing existing locks and marking the lock location, to drilling the lock hole, creating the faceplate mortise, attaching the door strike plate, and installing the door handle, every step is crucial in ensuring a secure and reliable wood door lock installation.
Remember to test the lock installation thoroughly to ensure its proper functionality and security. By performing tests to check the latch, alignment, and lock’s security, you can identify any issues and address them promptly, ensuring optimal performance.
With attention to detail and the use of the Ryobi Wood Door Lock Installation Kit, you can confidently install a wood door lock and enjoy improved security and peace of mind. So, grab your tools, follow the steps outlined in this article, and take the first step towards securing your doors with a reliable and efficient lock.
Frequently Asked Questions about How To Use Ryobi Wood Door Lock Installation Kit
Was this page helpful?
At Storables.com, we guarantee accurate and reliable information. Our content, validated by Expert Board Contributors, is crafted following stringent Editorial Policies. We're committed to providing you with well-researched, expert-backed insights for all your informational needs.

0 thoughts on “How To Use Ryobi Wood Door Lock Installation Kit”