Articles
How To Build A Walkway On A Slope
Modified: May 6, 2024
Learn how to build a sturdy and beautiful walkway on a slope with these helpful articles. Explore step-by-step guides, tips, and expert advice to create the perfect outdoor pathway.
(Many of the links in this article redirect to a specific reviewed product. Your purchase of these products through affiliate links helps to generate commission for Storables.com, at no extra cost. Learn more)
Introduction
Building a walkway on a slope can be a challenging task, but with proper planning and preparation, it is definitely achievable. A well-designed and properly constructed walkway not only adds functionality but also enhances the overall aesthetics of your landscape.
Whether you want to create a path in your backyard garden or need a walkway for easy access to a higher or lower level of your property, this article will guide you through the steps of building a walkway on a slope. By following these steps, you can ensure that your walkway is stable, safe to use, and blends seamlessly with the surrounding environment.
Before you start your project, it is important to note that the specific steps and materials required may vary depending on the slope’s gradient and your local building codes. However, this article will provide you with a general guide that can be adapted to suit your specific situation.
So, if you’re ready to transform your sloped landscape into an easily accessible and beautiful walkway, let’s get started!
Key Takeaways:
- Proper planning and preparation are essential for building a walkway on a slope. Assess the slope, obtain permits, gather materials, and set a budget to ensure a successful and visually appealing project.
- Installing edging, laying the walkway material, and adding finishing touches are crucial steps in creating a safe, durable, and aesthetically pleasing walkway on a slope. Regular maintenance is key to preserving its beauty and functionality.
Read more: How To Build A Paver Walkway On A Slope
Step 1: Planning and Preparation
Before embarking on any construction project, proper planning and preparation are key. This step will help you define the scope of your walkway project, assess any challenges or obstacles you may face, and determine the materials and tools needed to complete the job.
1.1 Assess the Slope
Start by evaluating the slope of your landscape. Determine the angle and degree of the slope, as this will impact the design and layout of your walkway. Steeper slopes may require additional reinforcements or terracing to ensure stability.
1.2 Design the Walkway
Next, decide on the design of your walkway. Consider the overall style of your landscape and choose a design that complements it. You can opt for a straight path, a curved path, or a combination of both. Sketch out the design on paper or use a digital design tool to visualize the final result.
1.3 Check for Permits or Regulations
Before starting any construction work, check with your local authorities to see if there are any permits or regulations you need to comply with. This is especially important if you are planning to build a walkway that extends beyond your property boundaries.
1.4 Gather Materials and Tools
Once you have a clear plan in place, make a list of the materials and tools you will need for the project. Common materials for walkways include gravel, crushed stone, stepping stones, bricks, or pavers. Additionally, you will need tools such as a shovel, rake, wheelbarrow, measuring tape, level, and a mallet.
1.5 Set a Budget
Establishing a budget is essential to ensure that your walkway project remains within your financial means. Consider the costs of materials, tools, any hired labor, and any additional landscaping features you may want to include. Research prices and obtain quotes from suppliers and contractors if necessary.
By thoroughly planning and preparing for your walkway project, you will set yourself up for success and make the construction process smoother and more efficient.
Step 2: Marking the Path
Once you have completed the planning and preparation stage, it’s time to mark the path where your walkway will be installed. This step is crucial for ensuring accurate placement and alignment of the walkway materials.
2.1 Clear the Area
Start by clearing any existing vegetation, debris, or obstacles from the area where the walkway will be located. Trim back any overhanging branches or bushes and remove any rocks or roots that may obstruct the path.
2.2 Measure and Layout
Measure the width and length of your desired walkway and mark the dimensions on the ground using stakes or spray paint. Use a measuring tape or a long piece of string to ensure straight lines and proper alignment.
2.3 Consider Gradients and Curves
If your slope has varying elevations or curves, take them into account when marking the path. Allow for gentle gradients or steps if necessary to ensure a comfortable and safe walking experience.
2.4 Adjust for Accessibility
If you have mobility concerns or want to make your walkway wheelchair accessible, ensure that your path meets the required width and slope regulations. Consult local building codes or accessibility guidelines for specific measurements and requirements.
2.5 Test the Path
Before proceeding to the next step, take the time to walk along the marked path to ensure that it feels comfortable and visually appealing. Make any adjustments or modifications as needed to achieve the desired layout and flow.
2.6 Double-Check Measurements
Prior to starting the construction process, double-check your measurements and ensure that the marked path aligns with your initial design. Accuracy at this stage will save you time and effort during the installation of the walkway materials.
By taking the time to properly mark the path, you will ensure that your walkway is visually appealing, functional, and properly aligned with the natural contours of the slope.
Step 3: Clearing the Area
Clearing the area is an essential step in building a walkway on a slope. By removing any vegetation, rocks, or debris, you will create a clean and level surface for the construction of your walkway.
3.1 Remove Vegetation
Start by removing any plants, grass, or weeds that are growing in the path of your walkway. Use a shovel or a garden hoe to dig up the vegetation, ensuring that you remove the roots to prevent regrowth. If necessary, apply an herbicide to further eliminate any remaining plants.
3.2 Clear Rocks and Debris
Scan the area for rocks, stones, or other debris that may hinder the installation process. Clear them away to create a smooth and even surface. If there are larger rocks that cannot be easily removed, consider incorporating them into the design of your walkway as decorative elements.
3.3 Level the Surface
Using a rake or a shovel, level the surface of the walkway area. Remove excess soil and fill in any low spots to achieve an even and uniform surface. This is especially important on a slope to ensure stability and prevent unevenness along the walkway.
3.4 Address Drainage Concerns
If your slope is prone to water buildup or erosion, consider adding a drainage system to redirect water away from the walkway. This can be in the form of perforated pipes, gravel trenches, or a French drain. Proper drainage will help prevent water damage and ensure the longevity of your walkway.
3.5 Compact the Soil
Once the area is cleared and leveled, use a plate compactor or a tamper to compact the soil. This will improve stability and prevent settling of the walkway materials over time. Make multiple passes over the entire surface to ensure thorough compaction.
3.6 Install Weed Barrier
To suppress weed growth and further protect the walkway, consider installing a weed barrier. This can be a layer of landscape fabric or geotextile fabric placed on top of the compacted soil. Cut the fabric to fit the dimensions of the walkway area and secure it in place with stakes.
By clearing the area and preparing the surface properly, you will create a solid foundation for the construction of your walkway. This will ensure a long-lasting and visually appealing result.
Step 4: Building the Base
Building a solid base is crucial for the stability and longevity of your walkway on a slope. The base provides a firm foundation for the walkway materials and helps distribute weight evenly to prevent sinking or shifting.
4.1 Add a Layer of Gravel
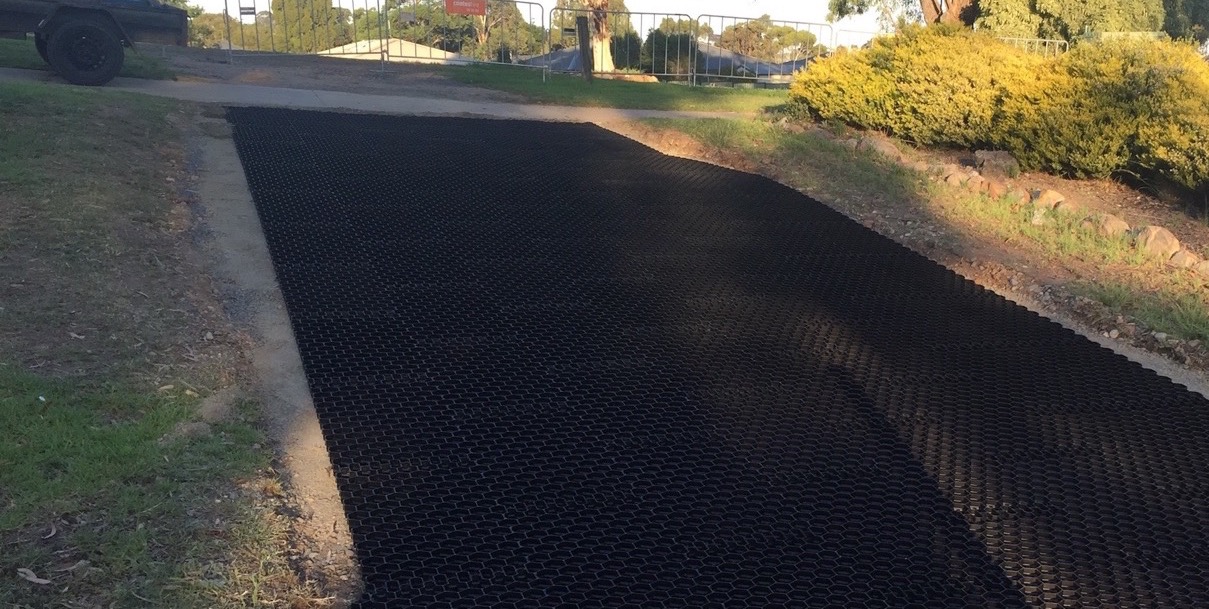
Start by adding a layer of compacted gravel to the cleared area. This layer acts as a base and aids in drainage. Spread the gravel evenly, ensuring a thickness of about 2-4 inches. Use a rake or shovel to level the gravel and ensure a smooth, uniform surface.
4.2 Compact the Gravel
Use a plate compactor or tamper to compact the gravel. This step is essential for achieving a stable and solid base. Make multiple passes over the entire surface, ensuring that the gravel is well-compacted and there are no soft spots.
4.3 Install Landscape Fabric
Place a layer of landscape fabric or geotextile fabric on top of the compacted gravel. This acts as a barrier, preventing the base materials from mixing with the underlying soil and helping to suppress weed growth. Cut the fabric to fit the dimensions of the walkway area and secure it in place with stakes.
4.4 Lay a Layer of Sand
On top of the fabric, add a layer of sand. This layer will help level the base and provide a cushioning effect for the walkway materials. Spread the sand evenly, aiming for a thickness of about 1 inch. Use a board or a straight edge to ensure a smooth, level surface.
4.5 Compact the Sand
Once the sand layer is in place, compact it using a plate compactor or tamper. This step helps to further stabilize the base and ensures that the sand is tightly packed. Make multiple passes over the entire surface, paying attention to areas that may be uneven.
4.6 Check for Levelness
Using a level, check the levelness of the base. If necessary, make any adjustments by adding or removing sand to achieve a perfectly flat and even surface. This will provide a solid foundation for the walkway materials and ensure a smooth and safe walking surface.
By building a sturdy and well-compacted base, you will create a solid foundation for the walkway materials. This step is essential for ensuring the stability and durability of your walkway on a slope.
When building a walkway on a slope, make sure to use materials that provide good traction, such as textured pavers or gravel, to prevent slipping. Additionally, consider adding steps or retaining walls to help manage the slope and create a safe and stable pathway.
Read more: How To Build A Patio On A Slope
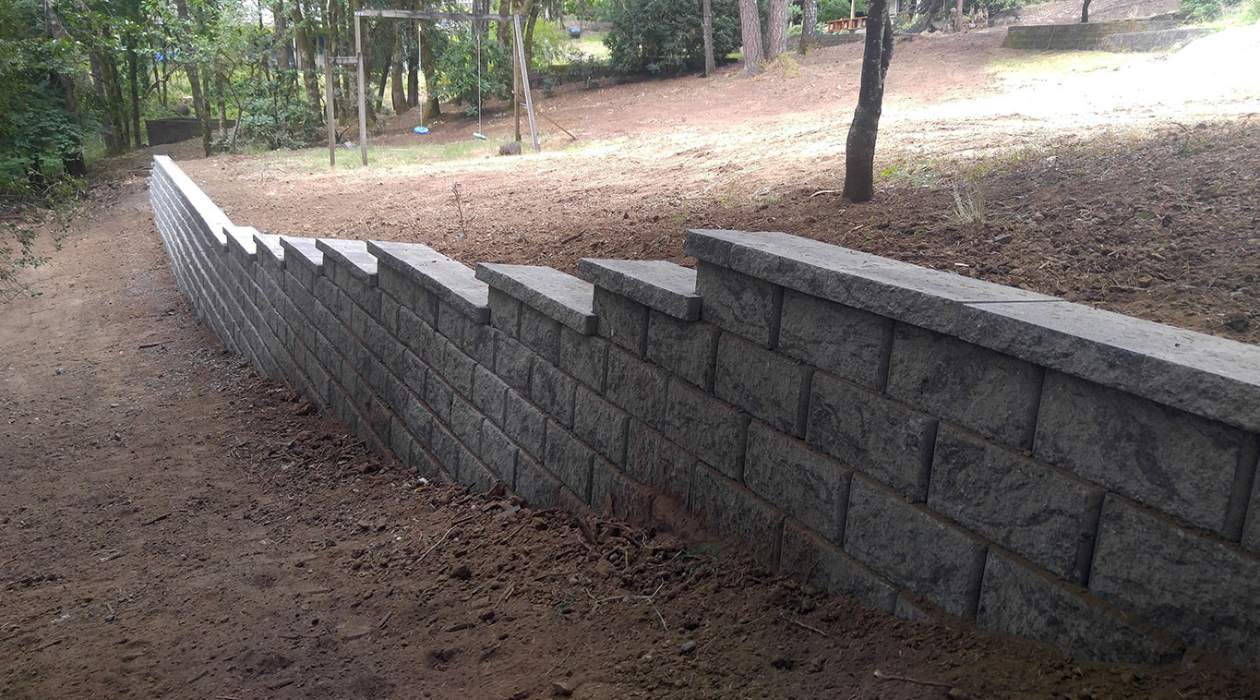
Step 5: Installing the Edging
Installing edging along the sides of your walkway on a slope serves multiple purposes. It provides a clear separation between the walkway and surrounding landscaping, helps contain the walkway materials, and adds a finished look to the overall design.
5.1 Choose the Right Edging Material
There are various materials you can use for edging, such as plastic, metal, wood, or stone. Consider the style of your landscape and the desired aesthetic appeal when selecting the edging material. Ensure that it is sturdy, durable, and able to withstand the slope’s conditions.
5.2 Excavate a Trench
Using a shovel or an edging tool, excavate a trench along the edges of the walkway. The depth of the trench will depend on the thickness of the edging material. Aim for a depth that allows the top of the edging to sit slightly above the walkway surface.
5.3 Install the Edging
Place the edging material into the trench. Ensure that it fits snugly and aligns with the marked path. If using interlocking edging, connect the pieces securely. Use a rubber mallet or a hammer to gently tap the edging into place, ensuring it is level and straight along the entire length of the walkway.
5.4 Secure the Edging
Once the edging is in place, secure it by inserting spikes or stakes into the ground through the pre-drilled holes or slots in the edging. Space the spikes or stakes evenly along the length of the edging to provide stability and prevent shifting.
5.5 Backfill the Trench
Backfill the trench with soil, packing it tightly around the edging to provide additional support and stability. Use a tamper or your foot to compact the soil firmly around the edging material.
5.6 Adjust the Edging Height
If necessary, adjust the height of the edging to be level with the walkway surface. Trim any excess material using a saw or an appropriate cutting tool. Ensure that the edging sits securely in place and does not interfere with the walkway materials.
Installing edging along the walkway not only adds a polished look to the design but also helps to contain the walkway materials and maintain the integrity of the pathway. It is an important step in creating a visually appealing and functional walkway on a slope.
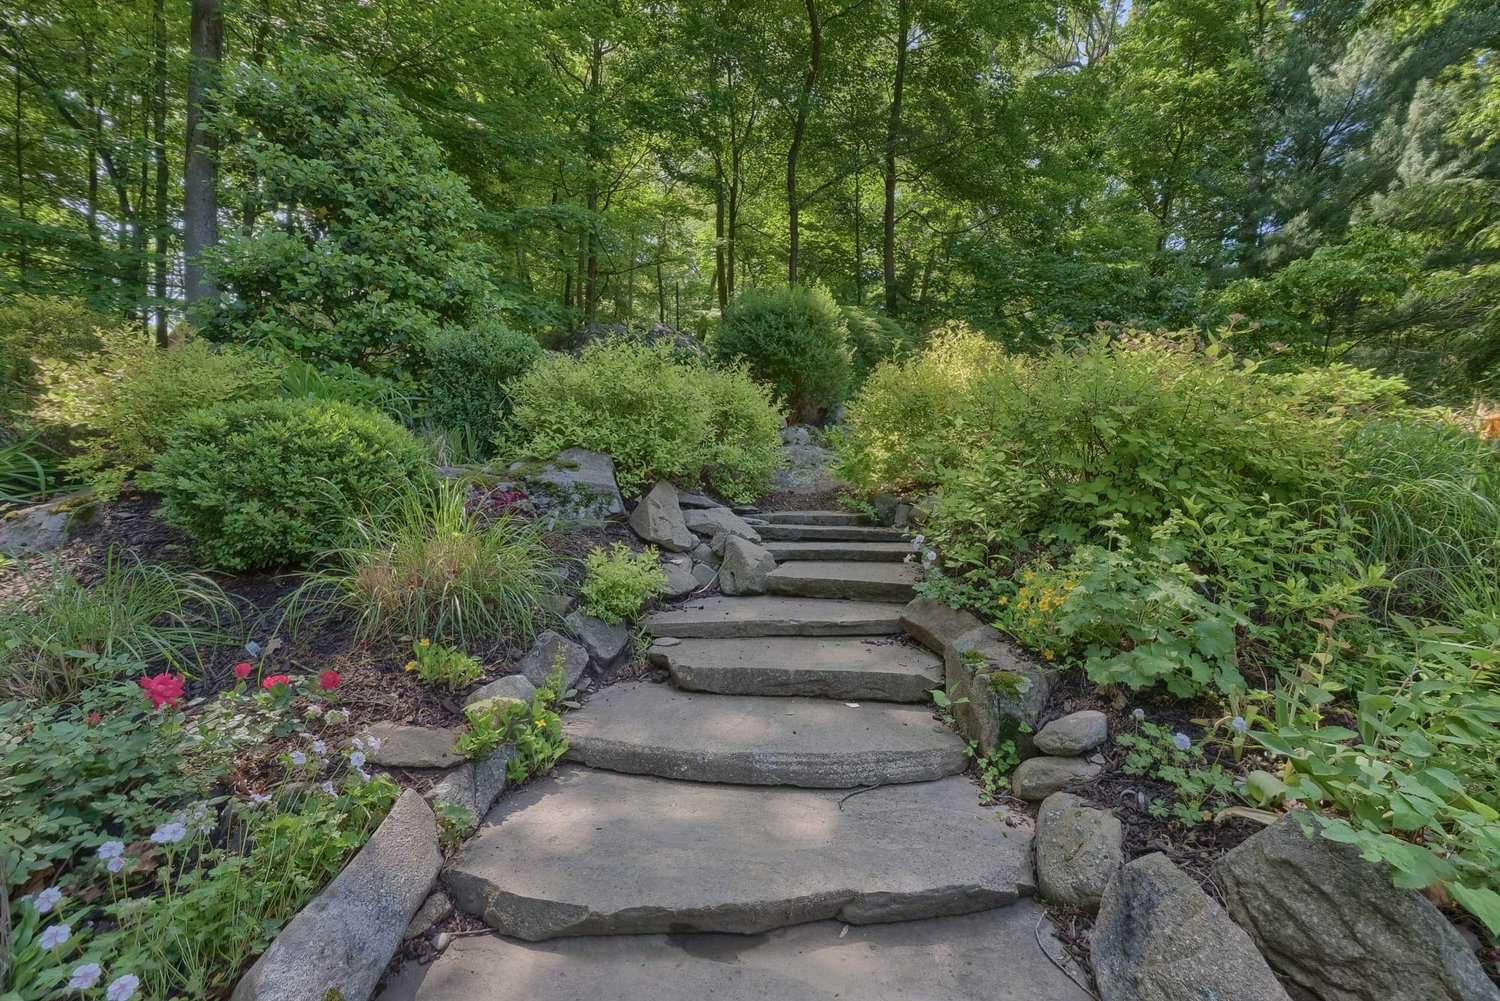
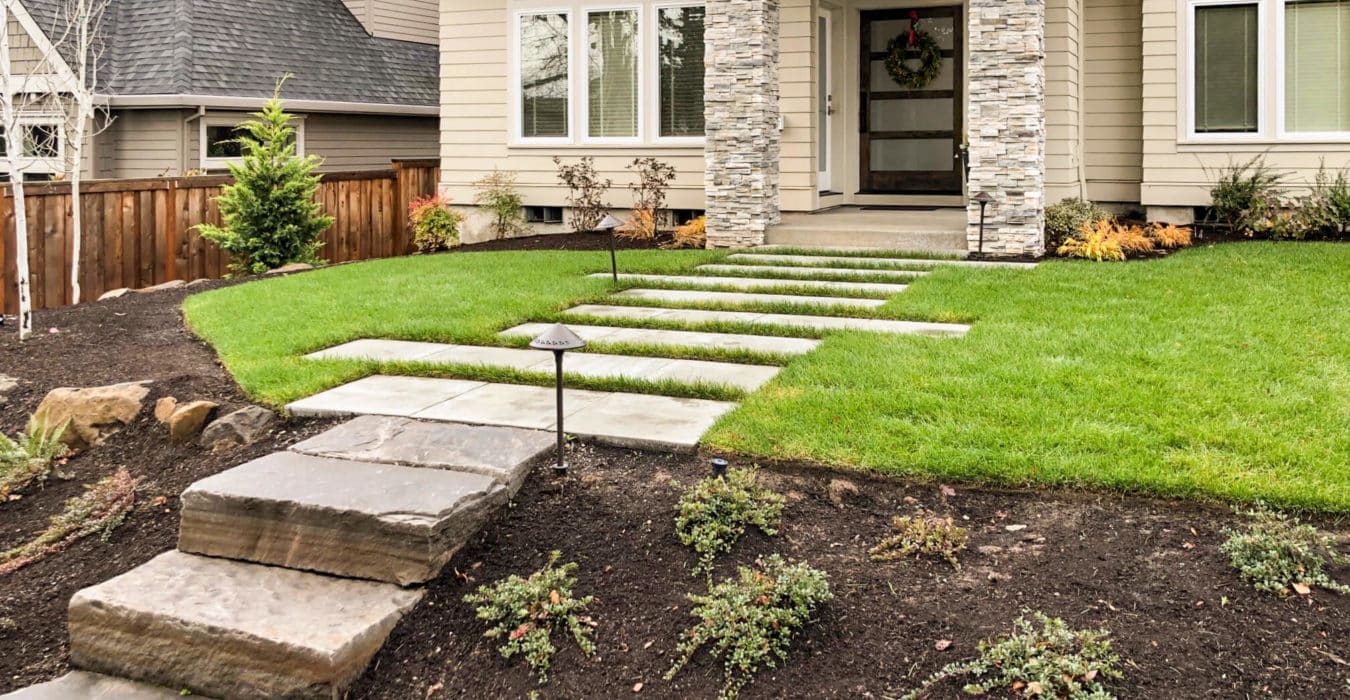
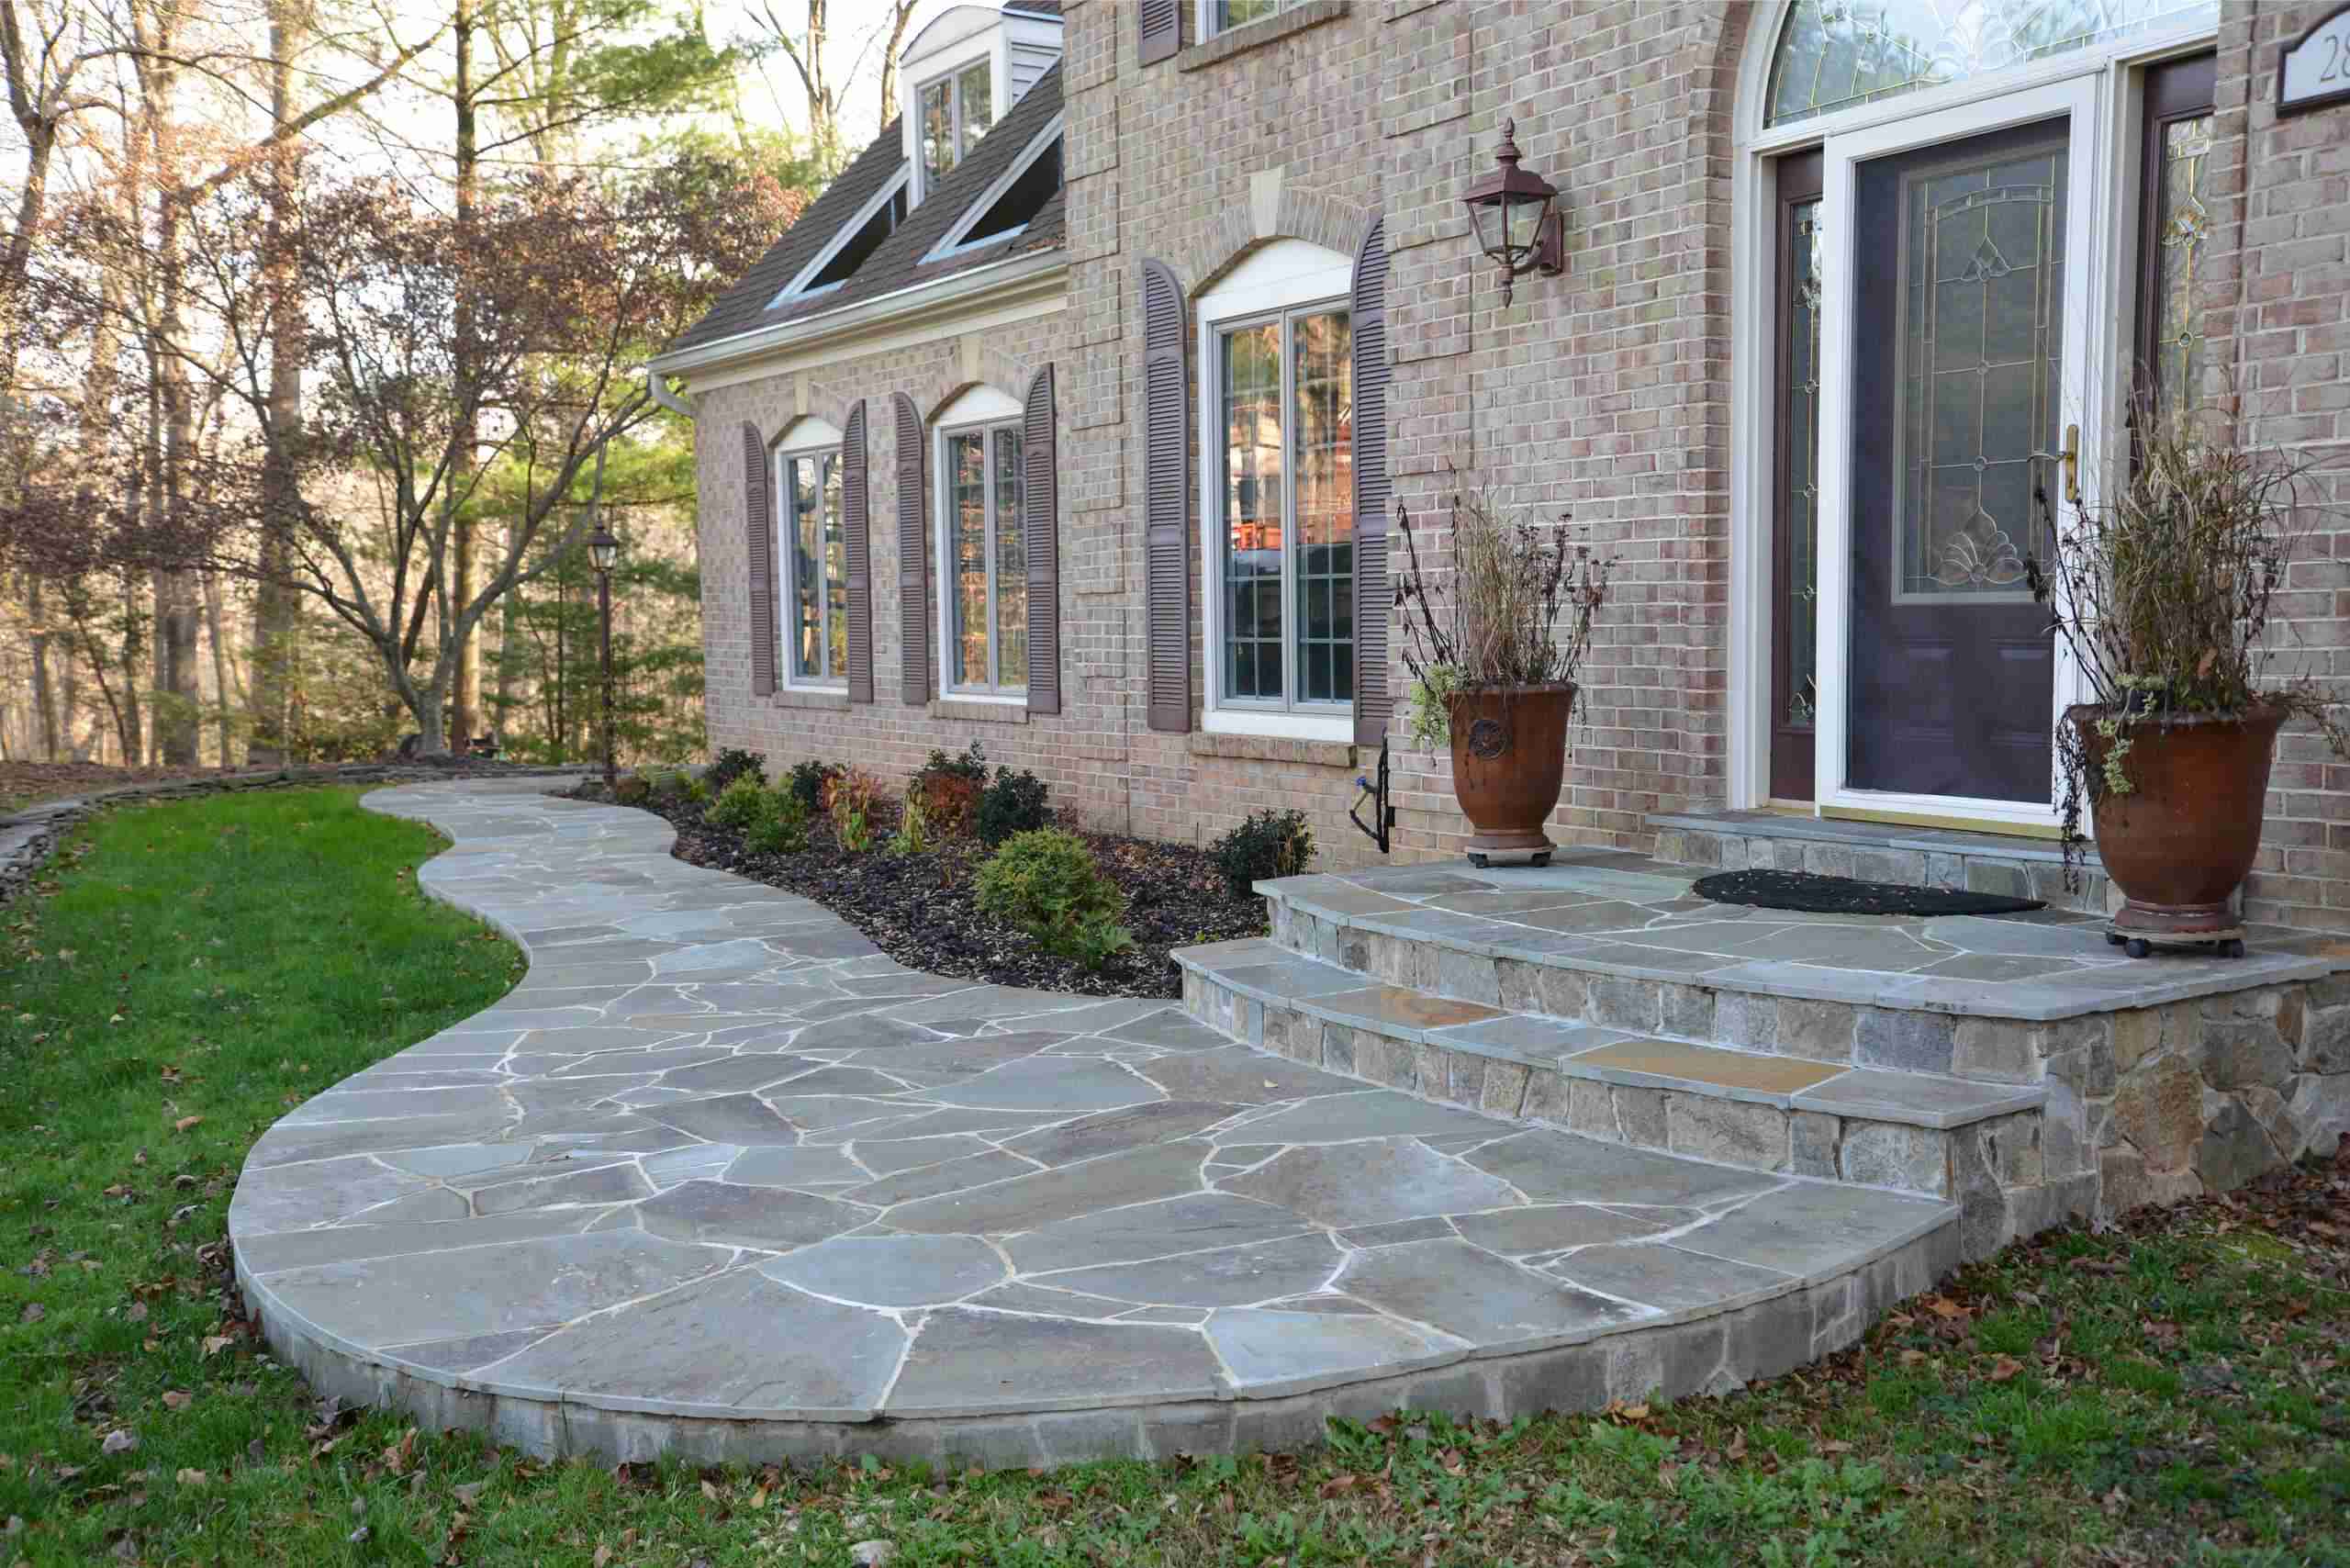
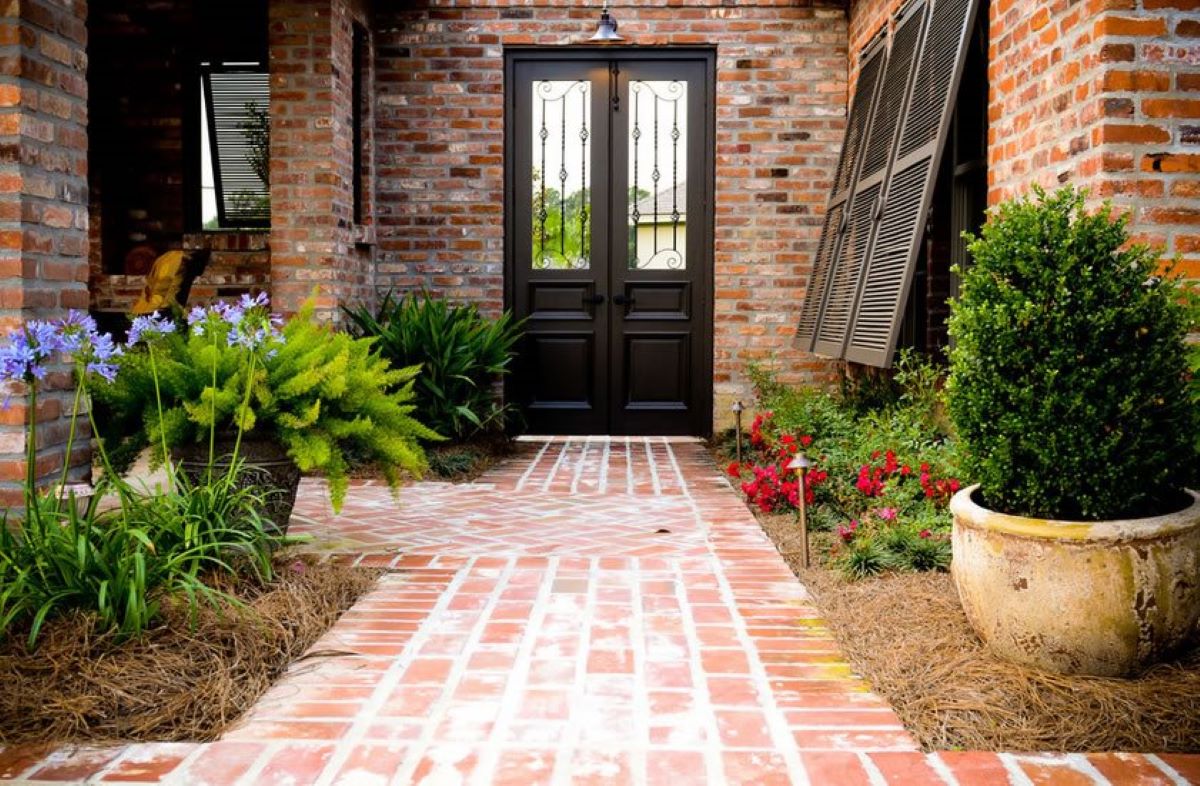
Step 6: Laying the Walkway Material
Now that the base and edging are in place, it’s time to lay the walkway material of your choice. The walkway material you select will depend on your personal preference, the overall design aesthetic, and the level of maintenance you are willing to commit to.
6.1 Choose the Walkway Material
There are various options for walkway materials, including gravel, crushed stone, stepping stones, bricks, or pavers. Consider factors such as durability, aesthetics, and how well the material will blend with your landscape. Ensure that the chosen material is suitable for the slope’s conditions and will provide a safe walking surface.
6.2 Start at One End
Begin laying the walkway material at one end of the marked path. If using individual stones or pavers, lay them in a straight or staggered pattern, ensuring they fit tightly together. For gravel or crushed stone, evenly distribute the material along the path, maintaining a consistent thickness.
6.3 Align and Level the Material
As you lay each piece of walkway material, ensure it is aligned with the edges and the previous pieces. Use a level and a rubber mallet or a hammer to make any necessary adjustments and ensure a level surface. This step is critical for a visually pleasing and safe walkway.
6.4 Fill in the Gaps
If using materials like gravel or crushed stone, fill in the gaps between the stones with additional material. Use a rake or a broom to evenly distribute the material and ensure it fills the spaces completely. This will help prevent shifting or movement of the walkway material.
6.5 Use a Compactor
For materials like gravel or crushed stone, use a plate compactor or tamper to compact the surface. This will create a more stable and even walking surface and help prevent the material from dispersing or becoming uneven over time.
6.6 Sweep or Rinse the Surface
Once the walkway material is laid and compacted, sweep or rinse the surface to remove any loose debris or excess material. This step will give the walkway a clean and finished appearance.
By carefully laying the walkway material, you will create a beautiful and functional pathway that enhances the overall aesthetics of your landscape. Take your time during this step to ensure the material is properly aligned, level, and securely in place.
Step 7: Adding Finishing Touches
Congratulations! You’re nearing the completion of your walkway on a slope. The final step involves adding those finishing touches that will elevate the visual appeal and functionality of your walkway.
7.1 Fill in the Gaps
If you’ve used materials like gravel or crushed stone, take this opportunity to fill in any gaps or low spots that may have formed after compacting. Use additional material to ensure a smooth and even surface along the entire length of the walkway.
7.2 Add a Border
Consider adding a border along the edges of the walkway to enhance its definition and create a clean, finished look. This can be achieved with decorative stones, bricks, or metal edging. Choose a style that complements your landscape and aligns with the overall design of your walkway.
7.3 Incorporate Lighting
If you plan to use your walkway during the evening hours, incorporating lighting can help improve visibility and create a welcoming ambiance. Choose from options such as solar-powered lights, LED strip lighting, or low-voltage pathway lights strategically placed along the edges of the walkway.
7.4 Consider Plantings
To further enhance the aesthetics of your walkway, consider adding plants or flowers along the sides. Small shrubs, colorful perennials, or ornamental grasses can create a beautiful and inviting environment. Ensure that the plantings are suitable for the slope’s conditions and won’t interfere with the walkway’s functionality.
7.5 Install Handrails (if needed)
If your walkway is located on a steep slope or has multiple levels, installing handrails can enhance safety and provide additional support. Consult local building codes or regulations to determine if handrails are required, and choose a style that complements the overall design of your walkway.
7.6 Regular Maintenance
Once your walkway is complete, regular maintenance is essential to ensure its longevity and keep it looking its best. This may include sweeping or raking to remove debris, occasionally re-leveling any shifted materials, and periodically checking and repairing any edging or lighting.
By adding these finishing touches, you will transform your walkway on a slope into a stunning and functional feature within your landscape. Take pride in your creation and enjoy the beauty and convenience it brings to your outdoor space.
Conclusion
Building a walkway on a slope may seem like a daunting task, but with proper planning, preparation, and execution, you can create a beautiful and functional pathway that seamlessly integrates with your landscape. By following the steps outlined in this article, you have learned how to design, mark, clear, build a base, install edging, lay the walkway material, and add the finishing touches to your walkway.
Throughout the process, it is essential to consider factors such as the slope’s gradient, local building regulations, the right materials, and incorporating your own personal style. By doing so, you can ensure that your walkway is not only aesthetically pleasing but also safe and durable for years to come.
Remember, proper planning and preparation set the foundation for a successful project. Take the time to assess the slope, design the walkway, obtain any necessary permits, gather materials and tools, and set a budget. Mark the path accurately, clear the area thoroughly, and build a solid base that will provide stability and prevent sinking or shifting.
Installing edging along the walkway helps to define the path and contain the materials, while laying the walkway material itself requires attention to alignment, leveling, and compaction. Adding finishing touches such as filling in gaps, adding a border, incorporating lighting, and considering plantings or handrails enhances the overall appearance and functionality of the walkway.
Finally, regular maintenance is key to keeping your walkway in pristine condition. Sweep or rake regularly, re-level as necessary, and check and repair any edging or lighting components. By doing so, you can ensure the longevity and continued enjoyment of your walkway.
So, now that you have all the knowledge and steps needed to build your walkway on a slope, it’s time to put your skills into action. Transform your outdoor space into a visually stunning and easily accessible area that will be enjoyed by you, your family, and your guests.
Now that you've mastered constructing a walkway on a slope, why not tackle another exciting outdoor project? For those with a flair for creative boundaries and practical solutions in gardening, our article on garden fence ideas offers a myriad of stylish and functional designs. From classic picket fences to modern barriers, find the perfect option to complement your landscaping efforts and enhance your outdoor space. Each design is not only visually appealing but also serves as a sturdy guard for your cherished garden plots.
Frequently Asked Questions about How To Build A Walkway On A Slope
Was this page helpful?
At Storables.com, we guarantee accurate and reliable information. Our content, validated by Expert Board Contributors, is crafted following stringent Editorial Policies. We're committed to providing you with well-researched, expert-backed insights for all your informational needs.

0 thoughts on “How To Build A Walkway On A Slope”