Articles
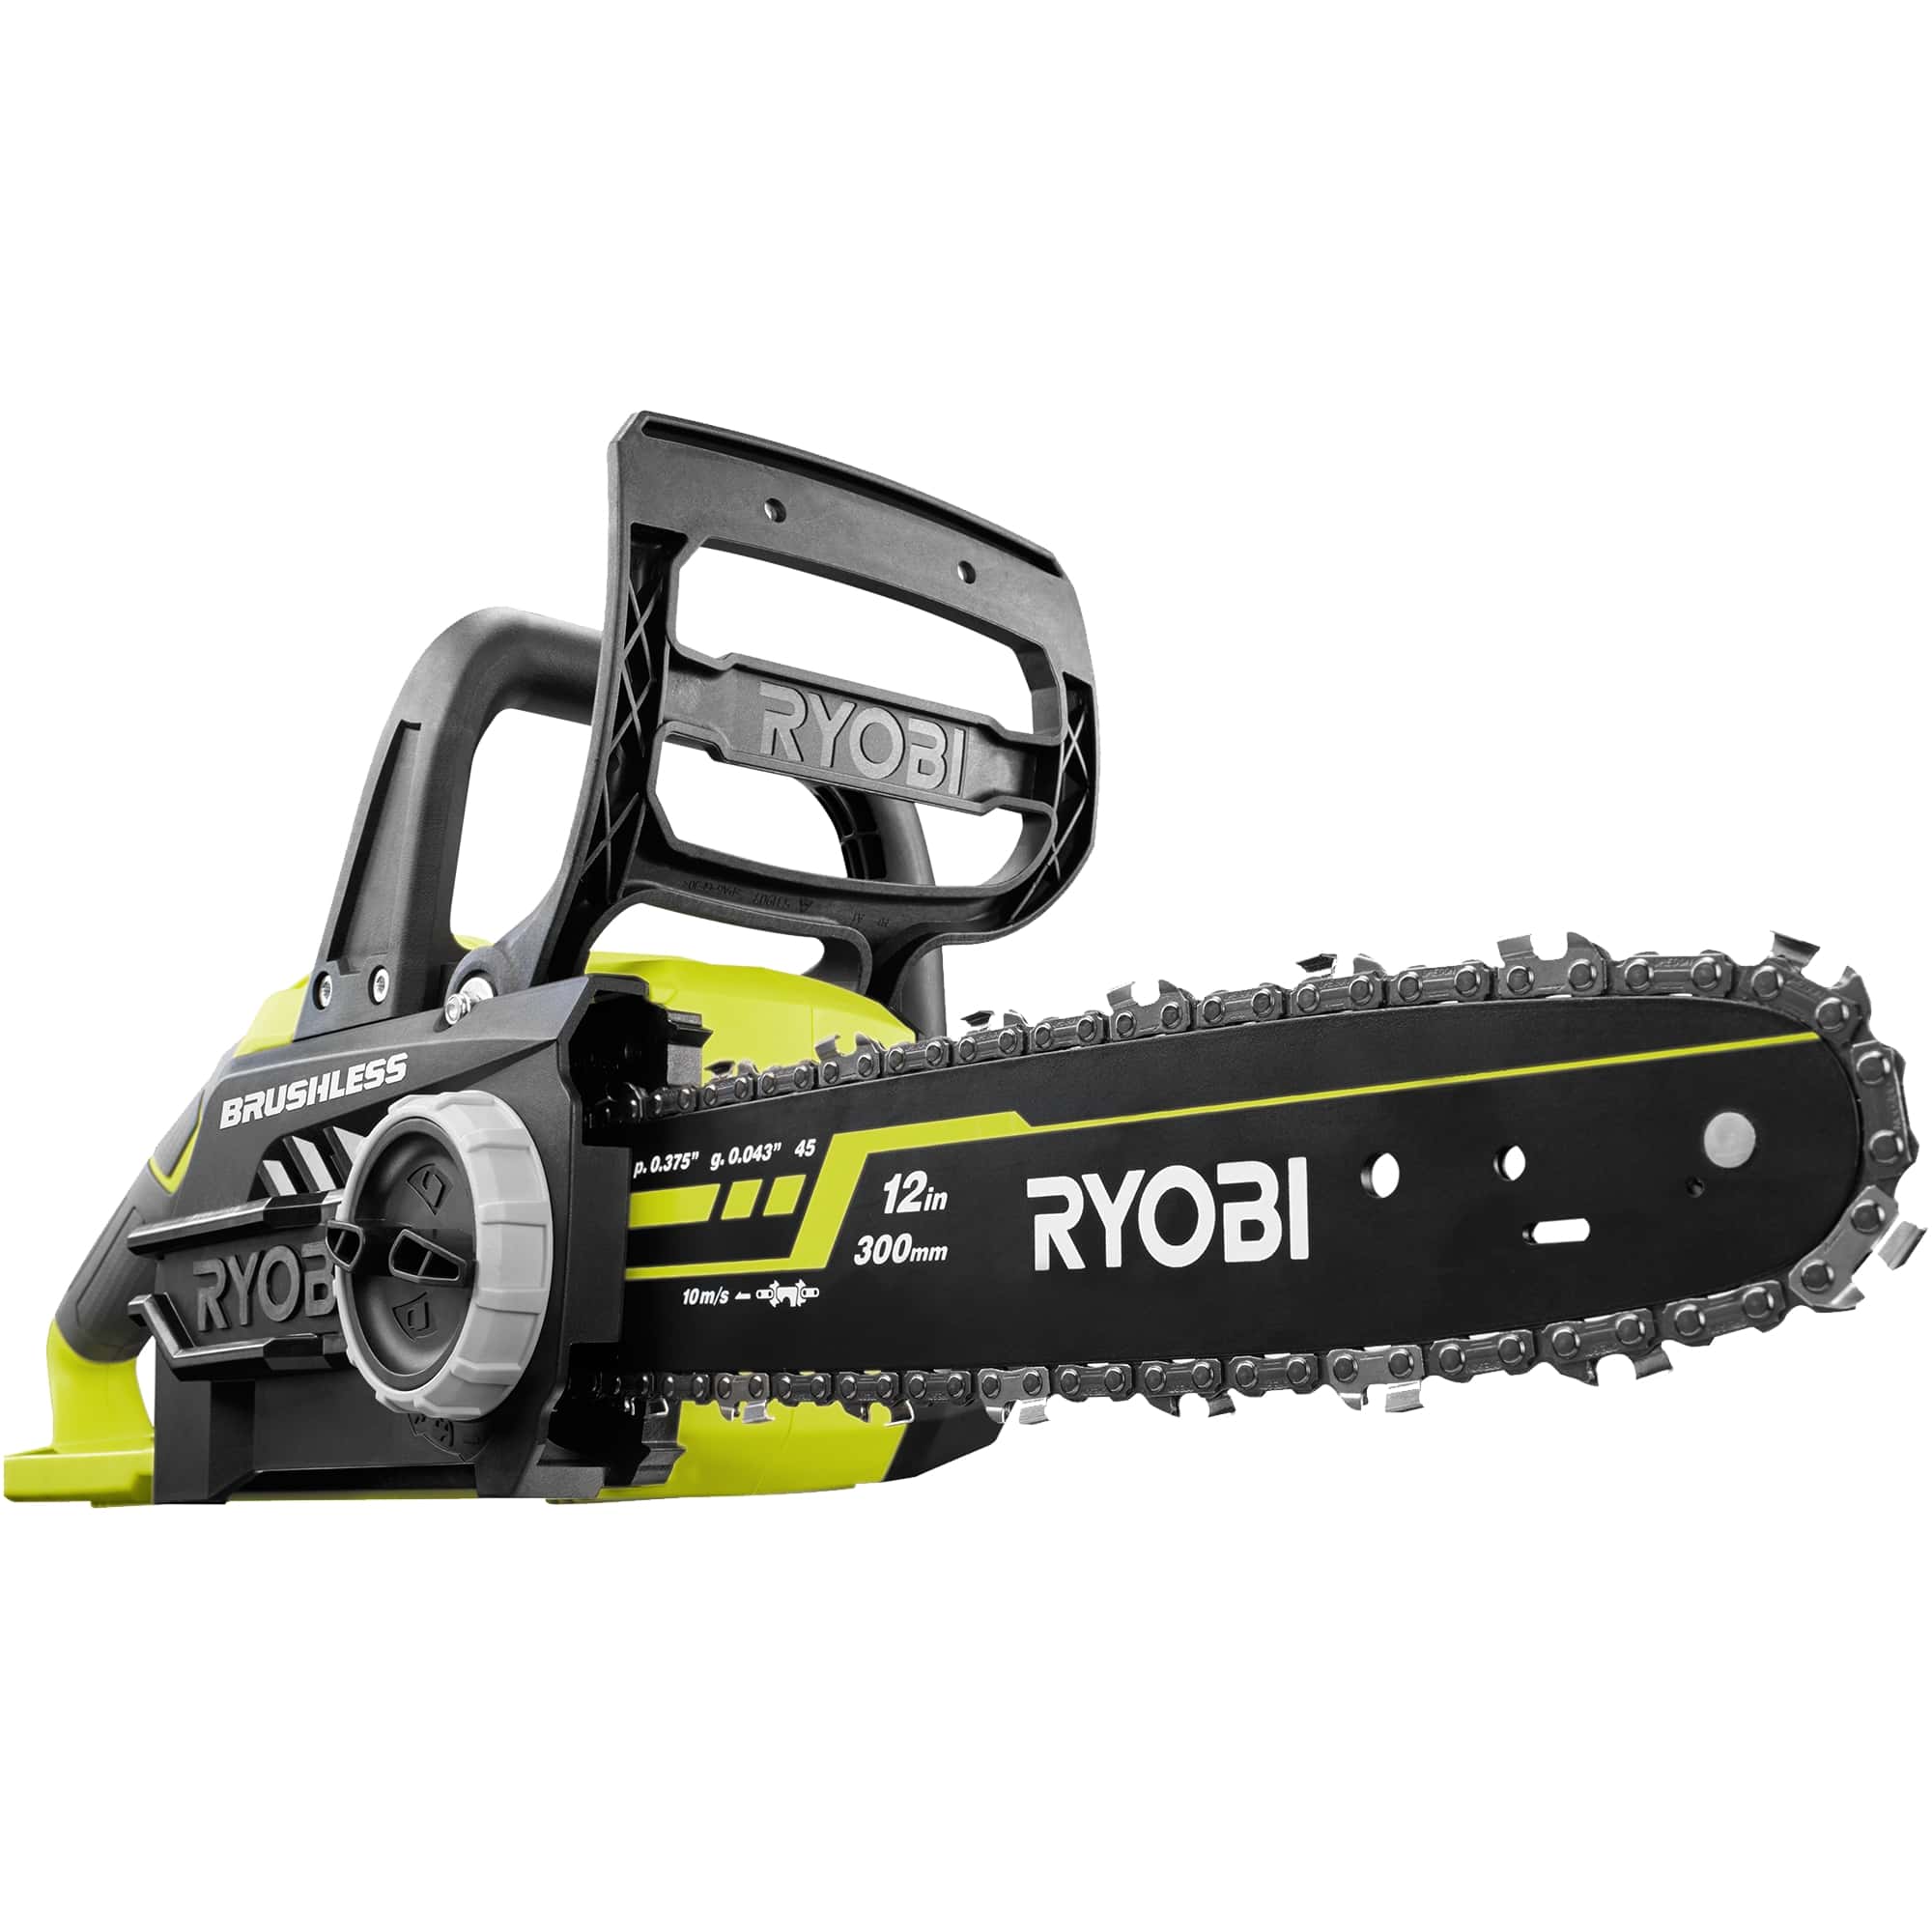
How To Tighten Ryobi Chainsaw Chain
Modified: December 7, 2023
Learn how to tighten the chain on your Ryobi chainsaw with our informative articles. Ensure optimal performance and safety for all your chainsaw needs.
(Many of the links in this article redirect to a specific reviewed product. Your purchase of these products through affiliate links helps to generate commission for Storables.com, at no extra cost. Learn more)
Introduction
Having a well-maintained chainsaw is essential for efficient and safe cutting. One crucial aspect of chainsaw maintenance is ensuring that the chain is properly tightened. A loose chain can not only affect the performance of the chainsaw, but it can also pose a safety hazard. If the chain is too loose, it may come off the bar, increasing the risk of accidents.
In this article, we will guide you through the step-by-step process of tightening the chain on a Ryobi chainsaw, a popular brand known for its durability and reliability. By following these instructions and practicing proper chainsaw maintenance, you can ensure that your Ryobi chainsaw operates at its best and delivers optimal performance.
Key Takeaways:
- Properly tightening the chain on your Ryobi chainsaw is crucial for safe and efficient cutting. Follow the step-by-step process to ensure optimal performance and reduce the risk of accidents.
- Prioritize safety by wearing protective equipment and adhering to recommended guidelines. Regular maintenance and proper chain tension adjustment will keep your Ryobi chainsaw in excellent working condition.
Read more: Who Makes Ryobi Chainsaws
Safety Precautions
Before proceeding with any maintenance task, it’s essential to prioritize your safety. Chainsaws are powerful tools that can cause serious injury if not handled correctly. Here are some important safety precautions to keep in mind when tightening the chain on your Ryobi chainsaw:
- Ensure that the chainsaw is turned off and the engine is cool before attempting any maintenance.
- Wear the appropriate personal protective equipment (PPE), including safety goggles, gloves, and hearing protection.
- Work on a stable and flat surface, away from any potential tripping hazards.
- Keep bystanders at a safe distance while working on the chainsaw.
- Always refer to the manufacturer’s instructions and guidelines for your specific Ryobi chainsaw model.
- Inspect the chain for any signs of damage or wear before tightening. If the chain is damaged, replace it before proceeding.
- Use the correct tools for the job and ensure they are in good working condition.
By following these safety precautions, you can minimize the risk of accidents and injury while working on your Ryobi chainsaw.
Tools and Materials Needed
Gathering the necessary tools and materials beforehand will ensure a smooth and efficient process of tightening the chain on your Ryobi chainsaw. Here’s a list of items you’ll need:
- Adjustable wrench or socket wrench
- Chain tensioning tool (optional, but helps with precision)
- Replacement chain (if the current chain is damaged or worn out)
- Gloves
- Safety goggles
- Hearing protection
- Clean cloth or rag
Make sure the adjustable wrench or socket wrench fits the specific size of the nuts or bolts on your Ryobi chainsaw. This will allow you to loosen and tighten the chain tension with ease. The chain tensioning tool is not always necessary, but it can provide more accurate and consistent results when adjusting the chain.
Additionally, having a replacement chain on hand is beneficial in case the current chain is damaged or excessively worn. It’s always a good idea to inspect the chain before tightening, and if you notice any signs of damage such as broken or dull links, it’s best to replace it.
Remember to wear gloves, safety goggles, and hearing protection to protect yourself while working on the chainsaw. Having a clean cloth or rag nearby will also come in handy for wiping away any dirt or debris that may accumulate during the process.
With these tools and materials ready, you’ll be well-prepared to tighten the chain on your Ryobi chainsaw effectively.
Step 1: Preparing the Chainsaw
Before you begin the process of tightening the chain on your Ryobi chainsaw, it’s important to properly prepare the chainsaw for maintenance. Follow these steps to ensure a smooth and safe procedure:
- Ensure that the chainsaw is turned off and the engine is cool. This will prevent any accidental startup and protect you from burns.
- Place the chainsaw on a stable and flat surface, making sure it is secure and cannot move during the maintenance process.
- Inspect the chainsaw to ensure that there are no visible signs of damage or wear on the guide bar or chain. If you notice any problems, address them before proceeding further.
- Clear away any debris or dirt from the surrounding area, particularly around the chain tensioning mechanism. This will prevent dirt from interfering with the chain tensioning process.
- Put on your safety goggles, gloves, and hearing protection to protect yourself during the maintenance process.
By properly preparing your chainsaw and creating a safe working environment, you can prevent accidents and ensure an efficient tightening process for your Ryobi chainsaw chain.
Step 2: Loosening the Chain Tension
In order to tighten the chain on your Ryobi chainsaw, you’ll first need to loosen the chain tension. Follow these steps to properly loosen the chain tension:
- Locate the chain tensioning mechanism on your Ryobi chainsaw. This is typically found on the side of the chainsaw near the guide bar.
- Using an adjustable wrench or socket wrench, loosen the nuts or bolts holding the guide bar in place. Be sure to loosen them enough to allow for adjustment of the chain tension.
- Locate the chain tensioning screw, which is usually located near the guide bar. This screw is used to adjust the tension of the chain.
- Using the chain tensioning tool or a flat-headed screwdriver, turn the chain tensioning screw counterclockwise to loosen the tension on the chain. Rotate the screw a few times until you notice some slack in the chain.
It’s important to loosen the chain tension gradually to ensure that you don’t release it too quickly, which could cause the chain to come off or become too loose. Take your time and make small adjustments until you achieve the desired amount of slack in the chain.
Once you’ve loosened the chain tension, you’re ready to move on to the next step of inspecting the chain for damage.
To tighten the chain on your Ryobi chainsaw, use the tensioning screw to adjust the tension until the chain is snug against the guide bar, but still able to be rotated by hand. Always refer to the user manual for specific instructions.
Read more: What Kind Of Oil For Ryobi Chainsaw
Step 3: Inspecting the Chain for Damage
Before proceeding with tightening the chain on your Ryobi chainsaw, it’s important to inspect the chain for any signs of damage or wear. This step ensures that you are working with a chain that is in good condition and will perform optimally. Here’s how to inspect the chain:
- Examine the entire length of the chain, looking for any visible signs of damage such as broken or dull links, bent teeth, or excessive wear.
- If you notice any damaged sections, it’s best to replace the chain with a new one before proceeding. Using a damaged chain can lead to poor cutting performance, increased risk of accidents, and premature wear on other chainsaw components.
- Check the chain tension by pulling it away from the guide bar. The chain should have a slight amount of play, but it should not sag excessively.
- Inspect the bar groove to ensure it is clean and free from debris. Clear any dirt or sawdust that may have accumulated to ensure smooth chain movement.
By thoroughly inspecting the chain for damage and wear, you can address any issues before proceeding with the tightening process. This step ensures that you’re working with a chain that is in good condition and will deliver optimal cutting performance.
Step 4: Adjusting the Chain Tension
With the chain inspected and any necessary replacements made, it’s time to adjust the chain tension on your Ryobi chainsaw. Proper chain tension is crucial for safe and efficient cutting. Follow these steps to adjust the chain tension:
- Ensure that the chainsaw is still turned off and the engine is cool.
- Using the wrench, tighten the nuts or bolts that hold the guide bar in place. Snug them securely but do not over-tighten.
- Locate the chain tensioning screw, which is typically found near the guide bar.
- Using the chain tensioning tool or a flat-headed screwdriver, turn the chain tensioning screw clockwise to gradually increase the tension of the chain.
- Continue turning the screw until you achieve the desired amount of chain tension. The chain should be snug against the guide bar, with no sagging, but still able to move smoothly and easily.
- Check the tension by pulling the chain away from the guide bar. It should have a slight amount of play, but not be too loose.
It’s important to make small adjustments to the chain tension and check frequently to ensure it is properly aligned. Over tightening the chain can cause excessive wear on the bar and chain, while under tightening can lead to poor cutting performance and potential safety hazards.
Take your time and make small, gradual adjustments until you achieve the correct chain tension for your specific needs.
Step 5: Tightening the Chain
Now that you have adjusted the chain tension, it’s time to tighten the chain on your Ryobi chainsaw. By properly tightening the chain, you’ll ensure optimal cutting performance and reduce the risk of accidents. Follow these steps:
- Once you have achieved the desired chain tension, double-check the tightness of the guide bar nuts or bolts. Make sure they are securely tightened, but be careful not to over-tighten.
- Use your wrench to snugly tighten the nuts or bolts, ensuring that the guide bar is held firmly in place.
- Check the chain tension again by pulling the chain away from the guide bar. It should have just a slight amount of play, but not be too loose.
- If necessary, make slight adjustments to the chain tension by using the chain tensioning screw. Rotate it clockwise to increase tension or counterclockwise to decrease tension, as needed.
- Continue making small adjustments until you achieve the desired chain tension.
Remember, it’s important to find the right balance in chain tension. If the chain is too tight, it may cause excessive stress on the chainsaw components. If it’s too loose, the chain may come off or splinter during operation, posing a safety hazard.
By following these steps and ensuring that the chain is properly tightened, you’ll optimize the performance and safety of your Ryobi chainsaw.
Step 6: Reassembling the Chainsaw
After tightening the chain on your Ryobi chainsaw, it’s time to reassemble the chainsaw and prepare it for operation. Follow these steps to complete the reassembly process:
- Ensure that the chain tension is properly adjusted and the guide bar nuts or bolts are tightened securely.
- Clean any dirt or debris from the chainsaw body and guide bar to prevent interference with the chain’s movement.
- Inspect the chain oil reservoir to ensure it has sufficient oil. Refill it if necessary.
- Position the guide bar and chain over the sprocket, ensuring that the drive links align with the sprocket teeth.
- Place the bar plate or cover back onto the chainsaw and align it with the guide bar.
- Secure the bar plate or cover by tightening the nuts or bolts with your wrench. Make sure they are tightened securely but not over-tightened.
Once you’ve completed these steps, your Ryobi chainsaw is now fully reassembled and ready for use. Before operating the chainsaw, it’s recommended to perform a quick test to ensure that the chain moves smoothly, the tension is correct, and all parts are securely in place.
Remember to always follow the manufacturer’s guidelines and recommendations for maintaining and operating your specific model of Ryobi chainsaw. Regular maintenance and proper chain tension adjustment will keep your chainsaw in excellent working condition and extend its lifespan.
Read more: How To Start Ryobi Chain Saw
Conclusion
Properly tightening the chain on your Ryobi chainsaw is essential for safe and efficient cutting. By following the step-by-step process outlined in this article, you can ensure that your chainsaw is properly maintained and ready for use. Remember to always prioritize safety by wearing the necessary protective equipment and adhering to recommended guidelines.
Start by preparing the chainsaw and loosening the chain tension. Inspect the chain for any damage or wear, and make any necessary replacements. With the chain tension adjusted, tighten the nuts or bolts on the guide bar to secure it in place. Double-check the chain tension and make minor adjustments if needed.
Finally, reassemble the chainsaw by cleaning any debris, refilling the chain oil reservoir, and securely attaching the guide bar and chain. Completing these steps will ensure that your Ryobi chainsaw is in optimal working condition and ready for the next cutting task.
Remember to perform regular maintenance on your chainsaw, including routine checks and adjustments of the chain tension. This will help prolong the lifespan of your chainsaw and ensure that it continues to perform at its best.
Now that you have the knowledge to properly tighten the chain on your Ryobi chainsaw, you can confidently maintain your chainsaw’s performance and safety. Happy cutting!
Frequently Asked Questions about How To Tighten Ryobi Chainsaw Chain
Was this page helpful?
At Storables.com, we guarantee accurate and reliable information. Our content, validated by Expert Board Contributors, is crafted following stringent Editorial Policies. We're committed to providing you with well-researched, expert-backed insights for all your informational needs.


0 thoughts on “How To Tighten Ryobi Chainsaw Chain”