Articles
How To Install T Handle Garage Door Lock
Modified: October 19, 2024
Learn how to easily install a T Handle Garage Door Lock with our informative articles. Secure your garage with this simple DIY solution.
(Many of the links in this article redirect to a specific reviewed product. Your purchase of these products through affiliate links helps to generate commission for Storables.com, at no extra cost. Learn more)
Introduction
Installing a T handle garage door lock is a great way to enhance the security of your garage and protect your belongings. Whether you use your garage to store your vehicle, tools, or other valuable items, having a sturdy lock in place is essential.
A T handle garage door lock provides an extra layer of security, making it more difficult for potential intruders to gain access to your garage. It is a popular choice among homeowners and can be easily installed with the right tools and materials.
In this article, we will guide you through the step-by-step process of installing a T handle garage door lock. We will explain the tools and materials you will need, as well as provide detailed instructions for each step. By following these instructions, you will be able to successfully install a T handle garage door lock and enhance the security of your garage.
So, let’s gather the necessary tools and materials, and get started with the installation process!
Key Takeaways:
- Enhance your garage security with a T handle garage door lock, providing an extra layer of protection for your valuable belongings. Follow the step-by-step guide for a successful installation process.
- Prioritize safety, proper measurements, and thorough testing to ensure a smoothly installed T handle garage door lock. Enjoy the added security and peace of mind for your garage and belongings.
Read more: How To Lock A Garage Door
Tools and Materials Needed
Before you begin the installation process, it is important to gather all the necessary tools and materials. Having everything prepared ahead of time will ensure a smooth and efficient installation. Here are the tools and materials you will need:
1. T Handle Garage Door Lock Kit: Purchase a T handle garage door lock kit from your local hardware store or online. The kit usually includes the lock assembly, handle, fasteners, and keys.
2. Measuring Tape: Use a measuring tape to accurately measure and mark the position for the lock on the garage door.
3. Pencil or Marker: You will need a pencil or marker to mark the positions on the garage door for drilling and installing the lock assembly.
4. Drill: A power drill with a suitable sized drill bit is required to create holes in the garage door for the lock assembly and handle.
5. Screwdriver: Depending on the type of lock assembly and handle, you may need a screwdriver to tighten or loosen screws during the installation process.
6. Safety Glasses: It is always important to prioritize safety while working with tools. Wear safety glasses to protect your eyes from any flying debris.
7. Ladder: Depending on the height of your garage door, you may require a ladder to reach the lock assembly and handle installation area.
8. Optional: WD-40 or Lubricant: It is recommended to have WD-40 or any other lubricant on hand to lubricate the moving parts of the lock assembly for smooth operation.
Make sure to gather all the tools and materials listed above before you start the installation process. Having everything prepared will save you time and make the installation process much more convenient and efficient. Now that you have all the necessary tools and materials, let’s move on to the next step – measuring and marking the position for the lock assembly.
Step 1: Measure and Mark the Position for the Lock
Before you begin installing the T handle garage door lock, it is crucial to measure and mark the position for the lock on your garage door. This step ensures that the lock assembly is properly aligned and functions effectively. Follow these steps to measure and mark the position for the lock:
1. Close the Garage Door: Start by closing the garage door to ensure accurate measurements and alignment.
2. Choose a Suitable Location: Determine where you want to install the T handle garage door lock. The location should be easily accessible and provide optimal security. Typically, the lock is installed on the bottom section of the garage door, near the center.
3. Measure the Distance: Use a measuring tape to measure the distance between the edges of the lock assembly. This measurement will determine the exact position of the lock on the garage door. Ensure that the distance is evenly centered on the door panel.
4. Mark the Positions: Once you have determined the correct distance, use a pencil or marker to mark the positions for drilling. Mark both the top and bottom holes of the lock assembly on the garage door panel. Double-check the alignment to ensure accuracy.
5. Measure the Depth: Measure the depth of the lock assembly and mark this measurement on the drill bit. This ensures that you drill the holes to the correct depth for a secure fit.
6. Check the Clearance: Check for any obstructions or interferences that may prevent the lock assembly from fitting properly. Ensure that there is sufficient clearance for the lock to operate smoothly.
By carefully measuring and marking the position for the lock, you can ensure a proper fit and alignment during the installation process. Taking the time to complete this step accurately will help prevent any issues or frustrations later on. Once you have marked the positions, you are now ready to prepare the door panel for the lock installation.
Step 2: Prepare the Door Panel
In order to install the T handle garage door lock properly, you need to prepare the door panel. This step involves creating holes in the door panel to accommodate the lock assembly. Follow these steps to prepare the door panel for the lock installation:
1. Open the Garage Door: Before you start preparing the door panel, open the garage door fully. This will give you easy access to the inside of the door panel.
2. Secure the Door: To prevent any accidental movements or closing of the garage door, secure it in the open position using clamps or by locking the door tracks in place.
3. Align the Drill Bit: Take your drill and align the drill bit with the first marked hole on the door panel. Make sure the drill bit is securely tightened in the drill chuck.
4. Drill the First Hole: Apply steady pressure on the drill while keeping it perpendicular to the door panel. Begin drilling the first hole at the marked position. Be mindful of the depth measurement you made earlier and drill to that depth.
5. Repeat for the Second Hole: Once the first hole is drilled, align the drill bit with the second marked hole on the door panel. Drill the second hole using the same technique as before.
6. Clear Any Debris: After drilling both holes, clear away any debris or wood shavings from the door panel. This will ensure a clean and smooth installation of the lock assembly.
By preparing the door panel with the necessary holes, you are setting the stage for the installation of the T handle garage door lock. Take your time during this step to ensure that the holes are accurately drilled and clear of any obstructions. With the door panel prepared, it’s time to move on to the next step – installing the lock assembly.
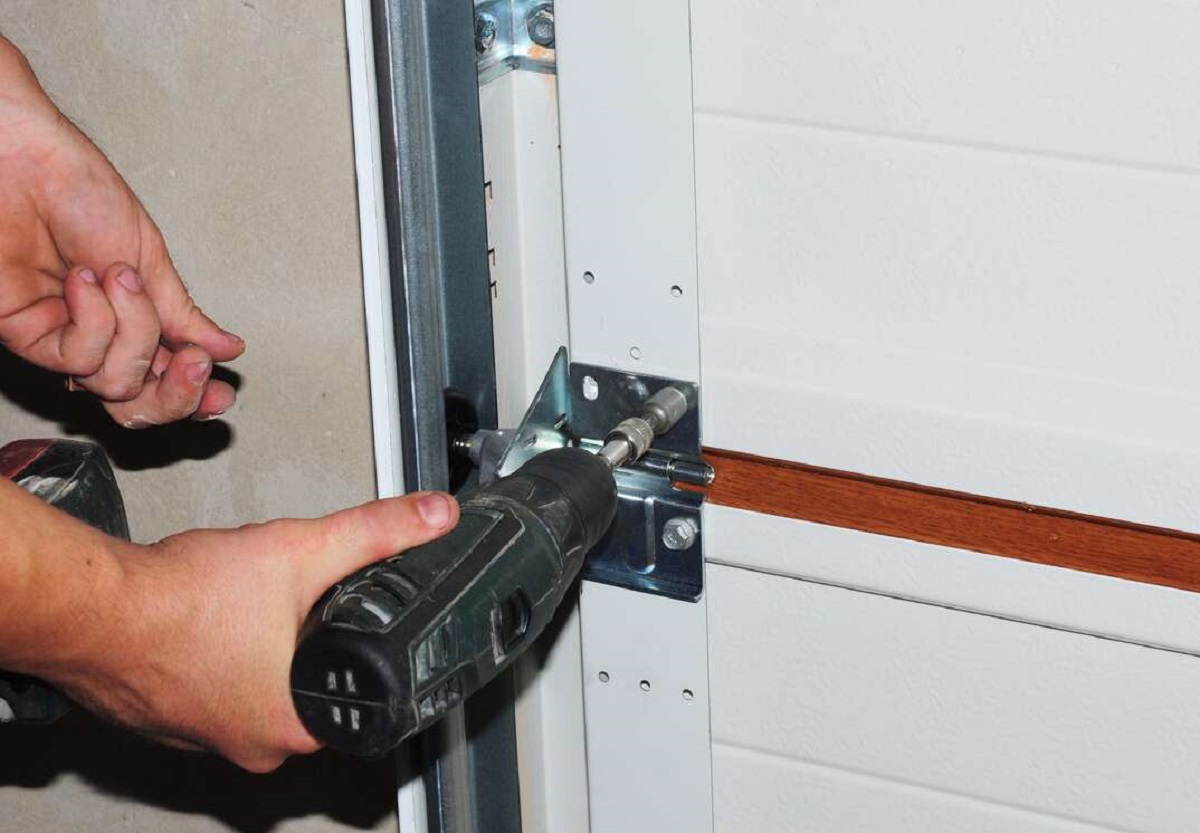
When installing a T-handle garage door lock, make sure to measure and mark the correct placement for the handle before drilling any holes. Use a drill bit that is the same size as the screws provided to ensure a secure fit.
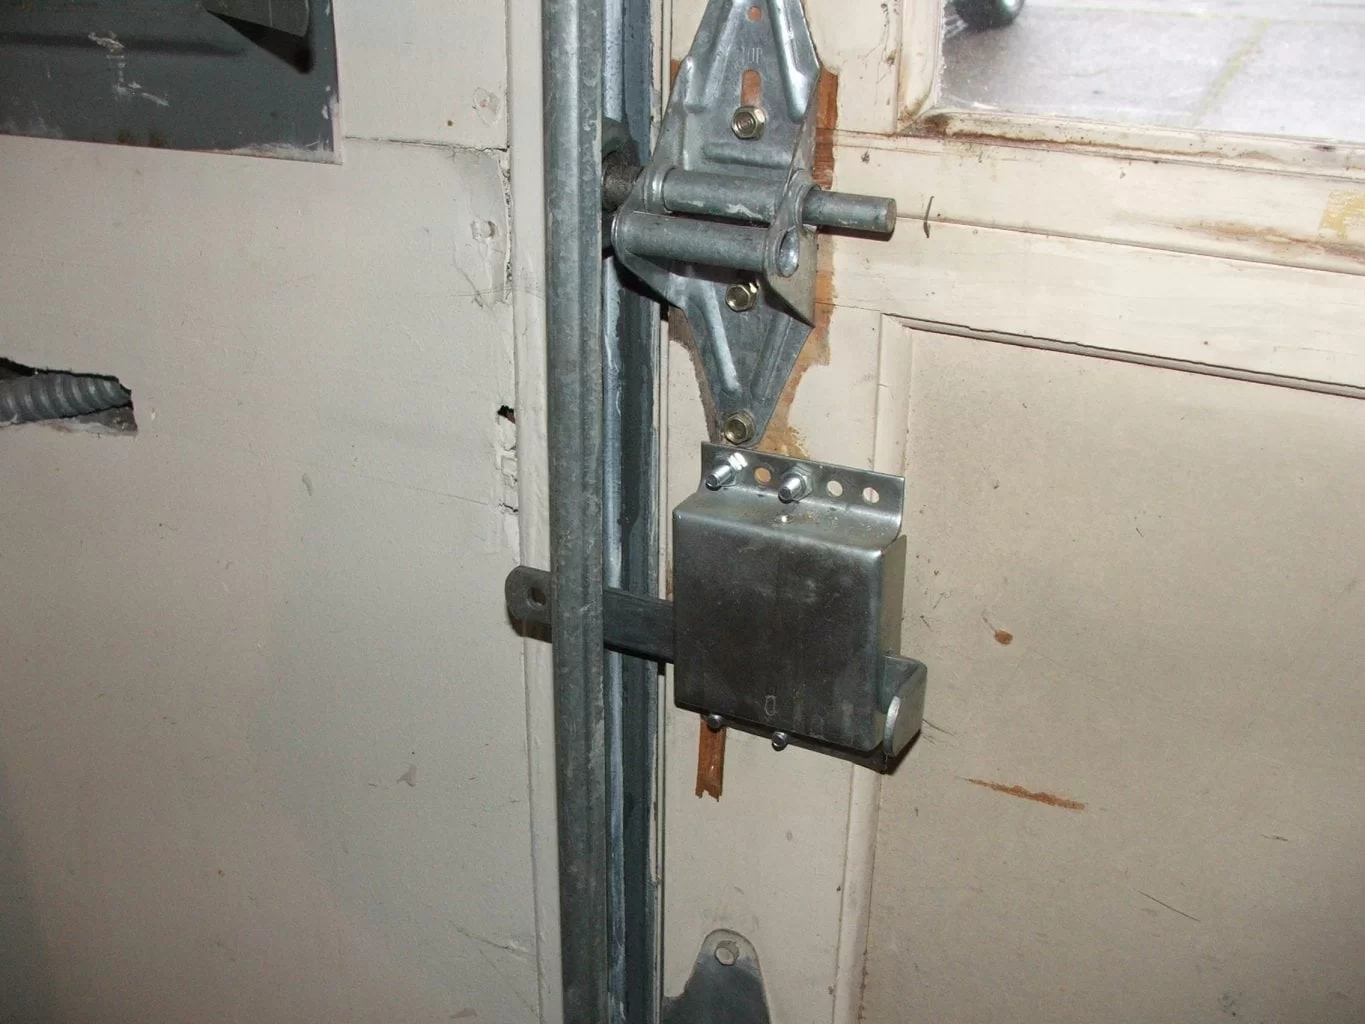
Step 3: Install the Lock Assembly
Now that you have prepared the door panel by creating the necessary holes, it’s time to install the T handle garage door lock assembly. Follow these steps to properly install the lock assembly:
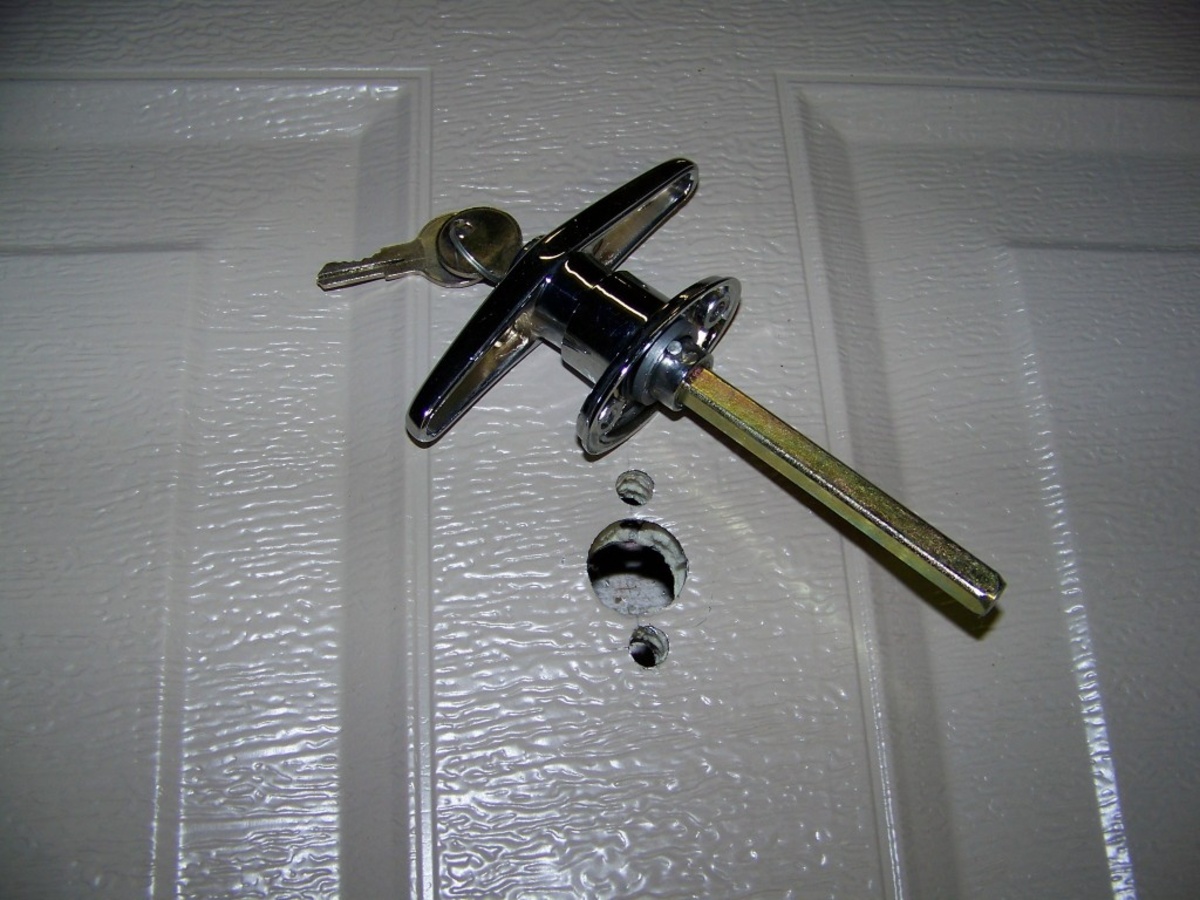
1. Insert the Lock Cylinder: Take the lock cylinder and insert it into one of the drilled holes from the outside of the door panel. Ensure that it fits securely in the hole and is flush against the surface of the door.
2. Attach the Lock Housing: From the inside of the door panel, line up the lock housing with the lock cylinder. Insert the lock housing into the other drilled hole and align it with the lock cylinder on the outside. Make sure the lock housing is flush against the door panel surface.
3. Secure the Lock Assembly: With both the lock cylinder and lock housing in place, use the provided screws or fasteners to secure the lock assembly onto the door panel. Tighten the screws with a screwdriver until the lock assembly is firmly attached to the door.
4. Check the Alignment: Once the lock assembly is secured, check the alignment of the lock cylinder and lock housing from both the inside and outside of the door panel. Adjust if needed, ensuring they are aligned and properly seated.
5. Test the Lock Cylinder: Insert the provided key into the lock cylinder and test the functionality by turning the key. The lock cylinder should rotate smoothly, locking and unlocking the assembly.
By following these steps, you will successfully install the T handle garage door lock assembly onto the door panel. Make sure to firmly secure the lock assembly to ensure stability and proper operation. Now that the lock assembly is installed, let’s proceed to the next step – attaching the handle.
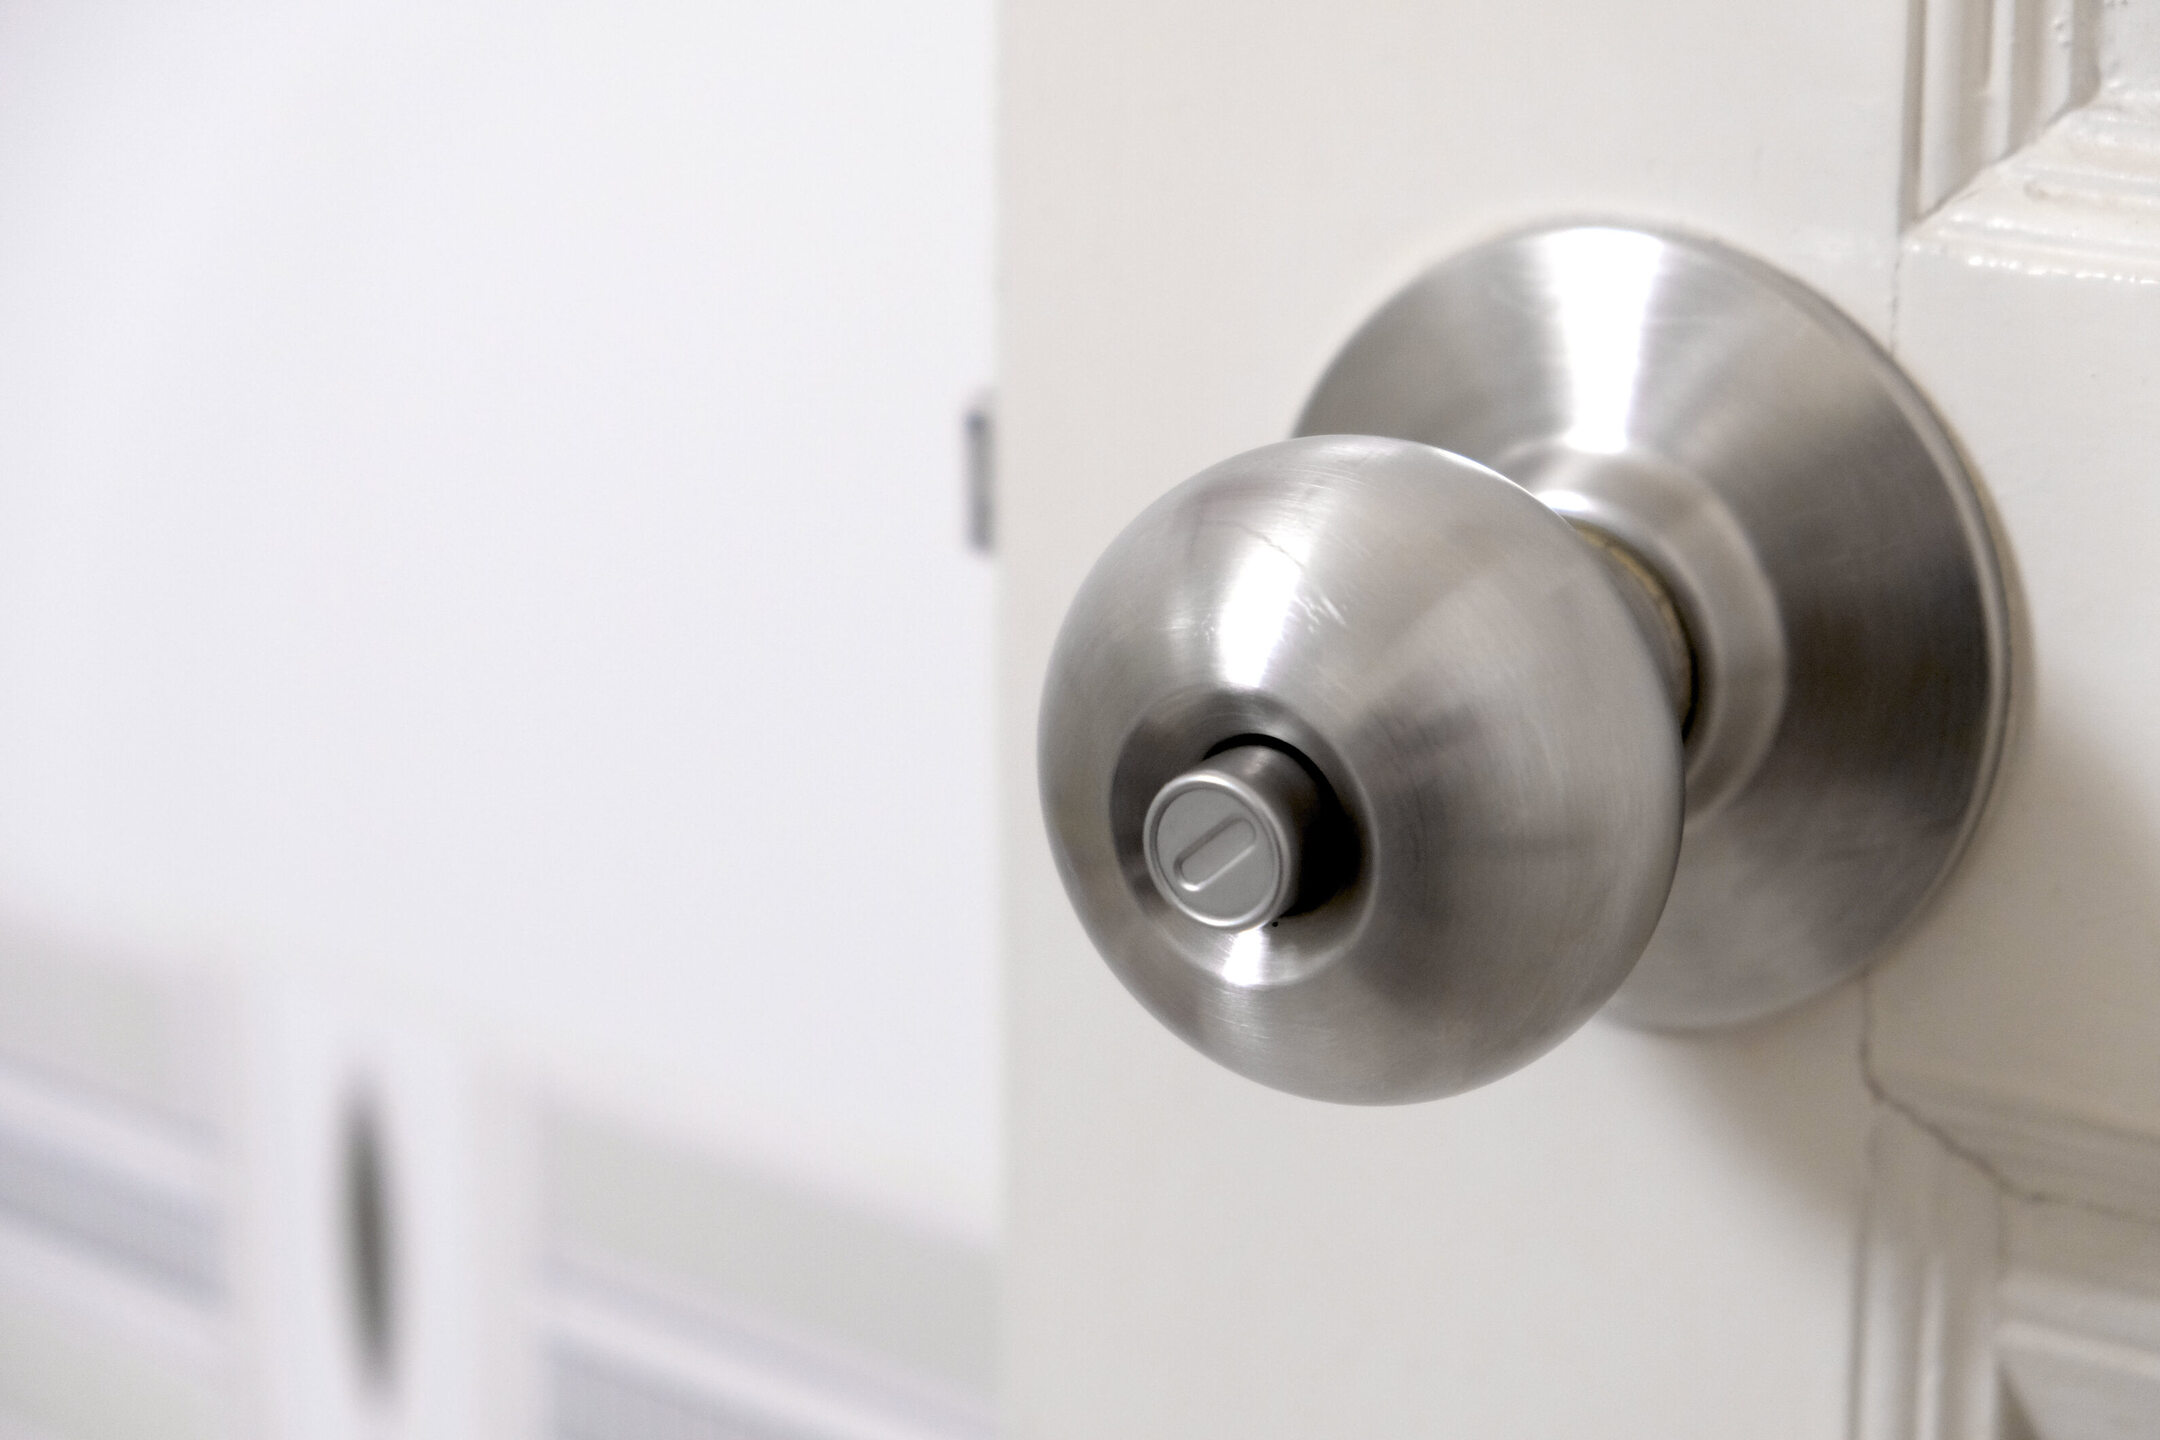
Read more: How To Unlock Twist Lock Door Handle
Step 4: Attach the Handle
After installing the T handle garage door lock assembly, the next step is to attach the handle. The handle adds convenience and ease of use to the lock, allowing you to easily operate the garage door. Follow these steps to properly attach the handle:
1. Position the Handle: Determine the desired position for the handle on the outside of the door panel. Typically, the handle is placed above the lock assembly, allowing for easy access.
2. Mark the Handle Holes: Using a pencil or marker, mark the positions for the handle holes on the door panel. Make sure the holes are aligned with the handle screws.
3. Align the Handle: Place the handle over the marked holes, ensuring it aligns properly with the lock assembly and the door panel surface.
4. Insert the Handle Screws: Insert the handle screws into the marked holes from the inside of the door panel. Make sure they align with the holes on the handle.
5. Tighten the Screws: Using a screwdriver, tighten the handle screws until the handle is securely fastened to the door panel. Be careful not to overtighten, as it may damage the handle or door panel.
6. Test the Handle: Once the handle is attached, test its functionality by turning it to ensure smooth operation. It should move freely and engage with the lock assembly.
By following these steps, you will successfully attach the handle to the T handle garage door lock assembly. Make sure the handle is securely fastened to ensure reliable operation. Now that the handle is attached, let’s move on to the final step – testing the lock and handle.
Step 5: Test the Lock and Handle
After completing the installation of the T handle garage door lock and attaching the handle, it’s crucial to test their functionality to ensure proper operation. Follow these steps to test the lock and handle:
1. Close the Garage Door: Begin by closing the garage door to simulate a locked position. Ensure that it is fully closed and properly aligned.
2. Engage the Lock: Insert the key into the lock cylinder and turn it clockwise to engage the lock mechanism. The lock cylinder should rotate smoothly, indicating that the lock is securely engaged.
3. Test the Handle: With the lock engaged, attempt to turn the handle and rotate it counterclockwise. The handle should move freely, and you should feel the resistance of the lock mechanism releasing.
4. Open the Garage Door: Once the handle is turned, gently lift the garage door to the open position. Check that the handle remains in the unlocked position and the door opens smoothly.
5. Lock and Repeat: Close the garage door again, engage the lock by turning the key clockwise, and test the handle to ensure proper locking and unlocking.
6. Lubricate if Necessary: If you notice any stiffness or difficulty in moving the lock or handle, consider applying a lubricant such as WD-40 to the moving parts of the lock assembly and handle. This will ensure smooth operation.
By testing the lock and handle, you can ensure that they are working properly and providing the desired level of security for your garage. If you encounter any issues during the testing process, such as difficulty in locking or unlocking, check the alignment and fastenings of the lock and handle. Make any necessary adjustments before attempting to use the lock on a regular basis.
Congratulations! You have successfully installed and tested the T handle garage door lock. Your garage is now equipped with an additional layer of security. Remember to keep the keys in a secure location and periodically check the lock and handle for any signs of wear or damage.
Conclusion
Installing a T handle garage door lock is a practical and effective way to enhance the security of your garage. By following the step-by-step process outlined in this article, you can successfully install a T handle garage door lock and provide an extra layer of protection for your belongings.
Throughout the installation process, we covered the essential steps, starting with measuring and marking the position for the lock, preparing the door panel, installing the lock assembly, attaching the handle, and finally, testing the lock and handle.
Remember, having the right tools and materials is crucial for a successful installation. Ensure that you have everything you need before starting the process to avoid any delays or interruptions.
Additionally, it’s important to prioritize safety while working with tools. Wear safety glasses and exercise caution when using drills and screwdrivers.
Properly maintaining the lock and handle is essential to their longevity and functionality. Regularly inspect them for any signs of wear or damage and lubricate the moving parts if necessary.
With a properly installed and functioning T handle garage door lock, you can have peace of mind knowing that your garage and valuable belongings are better protected against potential intruders.
Don’t forget to store your keys in a secure location and share them only with trusted individuals.
By investing a little time and effort into installing a T handle garage door lock, you are taking a proactive step towards securing your garage and maintaining the safety of your belongings.
So, gather your tools, follow the instructions carefully, and enjoy the added security and peace of mind that comes with a properly installed T handle garage door lock.
Now that you've mastered installing a T Handle Garage Door Lock, why not tackle more projects around your home? Our guide on DIY home improvement will show you how to enhance your living space with personal touches and smart upgrades. Also, securing your home doesn't stop at the garage. Dive into our article on home security to learn effective strategies for protecting your property and loved ones.
Frequently Asked Questions about How To Install T Handle Garage Door Lock
Was this page helpful?
At Storables.com, we guarantee accurate and reliable information. Our content, validated by Expert Board Contributors, is crafted following stringent Editorial Policies. We're committed to providing you with well-researched, expert-backed insights for all your informational needs.


0 thoughts on “How To Install T Handle Garage Door Lock”