Articles
Radiator Fan Not Turning On When Ac Is On
Modified: August 21, 2024
If your radiator fan is not turning on when the AC is on, our articles provide helpful troubleshooting tips and solutions to resolve the issue.
(Many of the links in this article redirect to a specific reviewed product. Your purchase of these products through affiliate links helps to generate commission for Storables.com, at no extra cost. Learn more)
Introduction
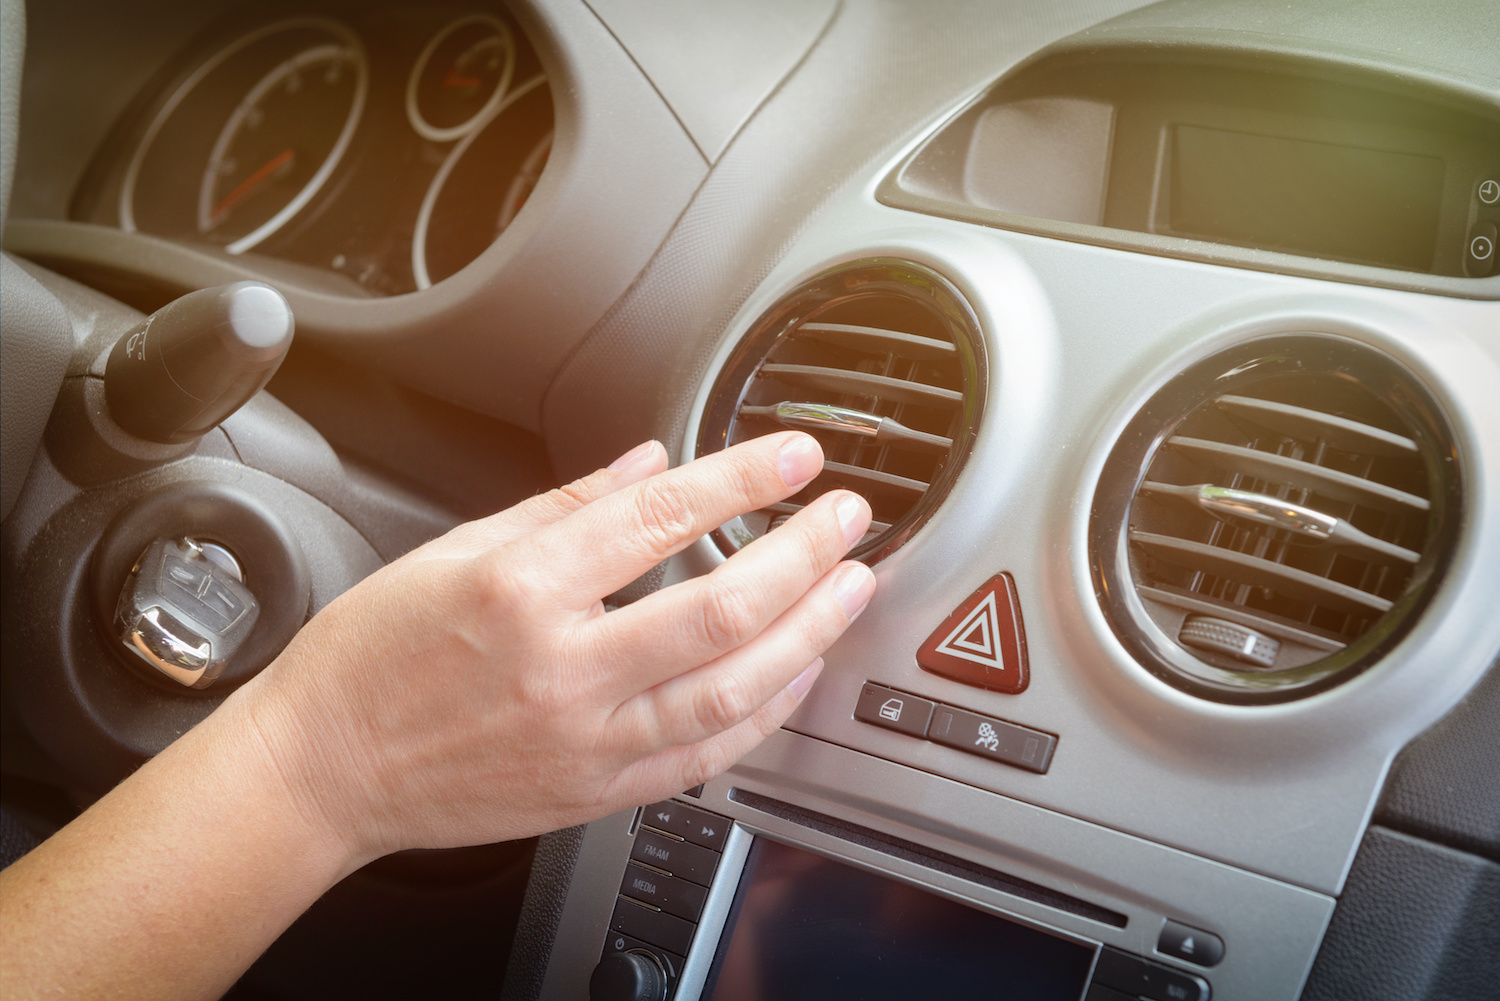
The radiator fan plays a crucial role in maintaining proper engine temperature by cooling the radiator. When the air conditioning (AC) is turned on, the radiator fan should automatically turn on to provide the additional cooling necessary. However, if you notice that the radiator fan is not turning on when the AC is on, it could indicate a potential problem in the cooling system. This article will explore the common causes of a radiator fan not turning on when the AC is on and provide troubleshooting steps to help you resolve the issue.
Key Takeaways:
- Ensure the proper functioning of your radiator fan by checking the fan fuse, inspecting the fan motor, testing the thermostat, examining the relay, checking the wiring, and inspecting the cooling system. Regular maintenance is key to preventing engine overheating.
- If your radiator fan fails to turn on when the AC is on, troubleshoot potential issues such as a blown fuse, faulty fan motor, defective thermostat, faulty relay, broken wiring, and cooling system problems. Seek professional assistance if needed to ensure optimal engine performance.
Read more: When Does Radiator Fan Turn On
Common Causes
When the radiator fan fails to turn on when the AC is activated, there are several potential reasons for this issue. Understanding these common causes can help you diagnose and fix the problem effectively. Here are the most common causes of a radiator fan not turning on when the AC is on:
- Faulty Fan Motor: One of the primary culprits behind a malfunctioning radiator fan is a faulty fan motor. Over time, the fan motor can wear out or become damaged, preventing it from spinning and providing the necessary cooling airflow.
- Defective Thermostat: The thermostat is responsible for monitoring the engine temperature and triggering the radiator fan to turn on when needed. If the thermostat is faulty or stuck, it may not send the signal to activate the fan when the AC is on.
- Blown Fuse: A blown fuse in the fan circuit can disrupt the flow of electricity to the radiator fan, causing it to fail to turn on. Checking the fan fuse is a simple yet essential step in diagnosing the problem.
- Faulty Relay: The relay acts as a switch that controls the power supply to the radiator fan. If the relay is faulty, it may not receive the signal from the thermostat to activate the fan, resulting in its failure to turn on.
- Broken Wiring: Damaged or broken wiring can interrupt the proper operation of the radiator fan. Frayed wires, loose connections, or corroded terminals can prevent the necessary electrical current from reaching the fan and causing it to remain inactive.
- Cooling System Issue: A malfunctioning cooling system, such as a clogged radiator or a malfunctioning water pump, can lead to inadequate cooling and result in the radiator fan not functioning properly.
Identifying the specific cause of the radiator fan not turning on when the AC is on is crucial in order to implement the appropriate troubleshooting steps. In the next sections, we will outline the necessary steps to help you diagnose and resolve the issue effectively.
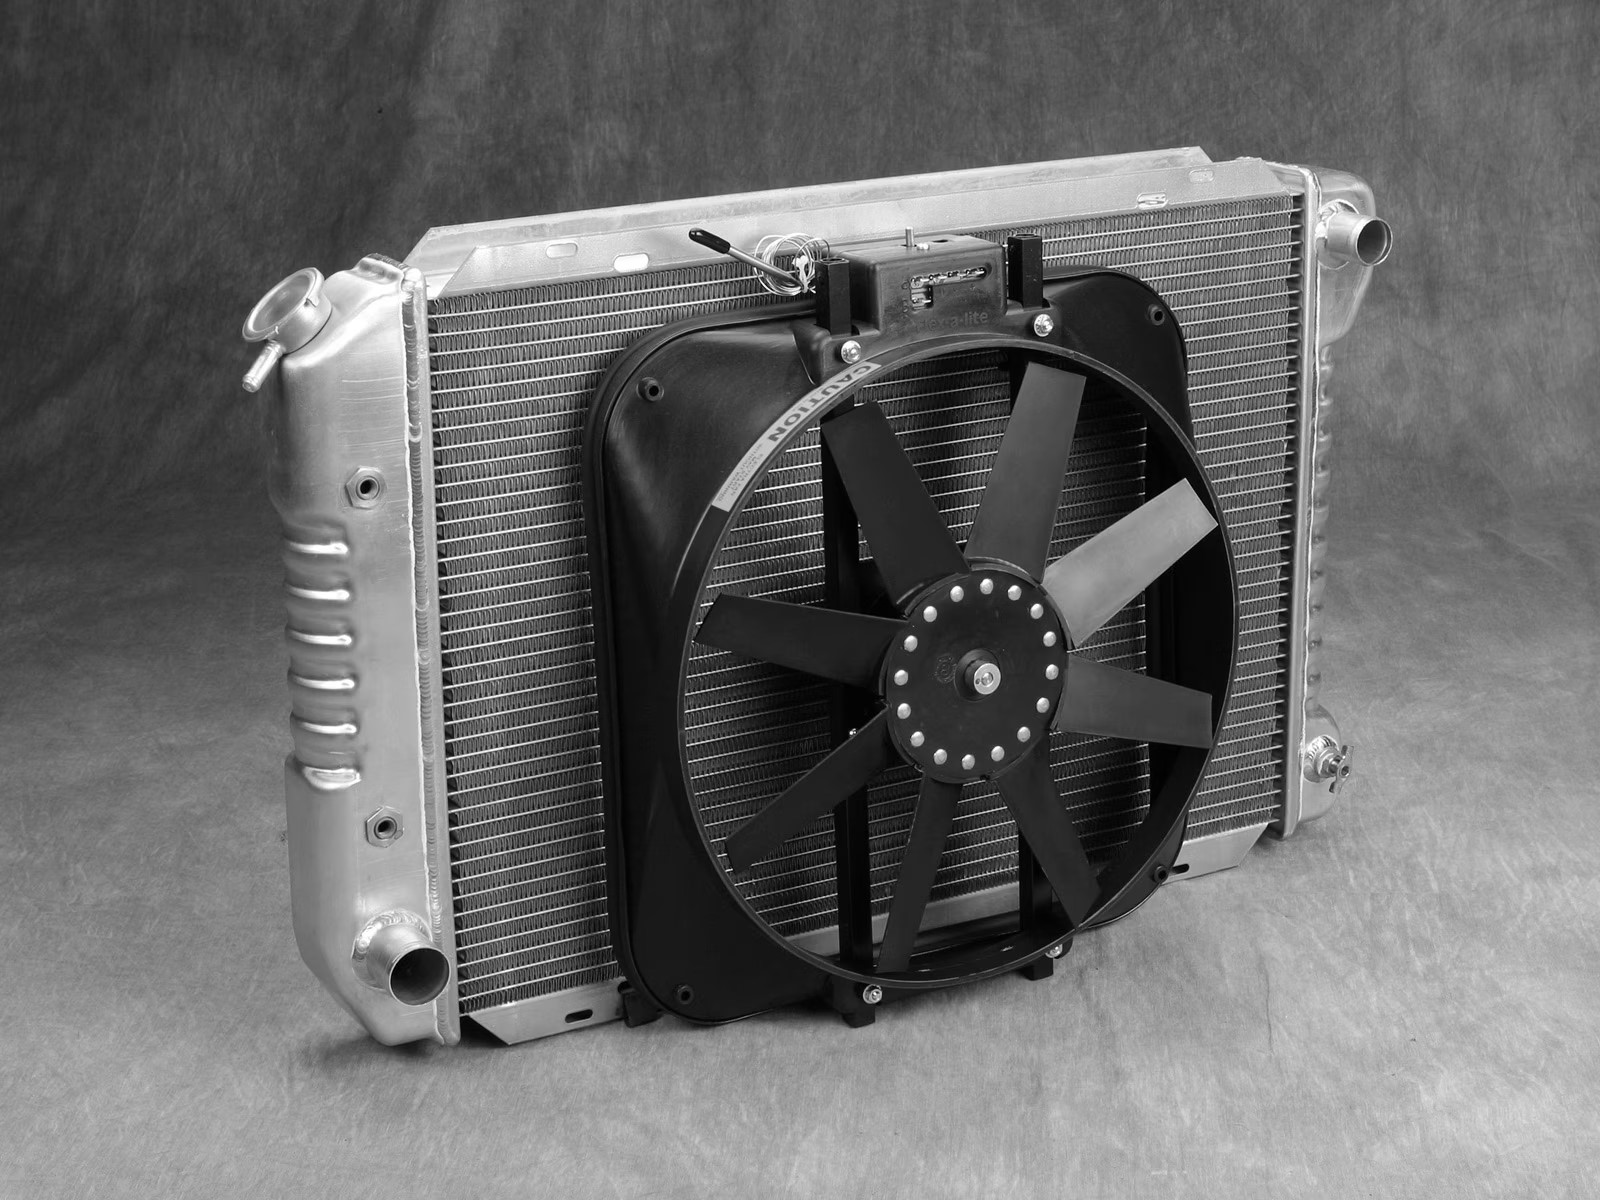
Faulty Fan Motor
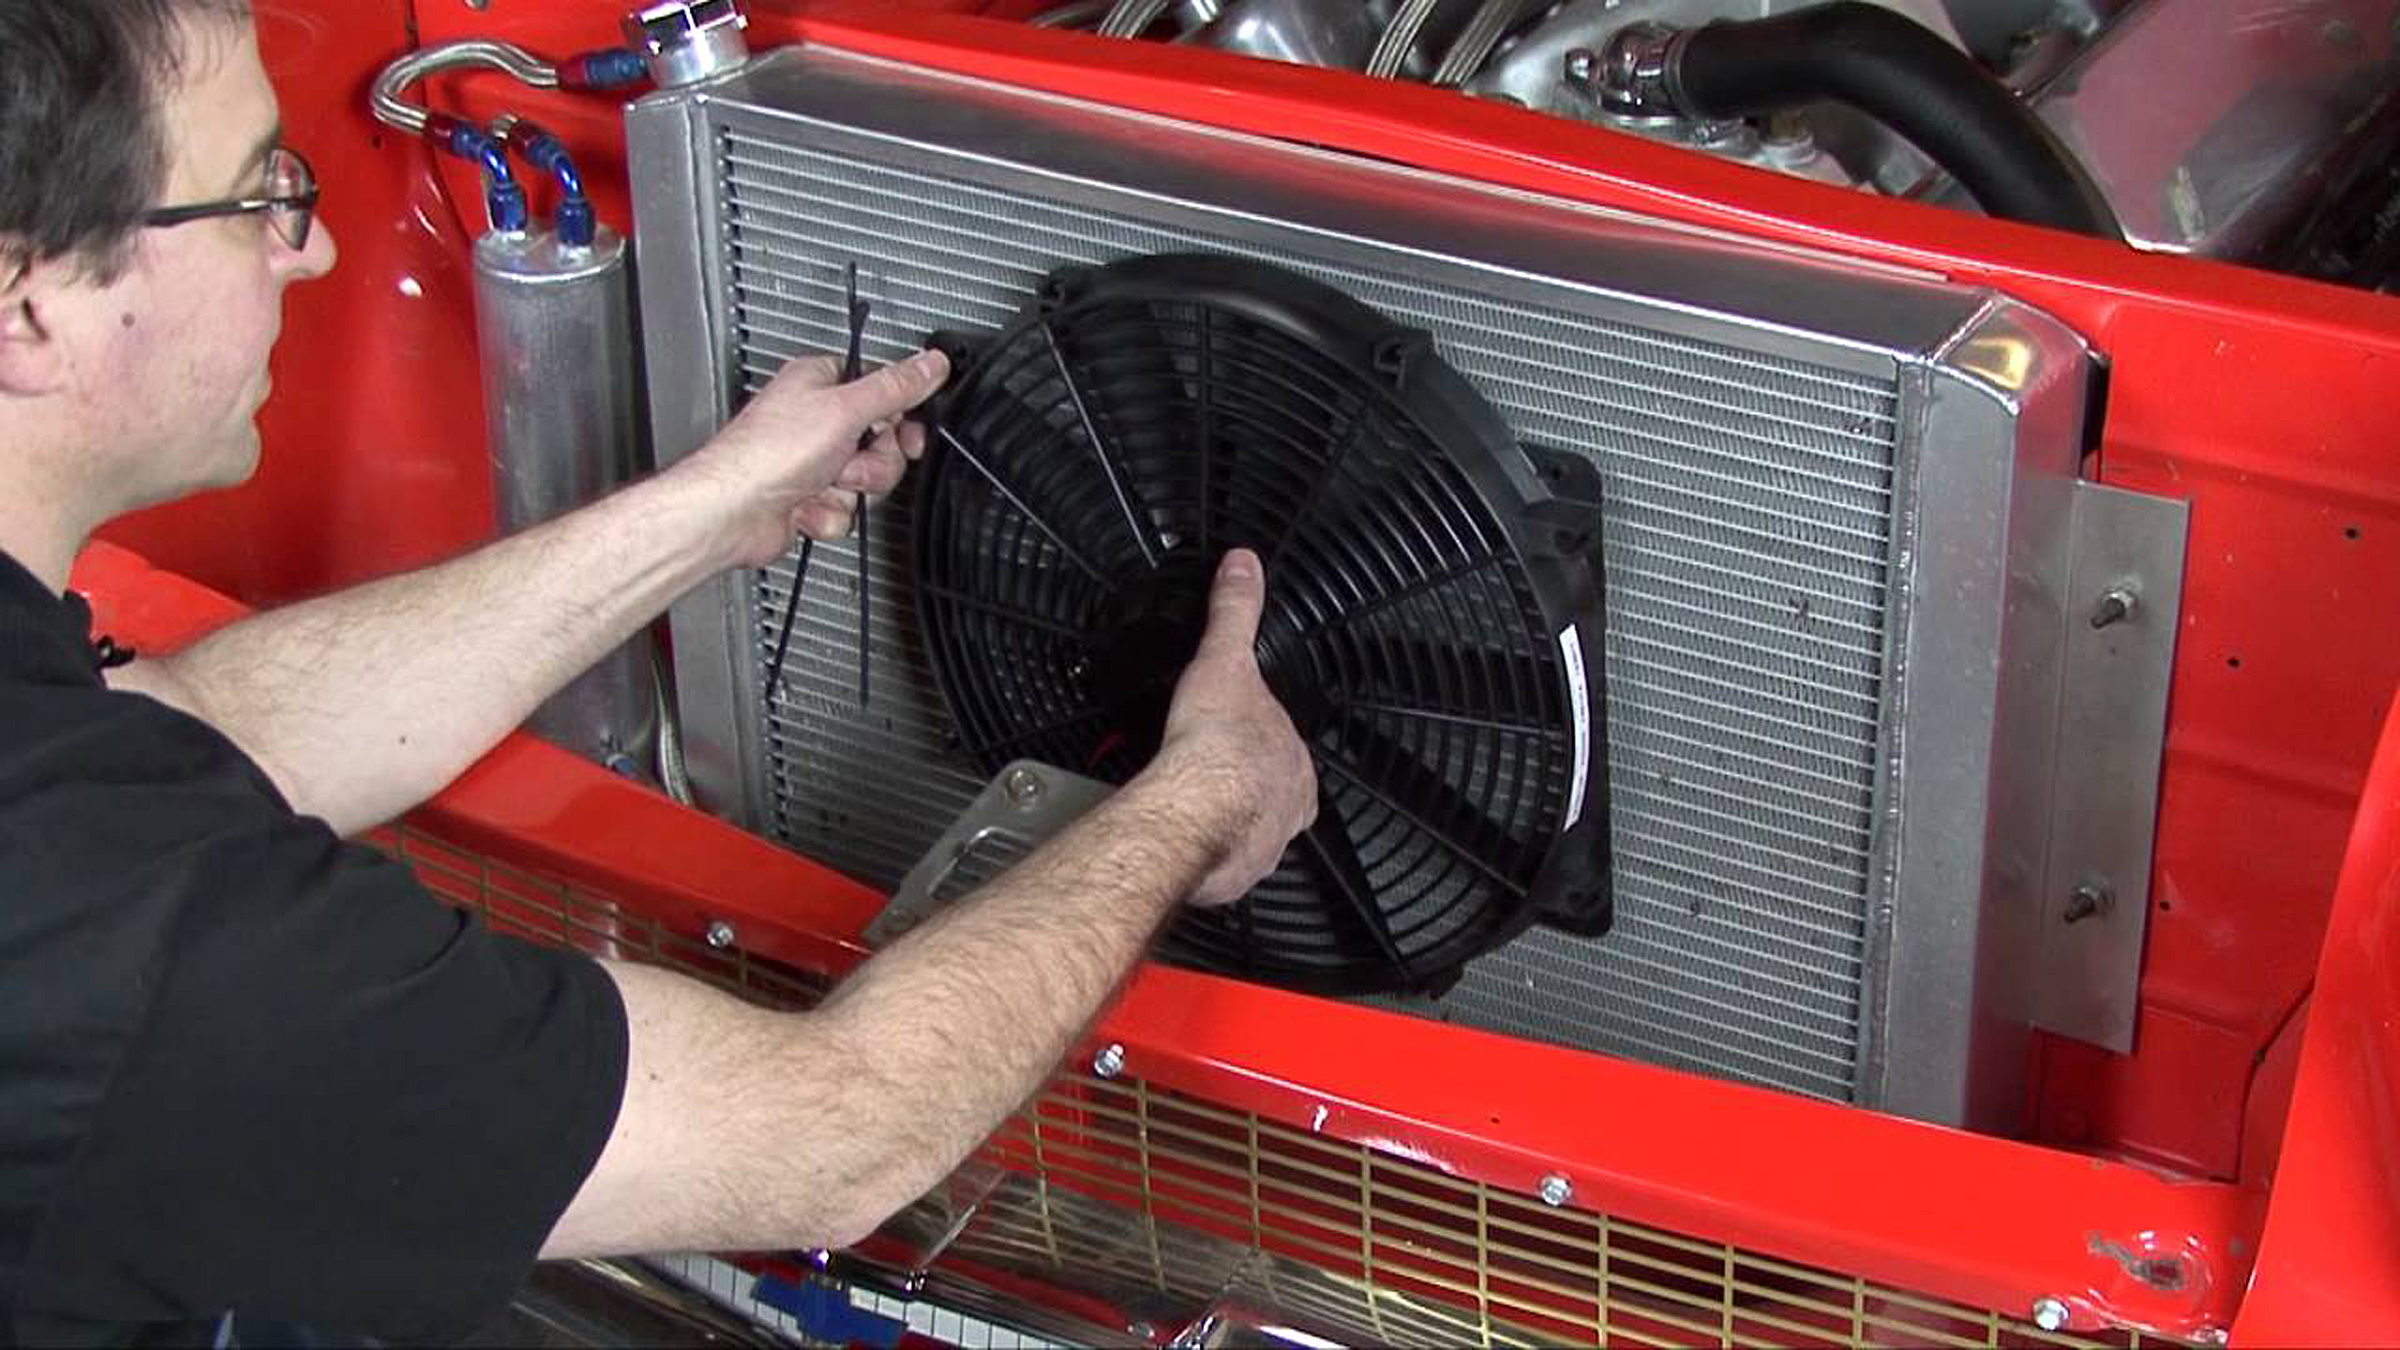
One of the common causes of a radiator fan not turning on when the AC is on is a faulty fan motor. The fan motor is responsible for spinning the fan blades, which generate the airflow to cool the radiator. Over time, wear and tear or electrical issues can cause the fan motor to malfunction, resulting in its failure to turn on.
To determine if the fan motor is the culprit, you can perform a simple visual inspection. Start by locating the radiator fan and checking for any visible signs of damage or debris. Look for any broken blades, loose wiring connections, or signs of overheating or burning. If you notice any such issues, it’s likely that the fan motor needs to be replaced.
In addition to the visual inspection, you can also test the fan motor using a multimeter. This tool allows you to measure the electrical continuity and resistance of the motor. Start by disconnecting the fan motor from the power source and removing it from the vehicle if necessary. Then, set your multimeter to the resistance or ohms setting and carefully touch the meter’s probes to the motor’s electrical terminals. A reading of infinity or a significantly high resistance value indicates a faulty motor and the need for replacement.
If you’re unsure about performing these tests or if you lack the necessary tools and expertise, it’s best to consult a professional mechanic. They will have the knowledge and experience to accurately diagnose the issue and recommend the appropriate solution. In some cases, they may advise replacing the entire fan assembly rather than just the motor if there are additional components that are causing the problem.
Remember, a faulty fan motor can lead to overheating of the engine, which can result in severe engine damage. It’s crucial to address this issue promptly to avoid further complications. Replace a faulty fan motor as soon as possible to ensure the proper functioning of the radiator fan when the AC is on.
Defective Thermostat
A defective thermostat is another common cause of a radiator fan not turning on when the AC is on. The thermostat plays a vital role in monitoring the engine temperature and triggering the fan to activate when necessary. If the thermostat is faulty or stuck, it may not send the signal to activate the radiator fan, resulting in its inactivity.
To check if the thermostat is the issue, start by observing the temperature gauge on your vehicle’s dashboard. If the temperature gauge consistently shows abnormally high readings or fluctuates erratically, it could indicate a problem with the thermostat. Additionally, if you notice that the radiator fan does not turn on even when the engine is running hot, it further suggests a malfunctioning thermostat.
To further diagnose the thermostat, you can perform a physical inspection. Start by locating the thermostat housing, usually located near the engine block. Remove the housing and carefully inspect the thermostat for any signs of physical damage, such as cracks or warping. If you notice any abnormalities, it is likely that the thermostat needs to be replaced.
Another method to test the thermostat is by using a pot of boiling water. Immerse the thermostat in the boiling water and observe its behavior. A functioning thermostat should open when exposed to the high temperature, indicating that it is working correctly. If the thermostat remains closed or fails to open, it is a clear indication of a defective thermostat.
Replacing a defective thermostat is essential to ensure the proper functioning of the radiator fan. Consult your vehicle’s manual or seek professional assistance to identify the correct replacement thermostat for your specific make and model. When installing the new thermostat, make sure to follow the recommended procedures to avoid any further issues. Properly operating thermostat will ensure that the fan turns on when the AC is on, and the engine remains at the optimal temperature, preventing overheating.
If you are unsure about performing these tests or lack the necessary tools and expertise, it is advisable to consult a professional mechanic. They can accurately diagnose the issue and replace the thermostat if necessary.
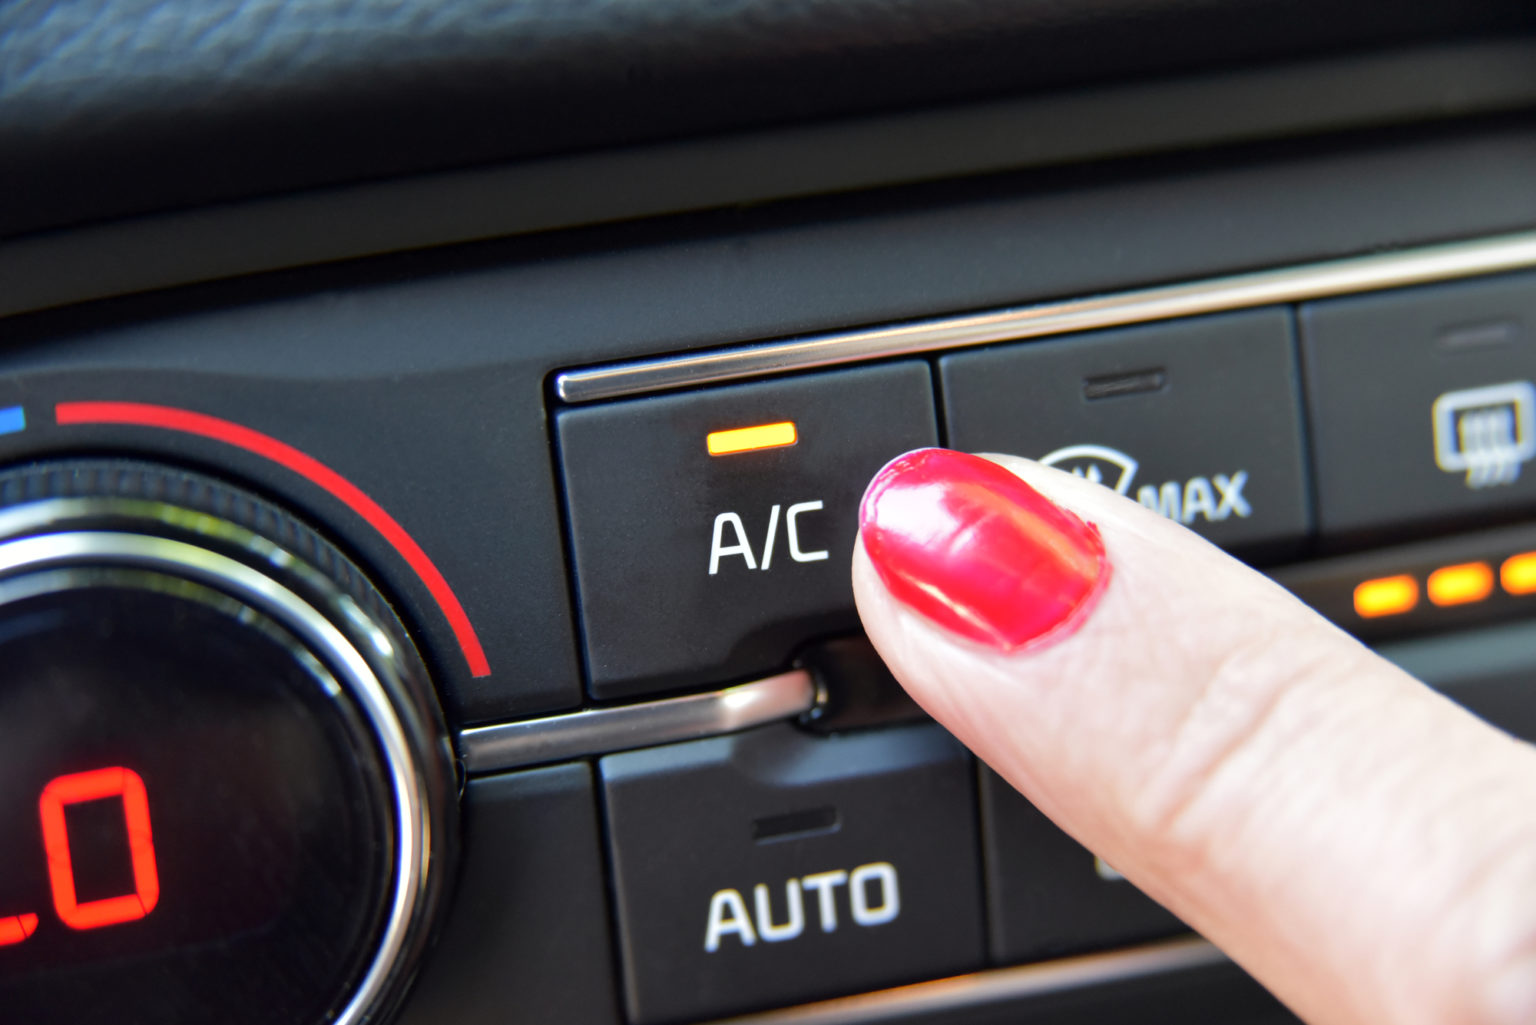
Blown Fuse
A blown fuse in the fan circuit is another common cause of a radiator fan not turning on when the AC is on. Fuses are electrical safety devices that protect circuits from excessive current flow. If a fuse blows, it interrupts the flow of electricity to the radiator fan, causing it to fail to turn on.
To check if a blown fuse is the issue, start by locating the fuse box in your vehicle. The fuse box is usually situated in the engine compartment or beneath the dashboard. Refer to your vehicle’s manual to identify the specific fuse responsible for the radiator fan. Once you locate the fan fuse, visually inspect it to check for any signs of damage, such as a broken filament or discoloration.
If the fuse appears to be blown, you will need to replace it with a new one of the same amperage rating. Ensure that the vehicle ignition is turned off before removing the blown fuse. You can use a fuse puller tool or a pair of needle-nose pliers to remove the old fuse and insert the new one in its place. Once the new fuse is securely inserted, turn on the ignition and test if the radiator fan now turns on when the AC is activated.
It is important to note that a blown fuse is often a symptom of an underlying problem. Therefore, if you replace the fuse and it blows again, it indicates an electrical issue in the fan circuit that needs to be addressed. In this case, it is recommended to consult a professional mechanic who can conduct a detailed inspection and diagnose the root cause of the blown fuse.
Regularly checking the fuses in your vehicle and addressing any blown fuses promptly is crucial to maintain the proper functioning of electrical components. In the case of a blown fuse causing the radiator fan not to turn on when the AC is on, replacing the fuse can restore the fan’s operation and help maintain optimal engine temperature.
Read more: Why Is My AC Fan Not Turning On
Faulty Relay
A faulty relay is another potential cause of a radiator fan not turning on when the AC is on. The relay serves as a switch that controls the flow of power to the radiator fan. If the relay is faulty or fails to receive the signal from the thermostat, it may prevent the fan from activating.
To diagnose if a faulty relay is the issue, you can start by locating the relay box in your vehicle. The relay box is typically located in the engine compartment or near the radiator. Once you locate the relay box, refer to your vehicle’s manual to identify the relay responsible for controlling the radiator fan. In some cases, the relay may be labeled as the “radiator fan relay” or something similar.
After identifying the relay, you can try swapping it with a similar relay in the relay box, such as a relay for the headlights or air conditioning. If the radiator fan now turns on when the AC is activated, it indicates that the original relay was faulty, and it needs to be replaced.
However, if swapping the relay does not solve the issue, you can further test the relay using a multimeter. Start by removing the relay from its socket and setting the multimeter to the continuity or ohms setting. Then, touch the multimeter probes to the appropriate terminals on the relay and check for continuity. If there is no continuity or an open circuit, it indicates a faulty relay that needs to be replaced.
Replacing a faulty relay is relatively simple. Start by purchasing a new relay of the same type and rating as the faulty one. Then, insert the new relay into the appropriate socket in the relay box, ensuring a secure connection. Once the new relay is installed, test if the radiator fan now turns on when the AC is activated.
If you are unsure about identifying or replacing the relay, or if the troubleshooting steps do not resolve the issue, it is recommended to consult a professional mechanic. They will have the expertise and tools necessary to accurately diagnose and address the faulty relay or any other underlying electrical issues.
A properly functioning relay is crucial to ensure that the radiator fan turns on when the AC is on, providing adequate cooling for the engine. By replacing a faulty relay, you can restore the fan’s operation and maintain optimal engine temperature.
Broken Wiring
Broken or damaged wiring is another potential cause of a radiator fan not turning on when the AC is on. The wiring in the fan circuit carries the electrical current from the power source to the fan motor. If the wiring is frayed, corroded, or has loose connections, it can interrupt the proper flow of electricity, resulting in the fan’s inactivity.
To check for broken wiring, start by visually inspecting the wires in the fan circuit. Look for any signs of physical damage, such as frayed insulation, exposed wires, or corrosion. Additionally, check the connections between the wires and any connectors or terminals for any looseness or signs of corrosion.
If you identify any broken or damaged wiring, you will need to repair or replace the affected wires. Begin by disconnecting the power source to prevent any electrical mishaps. Depending on the severity of the damage, you may choose to patch up the wiring using electrical tape or soldering if the damage is minor. However, if the damage is extensive or the wires are severely corroded, it is recommended to replace the wiring entirely.
When replacing the wiring, ensure that you use the appropriate gauge and type of wire specified by your vehicle’s manufacturer. Be sure to follow the proper installation procedures and ensure secure connections. It is also advisable to use wire connectors or terminals to provide a reliable and long-lasting connection.
If you are not confident in your electrical repair skills, it is advisable to seek assistance from a professional mechanic or an auto electrician. They will have the expertise and knowledge to accurately diagnose and repair any broken wiring in the fan circuit.
Remember, proper wiring is crucial for the radiator fan to function correctly when the AC is on. Ensure that all connections are secure, and any damaged wiring is promptly repaired or replaced to restore the fan’s operation and maintain the optimal engine temperature.
Cooling System Issue
A malfunctioning cooling system can also contribute to a radiator fan not turning on when the AC is on. The cooling system is responsible for regulating the engine temperature and providing adequate cooling to prevent overheating. If there is an issue with the cooling system, such as a clogged radiator or a malfunctioning water pump, it can result in insufficient cooling and cause the radiator fan to remain inactive.
One of the first signs of a cooling system issue is an engine that consistently runs hot, even when the AC is on. Additionally, you may notice coolant leaks, abnormal smells, or a decrease in the overall performance of your vehicle.
To diagnose a cooling system issue, you can start by visually inspecting the radiator for any signs of blockage or debris. A clogged radiator can restrict the flow of coolant and impede proper cooling. If you notice any build-up of dirt, leaves, or other debris, it is recommended to clean the radiator or have it professionally flushed.
Another component to check is the water pump. The water pump is responsible for circulating the coolant throughout the engine and cooling system. If the water pump is malfunctioning or has failed, it can lead to inadequate cooling and prevent the radiator fan from operating correctly. Signs of a faulty water pump can include coolant leaks, unusual noises, or overheating.
If you suspect a cooling system issue, it is advisable to take your vehicle to a professional mechanic or an auto repair shop. They will have the knowledge and expertise to conduct a thorough inspection of your cooling system, identify any problems, and perform the necessary repairs or replacements. They may need to perform pressure tests, coolant flushes, or replace the water pump if necessary.
Proper maintenance of the cooling system is essential to ensure optimal engine performance and prevent any issues with the radiator fan not turning on when the AC is on. Regularly check the coolant levels, inspect the radiator for blockages, and address any cooling system problems promptly to ensure efficient cooling and the proper functioning of the radiator fan.
Check the fan relay and fuse to ensure they are functioning properly. If they are in good condition, the issue may be with the fan motor or the temperature sensor. Have these components checked by a professional mechanic.
Troubleshooting Steps
If you’re experiencing an issue with your radiator fan not turning on when the AC is on, there are several troubleshooting steps you can take to help identify and resolve the problem. These steps will help you pinpoint the specific cause of the issue and take the necessary action to fix it. Here are the troubleshooting steps to follow:
-
Step 1: Check the Fan Fuse
Start by locating the fuse box in your vehicle and identify the fuse responsible for the radiator fan. Inspect the fuse for any signs of damage or blown filament. If the fuse is blown, replace it with a new one of the same amperage rating. -
Step 2: Inspect the Fan Motor
Visually inspect the fan motor for any visible signs of damage, such as broken blades or loose wiring connections. Consider using a multimeter to test the motor’s electrical continuity and resistance. If the fan motor is faulty, replace it with a new one. -
Step 3: Test the Thermostat
Check the thermostat for any physical damage, such as cracks or warping. You can test its functionality by immersing it in a pot of boiling water and observing if it opens. If the thermostat is defective, replace it with a new one. -
Step 4: Examine the Relay
Locate the relay responsible for controlling the radiator fan and swap it with a similar relay in the relay box. If the fan now turns on, the original relay was faulty and needs to be replaced. You can also test the relay using a multimeter to check for continuity. -
Step 5: Check the Wiring
Inspect the wiring in the fan circuit for any signs of damage, such as frayed wires or loose connections. Repair or replace any broken or damaged wiring to ensure a proper electrical flow. -
Step 6: Inspect the Cooling System
Visually inspect the radiator for any blockages or debris that may be hindering proper cooling. Check the water pump for any leaks or malfunctions. Consider taking your vehicle to a professional mechanic for a thorough inspection and any necessary repairs.
By following these troubleshooting steps in a systematic manner, you can identify the root cause of the issue and take the appropriate measures to fix it. However, if you are unsure about performing these steps or lack the necessary tools and expertise, it is advisable to consult a professional mechanic for further assistance.
Read more: AC Clicking Noise When Turned On
Step 1: Check the Fan Fuse
When troubleshooting a radiator fan that is not turning on when the AC is on, it is essential to start with the simplest and most common potential problem: a blown fan fuse. The fuse acts as a protective device, preventing excessive electrical current from damaging the components in the electrical circuit. If the fuse blows, it breaks the circuit and stops the flow of electricity to the radiator fan, causing it to remain inactive.
To check the fan fuse, you will need to locate the vehicle’s fuse box. The fuse box is typically located in the engine compartment or under the dashboard. Consult your vehicle’s manual to find the specific fuse that controls the radiator fan. It is often labeled as “radiator fan fuse,” “cooling fan fuse,” or something similar.
Once you have located the fan fuse, visually inspect it to check for any signs of damage. Look for a broken filament or discoloration on the fuse. If the fuse appears to be blown or damaged, it is necessary to replace it with a new fuse of the same amperage rating.
Before replacing the fuse, it is important to ensure that the vehicle ignition is turned off to prevent any electrical accidents. Using a fuse puller tool or a pair of needle-nose pliers, carefully remove the blown fuse from its socket. Take note of the amperage rating printed on the side of the blown fuse.
Next, insert a new fuse of the same amperage rating into the vacant socket. Ensure that the fuse is securely inserted and making proper contact. It is advisable to keep spare fuses of the appropriate rating in your vehicle for future use.
After replacing the fuse, turn on the vehicle’s ignition and activate the AC. Observe if the radiator fan now turns on when the AC is on. If the fan starts functioning, it indicates that the blown fuse was the cause of the initial issue.
However, if the radiator fan still fails to turn on, it suggests that there may be another problem contributing to the issue. In this case, it is recommended to proceed to the next troubleshooting steps to further diagnose and resolve the problem.
Checking the fan fuse is a simple and important initial step in troubleshooting a radiator fan that is not turning on when the AC is on. By ensuring a properly functioning fuse, you can provide the necessary power to the fan and promote effective cooling for the engine.
Step 2: Inspect the Fan Motor
After checking the fan fuse and ensuring it is not the cause of the radiator fan not turning on when the AC is on, the next step is to inspect the fan motor. The fan motor is responsible for spinning the fan blades and generating the necessary airflow for cooling the radiator. If the fan motor is faulty or damaged, it may prevent the fan from functioning properly.
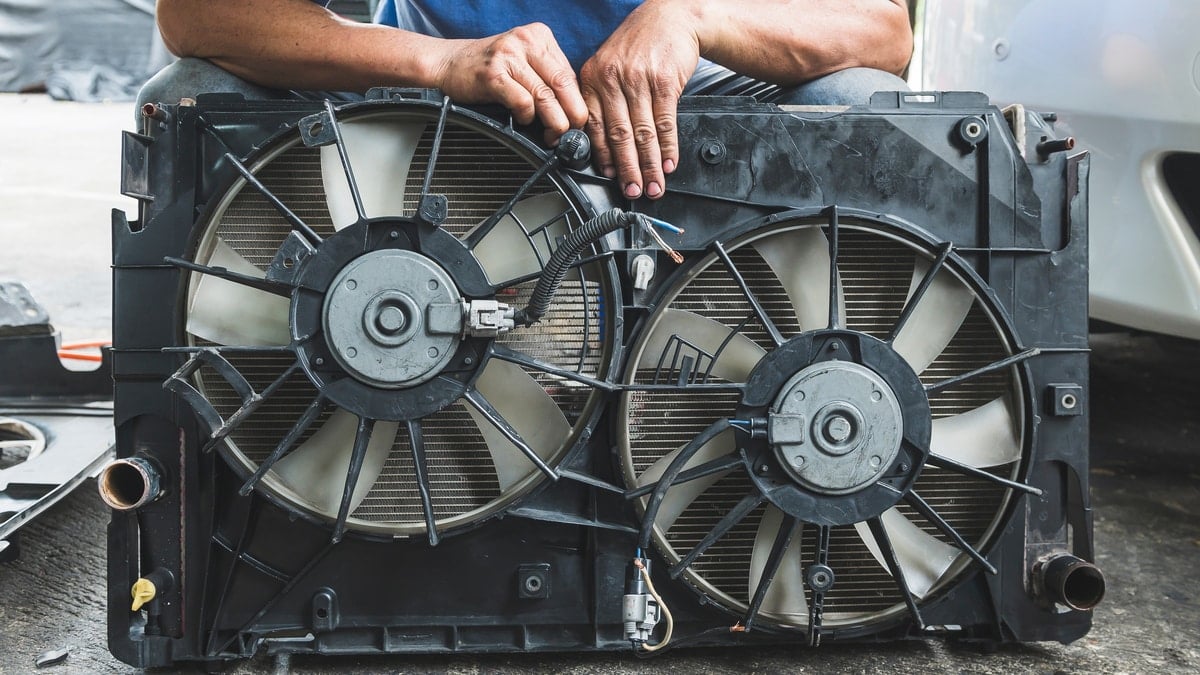
To inspect the fan motor, start by locating it in your vehicle. The fan motor is typically located near the radiator, either on the engine side or in front of it. It may be enclosed in a fan assembly or mounted on the radiator itself.
Visually examine the fan motor for any visible signs of damage, such as broken fan blades, loose wiring connections, or signs of overheating or burning. Ensure that the fan blades are intact and not obstructed by any debris. Pay attention to any frayed wires, loose or corroded connectors, or signs of melted plastic around the motor housing.
If you notice any significant damage or if the fan motor appears to be in poor condition, it is likely that the motor needs to be replaced. A faulty fan motor will not be able to generate sufficient airflow to cool the radiator, leading to engine overheating.
In addition to the visual inspection, you can further test the fan motor using a multimeter. This tool measures the electrical continuity and resistance of the motor. Begin by disconnecting the fan motor from the power source and removing it from the vehicle if necessary.
Set your multimeter to the resistance (ohms) setting and carefully touch the meter’s probes to the motor’s electrical terminals. A properly functioning motor will show a resistance value within the expected range. However, if the multimeter reads infinity or a significantly high resistance value, it indicates a faulty motor that requires replacement.
If you do not have access to a multimeter or are unsure about performing these tests, it is recommended to consult a professional mechanic. They will have the necessary tools and expertise to accurately diagnose the condition of the fan motor and recommend the appropriate course of action.
Addressing any issues with the fan motor promptly is crucial to ensure the proper functioning of the radiator fan when the AC is on. By replacing a faulty fan motor, you can restore the fan’s operation and prevent engine overheating.
Step 3: Test the Thermostat
If the fan motor is in good condition and the fuse is not the culprit behind the radiator fan not turning on when the AC is on, the next step is to test the thermostat. The thermostat is responsible for monitoring the engine temperature and activating the radiator fan when necessary. A faulty or malfunctioning thermostat can prevent the fan from activating even when the engine is hot.
To test the thermostat, start by locating it in your vehicle. The thermostat is typically housed in a metal housing connected to the engine block or the upper radiator hose. Refer to your vehicle’s manual to determine the exact location of the thermostat and the procedure for accessing it.
Once you have accessed the thermostat, visually inspect it for any signs of physical damage, such as cracks or warping. Also, check for any coolant leakage around the thermostat housing. These signs indicate a malfunctioning or defective thermostat that needs to be replaced.
To further test the thermostat’s functionality, you can perform a simple test using a pot of boiling water. Carefully place the thermostat in the boiling water and observe its behavior. A functioning thermostat should open when exposed to high temperatures, allowing the coolant to flow through the radiator and activate the fan. If the thermostat remains closed or fails to open even in boiling water, it indicates a defective thermostat that requires replacement.
If you are unsure about performing this test or lack the necessary tools and expertise, it is recommended to consult a professional mechanic. They will have the knowledge and experience to accurately diagnose the thermostat and recommend the appropriate solution.
Replacing a faulty thermostat is relatively straightforward. You can purchase a new thermostat from an auto parts store or dealership that matches the specifications of your vehicle’s make and model. Ensure that you follow the detailed instructions in your vehicle’s manual to properly install the new thermostat.
A properly functioning thermostat is crucial for maintaining the ideal engine temperature and ensuring that the radiator fan turns on when the AC is on. By testing and replacing a faulty thermostat, you can restore the fan’s operation and prevent potential engine overheating issues.
Step 4: Examine the Relay
If the thermostat is functioning properly and the radiator fan still does not turn on when the AC is on, the next step is to examine the relay. The relay is an electrical switch that controls the power supply to the radiator fan. A faulty relay can prevent the fan from receiving the signal to activate.
To examine the relay, begin by locating the relay box in your vehicle. The relay box is typically found in the engine compartment or near the radiator. Consult your vehicle’s manual or a wiring diagram to identify the specific relay responsible for controlling the radiator fan. The relay may be labeled as “radiator fan relay” or something similar.
Once you have located the relay, you can start by swapping it with a similar relay in the relay box, such as a relay for the headlights or air conditioning. If the radiator fan now turns on when the AC is activated, it indicates that the original relay was faulty and needs to be replaced. This swapping test helps confirm if the relay is the underlying issue.
If swapping the relay does not solve the problem, you can further test the relay using a multimeter. Start by removing the relay from its socket. Set the multimeter to the continuity or ohms setting and touch the meter’s probes to the appropriate terminals on the relay. Check for continuity or a closed circuit. If there is no continuity or an open circuit, it indicates a faulty relay that needs to be replaced.
When replacing the faulty relay, ensure that you purchase a new relay that matches the specifications of your vehicle. The correct relay can be found at an auto parts store or dealership. Insert the new relay into the appropriate socket in the relay box, making sure it fits securely.
If you are hesitant about examining or testing the relay, or if the troubleshooting steps do not resolve the issue, it is recommended to consult a professional mechanic. They have the necessary expertise and equipment to accurately diagnose and address any faulty relay or other electrical issues within the vehicle’s system.
A properly functioning relay is critical for activating the radiator fan when the AC is on. By examining and replacing a faulty relay, you can restore the fan’s operation and promote efficient cooling of the engine.
Read more: Lights Flicker When AC Turns On
Step 5: Check the Wiring
If the relay is functioning correctly, but the radiator fan still fails to turn on when the AC is on, the next step is to check the wiring in the fan circuit. Broken or damaged wiring can interrupt the flow of electricity and prevent the fan from receiving the necessary power to operate.
To check the wiring, you will need to visually inspect the fan circuit. Start by examining the wiring connections and harnesses in the fan circuit for any signs of damage, such as frayed or exposed wires, loose connections, or signs of corrosion. Take note of any areas where the insulation is damaged or wires appear to be pinched or crushed.
If you notice any visible damage to the wiring, it is necessary to repair or replace the affected wires. Begin by disconnecting the power source to the fan circuit to ensure safety. For minor issues such as loose connections or minor fraying, you can use electrical tape or crimp connectors to repair the wiring.
For more significant damage, such as severed or severely frayed wires, it is advisable to replace the wiring entirely. To do this, you may need to remove sections of the wiring harness and install new wire with the appropriate gauge and insulation. Ensure that you follow proper wiring practices, such as soldering and using heat shrink tubing to create secure and reliable connections.
If you are unsure about how to proceed with checking or repairing the wiring, it is recommended to consult a professional mechanic or an auto electrician. They have the expertise and knowledge to accurately diagnose and repair any wiring issues in the fan circuit.
Proper wiring is crucial for the radiator fan to receive the necessary power and operate when the AC is on. By checking and repairing any broken or damaged wiring, you can ensure that the fan functions correctly and provides adequate cooling to the engine.
Step 6: Inspect the Cooling System
If you’ve checked the fan fuse, tested the fan motor, examined the thermostat, inspected the relay, and checked the wiring, but the radiator fan still doesn’t turn on when the AC is on, it’s time to examine the cooling system. A malfunctioning cooling system can lead to insufficient cooling and prevent the radiator fan from operating properly.
Start by visually inspecting the radiator for any signs of blockage or debris. Over time, dirt, leaves, bugs, and other debris can accumulate on the radiator’s surface, hindering proper airflow. Use a soft brush or compressed air to carefully clean the radiator fins and remove any obstructions. Additionally, check for any bent or damaged radiator fins that may impede airflow and affect cooling efficiency.
Next, examine the coolant level in the radiator and the overflow reservoir. The coolant should be at the proper level and have a clean appearance. If the coolant level is low or dirty, it may indicate a coolant leak or contamination. In such cases, it is advisable to consult a professional mechanic to diagnose and resolve the issue.
Inspect the radiator hoses for any signs of wear, cracks, or leaks. Over time, the rubber hoses can deteriorate and develop leaks, which can cause coolant loss. Replace any damaged hoses to ensure proper coolant circulation.
Check the water pump for any leaks or abnormal sounds. The water pump is responsible for circulating the coolant throughout the cooling system. If the water pump is faulty or damaged, it may not be adequately circulating the coolant, leading to inadequate cooling. In such cases, professional assistance may be required to replace the water pump.
It is also beneficial to check the functionality of the radiator cap. A faulty or loose radiator cap can cause coolant loss or result in improper pressure build-up within the cooling system, reducing its effectiveness. Replace the radiator cap if necessary.
If you perform these inspections and detect any significant issues, it is advisable to consult a professional mechanic for a more thorough examination and potential repairs. They have the expertise and equipment to accurately diagnose and address cooling system problems.
A well-functioning cooling system is essential for maintaining optimal engine temperature and ensuring the radiator fan operates when the AC is on. Regular inspection and maintenance of the cooling system will help prevent issues and keep the engine running cool and efficiently.
Conclusion
When your radiator fan fails to turn on when the AC is on, it can lead to inadequate cooling and potential engine overheating. However, with proper troubleshooting and maintenance, you can identify and resolve the underlying issues causing this problem.
Throughout the troubleshooting process, you examined several possible causes, including a blown fuse, faulty fan motor, defective thermostat, faulty relay, broken wiring, and cooling system issues. By following the step-by-step troubleshooting guide, you attempted to diagnose and address each potential problem area.
Checking the fan fuse is the first step to verify if a blown fuse is the cause. If the fuse is intact, inspecting the fan motor helps identify any physical damage or malfunction. Testing the thermostat ensures it opens and allows coolant flow when exposed to high temperatures.
Examining the relay helps determine if it is responsible for the fan’s inactivity, and checking the wiring ensures there are no breaks or loose connections hampering electrical flow. And finally, inspecting the cooling system allows you to identify any blockages, leaks, or malfunctions preventing proper cooling.
Through these troubleshooting steps, you have taken significant strides in pinpointing potential issues and resolving them. However, if you were unable to determine the cause or if the problem persists, it is strongly recommended to seek the assistance of a professional mechanic. They possess the expertise, tools, and diagnostic equipment necessary to address complex issues and provide the appropriate solutions.
Maintaining a properly functioning radiator fan and cooling system is crucial for engine performance and overall vehicle health. Regular inspections and maintenance, including checking coolant levels, cleaning the radiator, and replacing components as needed, will help keep the cooling system in optimal condition.
By ensuring that the radiator fan functions correctly when the AC is on, you can help prevent engine overheating, optimize cooling, and extend the life of your vehicle.
Remember, if you are uncertain or uncomfortable performing any of these troubleshooting steps, it is always best to consult a professional mechanic. They will provide expert guidance and ensure the problem is properly resolved.
Frequently Asked Questions about Radiator Fan Not Turning On When Ac Is On
Was this page helpful?
At Storables.com, we guarantee accurate and reliable information. Our content, validated by Expert Board Contributors, is crafted following stringent Editorial Policies. We're committed to providing you with well-researched, expert-backed insights for all your informational needs.


0 thoughts on “Radiator Fan Not Turning On When Ac Is On”