Articles
How To Test Radiator Fan
Modified: August 24, 2024
Need to test your radiator fan? Check out our informative articles for step-by-step guides and expert tips. Keep your car running smoothly with our helpful tips and instructions.
(Many of the links in this article redirect to a specific reviewed product. Your purchase of these products through affiliate links helps to generate commission for Storables.com, at no extra cost. Learn more)
How To Test Radiator Fan
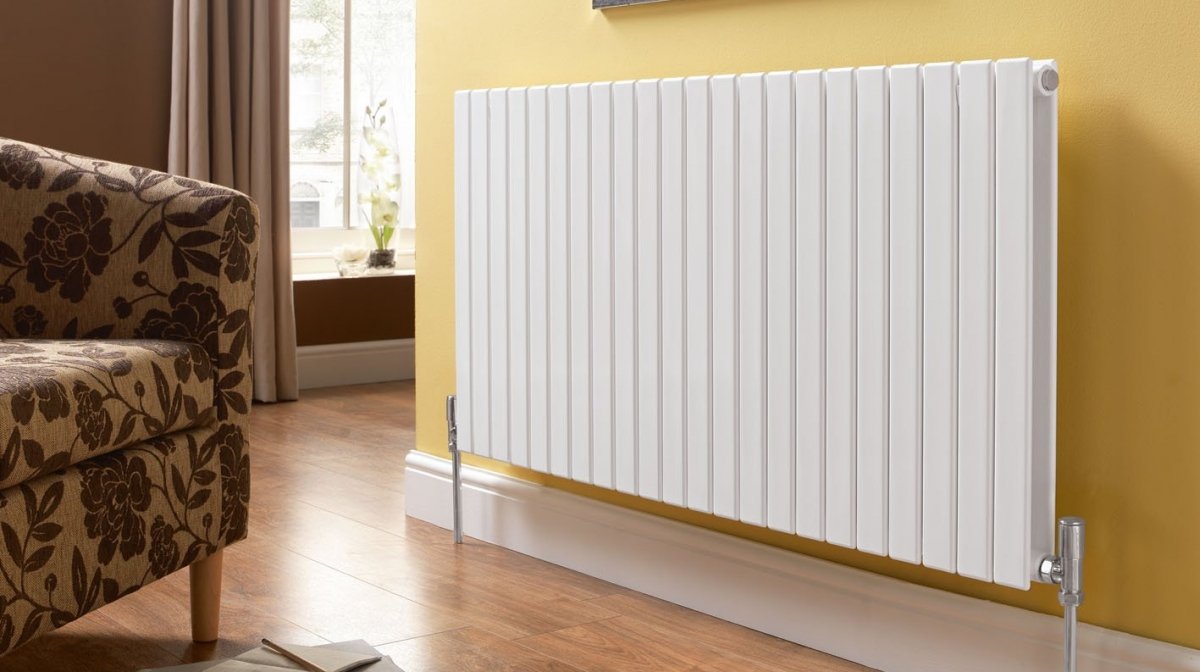
The radiator fan plays a crucial role in the cooling system of your vehicle. It helps to regulate the temperature by drawing air through the radiator to cool the engine. If your radiator fan is not functioning properly, it can lead to overheating and potential damage to your engine. Testing the radiator fan is a simple process that can help you determine if it is working correctly or if there is an underlying issue that needs to be addressed. In this article, we will guide you through the steps to effectively test your radiator fan.
Key Takeaways:
- Regularly testing your radiator fan using simple steps and basic tools can help prevent engine overheating and potential damage. Ensure optimal performance and longevity of your vehicle’s engine by maintaining a well-functioning cooling system.
- By following a series of visual inspections, fuse checks, and motor, relay, and sensor tests, you can effectively diagnose and address any issues with your radiator fan. Keep your vehicle’s cooling system in excellent condition to enjoy a smooth and trouble-free driving experience.
Read more: How To Tell If Radiator Fan Is Bad
Introduction
The radiator fan is an essential component of your vehicle’s cooling system. Its main purpose is to help dissipate the heat generated by the engine by drawing cool air through the radiator. This process prevents the engine from overheating and ensures optimal performance.
However, over time, the radiator fan may develop issues or fail altogether. If your engine is running hot or you notice strange noises coming from under the hood, it’s important to test the radiator fan to identify any potential problems.
Testing the radiator fan is a straightforward process that can be done with basic tools and little mechanical knowledge. By going through a series of steps and checks, you can determine if the radiator fan is functioning properly or if there are any underlying issues that need to be addressed.
In this article, we will walk you through the steps to effectively test your radiator fan. So, grab your tools and let’s get started!
Tools and Equipment Needed
Before you begin testing your radiator fan, it’s important to gather the necessary tools and equipment. Having the right tools on hand will make the process smoother and ensure accurate results. Here are the tools you will need:
- Socket set
- Wrench set
- Multimeter
- Jumper wires
- Safety goggles
- Gloves
These tools will allow you to perform various tests and checks on your radiator fan and its associated components.
It’s always a good idea to wear safety goggles and gloves while working on your vehicle to protect yourself from potential hazards.
Once you have gathered all the necessary tools, you can proceed with the testing process.
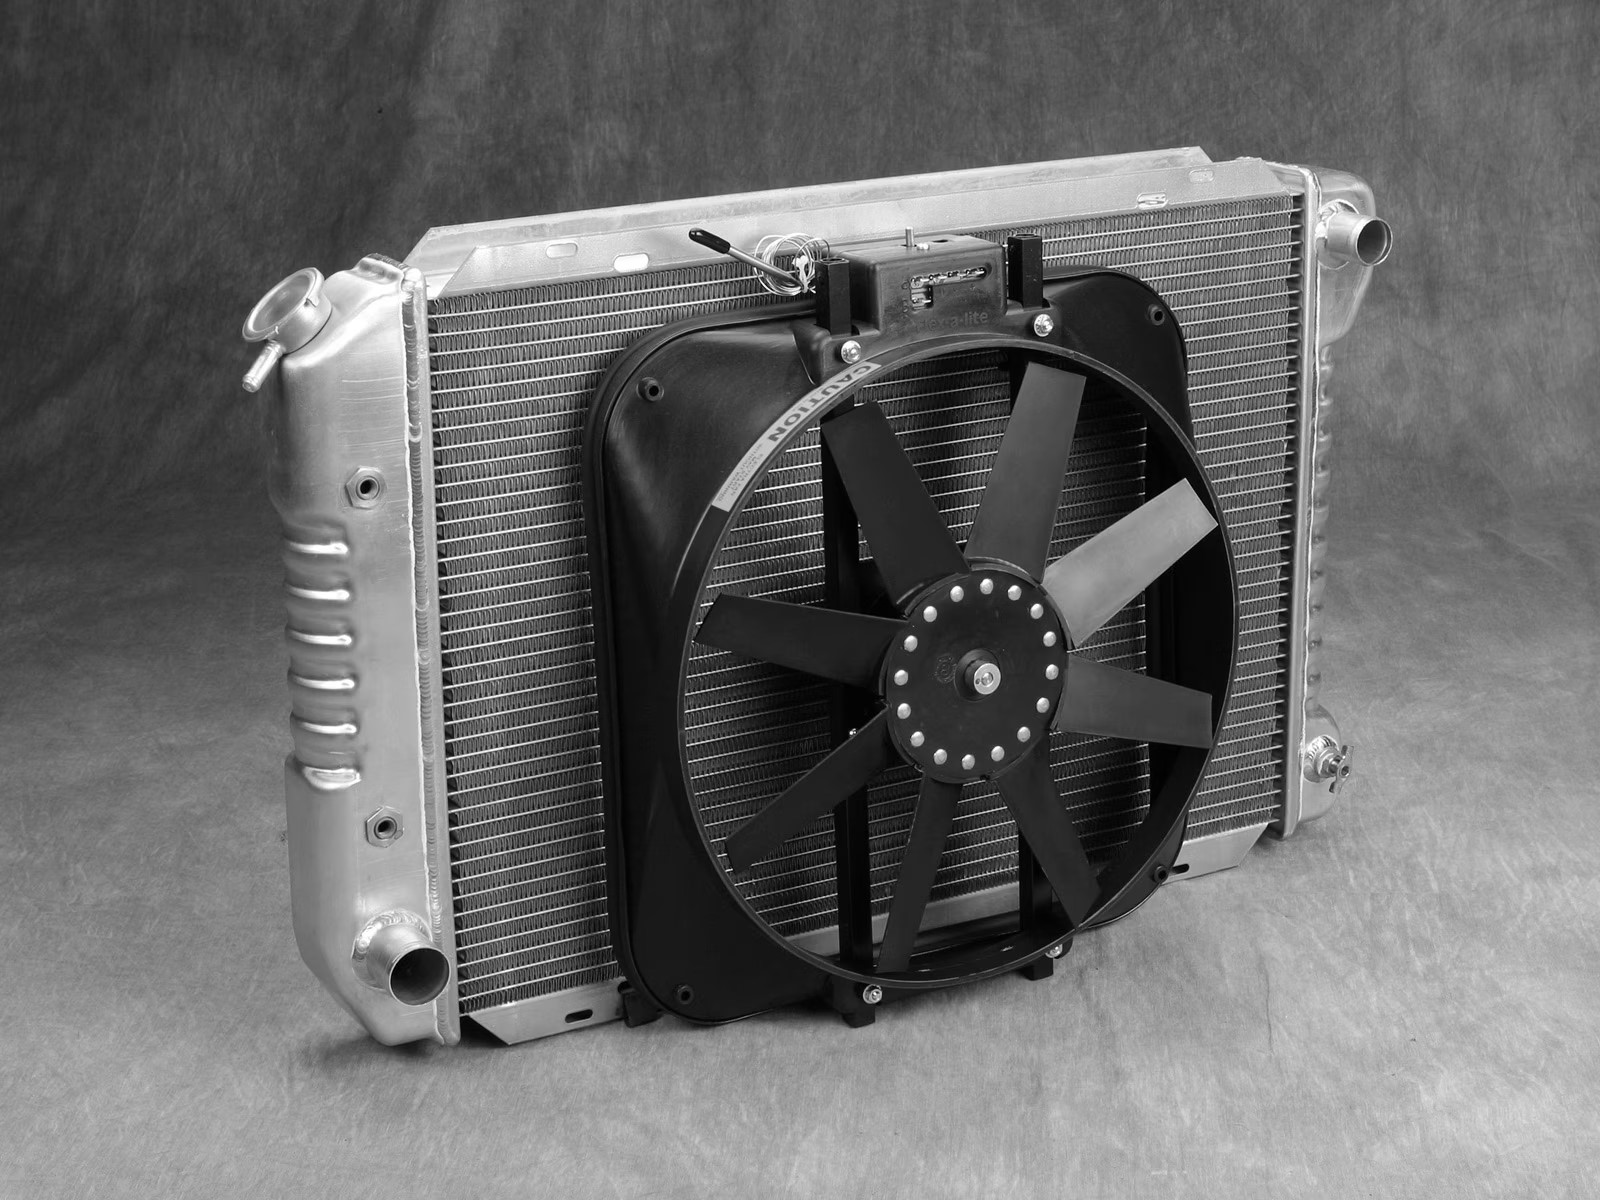
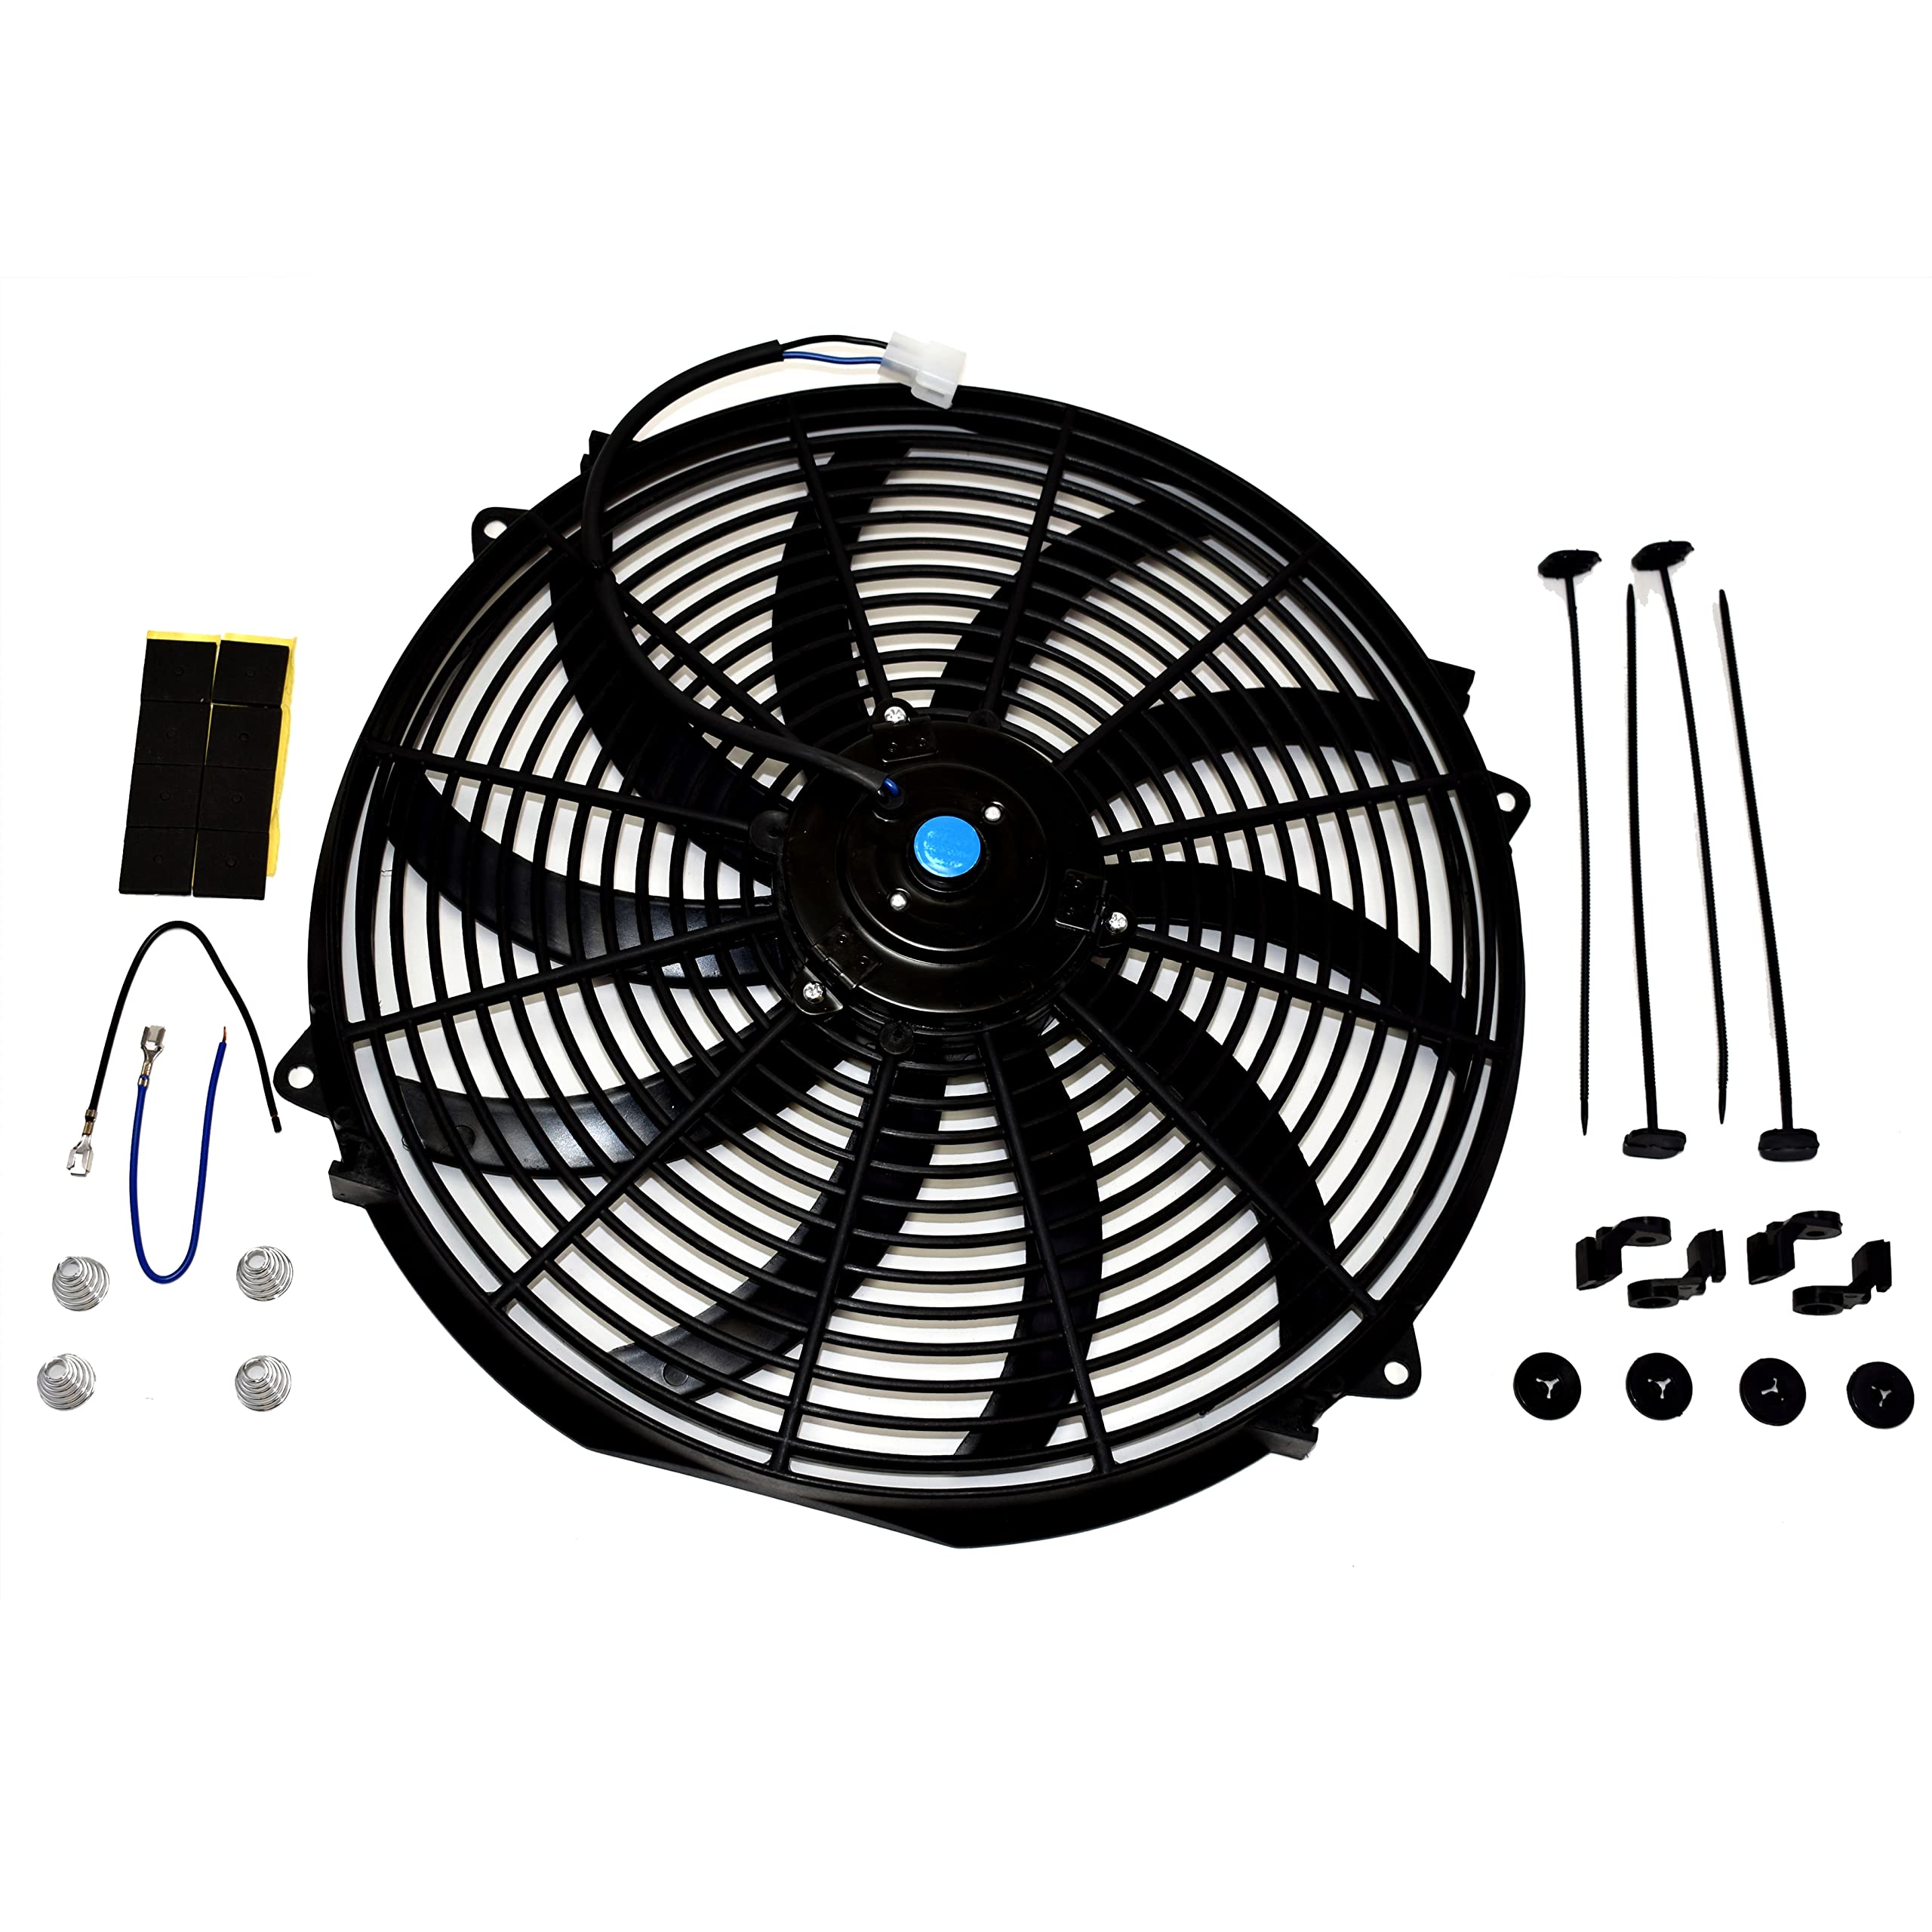
Step 1: Visually Inspect the Fan
The first step in testing your radiator fan is to visually inspect it. Start by opening the hood of your vehicle and locating the radiator fan. It is typically located near the radiator and can be recognized by its blades or fins.
Examine the fan for any signs of physical damage, such as cracks or broken blades. Additionally, check for any obstructions that might be preventing the fan from spinning freely, such as debris or leaves. If you spot any damage or obstructions, they may be the cause of the fan not working properly.
Ensure that all the electrical connections to the fan are secure and free from corrosion. Loose or damaged connections can also affect the fan’s functionality.
If everything appears to be in good condition, proceed to the next step. If you find any issues during the visual inspection, you may need to repair or replace the fan before further testing.
Remember, always perform this inspection with the engine off and cool to avoid any accidents or injuries.
Step 2: Check the Fan Fuse
The next step in testing your radiator fan is to check the fan fuse. The fuse is a safety device that protects the electrical components of your vehicle from overload or short circuits. If the fuse related to the radiator fan is blown, the fan will not receive power and will not function.
Locate the fuse box in your vehicle. It is typically located under the hood or inside the cabin. Consult your vehicle’s manual to determine the exact location if you are unsure.
Open the fuse box and look for the fuse labeled “radiator fan” or something similar. Each fuse is labeled with its purpose, so finding the appropriate fuse should not be difficult.
Carefully remove the fuse using a pair of needle-nose pliers or fuse puller tool. Inspect the fuse to see if it is blown. A blown fuse will have a broken metal strip inside it.
If the fuse is blown, replace it with a new fuse of the same amperage rating. It’s important to use the correct rating to avoid damaging the fan or electrical system.
After replacing the fuse, start the engine and test the radiator fan. If the fuse was the issue, the fan should now be operational. If not, proceed to the next step.
Note: If the fuse continues to blow repeatedly after replacement, it may indicate a larger electrical problem that should be addressed by a professional mechanic.
Read more: How To Test A Fan Capacitor
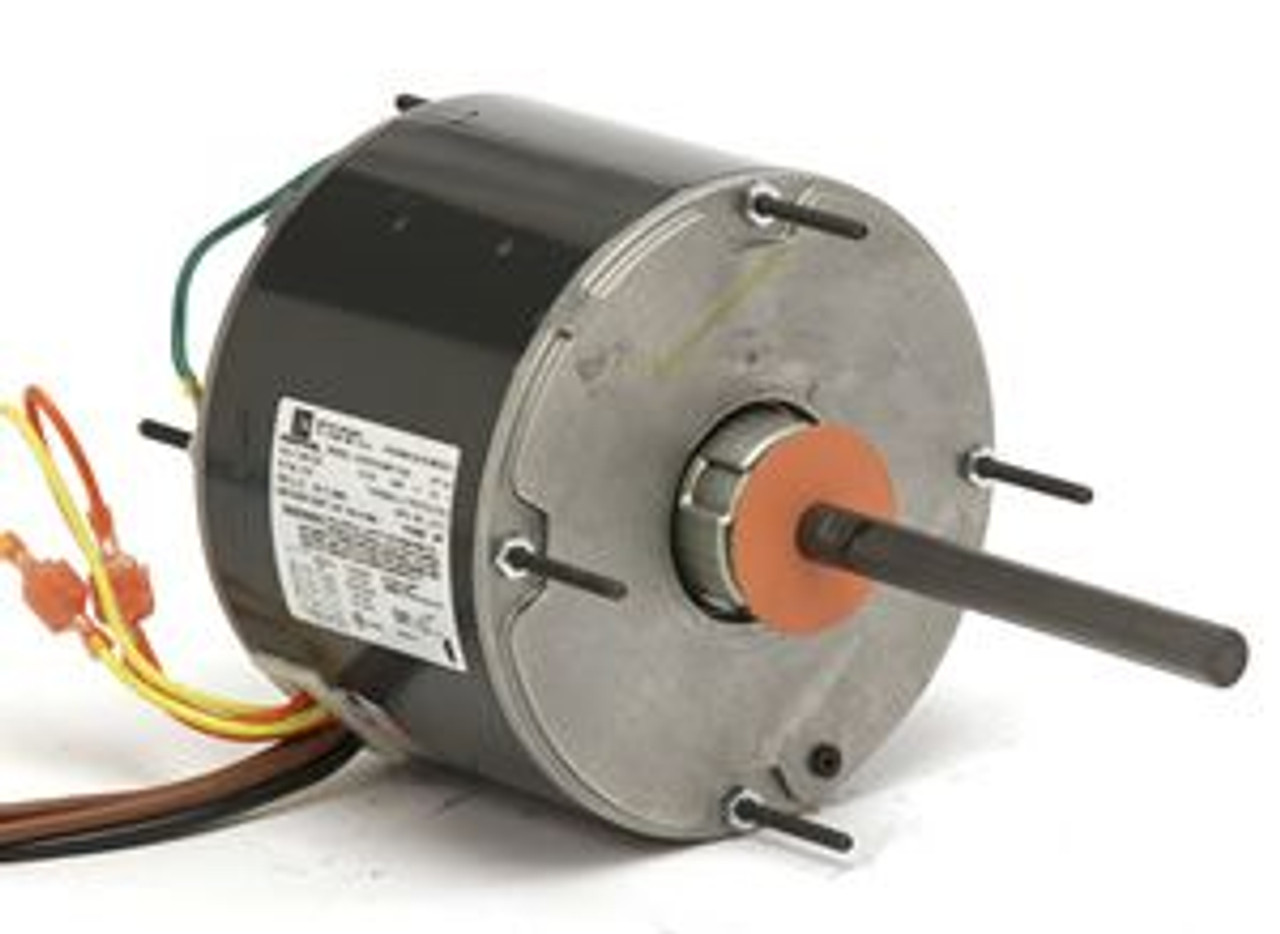
Step 3: Testing the Fan Motor
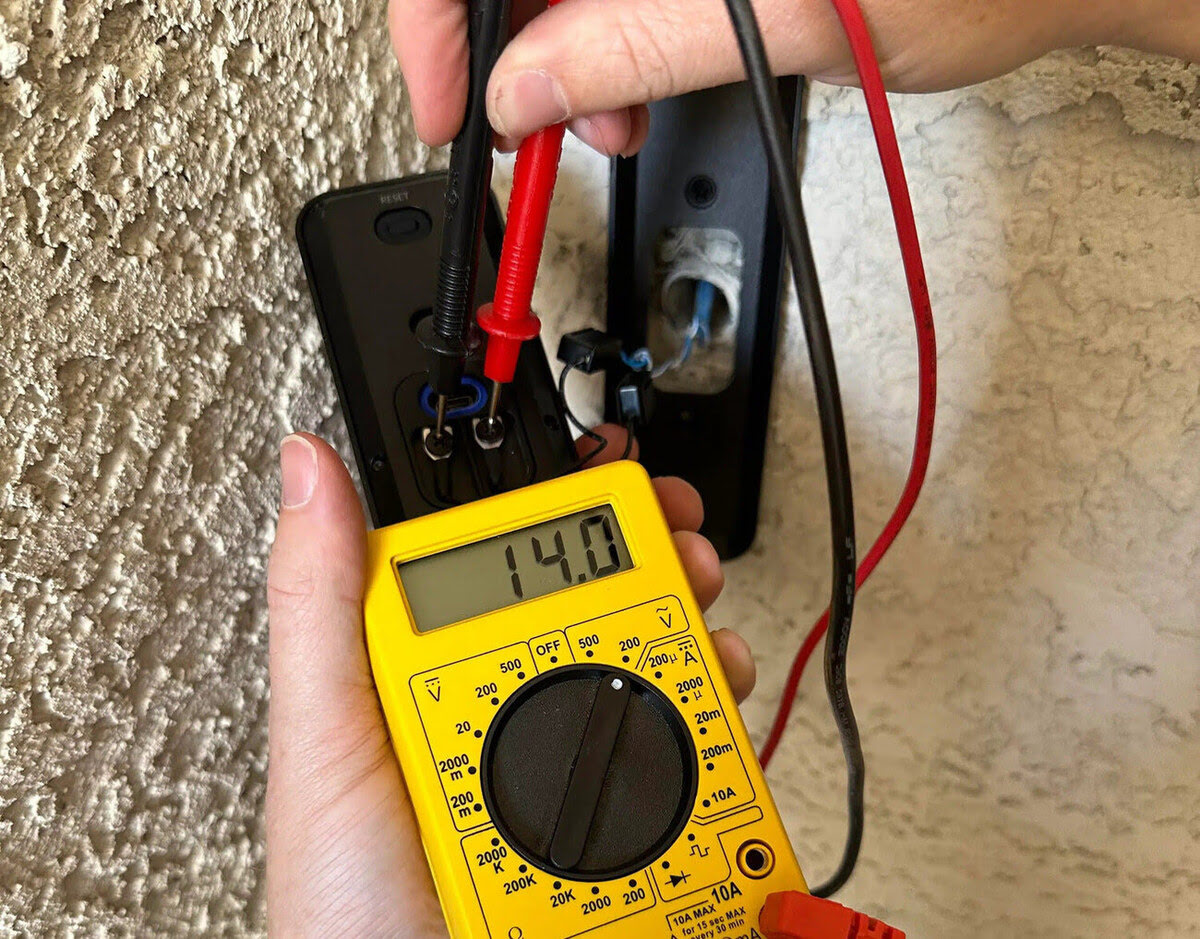
After checking the fan fuse and ensuring it is not the cause of the issue, the next step is to test the fan motor itself. There are two common methods to test the fan motor: using a multimeter and a direct wiring test.
Method 1: Using a Multimeter
- Start by disconnecting the electrical connector from the fan motor. This will prevent any interference from other components.
- Set your multimeter to the resistance or ohms setting.
- Connect the multimeter leads to the terminals on the fan motor. The positive lead (+) should be connected to the positive terminal, and the negative lead (-) should be connected to the negative terminal.
- Check the resistance reading on the multimeter. The reading should be within the manufacturer’s specified range. If the reading is significantly higher or shows infinite resistance, it indicates a faulty motor that needs to be replaced.
- If the resistance reading is within the specified range, proceed to the next step.
Method 2: Direct Wiring Test
- Disconnect the electrical connector from the fan motor.
- Prepare two jumper wires and a 12V power source (such as a car battery).
- Connect one end of a jumper wire to the positive terminal of the fan motor and the other end to the positive terminal of the power source.
- Connect another jumper wire from the negative terminal of the fan motor to the negative terminal of the power source.
- If the fan motor is functioning properly, it should start spinning when the power source is connected.
By performing these tests, you can determine whether the fan motor is working correctly or if it needs to be replaced. If the motor fails either test, it is recommended to consult a professional mechanic for further assistance.
Read more: How To Test A Fan Capacitor
Step 3: Testing the Fan Motor
Method 1: Using a Multimeter
- Start by disconnecting the electrical connector from the fan motor. This will prevent any interference from other components.
- Set your multimeter to the resistance or ohms setting.
- Connect the multimeter leads to the terminals on the fan motor. The positive lead (+) should be connected to the positive terminal, and the negative lead (-) should be connected to the negative terminal.
- Check the resistance reading on the multimeter. The reading should be within the manufacturer’s specified range. If the reading is significantly higher or shows infinite resistance, it indicates a faulty motor that needs to be replaced.
- If the resistance reading is within the specified range, proceed to the next step.
Method 1 involves using a multimeter to measure the resistance of the fan motor. This method helps determine if the motor is functioning properly or if it has an electrical issue.
Start by disconnecting the electrical connector from the fan motor. This prevents any interference from other components and ensures accurate readings.
Set your multimeter to the resistance or ohms setting. This setting allows you to measure the electrical resistance of the motor.
Connect the positive lead (+) of the multimeter to the positive terminal of the fan motor. Then, connect the negative lead (-) of the multimeter to the negative terminal of the fan motor. Ensure a secure connection for accurate measurements.
Check the resistance reading on the multimeter. The reading should fall within the range specified by the manufacturer. Consult your vehicle’s manual or the manufacturer’s documentation to determine the acceptable range of resistance for your specific fan motor.
If the multimeter shows a significantly higher resistance reading or infinite resistance, it indicates a faulty motor. In this case, the motor may need to be replaced.
If the resistance reading is within the specified range, the fan motor is functioning properly in terms of its electrical resistance. However, this test does not confirm the motor’s mechanical functionality. Therefore, it is necessary to proceed to further tests.
By using a multimeter to measure the resistance of the fan motor, you can identify any electrical issues and make an informed decision on whether to replace the motor or proceed with additional tests.
Read more: How To Test A Fan Capacitor
Step 3: Testing the Fan Motor
Method 2: Direct Wiring Test
- Disconnect the electrical connector from the fan motor.
- Prepare two jumper wires and a 12V power source (such as a car battery).
- Connect one end of a jumper wire to the positive terminal of the fan motor and the other end to the positive terminal of the power source.
- Connect another jumper wire from the negative terminal of the fan motor to the negative terminal of the power source.
- If the fan motor is functioning properly, it should start spinning when the power source is connected.
Method 2 involves performing a direct wiring test to determine if the fan motor is fully operational. This method bypasses other components in the electrical system and directly applies power to the motor.
Start by disconnecting the electrical connector from the fan motor. This ensures that the motor is isolated from the rest of the system during the test.
Next, gather two jumper wires and a 12V power source, such as a car battery. Ensure that the power source is fully charged.
Connect one end of a jumper wire to the positive terminal of the fan motor. Then, connect the other end of the jumper wire to the positive terminal of the power source.
Connect another jumper wire from the negative terminal of the fan motor to the negative terminal of the power source.
If the fan motor is functioning properly, it should start spinning as soon as the power source is connected. This indicates that the motor is receiving sufficient power and is in good working condition.
Observe the motor closely during this test. If the motor does not spin or exhibits erratic movement, it may indicate a fault in the motor itself and may require replacing.
Remember to exercise caution during this test, as direct wiring involves handling electrical connections and power sources. Follow all safety precautions to avoid electrical shock or other hazards.
By performing a direct wiring test, you can determine if the fan motor is operational or if further investigation and potential replacement are necessary.
Step 4: Testing the Fan Relay
The fan relay is a crucial component that controls the operation of the radiator fan. If the relay is faulty, it can prevent the fan from turning on even if the motor is in good condition. Testing the fan relay will help you identify if it’s functioning correctly or if it needs to be replaced.
- Locate the fan relay, typically found in the engine bay fuse box or in a separate relay box.
- Start by visually inspecting the relay for any signs of damage or exposure to moisture. Look for burnt marks or signs of corrosion on the relay’s terminals.
- If the relay appears to be in good condition, you can proceed to test it using a multimeter or a similar relay tester.
- If using a multimeter, set it to the resistance or continuity mode.
- Connect the multimeter leads to the relay’s coil terminals. These can be identified in the relay’s wiring diagram or the relays themselves as the control connections.
- Check the resistance or continuity reading on the multimeter. If there is no continuity or a very high resistance reading, it indicates a faulty relay that needs to be replaced.
- If performing a relay tester, follow the manufacturer’s instructions to test the relay for proper functionality.
If the fan relay fails the tests, it’s recommended to replace it with a new one to ensure proper operation of the radiator fan.
Remember to consult your vehicle’s manual or wiring diagram for specific relay locations and connections, as they may vary depending on the make and model.
Testing the fan relay is an important step in troubleshooting the radiator fan’s functionality and can help pinpoint any issues with its electrical control. By ensuring the relay is in good condition, you improve the chances of resolving the fan-related problem effectively.
Read more: Radiator Fan Not Turning On When Ac Is On
Step 5: Testing the Temperature Sensor
The temperature sensor, also known as the coolant temperature sensor or the engine coolant temperature (ECT) sensor, plays a crucial role in determining when the radiator fan should turn on. If the sensor is malfunctioning or sending incorrect signals, it can result in issues with the fan’s operation. Testing the temperature sensor will help you determine if it is functioning properly.
- Locate the temperature sensor, which is usually located near the engine coolant or thermostat housing.
- Start by visually inspecting the sensor for any signs of physical damage or corrosion.
- Disconnect the electrical connector from the sensor.
- Using a digital multimeter, set it to the resistance or ohms setting.
- Connect the meter’s leads to the two terminals of the temperature sensor.
- Refer to your vehicle’s manual or documentation to determine the specified resistance values for different temperatures. Compare this with the resistance reading on the multimeter.
- If the resistance reading matches the specified values, the temperature sensor is functioning correctly. Otherwise, if there is a significant difference, it indicates a faulty sensor that needs to be replaced.
If your multimeter does not display the correct resistance values, it may be necessary to repeat the test at different temperature ranges to ensure accuracy.
Keep in mind that the temperature sensor’s resistance values can vary among different vehicle manufacturers and models. Consult your vehicle’s manual or seek specific information to ensure accurate readings.
By testing the temperature sensor, you can verify if it is sending accurate signals to the fan control module or the engine control unit (ECU). This will help you determine if a faulty temperature sensor is causing issues with the radiator fan’s operation.
If the temperature sensor is found to be defective, replacing it should restore proper fan functionality and ensure optimal engine cooling.
When testing a radiator fan, start by checking the fuse and relay. If those are working, test the fan motor by applying direct power to it. If the motor runs, the issue may be with the temperature sensor or wiring.
Step 6: Additional Checks
In addition to the previous steps, there are a few additional checks you can perform to ensure thorough testing of your radiator fan system. These checks will help identify any other potential issues that may affect the fan’s performance.
Check the Wiring and Connectors
Inspect the wiring and connectors related to the radiator fan. Look for any visible signs of damage, such as frayed wires, loose connections, or corroded terminals. Ensure all connections are secure and free from debris or rust. Repair or replace any damaged wiring or connectors as necessary.
Test the Fan Control Module
If your vehicle has a fan control module separate from the fan relay, you can test it for proper functionality. Refer to your vehicle’s manual or seek specific instructions for your particular model. Testing the control module will help identify any issues that may be preventing proper communication between the temperature sensor, fan relay, and the fan motor.
Read more: When Does Radiator Fan Turn On
Verify the Coolant Level and System Pressure
Ensure your vehicle’s coolant level is within the recommended range. If the coolant level is low, it can negatively impact the cooling system’s effectiveness, leading to potential issues with the radiator fan. Additionally, check the system’s pressure using a pressure tester to ensure it is within the manufacturer’s specifications.
Consult a Professional Mechanic
If you have followed all the previous steps and are still experiencing problems with your radiator fan, it may be best to consult a professional mechanic. They have the expertise and specialized equipment to diagnose complex issues and perform advanced tests on your vehicle’s cooling system.
By performing these additional checks, you can ensure a comprehensive assessment of your radiator fan system. Identifying other potential issues will help you address them promptly and provide the necessary repairs or replacements to restore proper cooling system functionality.
Conclusion
Testing your radiator fan is an essential process to ensure optimal engine cooling and prevent potential overheating problems. By following the steps outlined in this guide, you can effectively diagnose any issues with your radiator fan and identify the underlying causes.
Starting with a visual inspection of the fan and checking the fan fuse, you can quickly rule out any obvious problems. Moving on to testing the fan motor using a multimeter and a direct wiring test, you can verify if the motor is in good working condition. Testing the fan relay and temperature sensor allows you to check the electrical components that control the fan’s operation.
It is also important to perform additional checks, such as inspecting the wiring and connectors, testing the fan control module, and verifying the coolant level and system pressure. These additional checks help ensure a thorough examination of the radiator fan system and can detect any other potential issues that may impact its performance.
If you encounter any difficulties or are unsure about any step of the testing process, it is recommended to seek assistance from a professional mechanic. They have the expertise and specialized tools to diagnose and repair any complex issues with your radiator fan system.
Regularly testing your radiator fan and maintaining its proper functionality will contribute to the longevity and performance of your vehicle’s engine. By keeping the cooling system in excellent condition, you can enjoy a smooth and problem-free driving experience.
Remember, always adhere to safety precautions and consult your vehicle’s manual for specific instructions and guidelines related to your particular make and model.
So, don’t wait until your engine starts overheating. Take the time to test your radiator fan and ensure that it is in good working order. Your engine will thank you, and you’ll have peace of mind knowing that your vehicle’s cooling system is functioning optimally.
Frequently Asked Questions about How To Test Radiator Fan
Was this page helpful?
At Storables.com, we guarantee accurate and reliable information. Our content, validated by Expert Board Contributors, is crafted following stringent Editorial Policies. We're committed to providing you with well-researched, expert-backed insights for all your informational needs.


0 thoughts on “How To Test Radiator Fan”