Articles
How To Wire Radiator Fan Directly To Battery
Modified: August 24, 2024
Learn how to wire your radiator fan directly to your car battery with this step-by-step guide. Improve your cooling system with helpful articles.
(Many of the links in this article redirect to a specific reviewed product. Your purchase of these products through affiliate links helps to generate commission for Storables.com, at no extra cost. Learn more)
Introduction
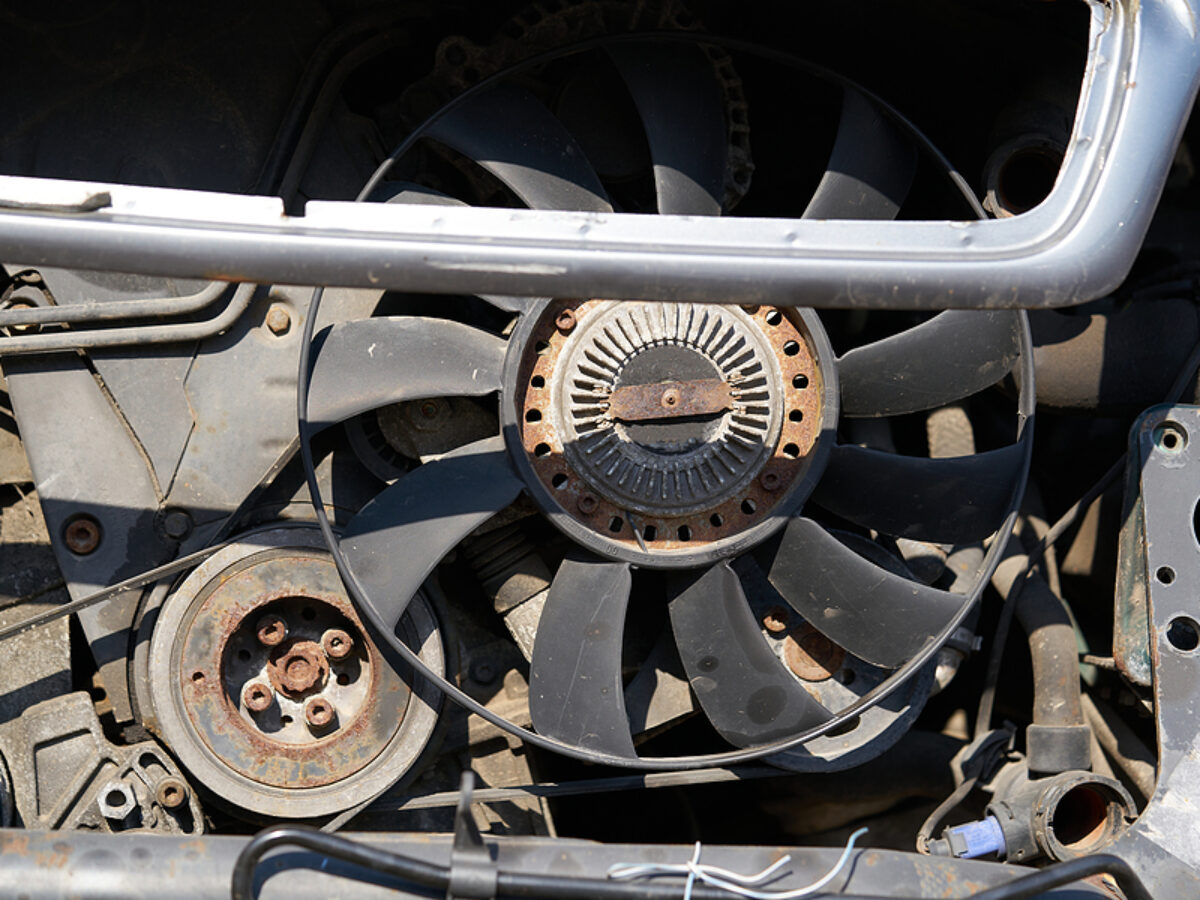
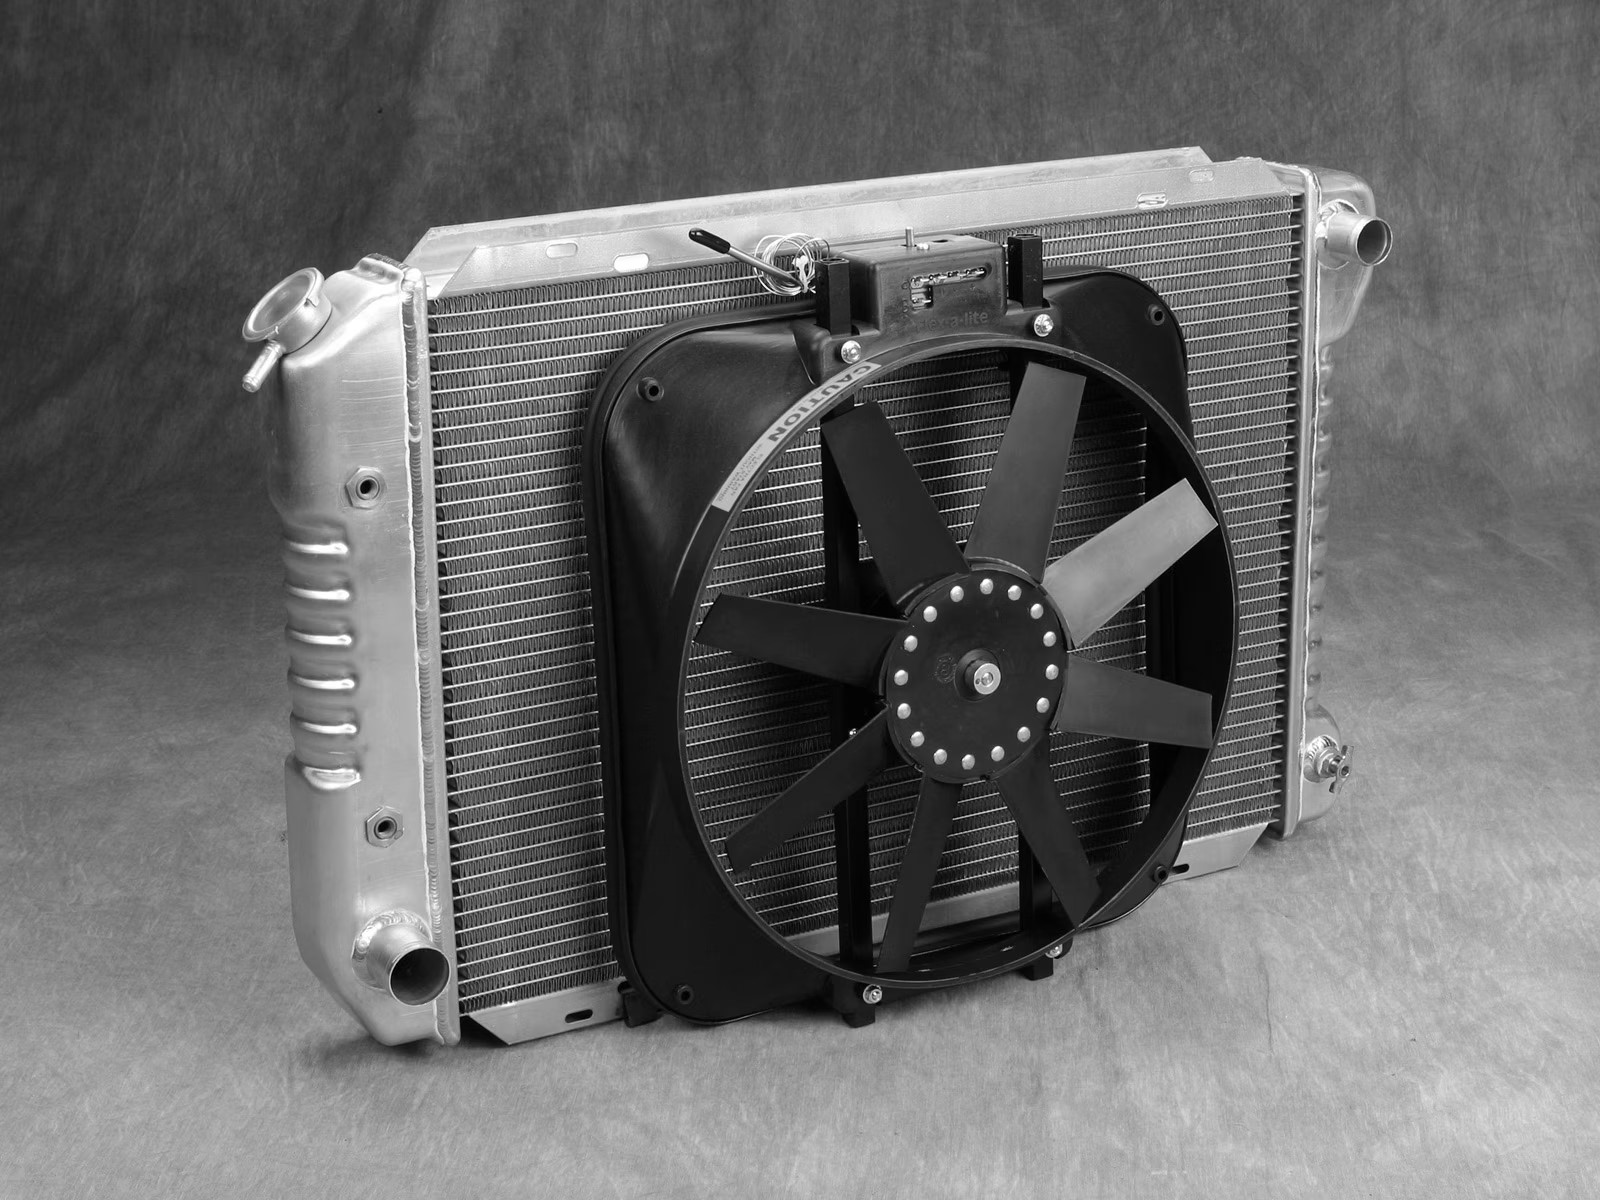
Having a properly functioning radiator fan is crucial for maintaining optimal engine temperature and preventing overheating. The radiator fan helps to cool down the engine by drawing fresh air through the radiator and dissipating the heat generated during operation. In most vehicles, the fan is controlled by a temperature sensor that activates it when the engine reaches a certain temperature.
However, there may be situations where the factory wiring or temperature sensor malfunctions, leading to an inoperable radiator fan. In such cases, a practical solution is to wire the fan directly to the battery. This allows you to manually control the fan and ensure that your engine remains cool, especially during hot weather or heavy-load conditions.
In this article, we will explore the benefits of wiring the radiator fan directly to the battery and guide you through the process step-by-step. By the end, you will have the necessary knowledge to tackle this project confidently and effectively.
Key Takeaways:
- Takeaway 1: Wiring your radiator fan directly to the battery provides improved control, increased cooling efficiency, and peace of mind. This DIY project ensures your engine stays cool and protected, especially in hot weather or heavy-load conditions.
- Takeaway 2: Before starting the wiring process, gather the necessary tools and materials, locate the fan and battery, prepare the wiring, test the connection, and secure the wiring. Following these steps will help you confidently optimize your vehicle’s cooling system.
Read more: How To Test Radiator Fan
Benefits of Wiring Radiator Fan Directly to Battery
Wiring the radiator fan directly to the battery offers several advantages that can be beneficial for both your vehicle’s performance and your peace of mind. Let’s take a closer look at these benefits:
- Improved Control: By wiring the radiator fan directly to the battery, you gain complete control over when the fan operates. This allows you to manually activate the fan, ensuring that it operates at full capacity whenever you need it. Whether you’re stuck in traffic or driving in hot weather conditions, you can easily activate the fan to maintain the optimal temperature for your engine.
- Increased Cooling Efficiency: In some vehicles, the factory wiring for the radiator fan may not provide sufficient power, leading to subpar cooling performance. By directly connecting the fan to the battery, you ensure that it receives a constant and reliable power supply. This results in improved cooling efficiency, especially during high-demand situations.
- Prevent Engine Overheating: Overheating can cause significant damage to your engine, leading to costly repairs or even complete engine failure. By wiring the radiator fan directly to the battery, you reduce the risk of engine overheating. The ability to manually control the fan allows you to keep the engine temperature within safe limits, protecting your vehicle’s engine from potential damage.
- Peace of Mind: Knowing that you have direct control over your radiator fan can provide peace of mind, especially during long drives or in extreme weather conditions. You can be confident that your engine is being properly cooled, and by extension, your car’s overall performance is optimized. This added peace of mind can enhance your driving experience and ensure that you’re ready for any situation.
Overall, wiring the radiator fan directly to the battery offers improved control, increased cooling efficiency, prevention of engine overheating, and peace of mind. With these benefits, you can confidently tackle any driving conditions and ensure that your engine remains cool and protected.
Necessary Tools and Materials
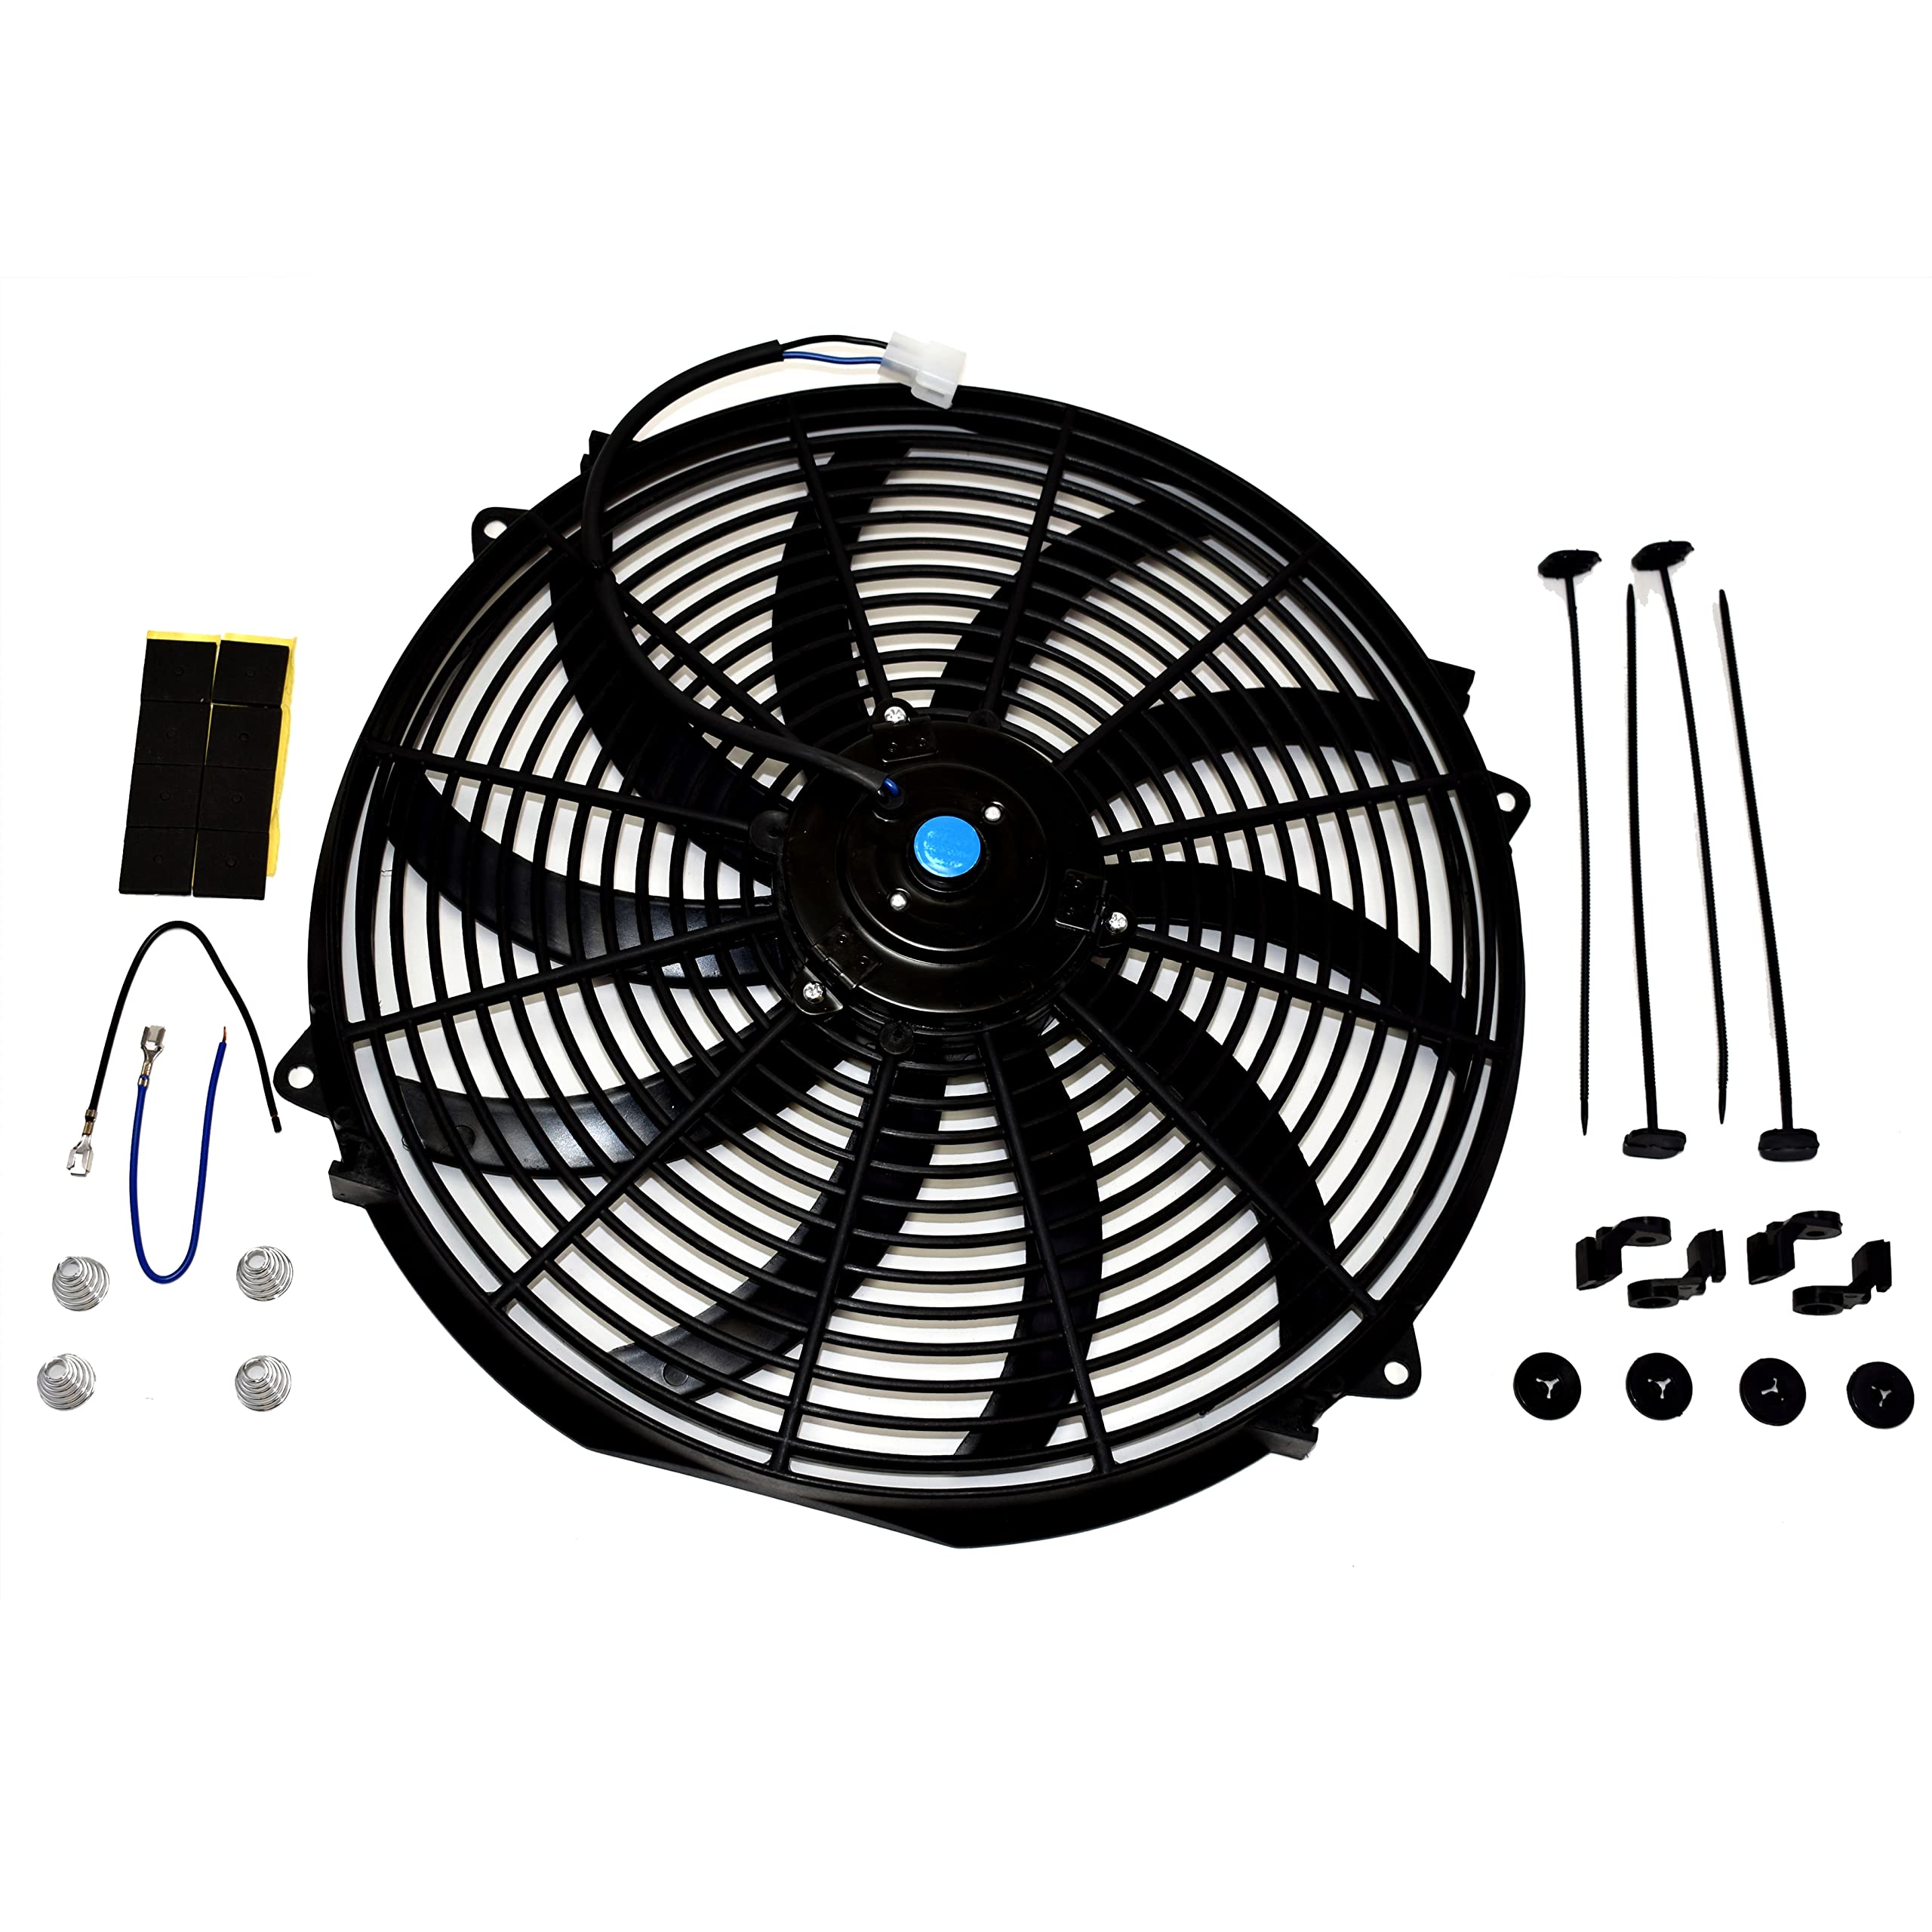
Before you begin wiring the radiator fan directly to the battery, it’s important to gather the necessary tools and materials. Having everything prepared beforehand will make the process smoother and more efficient. Here are the tools and materials you’ll need:
- Wire cutters and strippers: These tools are essential for cutting and stripping the wires, allowing you to properly connect them.
- Electrical tape or heat shrink tubing: Both options serve to insulate and protect the wire connections from moisture and potential short circuits.
- Ring terminals or butt connectors: These connectors are used to establish a secure and reliable connection between the wires and the battery terminals.
- Fuse holder and appropriate size fuse: Adding a fuse to the circuit provides an extra layer of protection in case of electrical faults or overloading. The fuse holder should be compatible with the wire gauge you’ll be using.
- Wire of appropriate gauge: The wire gauge will depend on the power requirements of your radiator fan. Make sure to choose a wire that can handle the current without overheating or causing voltage drop.
- Wire loom or conduit: This protective covering helps to organize and shield the wires from potential damage, such as rubbing against sharp edges or exposure to the elements.
- Zip ties or cable clamps: These can be used to secure the wire loom or conduit and keep the wires neatly arranged.
- Protective gloves and safety glasses: It’s important to prioritize safety when working with electrical components. Gloves and safety glasses will help protect your hands and eyes from any potential hazards.
Make sure to gather all the required tools and materials before you start the wiring process. This will save you time and ensure that you have everything you need to successfully wire the radiator fan directly to the battery.
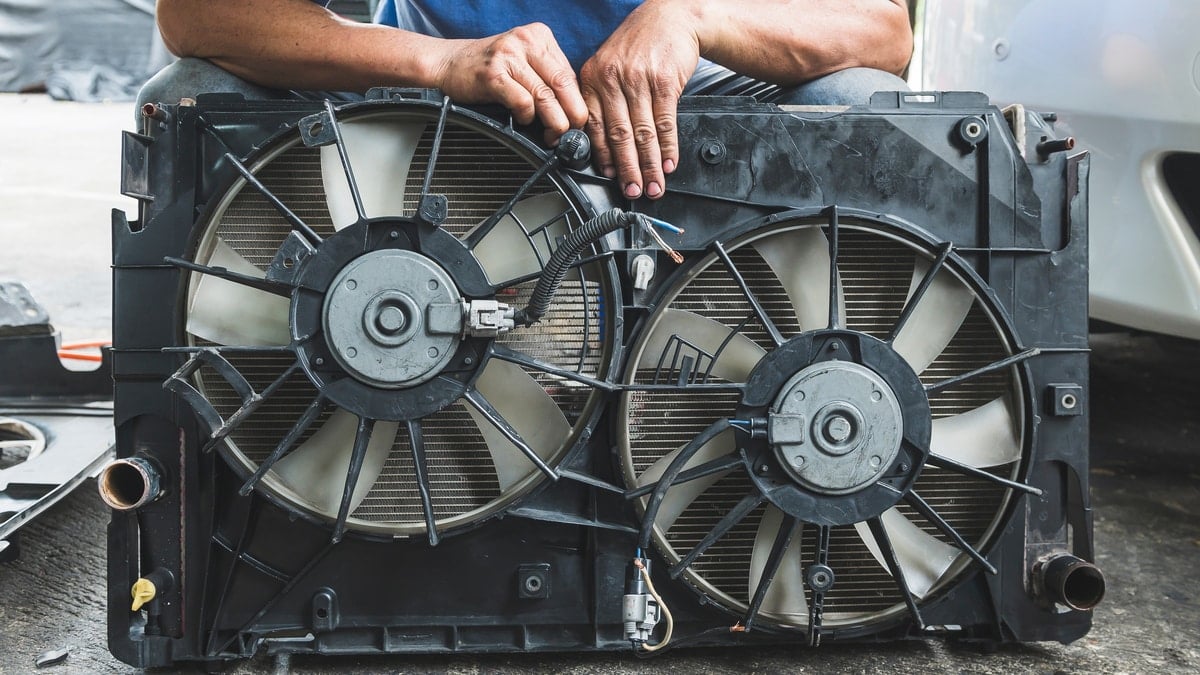
Step 1: Locate the Fan and Battery
The first step in wiring the radiator fan directly to the battery is to locate both the fan and the vehicle’s battery. Identifying the exact locations of these components will help you plan and navigate the wiring process more effectively.
Start by locating the radiator fan. In most vehicles, the fan is located near the radiator at the front of the engine compartment. It is usually secured by mounting brackets and connected to the radiator through a series of wires. Take a moment to familiarize yourself with the fan’s location and how it is connected to the rest of the vehicle’s electrical system.
Next, locate the vehicle’s battery. The battery is typically located in the engine compartment, but in some vehicles, it may be situated in the trunk or under the rear seats. Refer to your vehicle’s manual or consult online resources for the specific location of the battery in your model. Once you have located the battery, take note of the positive and negative terminals.
It is essential to disconnect the negative terminal of the battery before proceeding with the wiring process. This ensures your safety and prevents any accidental electrical discharge or short circuits. Simply use an appropriate-sized wrench or socket to loosen the nut on the negative terminal and carefully detach the cable.
By the end of this step, you should be familiar with the location of your vehicle’s radiator fan and battery. Taking the time to identify these components and disconnecting the battery’s negative terminal will set the stage for the remaining steps of wiring the radiator fan directly to the battery.
Step 2: Prepare the Wiring
Once you have located the radiator fan and battery, the next step is to prepare the wiring that will connect the fan directly to the battery. This involves cutting and stripping the wires, as well as adding any necessary connectors or insulation.
Start by determining the appropriate length of wire you’ll need to connect the fan to the battery. Measure the distance between the fan and the battery, keeping in mind any obstacles or obstructions that may require you to follow a specific route for the wiring.
Using wire cutters, carefully cut the wire to the desired length. Make sure to leave some extra length on both ends to allow for flexibility and easier installation.
Next, strip approximately 1/2 inch (12mm) of insulation from both ends of the wire. This can be done using wire strippers or by carefully using a utility knife to score the insulation and then pulling it off.
Now is the time to add appropriate connectors to the ends of the wire. If using ring terminals, simply slide the stripped ends of the wire into the terminal, ensuring that the exposed copper wire is fully inserted. Use crimping pliers to secure the connection by squeezing the terminal onto the wire. Alternatively, if using butt connectors, strip a small portion of insulation from the fan and battery wires, insert the wires into separate ends of the butt connector, and crimp the connector to seal the connection.
To provide extra protection and insulation, wrap each connector with electrical tape or use heat shrink tubing. This will safeguard the connections from moisture and prevent any potential short circuits.
By the end of this step, you should have the wire prepared with the appropriate connectors and insulation. The next step is to connect the wiring to the battery, allowing you to directly power the radiator fan.
When wiring a radiator fan directly to the battery, make sure to use a relay to control the fan and prevent it from running constantly. This will protect the fan motor and ensure it only operates when needed.
Read more: How To Tell If Radiator Fan Is Bad
Step 3: Connect the Wiring to the Battery
Now that you have prepared the wiring, it is time to connect it to the battery. This step will establish the direct power source for the radiator fan. Follow these instructions to ensure a secure and reliable connection:
- Start by identifying the positive and negative terminals of the battery. The positive terminal is typically marked with a “+” symbol, and the negative terminal is marked with a “-” symbol.
- Take the end of the prepared wire with the appropriate connector and connect it to the positive terminal of the battery. If using a ring terminal, loosen the nut on the positive terminal, slide the ring terminal over the bolt, and tighten the nut to secure the connection. If using a butt connector, insert the stripped end of the wire into the terminal and crimp it securely.
- Double-check the connection to ensure it is tight and secure. A loose connection can result in poor electrical contact or even a complete break in the circuit.
- Next, connect the other end of the wire to the positive terminal of the radiator fan. Again, if using a ring terminal, loosen the nut on the fan’s positive terminal, slide the ring terminal over the bolt, and tighten the nut. If using a butt connector, insert the stripped end of the wire into the terminal and crimp it securely.
- Once again, verify that the connection is tight and secure. A reliable connection is crucial for proper electrical flow.
- Finally, it is essential to reconnect the negative terminal of the battery. Tighten the nut on the battery’s negative terminal, ensuring that the cable is securely attached.
By the end of this step, you should have successfully connected one end of the prepared wire to the positive terminal of the battery and the other end to the positive terminal of the radiator fan. The direct power source is established, allowing you to manually control the fan’s operation.
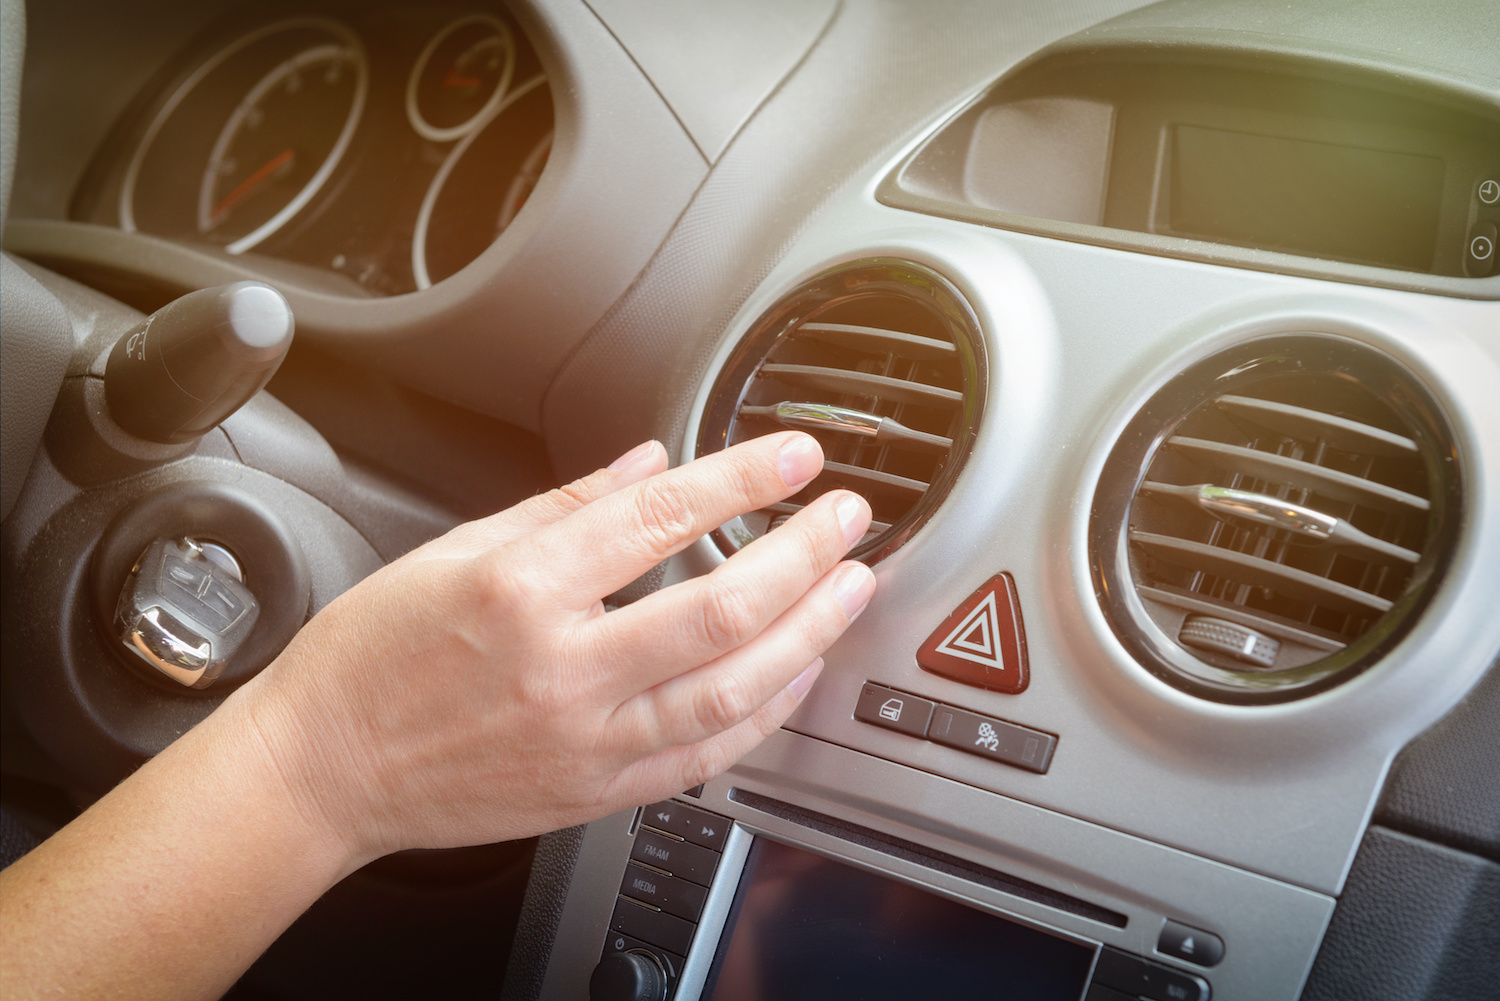
Step 4: Test the Connection
After connecting the wiring to the battery, it is crucial to test the connection to ensure that everything is functioning properly. This step allows you to verify that the radiator fan is receiving power and operating as intended. Follow these steps to test the connection:
- Turn on the ignition of your vehicle and let the engine idle.
- Activate the radiator fan by manually activating the switch or controlling the temperature settings, depending on your vehicle’s make and model. Refer to your vehicle’s manual if you are unsure how to activate the fan.
- Observe the radiator fan to see if it starts spinning. It should begin operating as soon as it receives power from the battery. You may hear a slight whirring sound as the fan starts spinning.
- Monitor the engine temperature gauge to ensure that the fan is effectively cooling the engine. If the engine temperature remains within the normal range, it indicates that the fan is successfully cooling the radiator.
- Double-check all the connections to ensure they are secure and have not come loose during the testing process.
If the radiator fan does not start spinning or the engine temperature continues to rise, there may be an issue with the wiring or the fan itself. In such cases, it is recommended to consult a professional mechanic or refer to your vehicle’s manual for further troubleshooting steps.
By the end of this step, you will have tested the connection between the wiring and the battery, ensuring that the radiator fan is receiving power and functioning correctly. This step helps to verify the success of your wiring setup and confirms that your cooling system is in proper working order.
Step 5: Secure the Wiring
After successfully testing the connection and confirming the proper operation of the radiator fan, it is essential to secure the wiring to ensure it remains in place and protected. This step helps to prevent any potential hazards or damage to the wiring. Follow these steps to secure the wiring:
- Inspect the entire length of the wiring to identify any areas where it may be exposed to sharp edges or potential sources of damage. Look for areas where the wiring may rub against other components or where it could be pinched.
- Use wire loom or conduit to cover the exposed length of the wiring. This protective covering will safeguard the wires from any potential damage and keep them organized.
- Secure the wire loom or conduit in place using zip ties or cable clamps. Attach these fasteners at regular intervals to ensure that the covering remains fixed and doesn’t move around excessively.
- Ensure that the wiring is routed away from any hot or moving components that may cause damage or overheating. Keep it clear from the engine’s exhaust manifold, belts, and other rotating parts.
- Check that all connections, including the ones at the battery and the radiator fan, are still tight and secure. Give them a gentle tug to make sure they are not loose.
By the end of this step, you will have effectively secured the wiring that connects the radiator fan directly to the battery. The wire loom or conduit will protect the wiring from potential damage, and the connections will be securely in place, ensuring reliable operation of the fan.
Conclusion
Wiring the radiator fan directly to the battery offers numerous benefits in terms of control, cooling efficiency, and peace of mind. By following the step-by-step process outlined in this article, you can confidently tackle this project and ensure that your engine remains cool and protected.
Through wiring the fan directly to the battery, you gain improved control over when the fan operates, allowing you to activate it manually during heavy-load or hot weather conditions. This ensures that your engine stays within optimal temperature ranges and reduces the risk of overheating.
Furthermore, connecting the fan directly to the battery increases cooling efficiency, as it provides a reliable power source that may be more robust than the factory wiring. This improved efficiency can help prevent engine damage caused by overheating and optimize your vehicle’s performance.
Wiring the radiator fan directly to the battery also provides peace of mind, knowing that you have full control over your cooling system. Whether you’re embarking on a long drive or driving in extreme weather conditions, you can take comfort in the fact that your engine is being properly cooled and protected.
However, it is crucial to ensure that the wiring is prepared and connected correctly, considering safety and following the manufacturer’s guidelines. Testing the connection and securing the wiring are equally important steps that help verify the success of the project and protect the wiring from damage.
Remember, if you encounter any difficulties during the wiring process or are unsure about any step, it is always recommended to consult a professional mechanic or refer to your vehicle’s manual for assistance.
By following the steps outlined in this article and wiring your radiator fan directly to the battery, you can optimize the cooling system of your vehicle, improve performance, and enjoy a worry-free driving experience.
Frequently Asked Questions about How To Wire Radiator Fan Directly To Battery
Was this page helpful?
At Storables.com, we guarantee accurate and reliable information. Our content, validated by Expert Board Contributors, is crafted following stringent Editorial Policies. We're committed to providing you with well-researched, expert-backed insights for all your informational needs.
0 thoughts on “How To Wire Radiator Fan Directly To Battery”