Articles
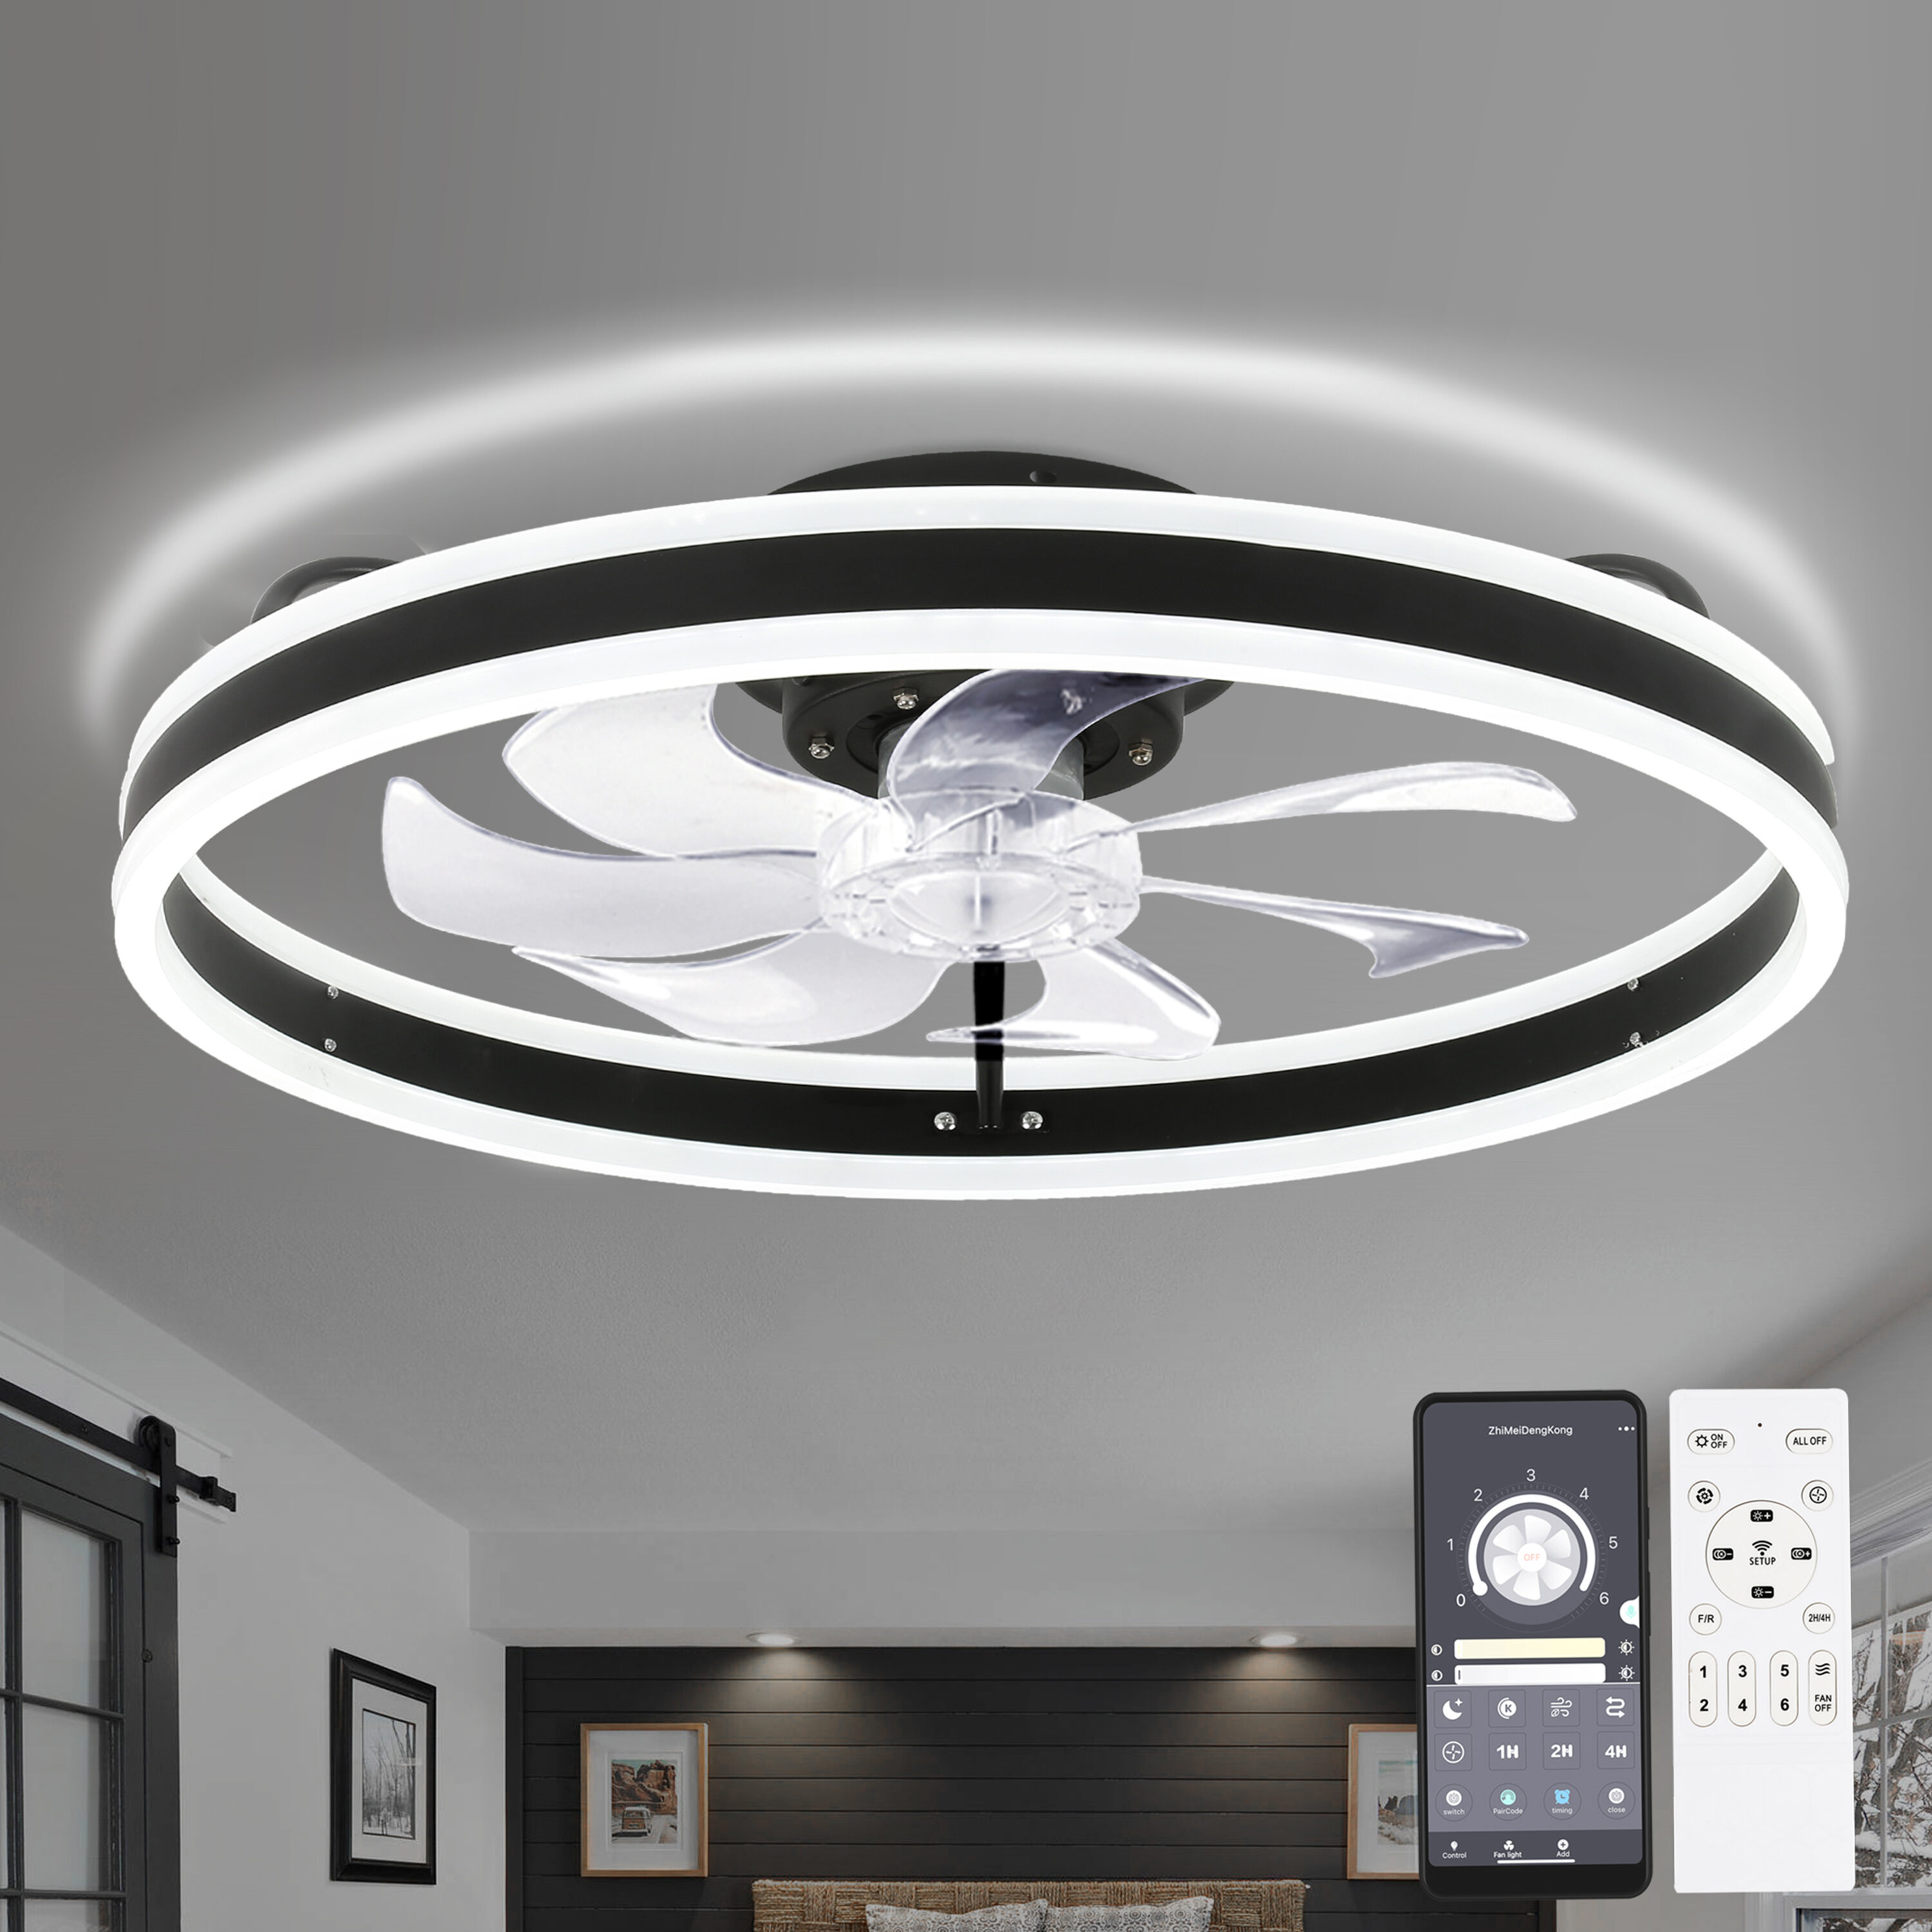
How To Install A Flush Mount Ceiling Fan
Modified: October 27, 2024
Learn how to install a flush mount ceiling fan with our step-by-step guide. Our articles provide helpful tips and instructions for a successful installation.
(Many of the links in this article redirect to a specific reviewed product. Your purchase of these products through affiliate links helps to generate commission for Storables.com, at no extra cost. Learn more)
Introduction
Welcome to our step-by-step guide on how to install a flush mount ceiling fan. A ceiling fan can be a great addition to any room, providing both comfort and style. Installing a flush mount ceiling fan is a relatively simple DIY project that can be completed in a few hours with the right tools and materials.
Before we dive into the installation process, it’s important to note that electrical work should only be done by a qualified professional. If you are not comfortable working with electricity, it is best to hire an electrician to ensure the installation is done safely and correctly.
With that said, if you have the necessary skills and knowledge, installing a flush mount ceiling fan can be a rewarding project. Not only will it help improve air circulation in the room, but it can also add a touch of elegance to your space.
In this guide, we will walk you through the installation process step by step, highlighting important considerations along the way. From gathering the necessary tools and materials to testing the fan after installation, we’ve got you covered.
So, if you’re ready to upgrade your space with a new flush mount ceiling fan, let’s get started!
Key Takeaways:
- Installing a flush mount ceiling fan is a rewarding DIY project that can enhance comfort and style in any room. However, safety is paramount, and it’s best to consult a professional if you’re not comfortable with electrical work.
- From gathering tools and turning off the power to assembling the fan and testing its functionality, the step-by-step guide ensures a successful installation. Regular maintenance will help keep the fan in top condition for long-term enjoyment.
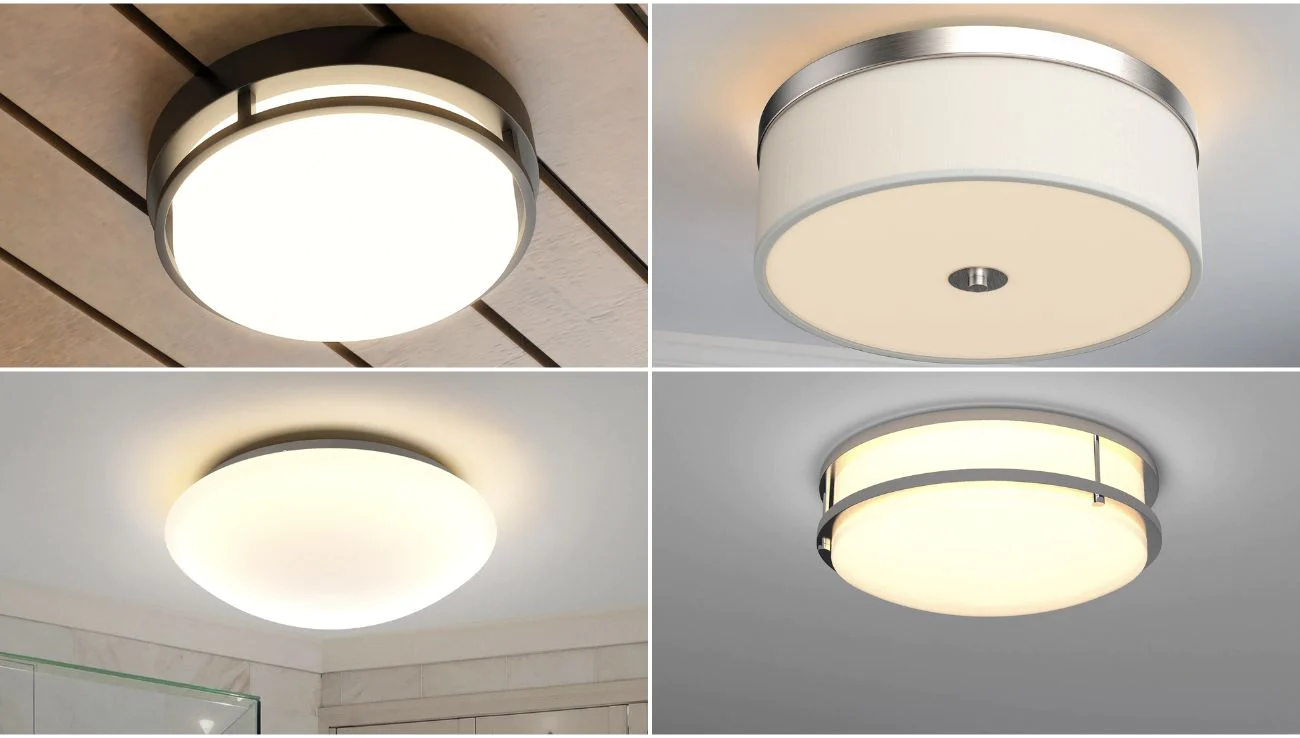
Read more: What Is A Flush Mount Ceiling Fan
Step 1: Gather the necessary tools and materials
Before you begin the installation process, it’s important to gather all the necessary tools and materials. By having everything ready, you can streamline the installation process and avoid any unnecessary delays.
Here’s a list of the tools and materials you will need:
- A flush mount ceiling fan kit (including the fan motor, blades, and any additional components)
- A ladder or step stool
- A screwdriver (both flathead and Phillips-head)
- A wire stripper
- A voltage tester
- A pair of wire cutters
- A pair of needle-nose pliers
- An adjustable wrench
- A wire nut connector
- A fan-rated electrical box
- A power drill (optional, depending on the mounting requirements)
Additionally, it’s a good idea to have a helper available, especially when it comes to installing the fan onto the mounting bracket, as it can be a bit cumbersome.
Once you have gathered all the tools and materials, double-check to make sure everything is in good condition and functioning properly. It’s better to discover any issues or missing components before you start the installation process.
Now that you are well-prepared with all the necessary tools and materials, it’s time to move on to the next step: turning off the power.
Step 2: Turn off the power
Safety should always be your top priority when working with electricity. Before you begin any electrical work, it’s crucial to turn off the power to the room you will be working in.
To turn off the power, locate your electrical panel or circuit breaker box. It is usually found in the basement, utility room, or garage. Open the panel cover to reveal the circuit breakers.
Once you have located the circuit breaker that controls the power to the room where you will be installing the ceiling fan, flip the switch to the “off” position. This will ensure that there is no electrical current running through the wires.
As an extra precaution, use a voltage tester to double-check that the power is indeed off. Simply touch the voltage tester to the wires coming out of the electrical box. The voltage tester should not light up or make any noise, indicating that there is no electric current flowing through the wires.
Remember, never work on electrical wiring without first turning off the power. This step is crucial for your safety and to avoid any potential electrical shocks or accidents.
Once you have confirmed that the power is turned off, you can proceed to the next step: removing the existing light fixture.
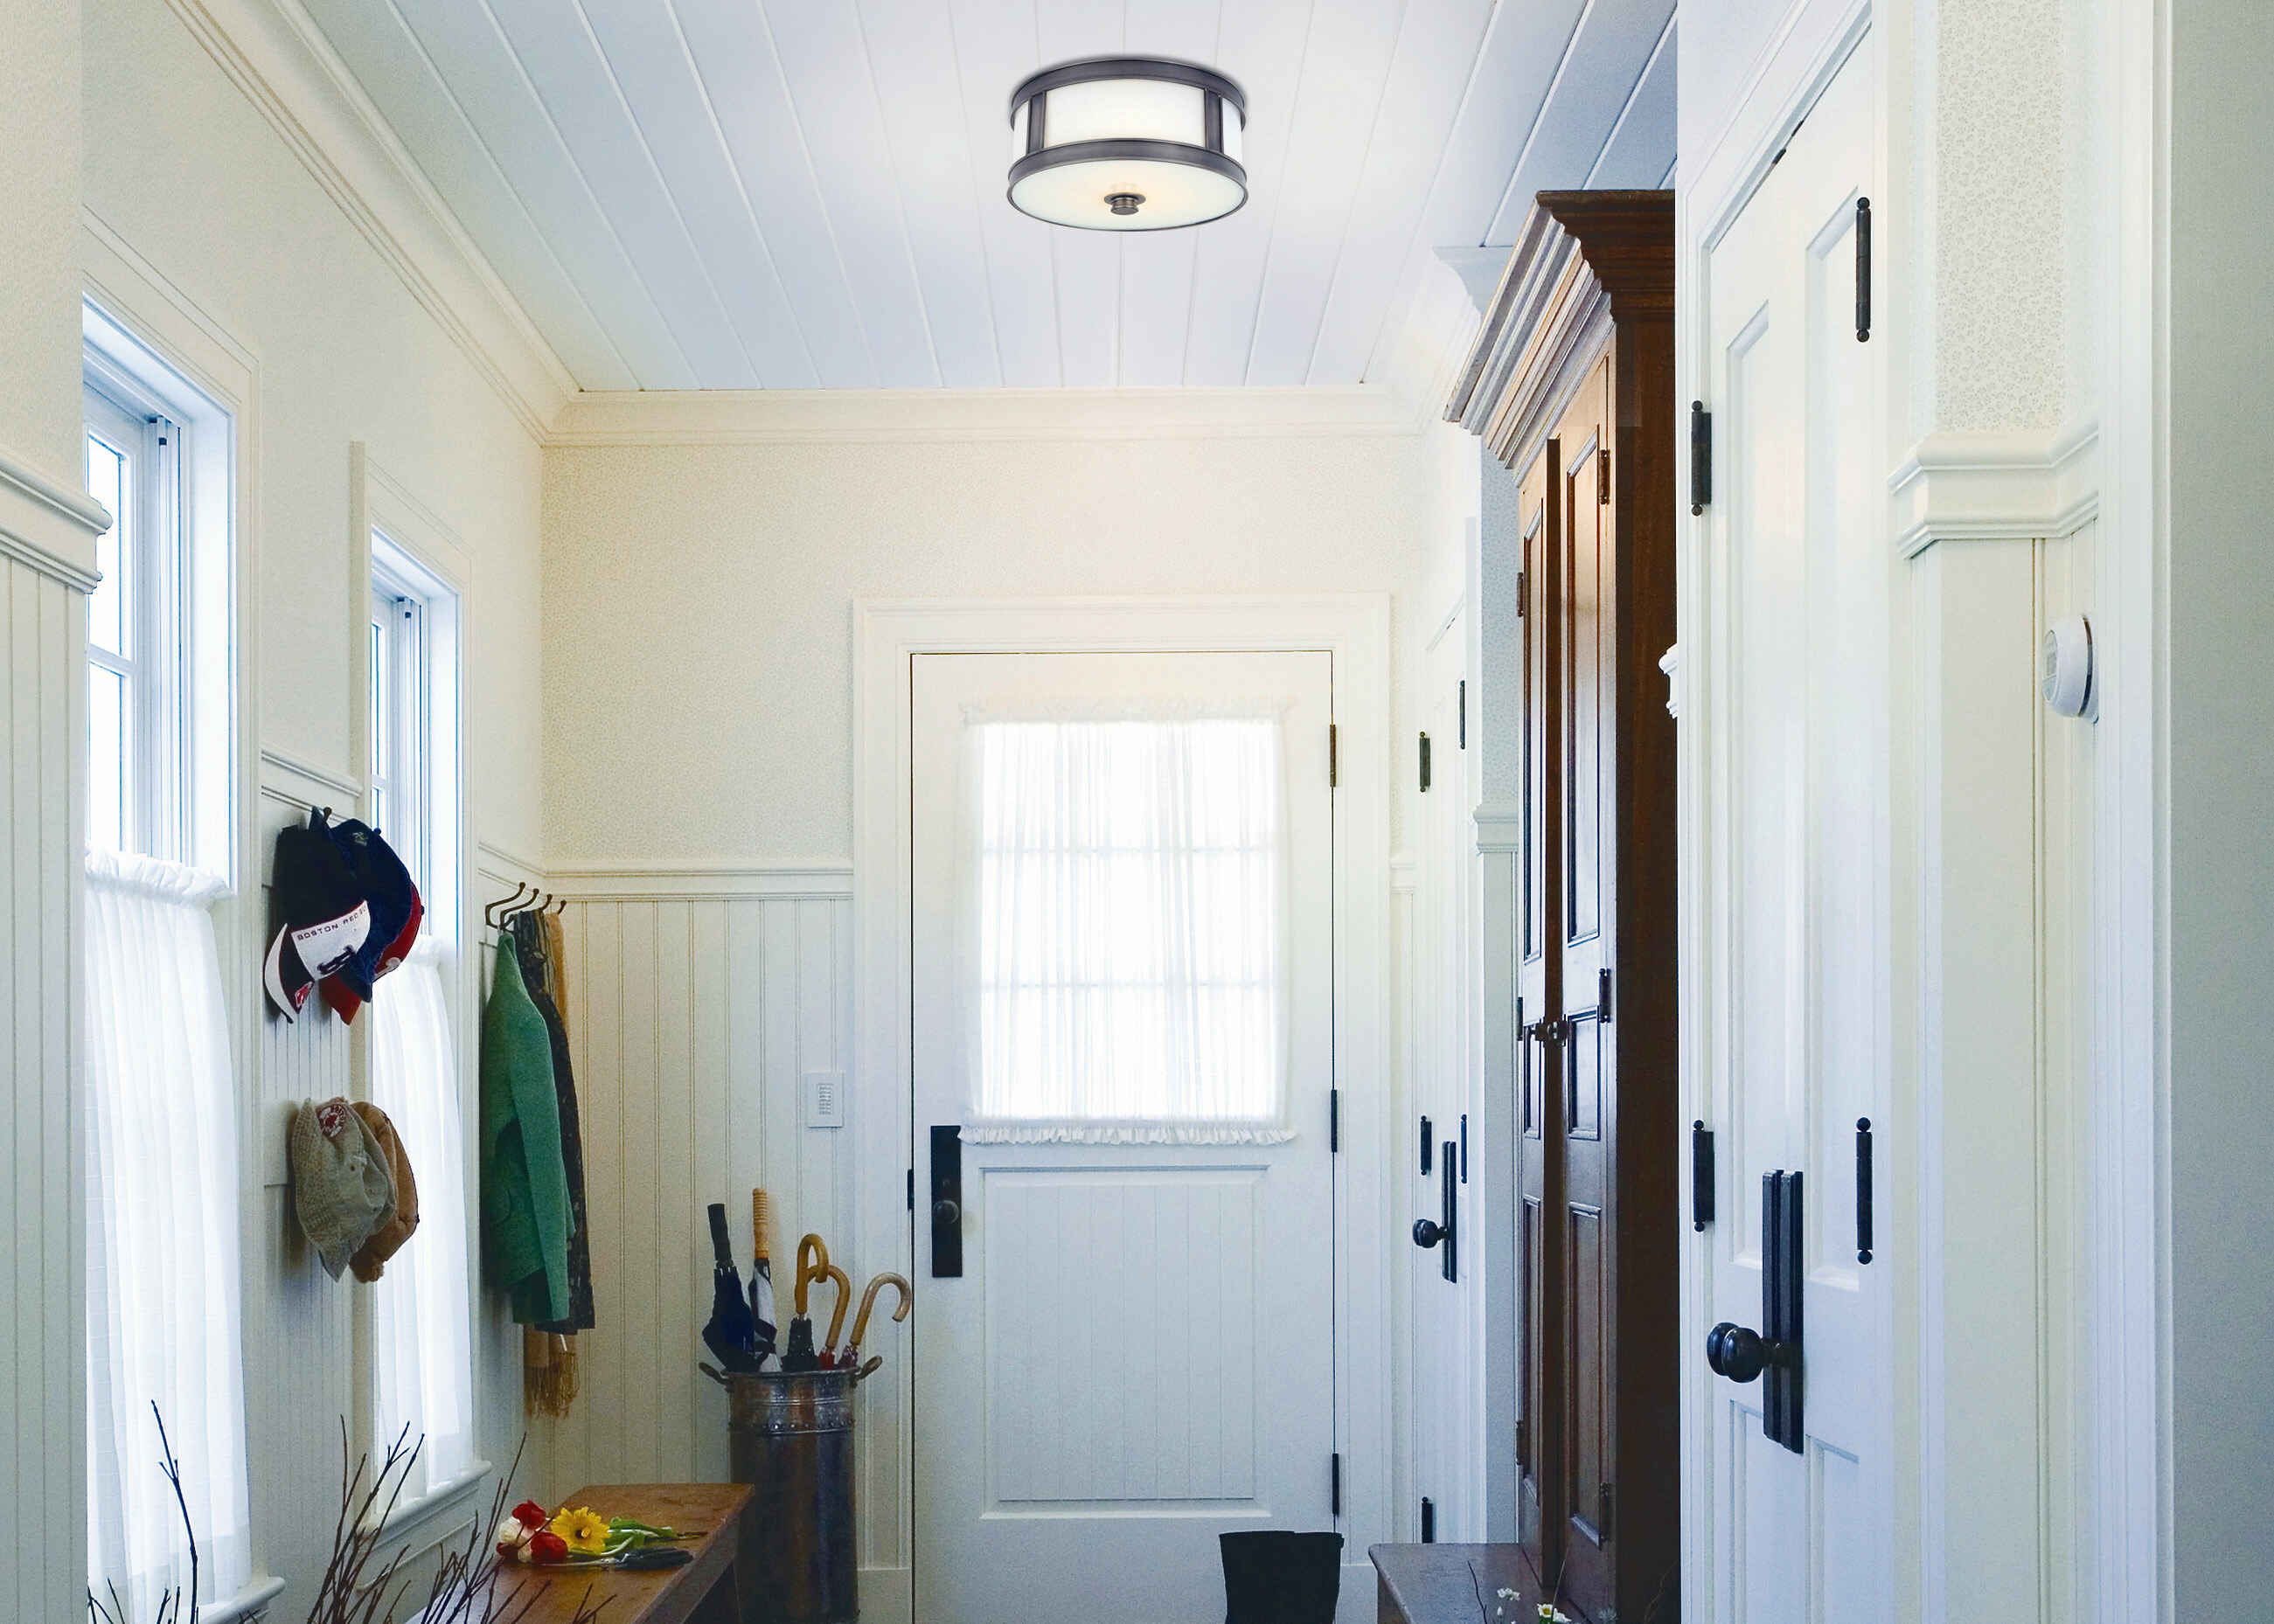
Step 3: Remove the existing light fixture
Now that the power is turned off, it’s time to remove the existing light fixture that is currently installed in the ceiling. Removing the old fixture will clear the way for the new flush mount ceiling fan.
Start by removing any decorative elements, such as light bulbs and shades, from the existing light fixture. This will make it easier to handle and remove. Set these components aside in a safe place for future use or disposal.
Next, locate the screws or bolts that are securing the light fixture to the ceiling. Most light fixtures have a cover plate or canopy that conceals these screws. Remove the cover plate by unscrewing or unclipping it, revealing the electrical box and wiring behind it.
Once the cover plate is removed, you will see the electrical box that houses the wiring for the light fixture. Inspect the wiring connections to ensure they are secure and free from any damage. If there are any loose or damaged wires, you may need to consult an electrician before proceeding.
Using a screwdriver or wrench, carefully unscrew the screws or bolts that are securing the light fixture to the electrical box. As you do this, be sure to support the weight of the light fixture to prevent it from falling.
Once the screws or bolts are removed, gently lower the light fixture and disconnect it from the electrical wiring. Depending on the wiring setup, you may need to unscrew wire nuts or disconnect wire connectors to detach the wires.
With the old light fixture completely detached, carefully set it aside. You can now proceed to the next step: assembling the ceiling fan.
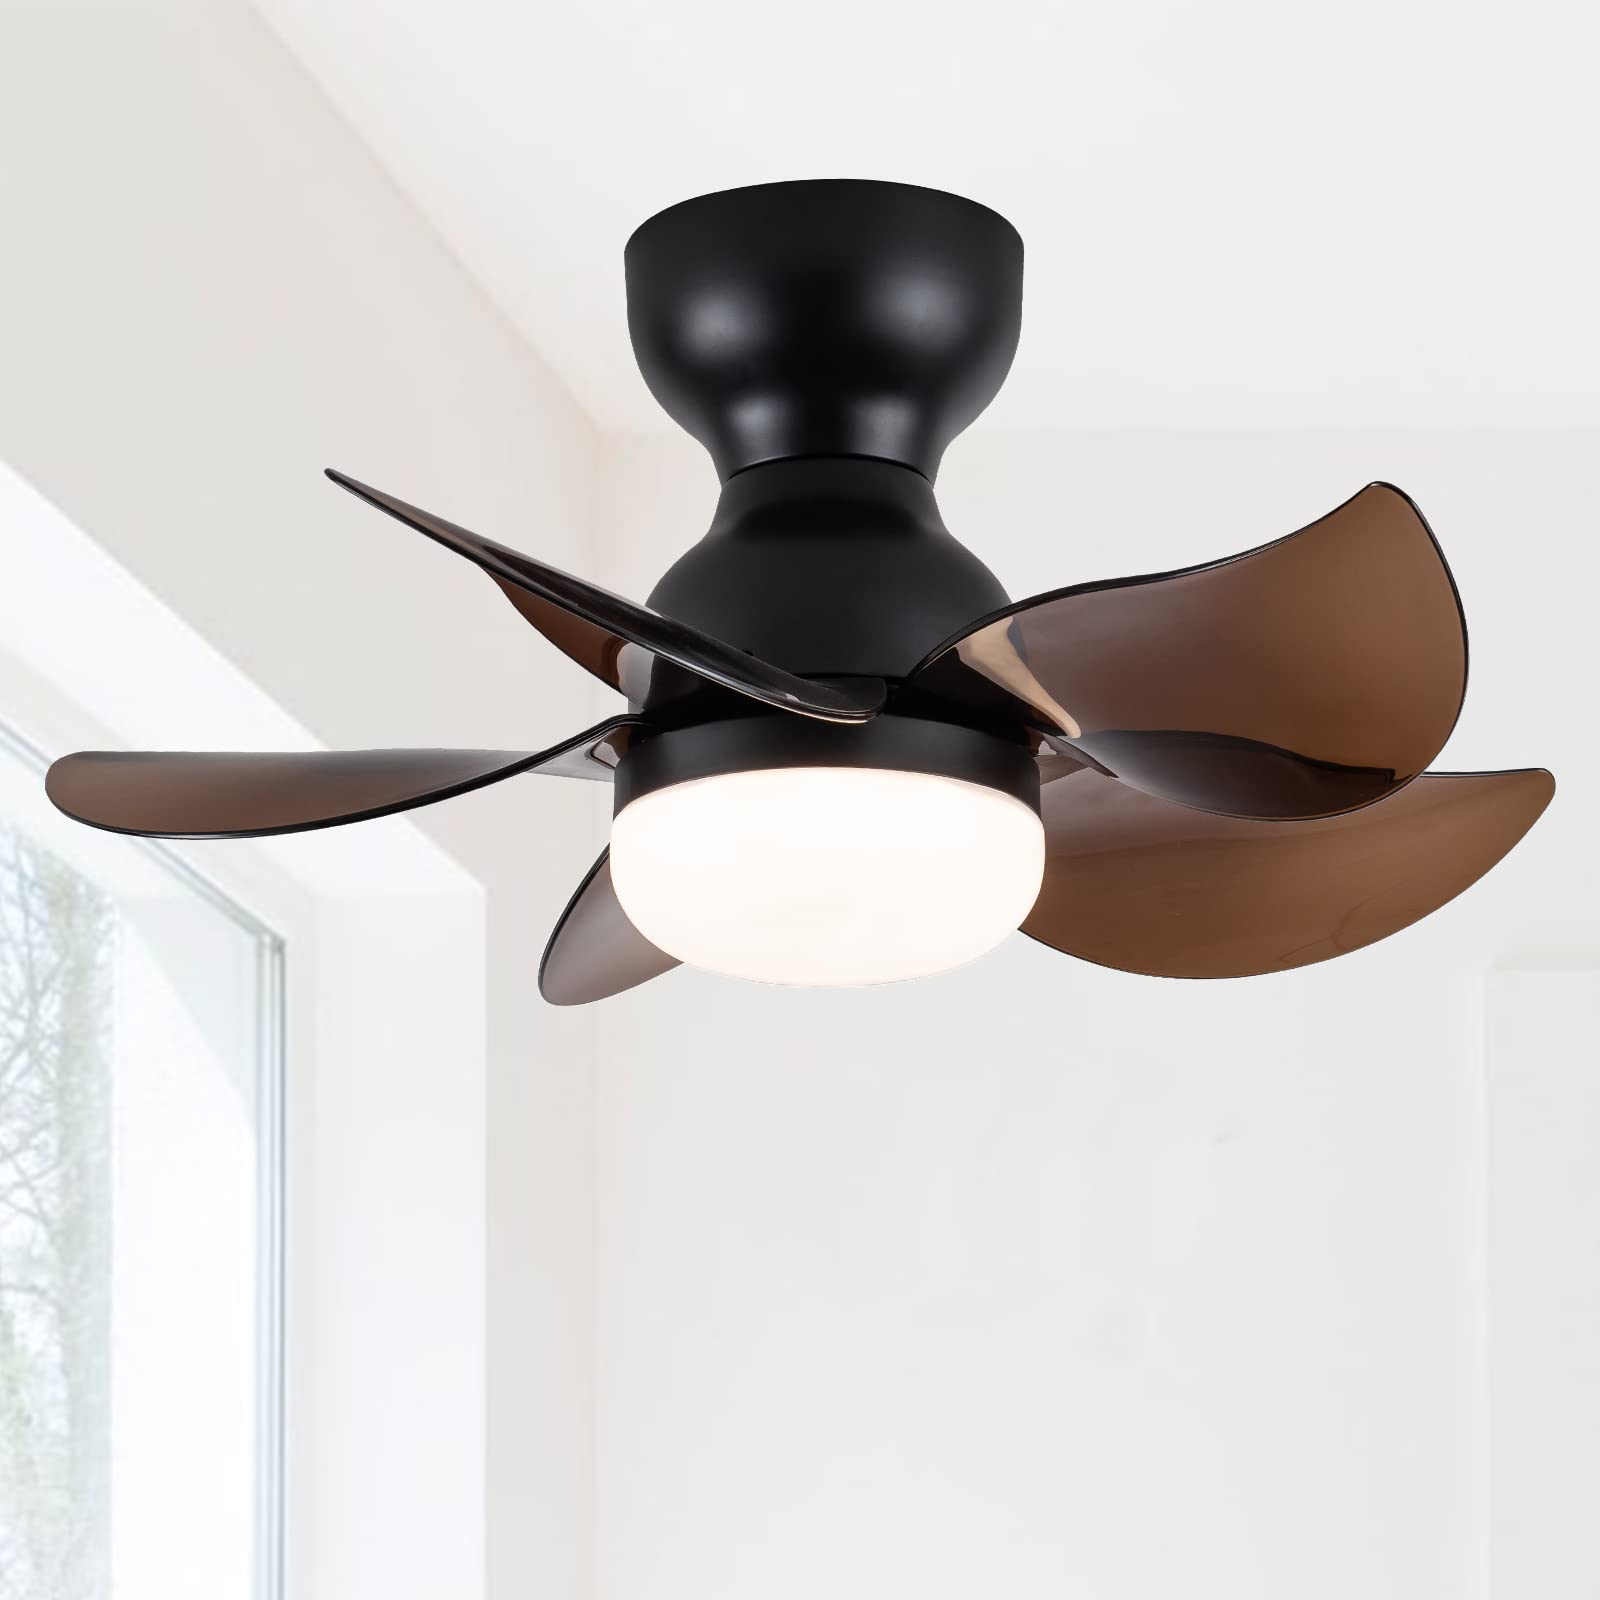
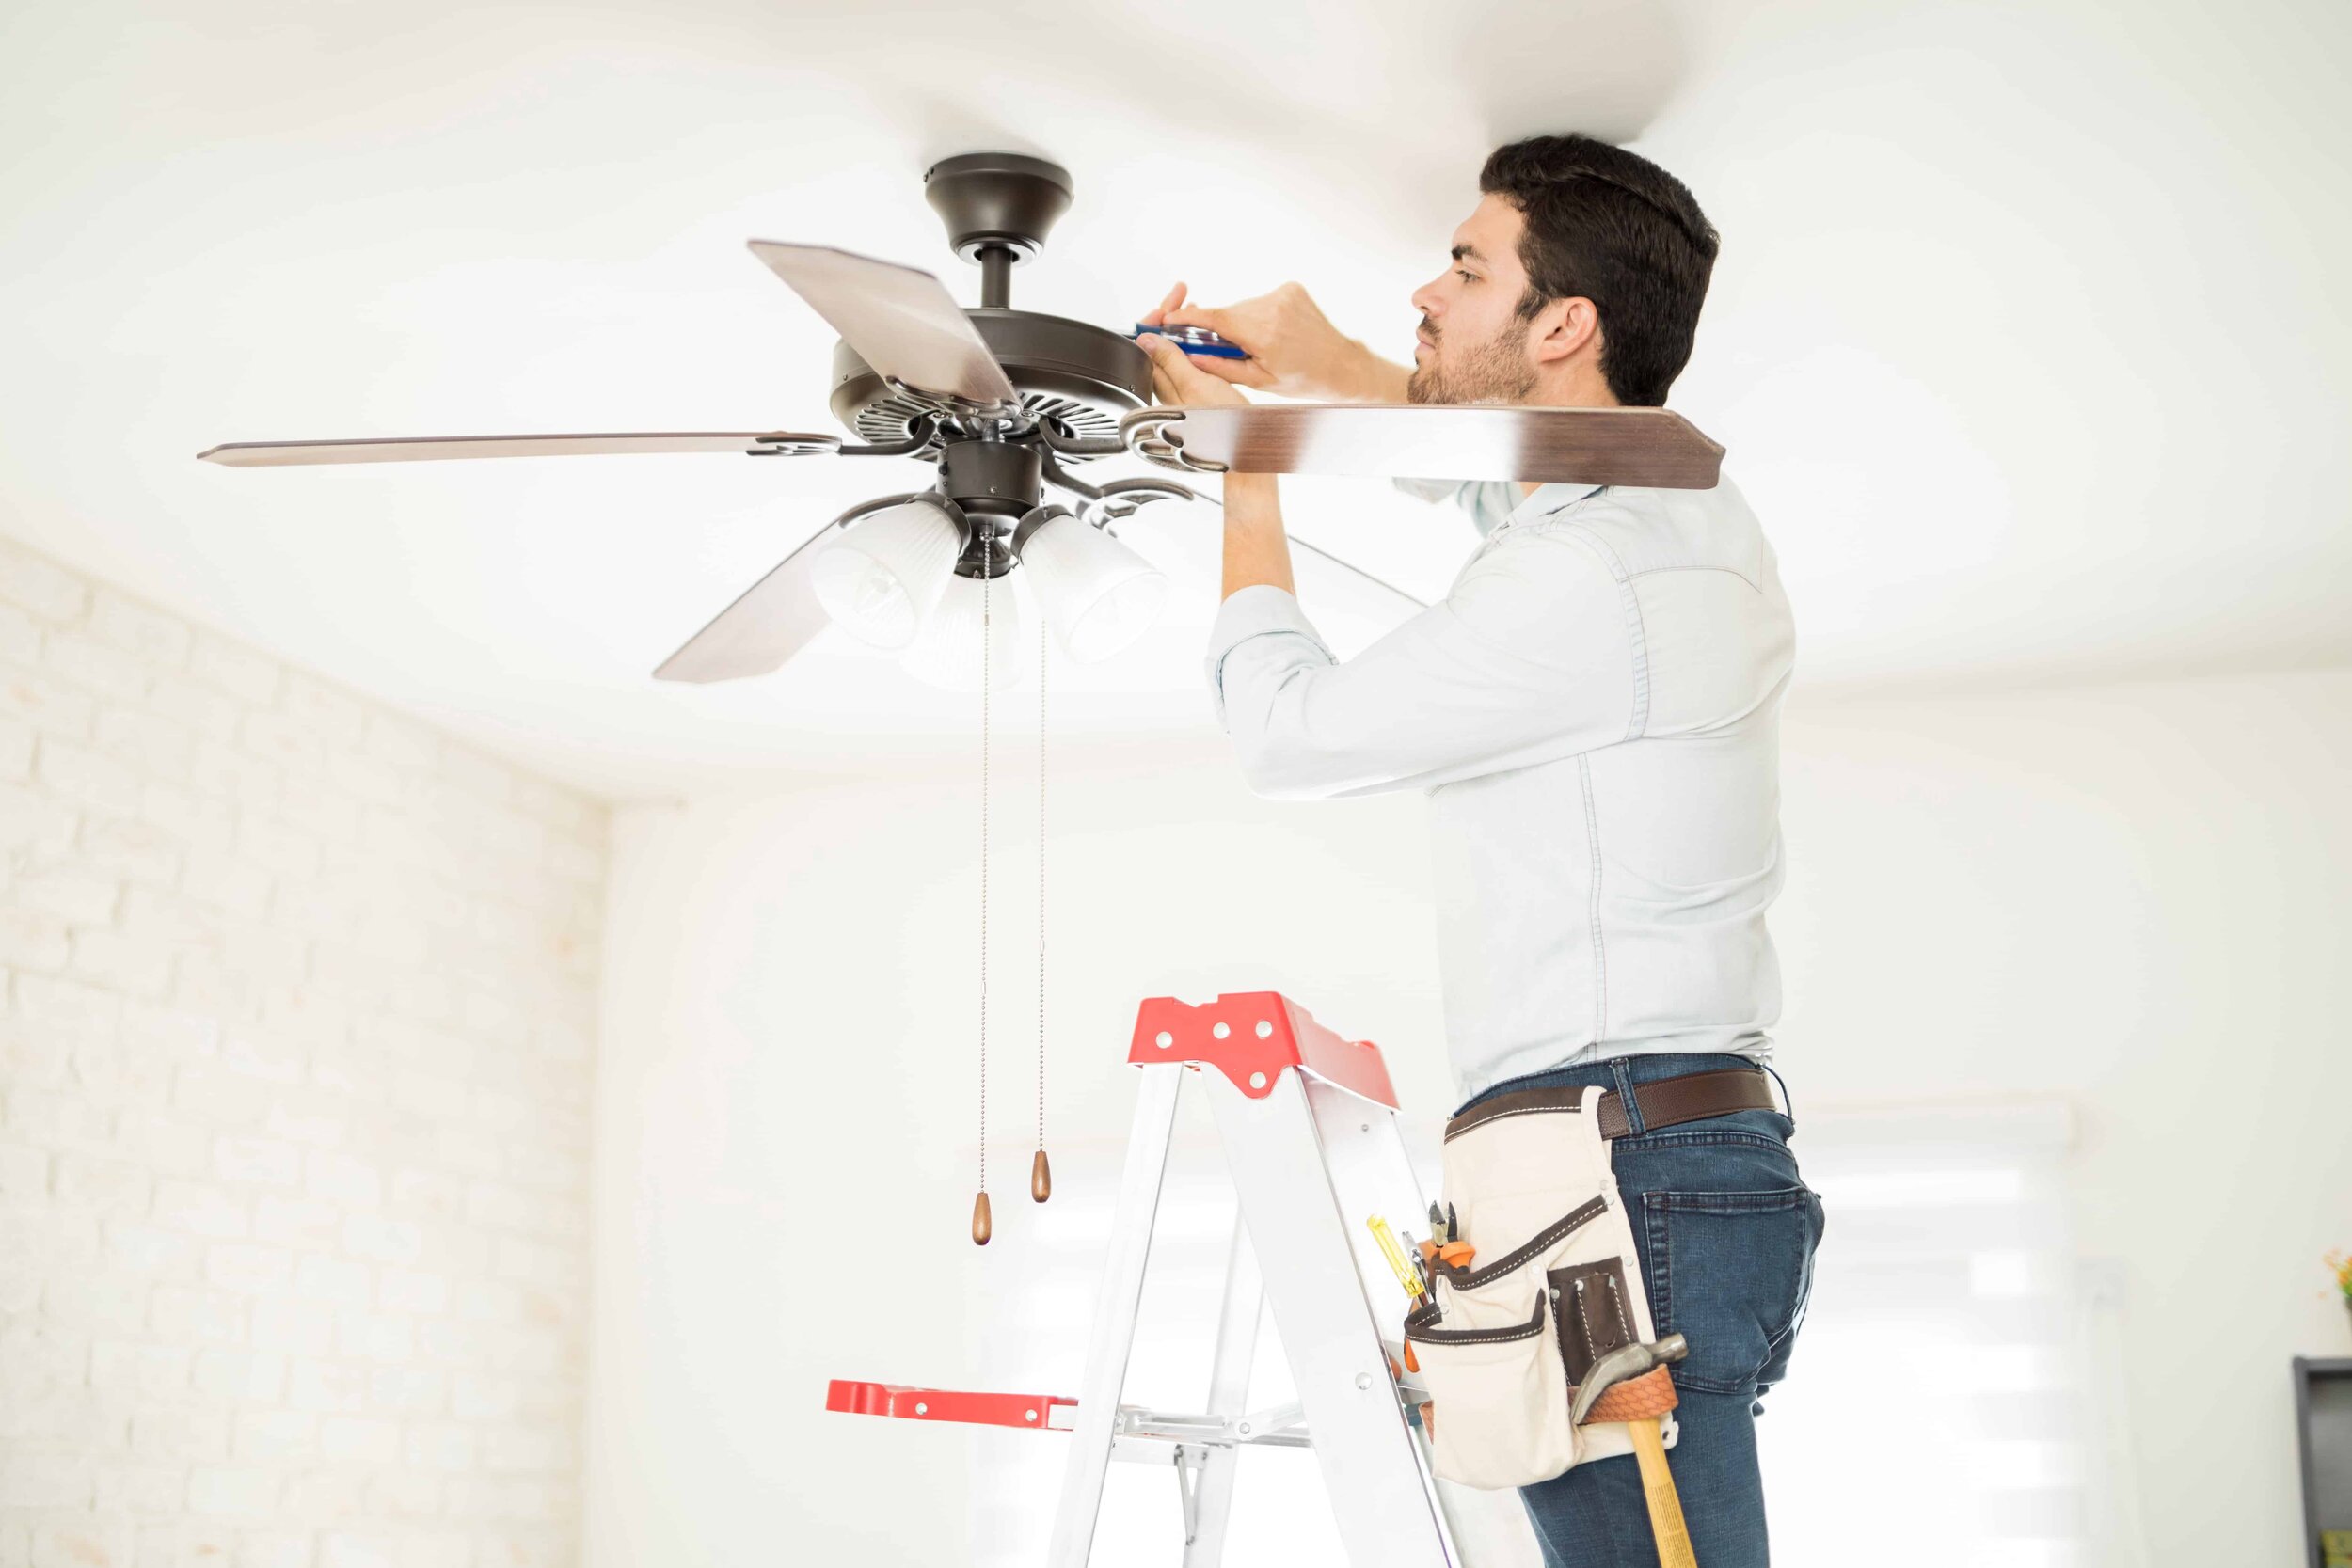
Step 4: Assemble the ceiling fan
With the old light fixture removed, it’s time to assemble the components of your flush mount ceiling fan. The specific instructions may vary depending on the brand and model of the fan you are installing, so be sure to follow the manufacturer’s guidelines.
Start by unpacking all the parts of the ceiling fan kit and laying them out in an organized manner. This will help you easily access and assemble each component without confusion.
Begin by attaching the fan motor to the mounting bracket. Follow the manufacturer’s instructions on how to properly align and secure the motor to the bracket. This step may involve using screws or bolts, depending on the design of the fan.
Next, attach the fan blades to the motor. Each blade usually has pre-drilled holes that align with the motor. Use the provided screws or bolts to securely fasten the blades to the motor. Make sure all blades are evenly spaced and tightened.
As you assemble the ceiling fan, take care to follow any additional instructions provided with regard to balancing the blades or applying any included hardware or accessories.
Once the fan is fully assembled, give it a gentle spin to ensure that the blades rotate smoothly and without any wobbling or scraping against the housing. If you notice any issues, double-check the blade alignment and fastenings.
It’s important to note that some ceiling fans come with a separate light kit, which can be installed later in the process. If your fan includes a light kit, set it aside for now, and we will cover the installation in a later step.
Now that your ceiling fan is fully assembled, it’s time to move on to the next step: attaching the mounting bracket to the ceiling.
Read also: 13 Best Flush Mount Ceiling Fan for 2025
Step 5: Attach the mounting bracket
Now that you have assembled the ceiling fan, it’s time to attach the mounting bracket to the ceiling. The mounting bracket is an essential component that provides stability and support for the fan.
Start by identifying the location where you want to install the ceiling fan. Ensure that it is a suitable location with proper clearance and structural support. Ideally, the fan should be centered in the room and positioned at least 7 feet above the floor for optimal airflow.
Locate the ceiling joist or support beam in the desired location using a stud finder or by tapping the ceiling until you find a solid and stable spot. Once you have identified the joist, mark it with a pencil for reference.
Now, take the mounting bracket and hold it against the ceiling, aligning it with the marked location of the joist. Depending on the type of bracket provided, you may need to use screws or bolts to secure it to the ceiling.
Using a power drill or a screwdriver, carefully drive the screws or bolts through the bracket and into the joist. Make sure the bracket is securely attached and level with the ceiling. If needed, use a level to ensure the bracket is straight.
Once the mounting bracket is securely installed, give it a gentle shake to ensure it is stable and can support the weight of the ceiling fan. If there is any wobbling or instability, double-check the installation and make any necessary adjustments.
With the mounting bracket firmly in place, you are ready to move on to the next step: connecting the wiring for the ceiling fan.
When installing a flush mount ceiling fan, make sure to turn off the power at the circuit breaker before beginning the installation to ensure safety.
Step 6: Connect the wiring
Now that the mounting bracket is securely attached to the ceiling, it’s time to connect the wiring for your flush mount ceiling fan. This step involves connecting the fan’s wires to the existing electrical wiring in your ceiling.
Before you begin, make sure the power to the room is still turned off at the circuit breaker. This precaution is crucial to prevent any electrical accidents or shocks during the wiring process.
Start by identifying the wires coming out of the electrical box in the ceiling. Typically, you will find a black or red wire (hot wire), a white wire (neutral wire), and a bare copper or green wire (ground wire).
Locate the corresponding wires on the ceiling fan. These wires are usually color-coded for easy identification. The black or red wire on the fan is the live wire, the white wire is the neutral wire, and the green wire is the ground wire.
Use wire cutters to strip about ½ inch of insulation from the ends of the wires on both the fan and the electrical box. Be careful not to cut through the wires themselves.
Next, connect the wires together in the following manner:
- Connect the black or red wire from the fan to the black or red wire from the electrical box. Twist them together clockwise and secure them with a wire nut.
- Connect the white wire from the fan to the white wire from the electrical box in the same way, twisting them together and securing with a wire nut.
- If there is a green wire from the fan, connect it to the bare copper or green wire from the electrical box using a wire nut.
Ensure that all connections are tight and secure. Gently tug on each wire to make sure they are properly connected.
Once the wiring is complete, carefully tuck the wires into the electrical box, ensuring they are not pinched or exposed. Position any excess wire neatly inside the box.
Now that the wiring is successfully connected, you can move on to the next step: securing the fan to the mounting bracket.
Step 7: Secure the fan to the mounting bracket
Now that the wiring is complete, it’s time to secure the fan to the mounting bracket. This step involves attaching the fan assembly to the bracket and ensuring that it is securely fastened.
Start by lifting the assembled fan and aligning the mounting bracket on top of it. The fan’s mounting holes should line up with the holes on the bracket. Make sure the fan is properly positioned and centered on the bracket.
Using the screws or bolts provided with the fan, thread them through the mounting holes on the bracket and into the corresponding holes on the fan. Tighten them securely, but be careful not to overtighten and damage the fan or bracket.
Once the fan is attached to the bracket, give it a gentle shake to ensure it is stable and securely fastened. A properly secured fan should not wobble or shift when lightly nudged.
If your fan has a canopy or decorative cover that conceals the mounting bracket, now is the time to attach it. Follow the manufacturer’s instructions to properly align and secure the canopy, ensuring that it is flush against the ceiling.
Double-check all the screws and bolts to ensure they are tightened securely. Loose connections can cause the fan to become unbalanced or create noise during operation.
At this point, take a moment to admire your progress. The flush mount ceiling fan is now securely attached to the mounting bracket, ready to provide comfort and airflow in your space.
In the next step, we will move on to attaching the fan blades to complete the installation process.
Step 8: Attach the fan blades
Now that the fan is securely mounted, it’s time to attach the fan blades. The blades are an essential part of the ceiling fan, responsible for circulating the air and creating a cooling breeze.
Start by identifying the fan blade arms. These are the metal brackets that connect the fan blades to the motor housing. Each blade arm has two holes for attaching the blades.
Take one fan blade and align it with a set of pre-drilled holes on a blade arm. Insert the screws provided with the fan kit through the holes in the blade and into the corresponding holes on the blade arm.
Using a screwdriver, tighten the screws securely, but be careful not to overtighten and damage the blade or blade arm. Repeat this process for each fan blade, attaching them to the respective blade arms.
Make sure each blade is evenly spaced and aligned properly. This will help promote balanced airflow and prevent any wobbling or uneven rotations.
Once all the fan blades are securely attached, give each one a gentle tug to ensure they are properly fastened. They should not move or come loose from the blade arms.
Take a step back and inspect the fan’s appearance. Ensure that all blades are at the same angle and positioned correctly. If needed, make any necessary adjustments to align the blades properly.
Now that the fan blades are securely attached, you are one step closer to completing the installation. In the next step, we will cover the installation of the light kit, if your ceiling fan includes one.
Step 9: Install the light kit (if applicable)
If your flush mount ceiling fan includes a light kit, you can now proceed with installing it. Not all ceiling fans come with a light kit, so if your fan doesn’t have one, you can skip this step.
Start by identifying the light kit that came with your fan. It typically consists of a glass or plastic shade, a light bulb holder, and any necessary wiring components.
Check the manufacturer’s instructions for specific guidance on how to install the light kit. Each fan may have slightly different instructions, so it’s important to follow the provided guidelines.
First, locate the light kit attachment point on the bottom of the fan’s motor housing. The attachment point is usually a circular opening with threaded screw holes.
Align the light kit with the attachment point, ensuring that any wires or connectors are properly positioned for connection.
Using the screws or bolts provided with the light kit, secure the light kit to the attachment point. Tighten the screws or bolts securely, but be careful not to overtighten and damage the light kit or fan.
Once the light kit is attached, you can proceed with connecting the wiring. Follow the manufacturer’s instructions to properly connect the wires from the light kit to the corresponding wires on the fan and electrical box.
Typically, this involves connecting the black wire from the light kit to the blue wire on the fan, and the white wire from the light kit to the white wire on the fan and electrical box.
Once the wiring is complete, carefully tuck any excess wiring into the light kit or secure it with wire clips, ensuring that there are no loose or exposed wires.
Finally, attach the light bulb(s) to the light bulb holder, following any specific instructions provided with the light kit. Make sure the light bulb(s) are securely in place.
With the light kit installed and wired properly, you’re ready for the final step: turning on the power and testing the fan.
Step 10: Turn on the power and test the fan
Now that the installation is complete, it’s time to turn on the power and test your newly installed flush mount ceiling fan. This step will ensure that the fan is functioning properly and ready to provide comfort and air circulation in your space.
Before you turn on the power, make sure the fan and light switches on the fan are in the off position. This will prevent any accidental activation during the testing process.
Return to the electrical panel or circuit breaker box and locate the circuit breaker that supplies power to the room where the fan is installed. Flip the switch to the “on” position to restore the electrical power.
Once the power is restored, you can proceed with testing the fan. Go to the fan’s switch or control panel, typically located on the wall nearby, and flip the switch to the “on” position.
If your fan has a pull chain for control, give it a gentle pull to activate the fan. The blades should start spinning, creating a gentle airflow in the room. Listen for any unusual noises or vibrations, as these could indicate a problem.
If your fan includes a light kit, turn on the light switch or use the designated control to activate the lights. Ensure that the light(s) illuminate properly without any flickering or dimming.
Take a moment to observe the fan and make sure it is rotating in the desired direction, typically counterclockwise in the summer for a cooling effect. If the fan is rotating in the wrong direction, consult the fan’s manual or instructions to change the direction if necessary.
If everything appears to be working correctly, congratulations! You have successfully installed and tested your flush mount ceiling fan.
However, if you notice any issues or abnormalities during the testing process, it’s important to troubleshoot the problem. Double-check the wiring connections, ensure the fan is balanced and securely mounted, and consult the manufacturer’s instructions or seek professional assistance if needed.
With the fan successfully installed and working, it’s time to sit back, relax, and enjoy the cool breeze and improved air circulation in your space.
Remember to always exercise caution and adhere to safety guidelines when working with electrical wiring. If you’re unsure about any step of the installation process, it’s recommended to consult a qualified electrician for assistance.
Conclusion
Congratulations on successfully installing your flush mount ceiling fan! By following the step-by-step guide, you have added both functionality and style to your space. The installation process may have required some time and effort, but the results are well worth it.
A flush mount ceiling fan provides several benefits, including improved air circulation, added comfort, and energy efficiency. It can help to cool a room in the summer and redistribute warm air during the winter, making it a versatile and practical addition to any home.
Throughout the installation process, you gathered the necessary tools and materials, turned off the power, removed the existing light fixture, assembled the ceiling fan, attached the mounting bracket, connected the wiring, secured the fan to the mounting bracket, attached the fan blades, and installed the light kit (if applicable). Finally, you turned on the power and tested the fan to ensure it is functioning properly.
Remember, safety is paramount when working with electrical wiring. If you are not comfortable or experienced with electrical work, it is always best to seek professional assistance to ensure the installation is done correctly and safely.
Now that your flush mount ceiling fan is installed, it’s time to sit back, relax, and enjoy the enhanced comfort and airflow in your space. Take advantage of the fan’s various settings and features to create the ideal atmosphere for each season.
Regular maintenance is important to keep your ceiling fan in top condition. Clean the fan blades periodically to remove dust and debris, and check for any loose or worn-out parts. This will help ensure smooth operation and extend the lifespan of your fan.
Thank you for choosing our guide to help you with your flush mount ceiling fan installation. We hope that this step-by-step process has been helpful and informative. If you have any further questions or need additional assistance, don’t hesitate to reach out to us.
Enjoy the comfort, energy efficiency, and style that your new flush mount ceiling fan brings to your space!
Now that you've mastered installing a flush mount ceiling fan, why stop there? Expand your DIY skills with our detailed guide on ceiling fan installation where no ceiling light exists. Ready for a stylish upgrade to your home lighting? Check out our curated list of the best LED mirrors that combine functionality with a sleek design.
Frequently Asked Questions about How To Install A Flush Mount Ceiling Fan
Was this page helpful?
At Storables.com, we guarantee accurate and reliable information. Our content, validated by Expert Board Contributors, is crafted following stringent Editorial Policies. We're committed to providing you with well-researched, expert-backed insights for all your informational needs.


0 thoughts on “How To Install A Flush Mount Ceiling Fan”