Articles
How Do I Fix My Radiator Fan Not Working
Modified: November 2, 2024
Looking for articles on how to fix a radiator fan that's not working? Check out our comprehensive guide to troubleshoot and resolve this common issue.
(Many of the links in this article redirect to a specific reviewed product. Your purchase of these products through affiliate links helps to generate commission for Storables.com, at no extra cost. Learn more)
Introduction
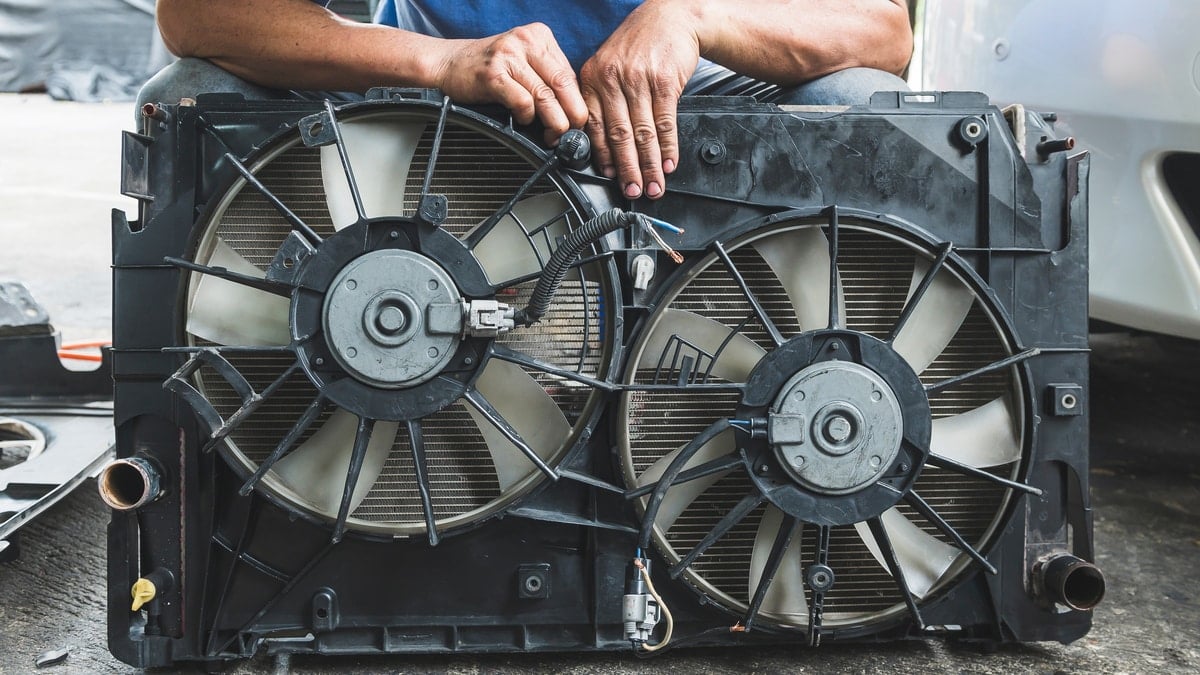
Having a malfunctioning radiator fan can cause a great deal of frustration and concern for any vehicle owner. The radiator fan plays a critical role in keeping the engine cool by circulating air through the radiator to dissipate heat. When the radiator fan stops working, it can lead to engine overheating and potential damage.
In this article, we will explore common causes of a radiator fan not working and discuss troubleshooting steps to fix the issue. Whether you are a DIY enthusiast or want to have a better understanding before taking your vehicle to a mechanic, this guide will help you diagnose and potentially resolve the problem.
Before we delve into the specific troubleshooting steps, let’s first understand some common causes of a radiator fan not functioning properly. By knowing the possible underlying issues, you can narrow down the problem and find an appropriate solution.
1. Faulty Fuse: A blown fuse can prevent the radiator fan from receiving power and cause it to stop working. Checking the fuse should be one of the initial steps in diagnosing the issue.
2. Wiring Issues: Loose or damaged wiring connections can disrupt the flow of electricity to the radiator fan. Inspecting the wiring and fixing any potential issues can resolve the problem.
3. Fan Motor Failure: Over time, the fan motor can wear out or become damaged, resulting in the radiator fan not functioning. Testing the fan motor can help determine if it needs to be replaced.
4. Temperature Sensor Malfunction: The temperature sensor is responsible for detecting the engine temperature and signaling the fan to turn on. A faulty temperature sensor can prevent the fan from activating when needed.
5. Relay Problems: The relay acts as a switch, allowing the fan to receive power. If the relay is faulty or damaged, it can prevent the proper flow of electricity to the fan.
Now that we have a basic understanding of the potential causes, let’s dive into the troubleshooting steps to fix a radiator fan that is not working. By following these steps, you can diagnose the problem and take appropriate action to get your radiator fan up and running again.
Key Takeaways:
- Regularly checking and maintaining the radiator fan, including inspecting the fuse, wiring, fan motor, temperature sensor, and relay, can help diagnose and resolve issues, ensuring proper engine cooling and performance.
- If unsure about troubleshooting steps, seek professional assistance to avoid further complications or damage to the vehicle. Safety should always be a top priority when working on electrical components or systems.
Read more: How To Test Radiator Fan
Common Causes of Radiator Fan Not Working
When your radiator fan stops working, it can be frustrating and concerning. To diagnose and fix the issue, it is important to understand the common causes behind a malfunctioning radiator fan. Here are some possible reasons why your radiator fan may not be working:
1. Blown Fuse: One of the most common causes of a radiator fan not working is a blown fuse. The fuse protects the fan motor from electrical overload. If the fuse is blown, the fan will not receive power and will not operate. Checking the fuse box and replacing any blown fuses can solve this issue.
2. Wiring Issues: Loose or damaged wiring connections can disrupt the flow of electricity to the radiator fan. Over time, the wiring can become corroded or frayed, causing a break in the circuit. Inspecting the wiring harness and repairing any damaged wires can help restore power to the fan.
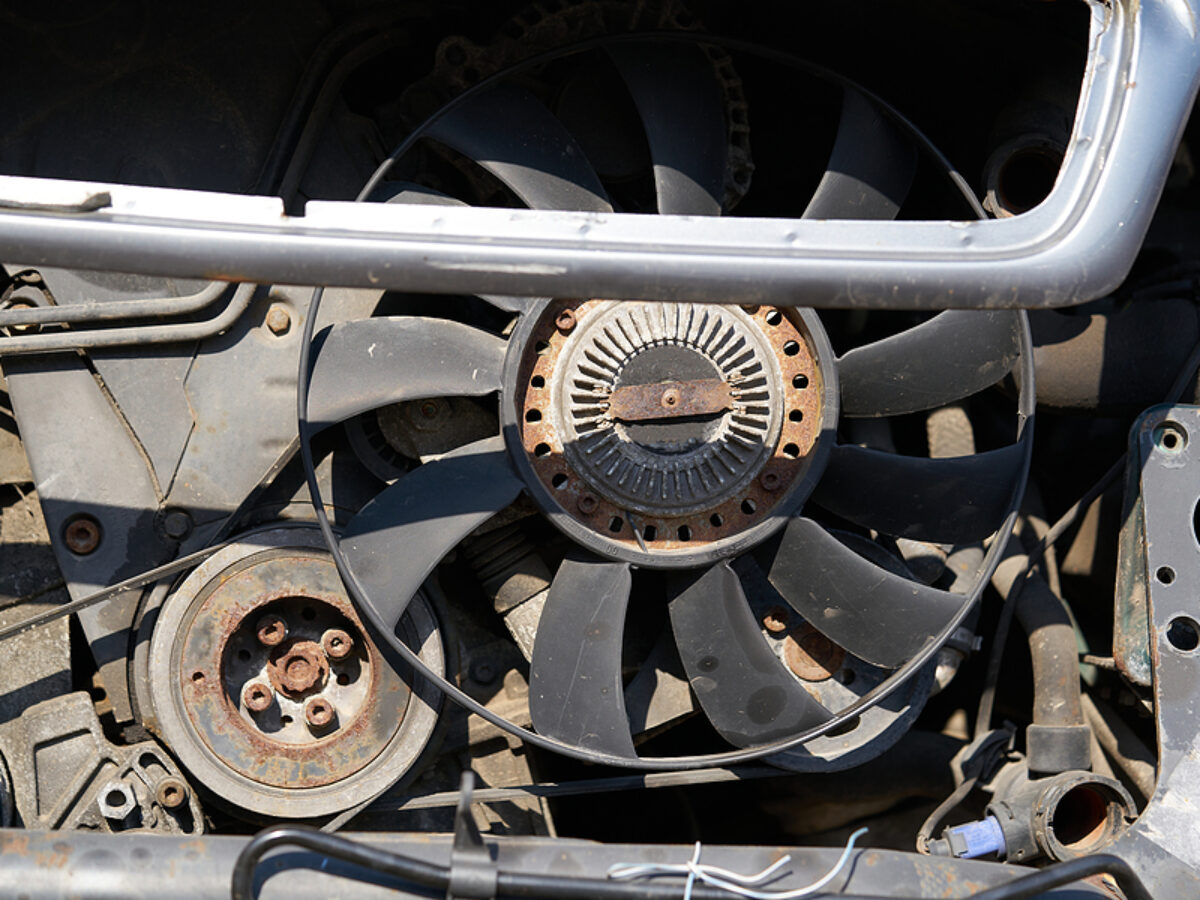
3. Fan Motor Failure: The fan motor is responsible for spinning the fan blades and circulating air through the radiator. If the motor fails, the fan will not work. A worn-out motor or a faulty motor bearing can cause the fan to malfunction. Testing the motor’s continuity and resistance with a multimeter can determine if the motor needs to be replaced.
4. Temperature Sensor Malfunction: The temperature sensor measures the engine’s temperature and sends a signal to the fan to turn on when the temperature exceeds a certain threshold. If the sensor is faulty or sending incorrect readings, it may not activate the fan. Replacing the temperature sensor can solve this problem.
5. Relay Problems: The relay acts as a switch that controls the flow of power to the fan motor. If the relay becomes faulty or gets stuck, it can prevent the fan from receiving power. Testing the relay or replacing it with a new one can fix this issue.
In some cases, the radiator fan may not be working due to a combination of these factors. Therefore, it is important to perform a thorough inspection, checking each possible cause to determine the root of the problem.
Fixing a radiator fan that is not working can be a relatively simple repair for those who are mechanically inclined. However, if you are unsure about diagnosing or repairing the issue, it is recommended to seek the assistance of a professional mechanic.
Now that we have explored the common causes of a radiator fan not working, let’s move on to the troubleshooting steps to fix the issue in the next sections.
Checking the Fuse
When your radiator fan is not functioning, one of the first things to check is the fuse. The fuse protects the fan motor from electrical overload and can blow if there is a power surge or a short circuit. Here are the steps to check the fuse:
- Locate the fuse box: The fuse box is usually located in the engine compartment or under the dashboard. Consult your vehicle’s manual or a diagram on the fuse box cover to find the specific location.
- Inspect the fuse: Once you have located the fuse box, open it and look for the fuse corresponding to the radiator fan. The fuse is a small, rectangular or blade-like component with a metal strip inside. Check visually to see if the fuse element is intact.
- Test the fuse with a multimeter: If the fuse appears visually intact, you can use a multimeter to test its continuity. Set the multimeter to the resistance or continuity mode and touch the probes to both ends of the fuse. If there is continuity (a low resistance reading), the fuse is still functioning. If there is no continuity (an infinite resistance reading), the fuse is blown and needs to be replaced.
- Replace the fuse if necessary: If the fuse is blown, replace it with a new fuse of the same amperage rating. The amperage rating is usually printed on the fuse or indicated in the fuse box diagram. It is important to use the correct amperage fuse to avoid damaging the fan motor or other electrical components.
- Test the radiator fan: After replacing the fuse, start the engine and let it reach operating temperature. Observe if the radiator fan turns on when the engine gets hot. If the fan still does not work, there may be another underlying issue that needs to be addressed.
Checking the fuse is a relatively simple and quick step to determine if it is the cause of the radiator fan not working. If the fuse is blown and replacing it solves the problem, you have successfully fixed the issue. However, if the fuse is not blown or replacing it does not resolve the problem, further troubleshooting may be needed.
Remember to always turn off the engine and disconnect the battery before working on the fuse box to avoid the risk of electrical shock or damage to the electrical system.
In the next section, we will discuss how to inspect the wiring connections, which is another common cause of a radiator fan not working.
Inspecting the Wiring
When the radiator fan in your vehicle is not working, another common culprit could be the wiring connections. Over time, wiring connections can become loose or damaged, interrupting the flow of electricity to the fan motor. Here are the steps to inspect the wiring and fix any issues:
- Identify the wiring harness: Locate the wiring harness that connects to the radiator fan motor. It is usually a bundle of wires attached near the fan or running from the fan to the vehicle’s electrical system.
- Inspect the connections: Check the wiring connections at both ends of the wiring harness. Look for any loose, corroded, or damaged connections. Loose connections or corrosion can disrupt the flow of electricity, while damaged connections may need to be repaired or replaced.
- Tighten the connections: If you find any loose connections, use a wrench or pliers to securely tighten them. Ensure that the connections are snug but be careful not to overtighten and damage the connectors.
- Clean corrosion: If you see corrosion on the connectors, use a wire brush or sandpaper to clean off the corrosion. Be gentle to avoid damaging the connectors and ensure the contacts are clean and free from any debris.
- Repair or replace damaged wiring: If you notice any damaged wires, such as frayed or broken insulation, they may need to be repaired or replaced. Use electrical tape or wire connectors to repair small areas of damage. For larger areas or severe damage, consider replacing the wiring harness or consult a professional mechanic.
- Recheck the fan operation: After inspecting and fixing any wiring issues, start the engine and observe if the radiator fan turns on when the engine reaches operating temperature. If the fan operates properly, you have successfully resolved the issue. However, if the fan is still not working, further troubleshooting may be required.
Inspecting the wiring connections can unearth any loose or damaged components that may be preventing the radiator fan from working. Taking the time to check and resolve any wiring issues can save you from unnecessary fan motor replacements or more extensive repairs.
If you are unsure about inspecting or repairing the wiring yourself, it is recommended to seek the assistance of a qualified mechanic who can diagnose and fix the problem effectively.
In the next section, we will discuss how to test the fan motor, which is another potential cause of a radiator fan not functioning.
Check the fuse and relay for the radiator fan, as a blown fuse or faulty relay can cause the fan to stop working. Also, make sure the fan motor and wiring are in good condition. If everything checks out, the issue may be with the temperature sensor or the fan motor itself.
Testing the Fan Motor
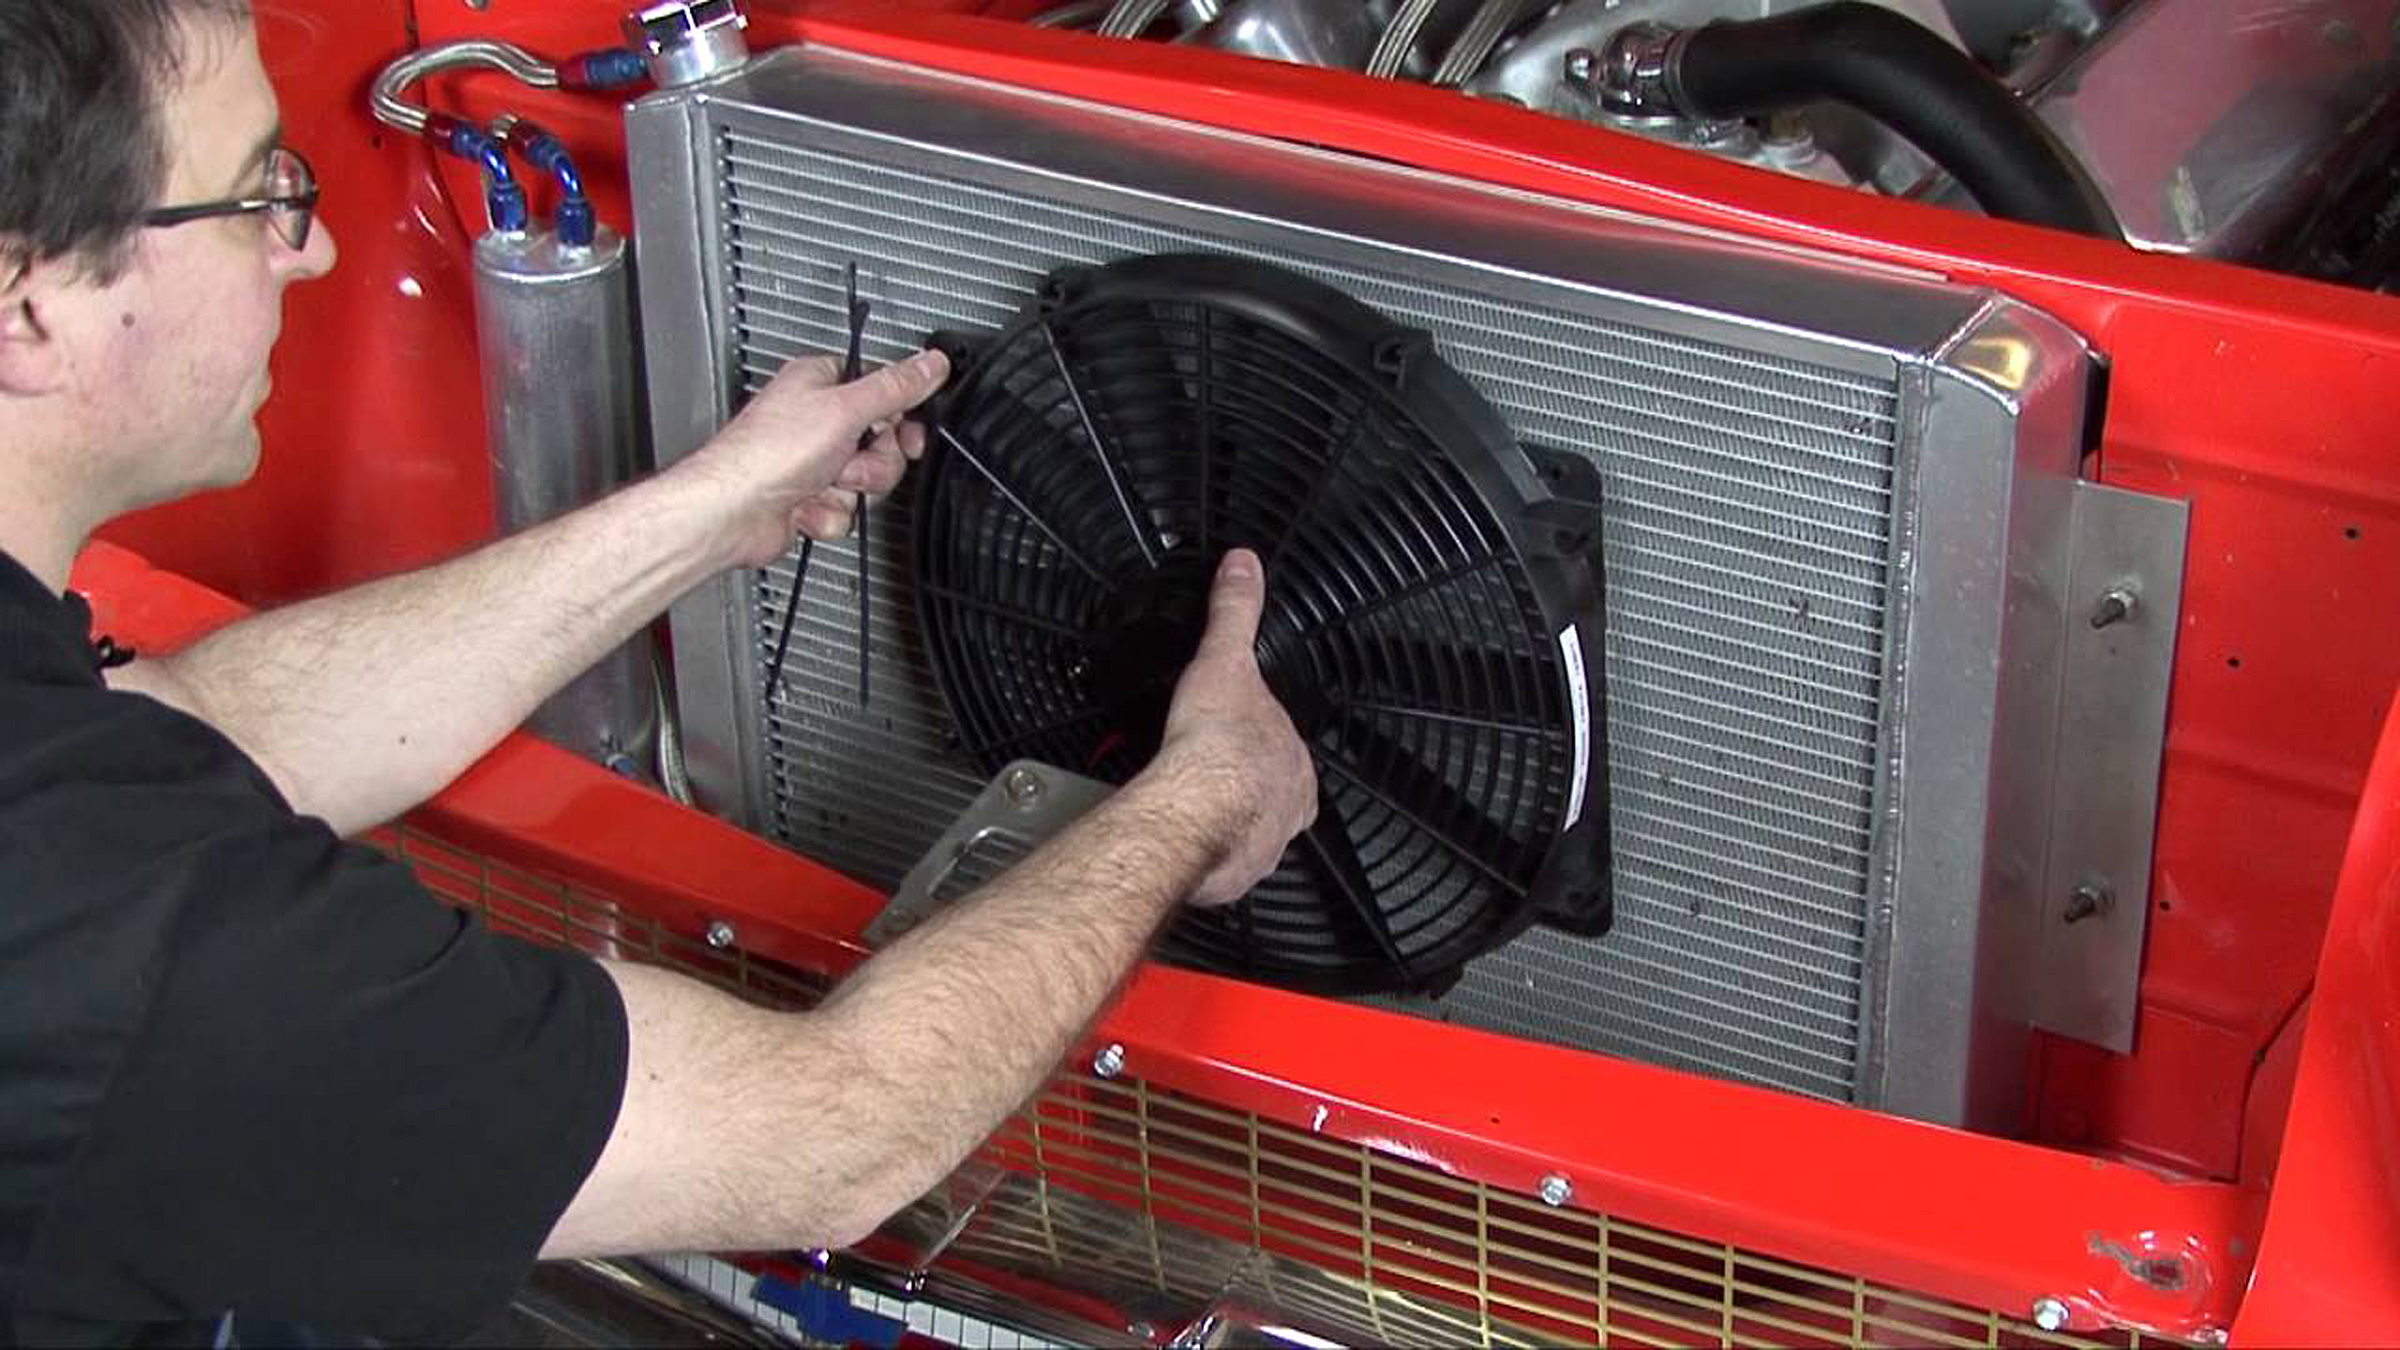
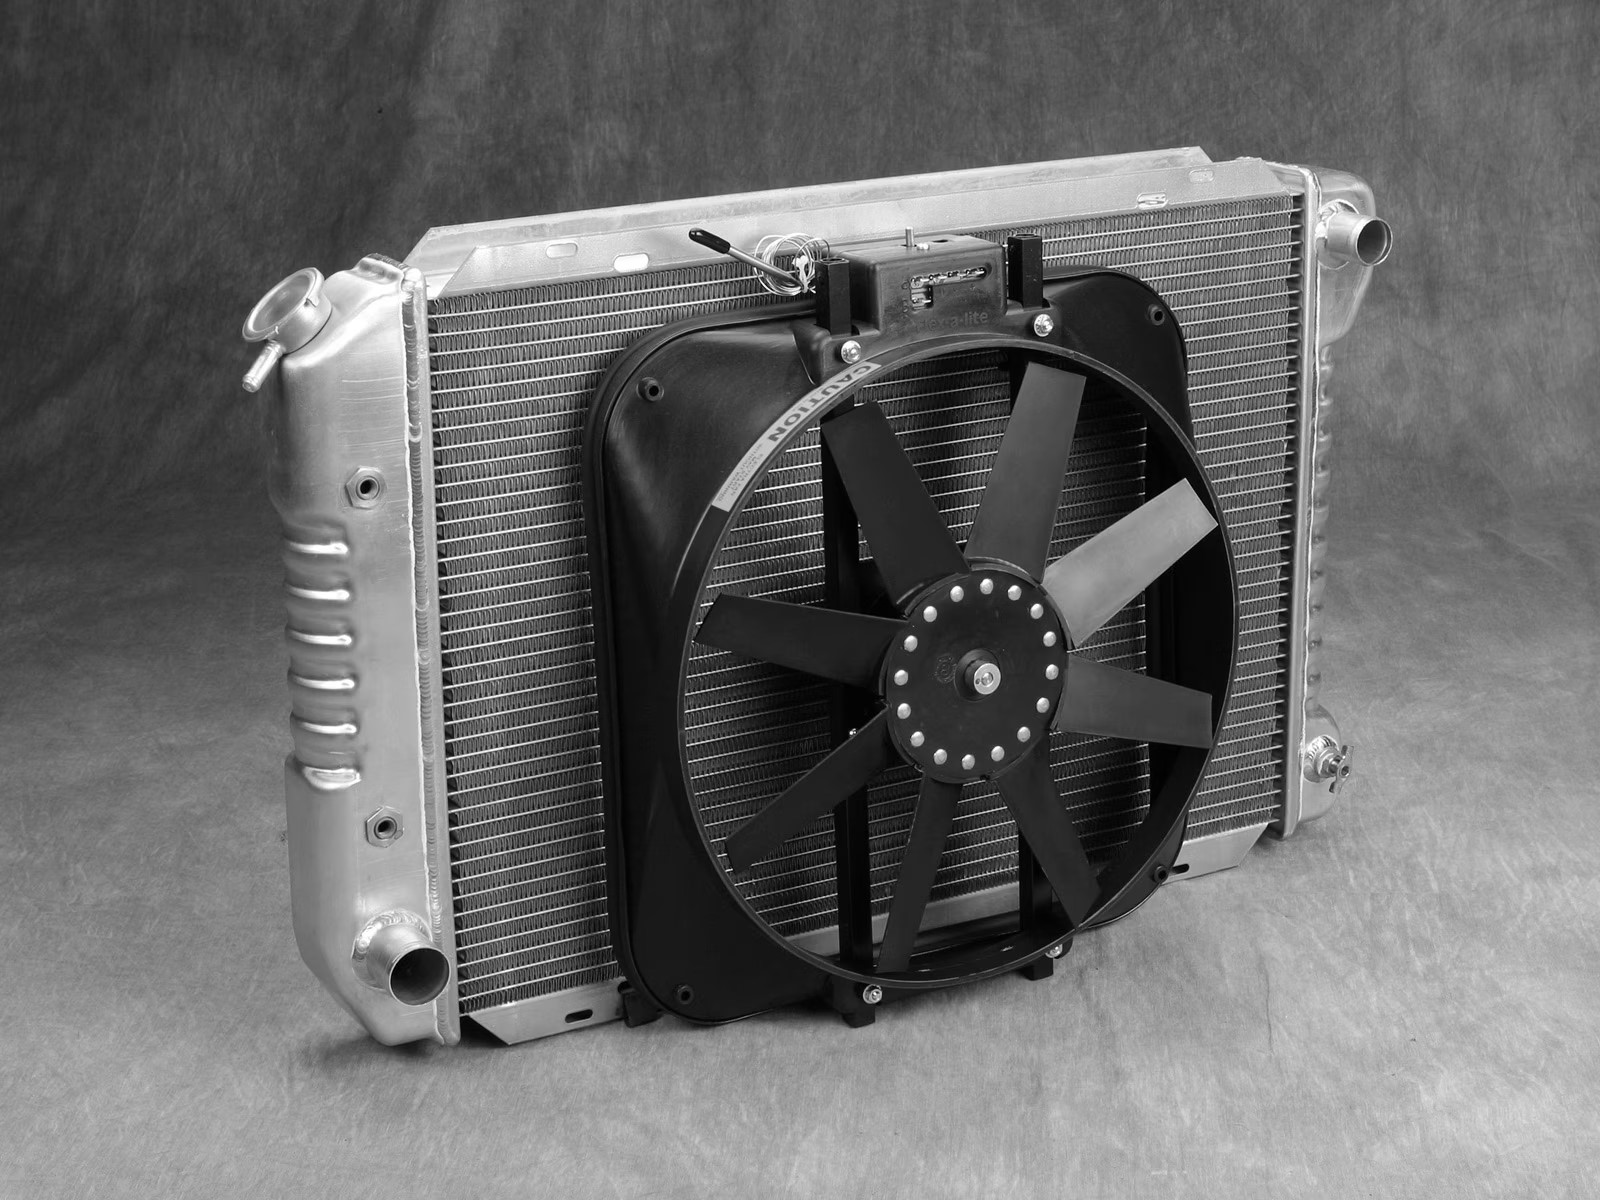
If your radiator fan is still not working after checking the fuse and inspecting the wiring, it’s time to move on to testing the fan motor. The fan motor is responsible for spinning the fan blades and circulating air through the radiator. Here are the steps to test the fan motor:
- Locate the fan motor: The fan motor is usually located behind the radiator, near the front of the engine bay. It is connected to the fan blades and is typically held in place by mounting brackets or bolts.
- Disconnect the electrical connection: Before testing the motor, make sure the engine is turned off and the battery is disconnected for safety. Locate the electrical connection that is plugged into the fan motor and carefully disconnect it.
- Check for power: Using a multimeter set to the voltage or continuity mode, touch the probes to the electrical connection terminals. Have someone turn on the ignition switch or start the engine while you monitor the multimeter. If there is no power reading or no continuity, there may be an issue with the electrical supply to the fan motor.
- Test the motor directly: If there is power to the fan motor, it’s time to test the motor itself. Remove the fan motor from its mounting brackets or bolts, taking care not to damage any surrounding components. Connect the motor directly to a 12-volt power source, such as a car battery, using jumper wires. Observe if the motor spins smoothly when power is applied. If the motor does not spin or makes unusual noises, it is likely faulty and needs to be replaced.
- Inspect the motor bearings: If the motor spins but makes a grinding or squealing noise, the motor bearings may be worn out. In this case, the motor may need to be replaced or the bearings may need to be lubricated or repaired if possible.
- Reinstall the fan motor: If the motor passes the direct power test and there are no apparent issues, reinstall the fan motor back into its original position. Reconnect the electrical connection and ensure it is securely fastened.
- Test the radiator fan operation: Start the engine and let it reach operating temperature. Observe if the fan turns on when the engine gets hot. If the fan operates properly after testing the motor, you have successfully resolved the issue. However, if the fan is still not working, there may be another underlying problem that needs to be addressed.
Testing the fan motor directly helps determine if the motor itself is faulty or if there is an issue with the electrical supply. If the motor fails the direct power test or shows signs of malfunctioning, it is necessary to replace the fan motor.
If you are unsure about testing and replacing the fan motor, it is recommended to seek the assistance of a professional mechanic to ensure the proper diagnosis and repair of the issue.
In the next section, we will discuss replacing the temperature sensor, which can also cause the radiator fan to stop working.
Read more: Central Heating Radiators: How They Work
Replacing the Temperature Sensor
If your radiator fan is still not functioning after checking the fuse, inspecting the wiring, and testing the fan motor, the next step is to consider the temperature sensor. The temperature sensor is responsible for detecting the engine temperature and signaling the fan to turn on when it exceeds a certain threshold. Here are the steps to replace the temperature sensor:
- Locate the temperature sensor: The temperature sensor is typically located on or near the engine block, cylinder head, or thermostat housing. Refer to your vehicle’s manual or consult a diagram to find the exact location of the sensor.
- Drain the coolant (if necessary): Depending on the location of the temperature sensor, you may need to drain a small amount of coolant to access it. Place a drain pan beneath the radiator drain plug and open it to drain the coolant. Be sure to follow proper coolant disposal procedures.
- Disconnect the electrical connection: Once you have access to the temperature sensor, disconnect the electrical connection by gently pulling it away from the sensor. Take note of the sensor’s orientation for correct installation of the new sensor.
- Remove the old temperature sensor: Use an appropriate wrench or socket to carefully loosen and remove the old temperature sensor from its mounting point. Some sensors may be threaded directly into the engine block, while others may have a retaining clip or bracket.
- Install the new temperature sensor: Take the new temperature sensor and apply a small amount of thread sealant to the sensor’s threads, if needed. Insert the sensor into the mounting point and hand tighten it. Use a wrench or socket to securely tighten the sensor without over-tightening.
- Reconnect the electrical connection: Once the new sensor is installed, reconnect the electrical connection by firmly pushing it onto the sensor until it clicks into place. Ensure a secure connection.
- Refill the coolant and test the radiator fan: If you had to drain coolant, refill the system to the proper level following your vehicle’s coolant capacity and specifications. Start the engine and allow it to reach operating temperature. Observe if the radiator fan turns on when the engine gets hot. If the fan operates properly, you have successfully replaced the temperature sensor.
Replacing the temperature sensor can be a relatively straightforward process, although it may require some coolant draining and refilling. It is important to use the correct replacement sensor for your vehicle as specified by the manufacturer or consult a professional mechanic for assistance.
If your radiator fan is still not working after replacing the temperature sensor, there may be other underlying issues that require further inspection or professional assistance.
In the next section, we will discuss checking the relay, another component that can affect the operation of the radiator fan.
Checking the Relay
If your radiator fan is not working even after checking the fuse, inspecting the wiring, testing the fan motor, and replacing the temperature sensor, it’s time to examine the relay. The relay acts as a switch that controls the flow of power to the fan motor. A faulty or damaged relay can prevent the proper flow of electricity to the fan. Here are the steps to check the relay:
- Locate the relay: The relay is typically found in the engine compartment fuse box. Refer to the vehicle’s manual or a diagram on the fuse box cover to locate the relay that corresponds to the radiator fan.
- Inspect the relay: Visually inspect the relay for any signs of damage, such as burnt marks, corrosion, or loose connections. If the relay appears to be damaged, it may need to be replaced.
- Swap relays (optional): If you have identical relays in the fuse box, you can try swapping the relay for the radiator fan with a working one, such as the relay for the air conditioning compressor. If the fan starts working with the swapped relay, it indicates that the original relay was faulty and should be replaced.
- Test the relay with a multimeter: If swapping relays does not resolve the issue or if there are no identical relays available, you can use a multimeter to test the relay’s functionality. Set the multimeter to the resistance or continuity mode and touch the probes to the appropriate relay terminals indicated for the fan circuit. Consult the vehicle’s manual or a relay diagram for the correct terminals to test. If there is no continuity or resistance reading, the relay may be faulty and should be replaced.
- Replace the relay if necessary: If the relay is found to be defective or damaged, it needs to be replaced. Purchase a new relay with the same specifications as the original and insert it into the relay slot in the fuse box. Ensure it is securely seated.
- Test the radiator fan again: Start the engine and allow it to reach operating temperature. Watch to see if the radiator fan turns on when the engine gets hot. If the fan operates properly after replacing the relay, you have successfully resolved the issue.
Checking the relay is an important step in troubleshooting a radiator fan that is not working. A faulty relay can easily be replaced, potentially saving unnecessary fan motor replacements or costly repairs.
If you are unsure about testing or replacing the relay yourself, it is recommended to consult a professional mechanic for assistance. They can diagnose the issue accurately and ensure the proper repair of the radiator fan.
Now that we have discussed the different troubleshooting steps, you should have a better understanding of how to diagnose and resolve a radiator fan not working. By following these guidelines, you can potentially fix the issue and ensure proper engine cooling and performance.
Remember, if you are not confident in your mechanical abilities or unsure about the diagnosis, seek the help of a professional mechanic to avoid any further complications or damage to your vehicle.
Conclusion
A non-functioning radiator fan can be a cause of concern for any vehicle owner, as it can lead to engine overheating and potentially costly repairs. However, by following the troubleshooting steps outlined in this article, you can diagnose and resolve the issue yourself or have a better understanding before seeking professional assistance.
We started by discussing the common causes of a radiator fan not working, including a blown fuse, wiring issues, fan motor failure, temperature sensor malfunction, and relay problems. By understanding these causes, you can narrow down the problem and focus on the specific troubleshooting steps.
We then learned how to check the fuse, inspect the wiring connections, test the fan motor, replace the temperature sensor, and check the relay. Each of these steps helps identify potential issues and allows you to take appropriate action to fix the problem.
It’s important to remember that safety should always be a top priority. When working on any electrical components or systems, be sure to turn off the engine, disconnect the battery, and observe proper safety precautions.
If you feel uncertain or uncomfortable performing these troubleshooting steps yourself, it is always recommended to seek the assistance of a qualified mechanic. They have the expertise and tools to diagnose the problem accurately and make necessary repairs.
In conclusion, diagnosing and fixing a radiator fan that is not working can be a relatively straightforward process. By following the steps outlined in this article, you can potentially resolve the issue and ensure the proper cooling of your vehicle’s engine. Good luck with troubleshooting and keeping your engine cool!
Frequently Asked Questions about How Do I Fix My Radiator Fan Not Working
Was this page helpful?
At Storables.com, we guarantee accurate and reliable information. Our content, validated by Expert Board Contributors, is crafted following stringent Editorial Policies. We're committed to providing you with well-researched, expert-backed insights for all your informational needs.


0 thoughts on “How Do I Fix My Radiator Fan Not Working”